I DID IT!!!!


Description
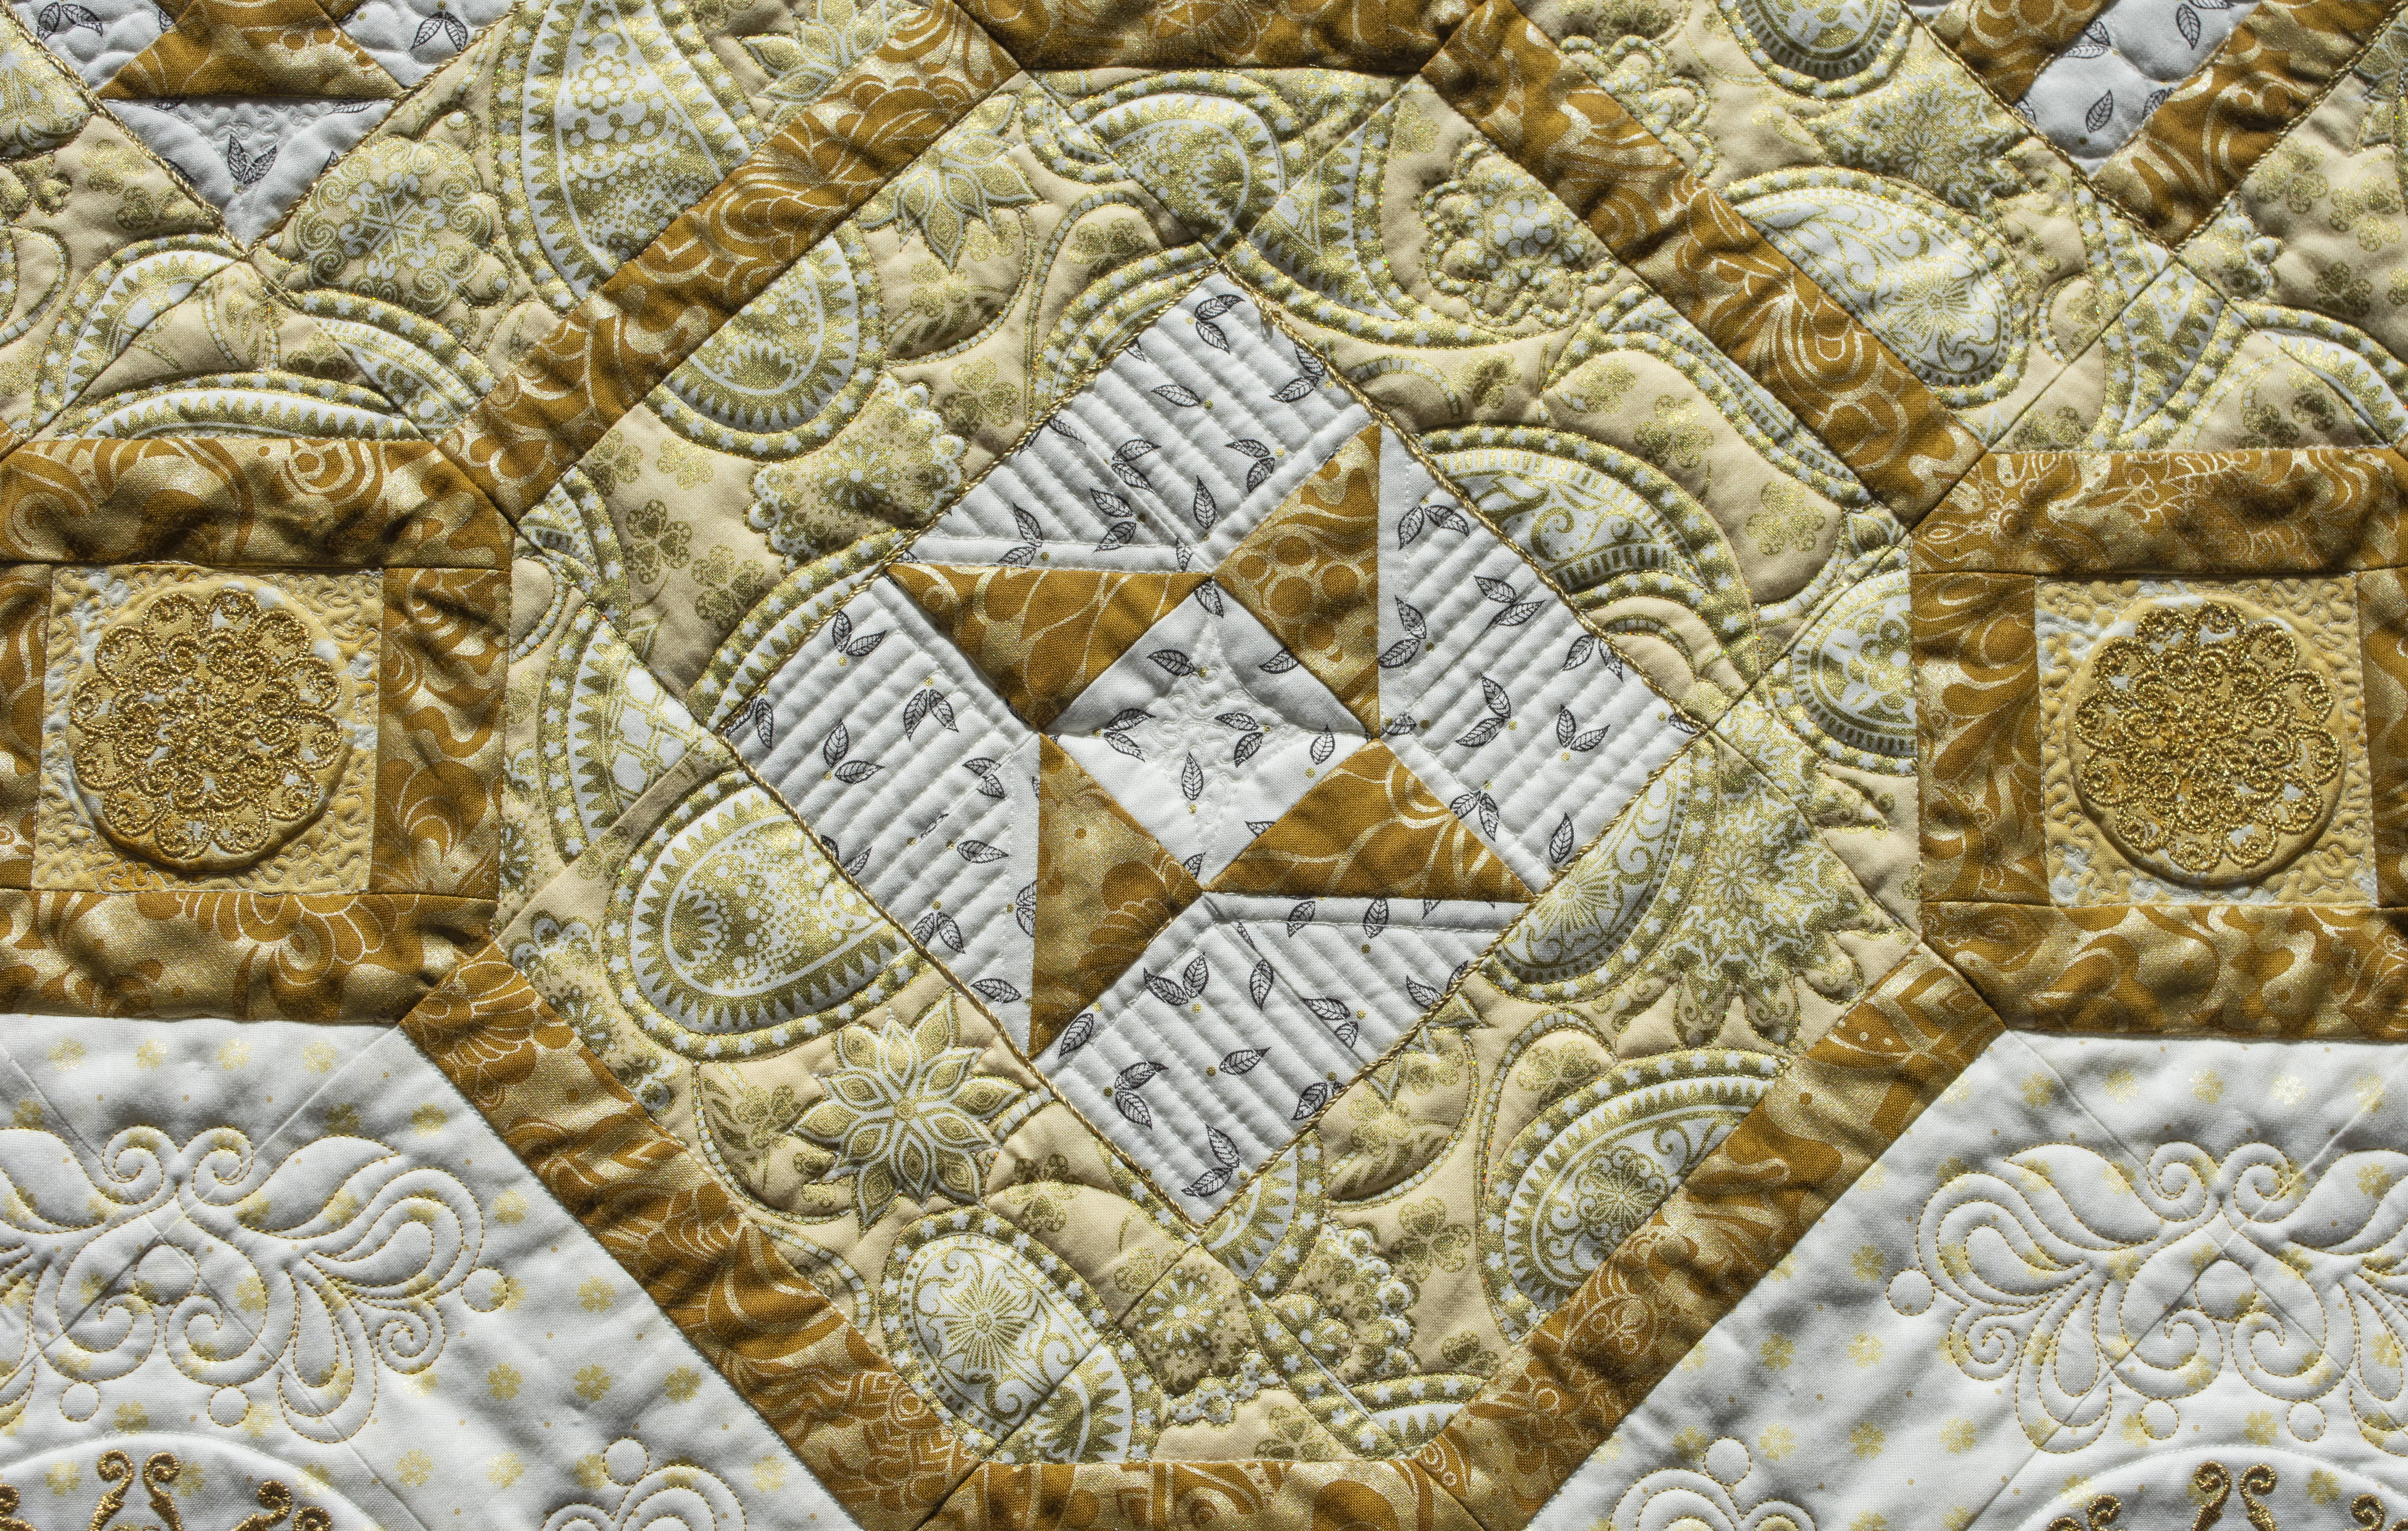
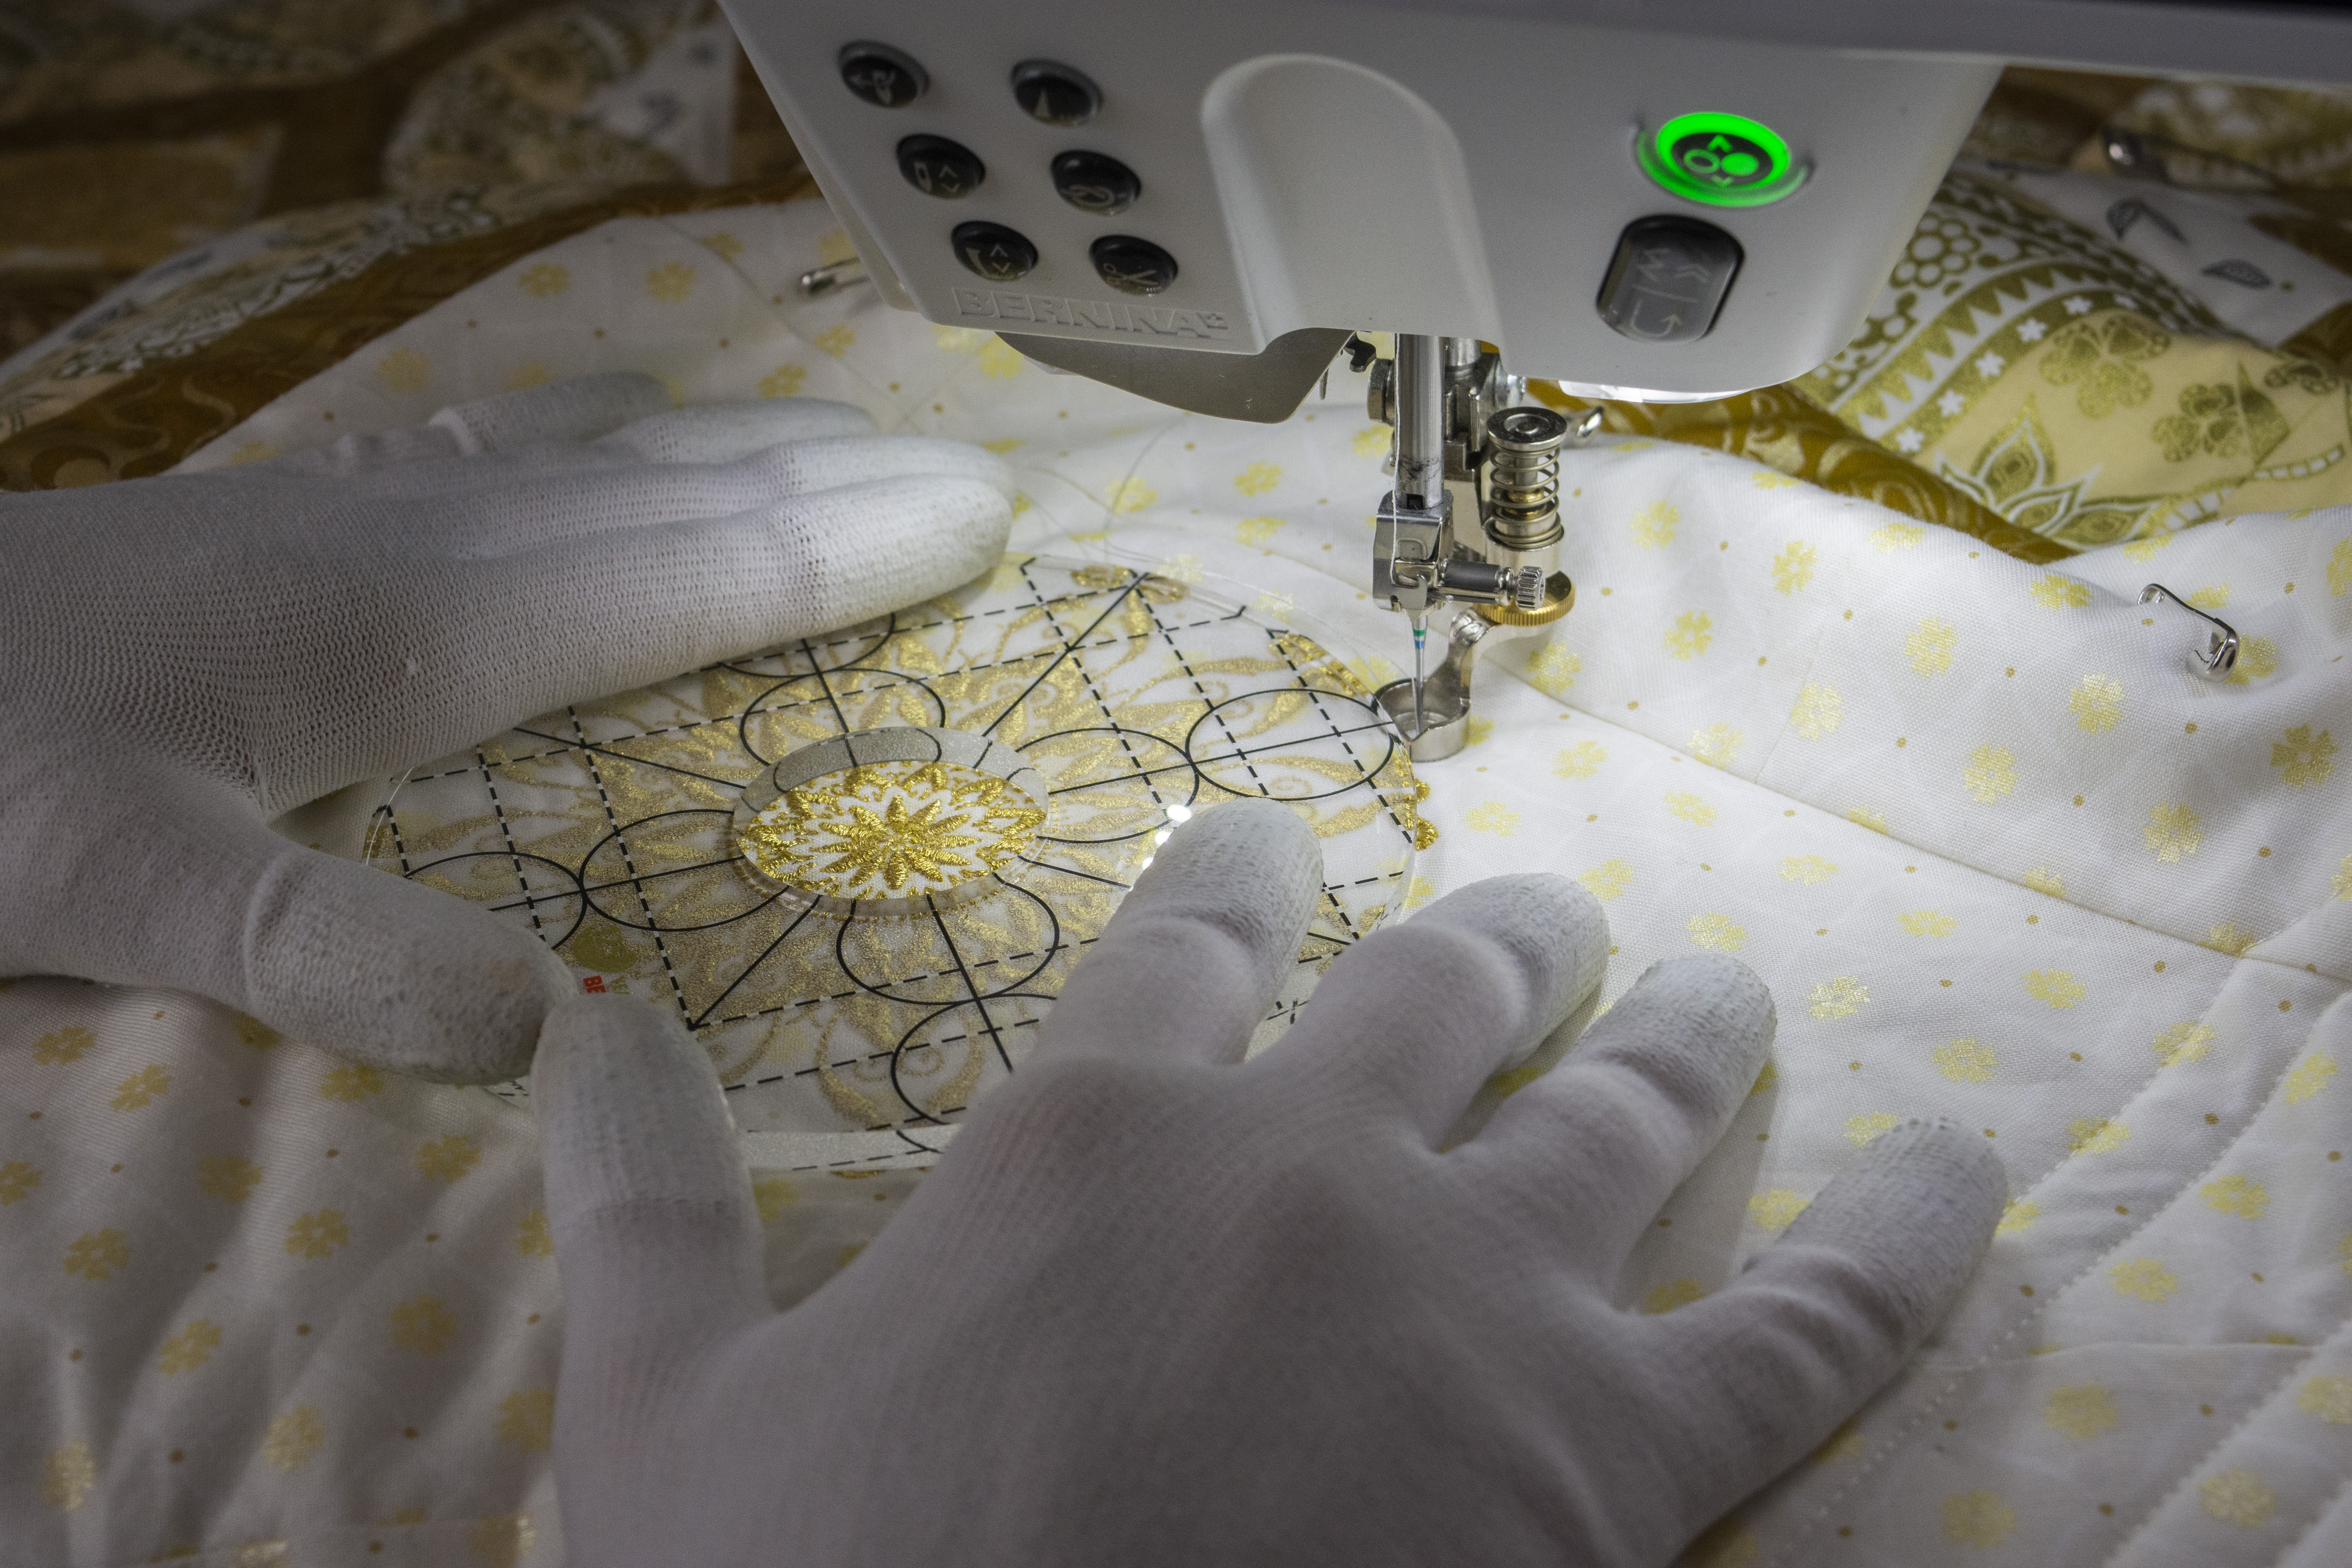
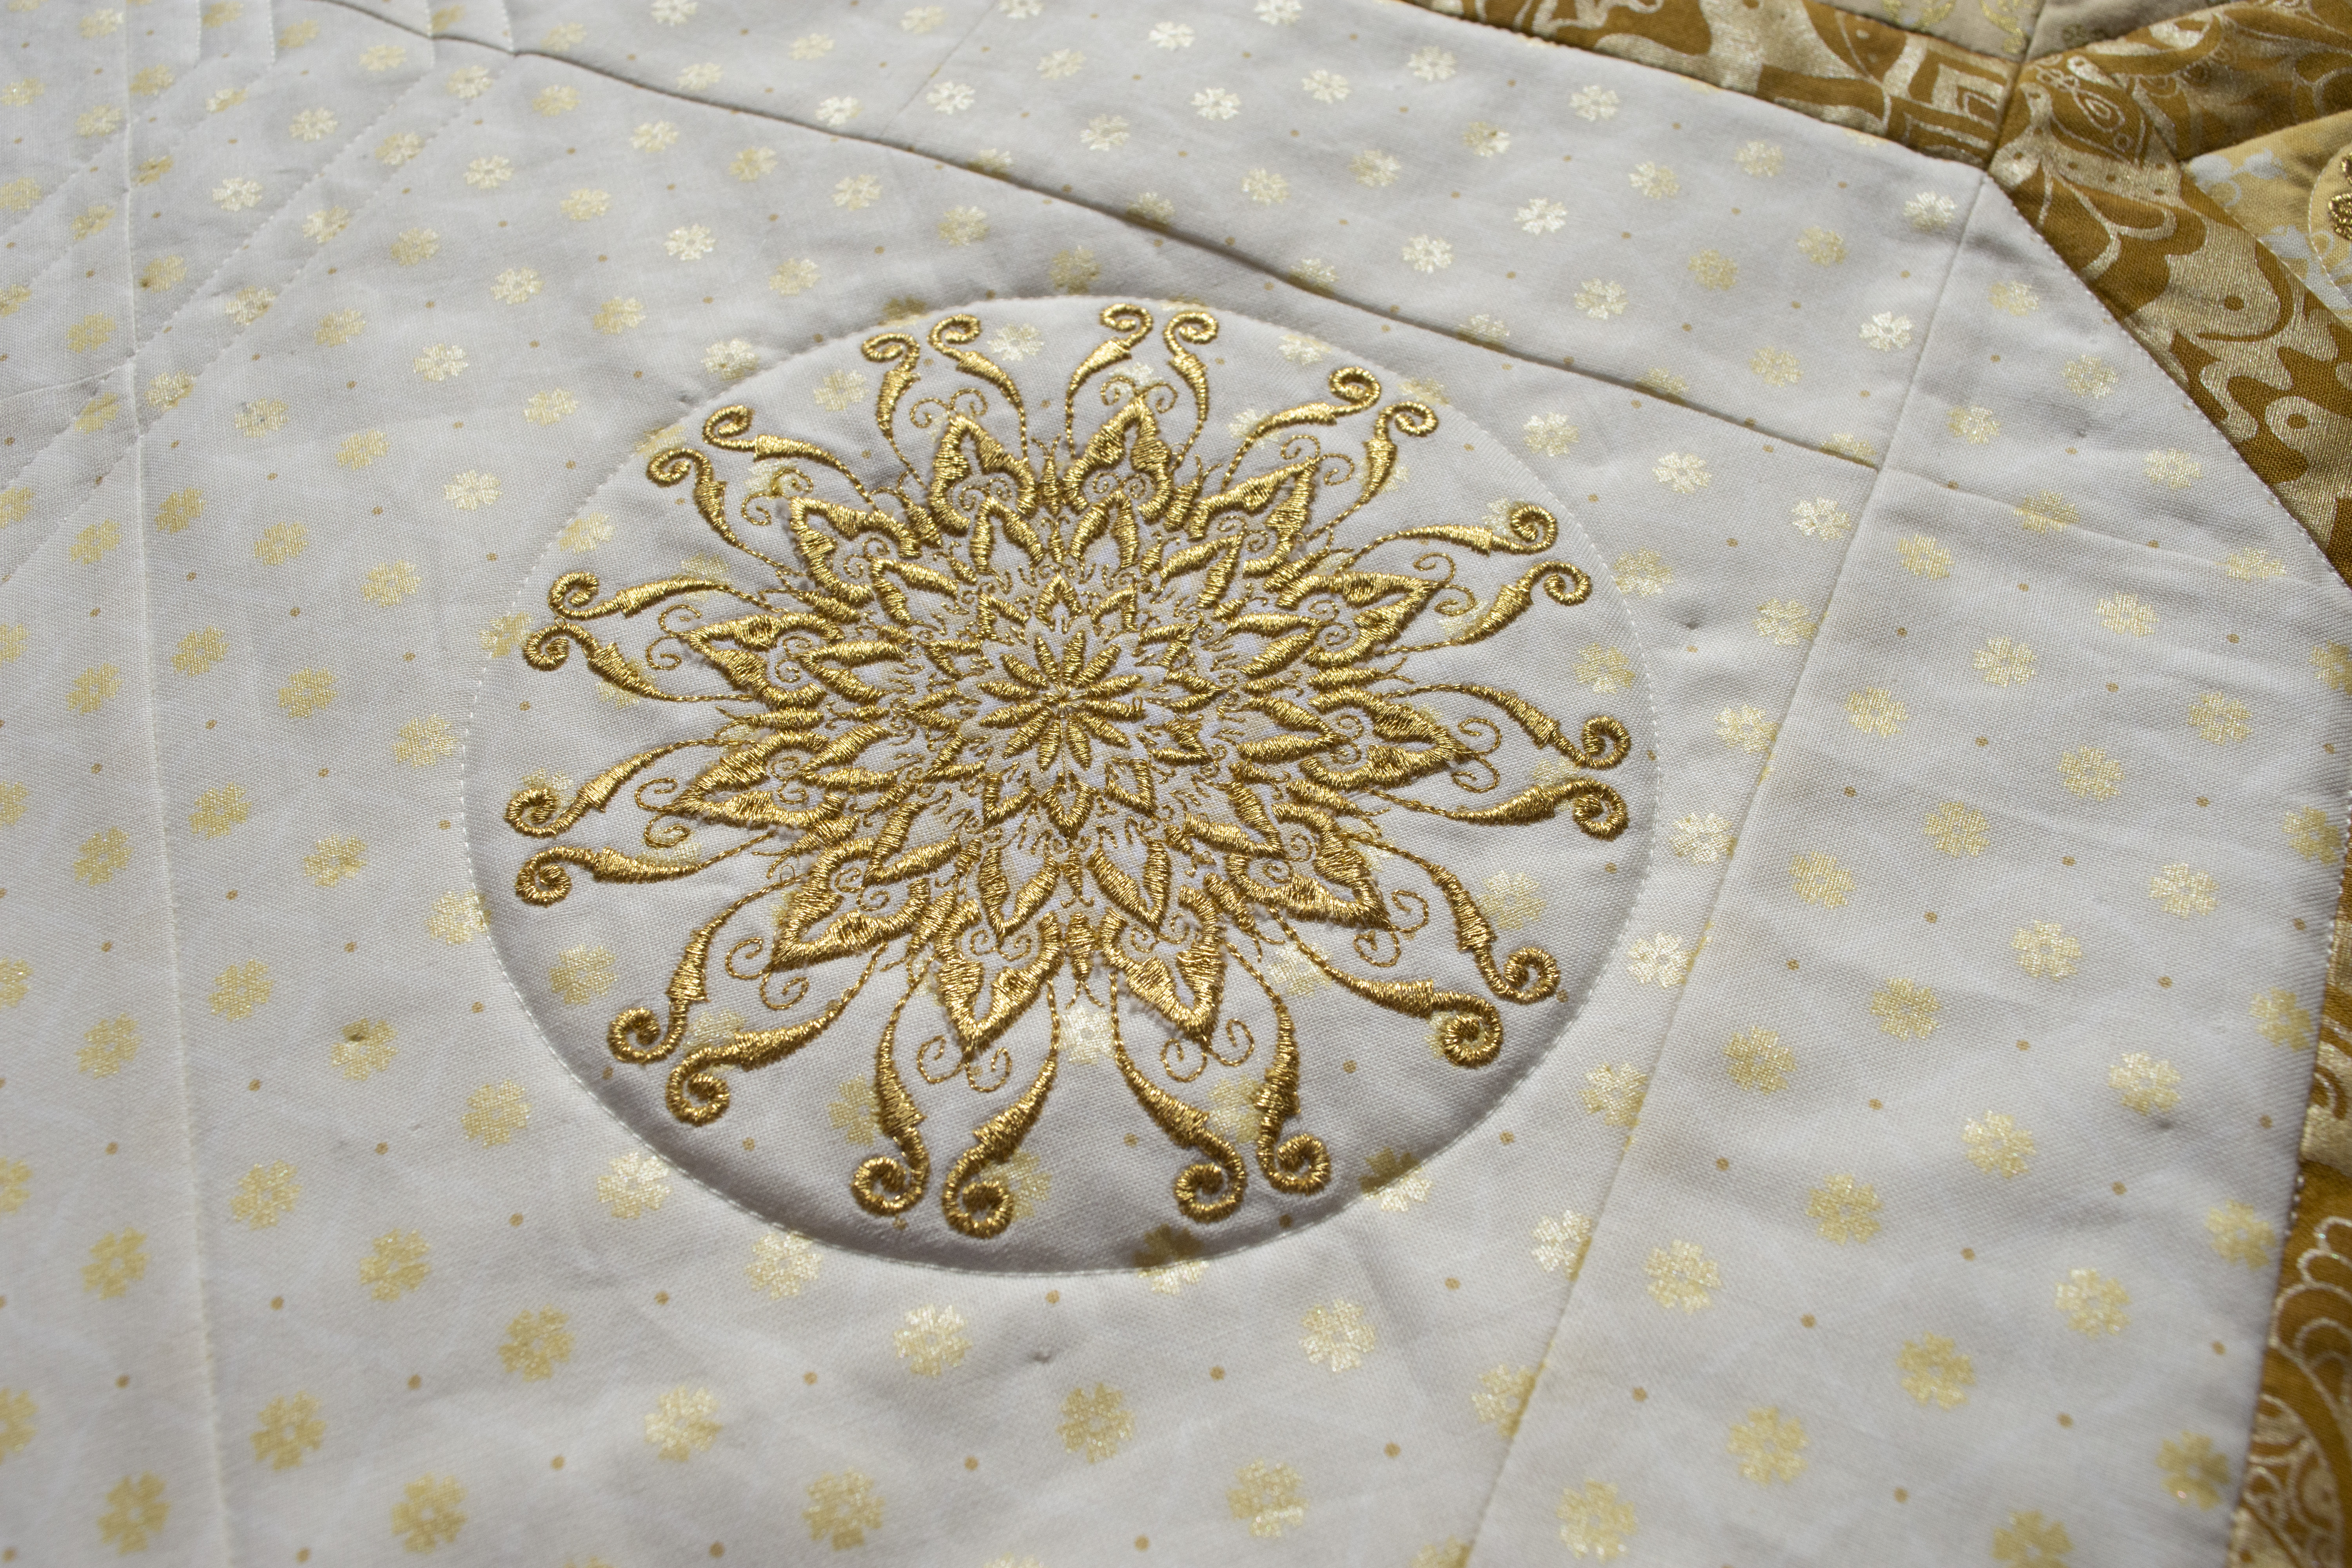
This was a HUGE accomplishment for me! Before this quilt, I had never done free motion quilting before. I had done a tiny bit of ruler work (only straight lines) on a small wall hanging I made in December. I admit I had doubts whether or not I would be able to do this part of the quilt. I even procrastinated and put it off for a couple of days once my quilt sandwich was ready because I was so nervous to start. Watching Amanda’s videos made it look so easy, so I decided to just take it one step at a time and not to think about the whole thing at once. I have learned several tips, which I am sure experienced quilters are already aware, but I thought I would share them throughout my post for the benefit of beginners like myself. I started first by basting my quilt sandwich. Then I moved on to using the ruler foot #72 and the straight ruler in the Anniversary ruler set to stitch in the ditch along the entire framework and around the pieced blocks. Tip #1: Make sure your foot is tight against the ruler when you begin sewing. Seems obvious, but I don’t know how many times I had to fix crazy beginning stitches. Tip #2: Sew only 2-3” lengths at a time (especially if you don’t have a Sew Steady table!) The next thing I did was measure out all of the trapezoids and corner triangles and then stitched the channels. After that I stitched around the cornerstone blocks, the circles around the medallions (which were tough!) and the stippling around the medallions. Tip #3: When quilting…RELAX! I put in a 12 hour day the first day of quilting and by the end of the day and the next day my elbows and triceps were SO sore!! I didn’t realize I was so tense, but afterward, I made a very conscious effort to stay relaxed and I didn’t get sore like that again. Next, I did circles around the side border motifs with the larger circle ruler in the Anniversary kit and free motioned around the paisleys. The large circle ruler was much easier to use than the small circle ruler. Then, I moved to the pieced blocks. Since this is my first quilt I have ever done with ruler work and free motion quilting, I decided to not go out on a designing limb but to use Amanda’s designs as “training wheels” and just copy what she had done on her quilt. I also decided to follow her advice of free motion quilting with the ruler foot, so I could easily switch back and forth between ruler work and free motion. I found it to be a lot of fun to quilt the blocks and easier than the quilting I had done so far because I didn’t have to move my quilt around too much. This thing is heavy!! Next came the ribbon candy and the vertical lines in the trapezoids and corner triangles. The ribbon candy was one of the two things that intimidated me the most about this quilt (the other was the paisley fill). I didn’t have a whole lot of time to practice before I had to take the plunge and go for it on my quilt. I love the look of perfection achieved on these side trapezoid and corner triangle designs when done using the automation of the digitized long arm designs. That is what I wanted my quilt to look like, but I knew it wouldn’t since I would be doing them by hand. (I would love a long arm to be in my future!) I must say, I was pleased with how well they turned out. They aren’t perfect, but for my first try at ribbon candy, they are good enough for me! Doing the piano keys, I had only two trapezoids left when I discovered Tip #4: doing piano keys going side to side is SO much easier for me than up and down. So, try different ways to find out what works best for you and don’t wait until the end to figure it out. The next step I did was to embroider the designs in the border. I had to do some pretty careful measuring to get everything looking lined up and symmetrical since each embroidery required its own hooping. Those took me a whole day to do, but it was nice to have the machine do all the work and have everything look so perfect, except for one mishap. Tip #5: Make sure your quilt is nice and flat before beginning the embroidering and not folded up under your hoop! After that, I moved on to the free motion of the fabric designs in the framework using the Hologram thread. It took me a bit to figure out the tension and then things went fairly smoothly. Tip #6: When using the Hologram thread, you’ll have to loosen the upper thread tension a lot! I love the sparkle this step added to the quilt! Couching came next. This was new to me too. I always wondered how they did this, so it was fun to learn how. I used the little couching insert that you snap right on to the bottom of the ruler foot. Pretty slick. The first thing I realized when I started to sew and my fabric wouldn’t budge, was that I needed to lift my ruler foot up a bit (using the dial on the foot) to account for the couching insert. Couching was by far the easiest part for me. I like the emphasis it created for the pieced blocks. Last step, the paisley fill. I figured I had enough practice with my ruler foot, so I decided to switch to the BSR (Bernina stitch regulator) foot. TOTALLY different ball game!! Again, I didn’t have a whole lot of time to practice this before I had to just go ahead and do it on my quilt. I realize I could have chosen an easier fill, but I love the texture of the paisley fill and how it echoes the embroidered designs in the border. Again, mine doesn’t look near as nice as Amanda’s, but I am proud of my work. I am glad I chose to go with the BSR foot for this step because I sure got a lot of practice and by the end, I felt very comfortable with it. I thought the paisley fill would go pretty quickly, but it took me a full 10 hour day! When I finally made it to bed, I dreamed of free motioning paisleys the entire night. LOL! This was the last step of my quilting and when I was done, I literally shouted for joy. I did it!! I kept track of the hours it took me to do all the quilting and it took me over 100 hours, but I did it and I love how it turned out!
2 comments on “I DID IT!!!!”
-
-
Thank you for the compliments! You are very sweet.?
-
Leave a Reply
You must be logged in to post a comment.


You did amazing!!! Congratulations. I have had the same mishap as you. More than once!
You should definitely be proud of this accomplishment!
Rebecca