My Blue Top and Sashiko Stitched Sleves
Description
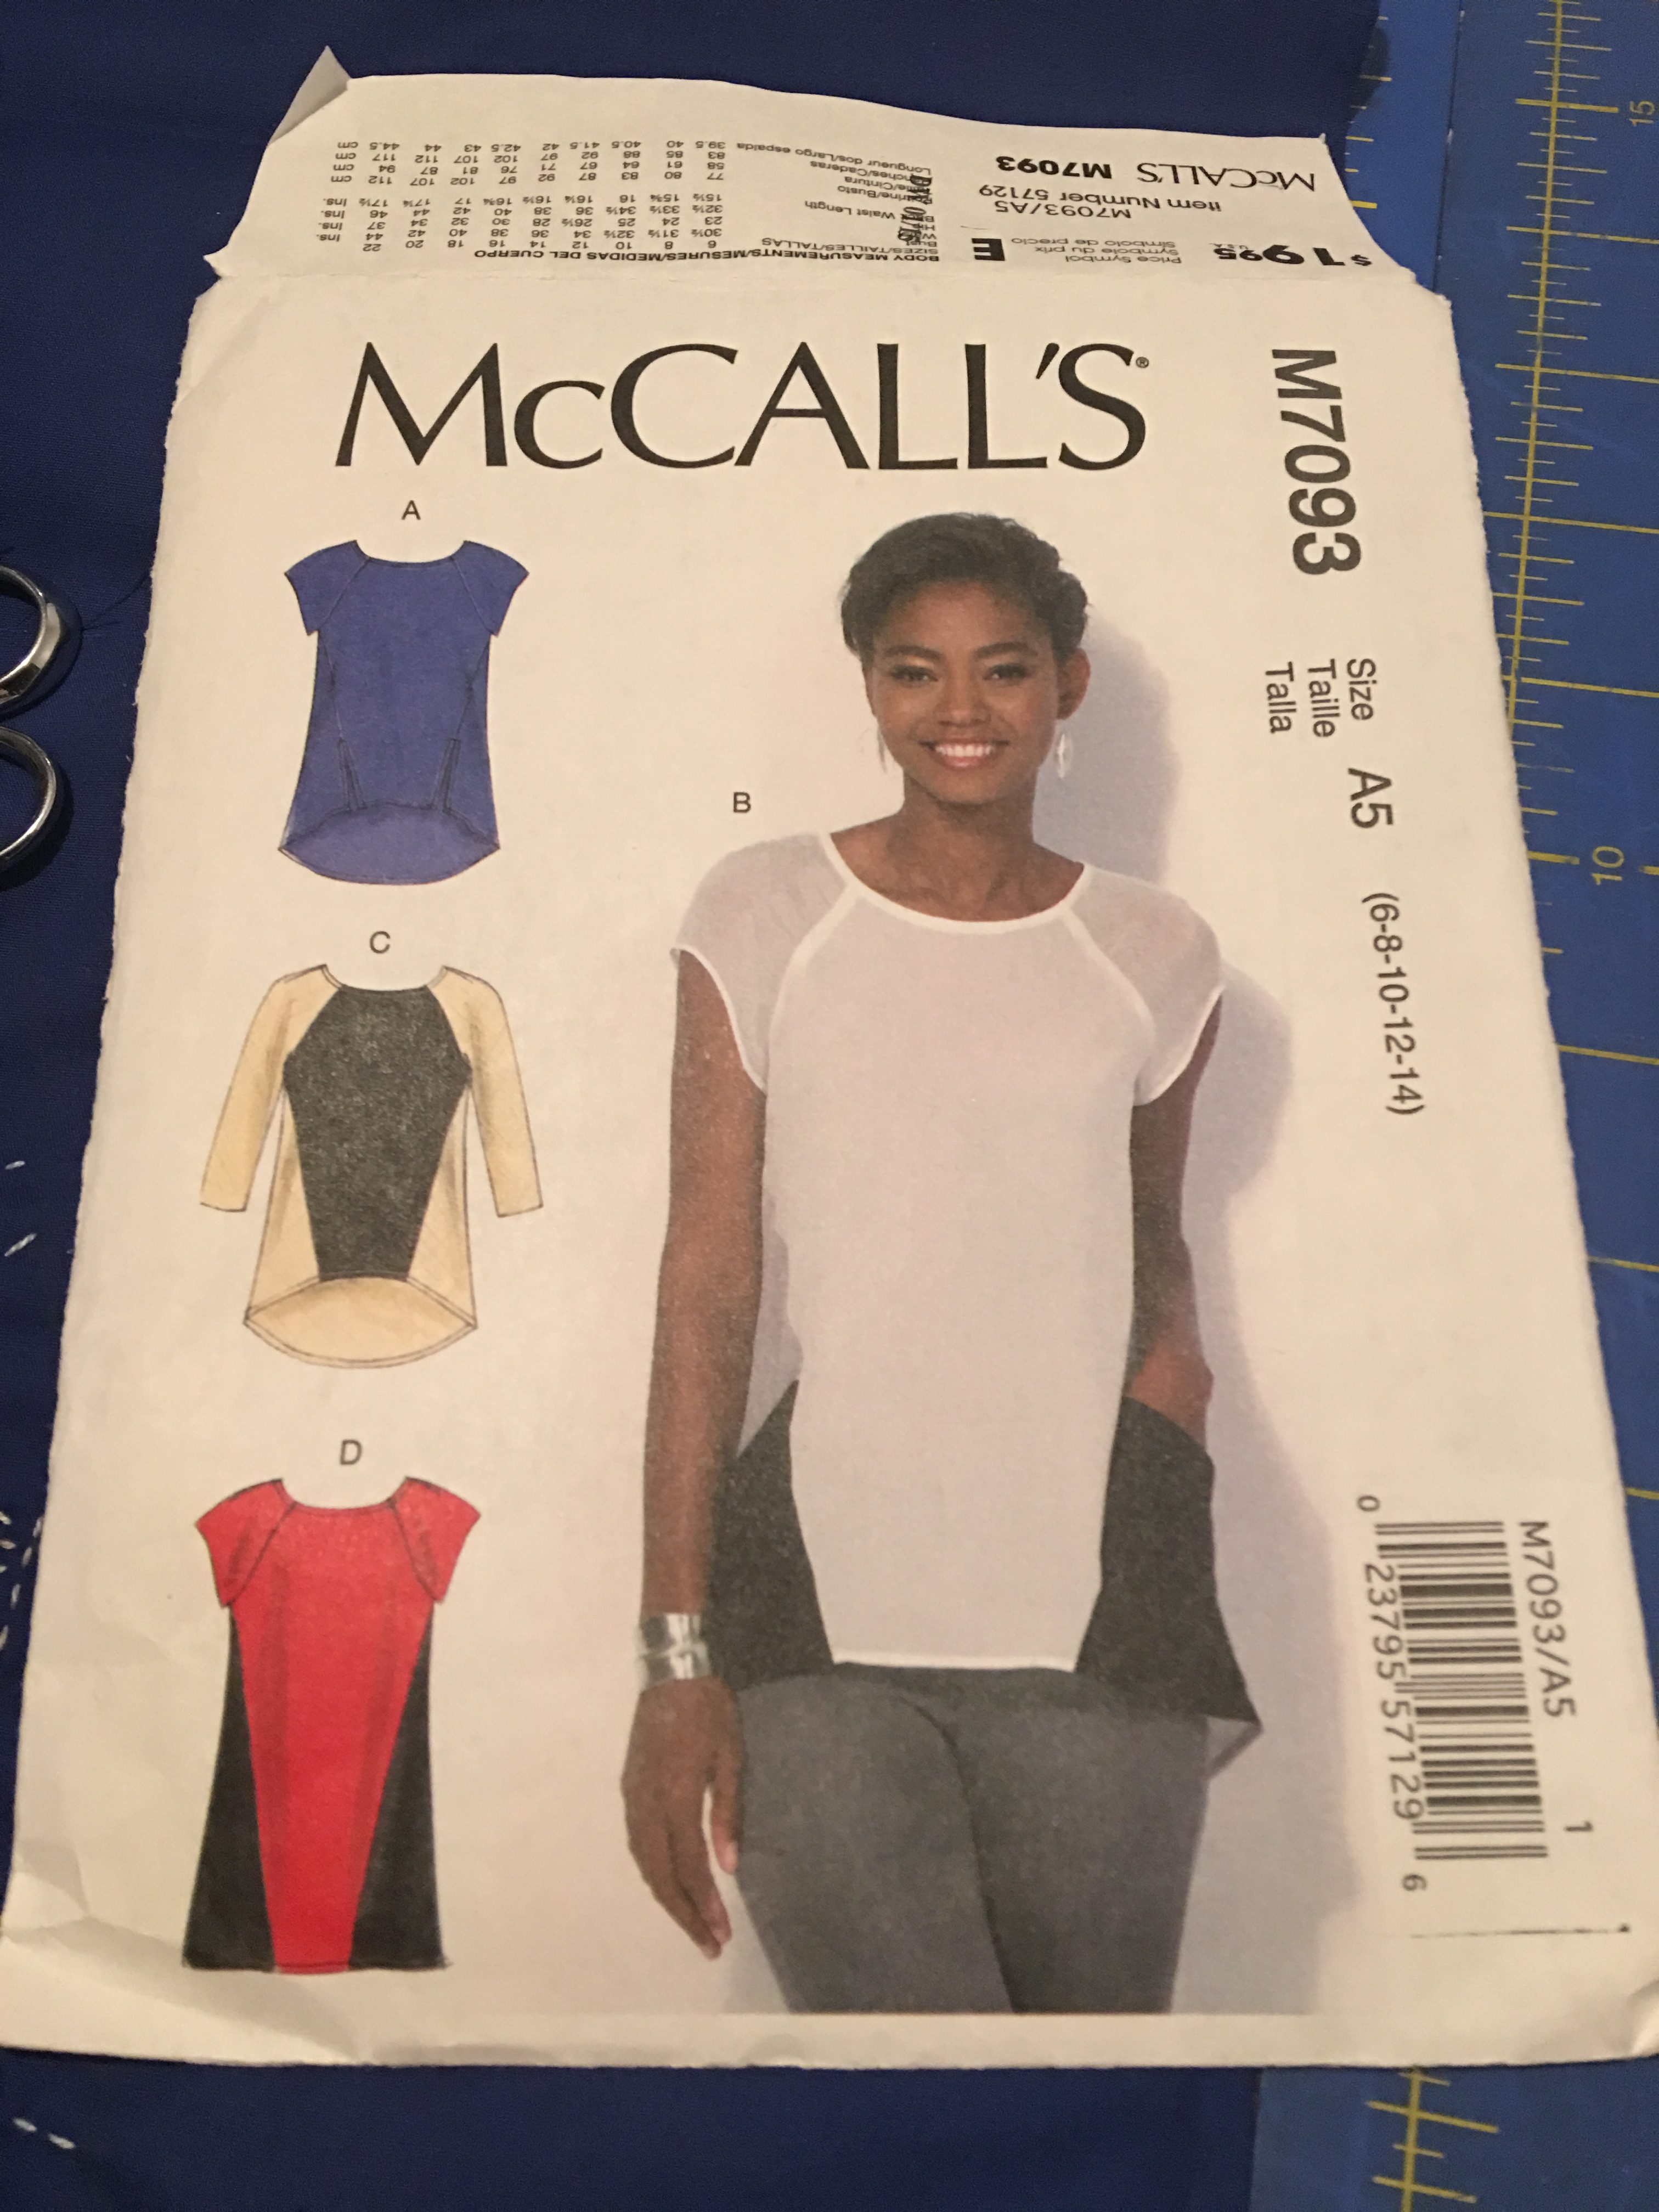
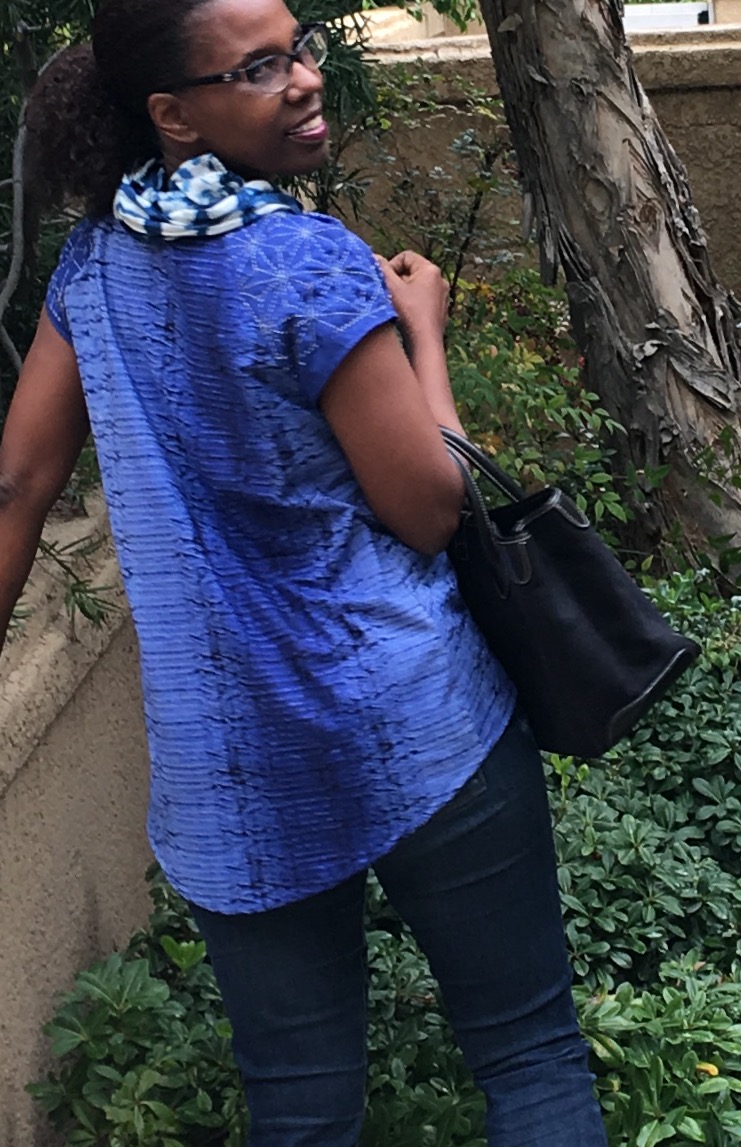
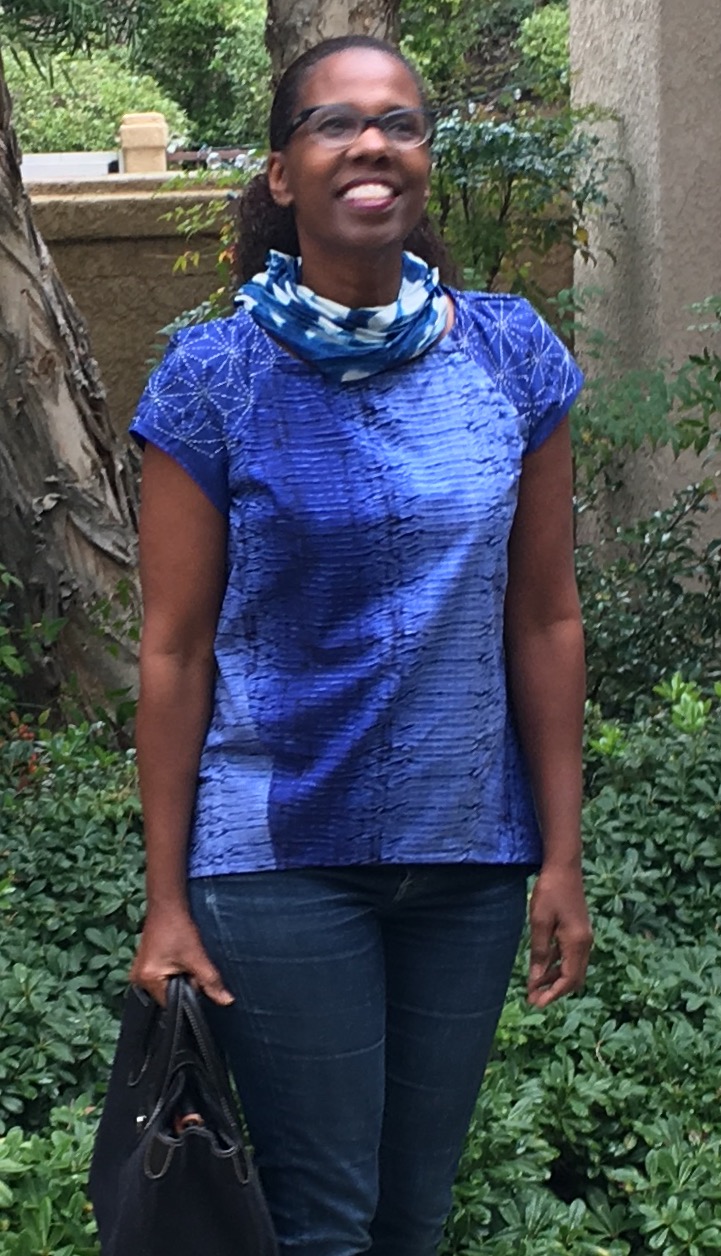
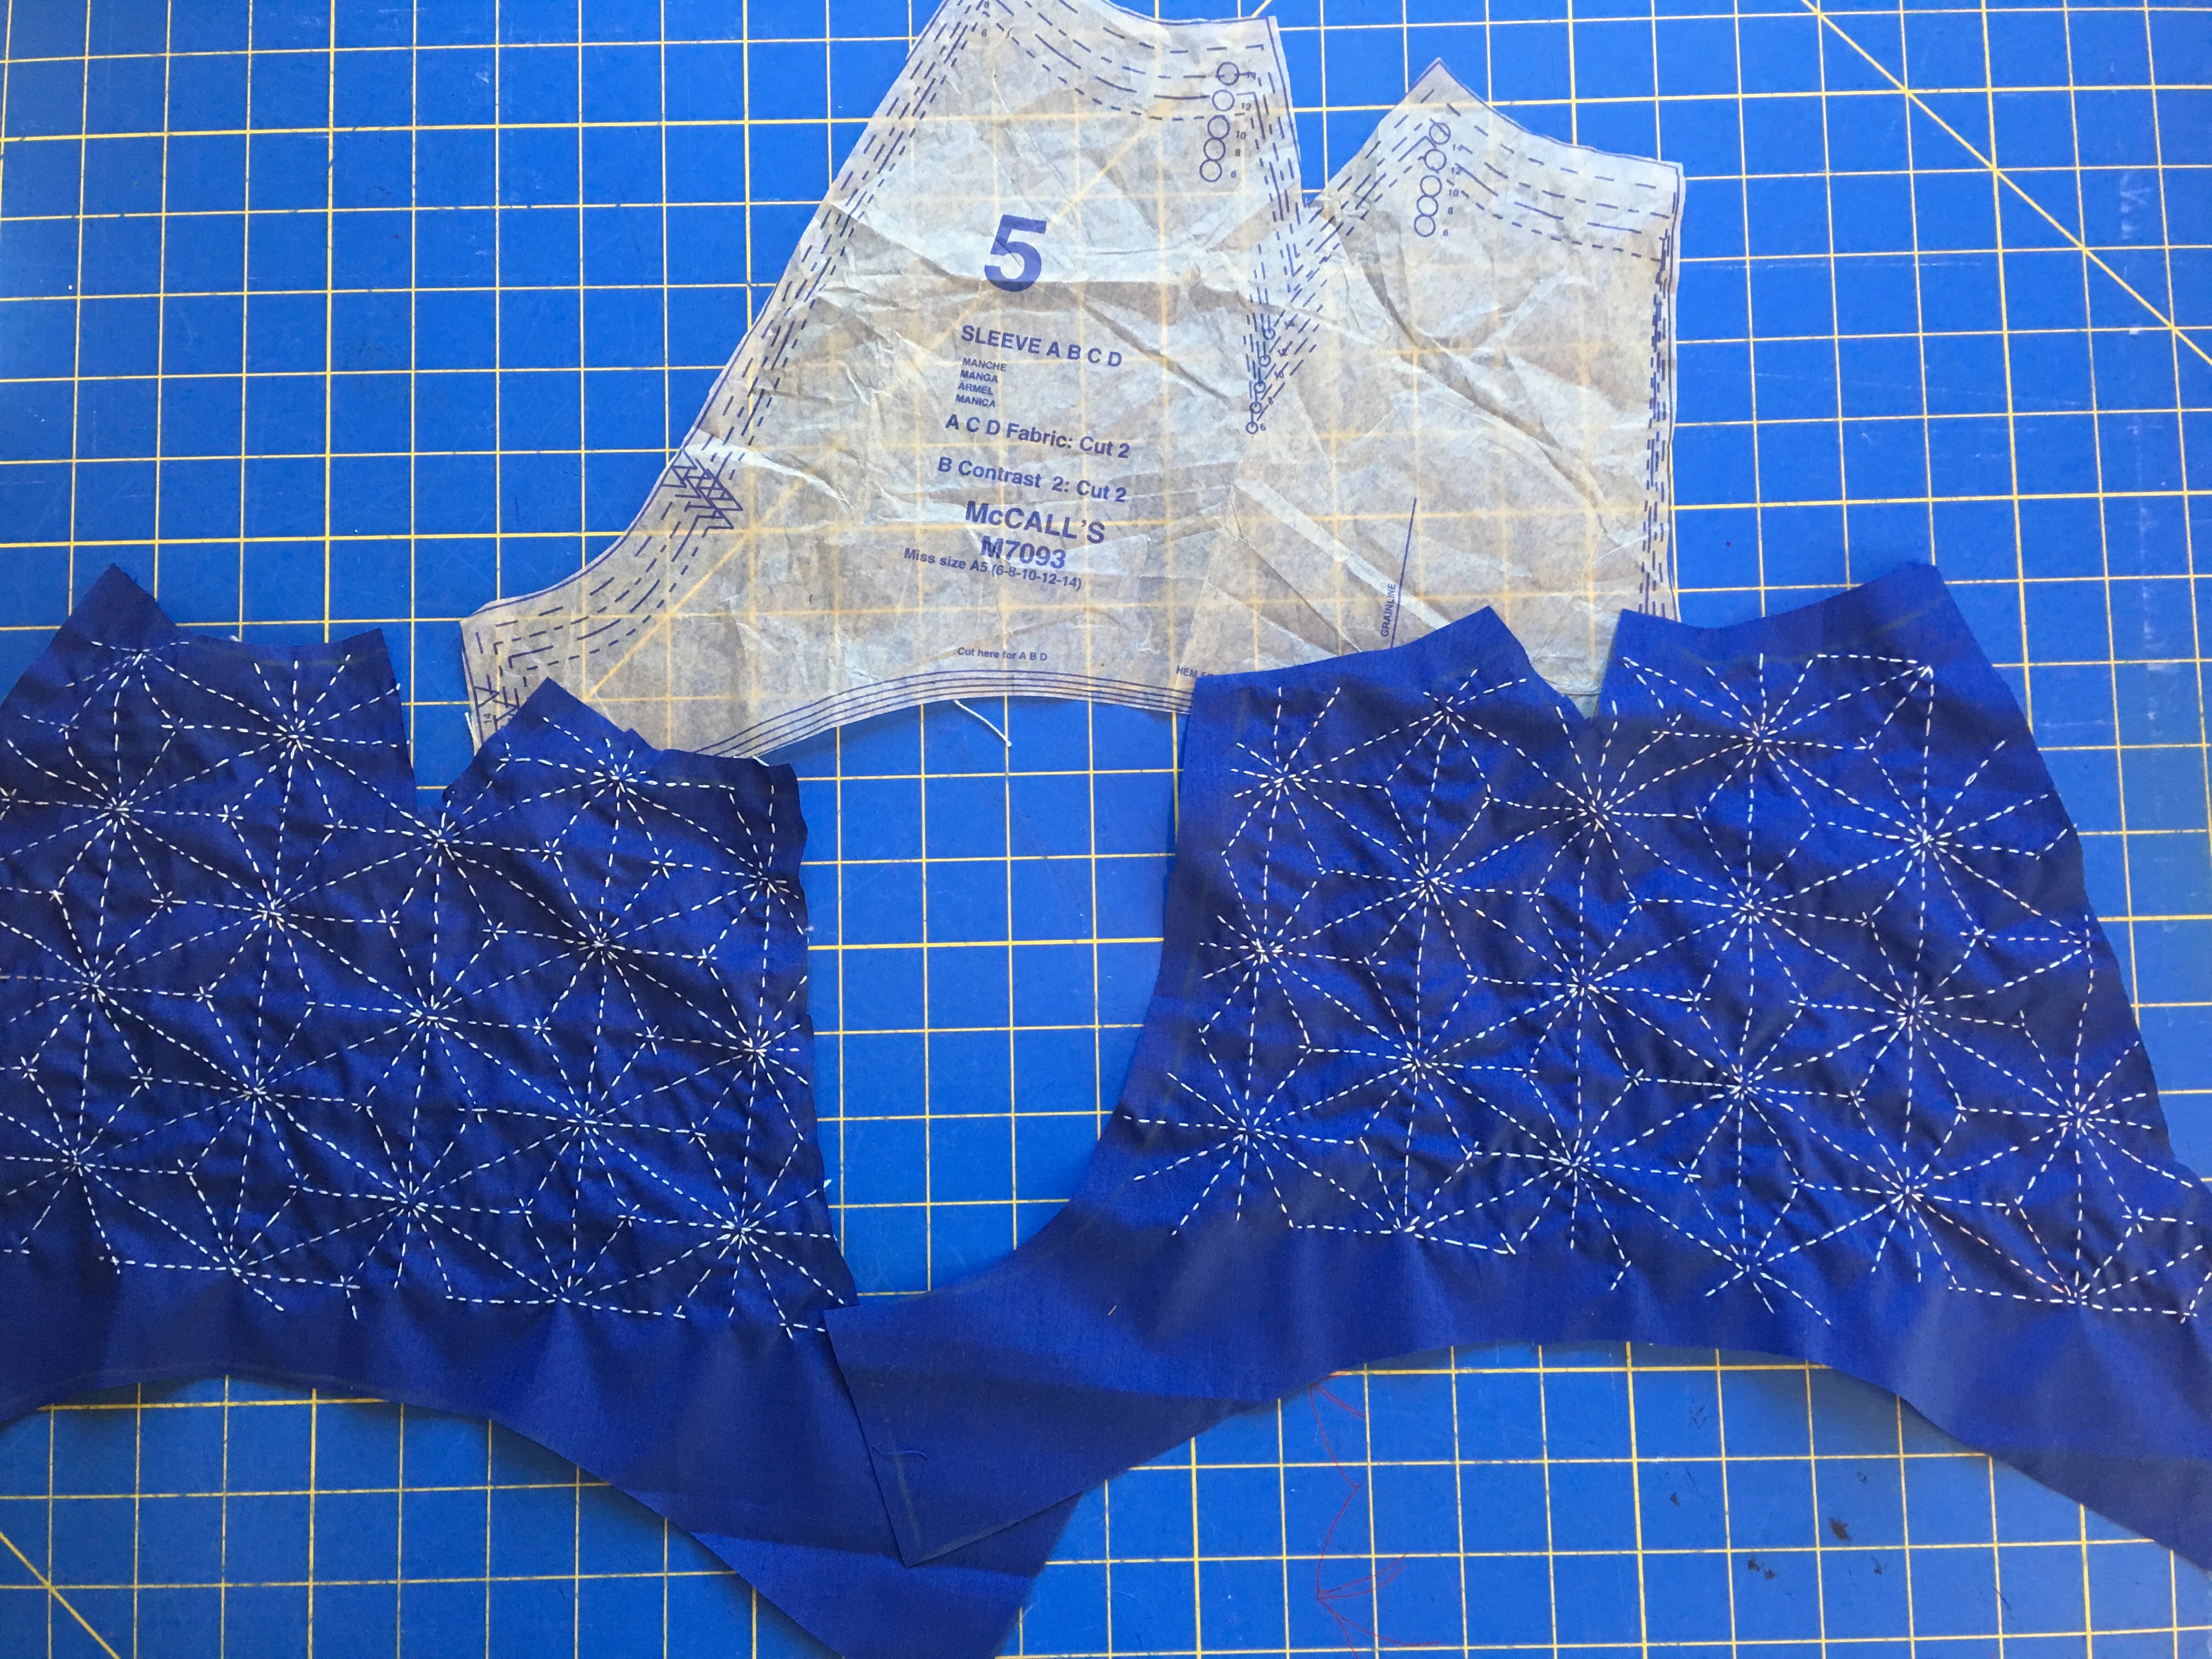
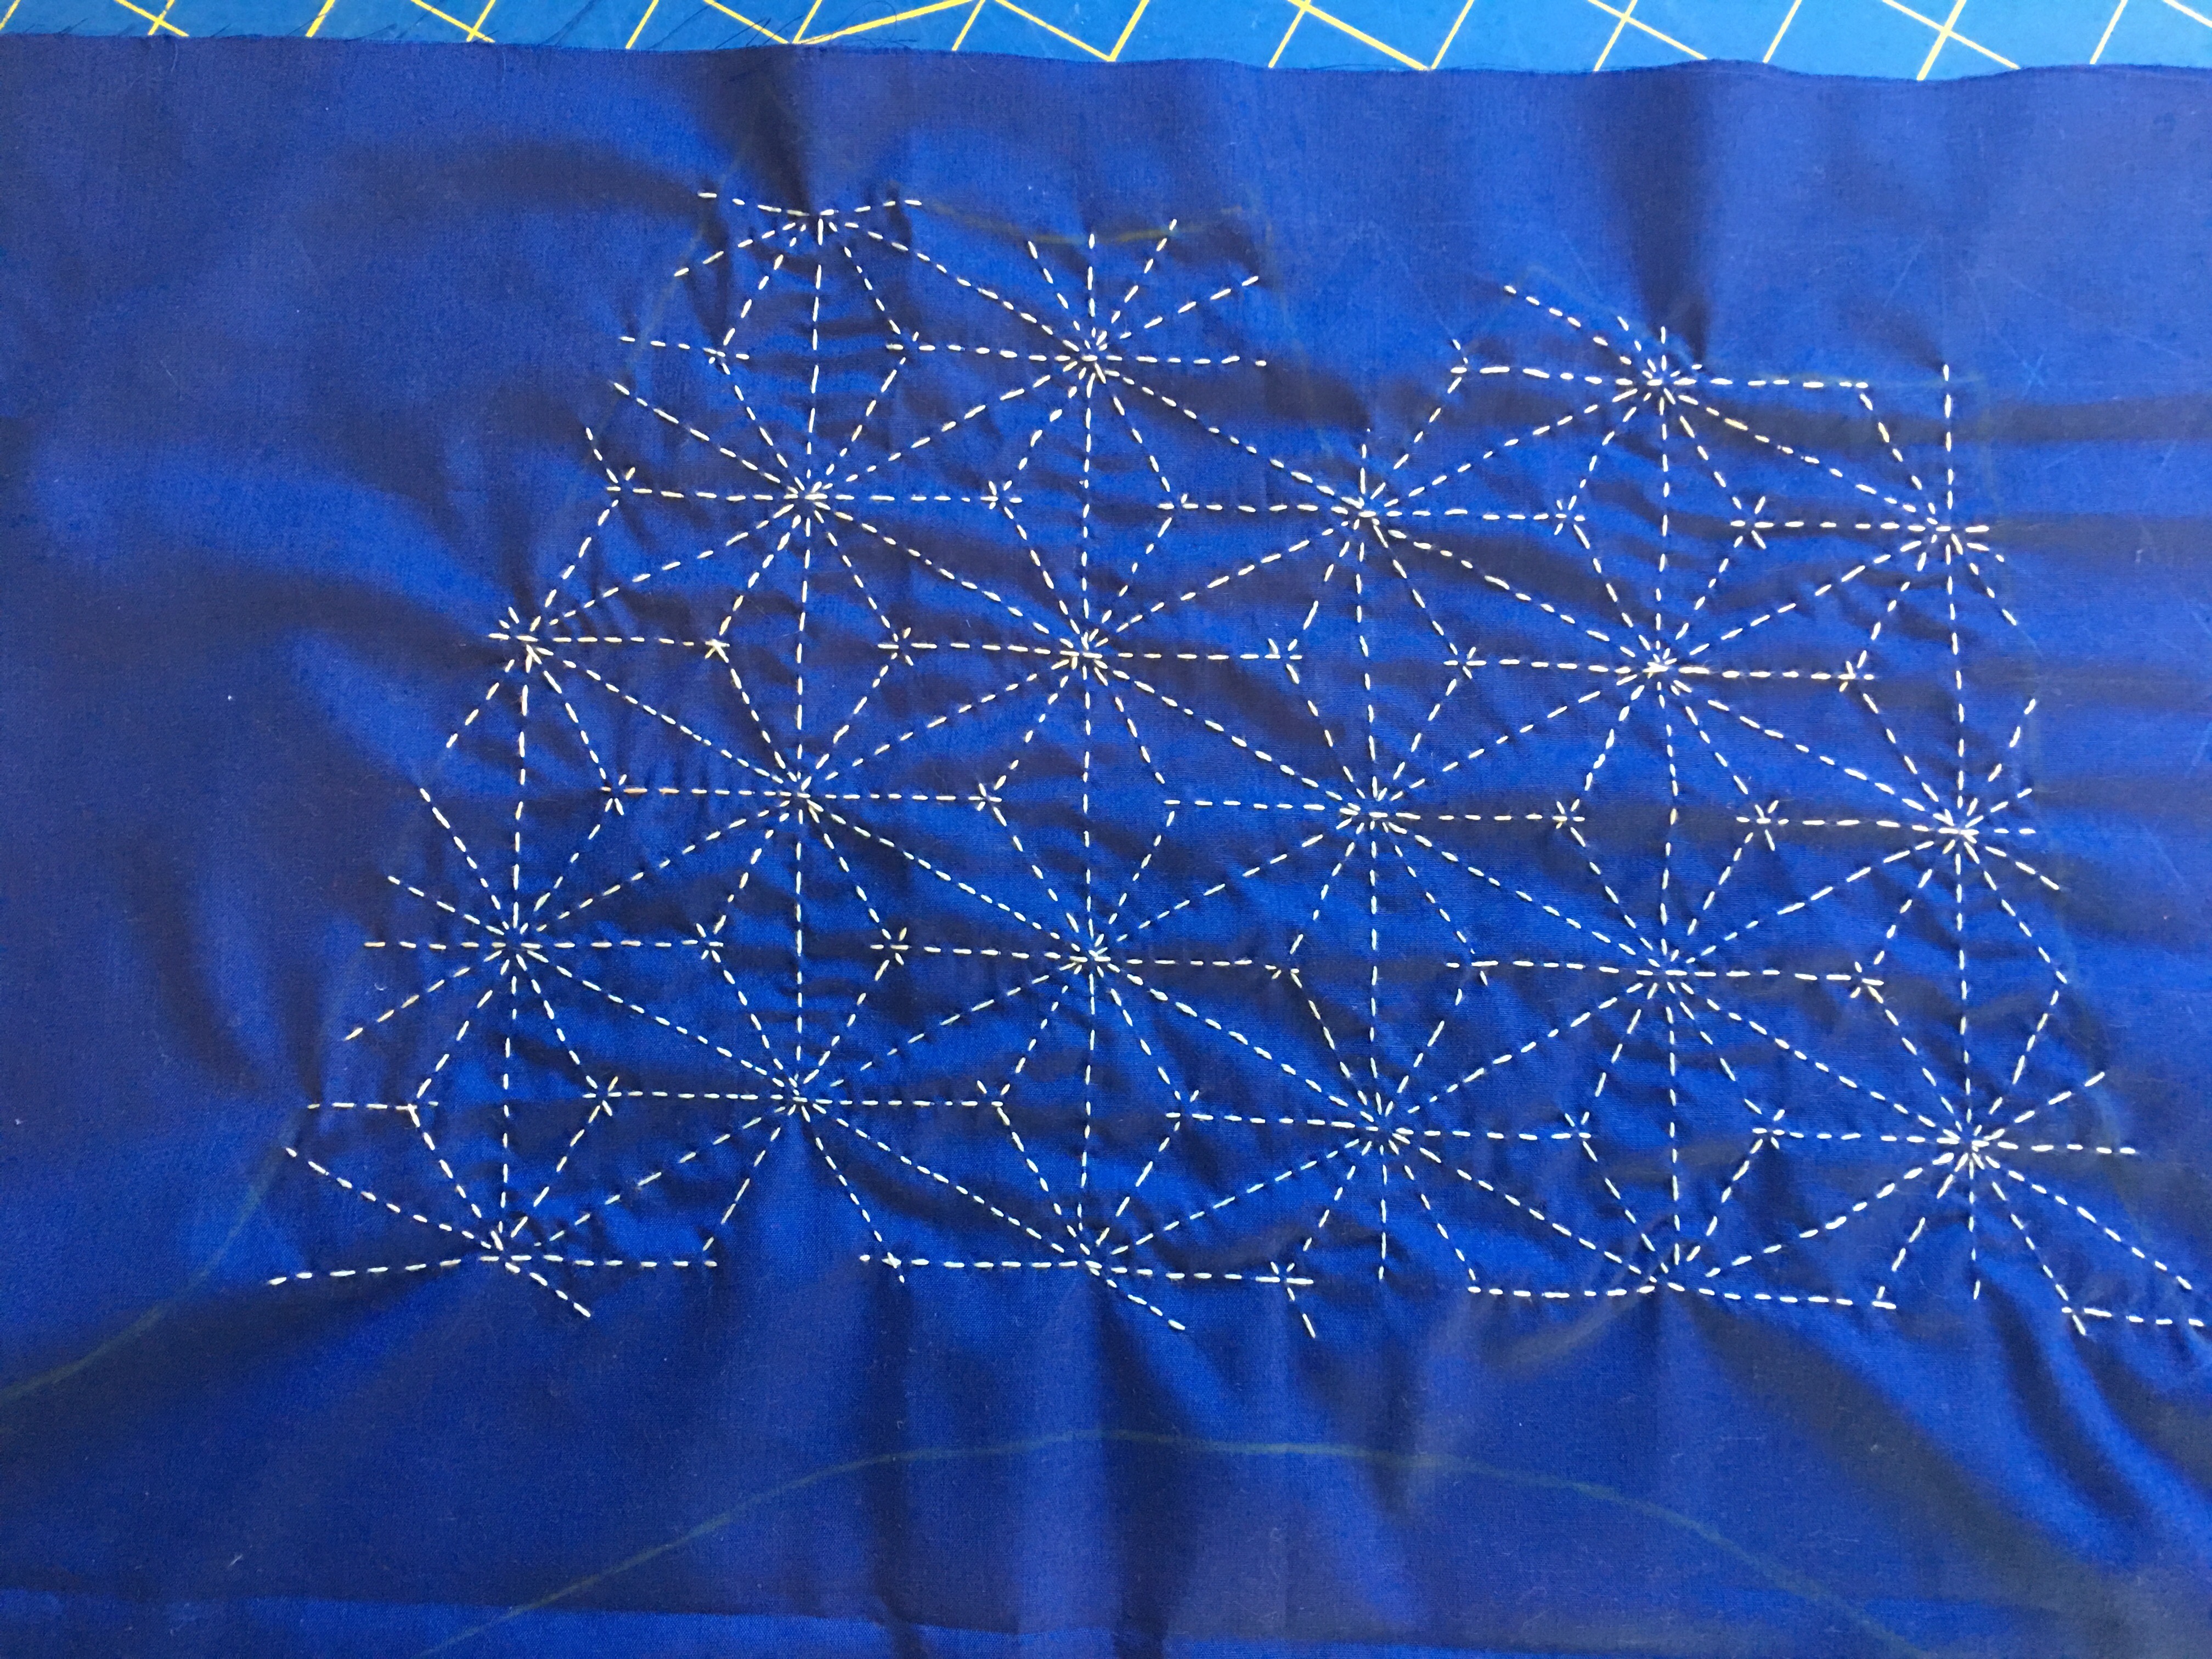
I have always loved creating my own fashion clothing. So today I decided to work with McCalls pattern 7093 to create something new. The first thing I did was to look at the pattern to see where I could make some changes to make it my own. I love hand witching but it can sometimes look funky if not placed just right. The sleeves is where I decided to place my stitching. So the first step was to gather the fabrics for the project. I used Huffman fabric for the top front and back and a solid blue fabric manufacture unknown. Then I looked through my sashiko patterns to select the pattern which would best fit the sleeves and the fabric which I used for the front and back of the top. Marking the sleeves pattern with a tailors chalk on the wrong side of the fabric. Then I used a stylus and graphite paper made by Speedball along with the pattern I printed from a sashiko pattern book. After transferring the pattern to the wrong side of the fabric I then used my wonderfil perle cotton thread #8 to stitch my pattern. Stoping at the seam lines from the pattern. After completing the pattern I then cut out the pattern. Following the instruction on the pattern for cutting and sewing the pattern I was able to complete this project in 8 hours.


