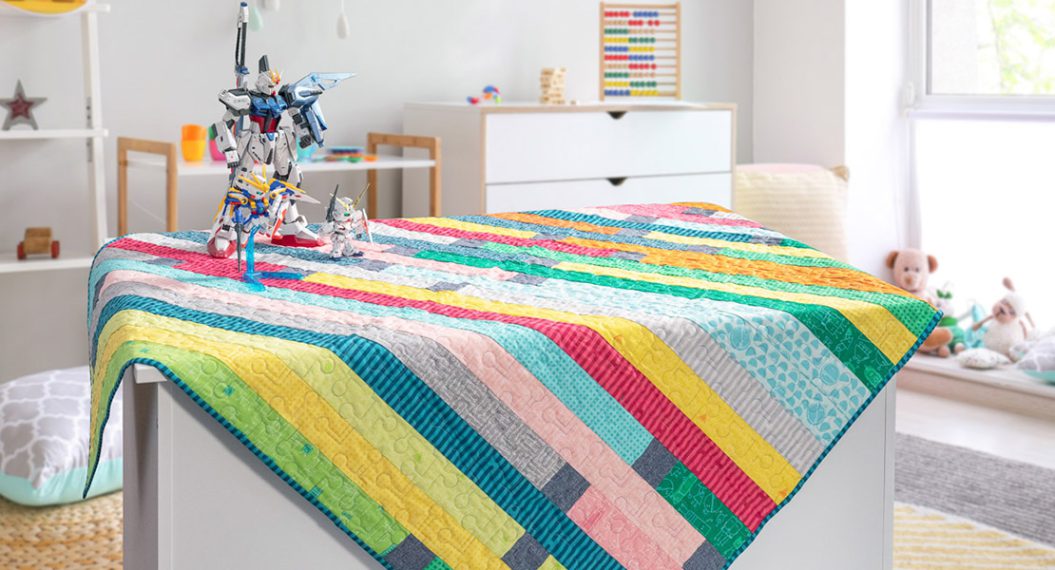
Nine-Patch Picnic Quilt, Part One
Hello again my friends! This is Candice from A+CO and I’m super excited to share one of my most popular quilts with you today, my nine-patch picnic quilt.
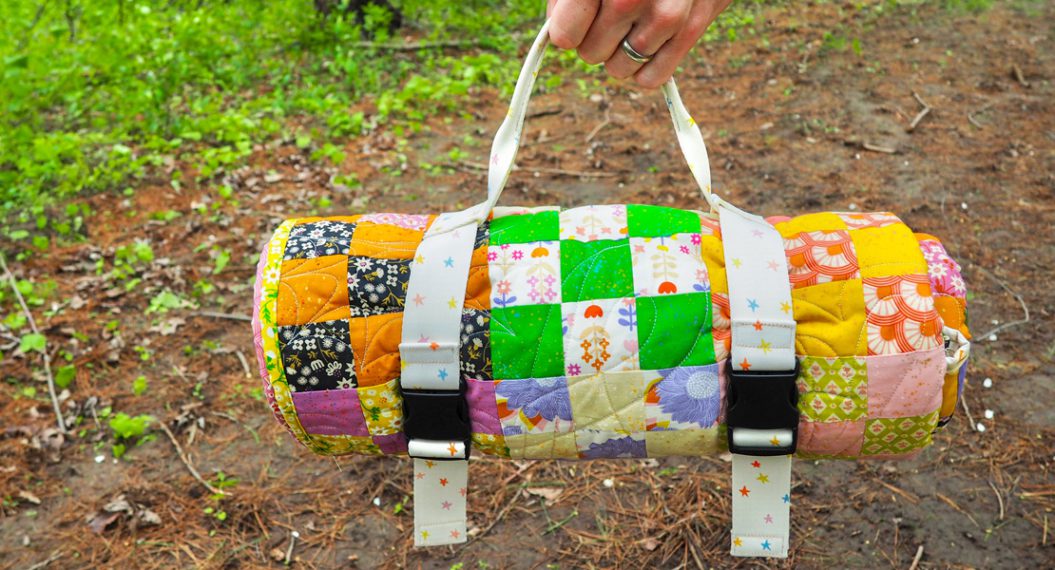
Now, you may be thinking that a nine-patch is super simple, and you’re right! I made my first version of this last year when I had just wrapped up a couple of bigger projects and needed a palate cleanser. My intent was to throw caution to the wind and not over-plan my fabrics and layout. In reality, I found a great blend of fabrics to give a scrappy look while still staying coordinated. I made my second version this spring as a picnic quilt and let me tell you, I’m really excited about it.
This blog series will walk you through making your very own version of the nine-patch quilt along with some fun picnic-themed extras. I just can’t wait to work through this with you and see what you make.
This project will be split into three posts:
- Introduction and Cutting (that’s this post!)
- Construction
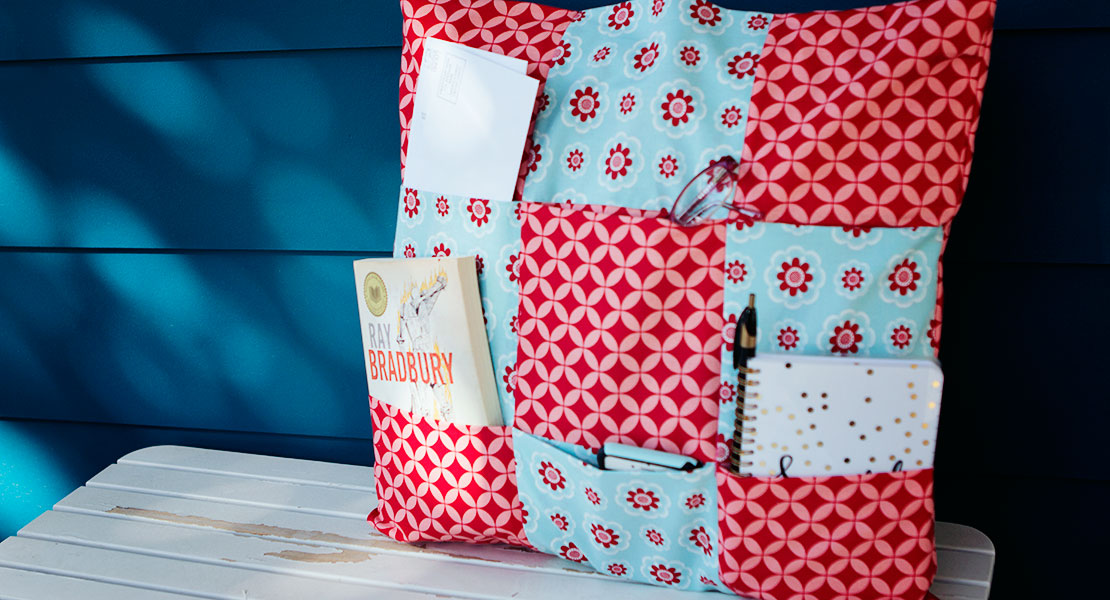
- Picnic Accessories
Materials
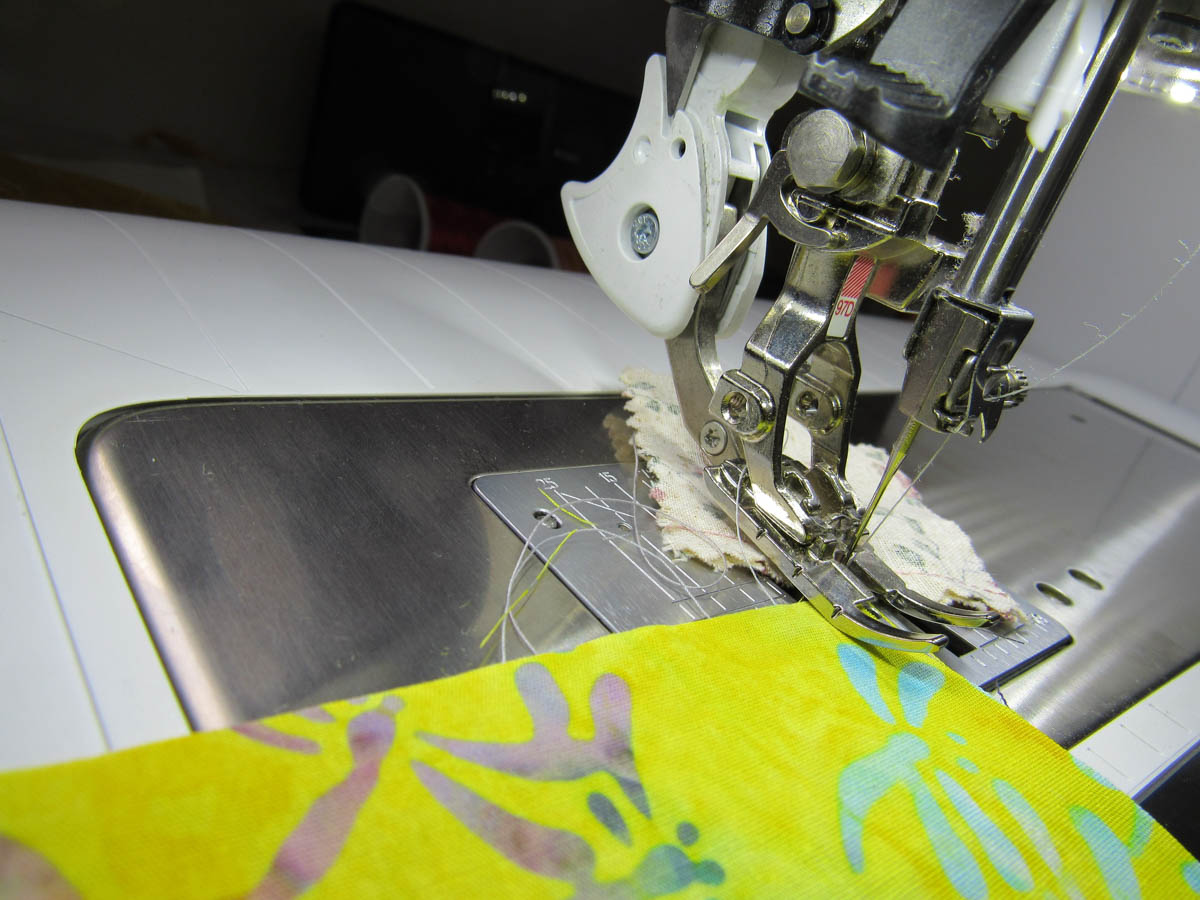
- BERNINA B 735
- Fabric (see requirements below)
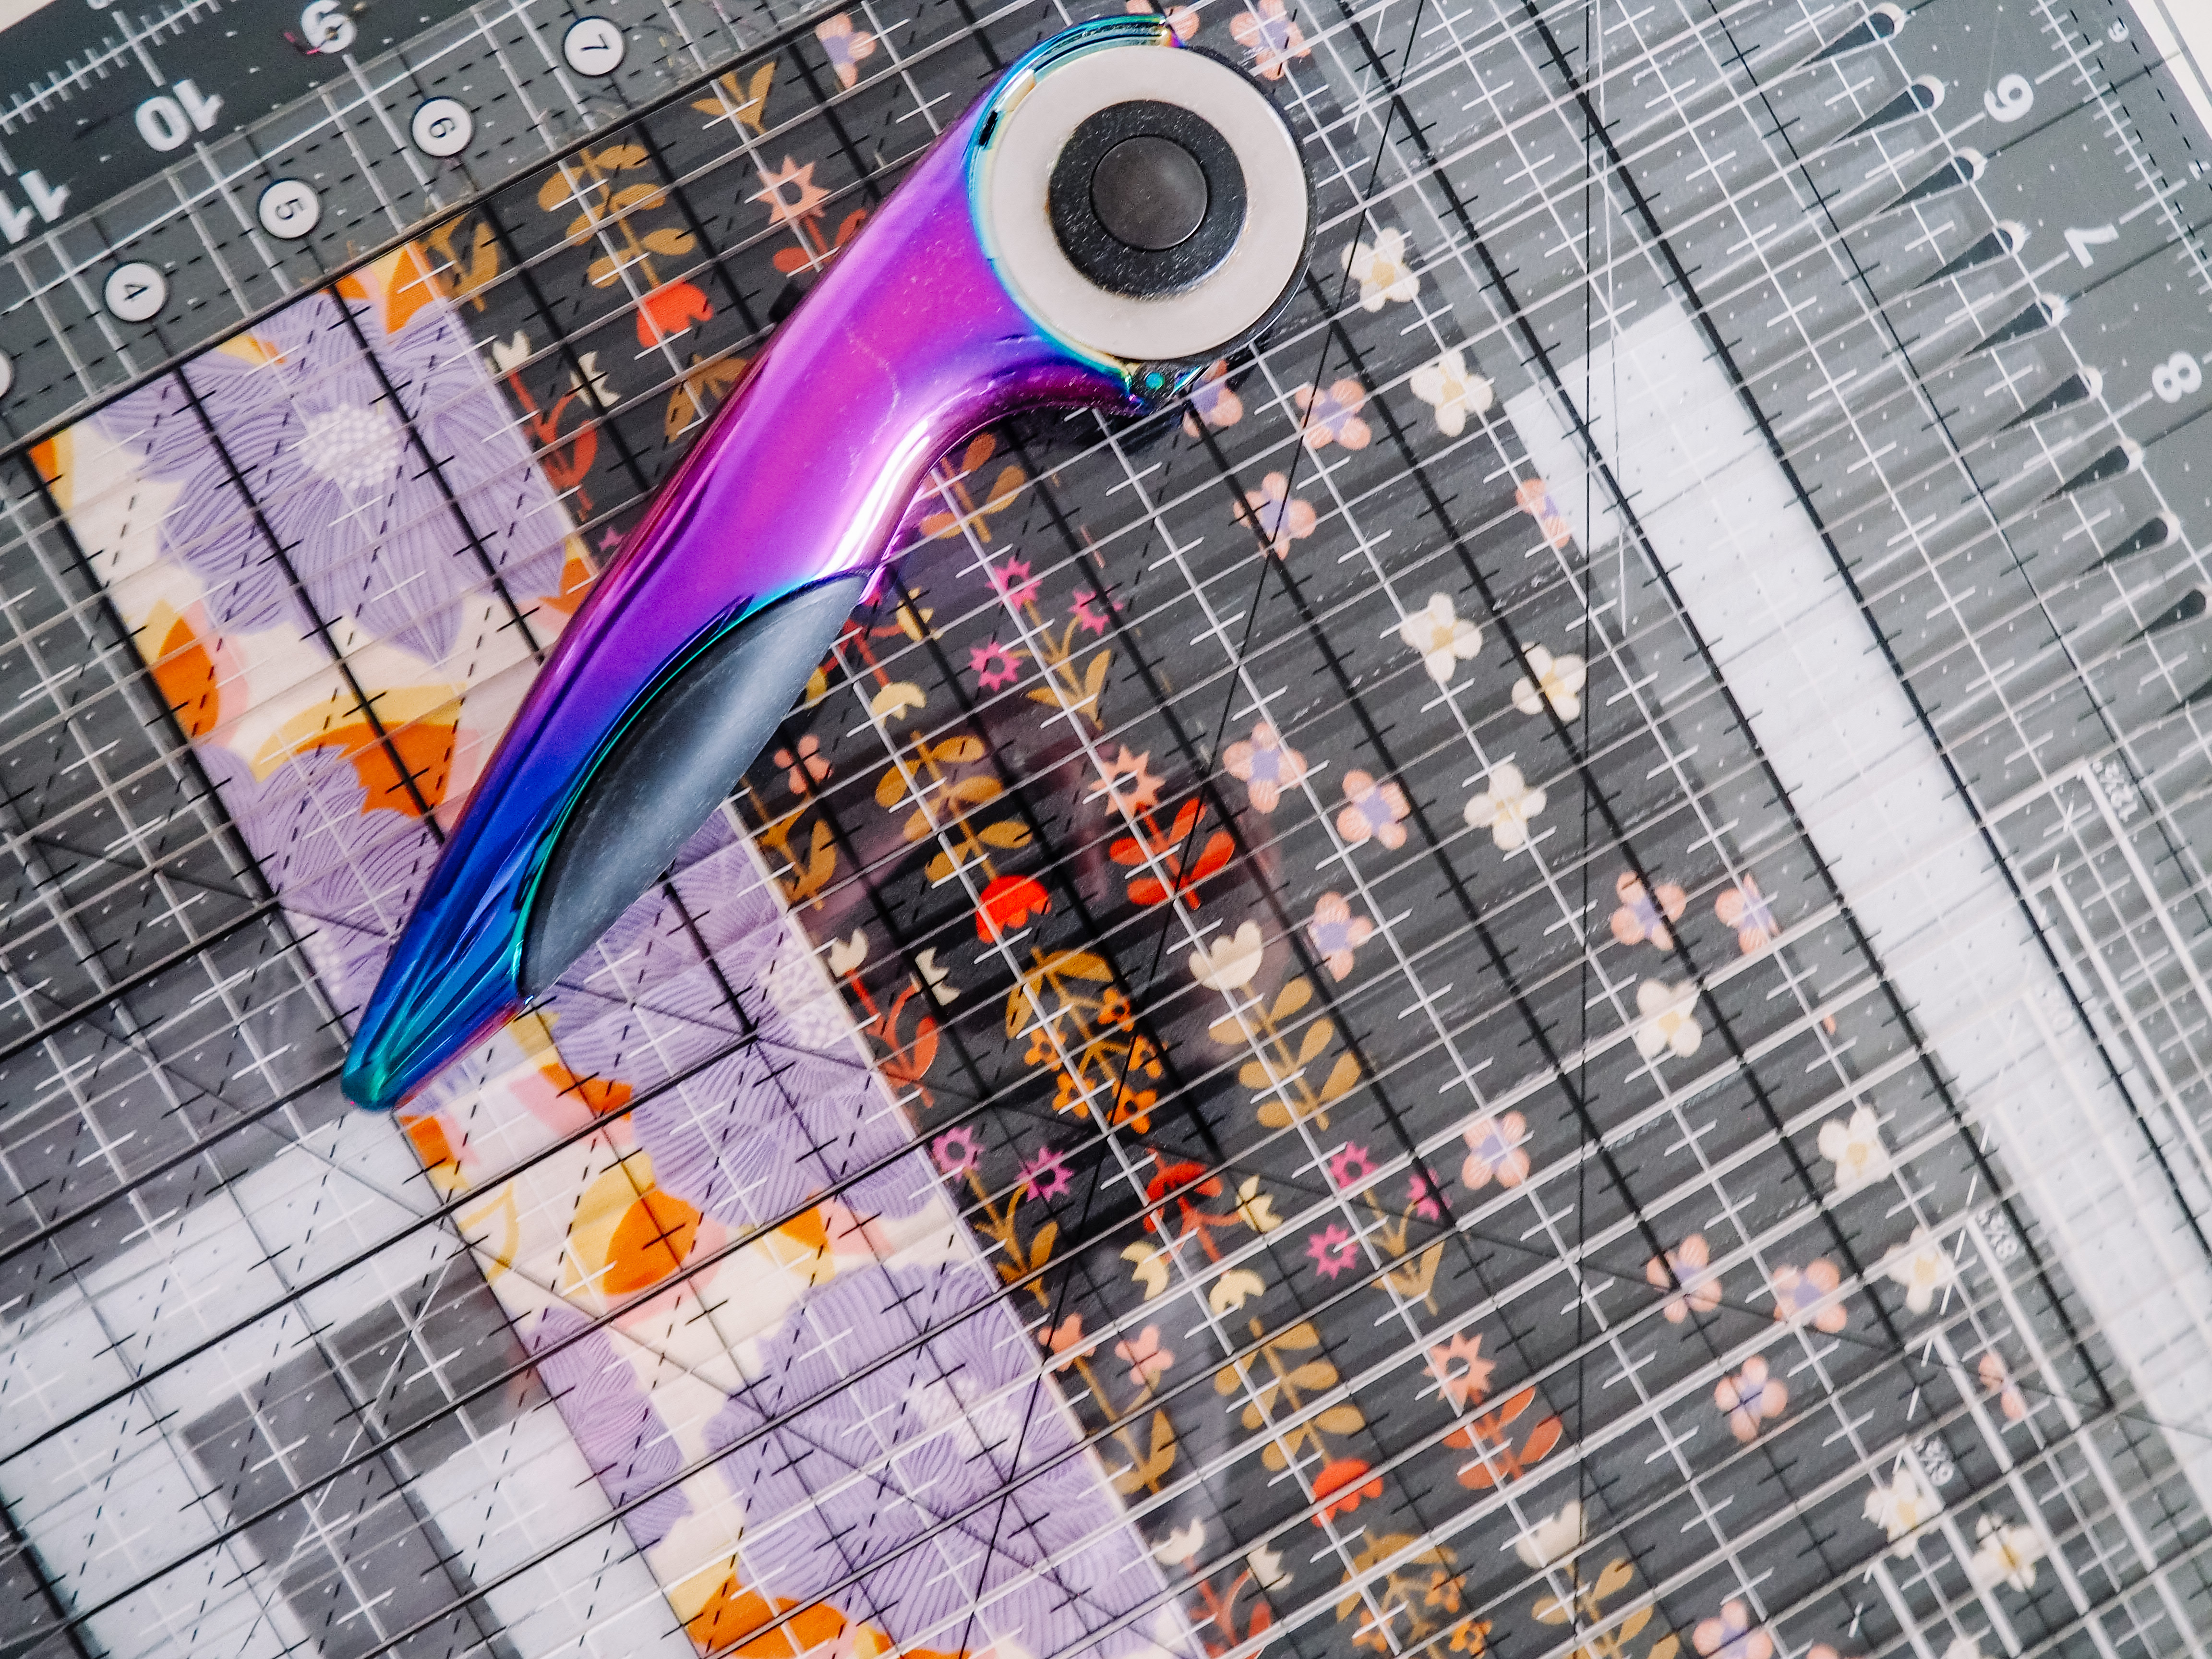
- Sewing supplies (rotary cutter, ruler, cutting mat, pins, iron, clips, etc)
- Batting for quilting
Fabric Requirements
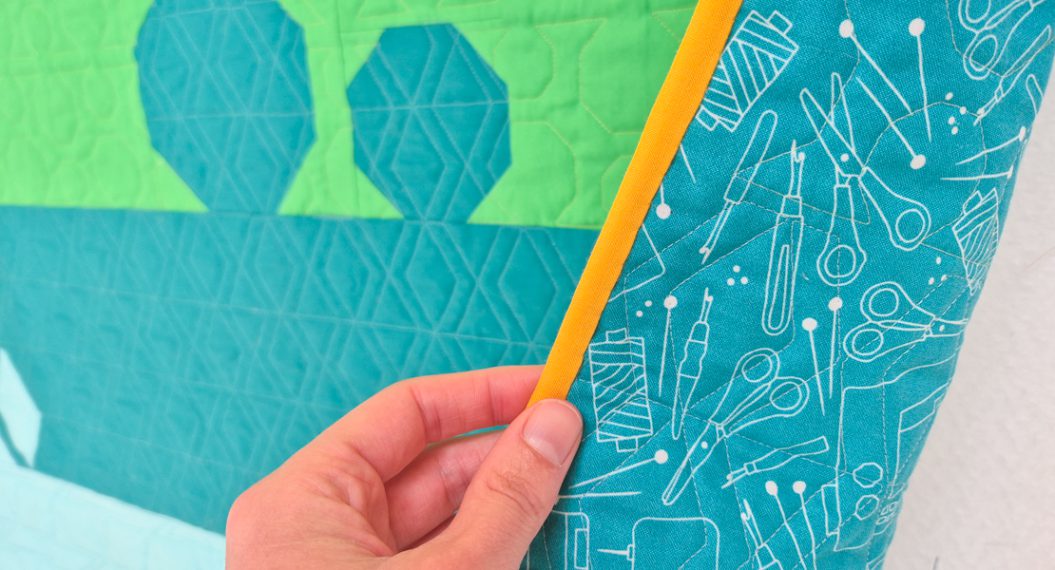
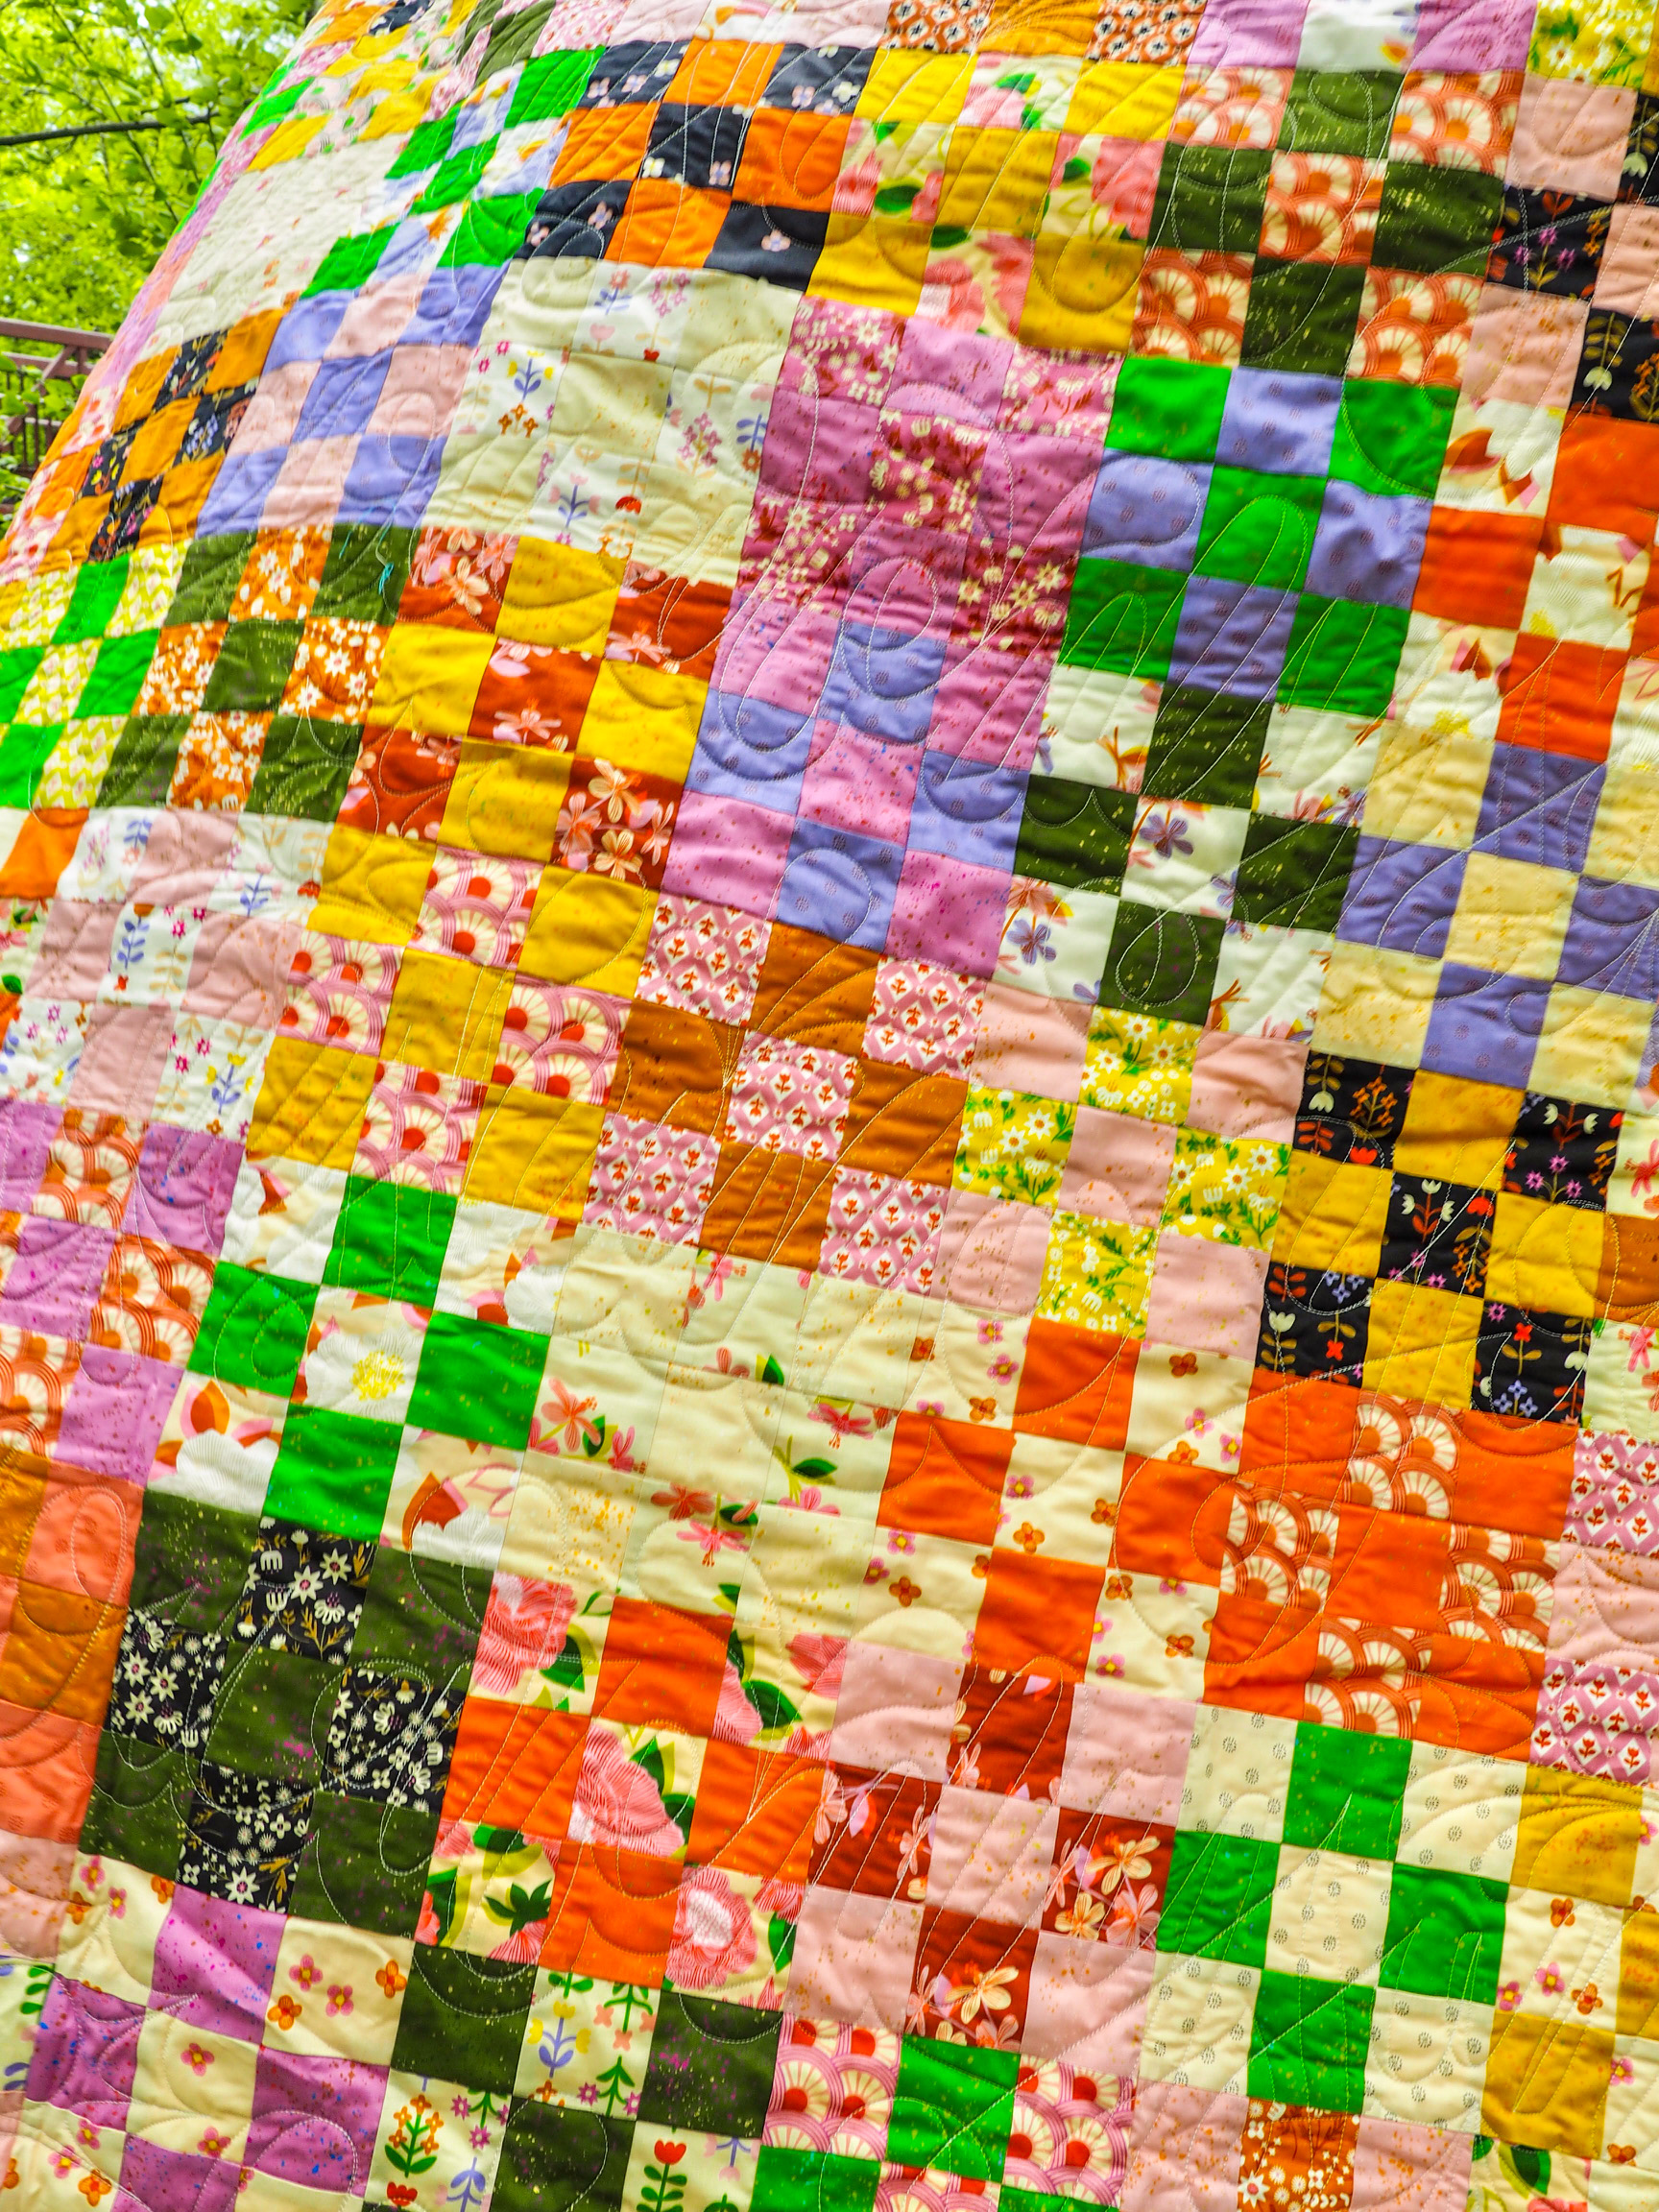
The quilt top will have two types of fabric, background fabric and main fabric. In my example, the background fabric is a blender fabric. This typically means that the print on the fabric is non-directional and fairly small. The main fabric has larger motifs that are sometimes directional. To make things simple, I used a full collection for the main fabric, and coordinating blenders from the same manufacturer.
When we construct blocks, we will be aiming for each block to be a unique combination of main and background fabrics. The instructions here will take you through making the same quilt I did however, you should feel comfortable adjusting how many of each fabric print you use, just know that it may impact how many unique blocks you have and you may see duplicates.
The fabric requirements and cutting instructions all assume that the width of the fabric (WOF) is 42″. The requirements are listed generously, leaving room for any cutting errors. There will also be some extra squares at the end of the project. Cutting a little extra upfront helps when pairing up the main and background fabrics. Be sure to check out the final post of the series for ideas to use up those scraps!
Background Fabric
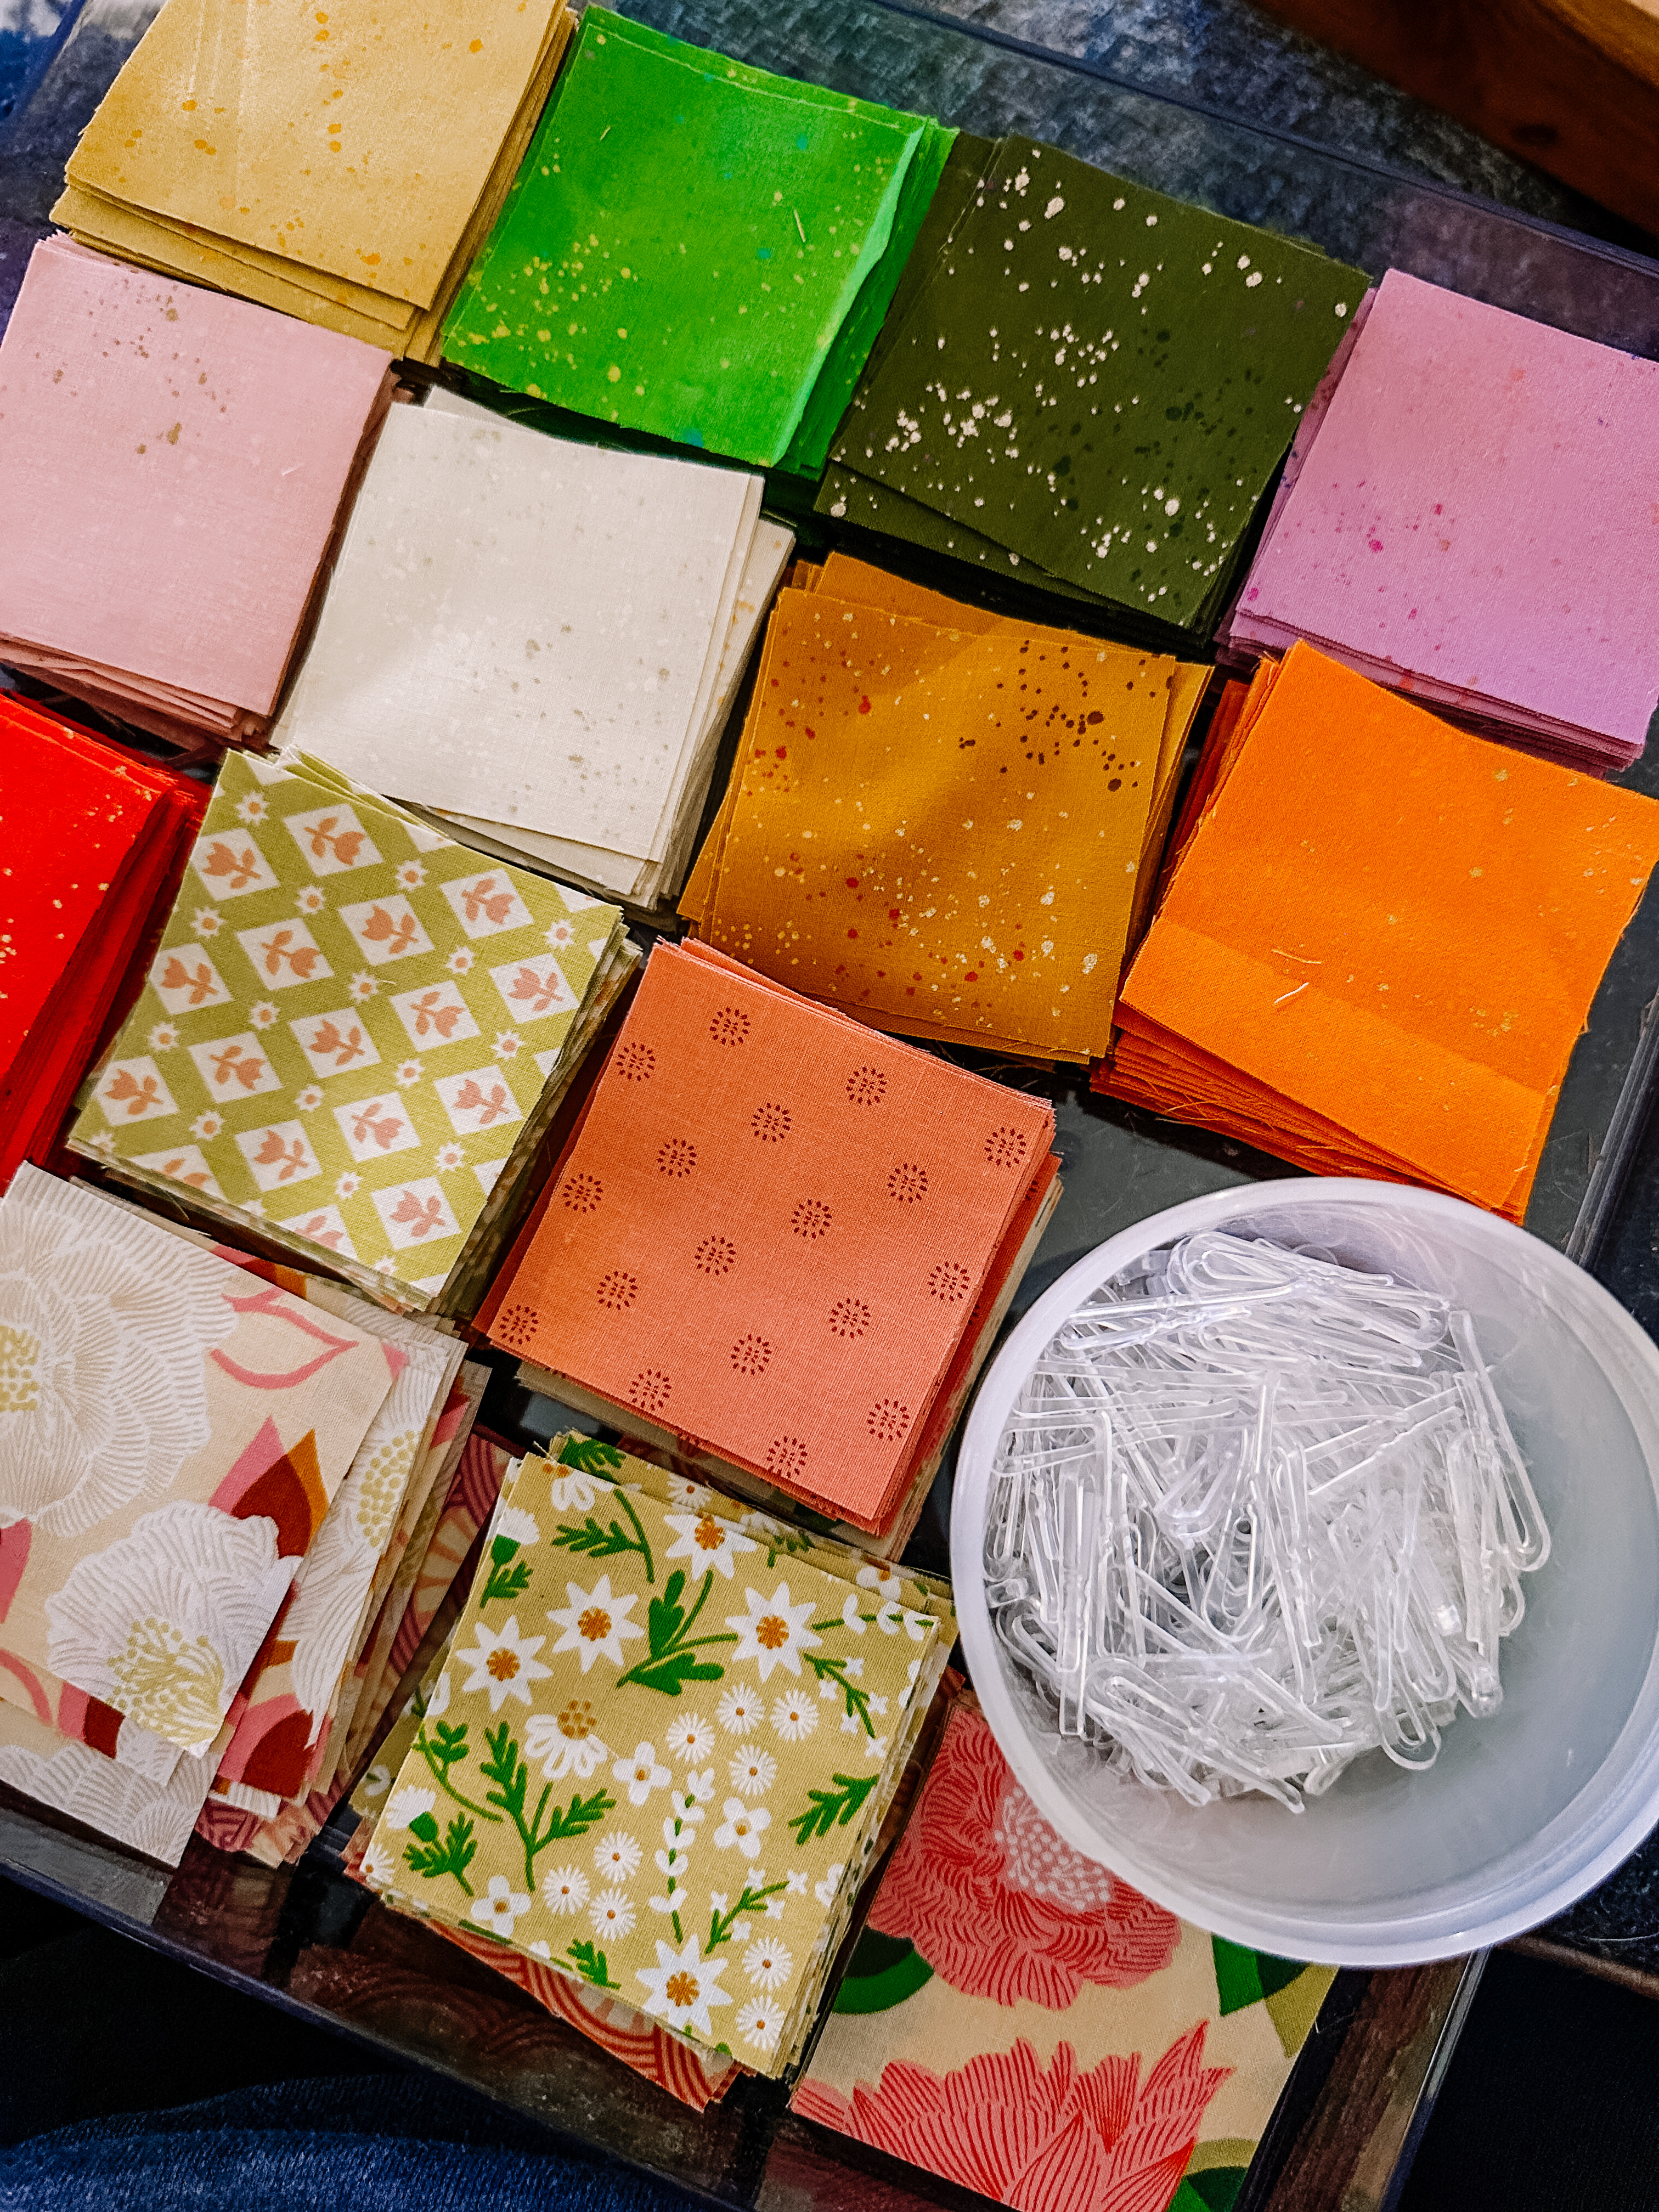
For the background, I used eight different colors of the same speckled fabric. You’ll need 1/2 yard (18″) of each of the eight colors.
- From the first of the eight colors, cut (6) 2.5″ x WOF strips.
- Sub-cut each of the first five strips into (16) 2.5″ squares
- Sub-cut the sixth strip into (10) 2.5″ squares
- You should have a total of (90) 2.5″ squares from the first color
- Repeat for the remaining seven colors
Tip: Keep the colors sorted in their own piles, we will pair them up with main fabrics in a future step
Main Fabric
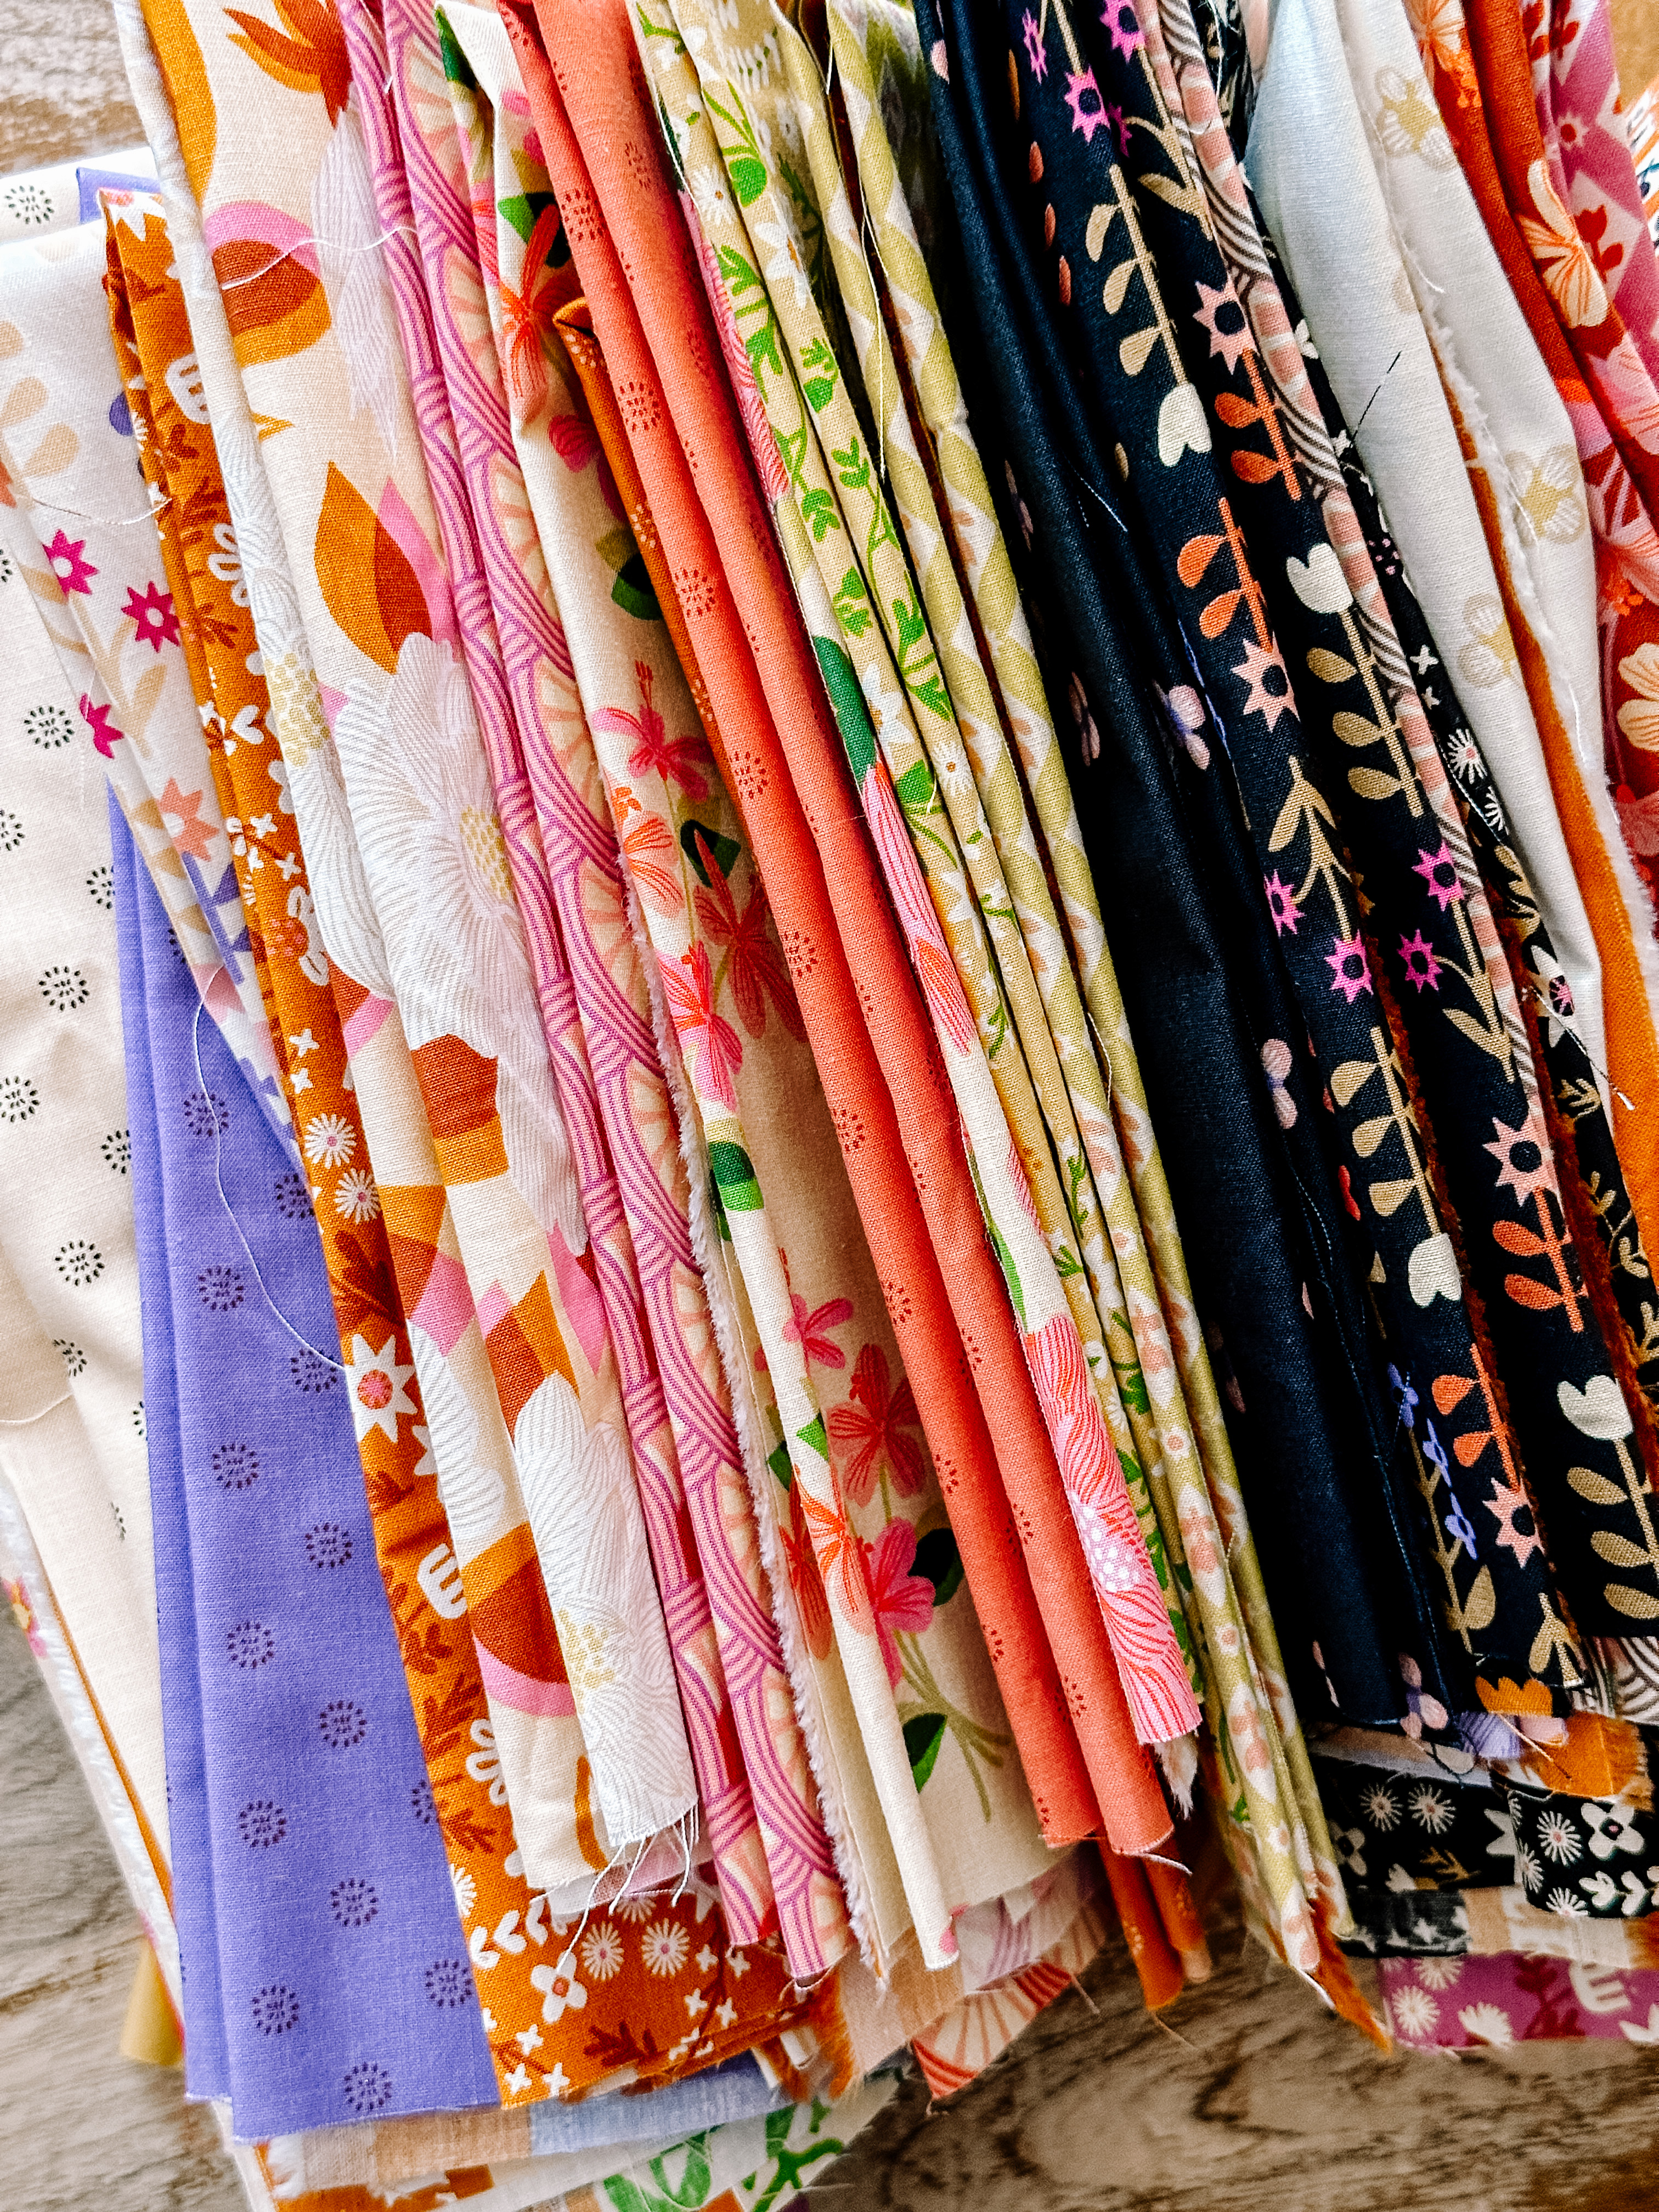
For the main fabric, I used a full collection of twenty-six coordinating prints. Each print was used in 5-6 blocks and can be cut from one fat quarter (18″ x 22″). Depending on how many fabrics you use, you can use precuts like a jelly-roll or multiple charm packs.
- From the first print, cut (4) 2.5″ x 18″ strips
- Sub-cut each strip into (7) 2.5″ squares
- You should have a total of (27) 2.5″ squares from the first print
- Repeat for the remaining twenty-five prints
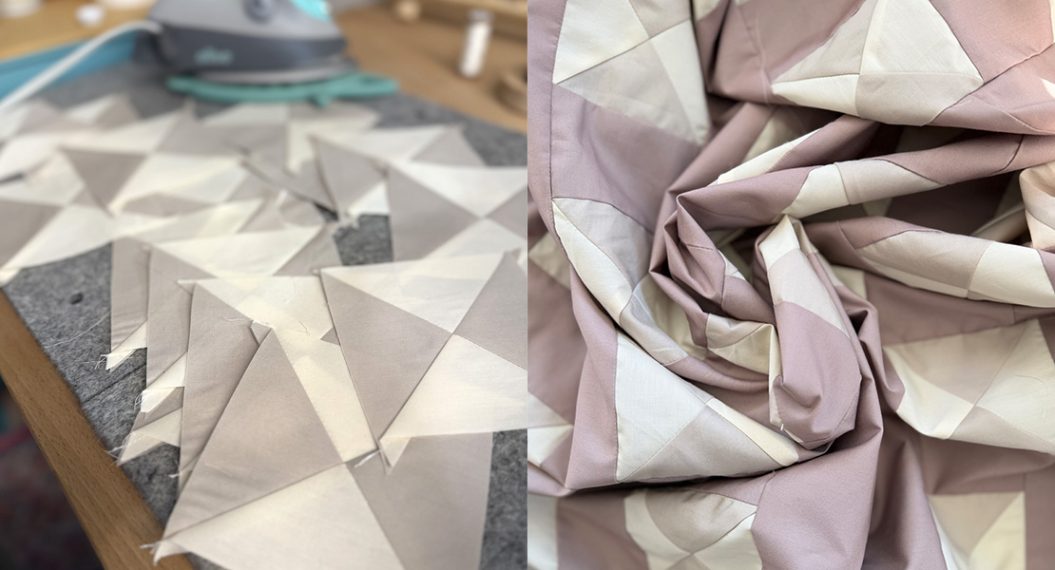
Preparing Cut Fabric
One of the most important steps in the entire process for making your nine-patch quilt is pairing up your fabrics. We will have a total of 144 blocks. There are two things that give this quilt an organized but scrappy look:
- There are no repeat fabric combinations
- The blocks alternate between starting with a background fabric and starting with a main fabric
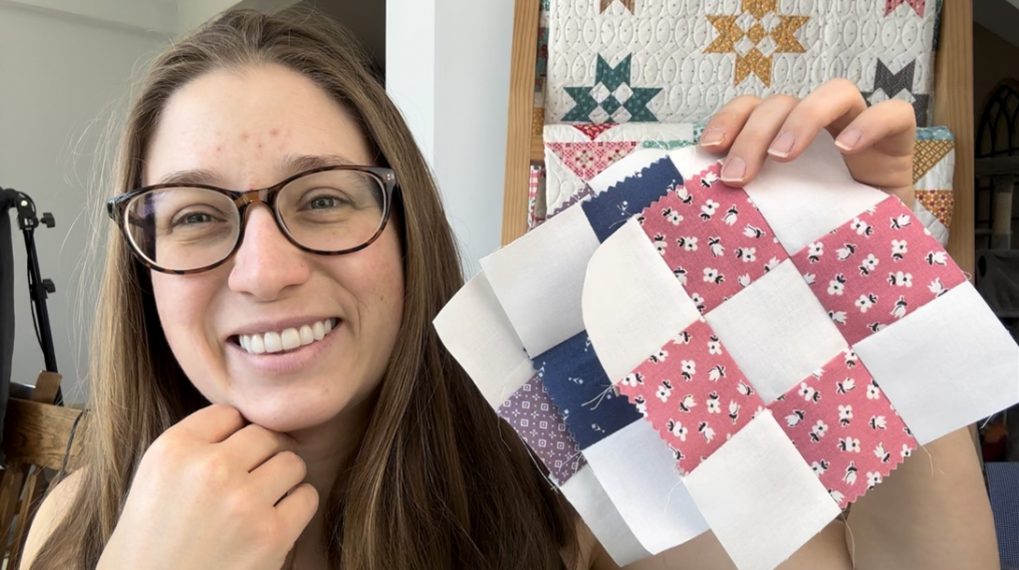
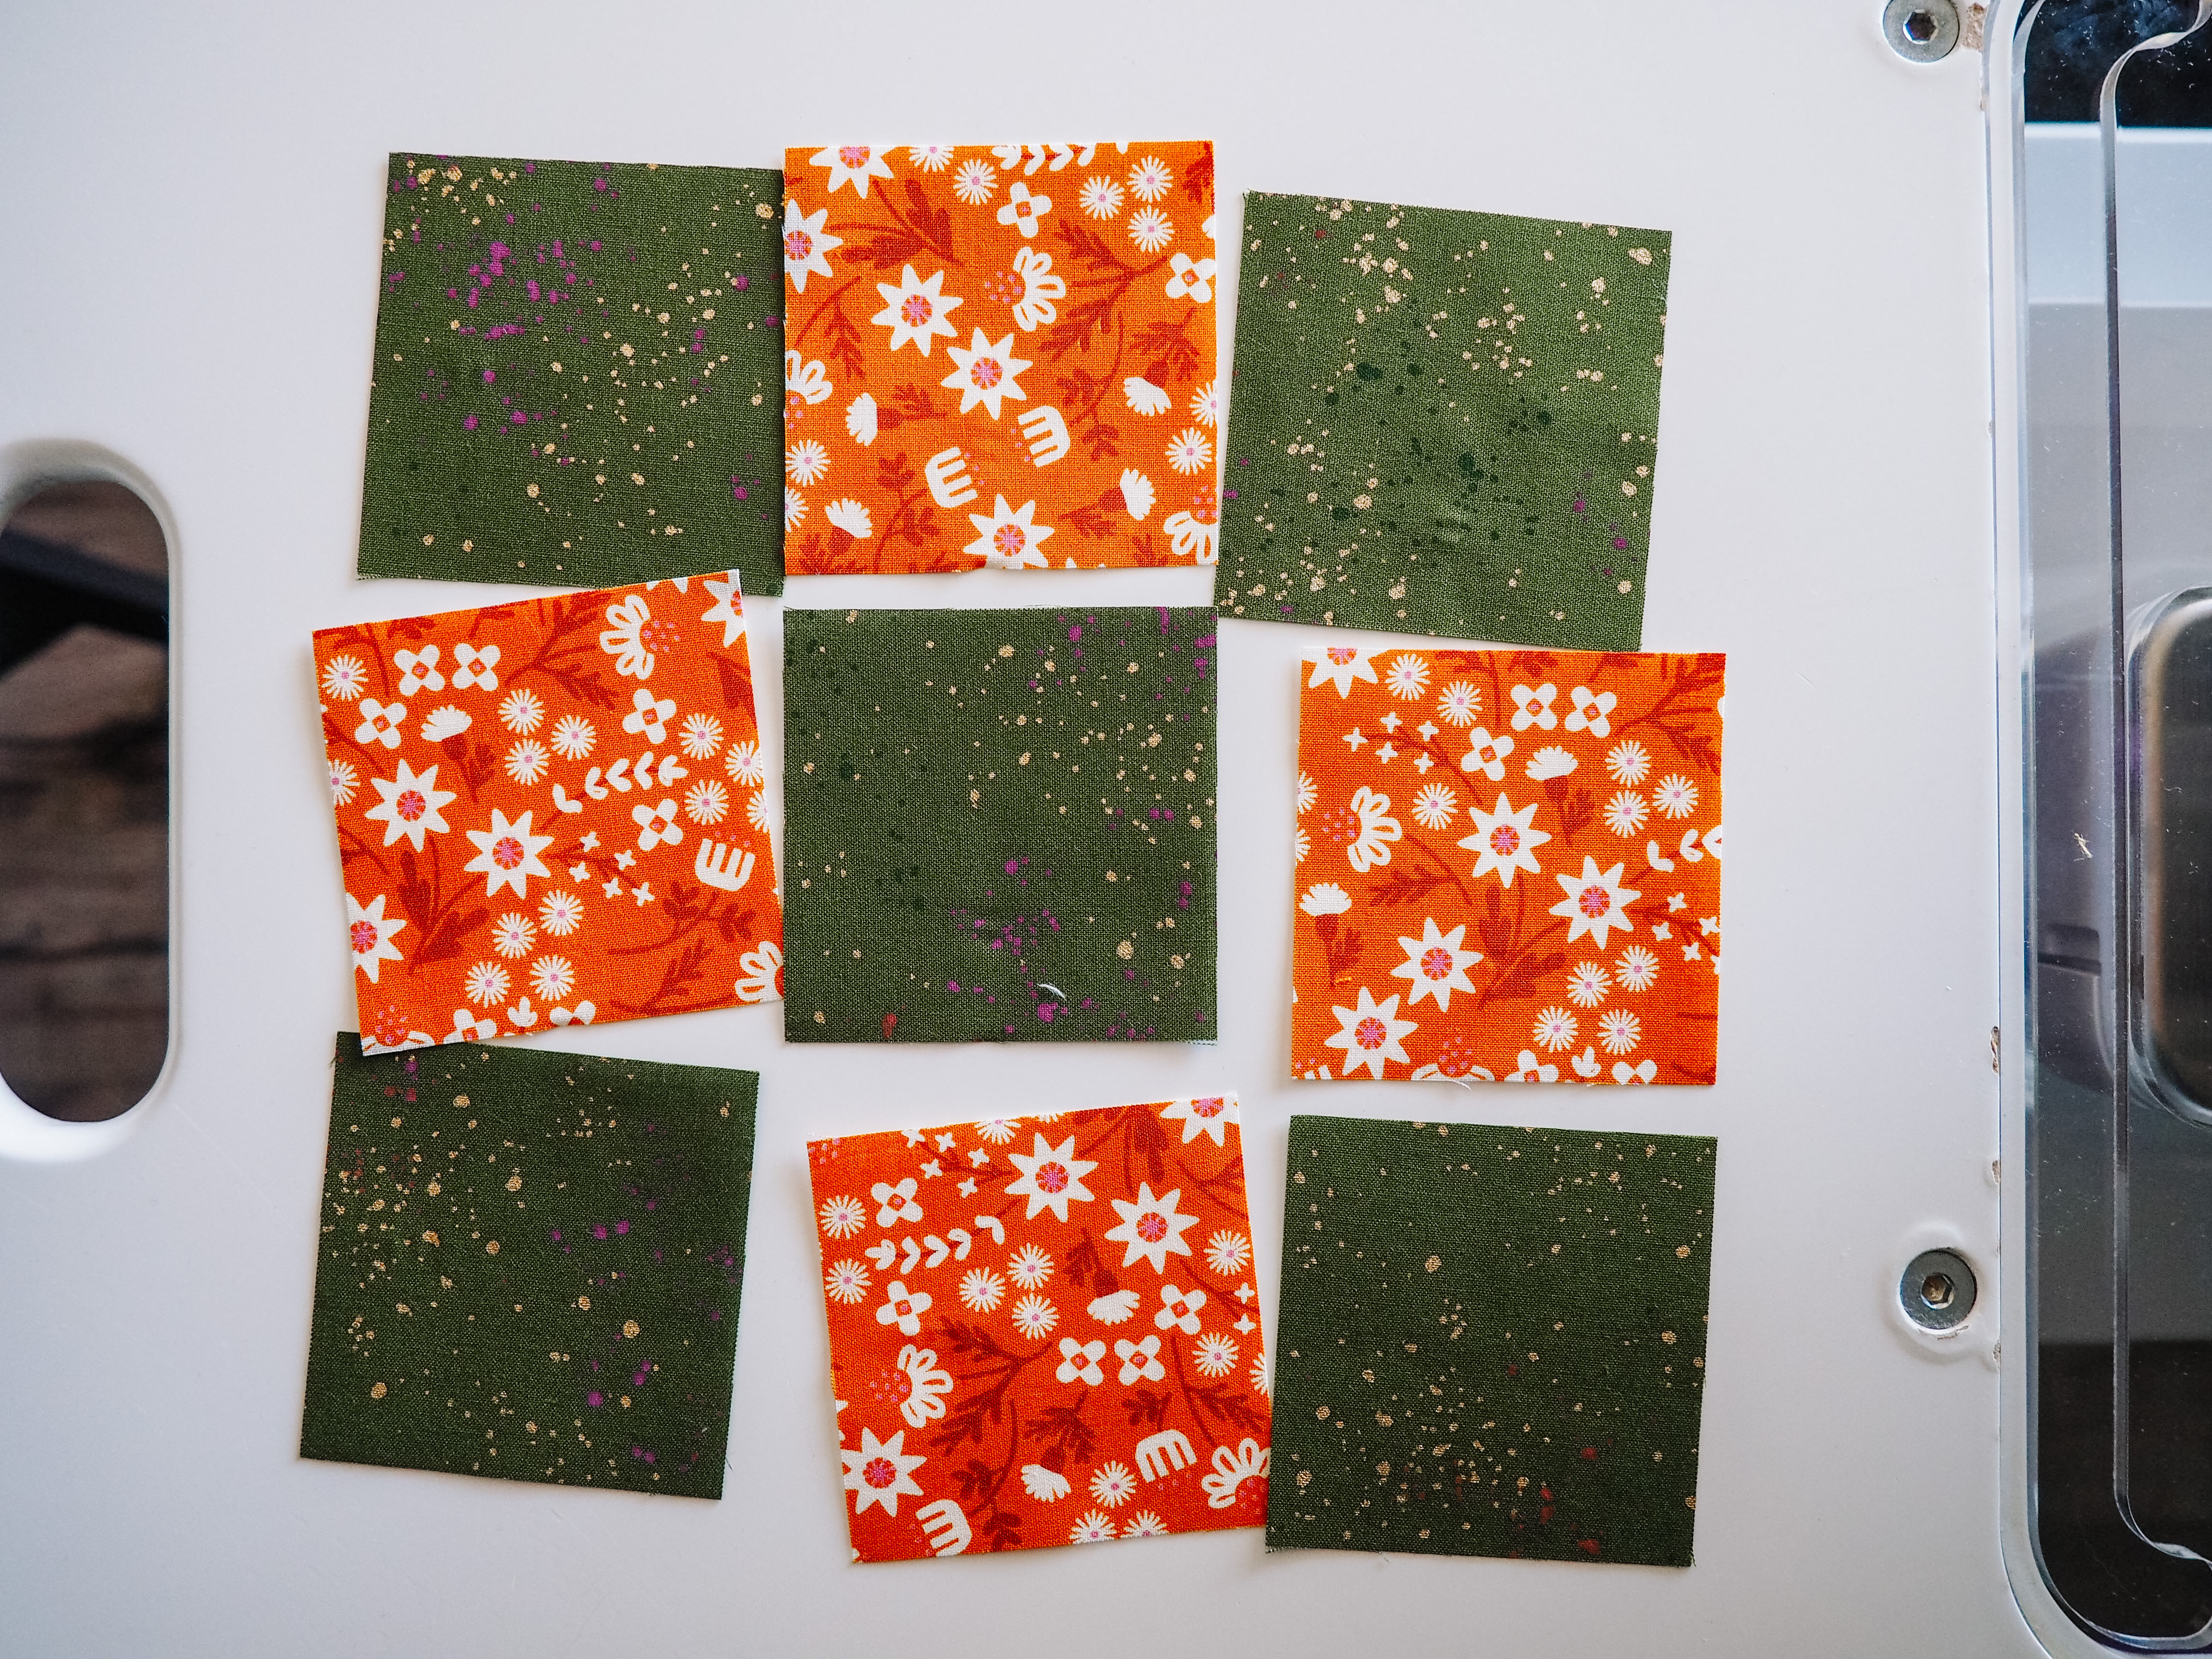
Each block consists of (9) 2.5″ squares, 4 from one fabric and 5 from another. These can be arranged in two ways:
- Block 1: The top left square is the background fabric. This block requires (5) background squares and (4) main fabric squares
- Block 2: The top left square is main fabric. This block requires (5) main fabric squares and (4) background squares
As you pair up your fabrics, make sure you have an equal number of Block 1 and Block 2 from each background fabric.
To keep things organized, I got an inexpensive pack of plastic clips from Amazon. You can also use clover clips, pins, or whatever else you have on hand.
Pair up (4) 2.5″ squares from one fabric and (5) 2.5″ squares from the other fabric, clipping the 9 total squares together. Repeat to create 144 total pairs.
You will have extra squares after prepping the 144 sets. At this point, you can prep additional blocks if desired so you have more variety when playing with your final layout. Leftover blocks and squares will be great for the extra projects we will chat about in Part 3 of this series.
Next Steps
Whew, give yourself a pat on the back. In my opinion, the cutting and pairing is the most intense part of this quilt and you are done! In the next post, we will make our blocks, determine our layout, piece everything together, and finish the quilt.
I cannot wait to see these finished picnic quilts. If you’re sewing along, be sure to tag me on socials @aandcowi or with the hashtag #aandcowi so I can cheer you on!