Give the Gift of Sewing
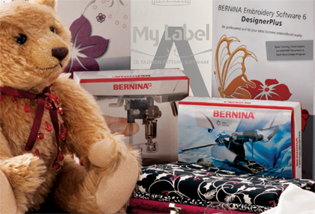
The holidays are just around the corner. Still looking for the perfect gift for you and your loved ones? This season, give the gift of sewing!
… More
The holidays are just around the corner. Still looking for the perfect gift for you and your loved ones? This season, give the gift of sewing!
… More
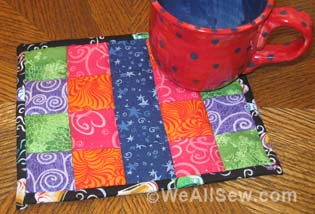
Who says quilts are just for beds? Bring a little color to your table or work space with these tiny works of art. This project is a great way to use up fabric scraps and is a perfect way to show off your favorite cup or glass. … More

Tomorrow we’re celebrating National Tie One On Day with EllynAnne at Apron Memories! Read all about how this celebration of giving thanks got started and how you can join in. … More
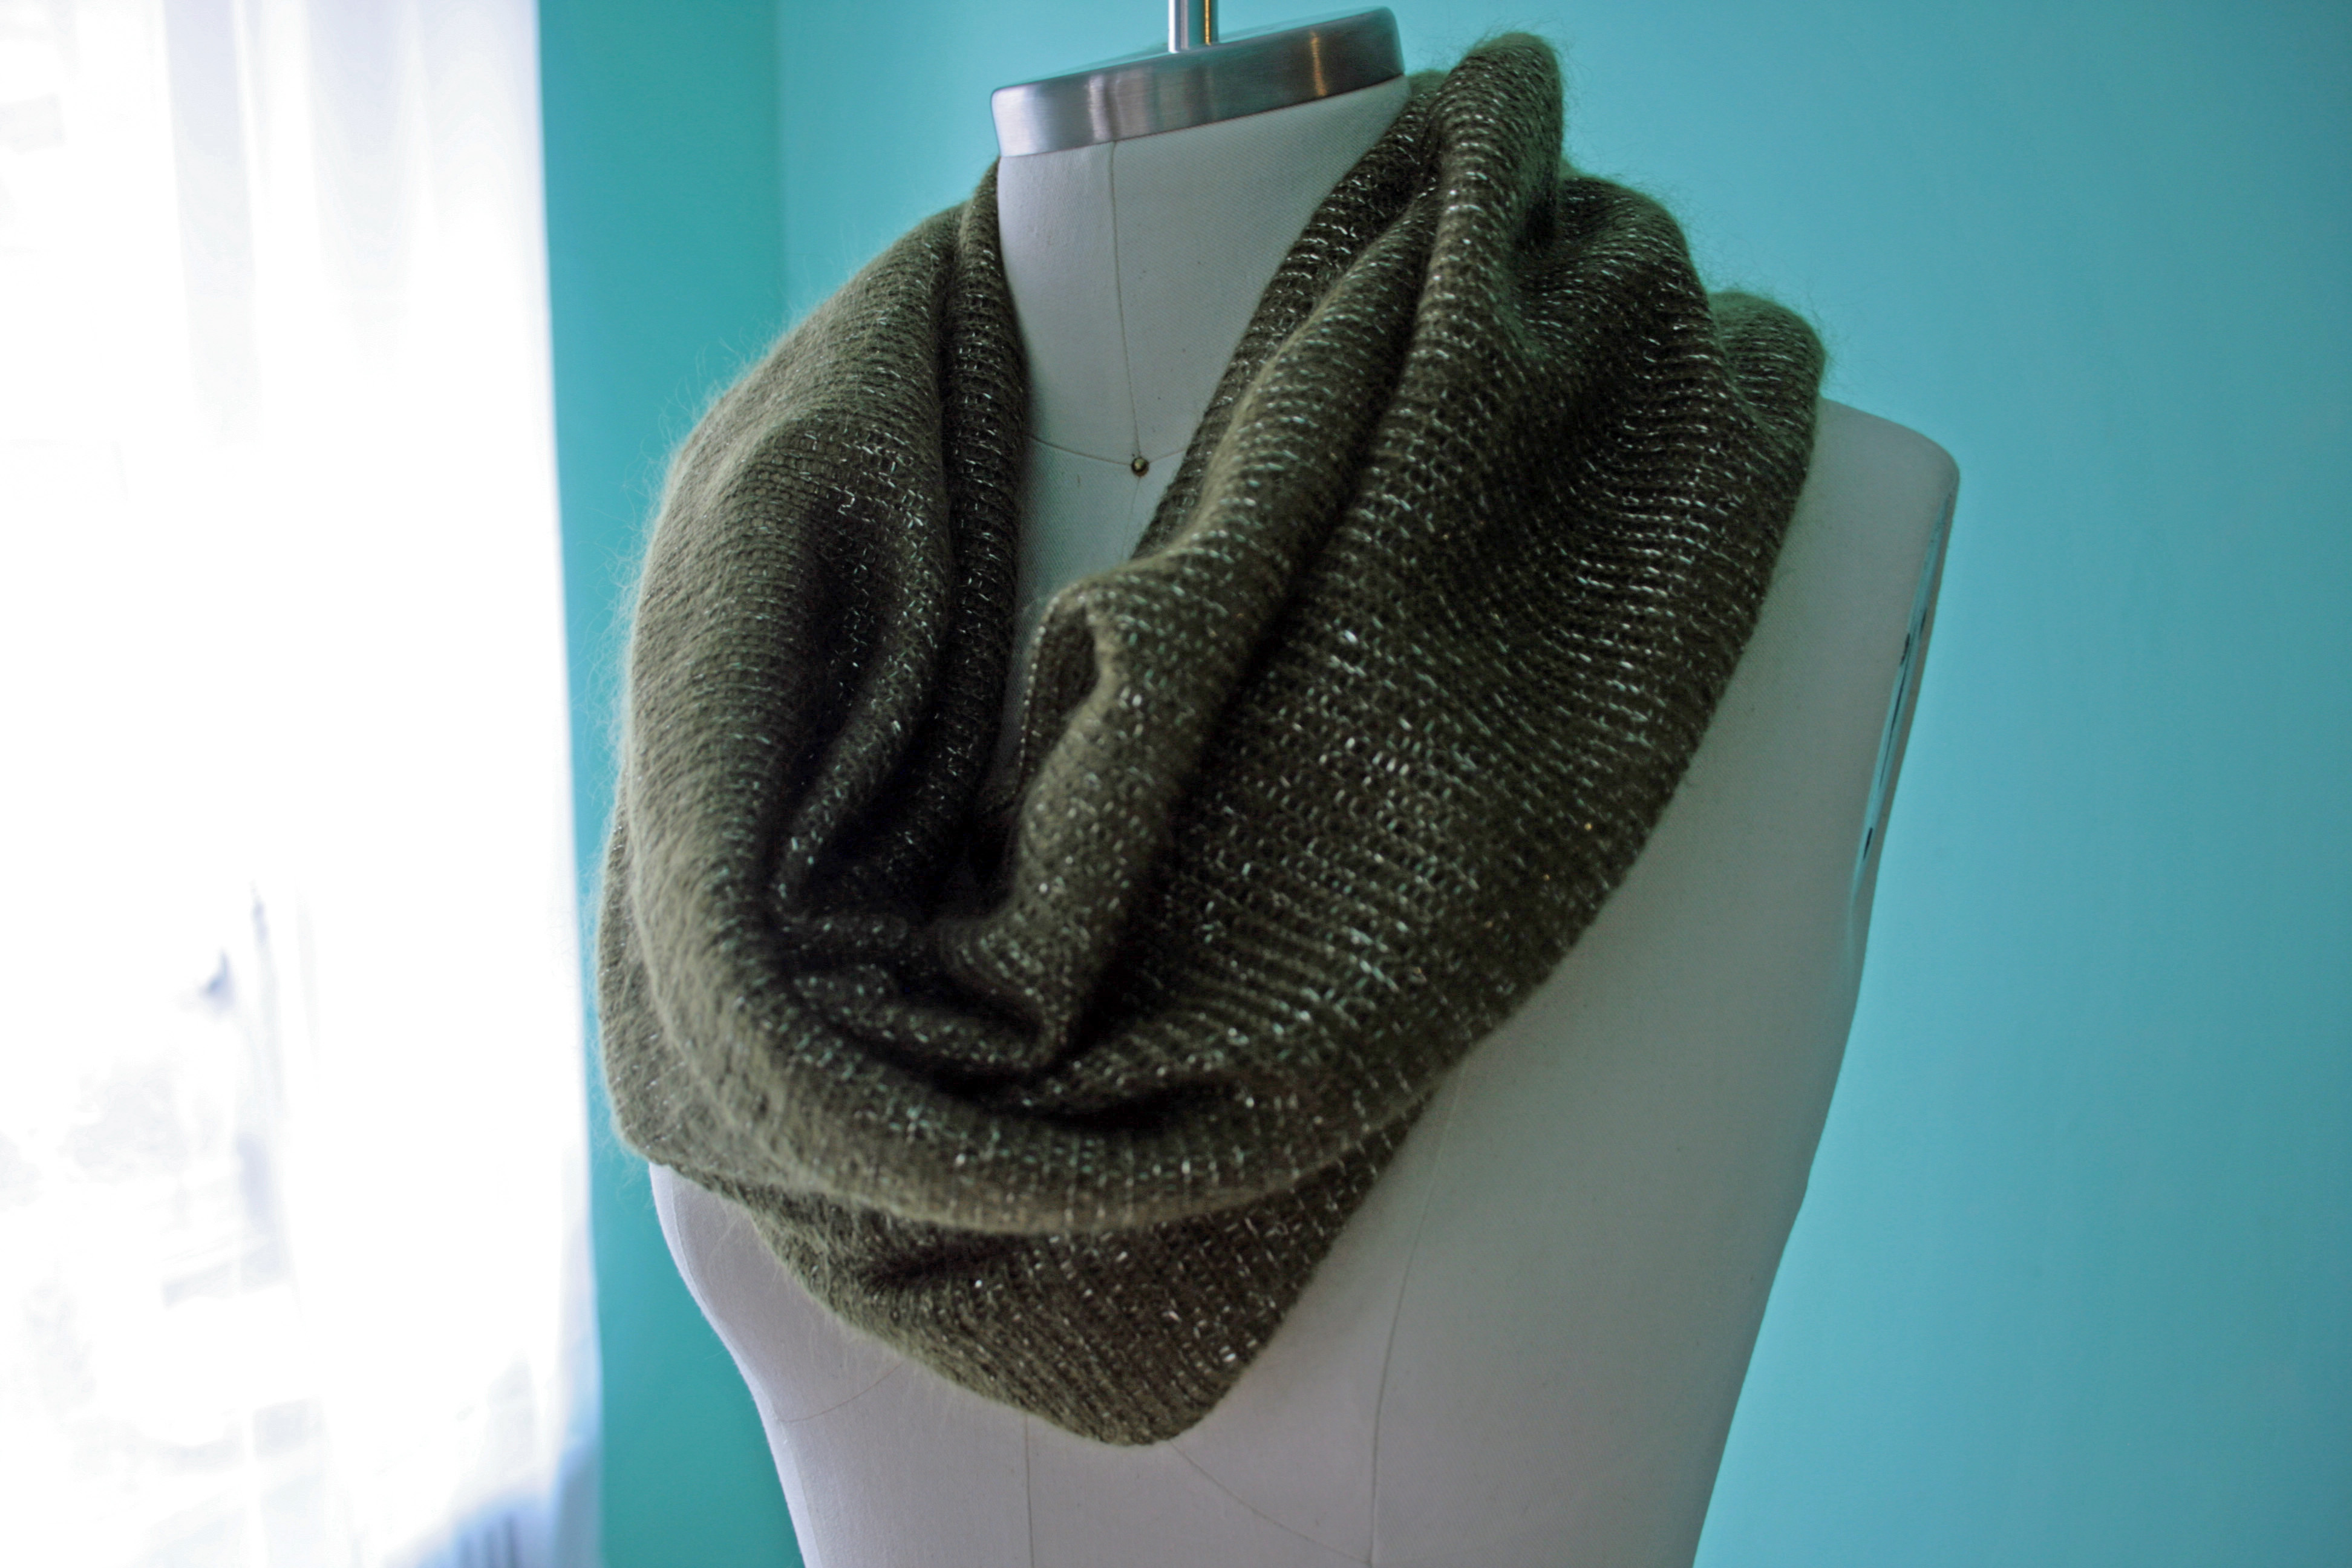
Welcome to our second week of sharing Sew Easy Holiday Gifts! This week we shift the focus to fashion accessories that make perfect gifts in the winter season. From easy scarves to accessories, these are our handpicked favorites. … More
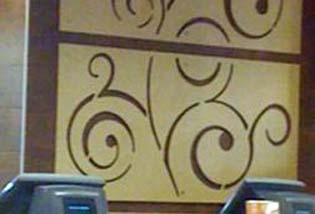
Where do you go to be inspired for sewing projects? All of us make projects that include step-by-step instructions and fabric kits, but personally, the projects that give me the most satisfaction and reward are the ones that I create on my own.
… More