Stitching the Southwest, Part Eleven: The Border Quilt Block
Hey there, Southwest Trails quilters!
By now, you should all have your quilt top for our Stitching the Southwest Quilt Along close to finished, right? If not, don’t worry! You still have plenty of time before the final giveaway. You’ll find all the details further down in this post.
Today, we’re adding the final touch: the border with our beautiful Aztec blocks. Maybe you’ve already finished them?
If so, you’re one step ahead, WOOHOO!

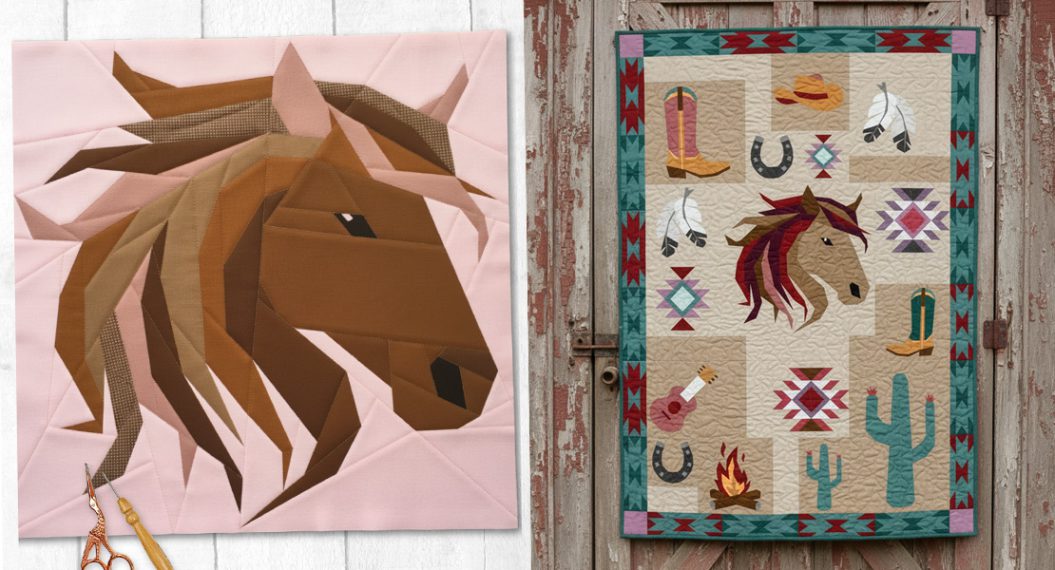
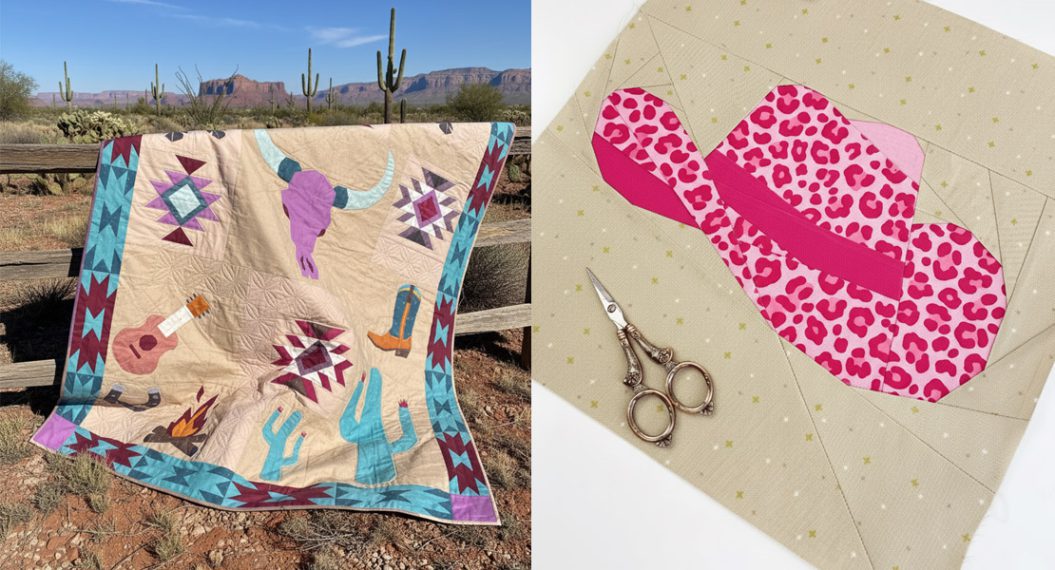
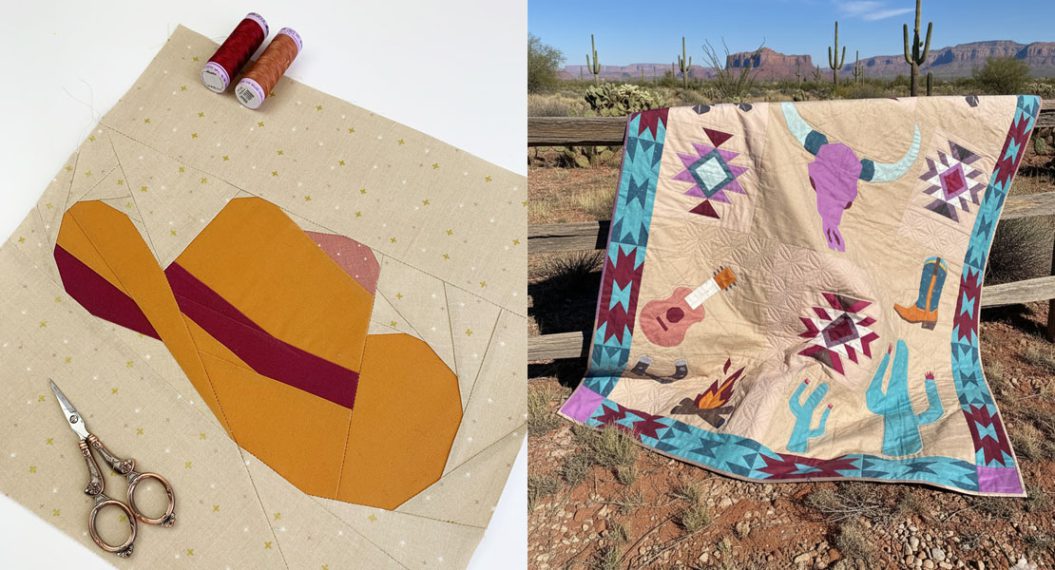
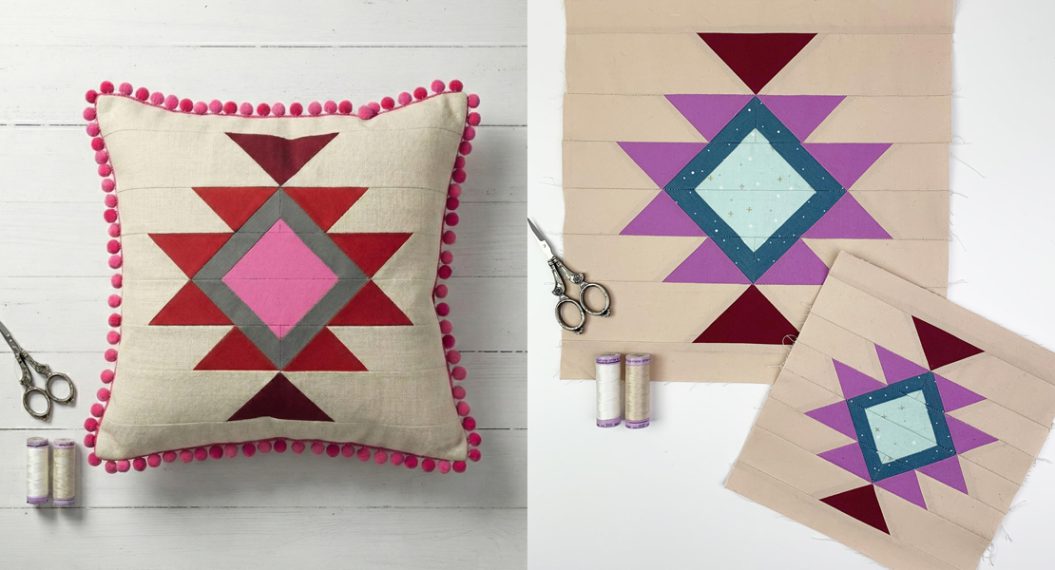
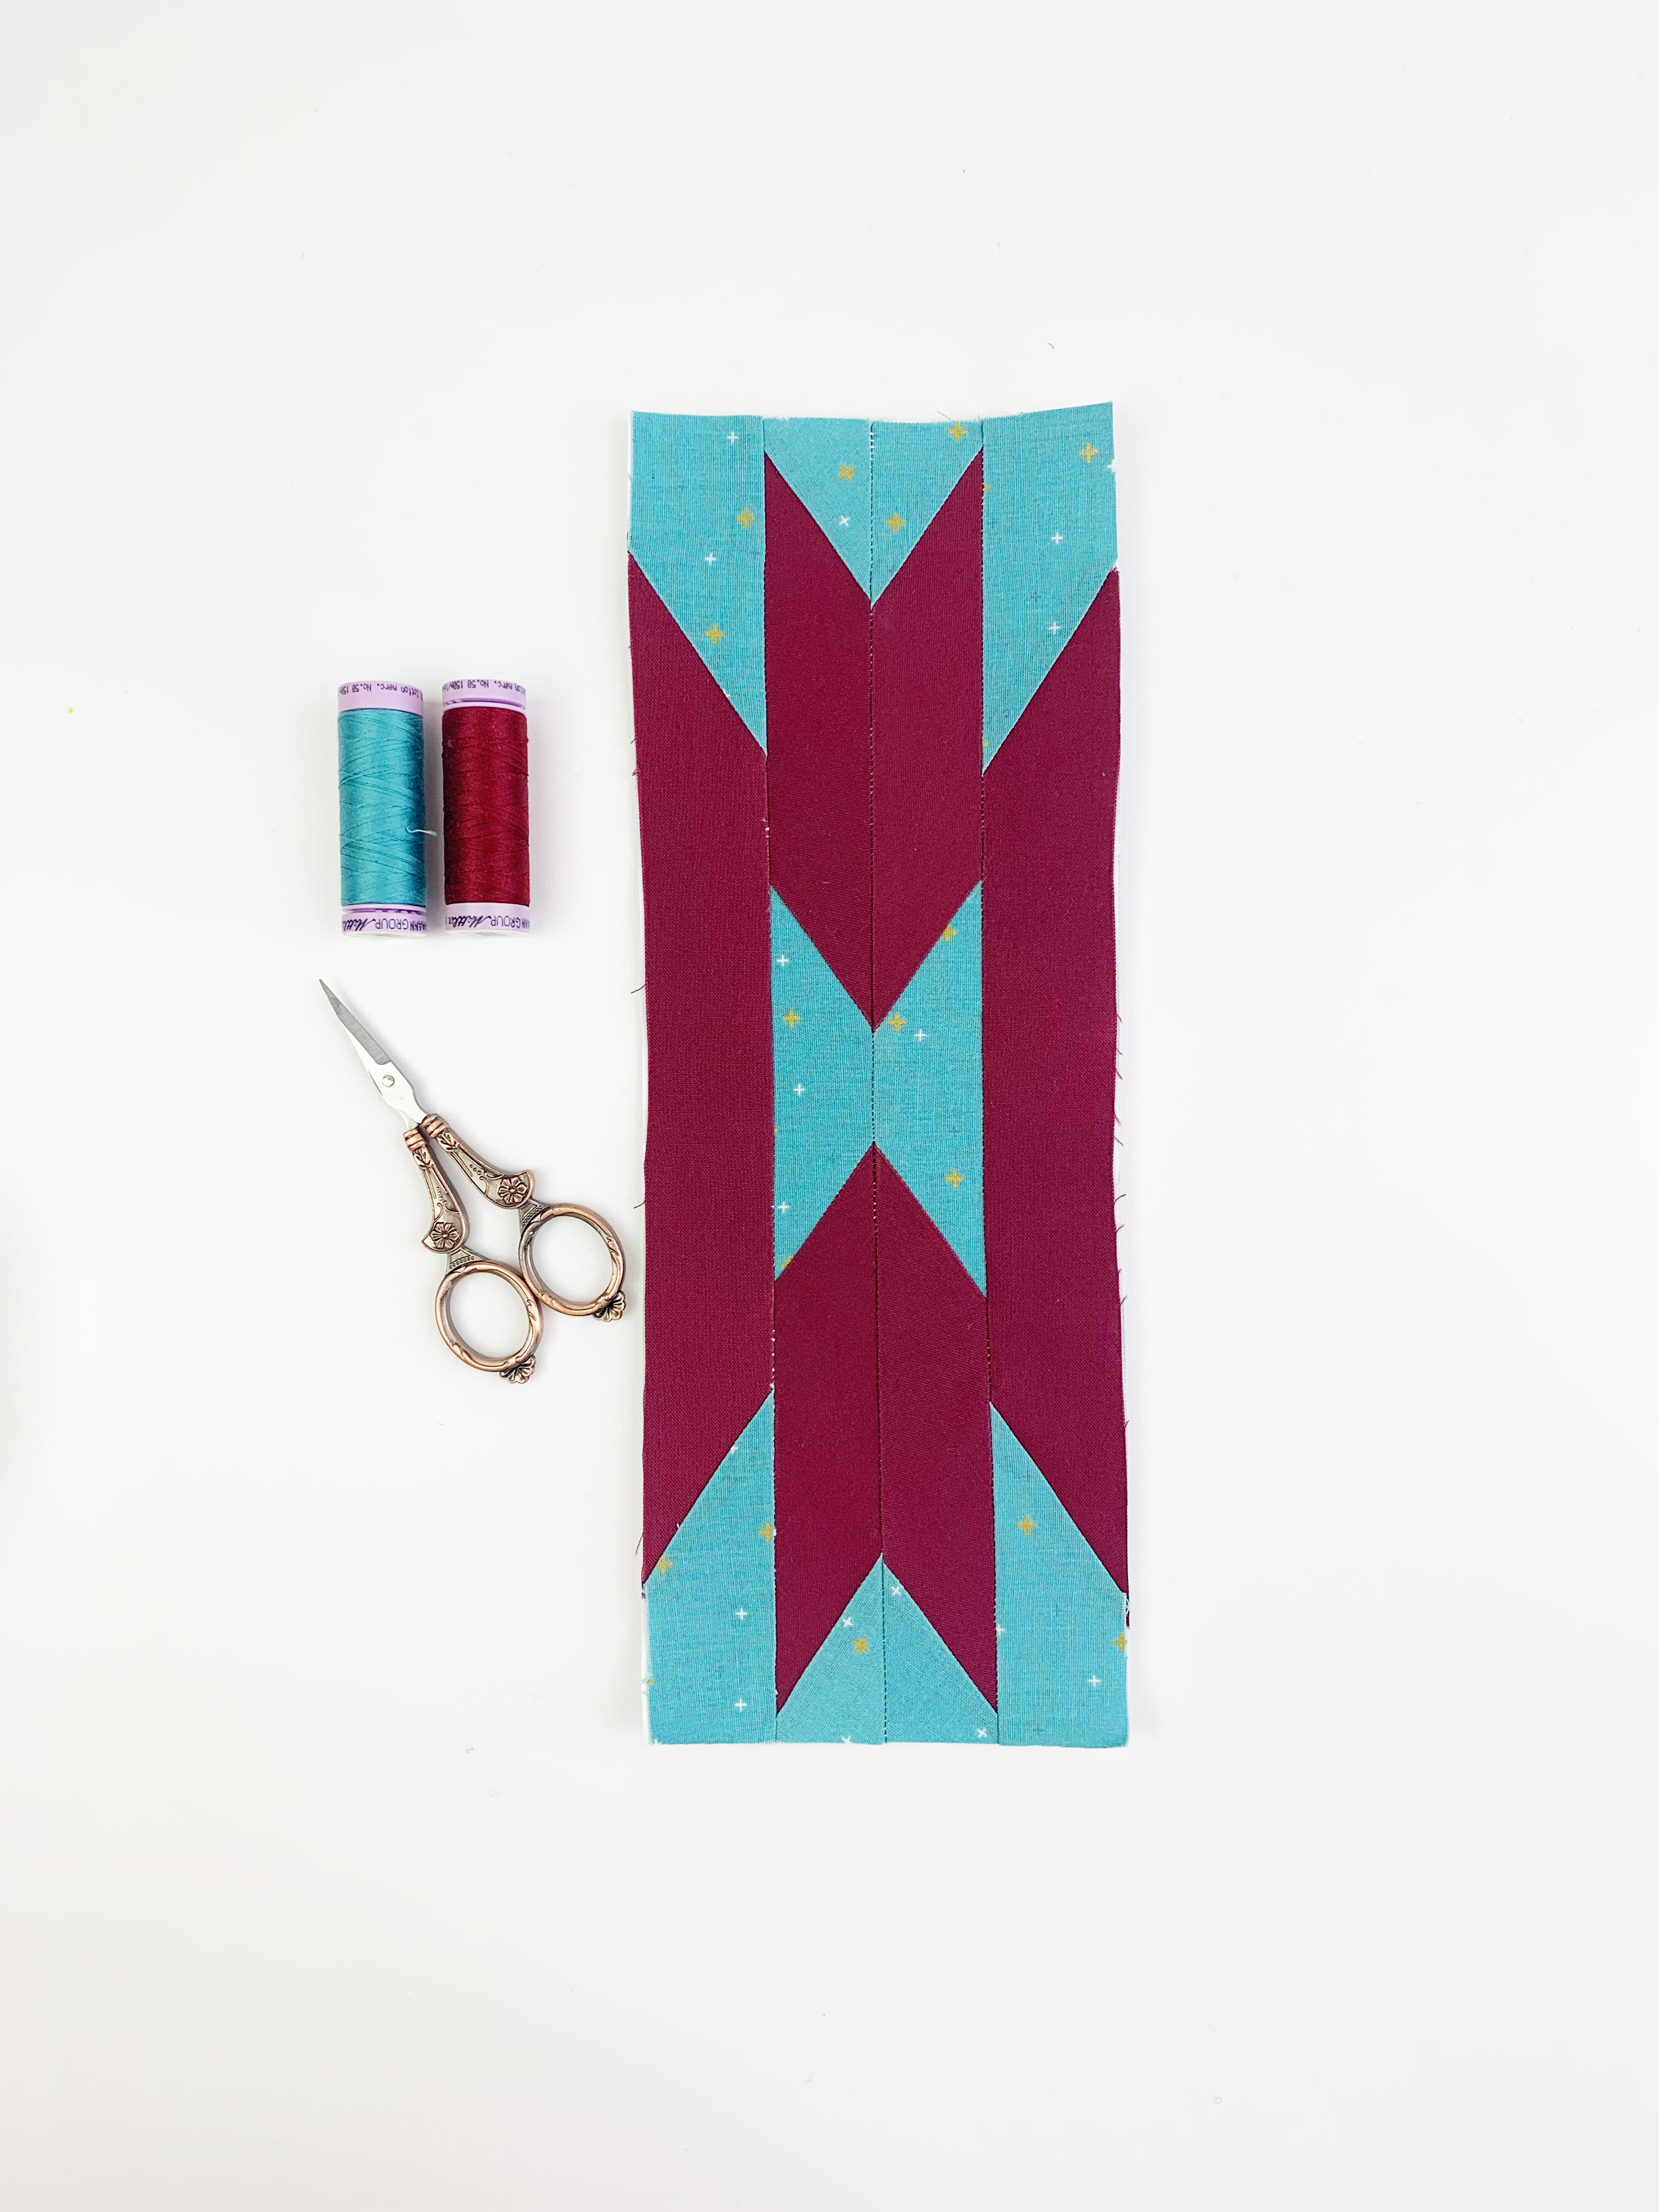
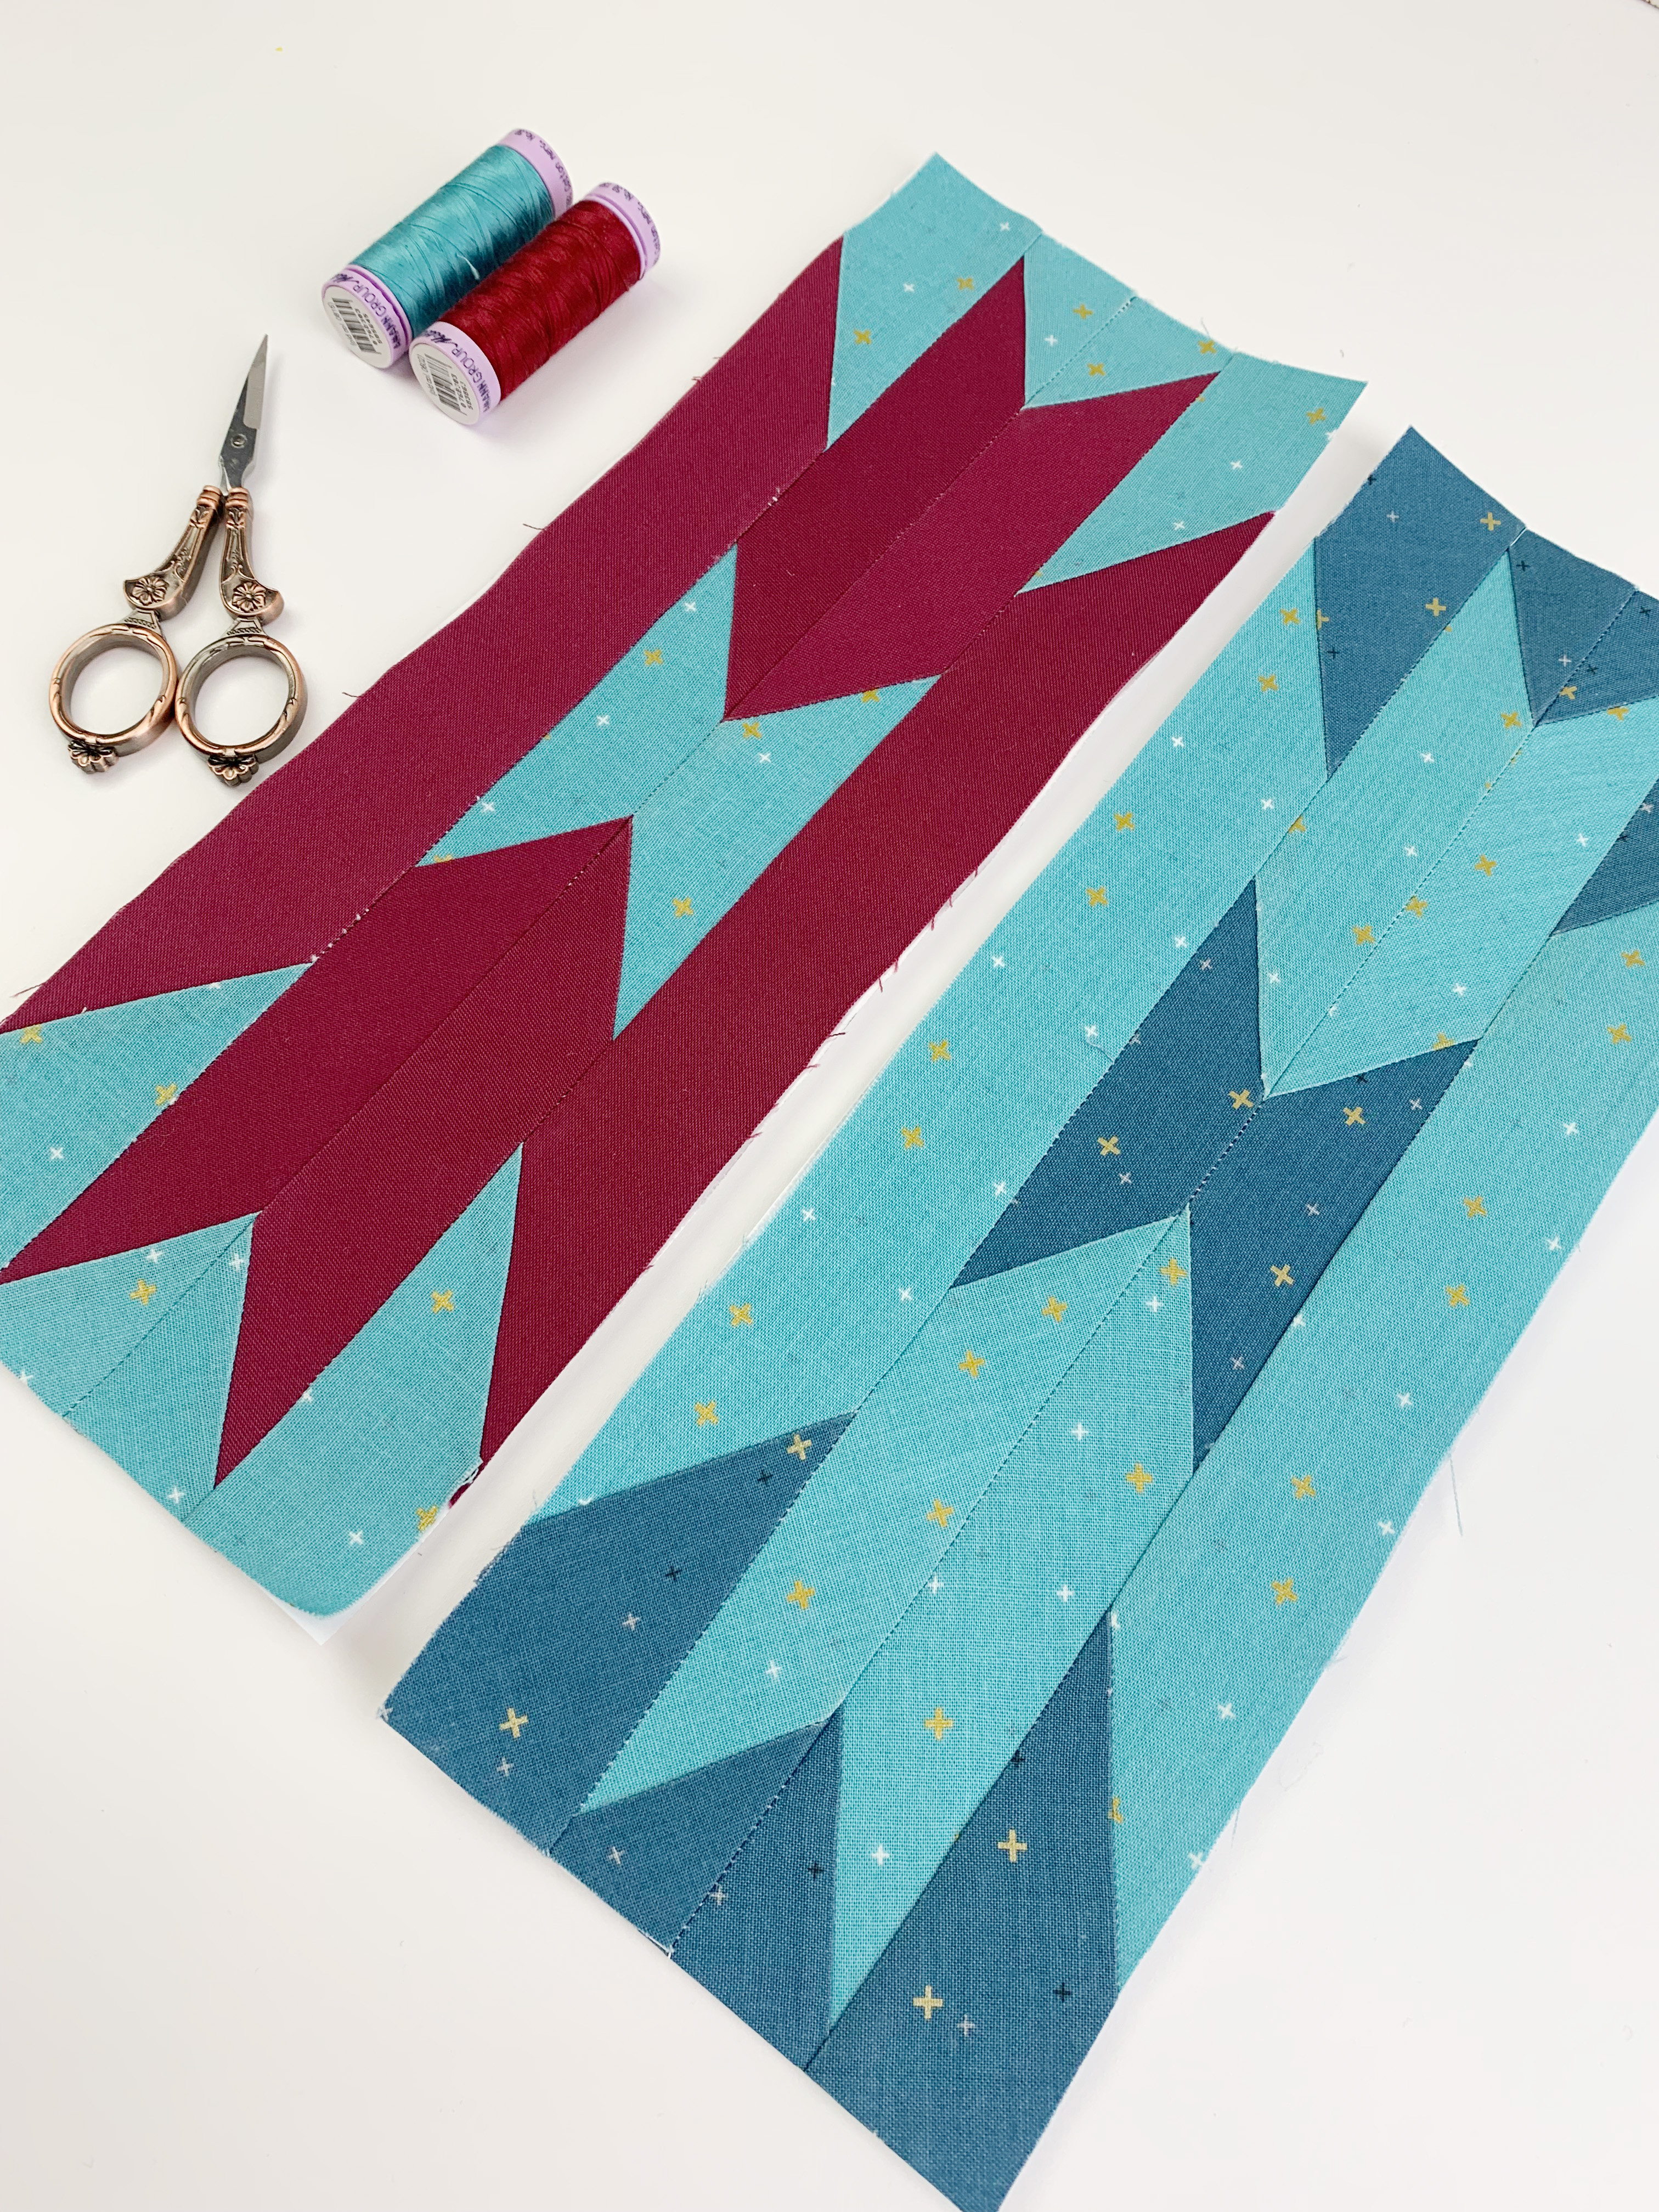
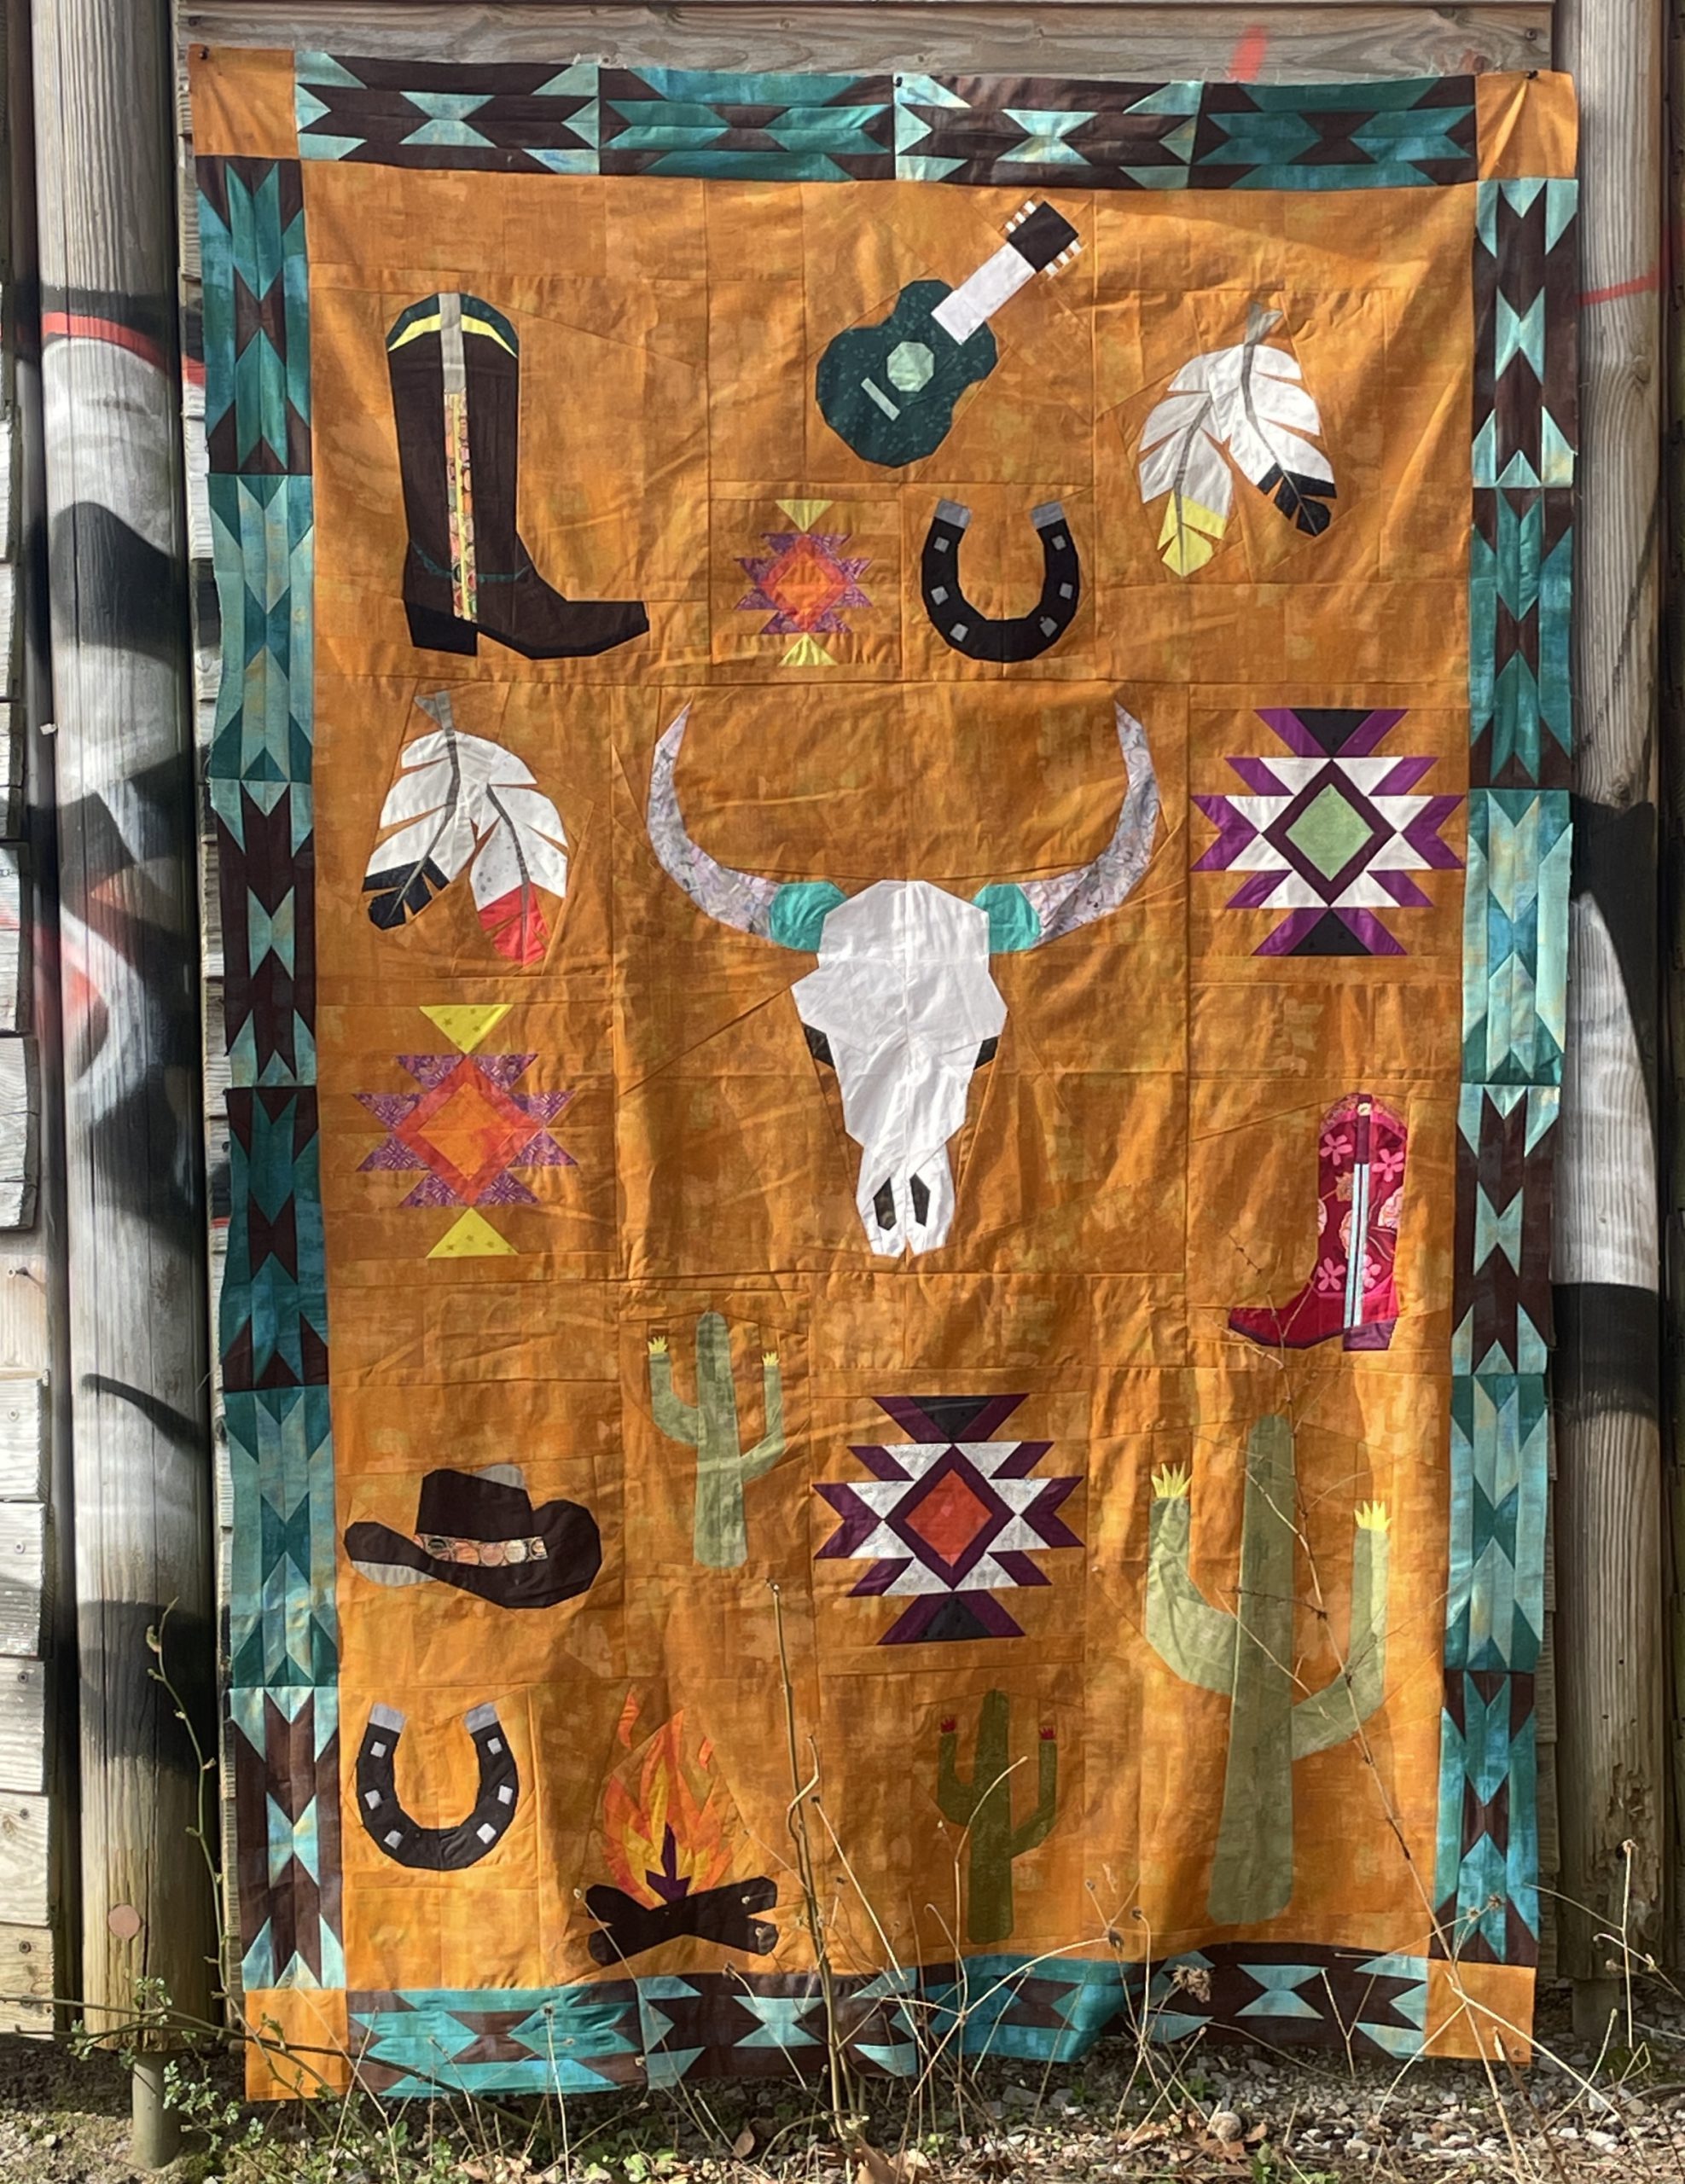
Aztec Border Quilt Pattern
Personally, I absolutely love this Aztec-inspired border; it fits our Southwest quilt perfectly and adds that warm, graphic desert vibe. What do you think?
If you don’t love this design or prefer a different border, that’s totally fine. This is just one of many ways to finish your quilt top. A simple border can look just as beautiful!
Stitching the Southwest Quilt Along
If you’re hearing about our quilt along for the first time, no problem at all! You can find all the previous posts for the colorful Southwest quilt here.
It’s best to start with the first blog post here, where you’ll also find the full pattern.

My Fabric Choices for the Border Blocks
- 10 blocks:
- Sparkler Mediterranean
- Sparkler Bear Lake
- 10 blocks:
- Burgundy
- Sparkler Bear Lake
Sewing the Aztec Border
Let’s get started with the border blocks!
For this quilt, you’ll need 20 Aztec border blocks, each measuring 12″ x 4″.
- 6 blocks for each side (left and right)
- 4 blocks for the top and bottom
Here is a link to a YouTube video I made for the Safari Quilt Along showing the Freezer Paper Piecing Method:
I made my border blocks using the classic paper piecing method. I personally prefer it because it gives your blocks just more grip while sewing. This might also be the case, because I am so used to having the paper in my sewing 🙂
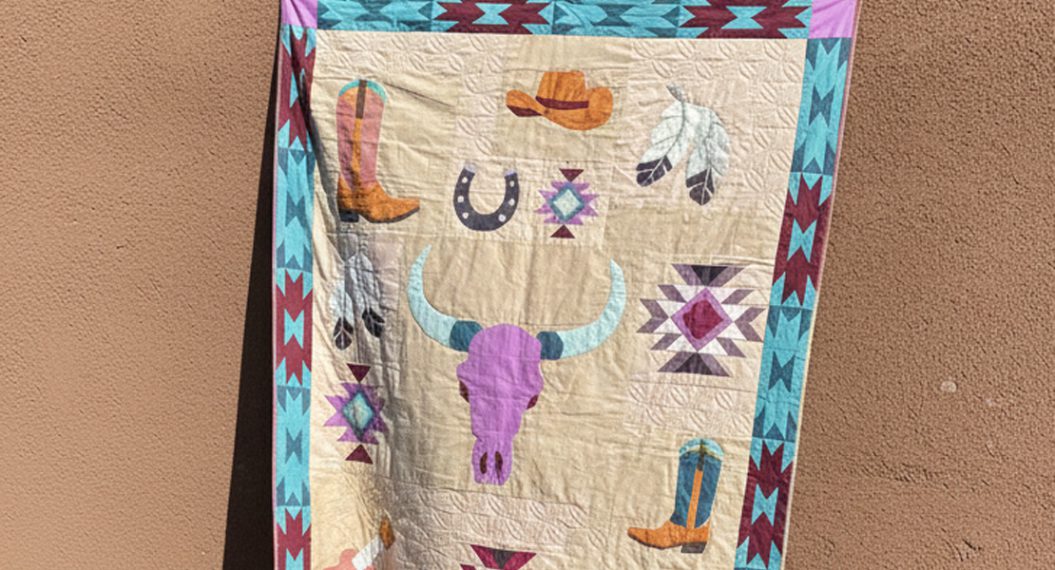
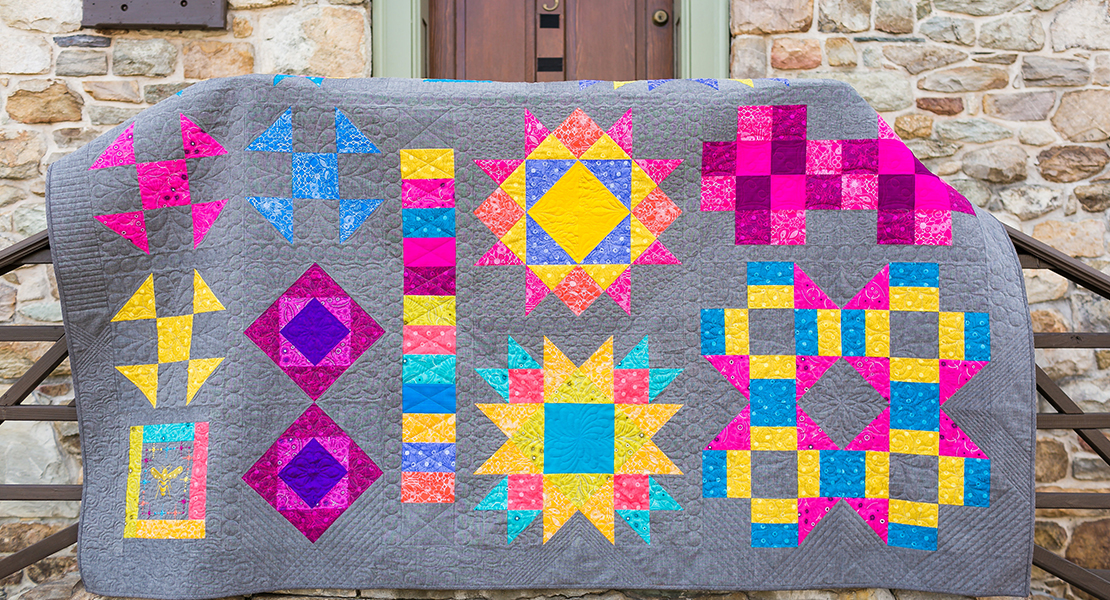
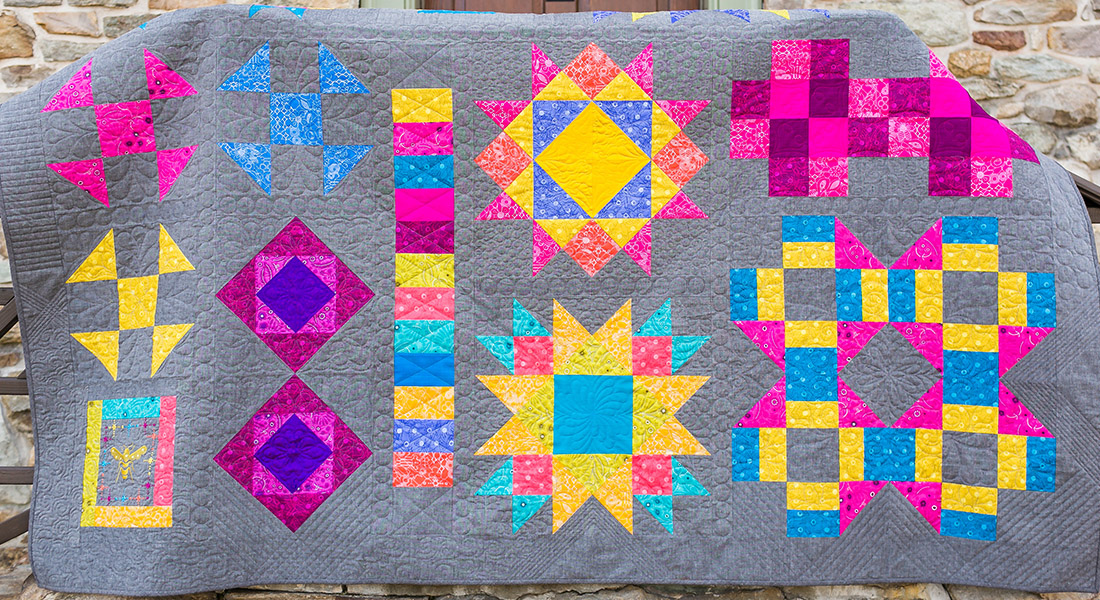
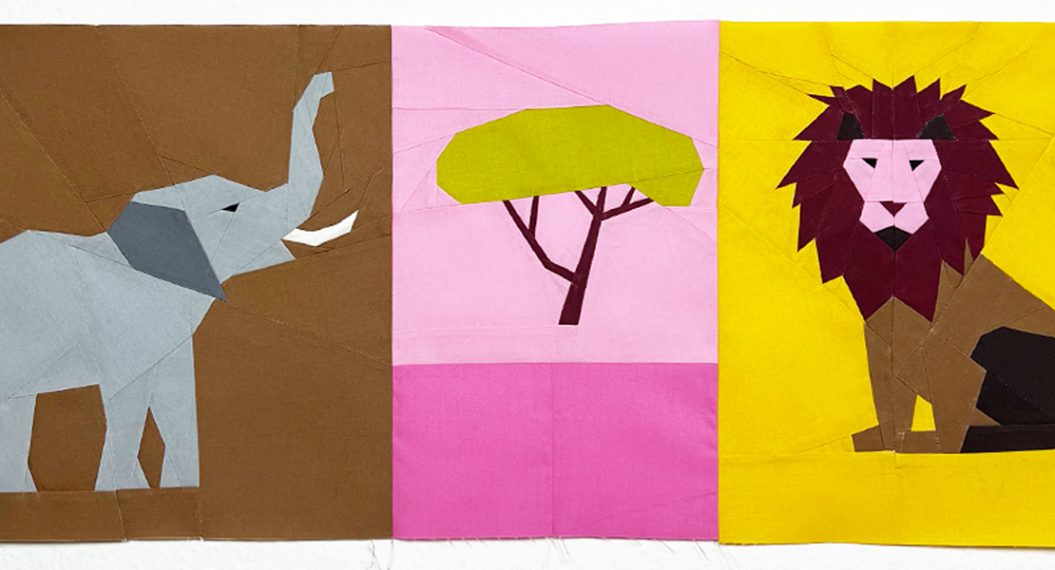
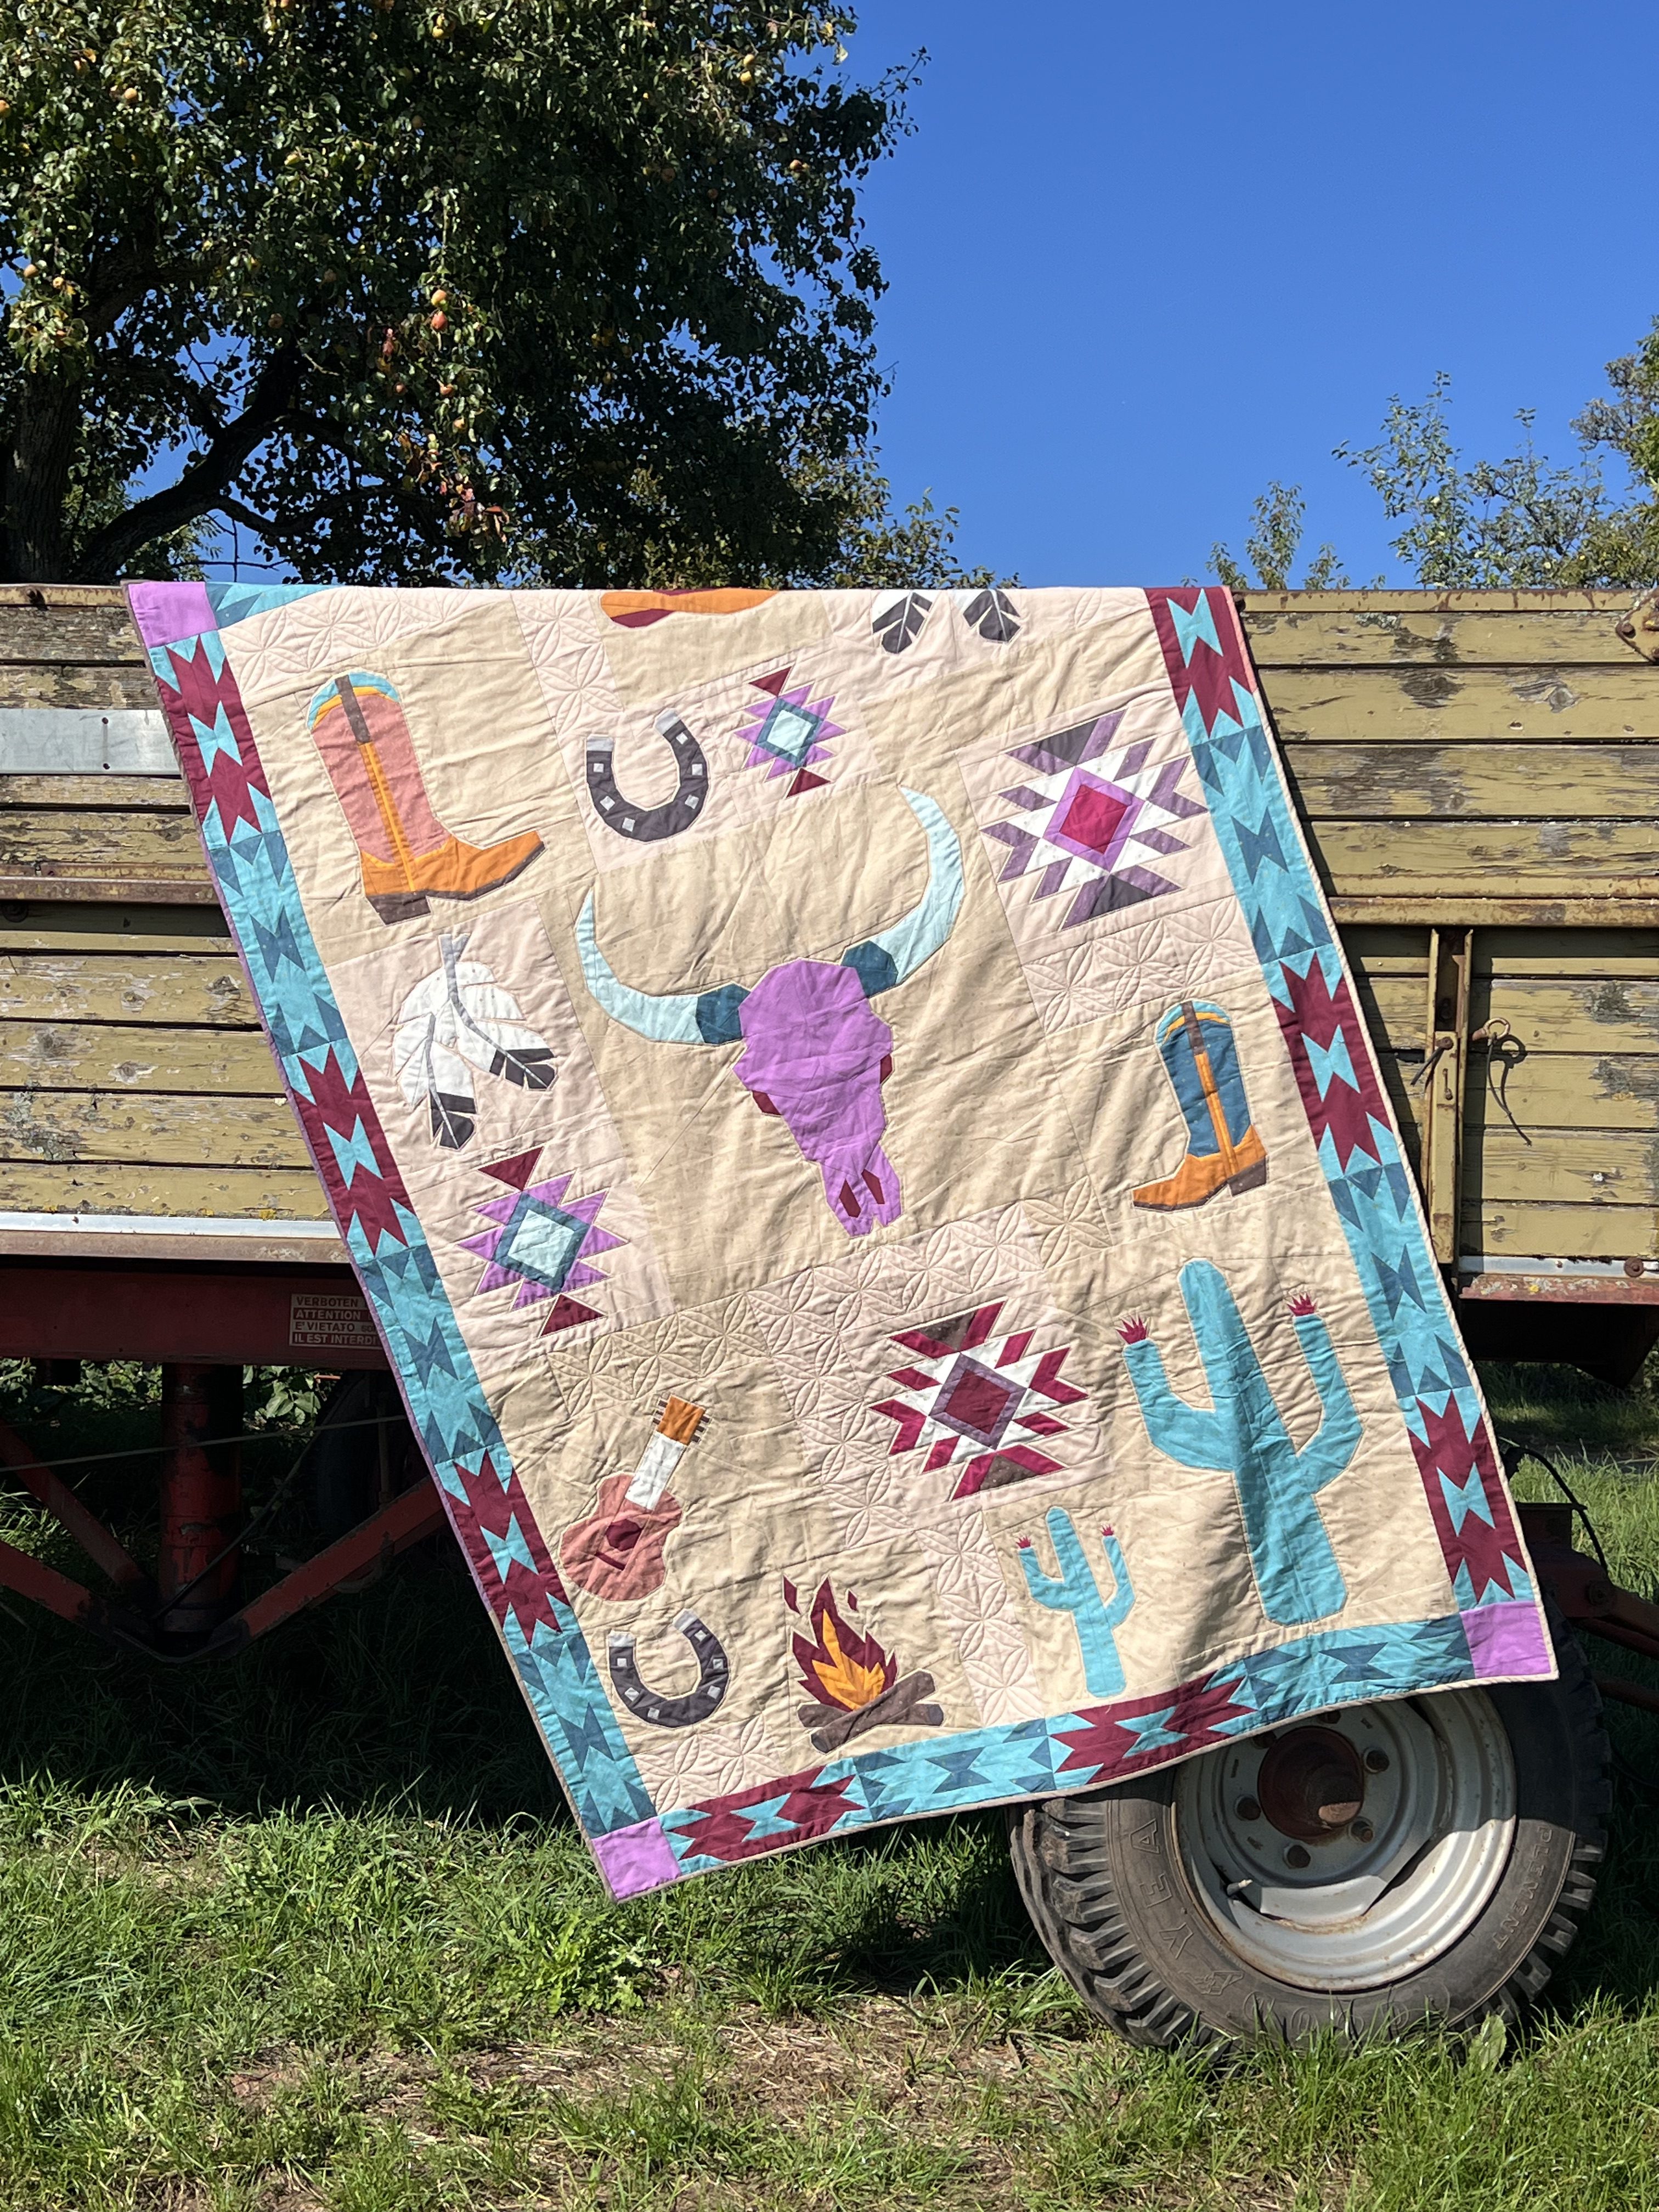
As you can see below, the colors and center block give this quilt a completely different feel.
Assembling the Border
Now it’s time to join your blocks into strips:
- 2 strips with 4 blocks each
- 2 strips with 6 blocks each
Cut 4 corner blocks measuring 4.5″ x 4.5″.
Important: Be careful not to stretch your blocks too much when sewing, especially along the diagonal edges; they can be a bit stretchy (particularly with the freezer paper method). Attach the corner blocks to the shorter strips
Attaching the Border
Now we put everything together:
- Sew the long border strips to the left and right sides of your quilt top
- Then attach the shorter strips to the top and bottom
And just like that…. your quilt top is complete!
You Did It!
All your foundation paper piecing blocks have come together into a beautiful Southwest Trails quilt top.
YeeHaw, this definitely calls for a celebration, don’t you think?
You are officially a FPP PRO!
Show Me Your Quilts!
I would absolutely love to see your finished quilt tops!
Share them:
- On Instagram, using the hashtag #southwestQAL
- Or upload them to the WeAllSew Community Section
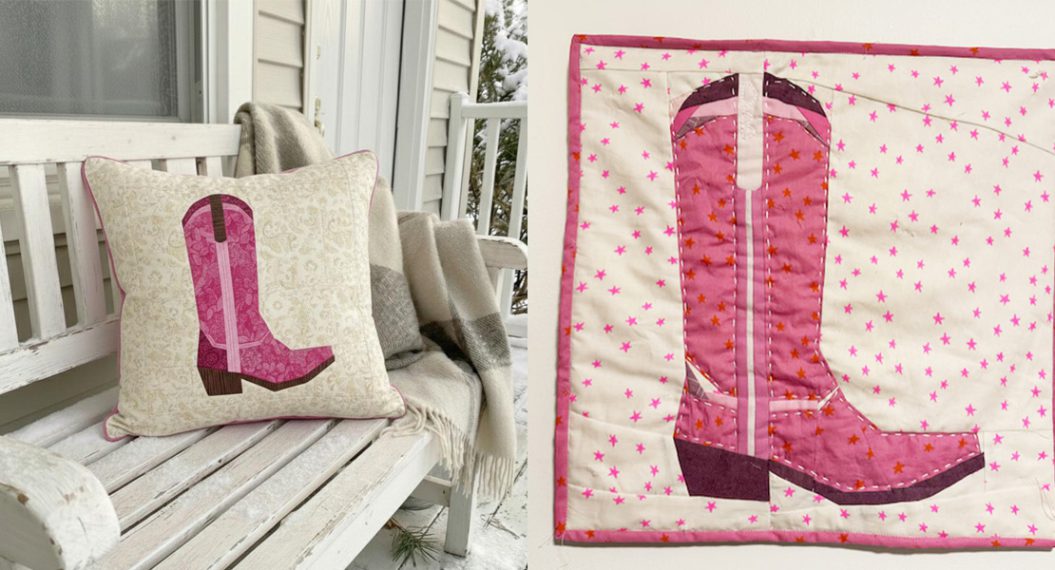
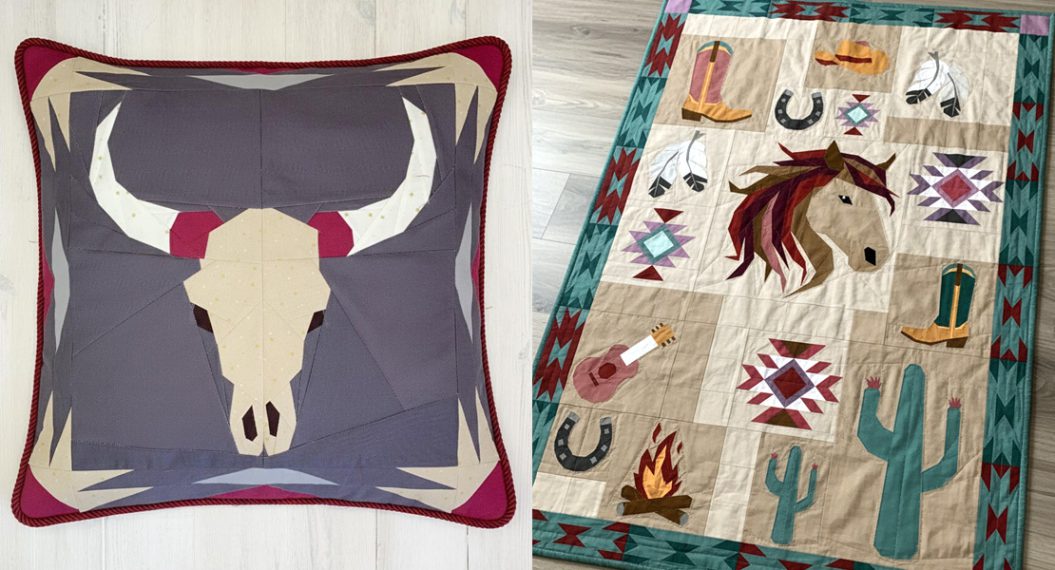
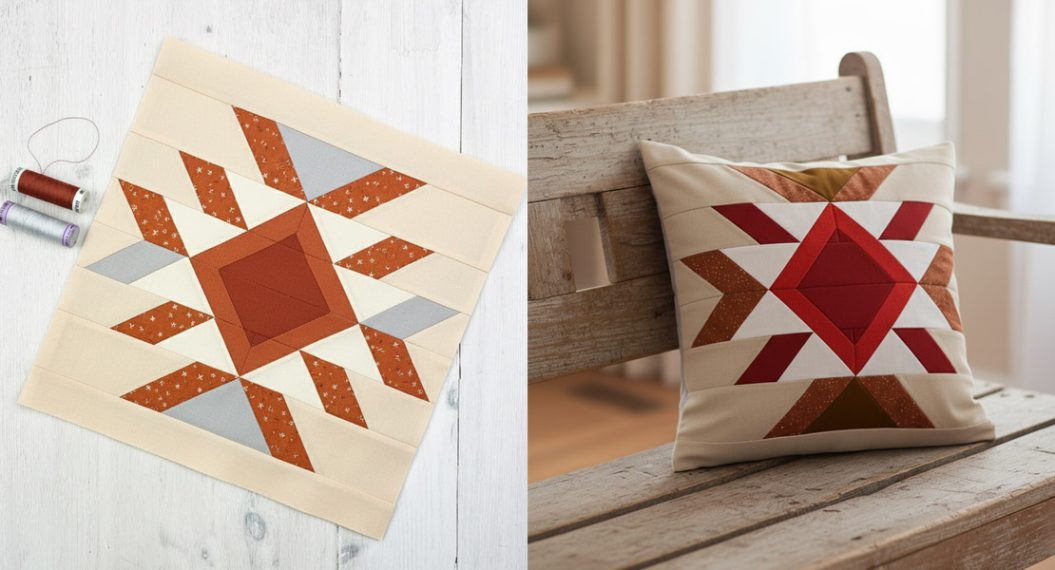
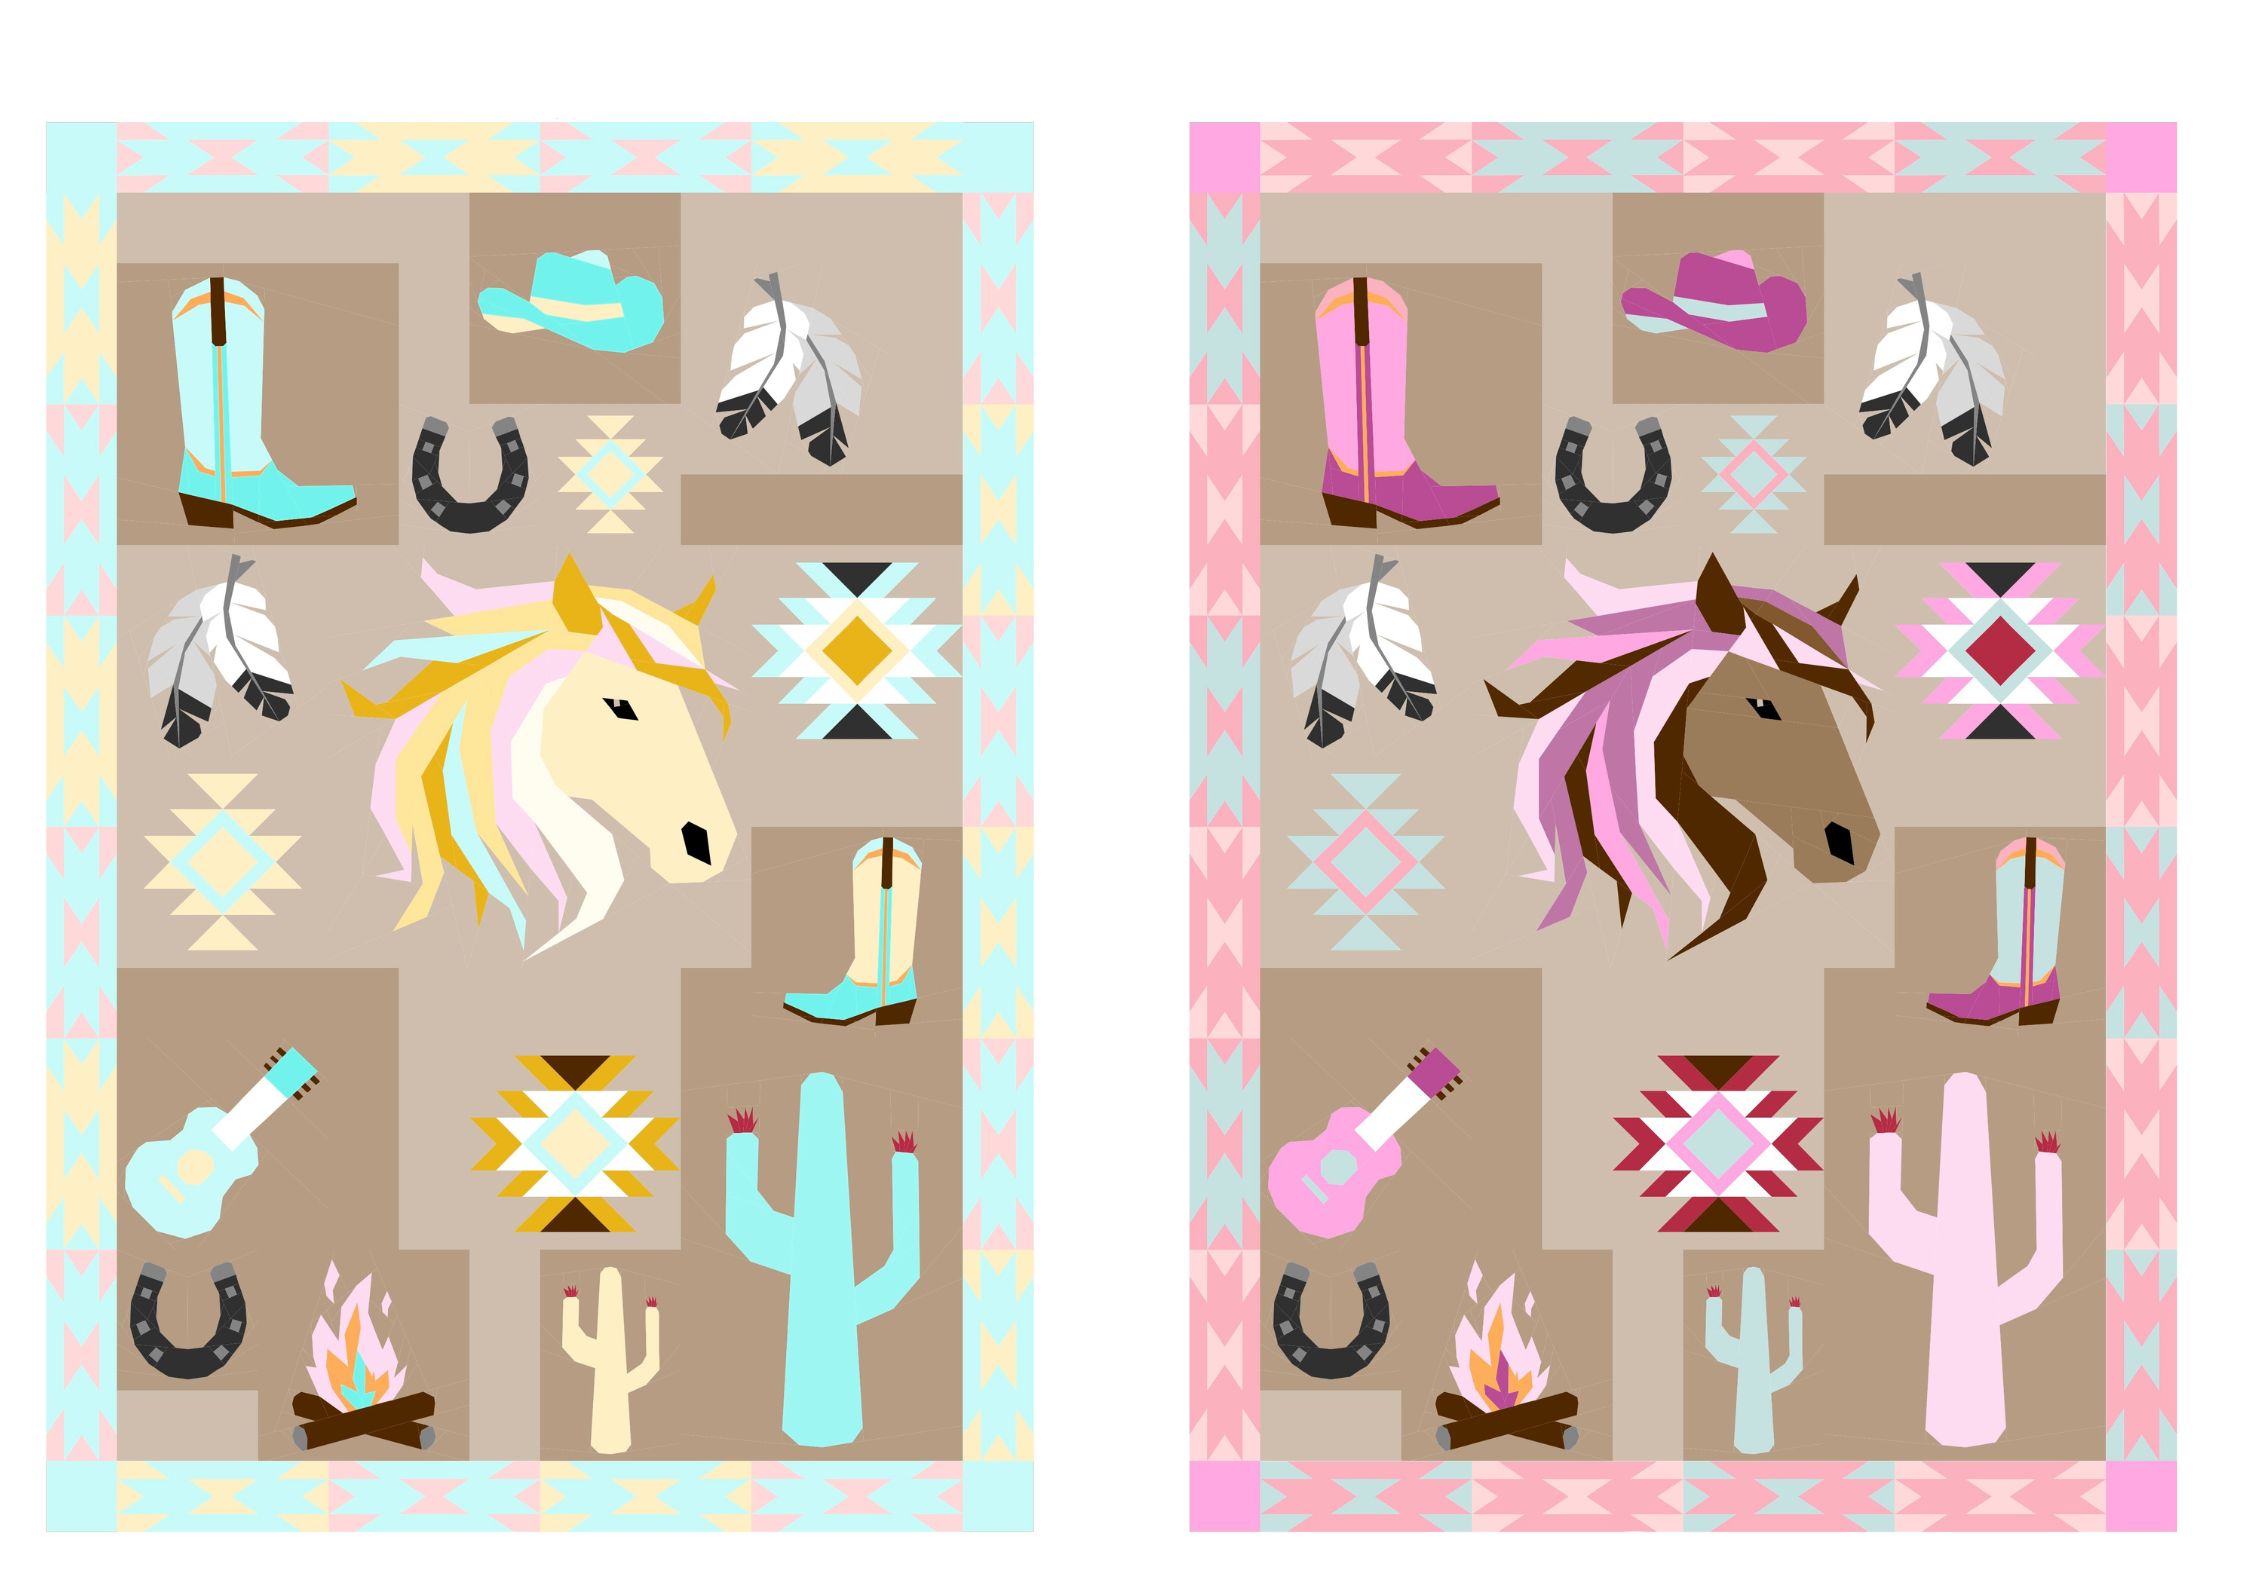
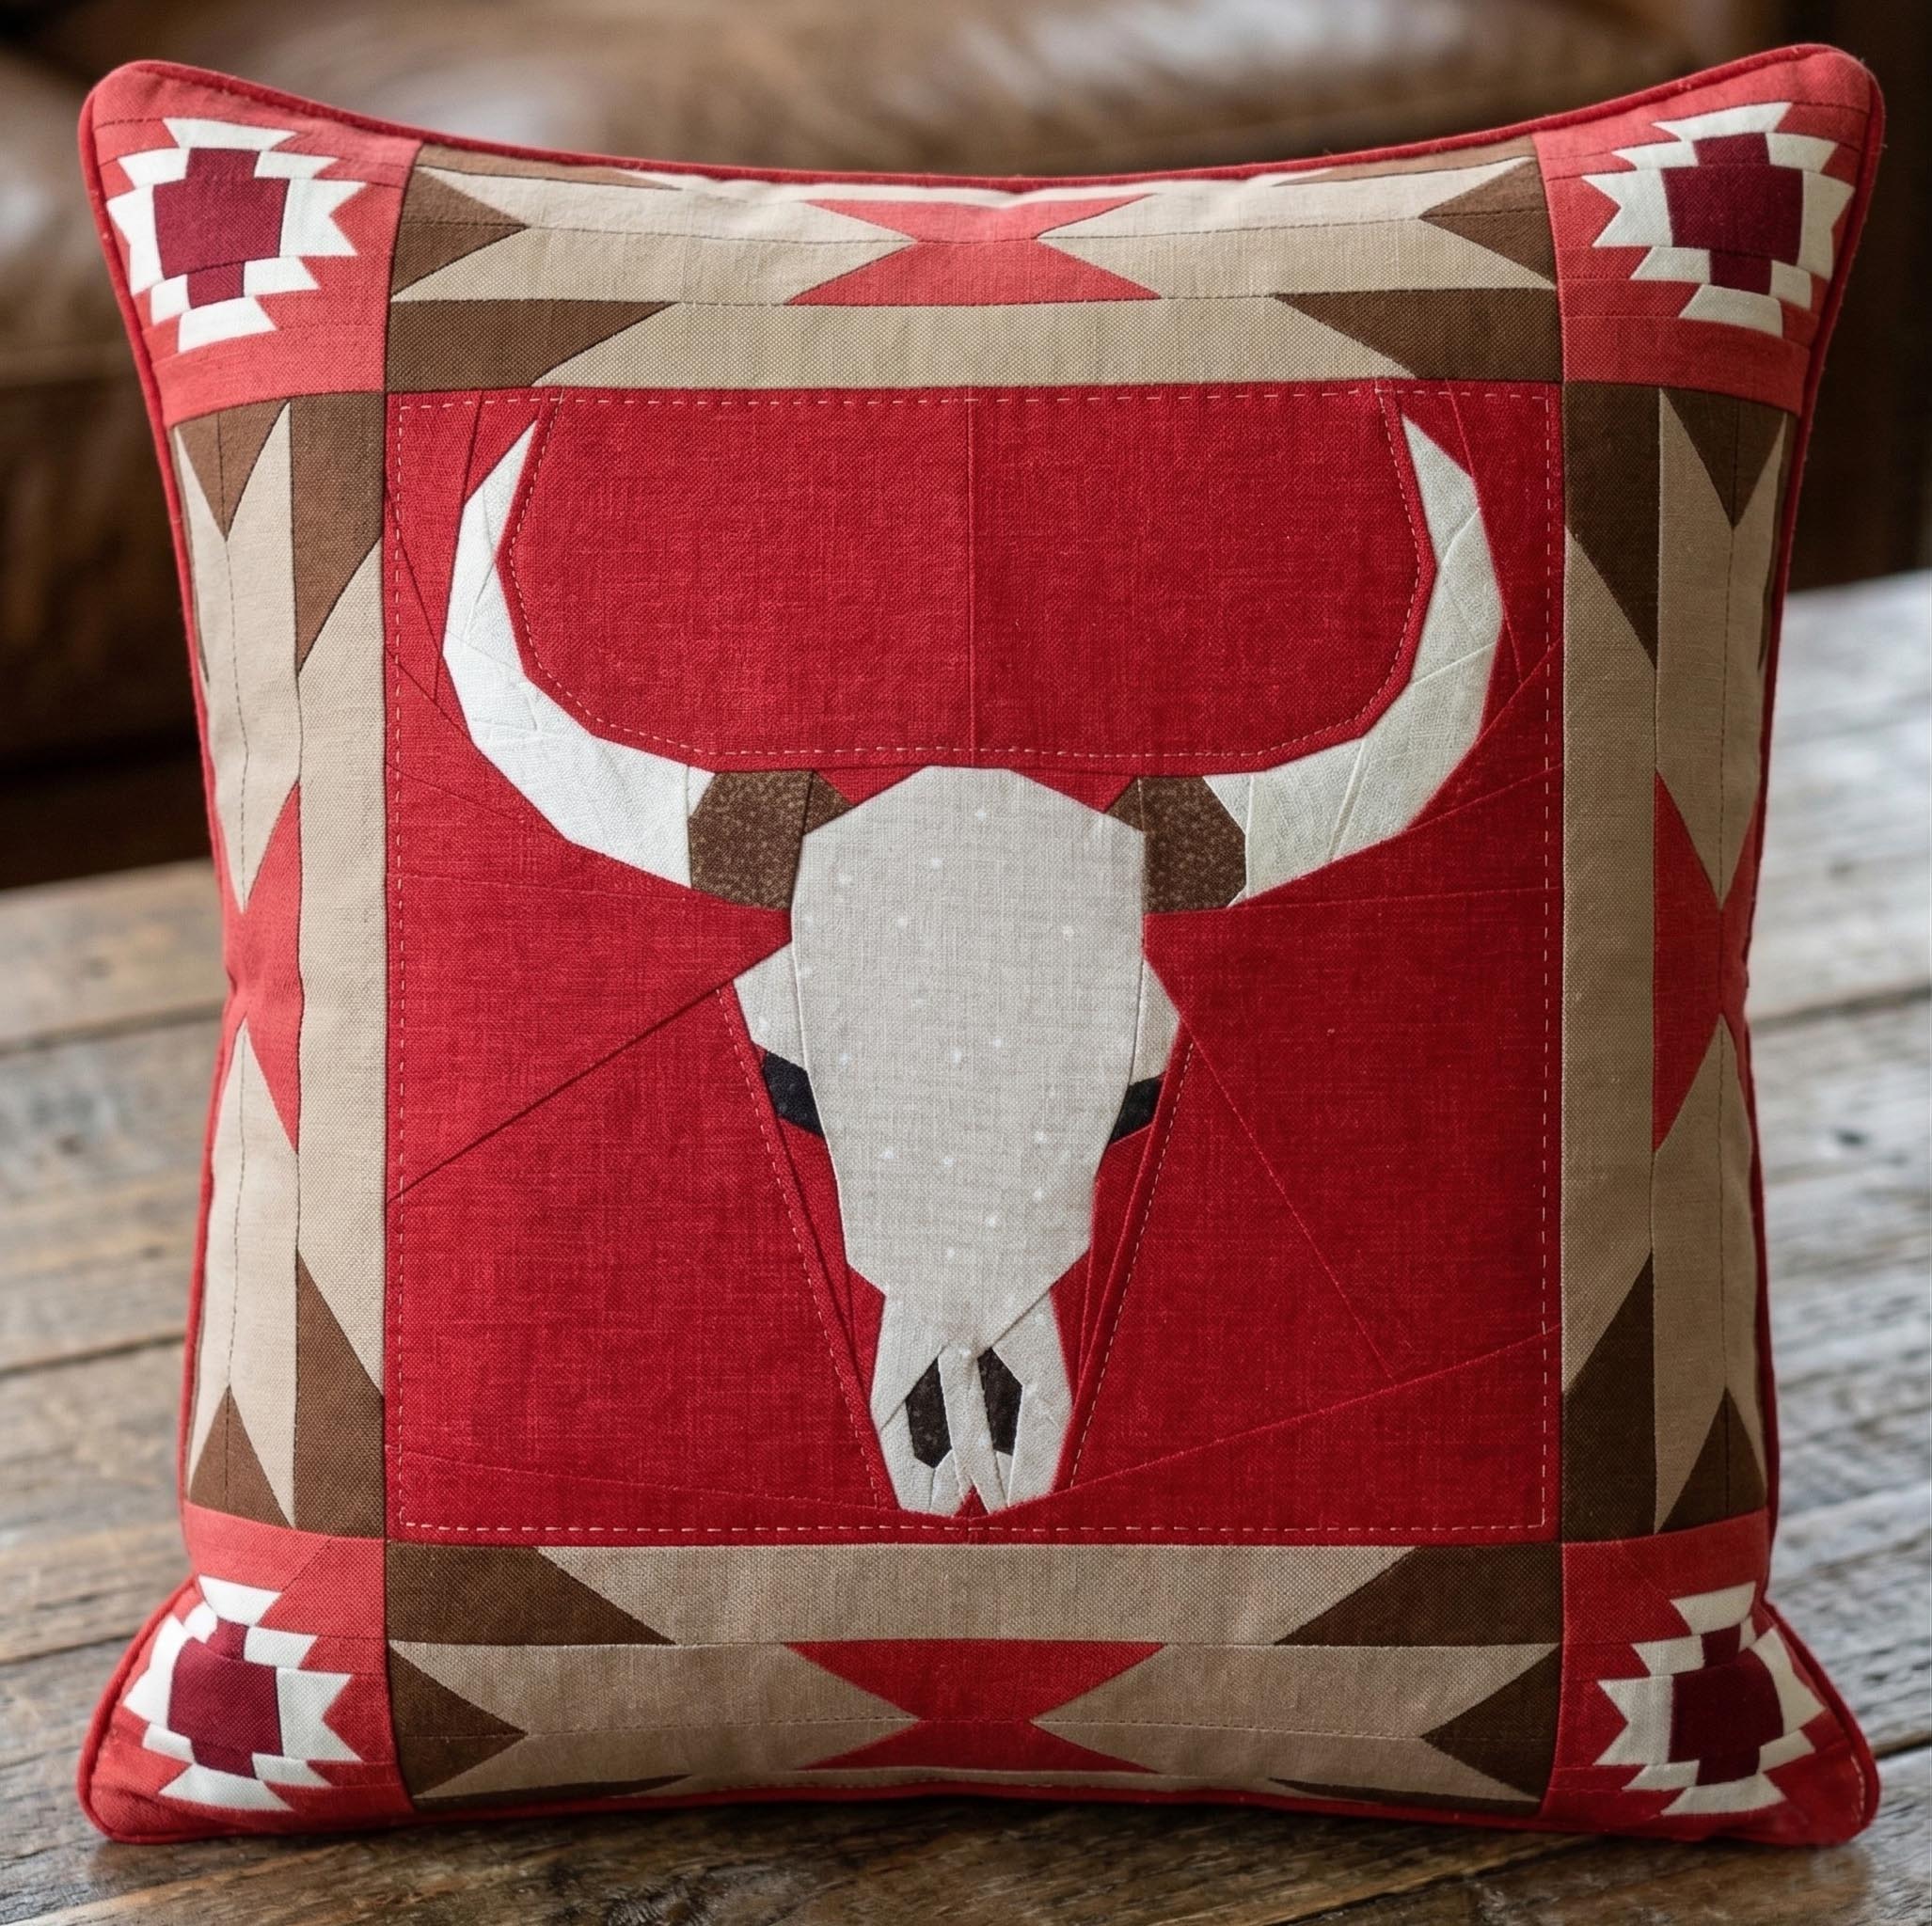
If you’d like me to share your photos, feel free to email them to me anytime. As you know, these patterns can be mixed and matched whichever way you want to.
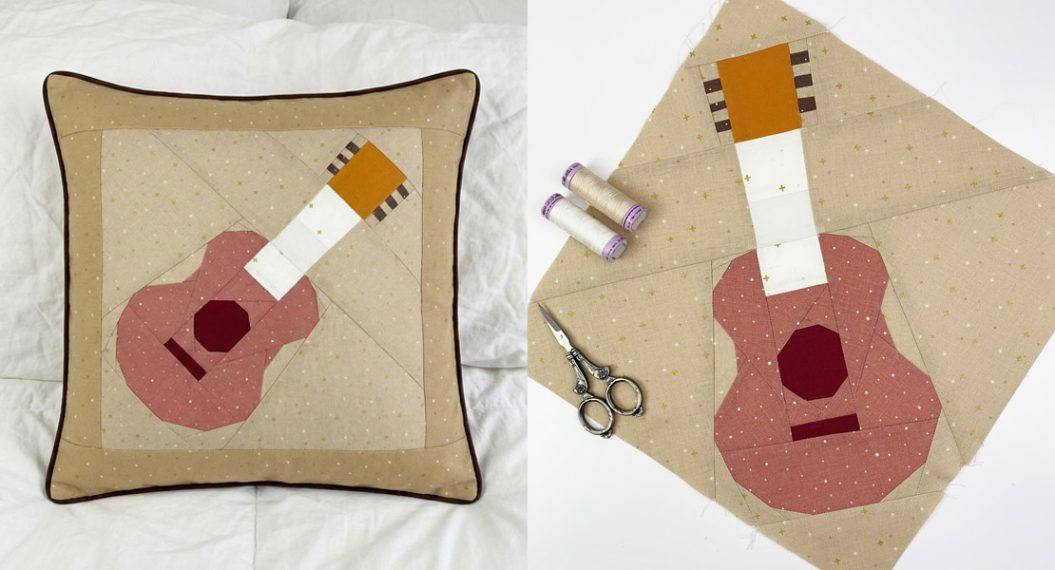
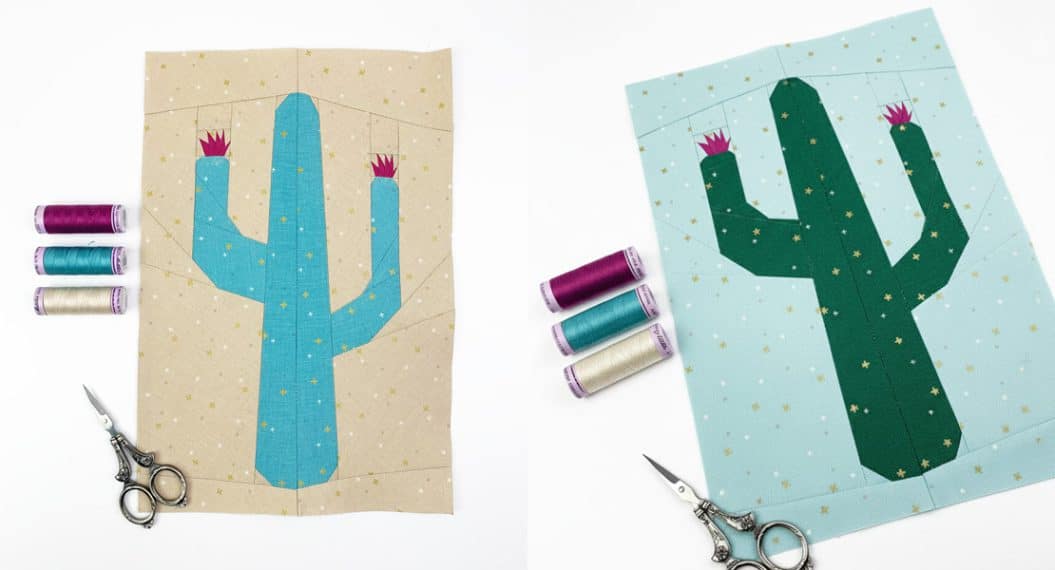
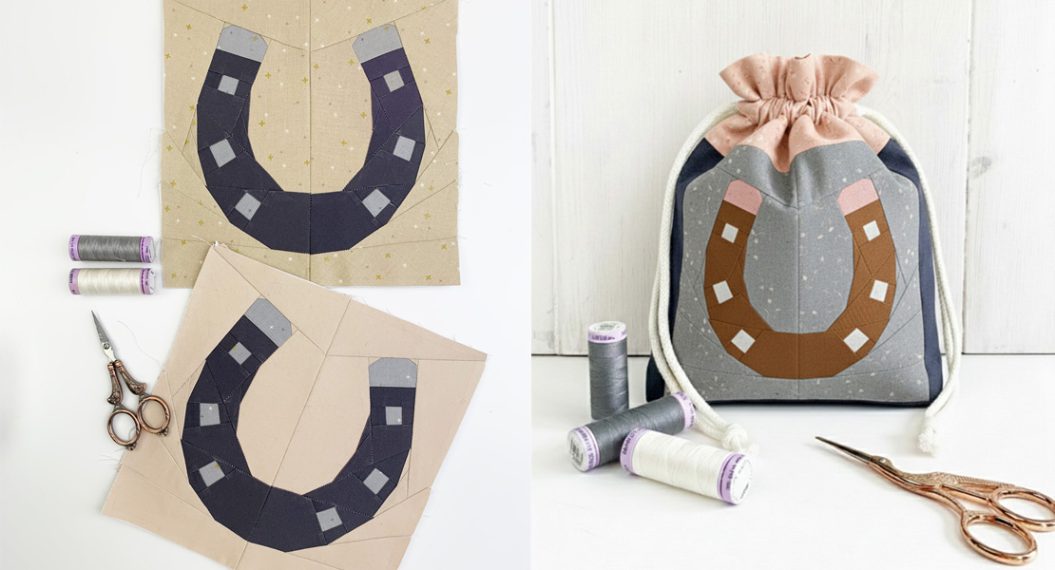
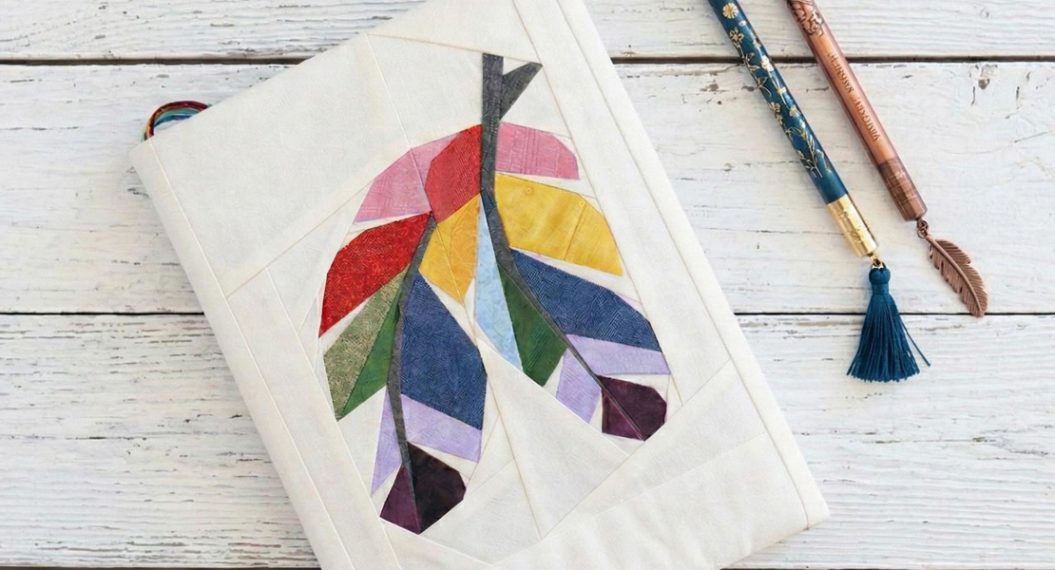
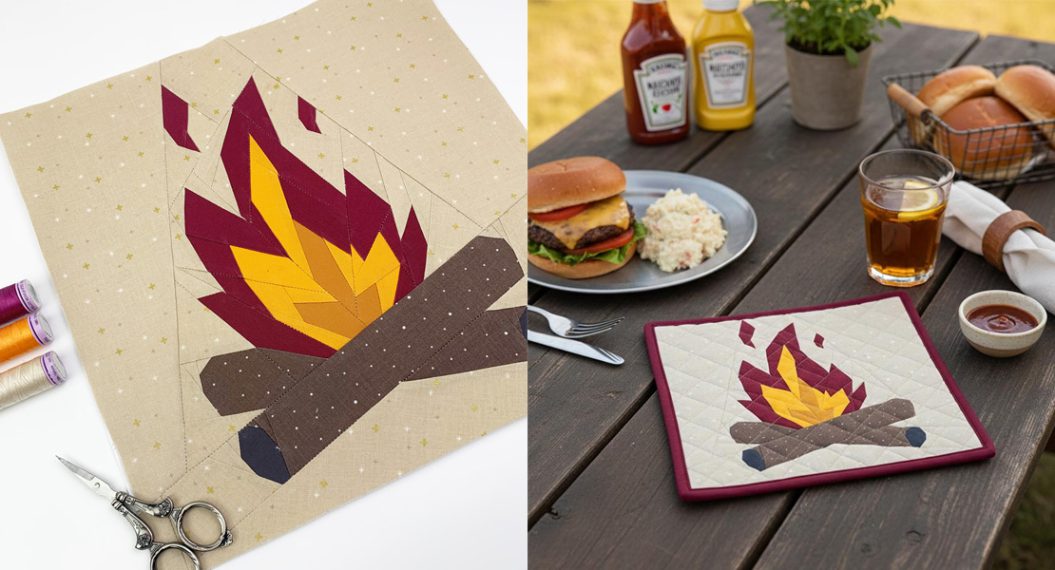
Throughout this quilt along I showed you several different ways to use the blocks, besides this amazing quilt.
Join the Giveaway!

You made it, and of course, there’s a giveaway! We’re so excited to be giving away a BERNINA 475 QE to one lucky winner!
To enter: Post a photo of your finished quilt top on Instagram using #southwestquiltalong or in the WeAllSew Community Section by May 10, 2026.
Important: This isn’t about creating the “perfect” quilt; it’s about having fun, learning something new, and being proud of what you’ve made.
Participation Requirements
- Share your quilt top using the hashtag #southwestquiltalong
- Or upload it to the WeAllSew Community Section
- Your quilt top should follow the quilt along instructions
- Fabric and color choices are completely up to you
- Quilting and binding are not required
Winners will be selected at random. I’m keeping my fingers crossed for all of you and can’t wait to see your beautiful creations!
Until next time, yours,
Ingrid ✨