


Interested in these Products?
Get in touch with your local BERNINA store.
Get in touch with your local BERNINA store.
Recent Blog Posts
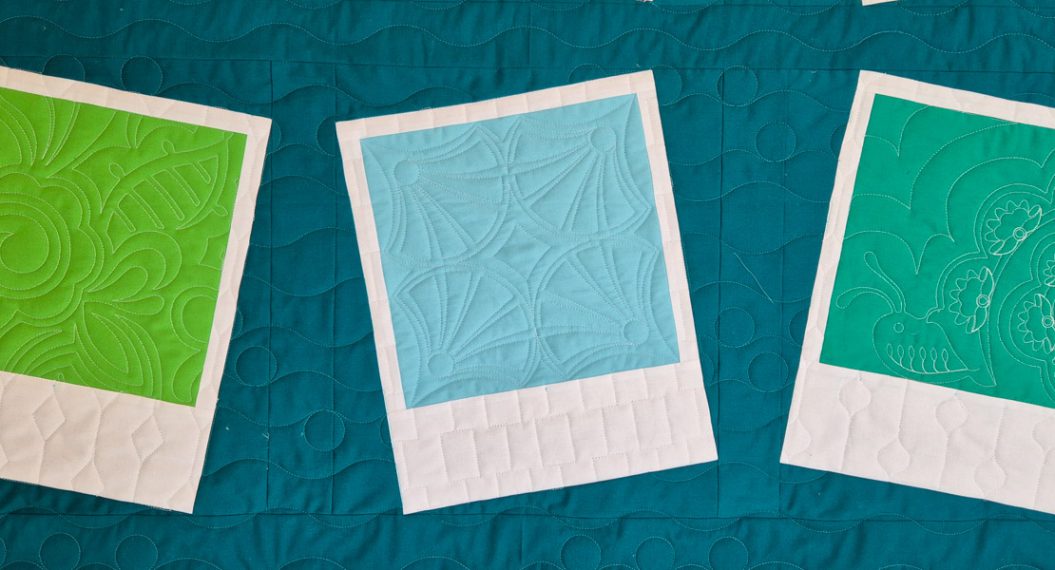
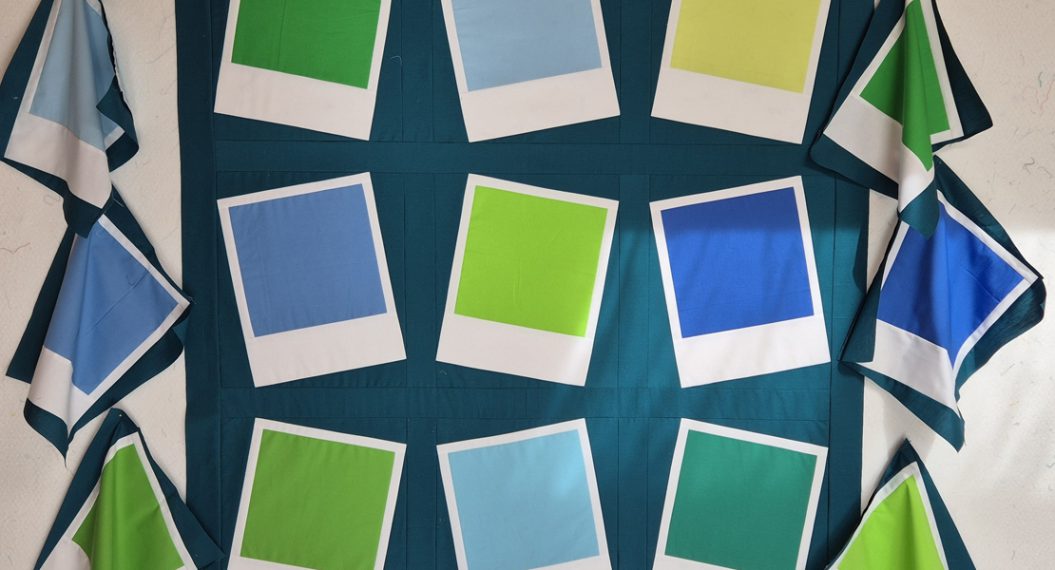
- Picture Perfect Quilt: a Q-matic Practice Project, Part Two
- Beginner CutWork & Appliqué on the BERNINA 990, Part Two
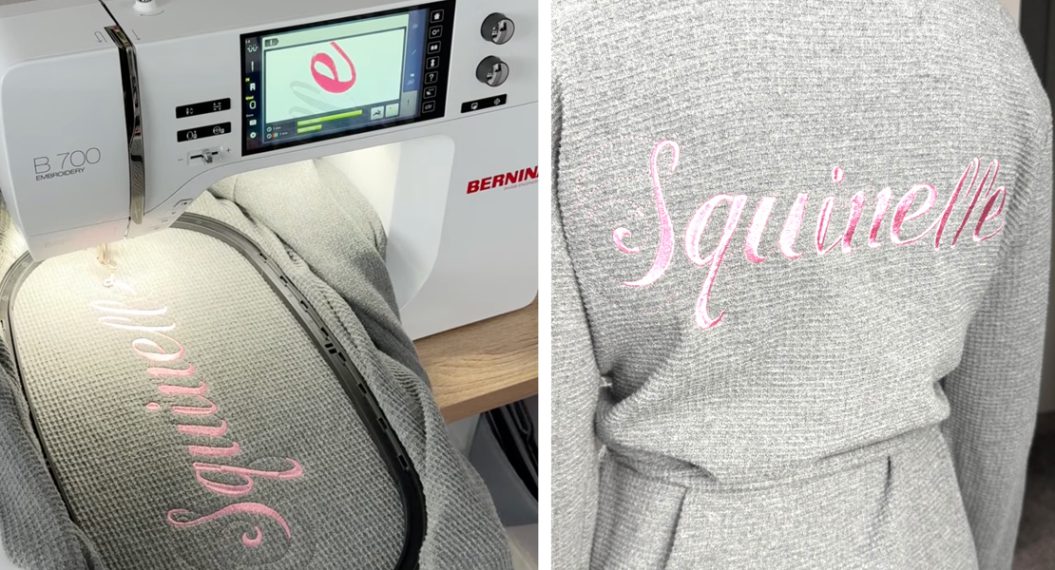
- Why Embroidery Forces You to Think Differently
- Picture Perfect Quilt: A Q-matic Practice Project, Part One
- Beginner CutWork & Appliqué on the BERNINA 990, Part One
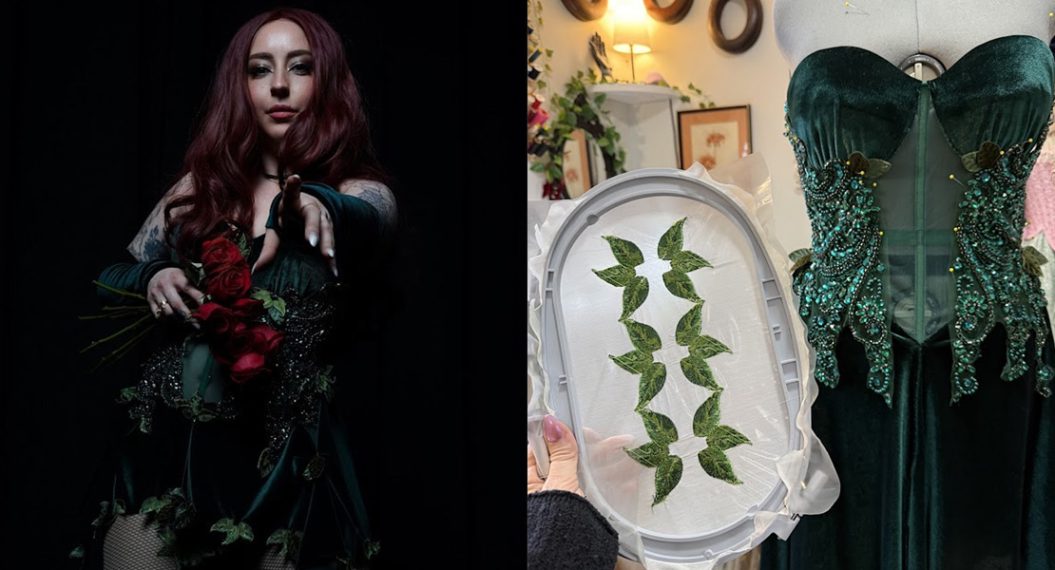
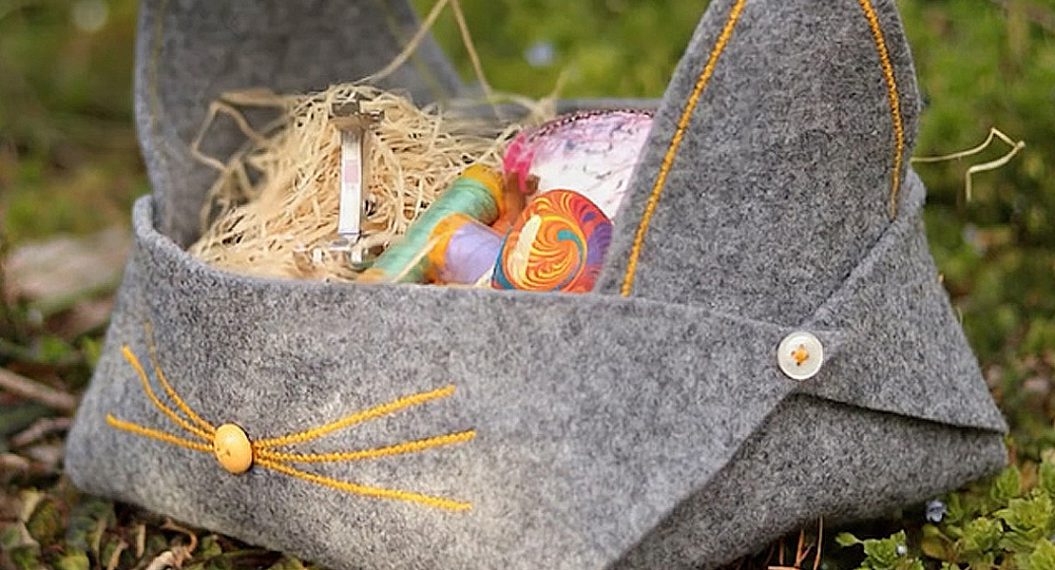
A very nice and creative pattern for halloween…thanks!