Beginner CutWork & Appliqué on the BERNINA 990, Part Two
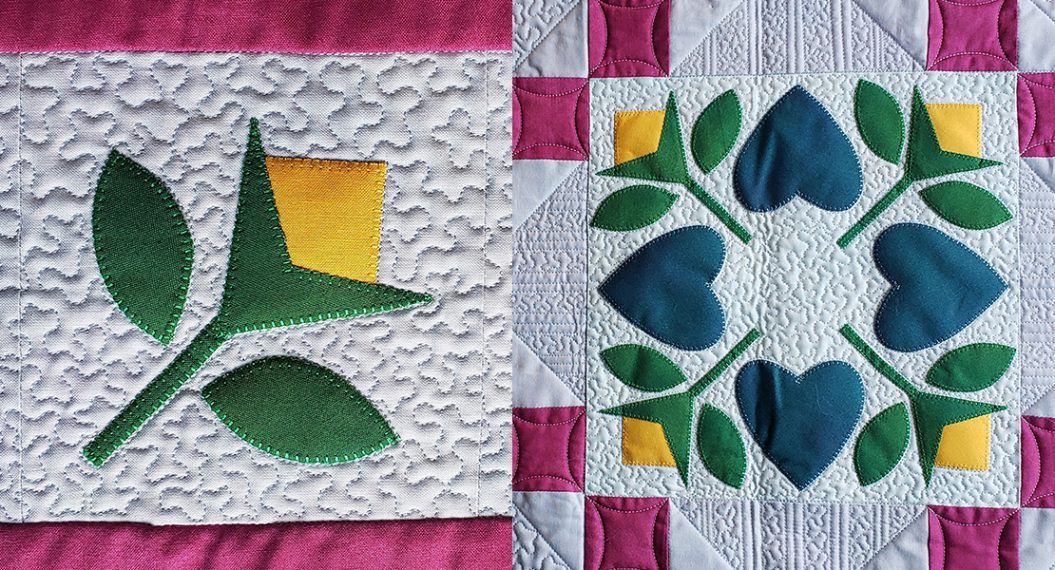
Welcome back to part two of this beginner guide to CutWork and appliqué in-the-hoop. In part one, we prepped our fabric and used the CutWork tool to cut out some orange peel shapes. In this post, we will use companion designs to stitch down the appliqués.
Supplies
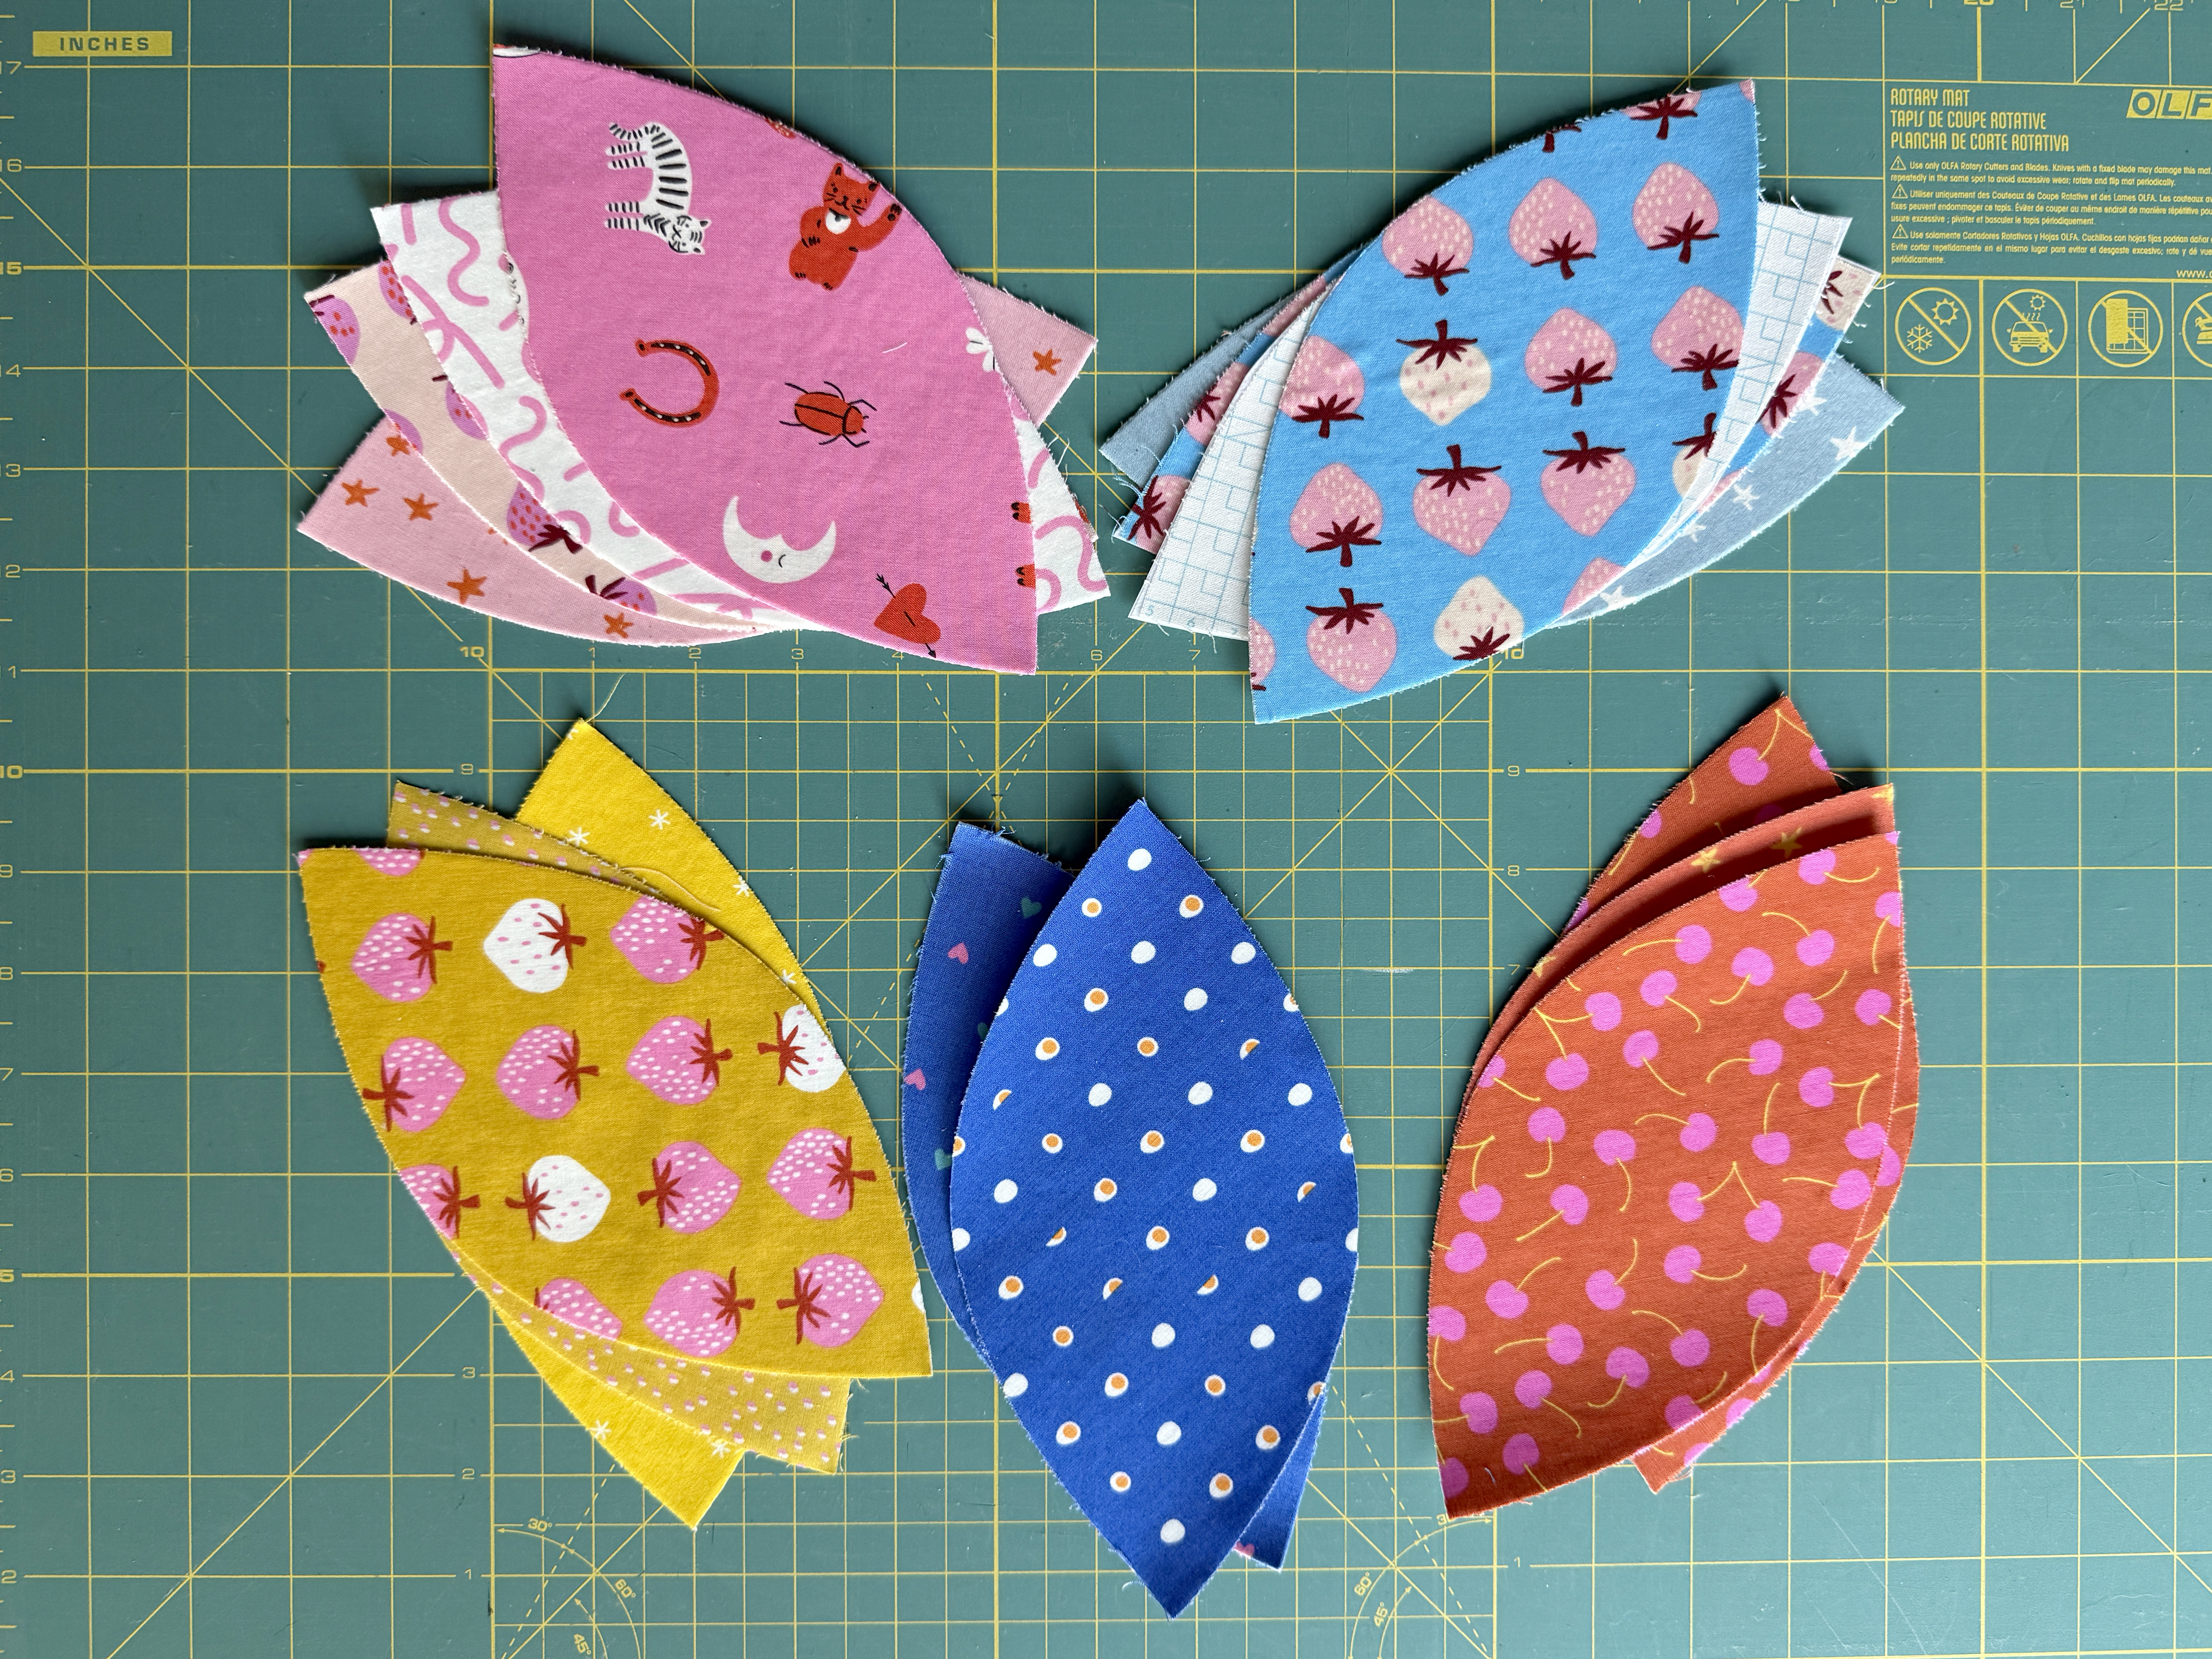
- Appliqué shapes prepared with fusible web
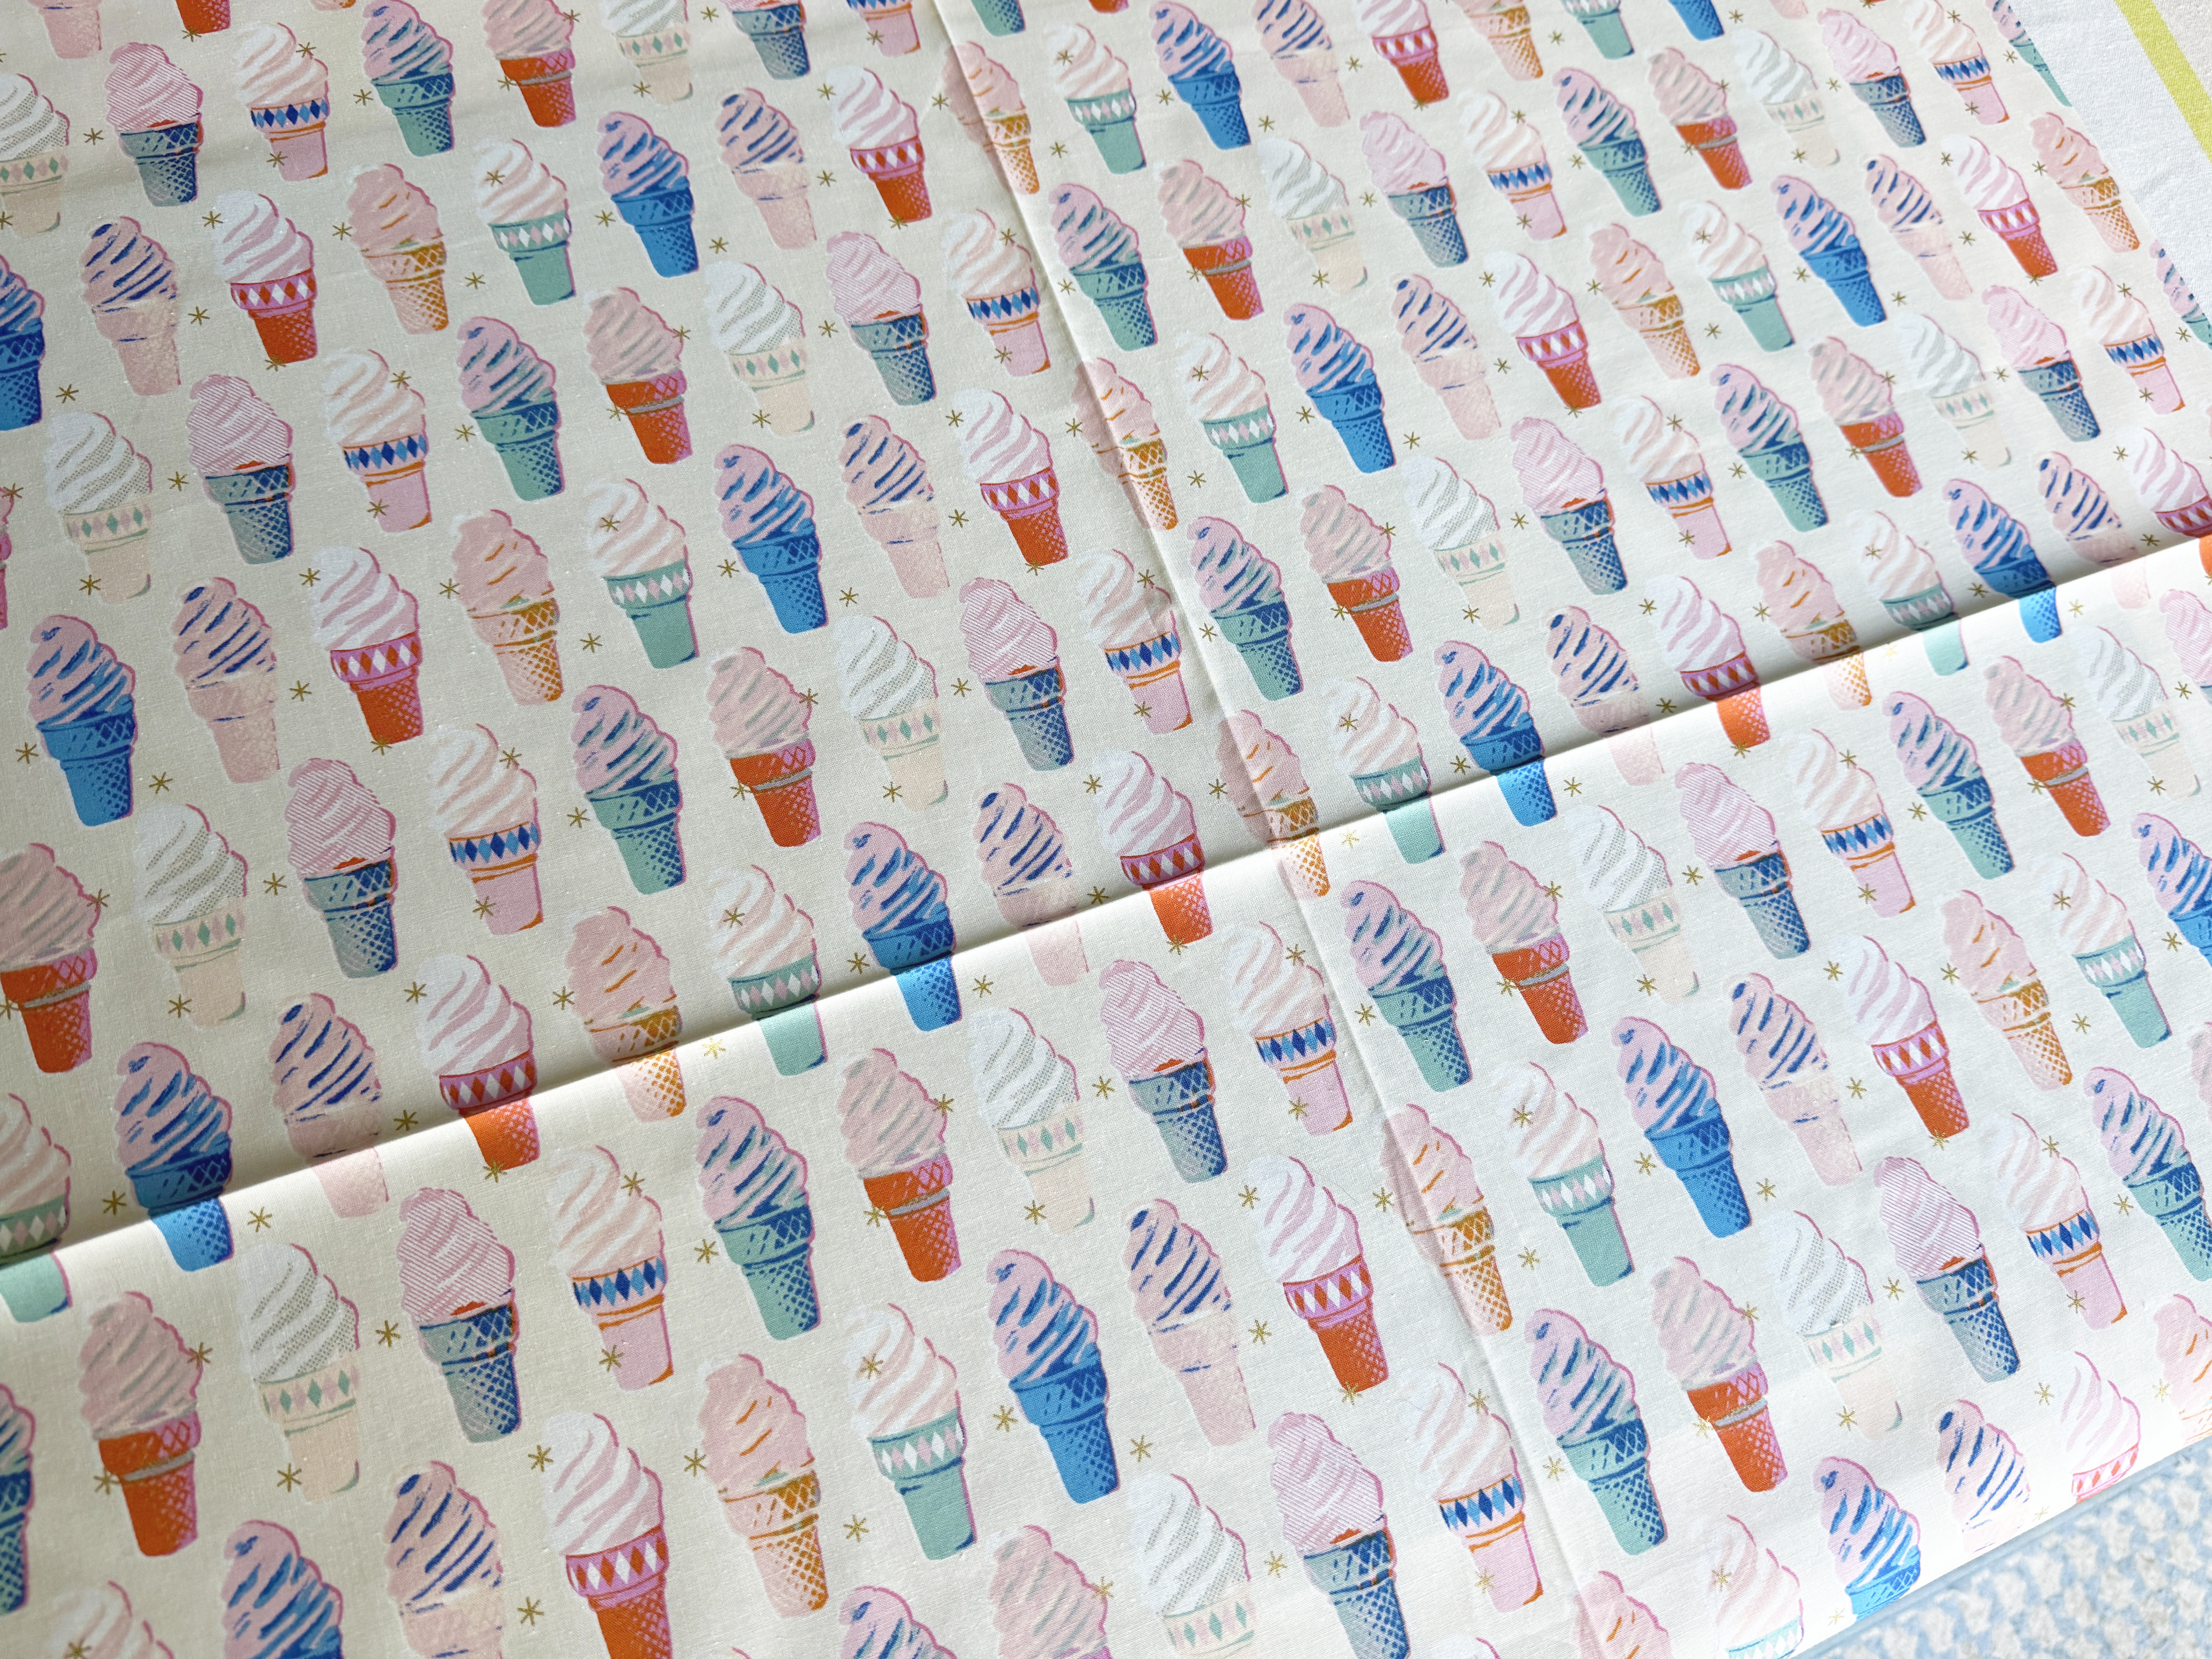
- 28” x 28” square of quilting cotton fabric
- 24” wide roll OESD Ultra Clean & Tear stabilizer
- 40 weight embroidery thread, such as Isacord
- Chalk or water-soluble fabric marker
- 505 Spray Adhesive
- 75/11 embroidery needle
- OESD Bobbin Thread
- Embroidery Foot #26L
- Straight Stitch Plate with Sensor
- Giant Hoop
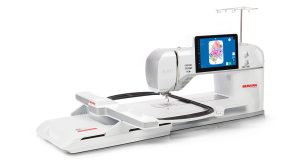
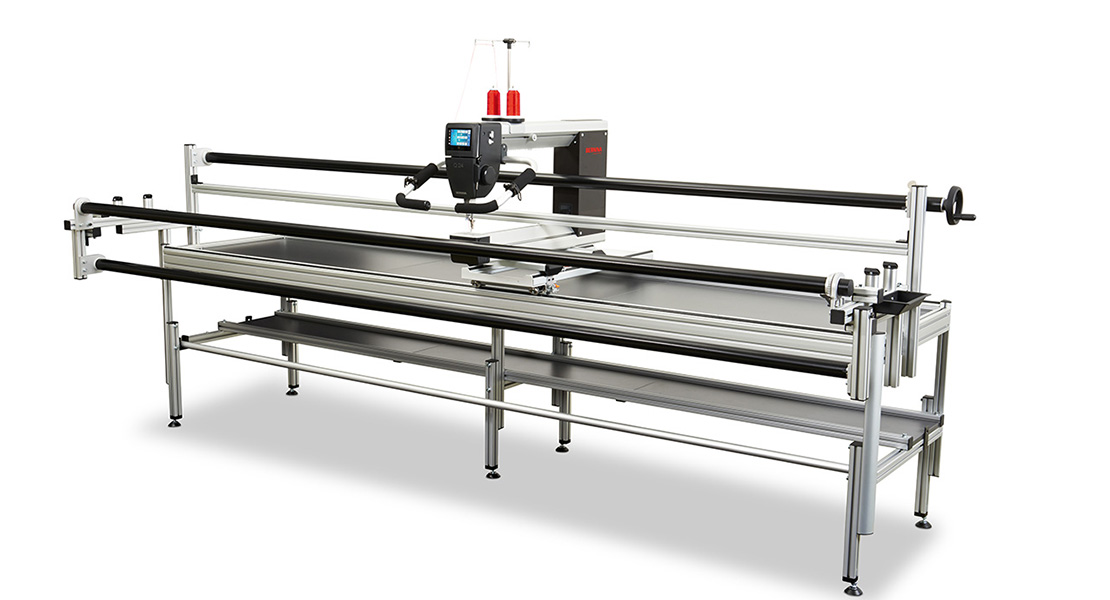
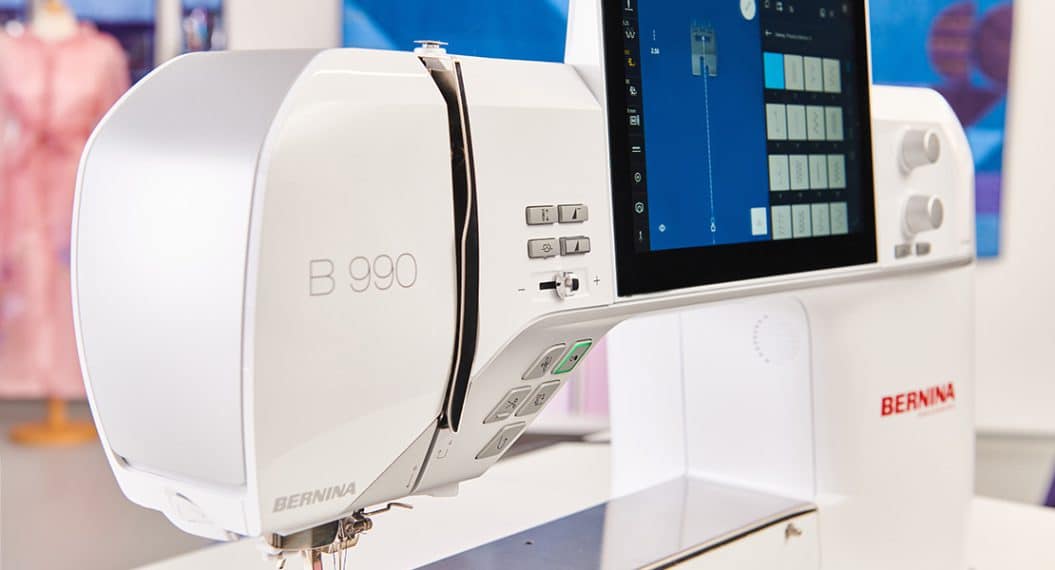
- BERNINA 990
- Embroidery Module XL with Smart Drive Technology
Step 1: Prepare Background Fabric
Cut your background fabric to 28” x 28”. The pillow will finish at 24” square, but I recommend cutting a generous size for ease of hooping, positioning, and allowing for some shrinkage if you choose to quilt this piece.
Fold your background fabric in half both vertically and horizontally, and press to crease. Mark these vertical and horizontal lines with a fabric marker as well to ensure they’re very visible and hold up throughout this process. It’s important not to use a heat-erase marker for this—we will fuse our appliqués along the way, and we don’t want to accidentally erase necessary guidelines!
Step 2: Hoop Background Fabric
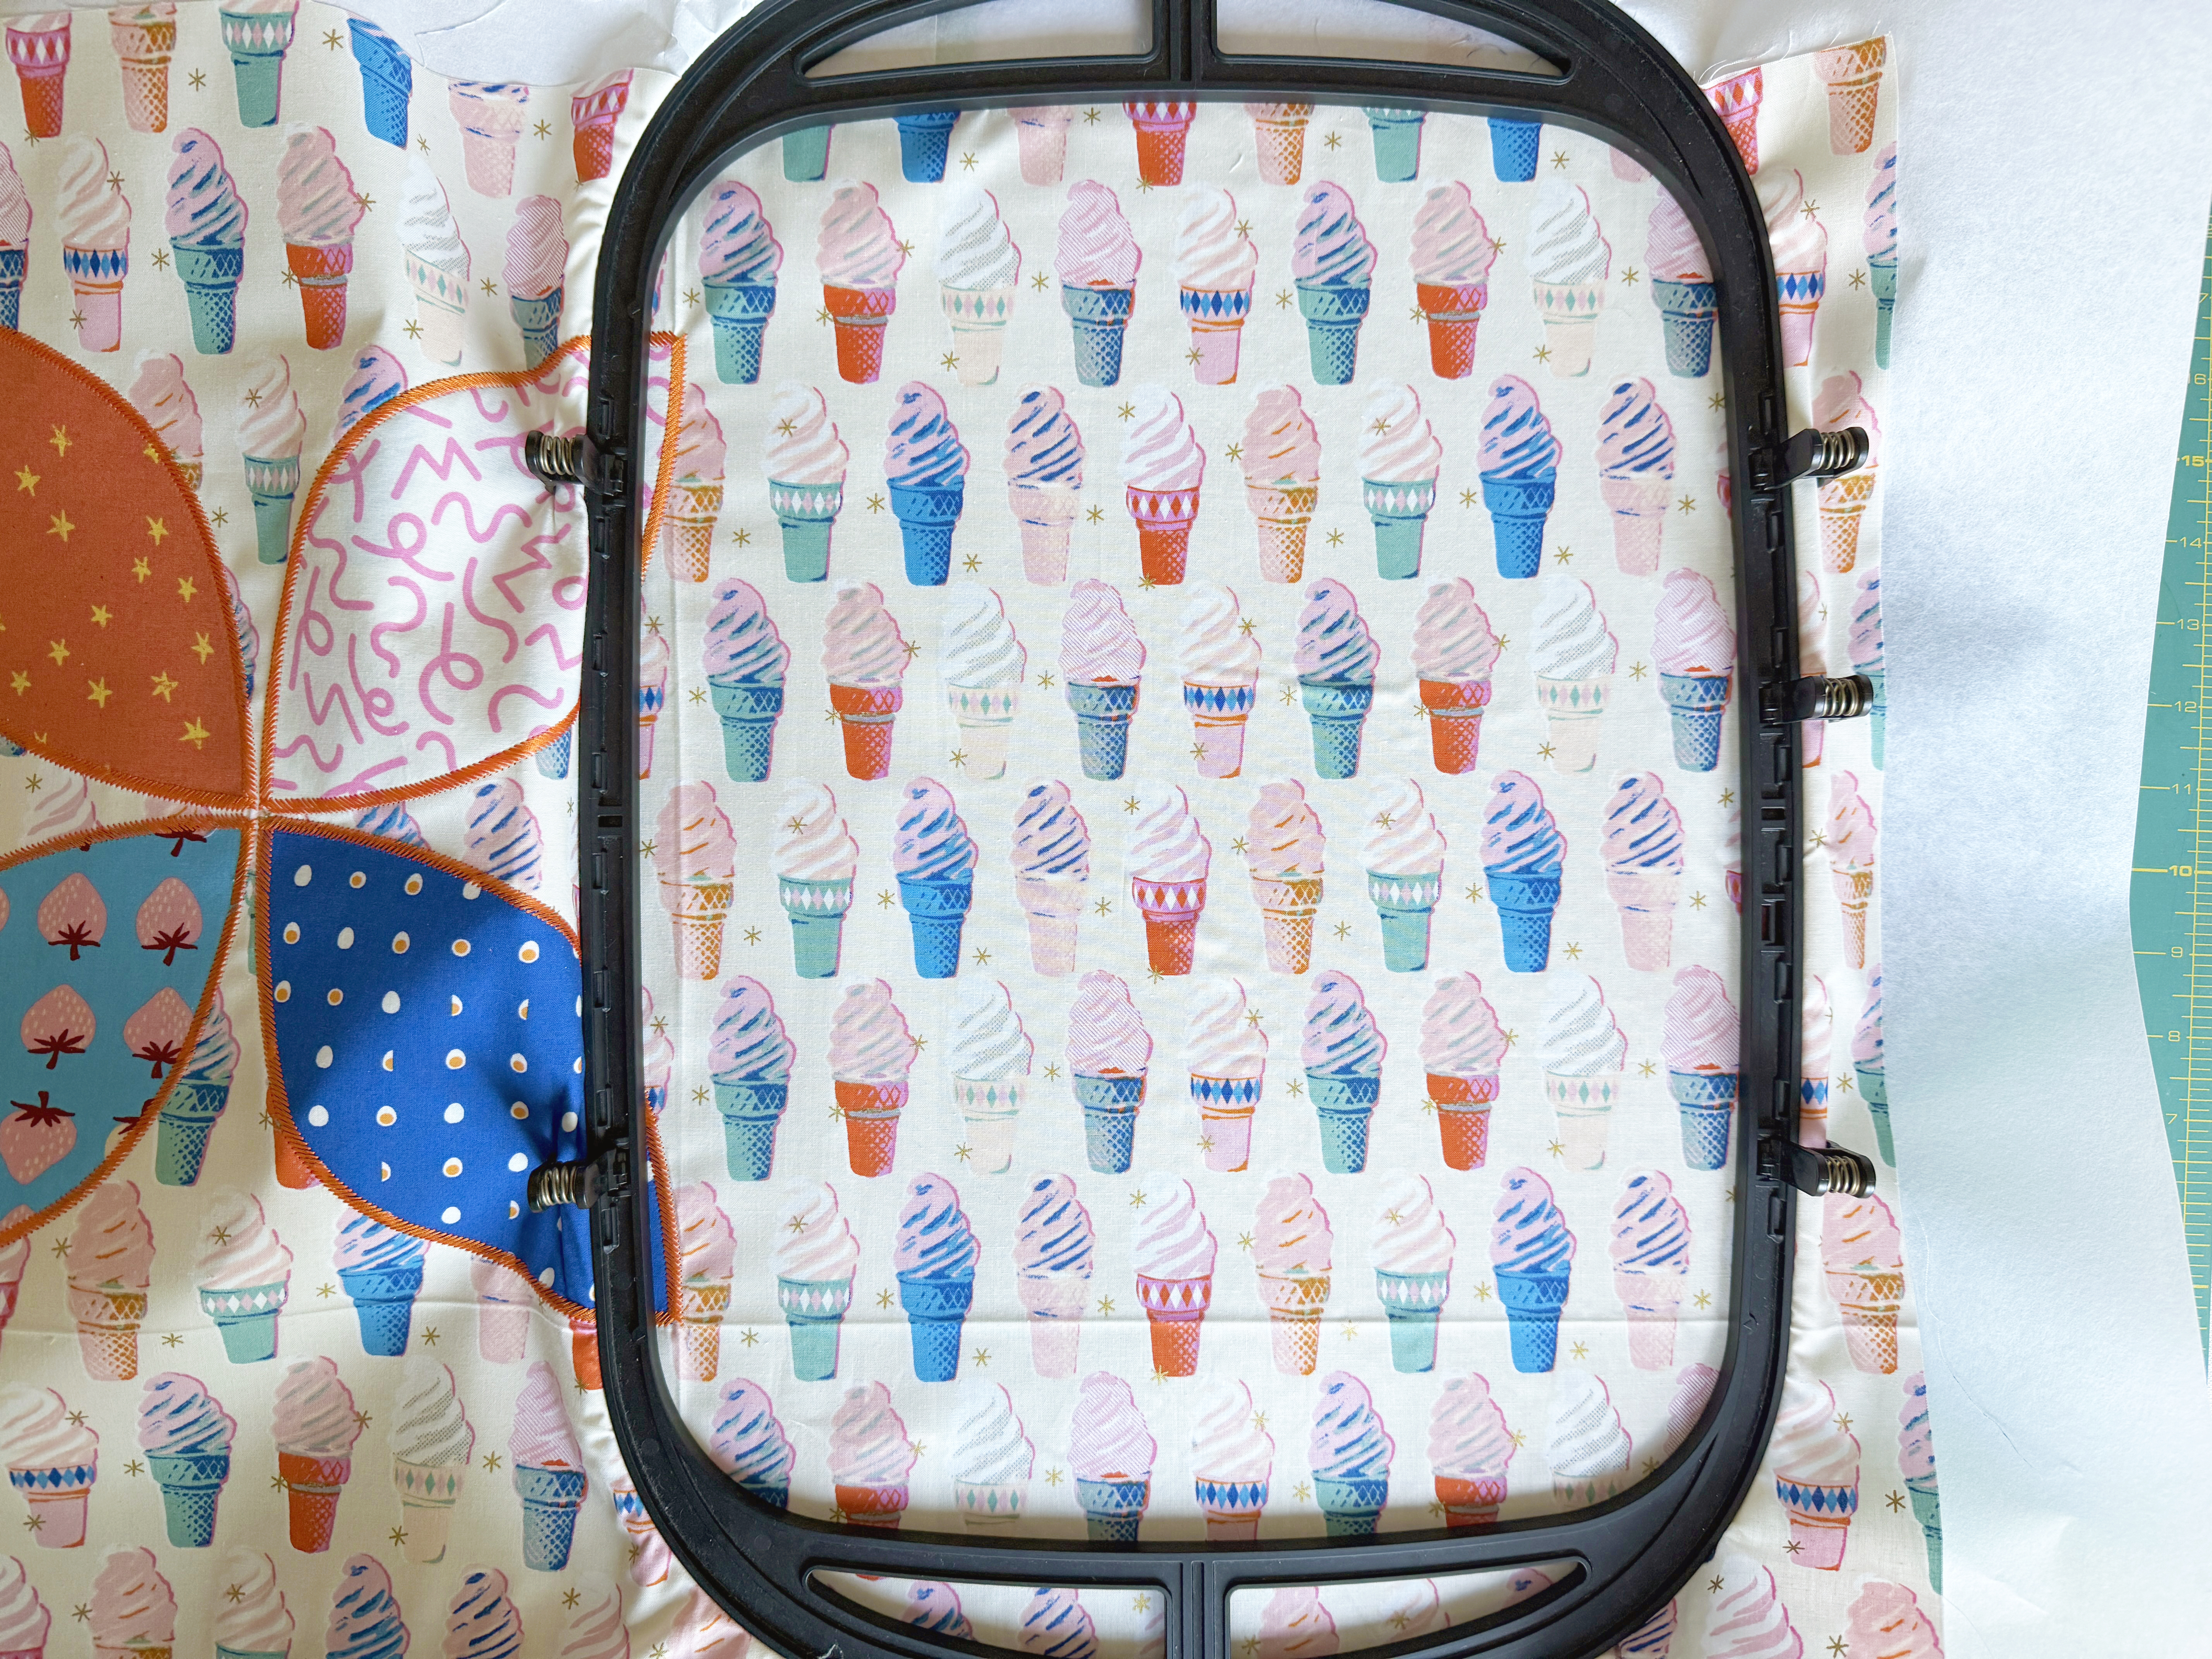
Place one piece of Ultra Clean & Tear stabilizer behind the background fabric, centered behind the upper left quadrant you marked out. Use spray adhesive to hold the two layers together smoothly.
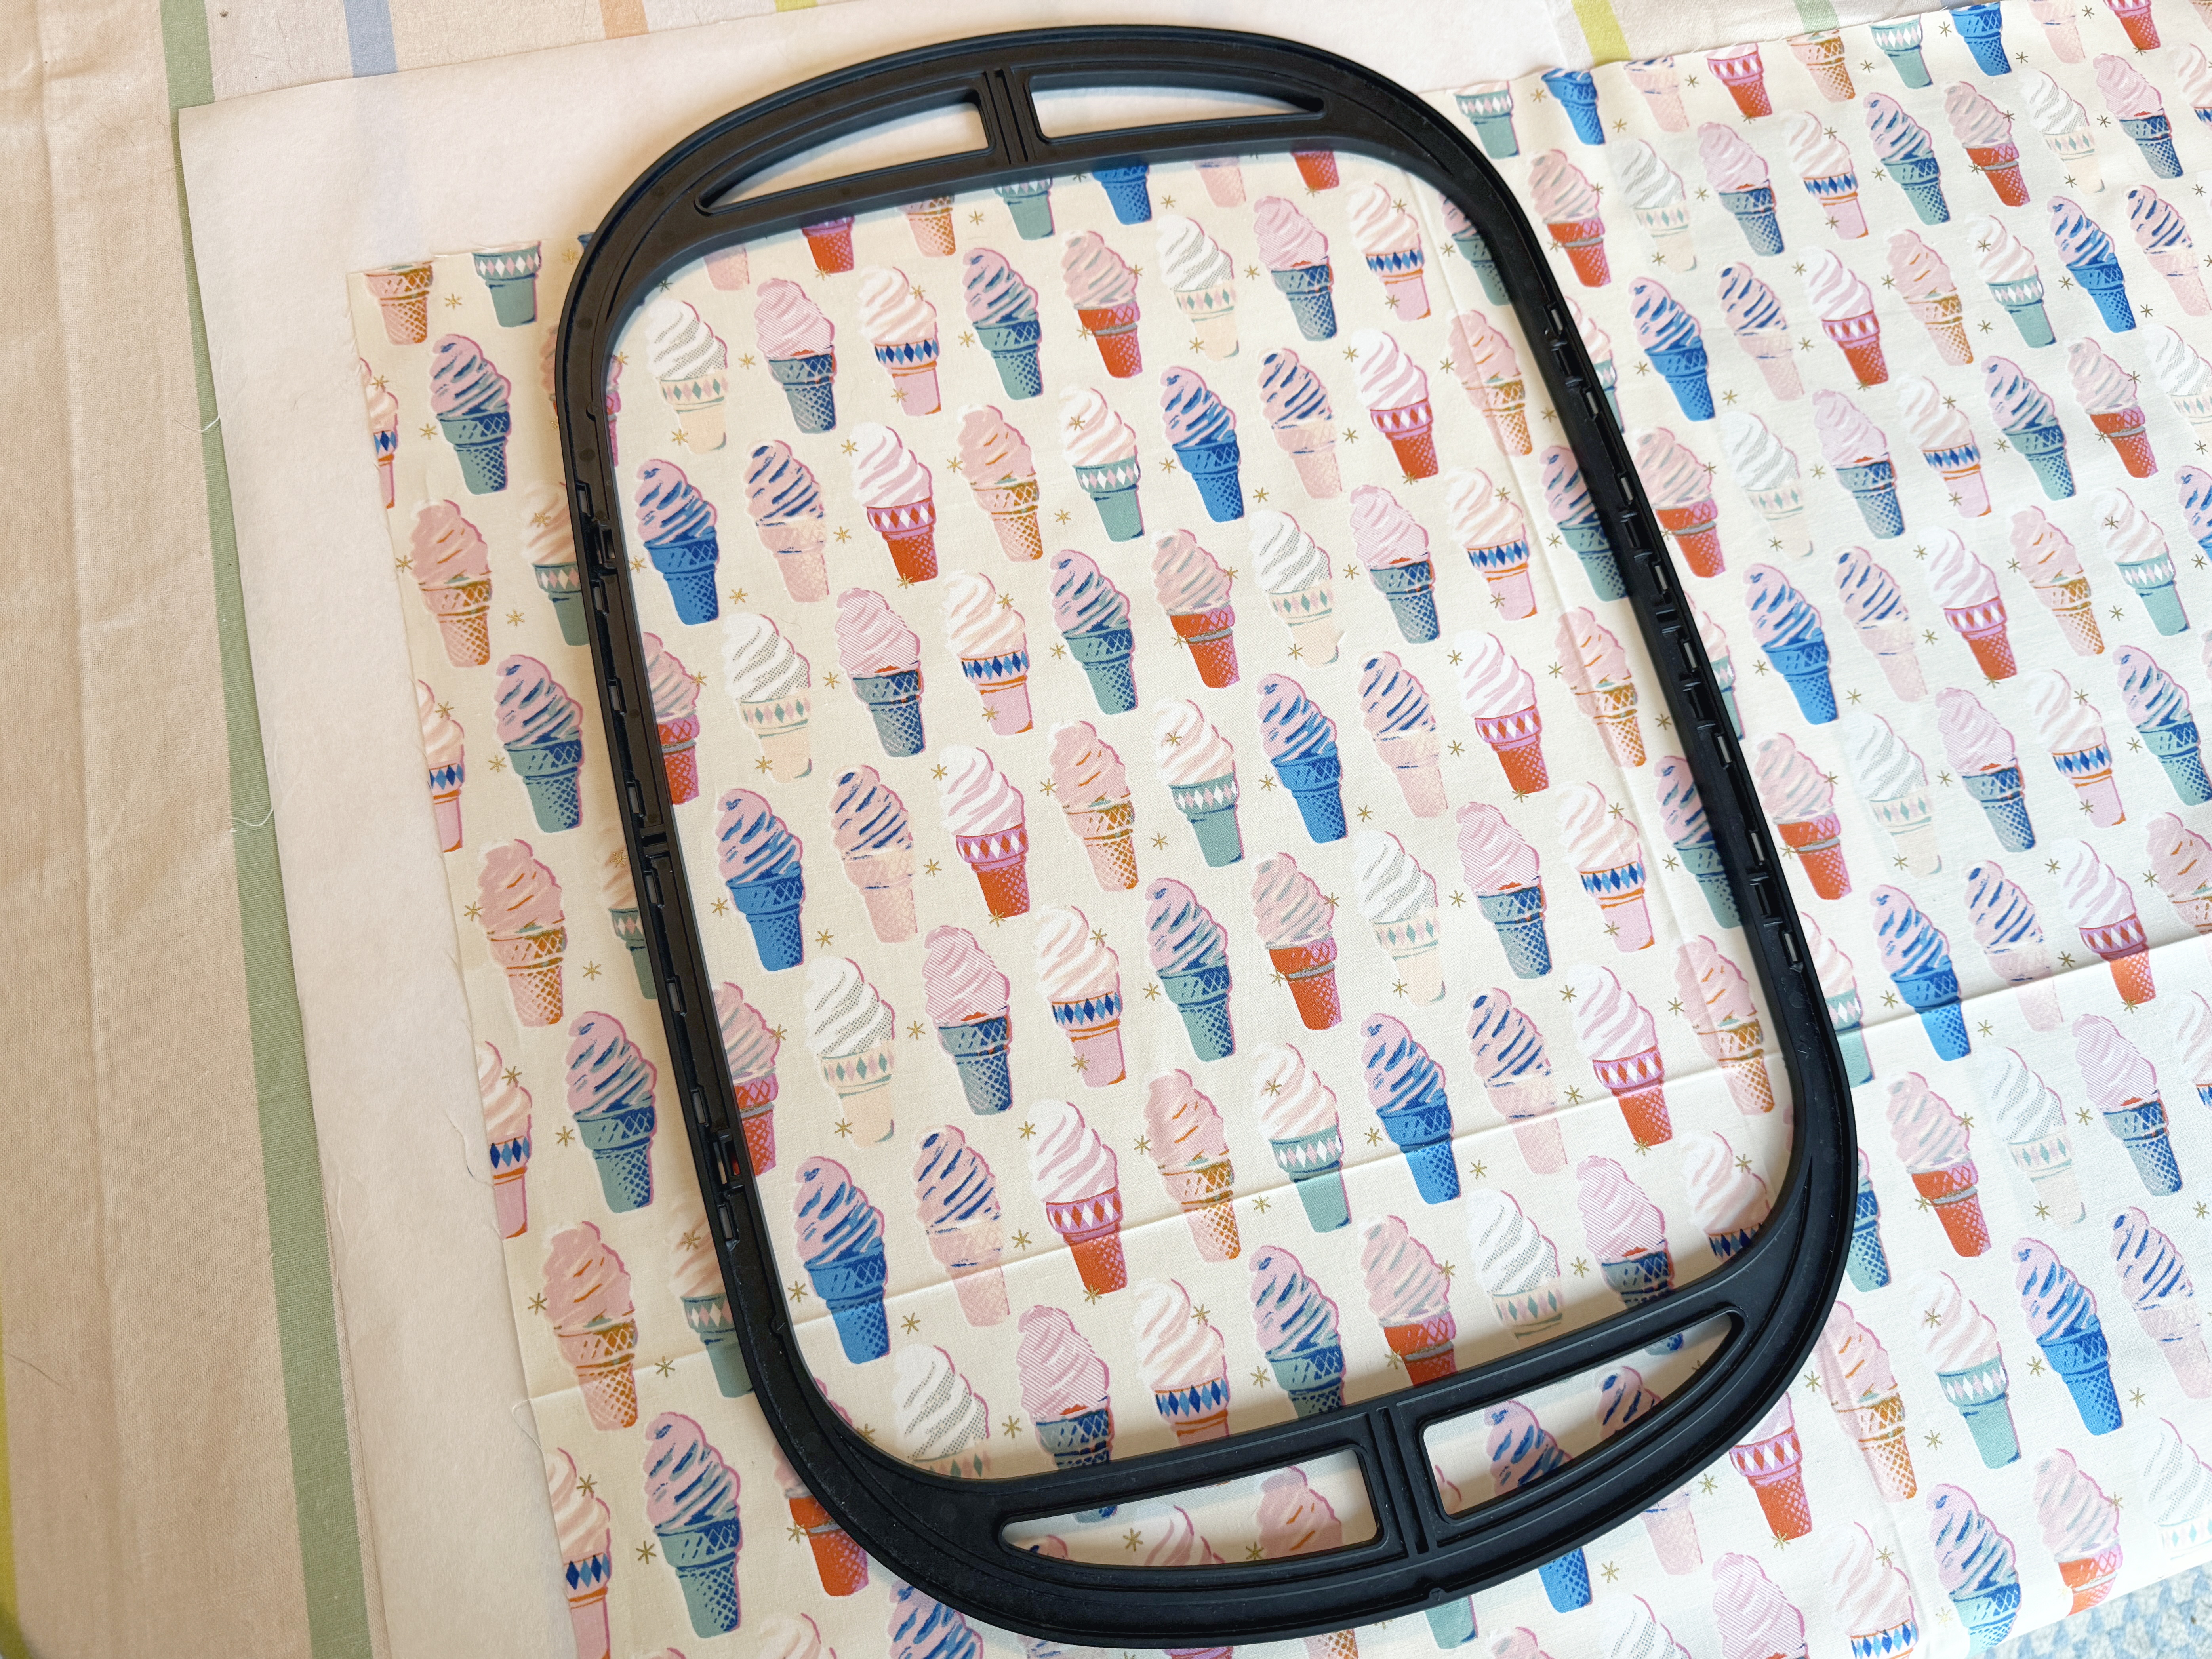
Hoop the fabric and stabilizer in the Giant Hoop, centering the upper left quadrant. Use the provided hoop template to ensure the marked center of the fabric is positioned within the stitching area of the hoop.
Step 3: Set Up Appliqué Design
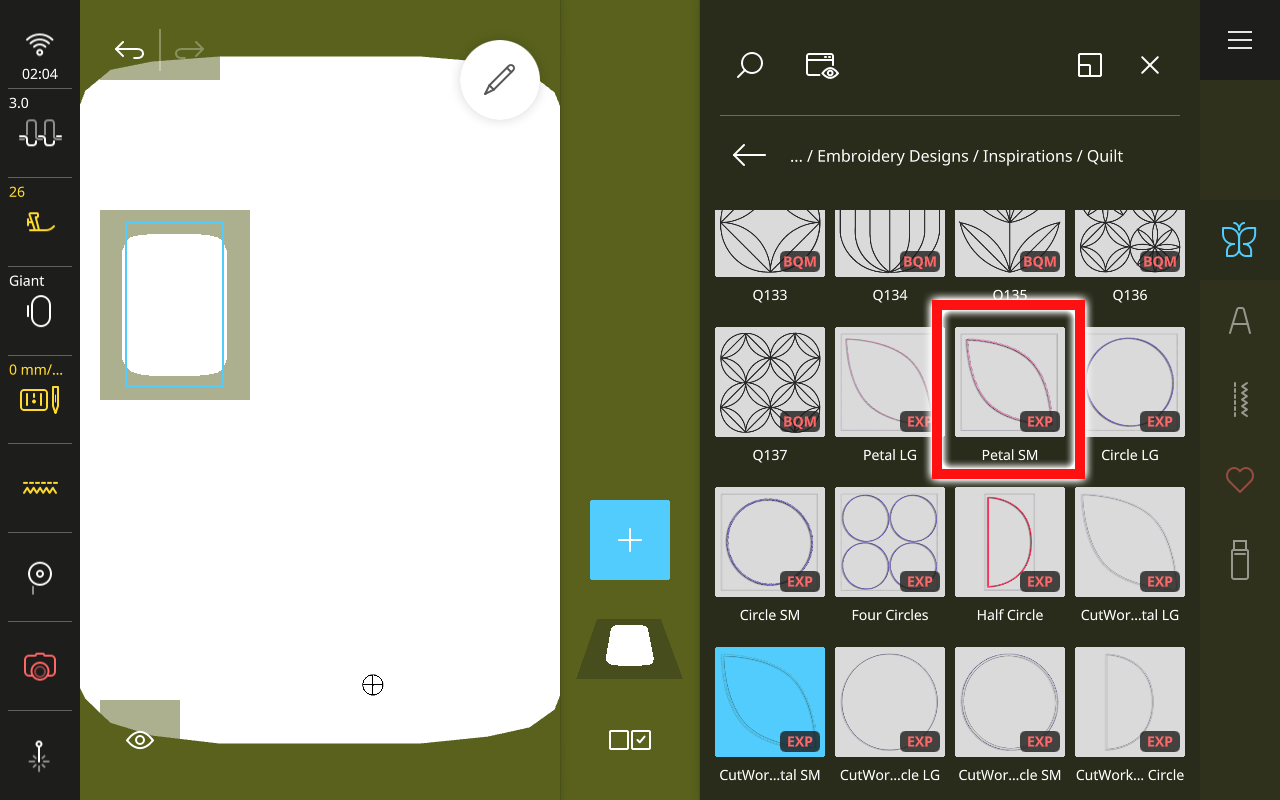
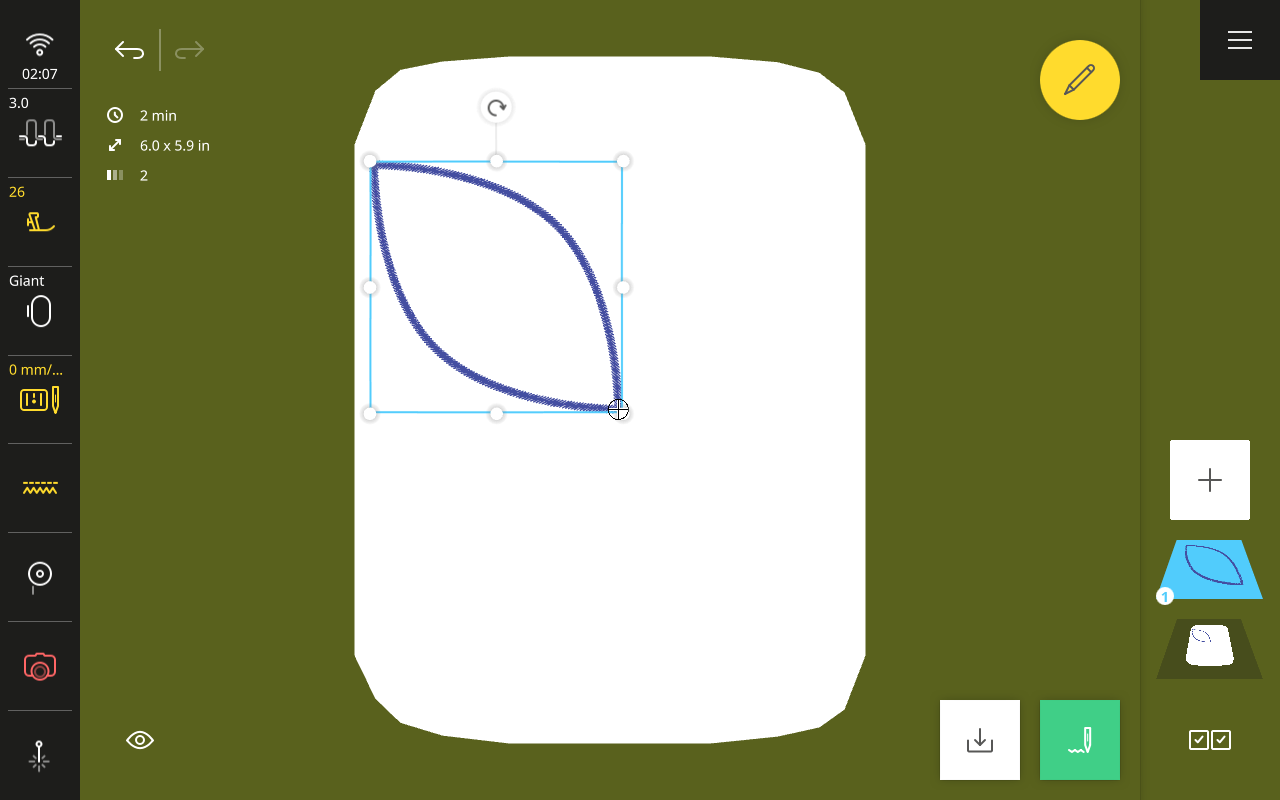
At the machine, navigate to Embroidery Designs, then the Inspiration folder, the Quilt Folder, and open design Petal SM.exp.
This design is built to match the CutWork shapes we have already cut out. However, it has some extra layers and stitching built in so that this could be appliquéd even if you did not have precut shapes. We’ll start by eliminating the elements we do not need.
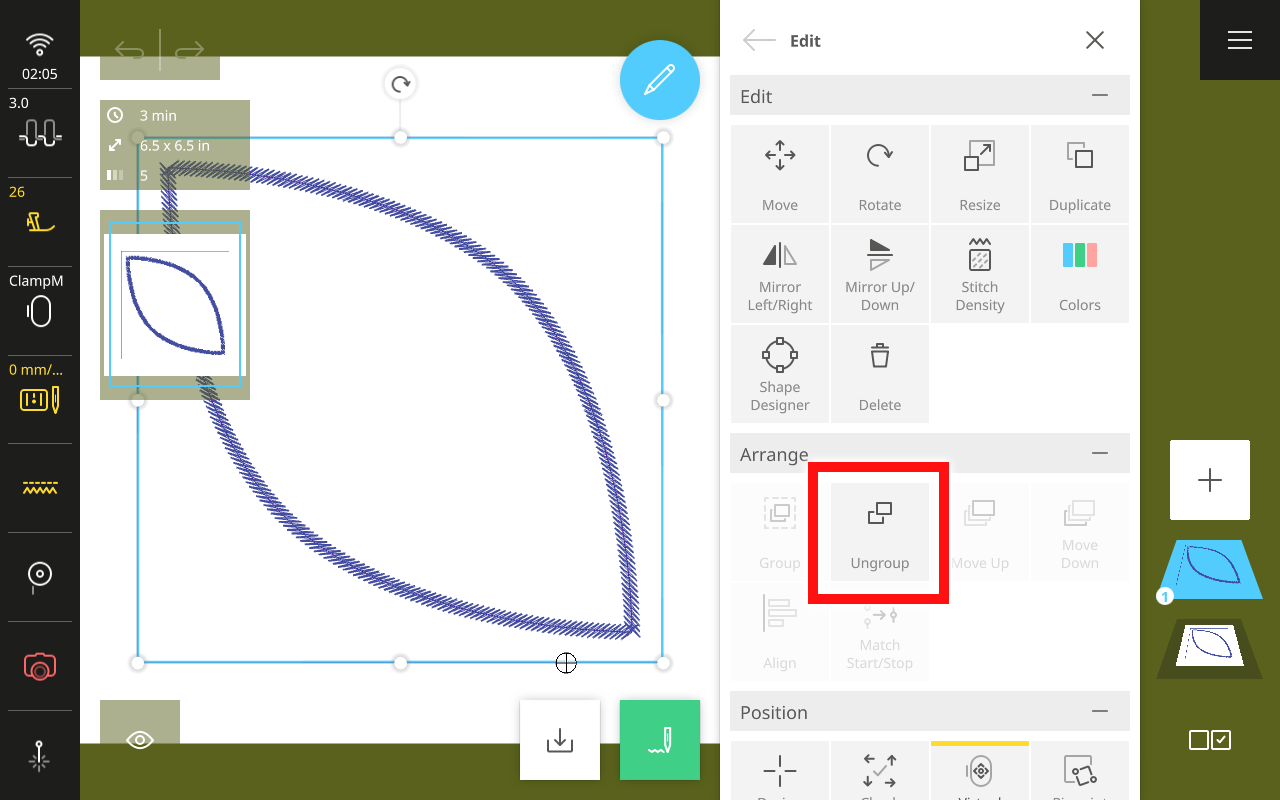
Open the Edit Menu and select Ungroup.
Tap Selection Options at the bottom of the Layer Bar. Choose Multiple Selection.
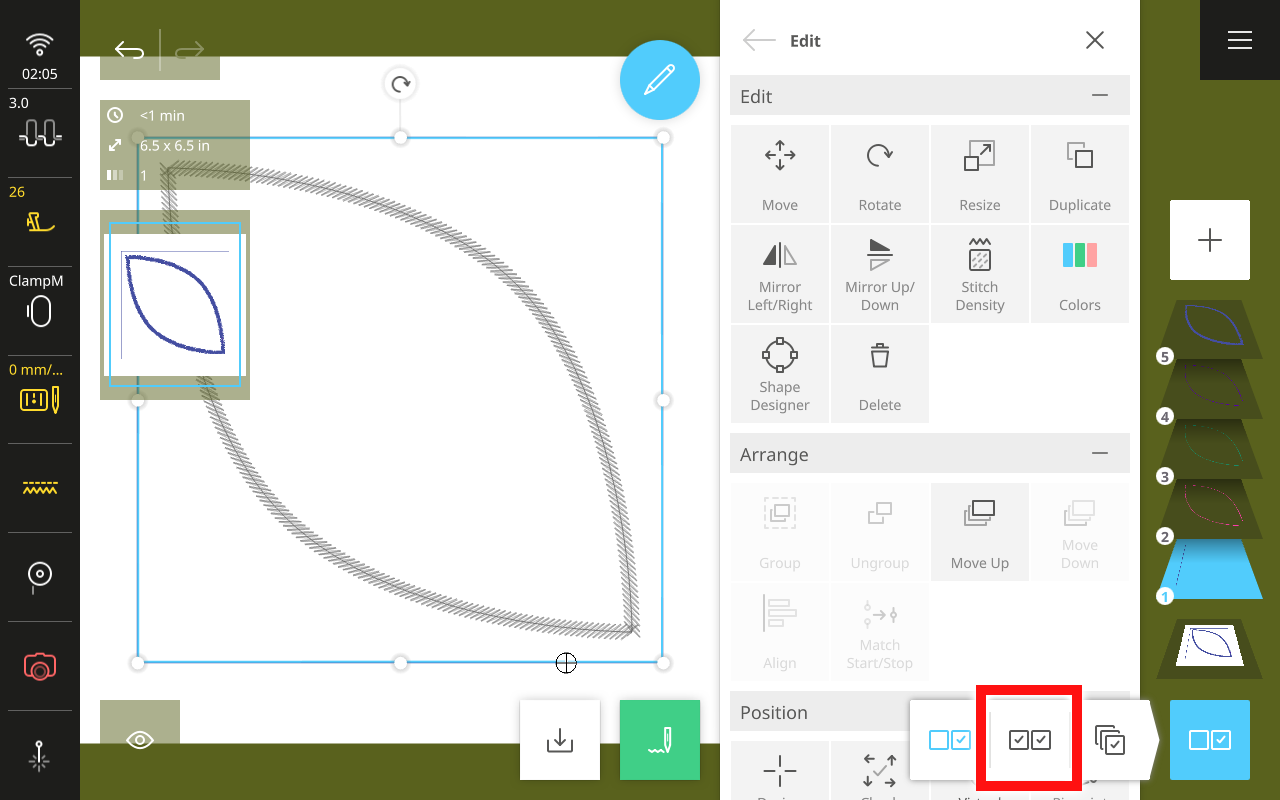
Tap and select the first three layers of the design. When selected, they will appear highlighted in light blue in the Layer Bar.
In the Edit Menu, tap Delete and confirm to delete these layers.
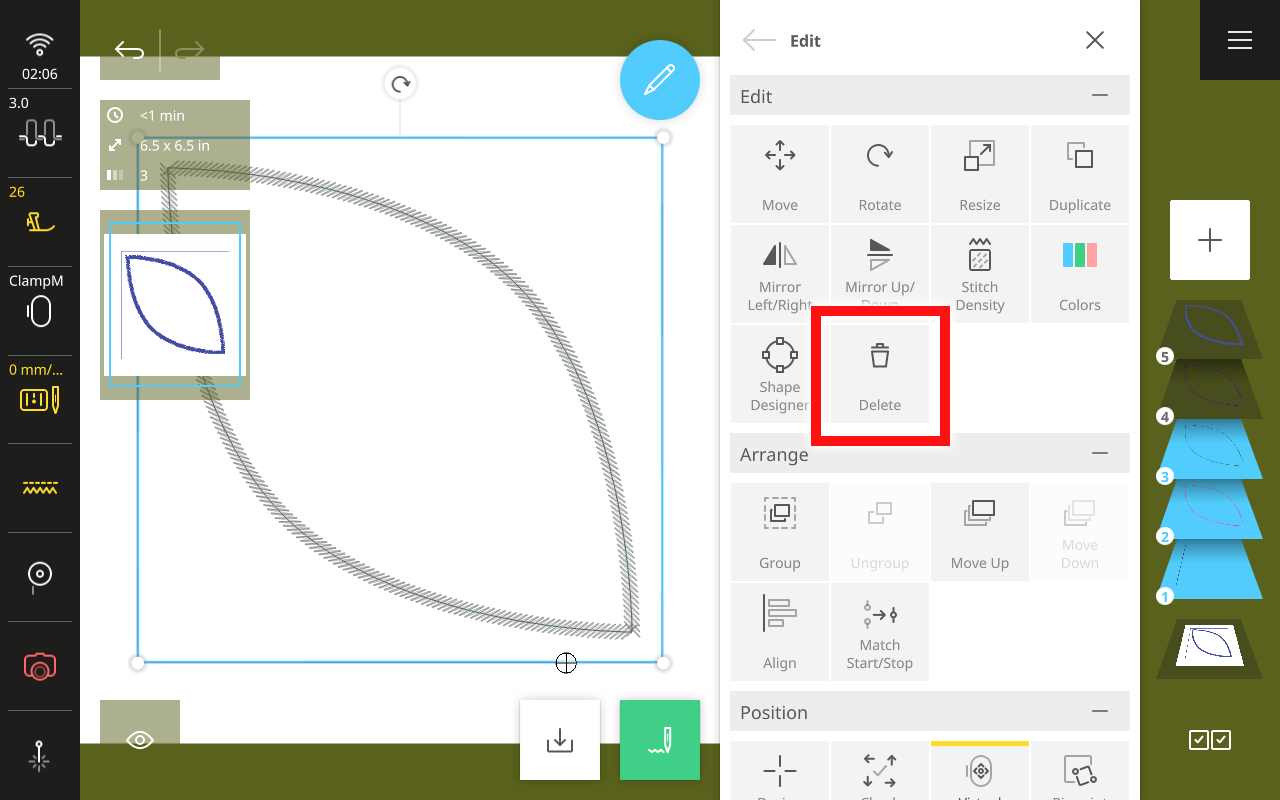
We are now left with only two layers—a simple running stitch outline that will show us where to put our appliqués and the stitching to secure them down.
Tap the bottom, white background layer in the Layer Bar to select all the remaining layers of the design. Then, in the Edit Menu, tap Group.

In the Status Bar, open the Hoop Menu. Select the Giant Hoop then close the menu.
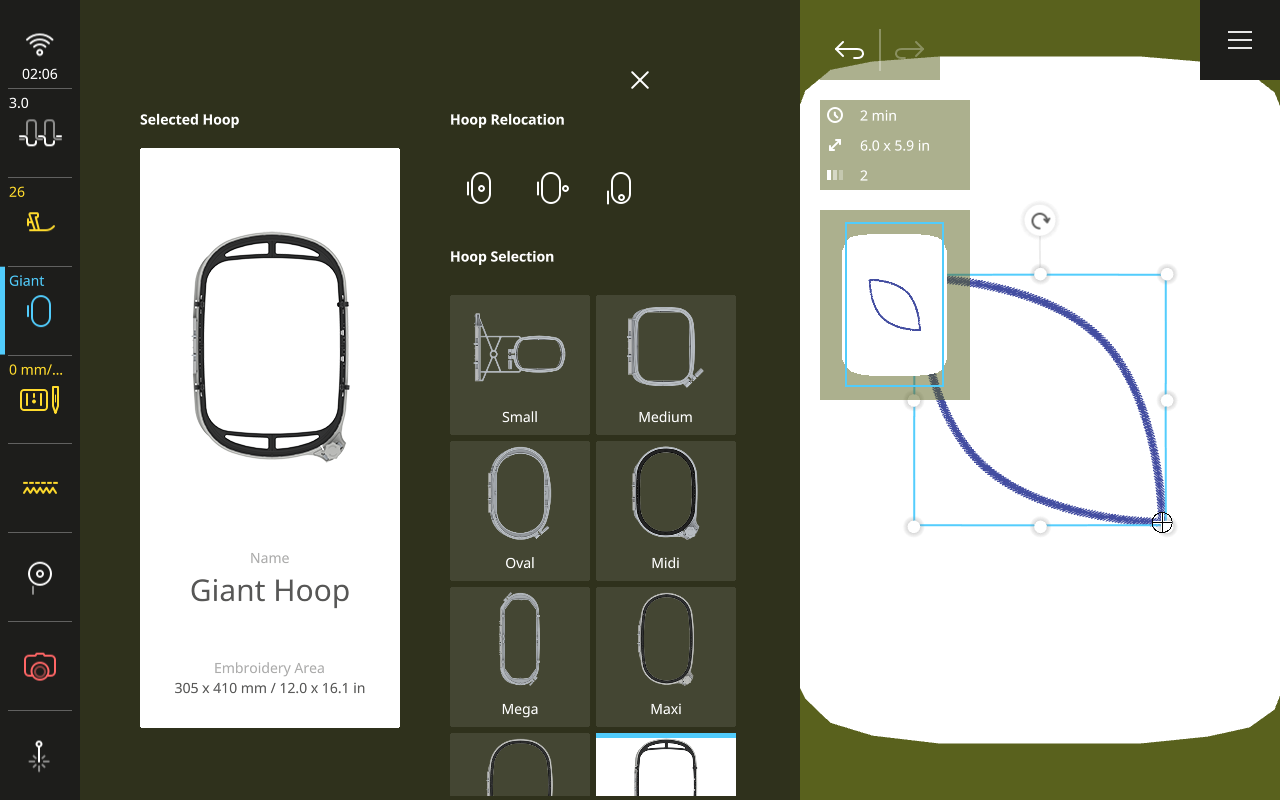
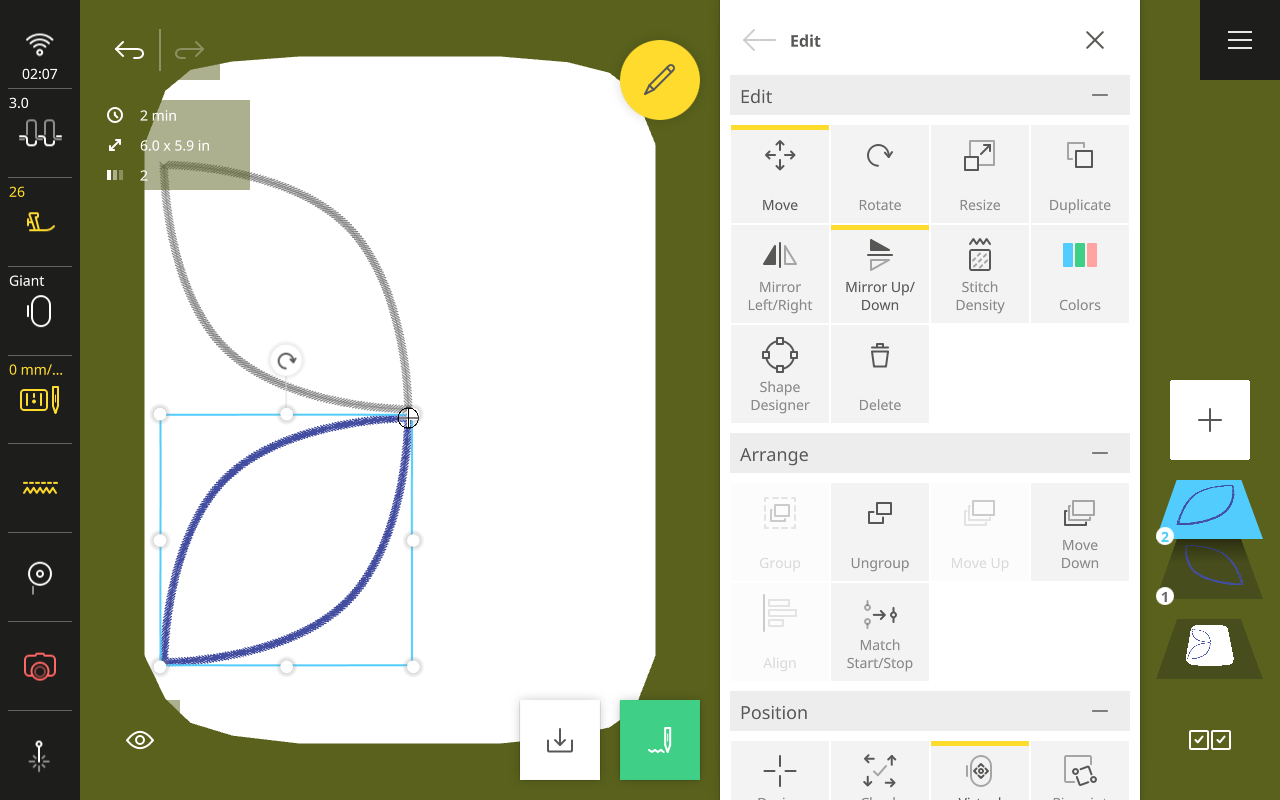
In the Design Altering Area, drag and drop the design to the upper left corner of the hoop, without the area outlining in red.
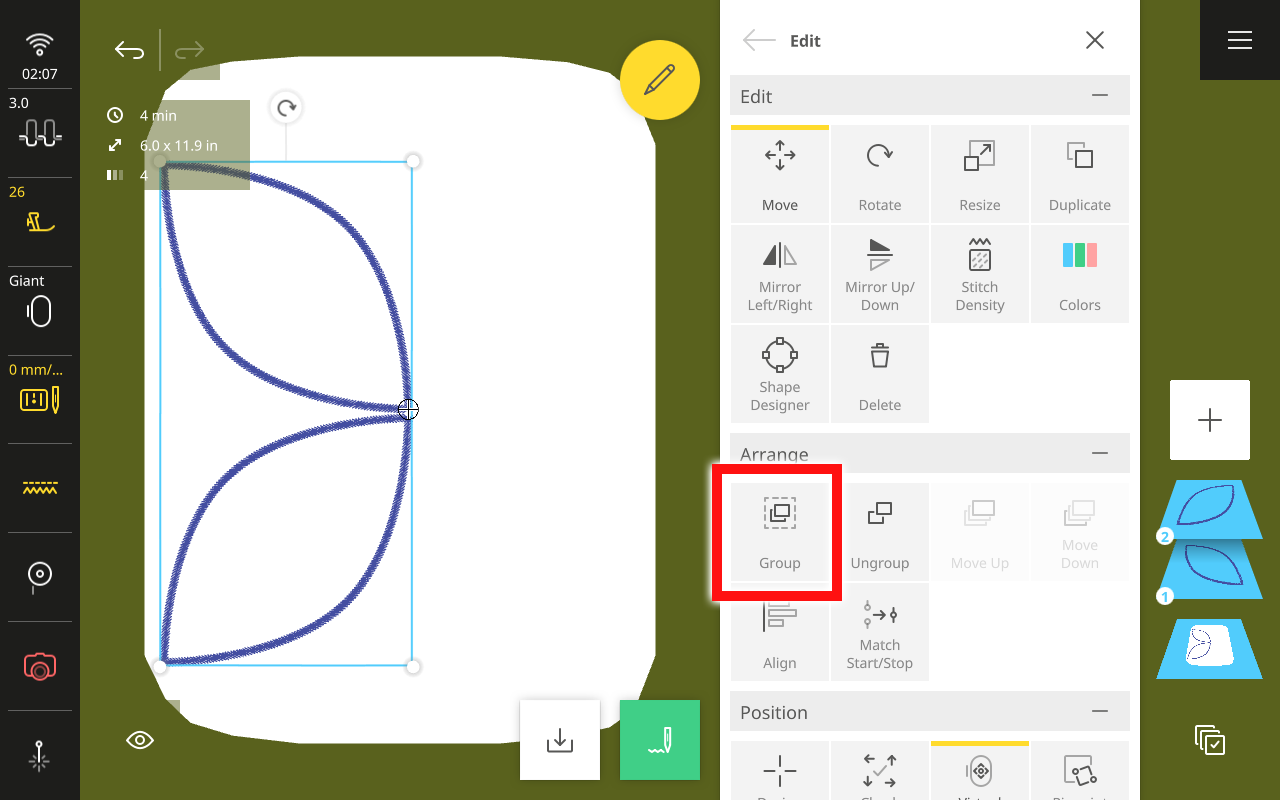
In the Edit Menu, tap Duplicate. Then tap Mirror Up/Down.
Tap Select All again in the Layer Bar, then tap Group.
Once again, tap Duplicate in the Edit Menu. Then tap Mirror Left/Right.
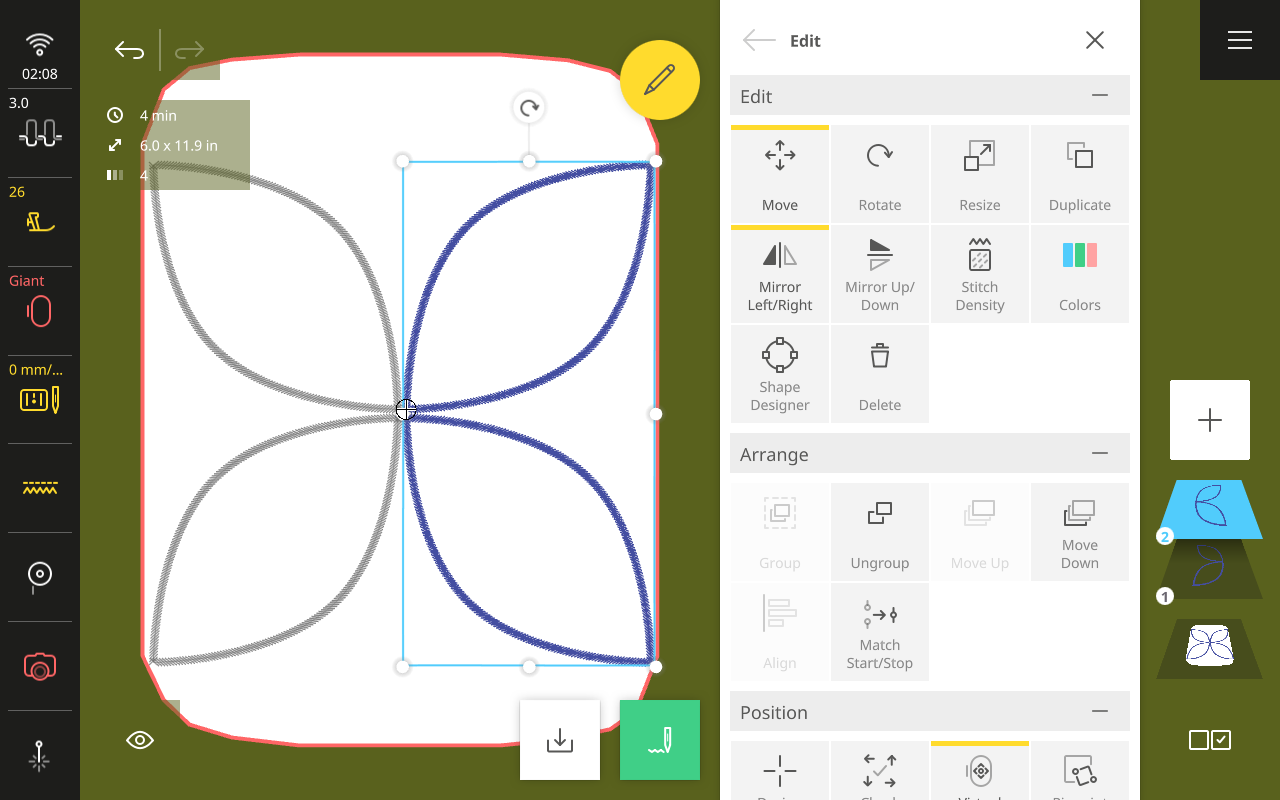
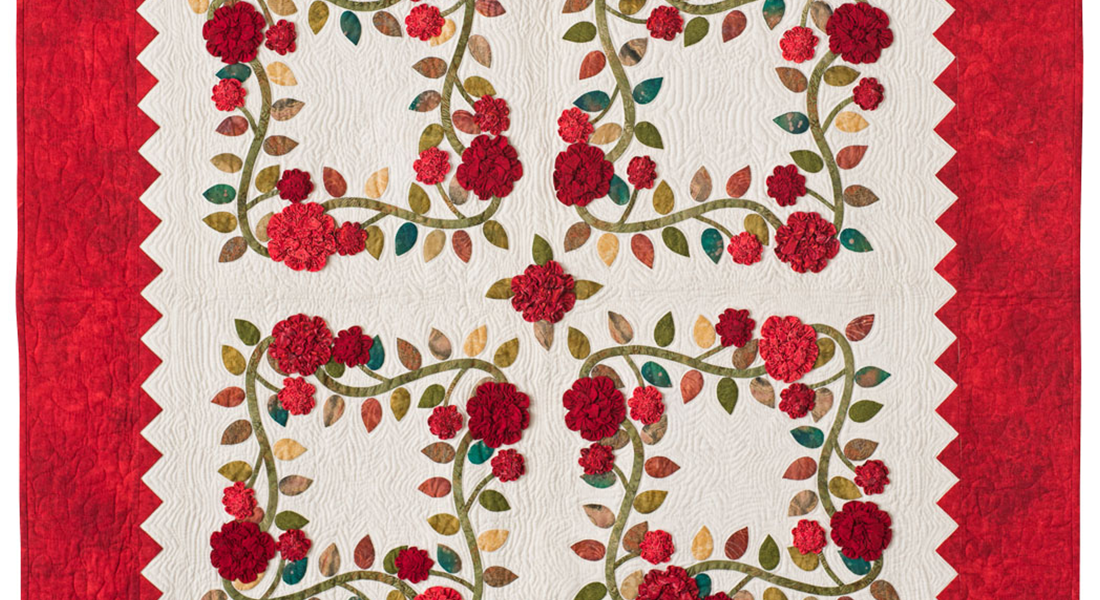
Tap Select All again in the Layer Bar, then tap Group. You should now have four orange peel shapes arranged with points meeting at the middle.
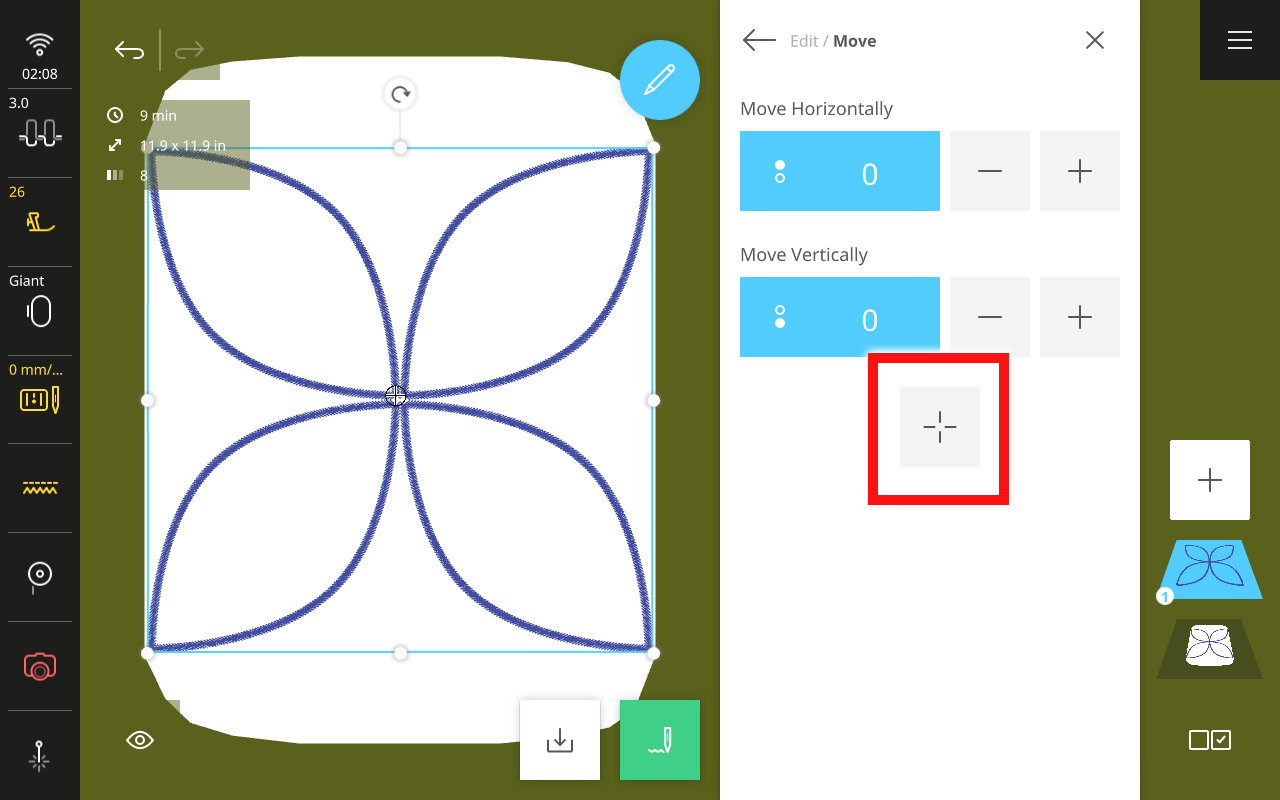
In the Edit Menu, tap Move. Select Center in the Hoop.
Step 4: Position and Stitch Placement Lines
With the design created, next position it to match the marked quadrant on your fabric. This design is almost exactly 12” square, which is the maximum width of our stitching field on the BERNINA 990. This does mean that we will need to take extra care to hoop straight and in proper alignment throughout this process. Our first hooping, though, since we are starting on blank fabric, is fairly easy.
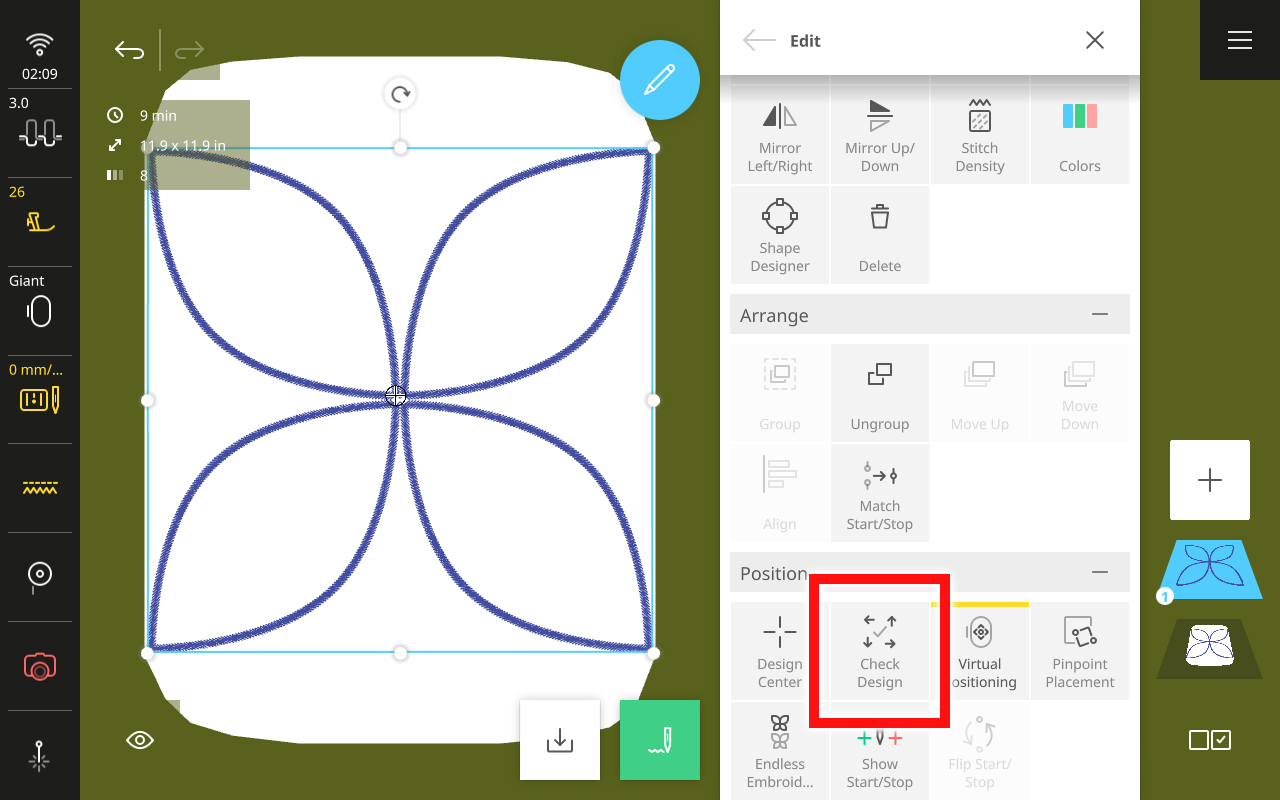
In the Edit Menu, select Check Design. Attach the embroidery hoop when prompted.
Activate the Pinpoint Laser. In the Check Design menu, tap the lower-right corner arrow.
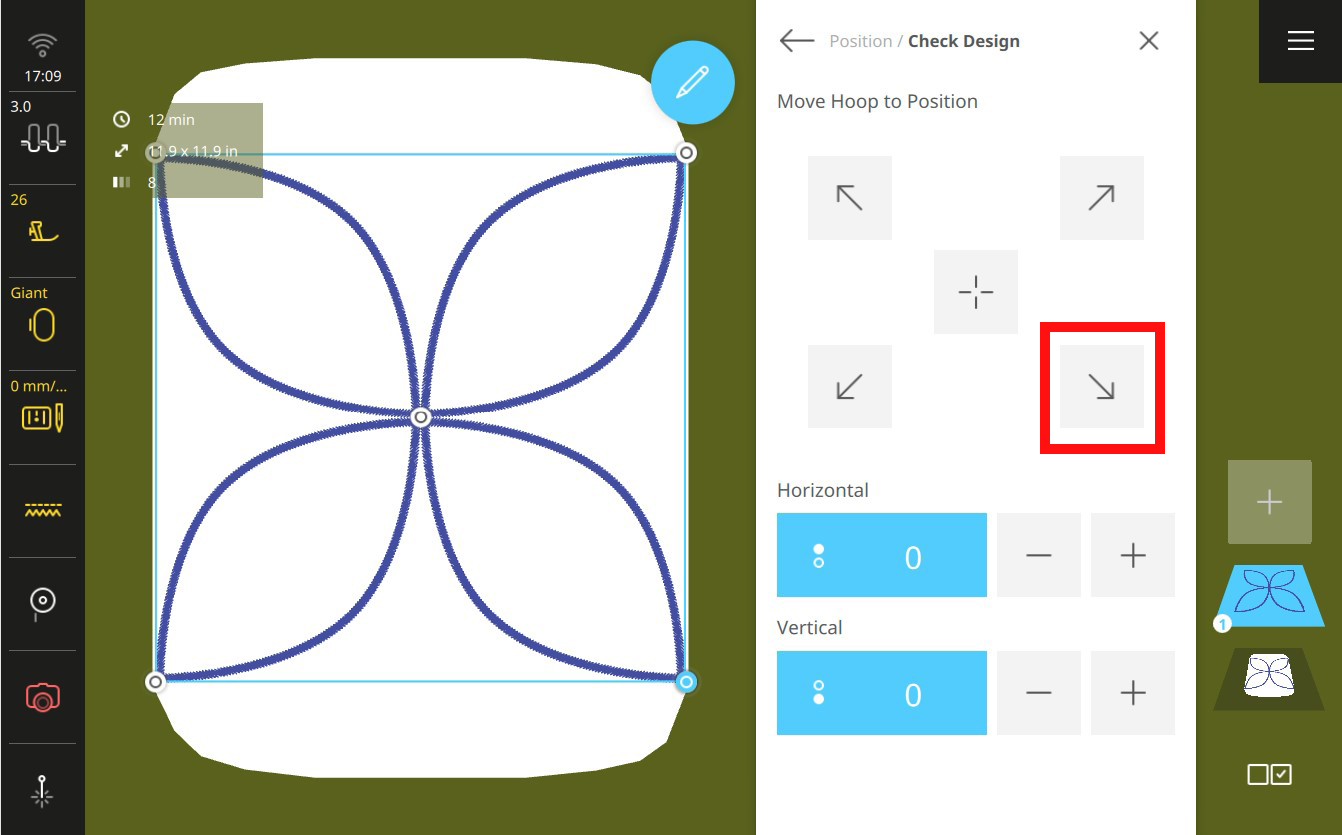
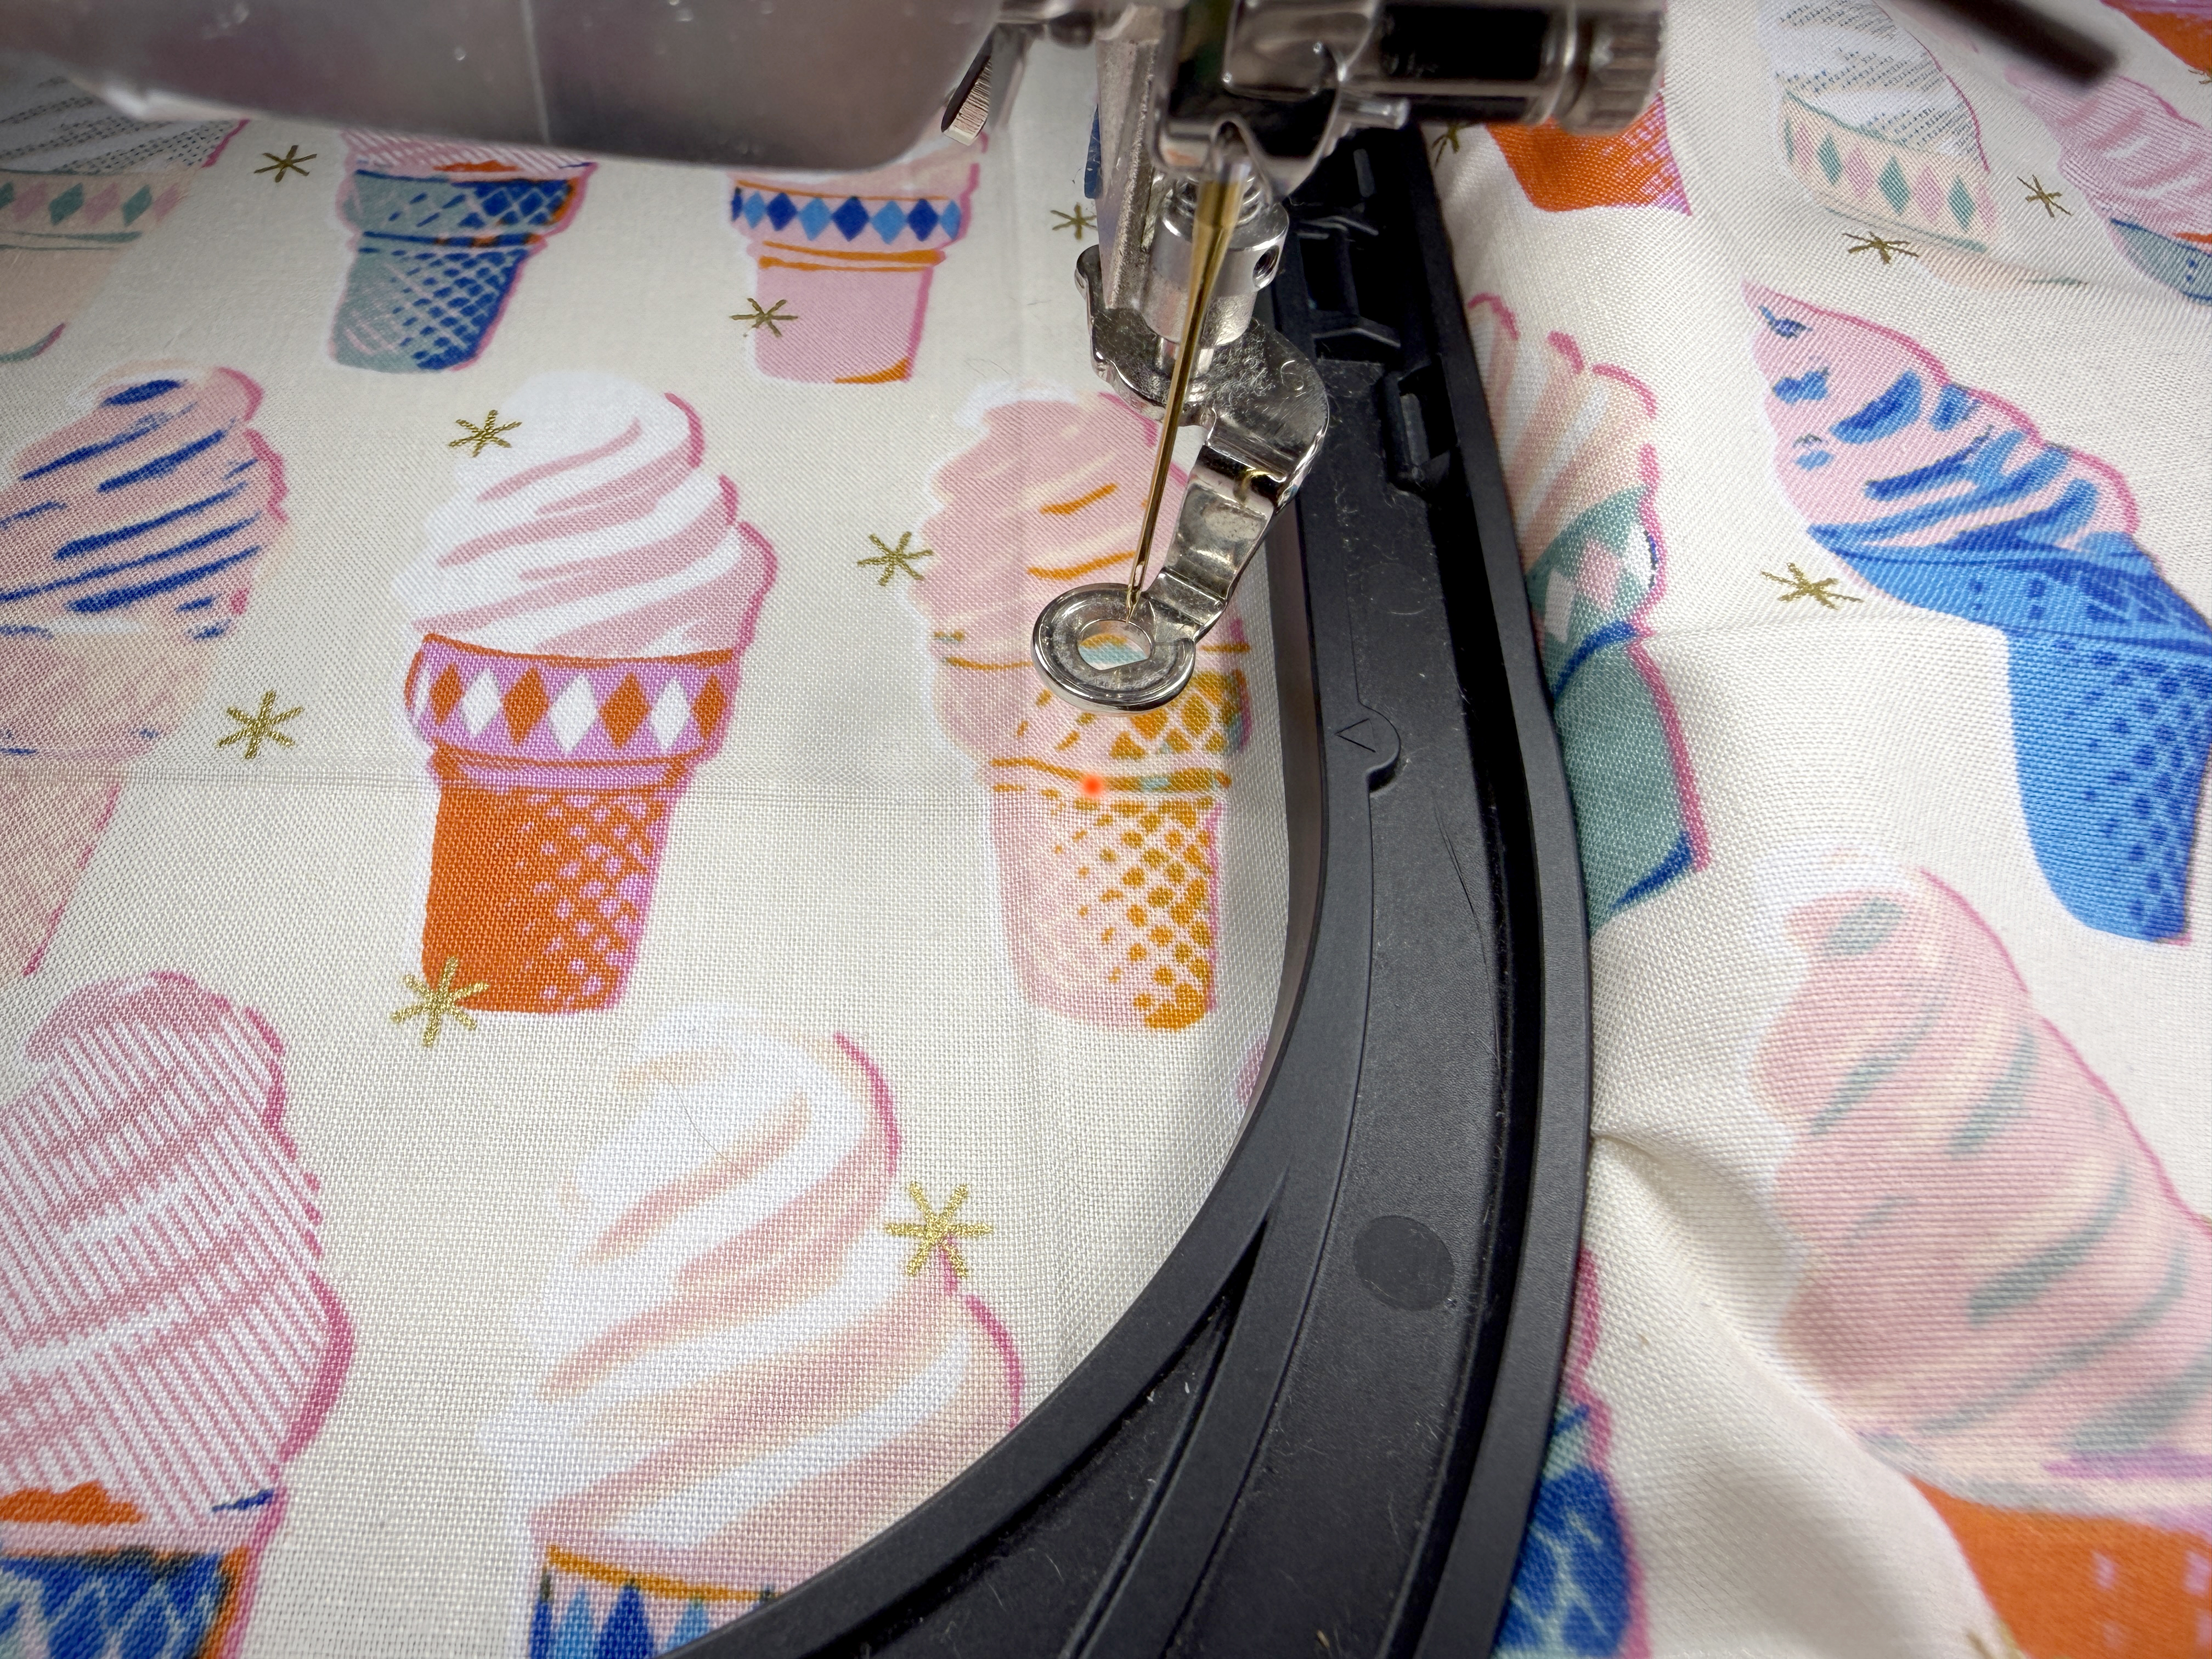
You should see your laser point land right about at the marked center point of your background fabric. If it does not align, use the Multi-function Knobs to move the design slightly to match this point. Close the Edit Menu when aligned.
Tap the green needle icon to prepare for stitching.
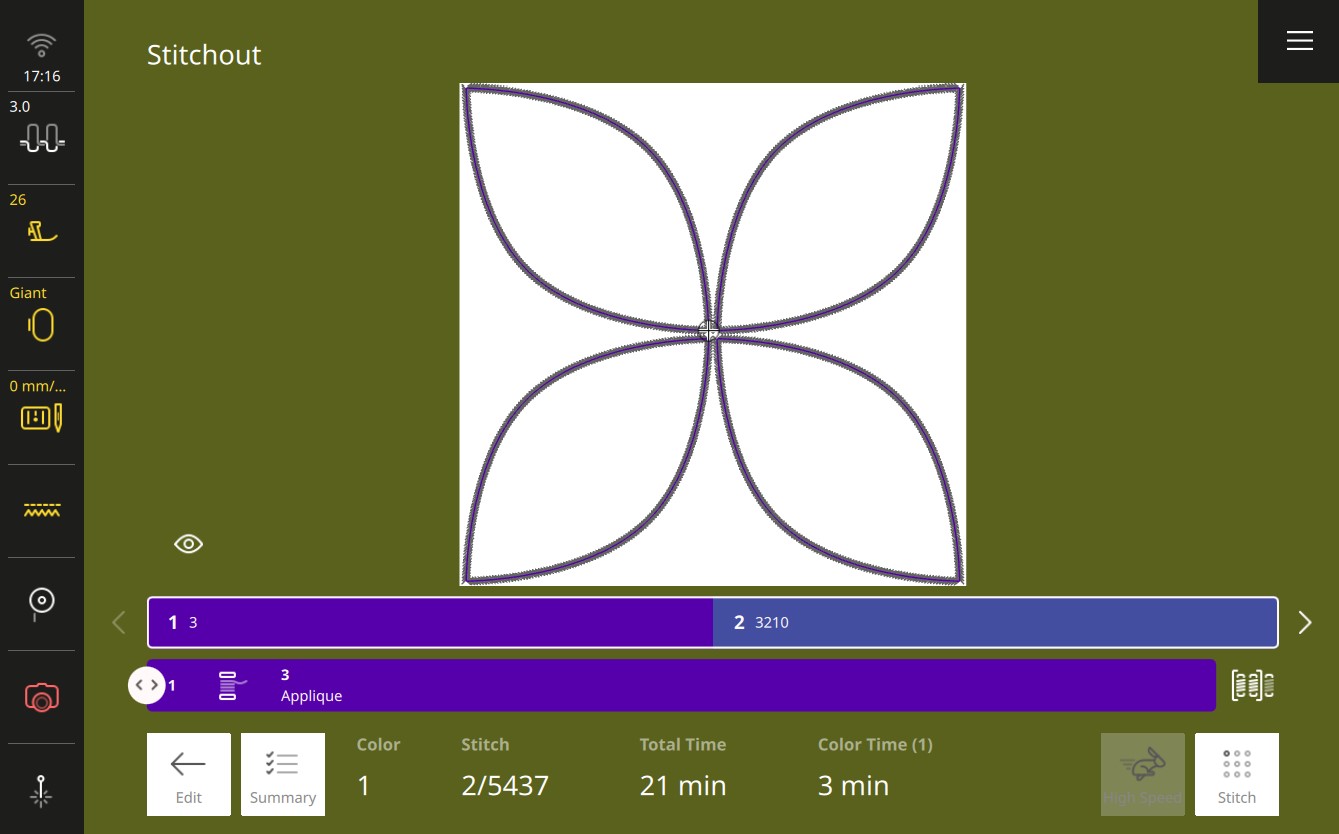
In the Stitchout Summary, most settings are left at the default options. I suggest setting the Color to Reduce Thread Changes. This will merge like colors, so that all the placement lines sew at once and then all the cover stitches sew at once.

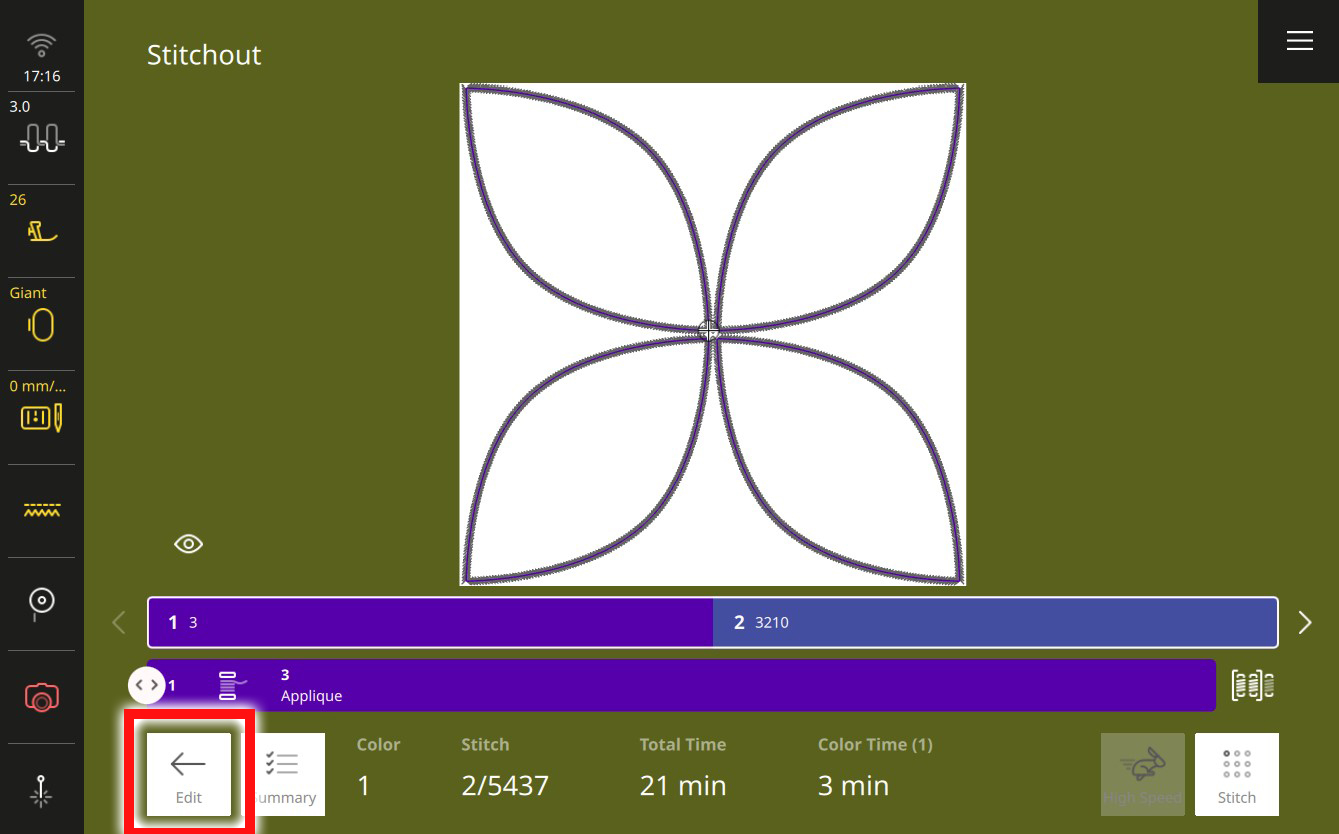
On the Stitchout screen, you will see two colors. First are our placement lines, and second are the cover stitches.
Thread your machine in a neutral color, matching your background or appliqué shapes. This stitching should not be visible in the finished project, but I like to make sure it’s as invisible as possible by using a color that will disappear in the background.
Press and hold the start/stop button to stitch out the first color, all four placement lines.
Step 5: Fuse & Stitch Appliqués
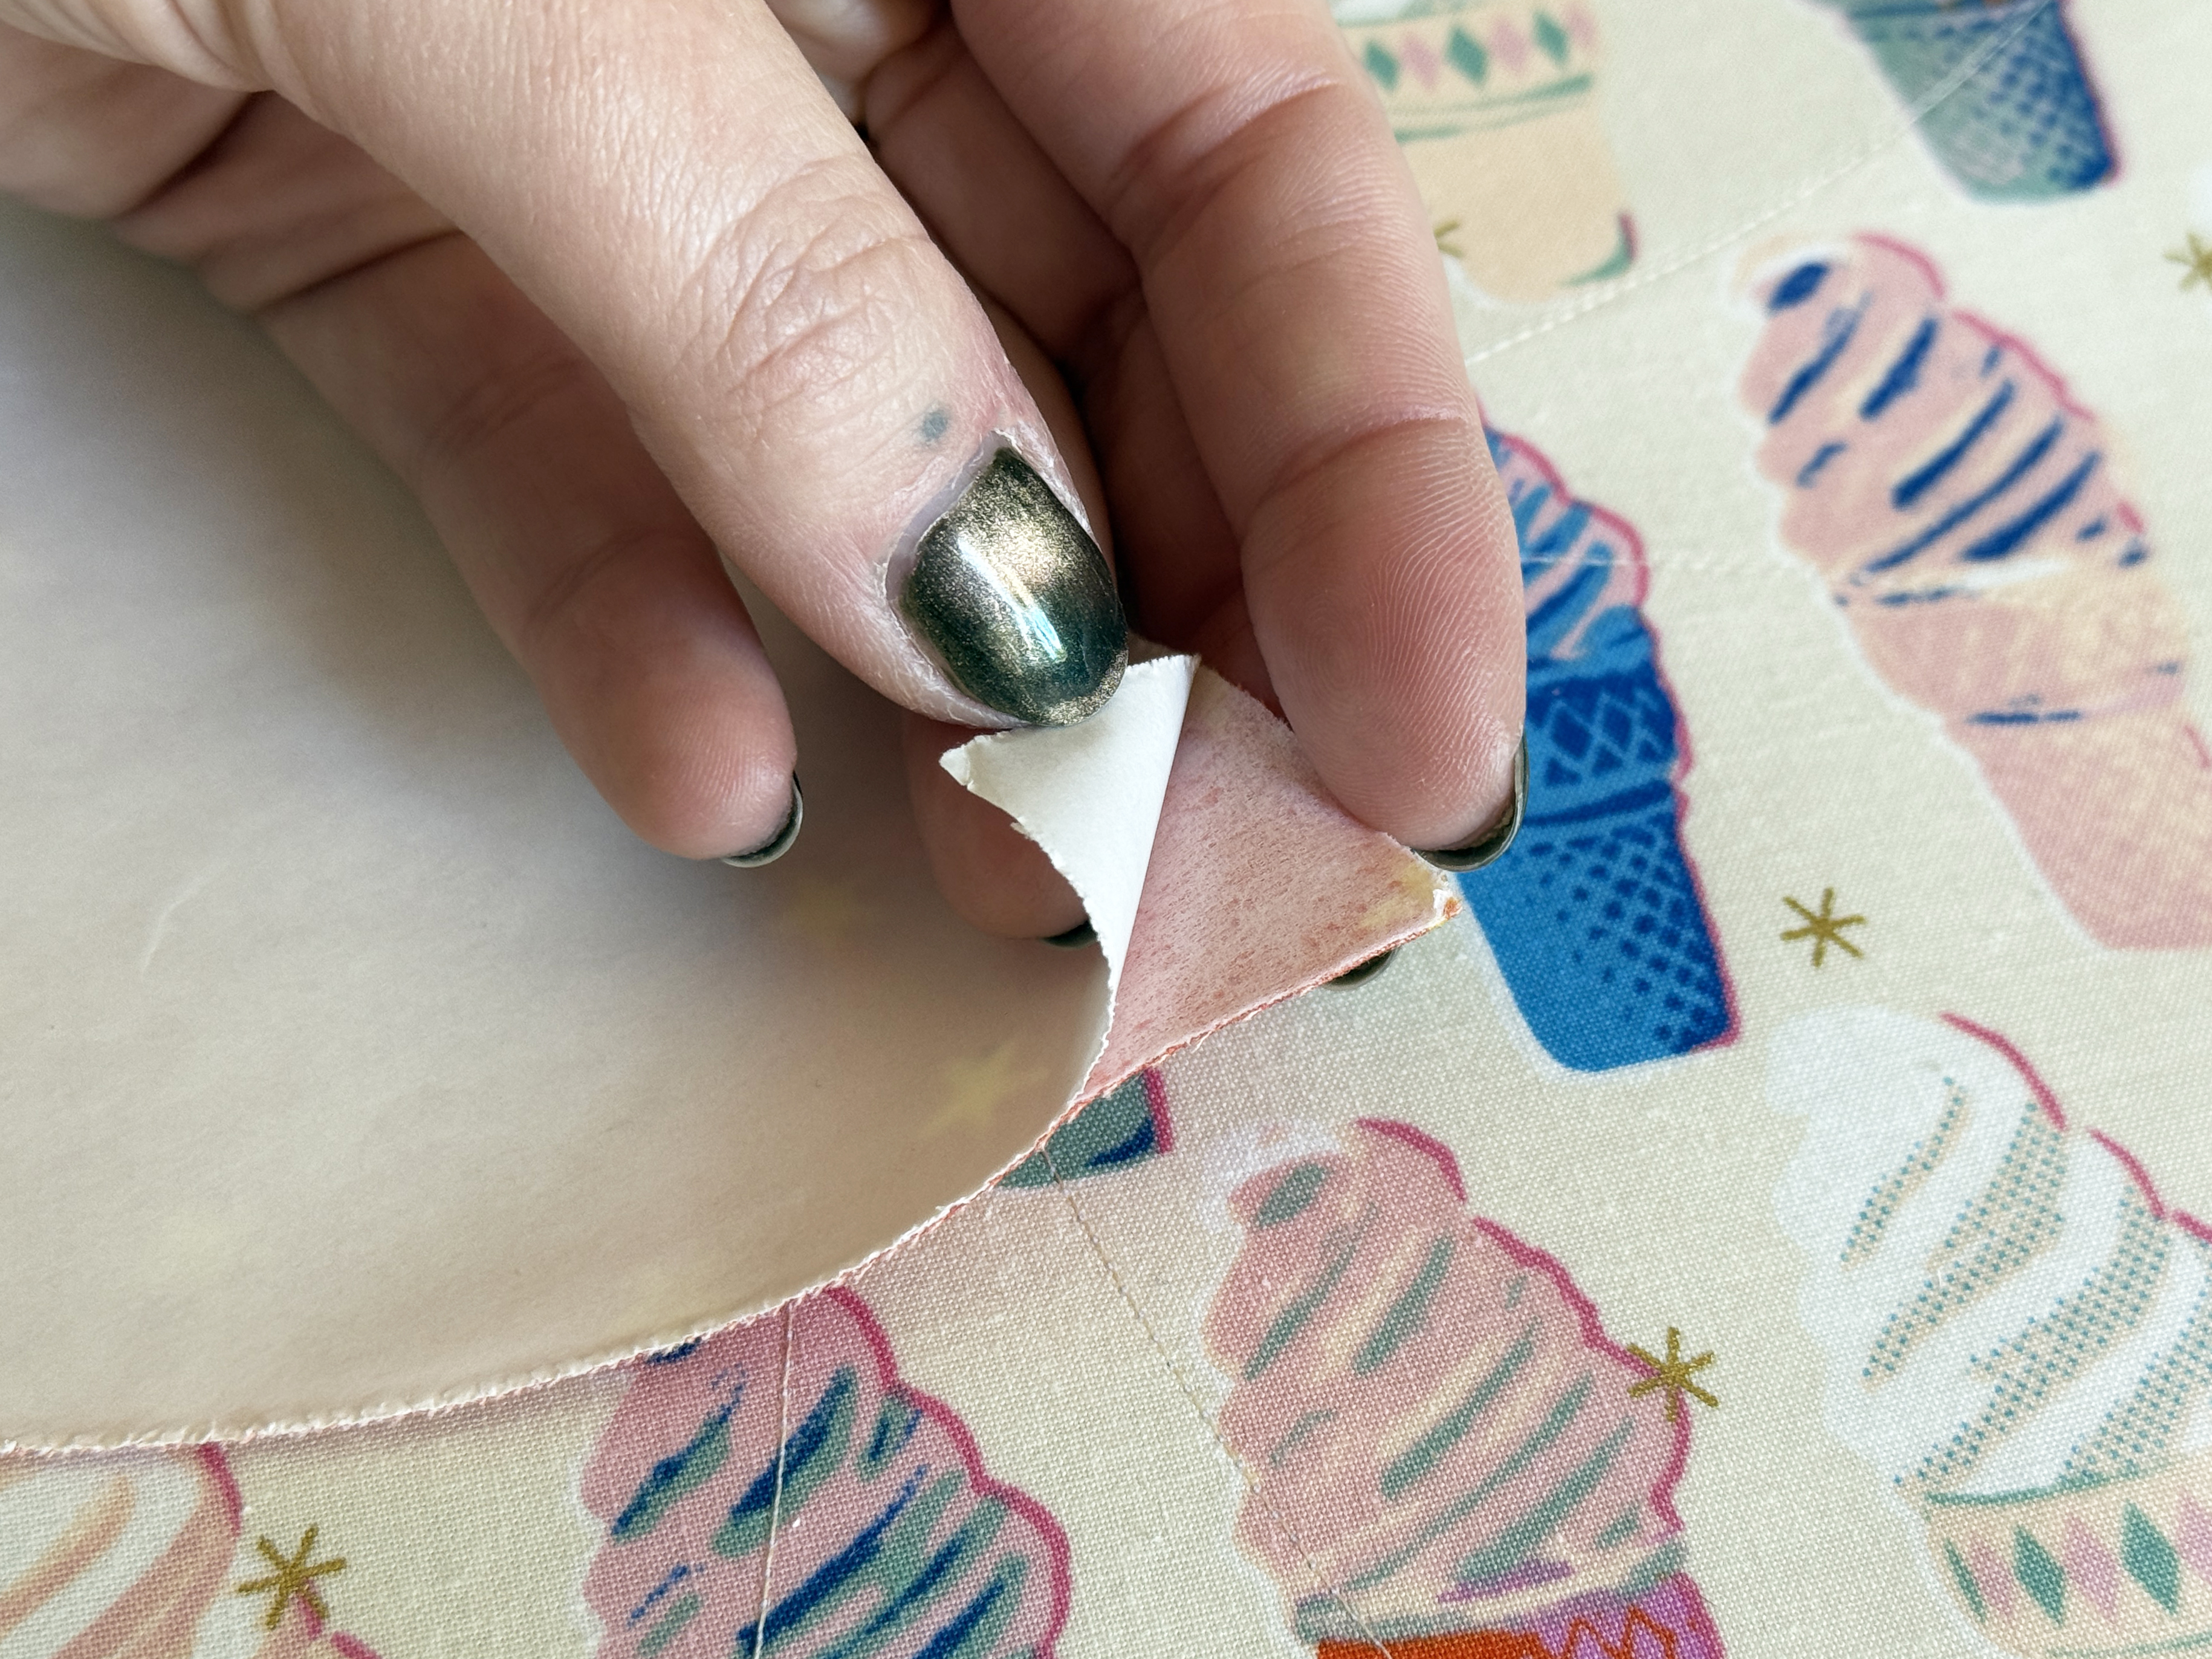
When color one is completed, remove the hoop from the machine, but do NOT remove fabric from the hoop. At your ironing board, remove the paper backing from four of your appliqué shapes, one at a time, and position them inside each of the placement lines.
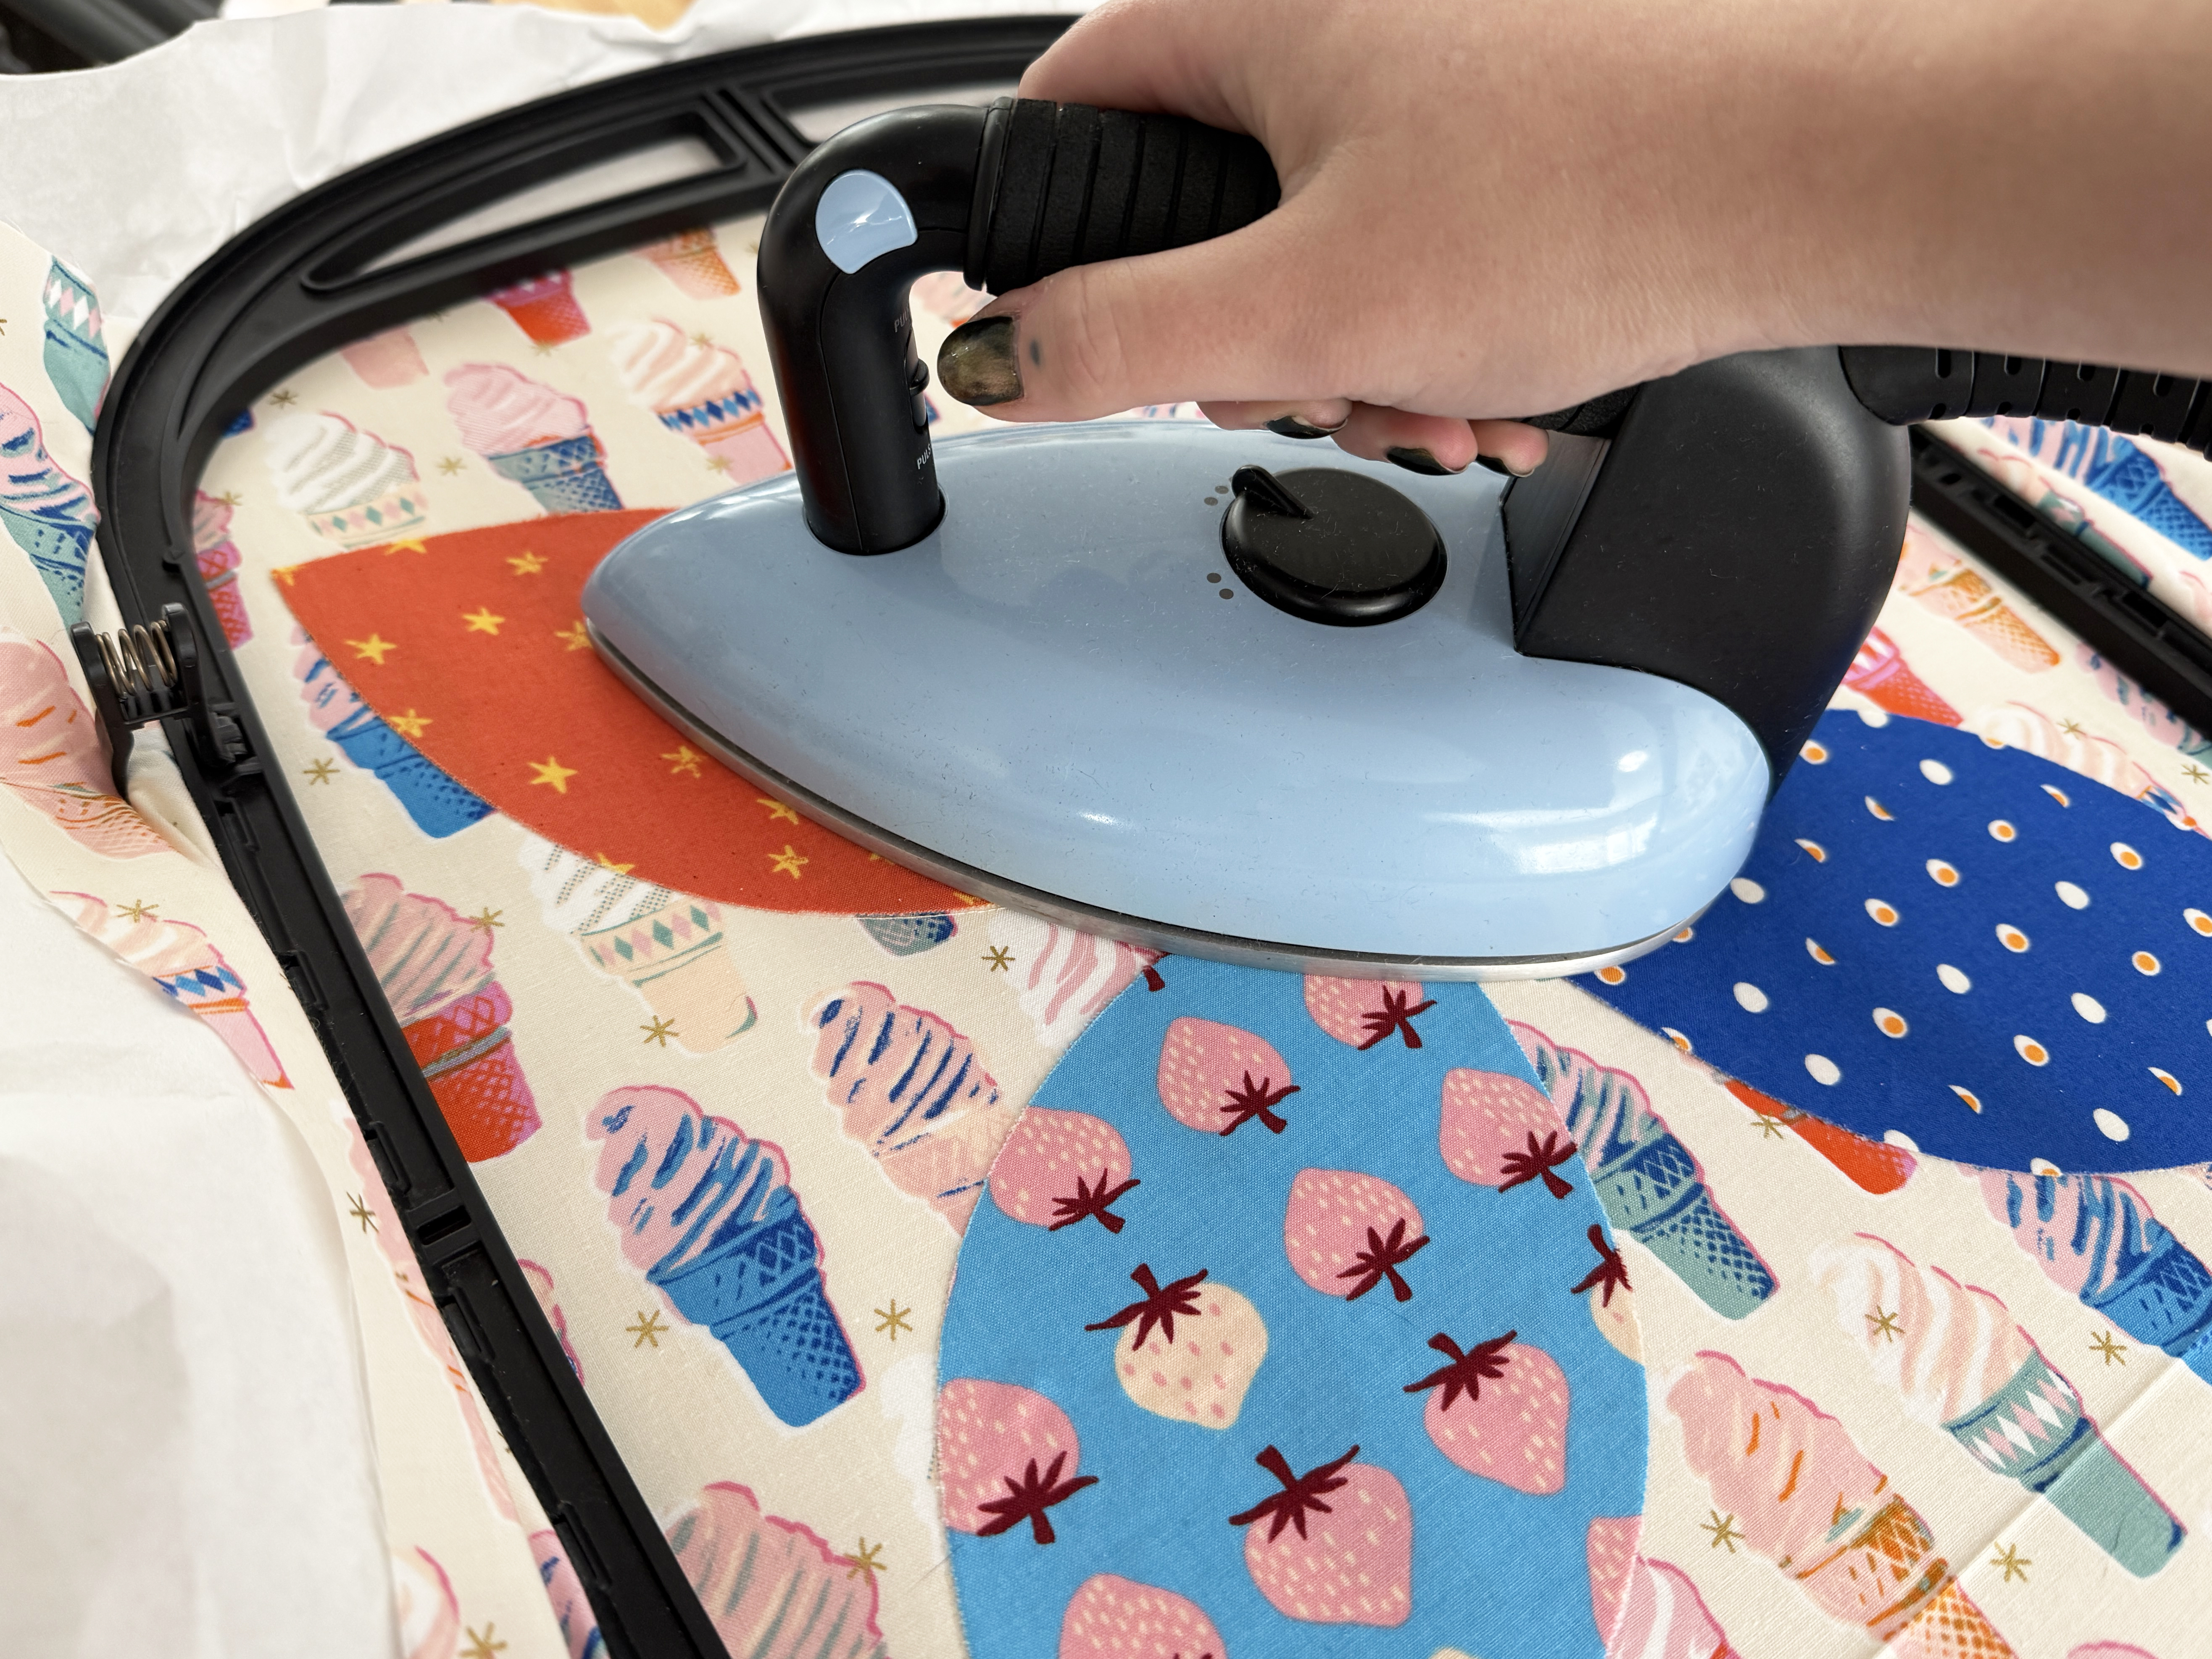
Fuse in place with a dry, medium-hot iron (or per your fusible manufacturer’s instructions).
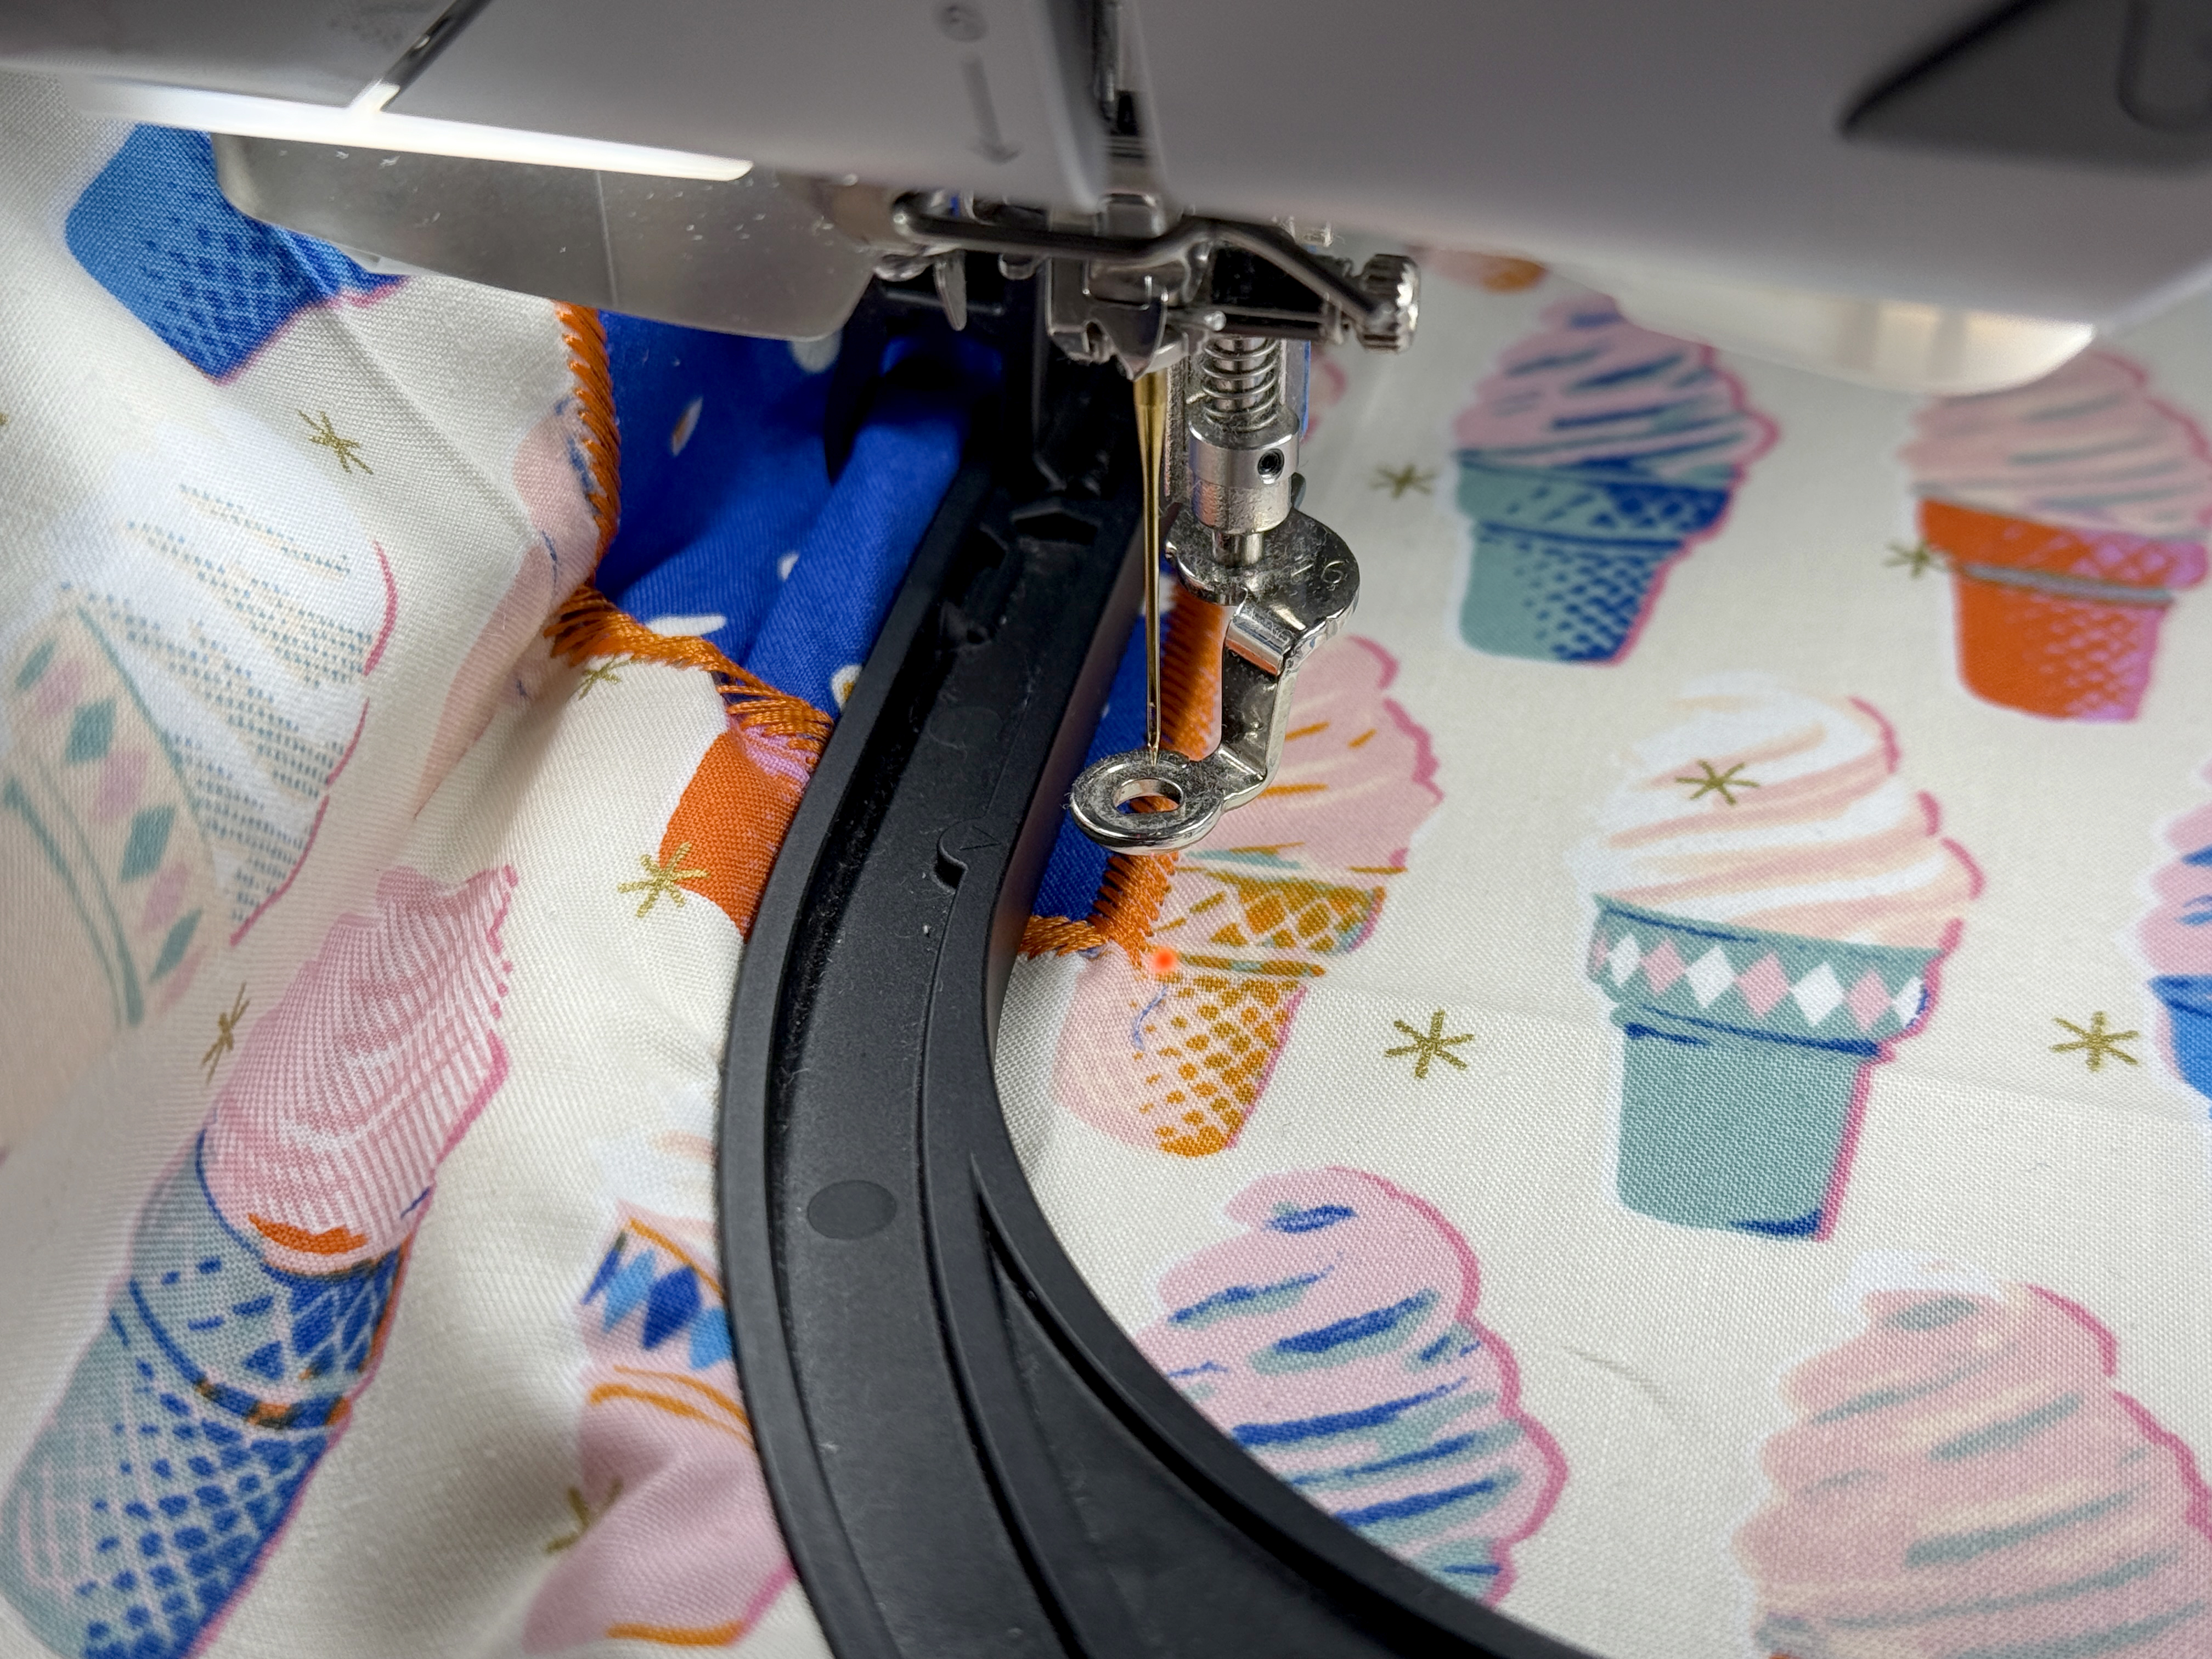
After all four appliqués have been fused and fully cooled down, return the hoop to the machine. Thread with your desired thread for the decorative appliqué cover stitch, then stitch out.
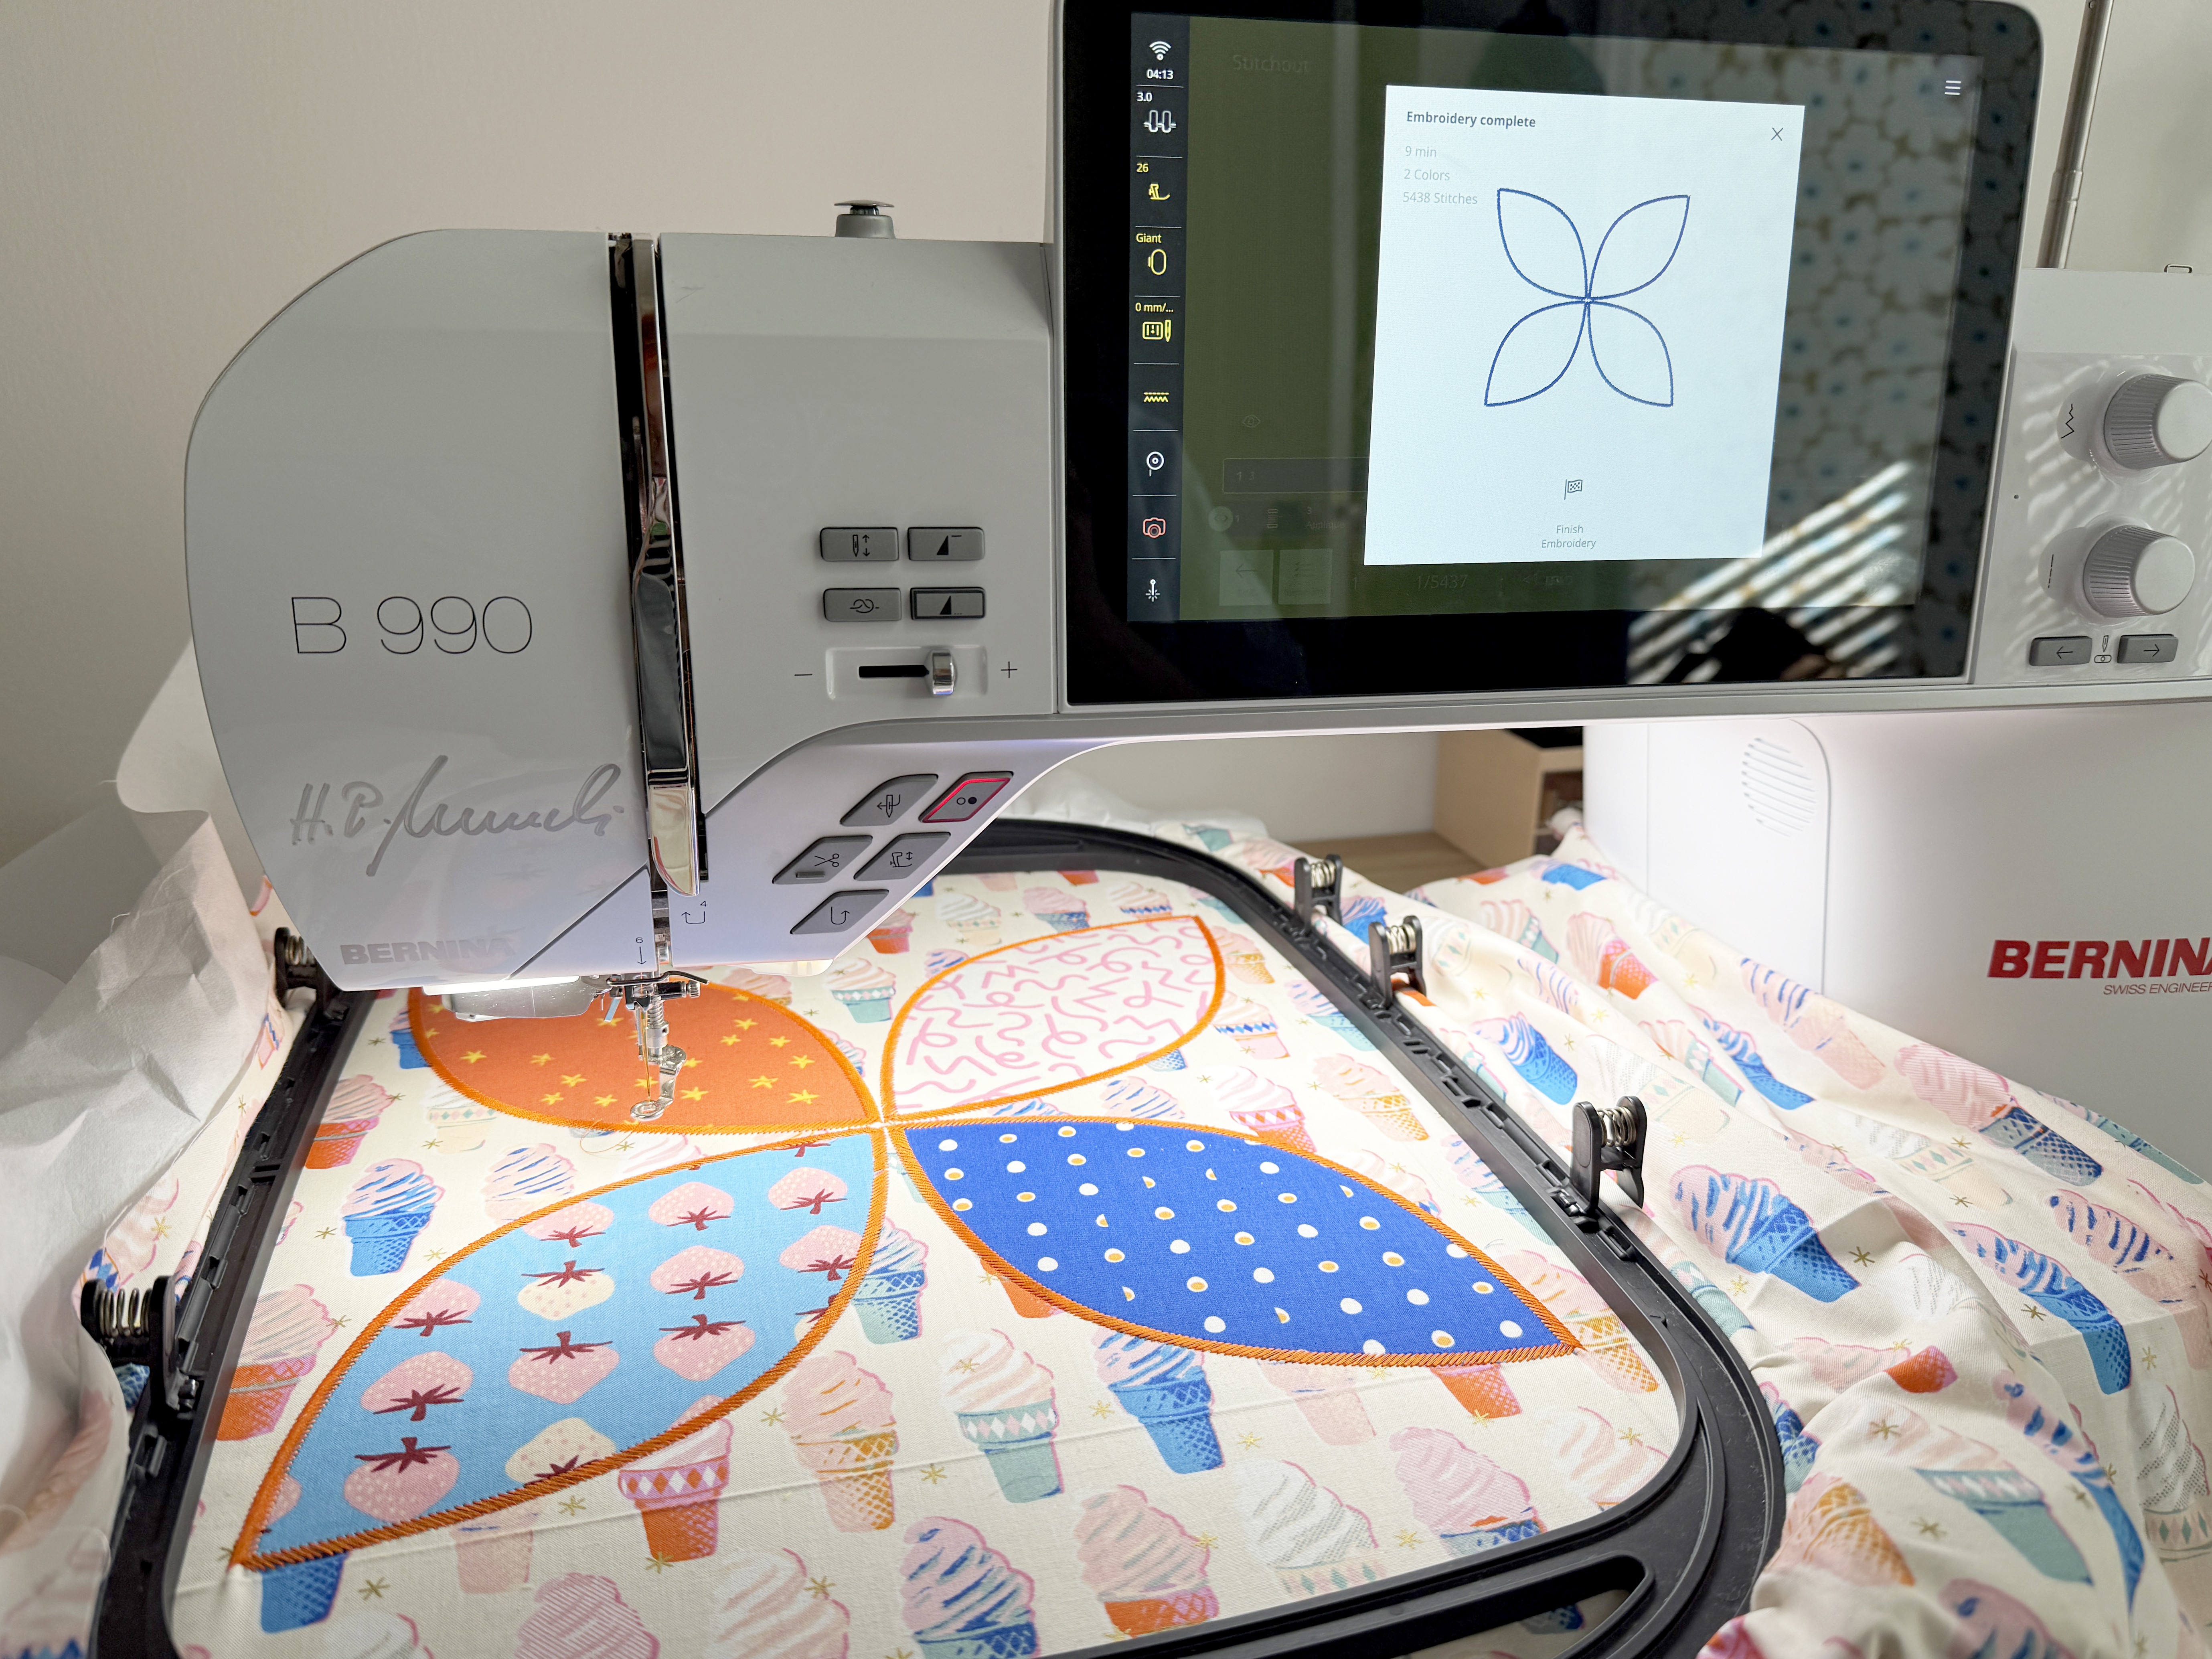
When complete, tap Finish Embroidery, remove the hoop from the machine, and prepare for the next hooping.
Step 6: Re-hoop & Re-align
After the first quadrant is complete, release the fabric from the hoop. Prepare for stitching the next quadrant, the upper right, by adding additional stabilizer behind the right side of the background fabric.
Hoop the upper right quadrant. Use the provided template to align the points of the first round of stitching just inside the stitching area as straight as possible. Again, we don’t have much wiggle room to position this large design, so take the time to hoop as straight as you can!
At the bottom of the Stitchout screen, tap Edit to return to the editing screen.
Tap to open the Edit Menu. Scroll down and select Check Design.
For this hooping (and subsequent hoopings), tap to check the position of the two corners that are intended to match previously stitched sections. For this hooping, that will be the upper and lower left corners. Move the design if needed so that the laser point falls right alongside, within 1-2 millimeters but not overlapping, the existing stitching.
When positioned, close the Edit Menu and go to Stitchout.
Repeat the same process as before to first sew the placement lines with a low-contrast thread, position and fuse your appliqués, then sew the cover stitches with a decorative thread.
Step 7: Repeat for the Remaining Quadrants
Repeat the process to hoop, position, and stitch out your design for the remaining half of the project. Add additional pieces of Ultra Clean & Tear as you go to make sure all the fabric is well covered and secured in the hoop as you go. It’s okay if you have some overlap on your pieces of stabilizer. It will all be removed eventually!
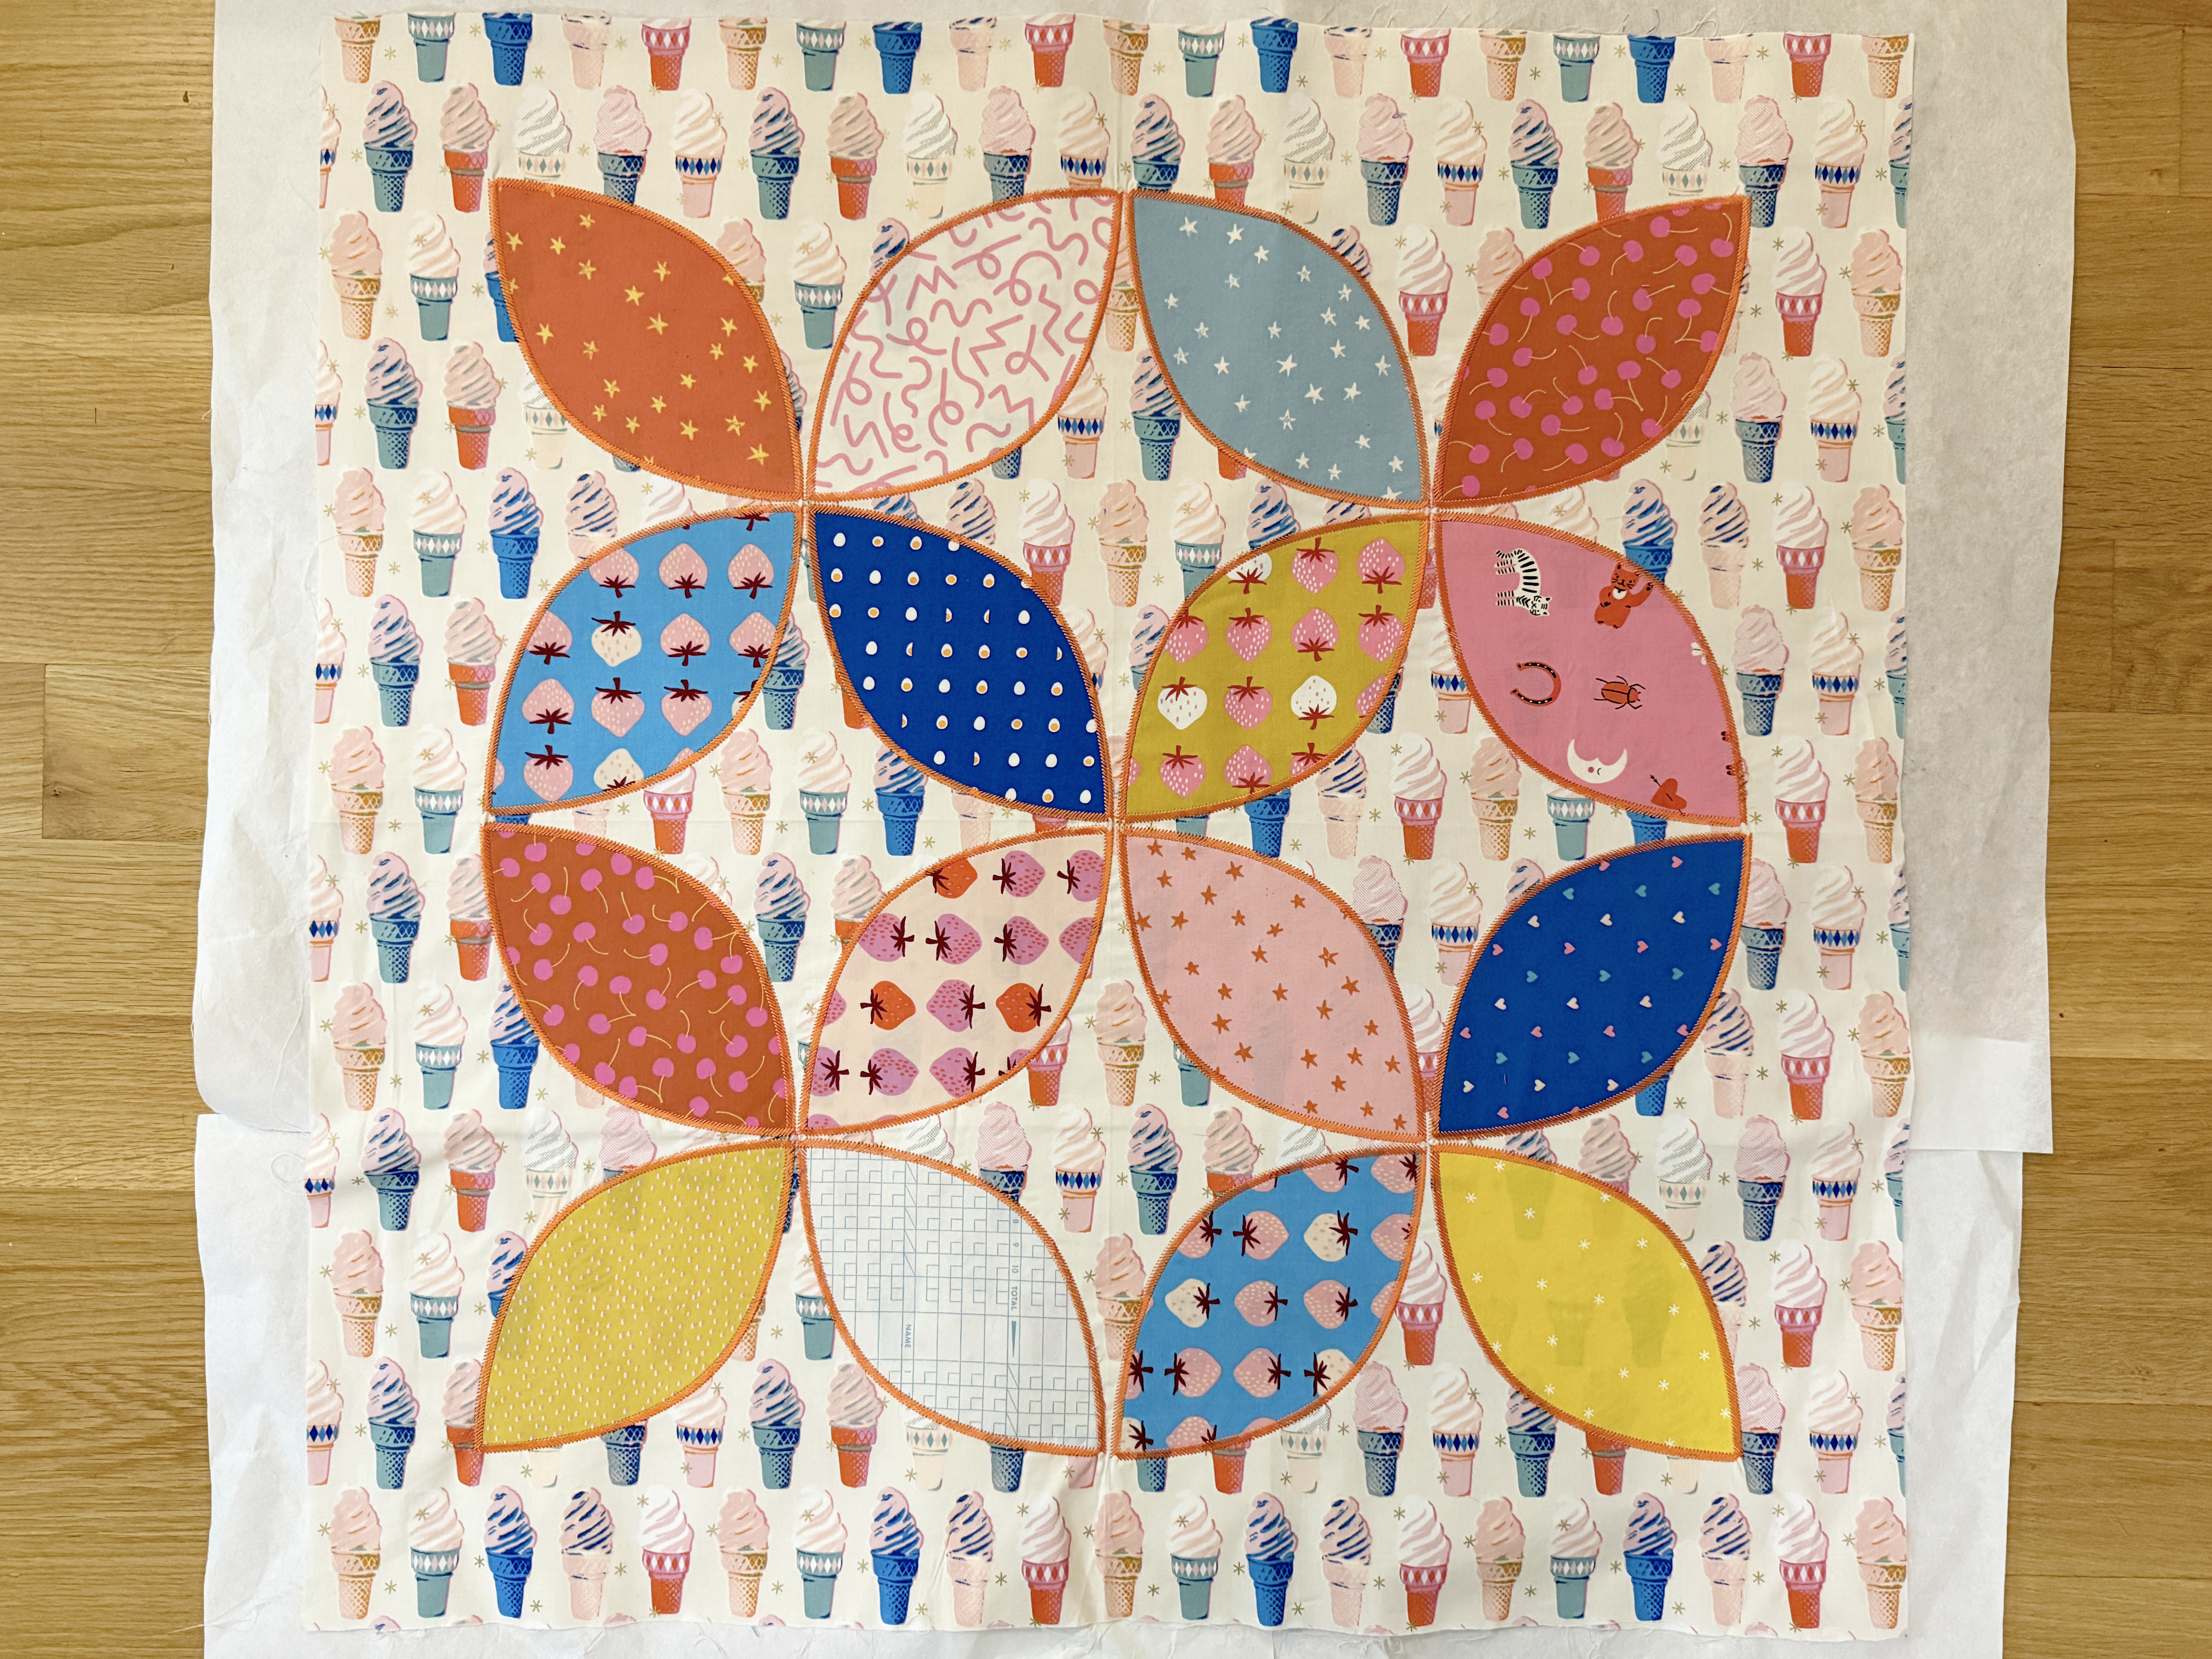
Once all four quadrants are stitched, carefully tear out the stabilizer from the back side. Pull stabilizer alongside the perforations created by the stitching, rather than pulling up against the stitches to prevent them from warping.
Step 8: Finish as Desired
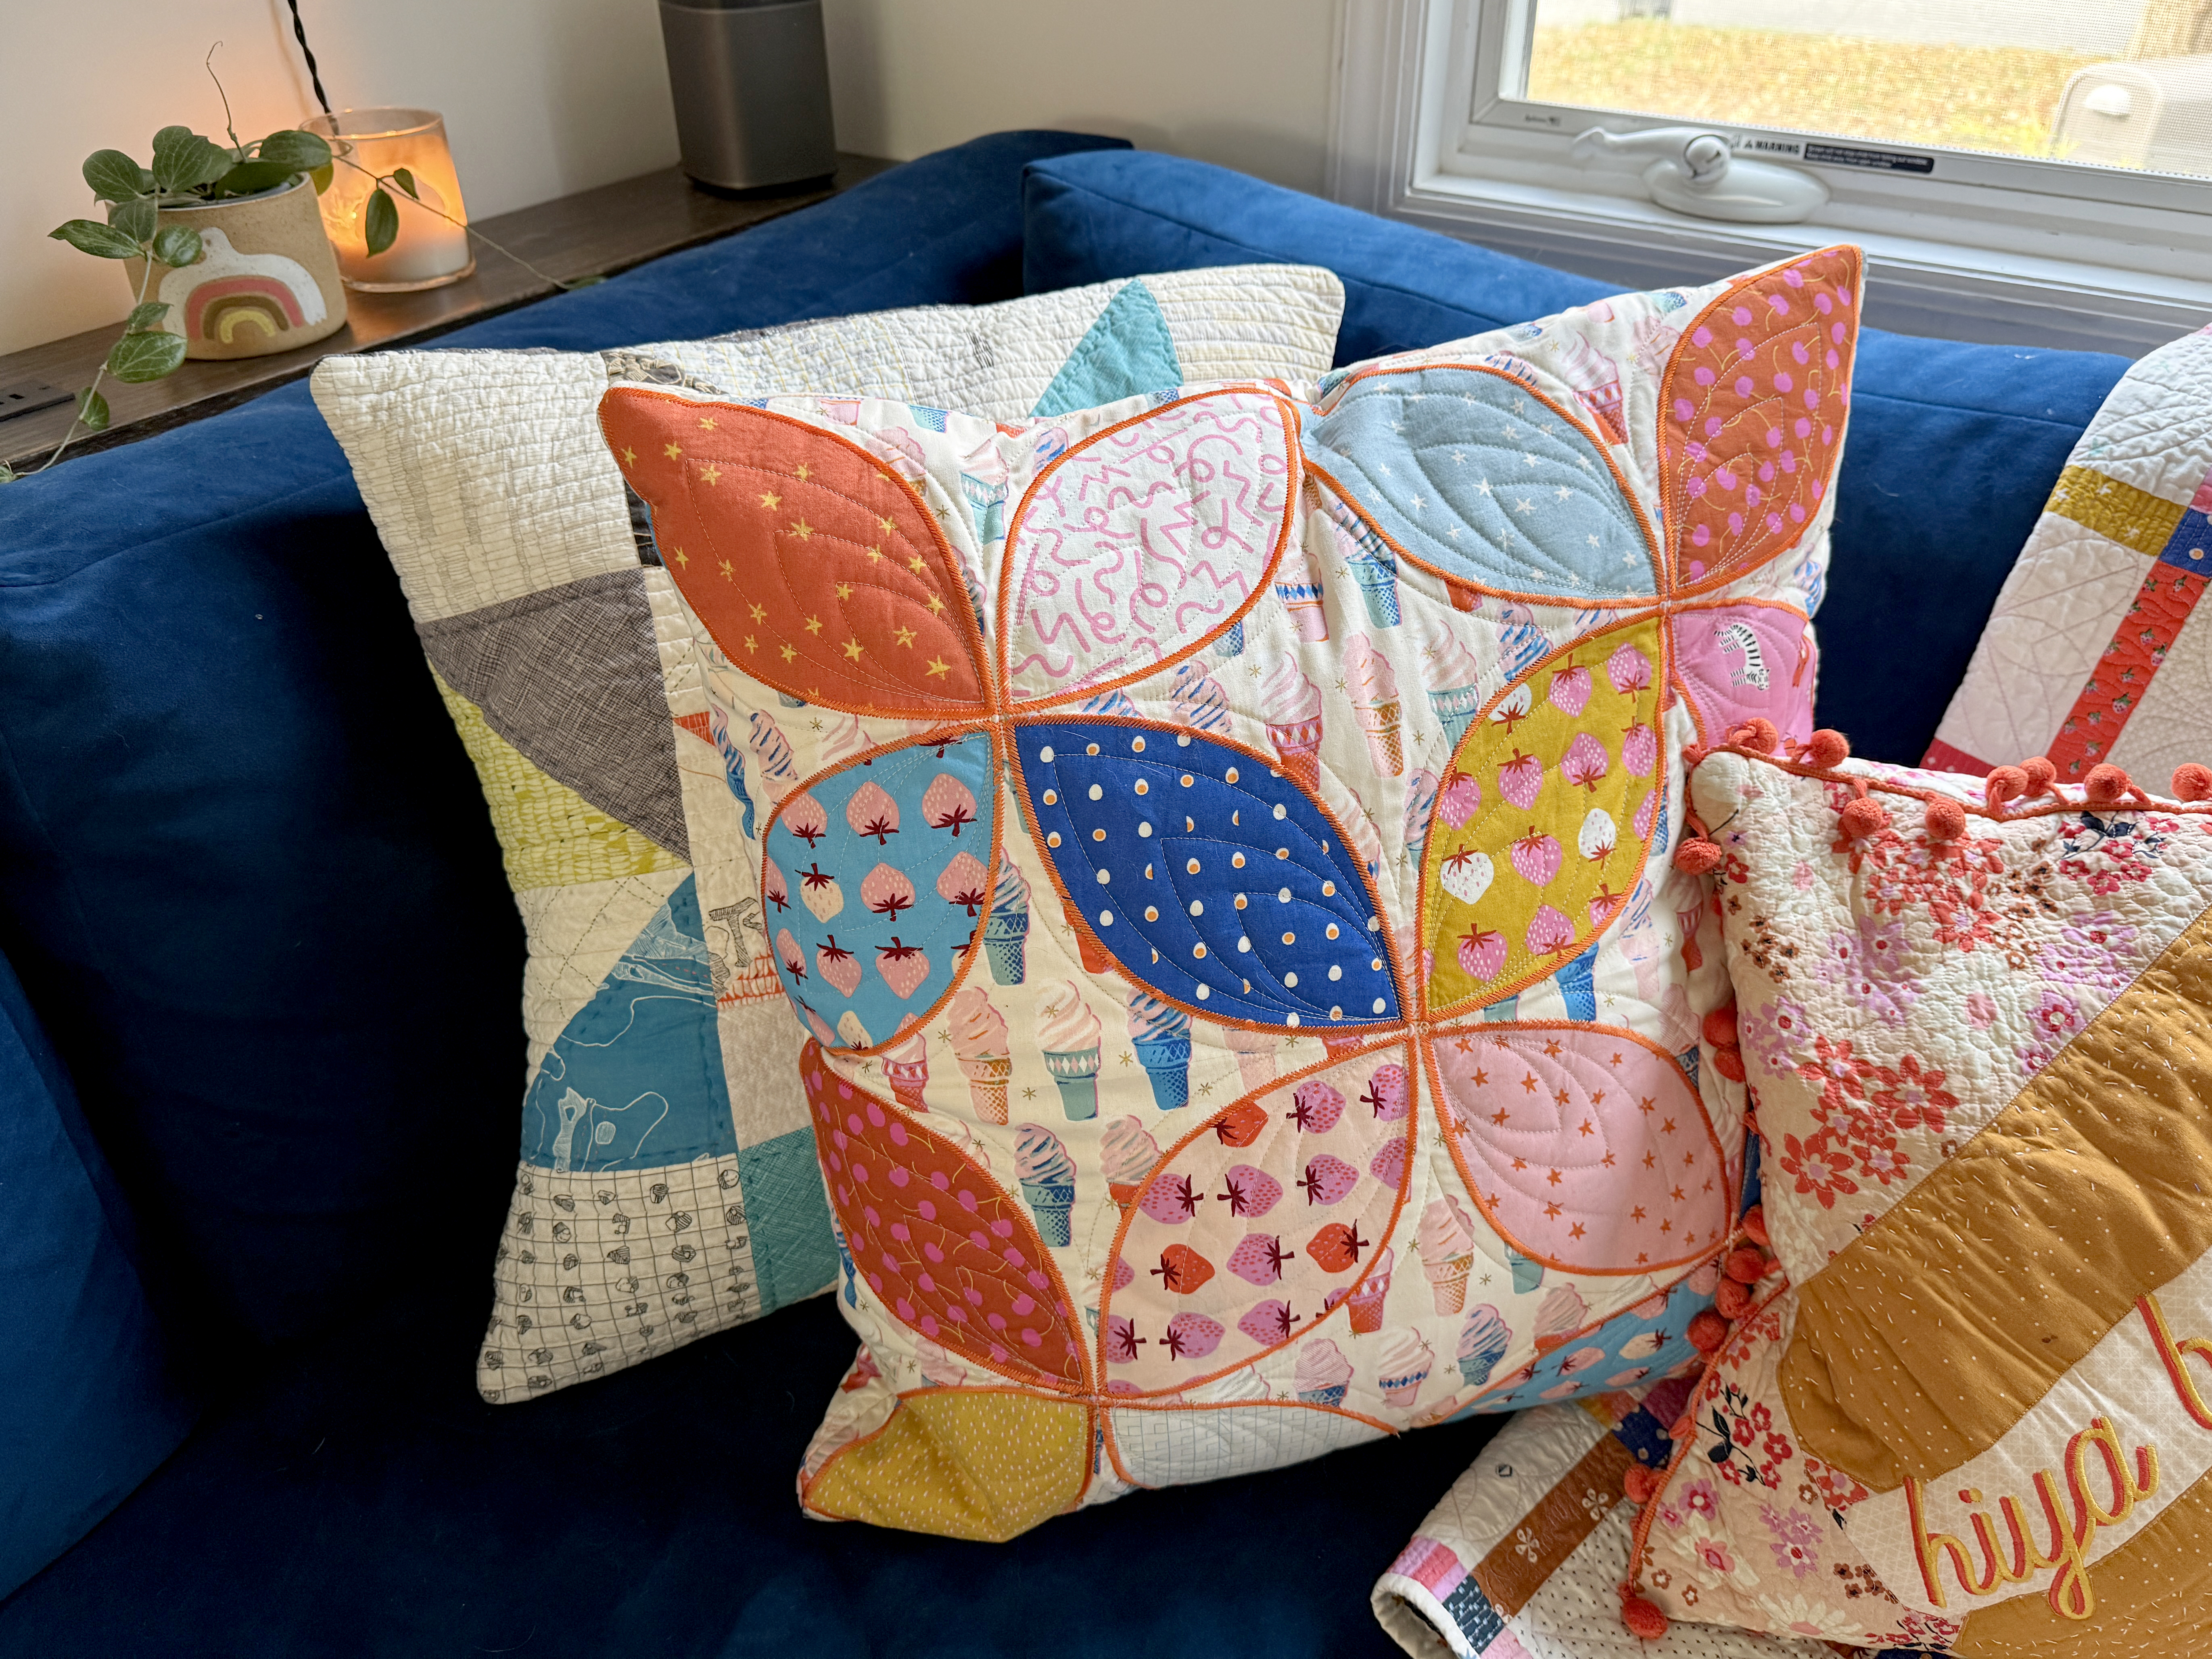
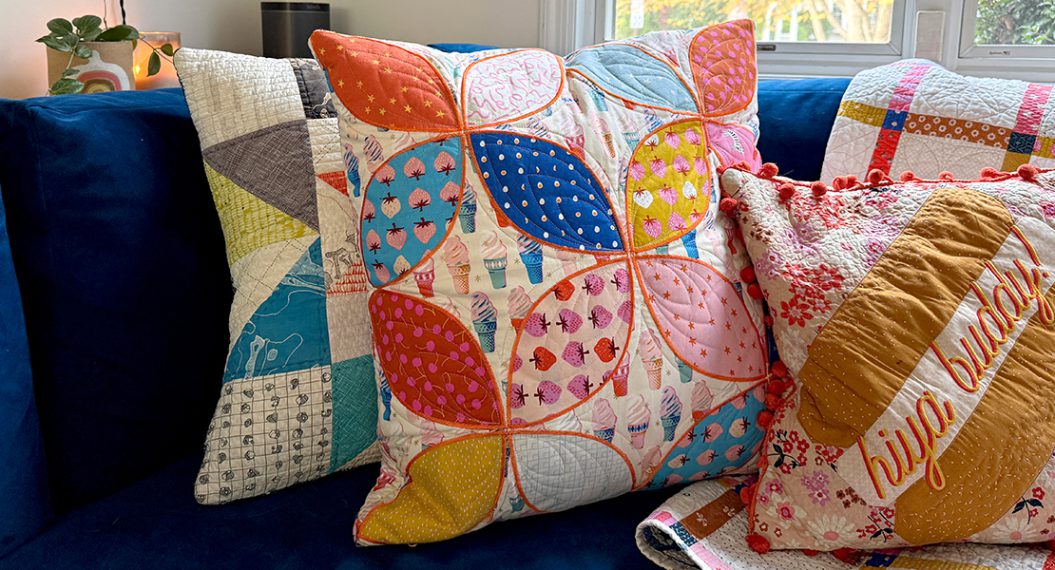
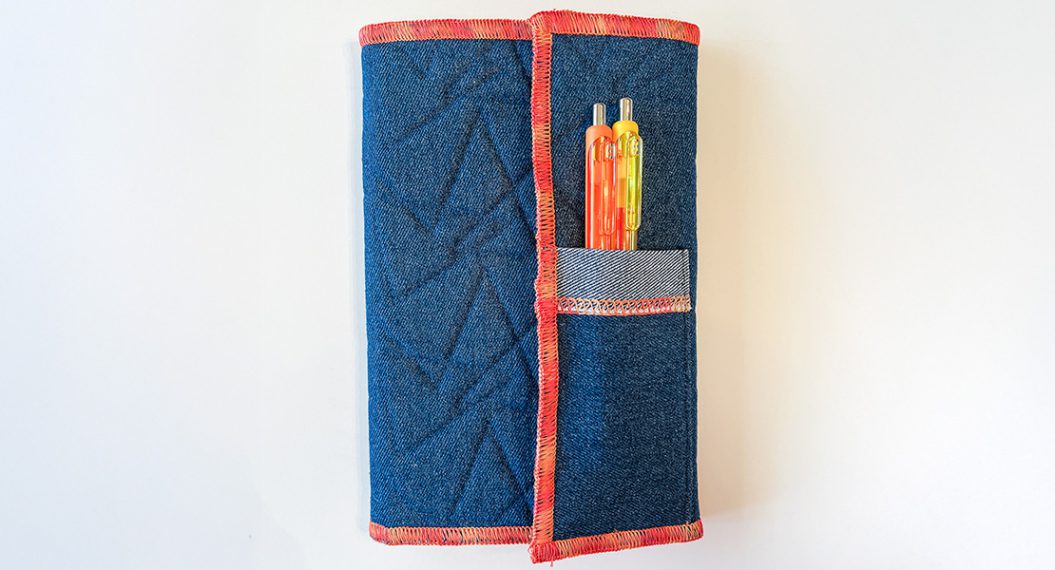
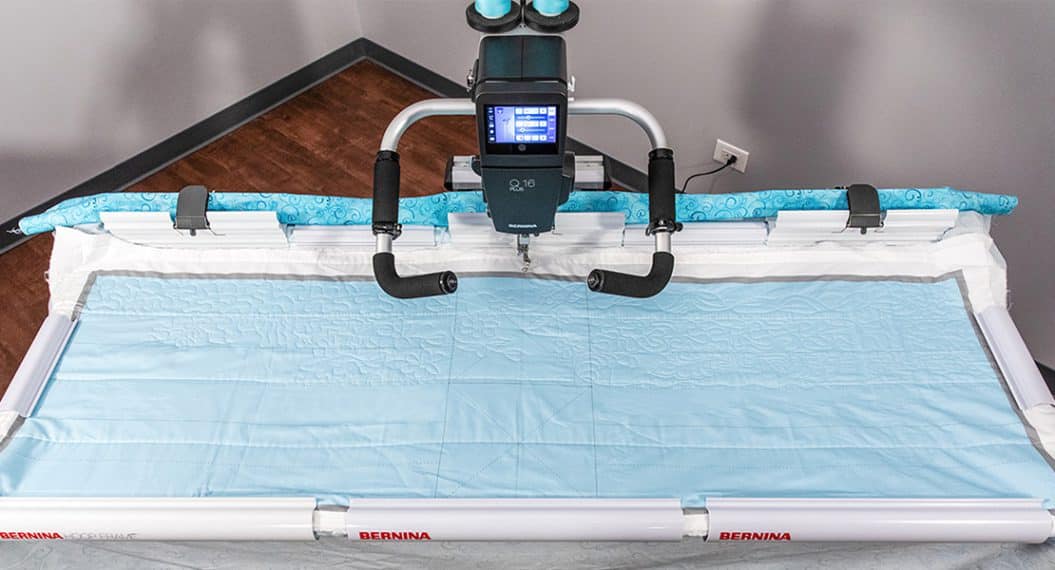
Give your large block a good press and finish as desired! I chose to custom quilt mine in-the-hoop and edge-to-edge quilt a backing piece to assemble into a throw pillow with a zipper. This tutorial here on WeAllSew is a great guide for finishing your pillow project!
Used Products

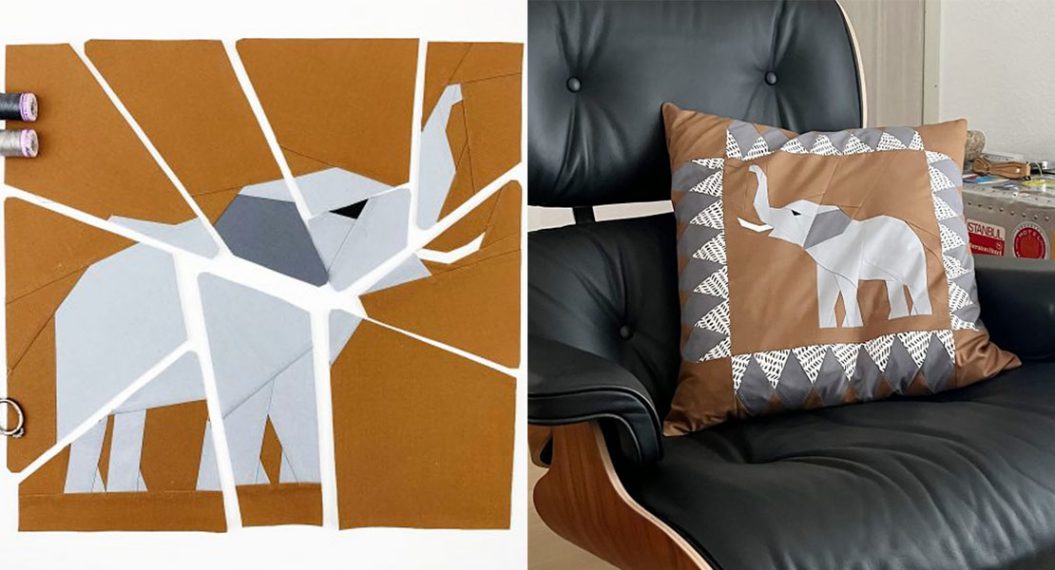
What you might also like


One comment on “Beginner CutWork & Appliqué on the BERNINA 990, Part Two”
Leave a Reply
You must be logged in to post a comment.

Can I do this project on my 790?
Jann