

What you might also like

0 comments on “”
-
-
Exactly! Those numbers are to account for your seam allowances which should be consistent, regardless of your desired finish size. Good luck!
-
-
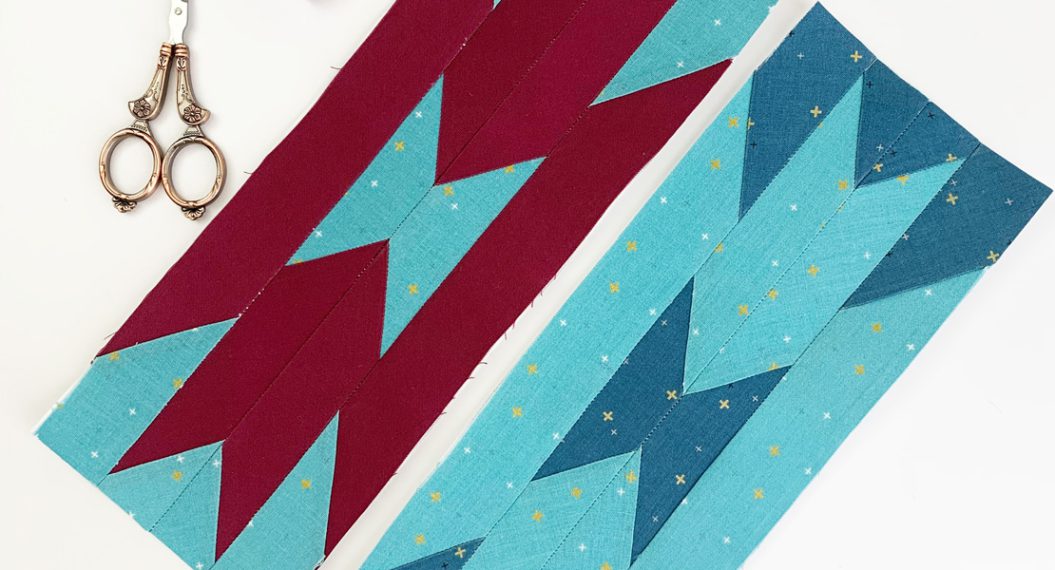
Thank you for this great tip on flying geese-I have always had trouble with them, but this is a “lightbulb” moment-thank you for sharing, Susan
-
That’s great to hear, Susan! I hope this brings you success in your future projects 🙂
-
-
I believe there is an error in step 3. I think it should be “with right sides together” and not as it is written “with wrong sides together”.
-
You are correct! Thanks for pointing that out. We’ve adjusted accordingly!
-
-
Good way to do this but Eleanor Burns way with her rulers are a lot easier.
-
Thanks, marsuz! I’ve heard her rulers are great. This is a fun alternative if you haven’t invested in the ruler or don’t have one at the correct size 🙂
-
-
I’ve always been afraid of flying geese. This just made it so attractive for me to try. Thank you
-
Good luck! And just remember, there are no mistakes in quilting. I prefer to think of them as “improvisational design elements” 🙂 I hope this technique helps!
-
-
I have never made this type block but this way looks perfect. Look forward to your posts.
-
Thank you so much for this easy way to make flying geese!! I just started quilting over 2 years ago & flying geese have been so difficult for me. I’ve passed up some beautiful patterns just because those are in the quilt. Now I’m going to look thru my digital patterns and get busy! This looks so fun, thank you again for sharing!
Leave a Reply
You must be logged in to post a comment.
I am assuming that the addtional 1-1/4 inch to the larger square and 7/8 inch to the smaller square is standard no matter what your finished block size is?