Freeform Lace Shaping Without Pins
By Ed Roux, author of a series on heirloom sewing techniques for WeAllSew and Through the Needle ONLINE magazine:
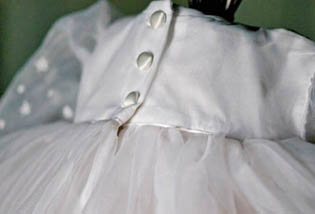
The very first heirloom technique I used on my Christina christening gown was to shape French insertion lace into stylized diamond scallops for the batiste main skirt. What I conceived of having was a shape that pulled in the monogramed organza diamond shapes from above and the curvature of the skirt below. What resulted was a three-sided shape that resembled the top part of a diamond with a curved bottom, a stylized diamond scallop.

Initially, I used the traditional method of shaping French insertion lace over lace shaping templates on an Heirloom Stitchers Shape & Press Board. After remembering how tedious and very time consuming this method can be (pinning, starching, ironing, etc.), and not satisfied with any of the limited styles of shape templates available on the press board, I opted for the streamlined techniques below.
1. After carefully calculating the size and the number of scallops that would fit within 2 yards, the scallops were carefully marked across the width of the batiste. 
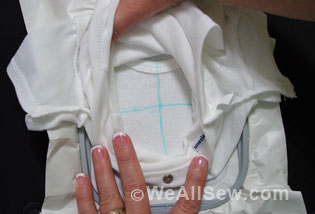
2. The tops of the scallops were marked with the top shape of a diamond. Then the centers of these stylized diamond scallops were marked to indicate where the embroidered designs would be stitched so that they would be placed in the center of each shape.

3. A 2-yard length of OESD AquaMesh Wash-Away stabilizer was measured, cut and pinned lengthwise on the wrong side of the batiste so that the marked shapes were centered within the width of the stabilizer.
Many years ago, I used Stitch & Ditch Heirloom Stabilizer to support heirloom stitching, but it always left a paper residue. Moreover you had to mindful not to break the delicate heirloom stitching as you tore the paper away.
With the introduction of AquaMesh Wash-Away stabilizer (or Vilene as it is called in the industry), I prefer it over Stitch & Ditch Stabilizer as it
- Gives better support for heirloom stitching
- Can be used where embroidery is part of the project, and more importantly
- Washes completely away, instead of torn away, leaving no residue.
Vilene can also be conveniently purchased in 2-inch wide rolls if you need narrow strips for heirloom stitching.

4. The stabilizer was secured to the batiste on either side of the marked shapes with a basting stitch.

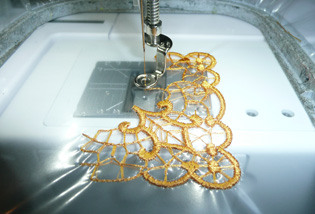
5. Each shaped was carefully hooped.

6. The design was embroidered in the center of each stylized diamond scallop.

Leave stabilizer attached to the batiste as it will be needed for lace shaping and decorative stitching.
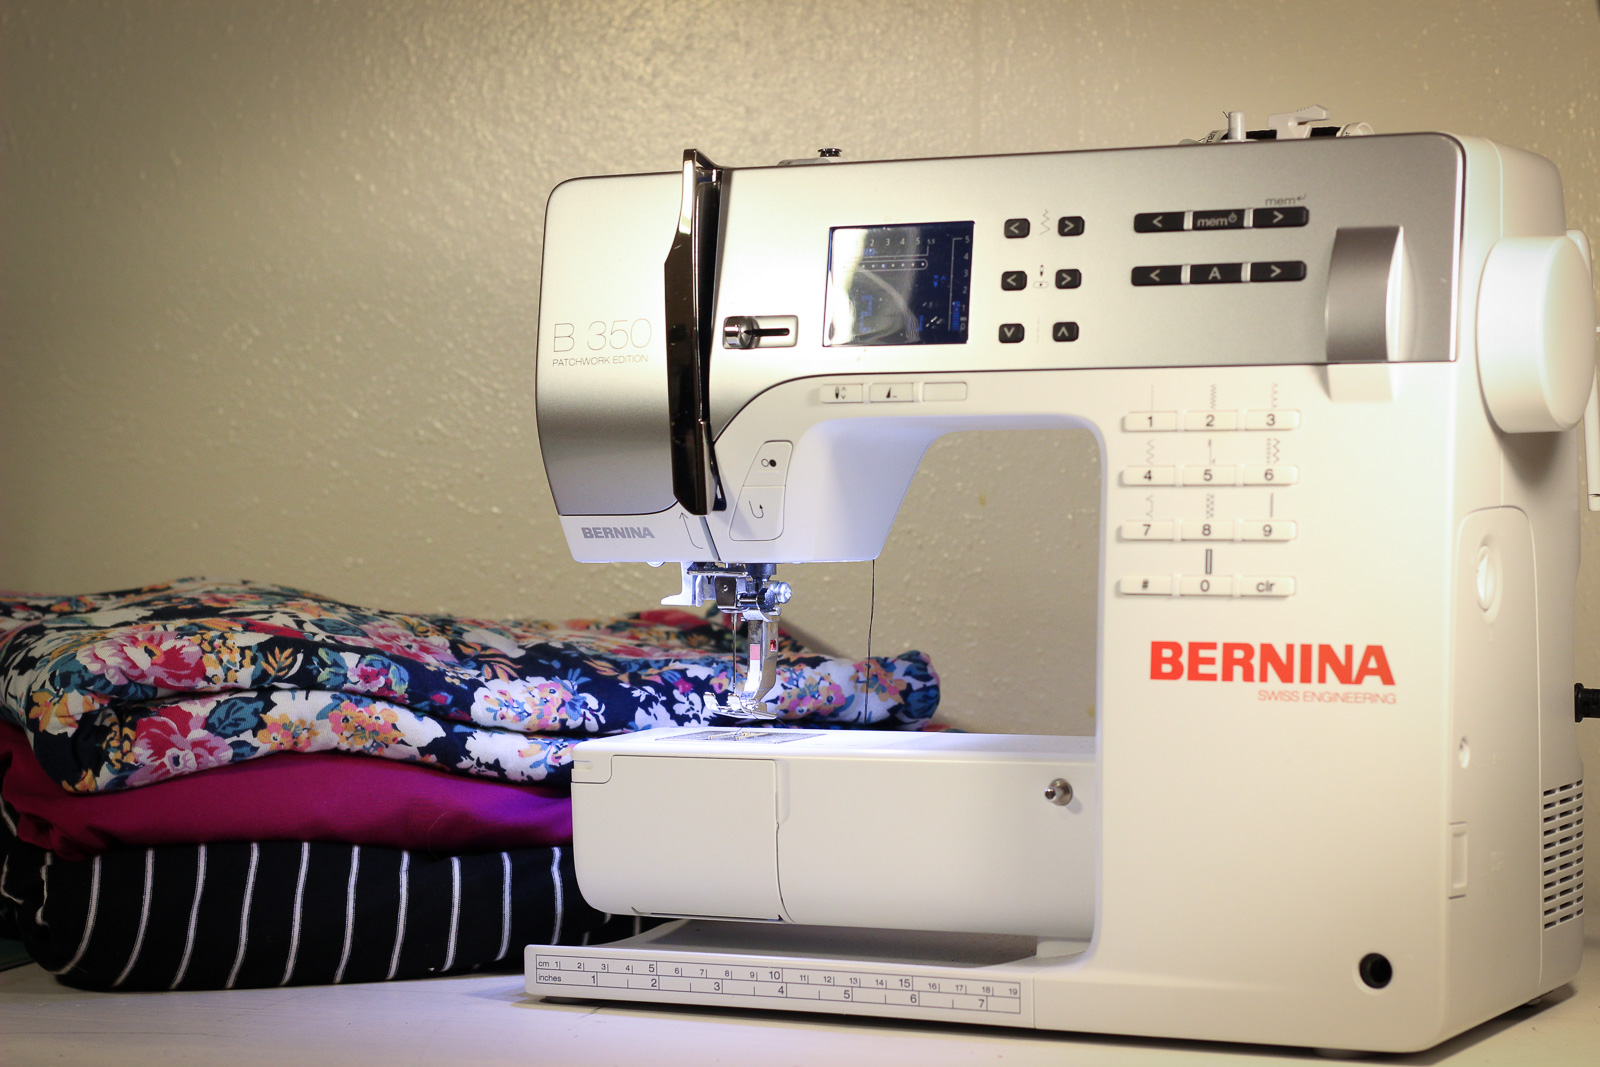
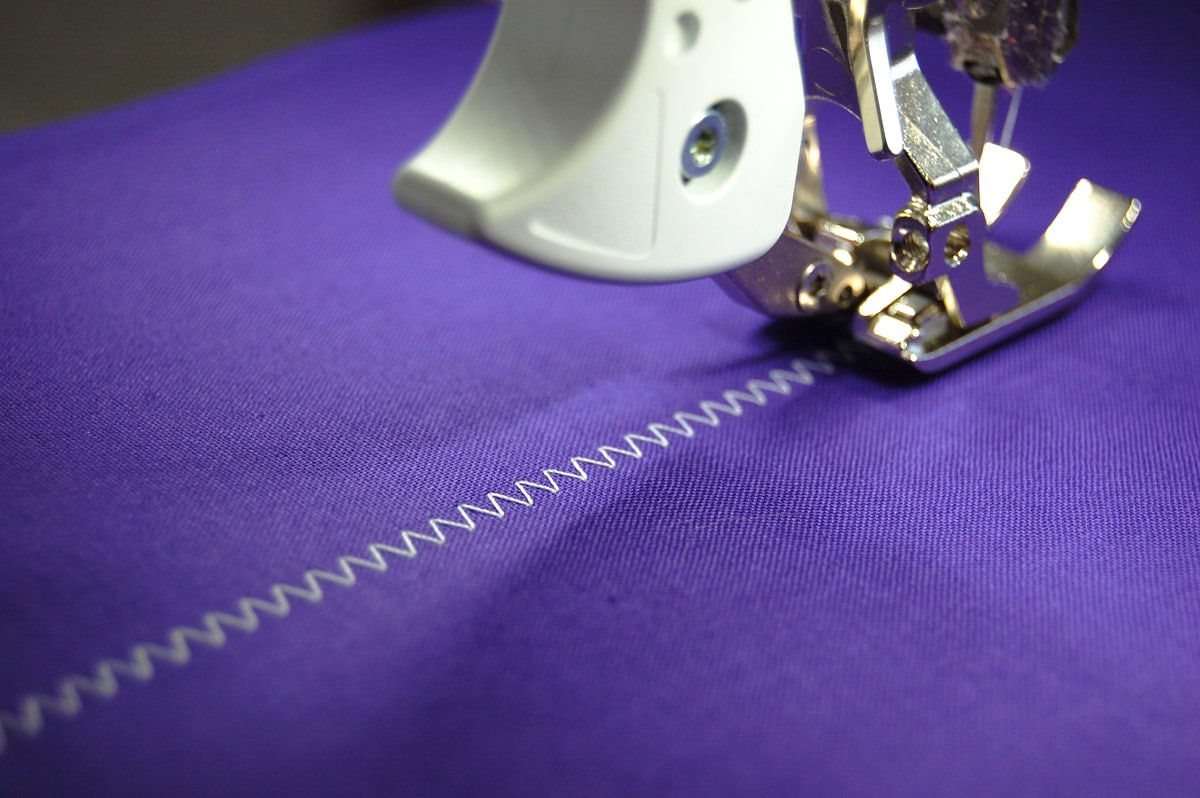
7. To prepare your sewing machine for lace shaping, select and use
- 50 weight cotton thread in top and bobbin
- Wing needle, size 120/19
- 5.5mm Stitch Plate if you are using a 9mm BERNINA sewing machine
- Clear sole zigzag presser foot (preferably Clear Foot #34/34C/34D)
- Pin stitch (Stitch #720 on the BERNINA 830).
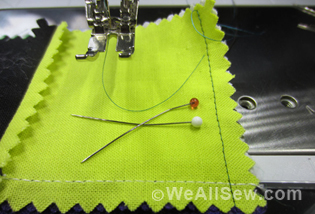
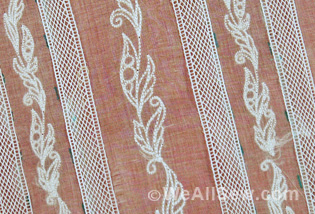
Examine your shape and start applying the lace to the outer curve first. Insertion lace with header thread is essential for shaping lace. Lay your lace so that its left edge is placed on the inside of the curve radius. Stitch the lace to the batiste while positioning the edge of the lace on the shape lines.


8. Use a stiletto to aid in creating a mitered corner.


9. Flatten the inner curves of the right edge of the lace by pulling one of the lace header threads where the lace bulges until the lace lies smooth on top of the batiste before stitching. You may need to mirror the pin stitch to sew this side of the lace.

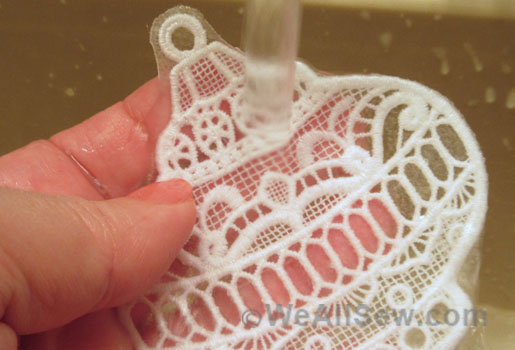
10. After you finish sewing your lace shapes, add decorative stitching if desired. Then wash the stabilizer from the batiste with mild soapy warm water using the delicate cycle of your front loading washing machine or wash by hand. Dry and press.

11. Carefully trim batiste behind lace. Add other heirloom techniques such as pintucks and pleats.

Watch WeAllSew.com for more of the “Christina” story and the techniques used to create it!
Also by Ed Roux:
- The Christina Christening Gown (May 17, 2012)
- Fabulous Ribbon Binding with Binder Attachment #88 (July 4, 2012)
- A Study in Heirloom Techniques, Part 1: Joining Techniques (Through the Needle ONLINE, Issue 12, June 2012)
- A Study in Heirloom Techniques, Part 2: Perfect Heirloom Buttonholes (coming August 2012, Through the Needle ONLINE, Issue #13)