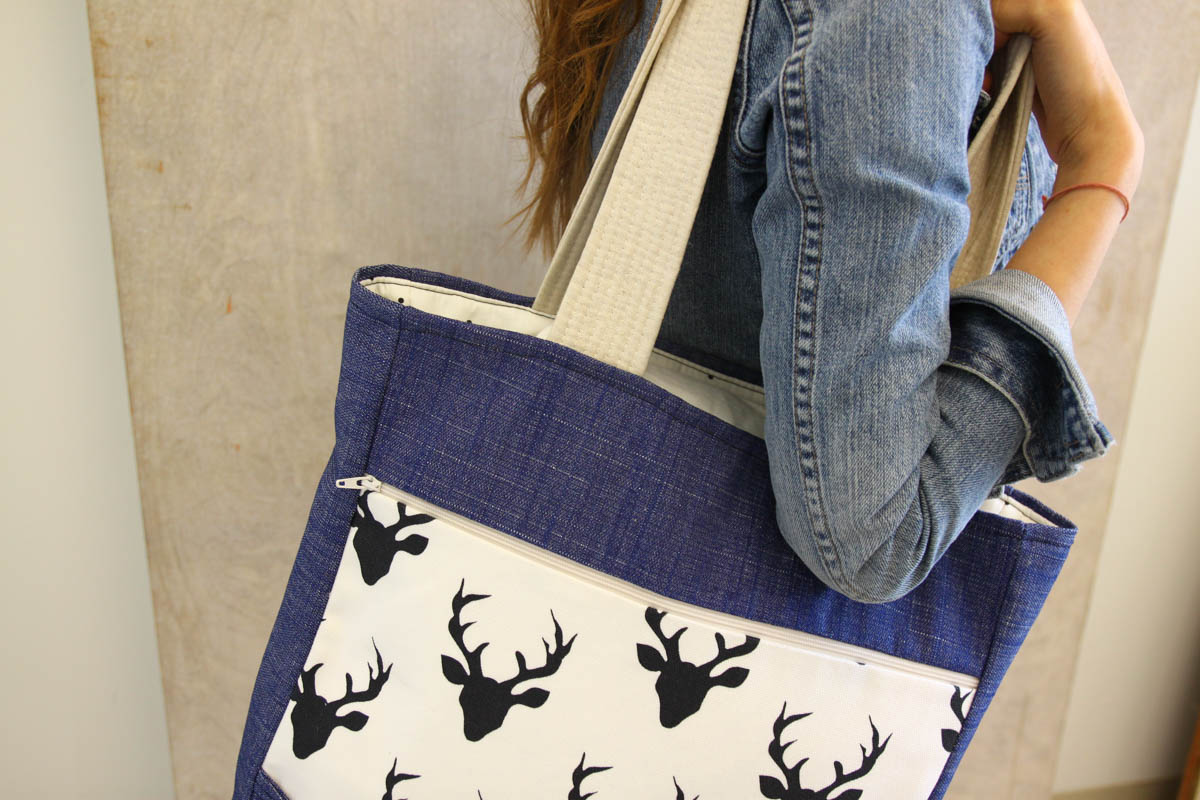
DIY Garden Harvest Apron Tote
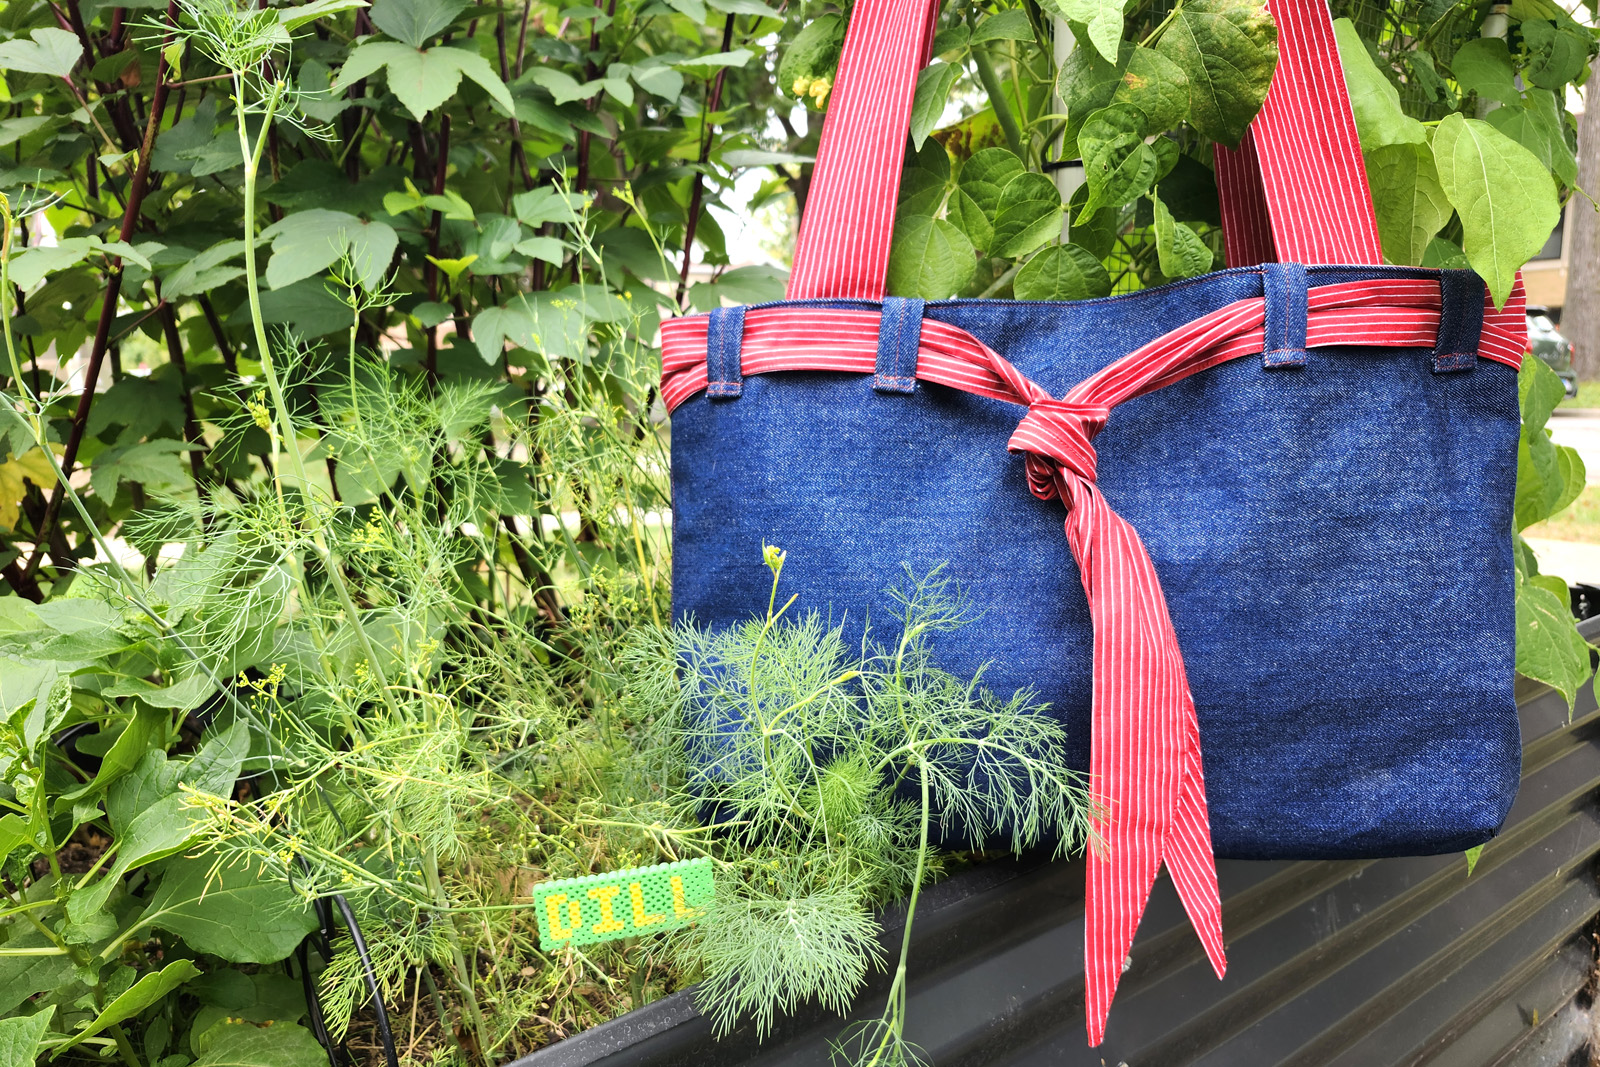
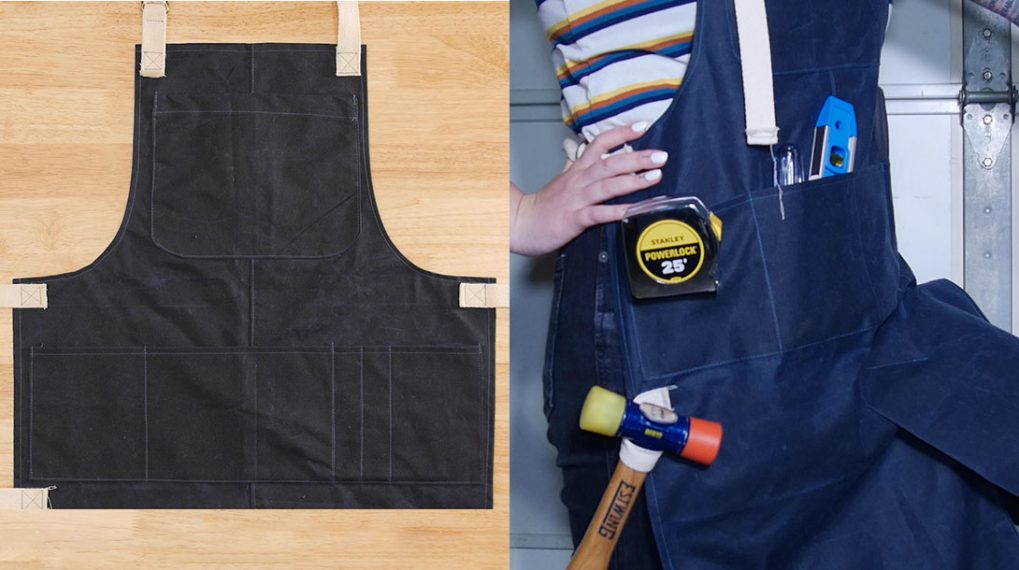
My vegetable garden was very fruitful this year, and I needed a bag to help hold all the cucumbers, tomatoes, beans, cucumbers and other veg that was ripening every day. I found regular bags flopped around too much, baskets were too heavy on my arm, and pocket aprons just weren’t big enough. That’s how this Garden Harvest Apron Tote was created, wear it like a tote bag with apron straps to help keep your veg secured while working in the garden.
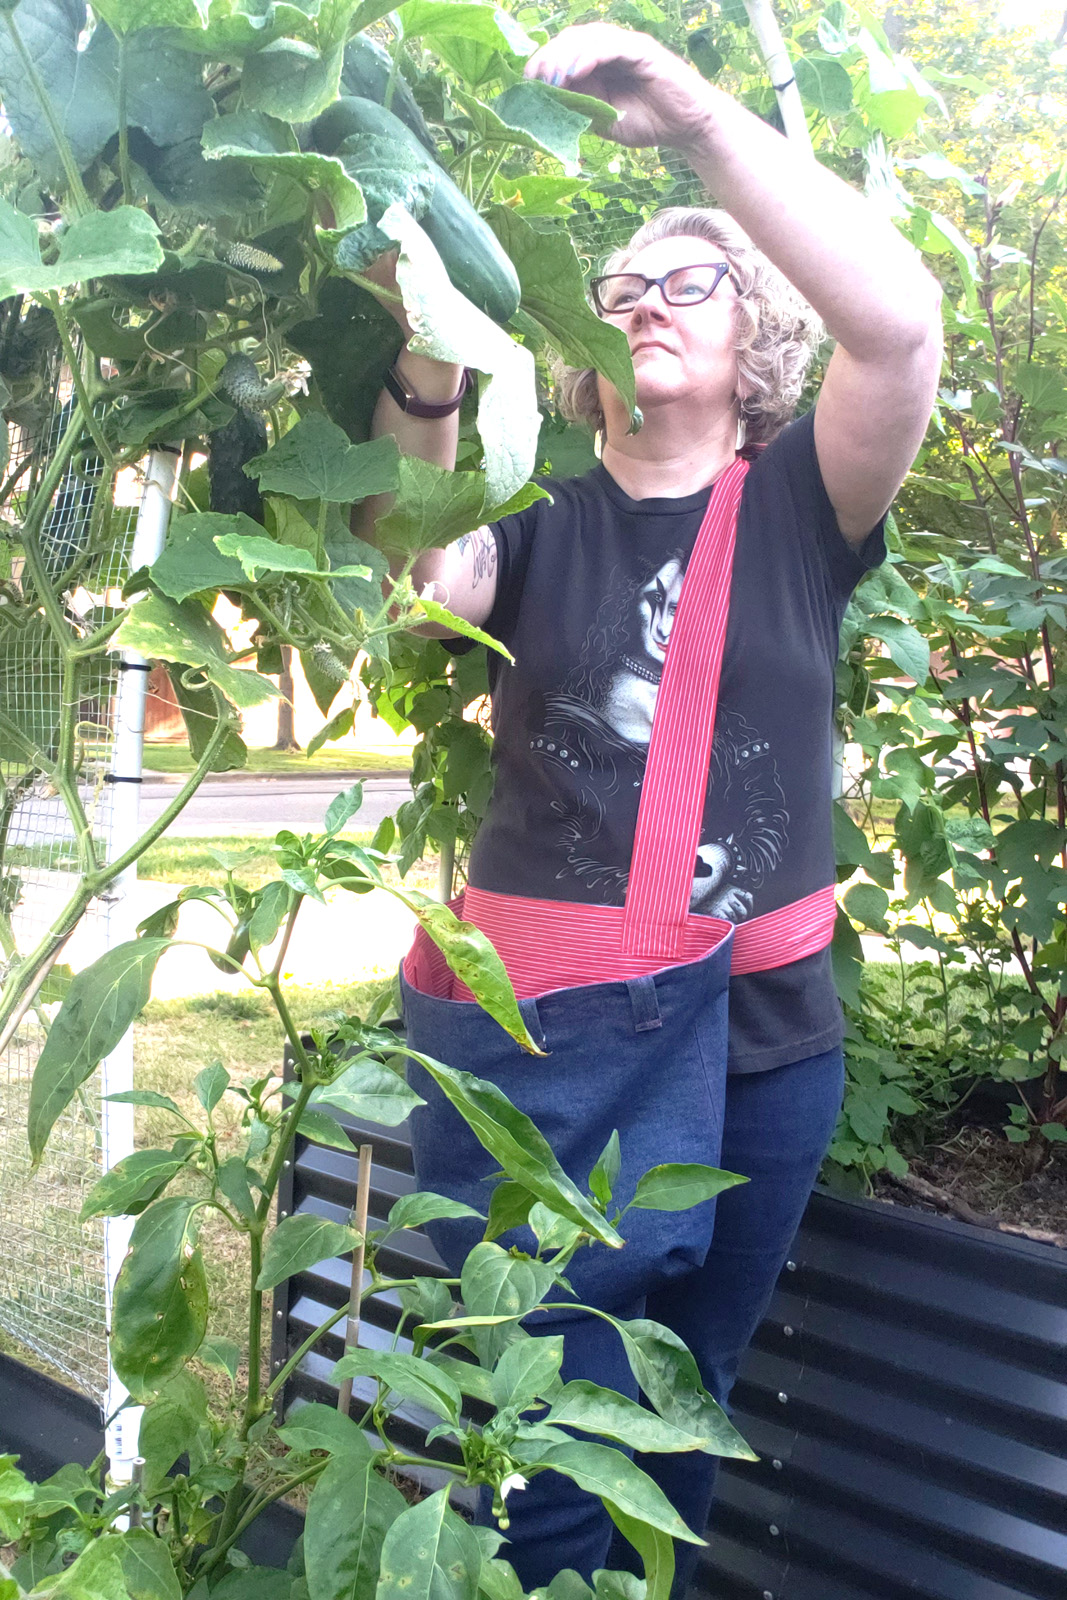
This apron is convertible! Wear it over the shoulder, cross-body, around the neck, crossed in the back – whichever way is most comfortable for harvesting vegetables from the garden. The tie is used to secure the tote around your waist to keep it from swinging out and bouncing around while picking veg. When not in use, the tie is secured through front loops and tied in a loose knot or bow.
Materials to Make a Garden Harvest Apron Tote
- 1/2 yard 45″ – 54″ wide heavyweight denim, twill, or canvas (I used a 12 oz dark blue denim)
- 1/2 yard 45″ – 54″ wide medium-weight cotton (I used a quilting cotton)
- 1 yard 45″ wide lightweight to medium-weight cotton (I used the same quilting cotton as the lining)
- 3/4 yard Pellon Craft Bond
- Thread: 100% polyester 40 wt thread (I used Mettler Metrosene)
- Basic sewing supplies
- Sewing machine (I use a BERNINA 570 QE)
- Reverse Pattern Foot #1D used with Dual Feed
- Straight Stitch Needle Plate
- Denim or heavyweight sharp sewing machine needle size 90/14
- Height Compensation Tool
- Printed Corner Template for cutting main bag and lining

Cut the Fabrics to Make a Garden Harvest Apron Tote
- From the heavyweight fabric for main bag (I’m using 12 oz denim), cut two rectangles 22″ x 15″.
- From the medium-weight fabric for lining (I’m using a quilter’s cotton), cut two rectangles 22″ x 15″.
- From the light to medium-weight fabric for the handles and ties (I use the same fabric as the lining), cut six strips 5.5″ wide by the width of the fabric.
- From the heavyweight outer fabric cut one strip 3″ wide by 12″ long.
- From the Pellon Craft Fuse cut two pieces 3″ wide by 22″ long.
Get Ready to Sew the Garden Harvest Apron Tote
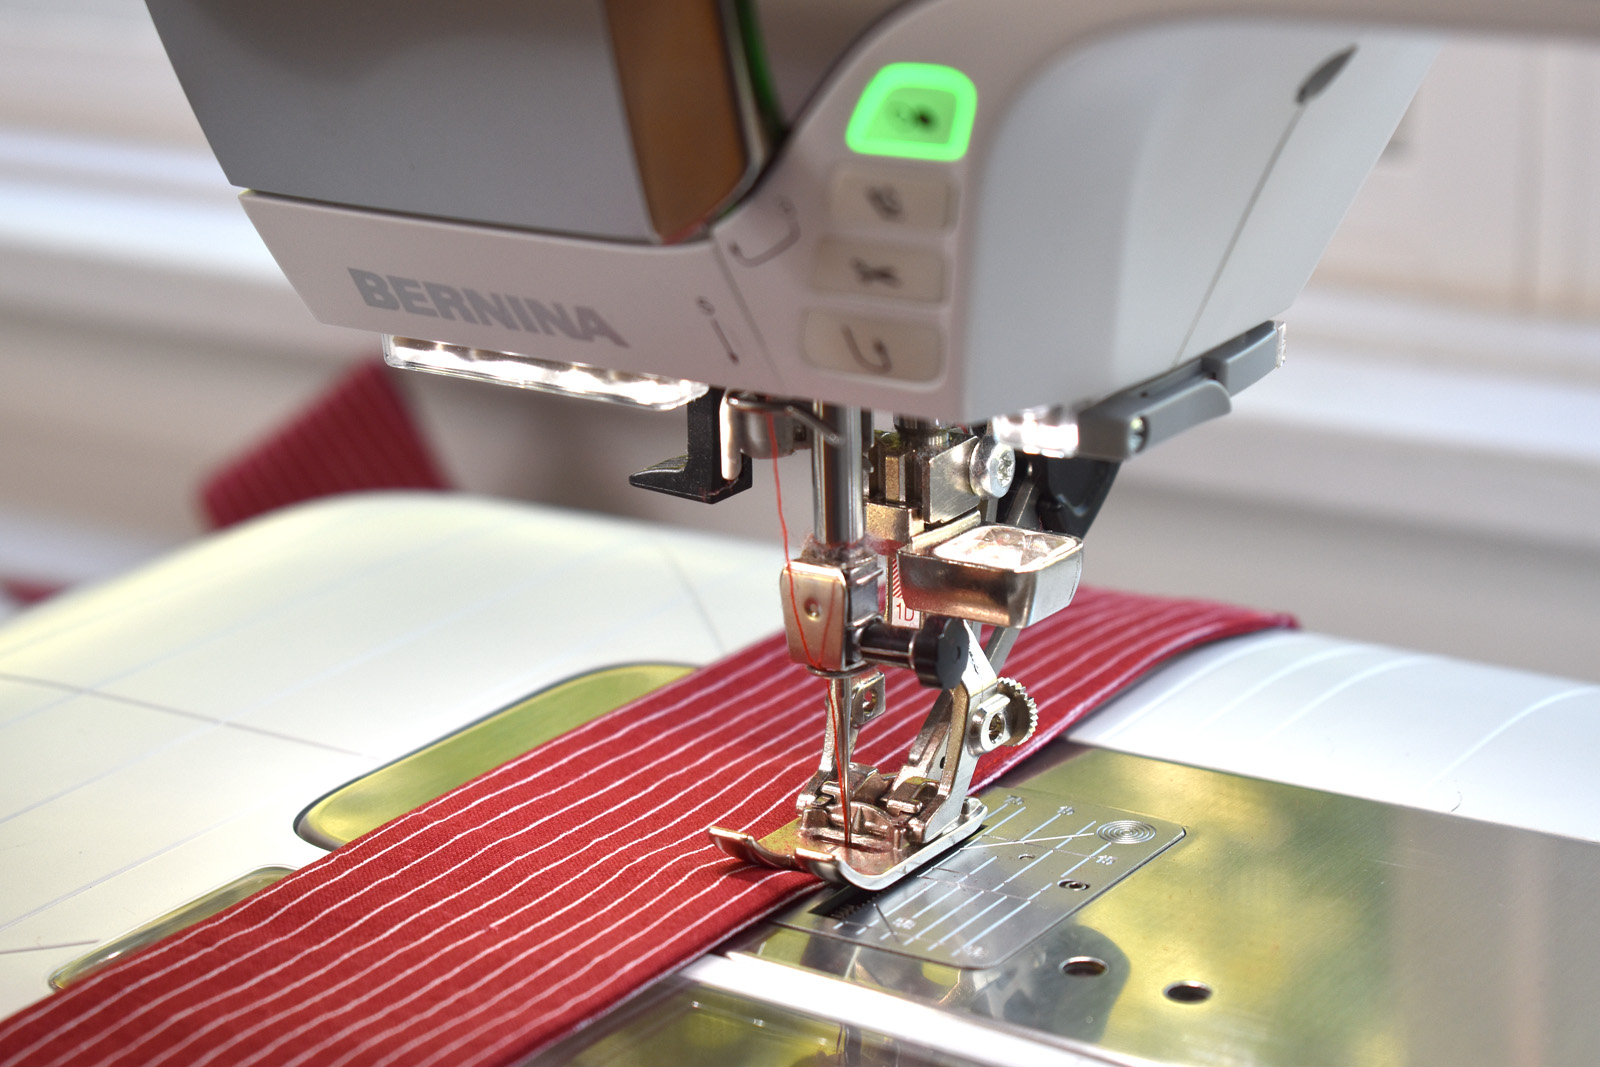
Set up your sewing machine to start stitching the apron pieces together.
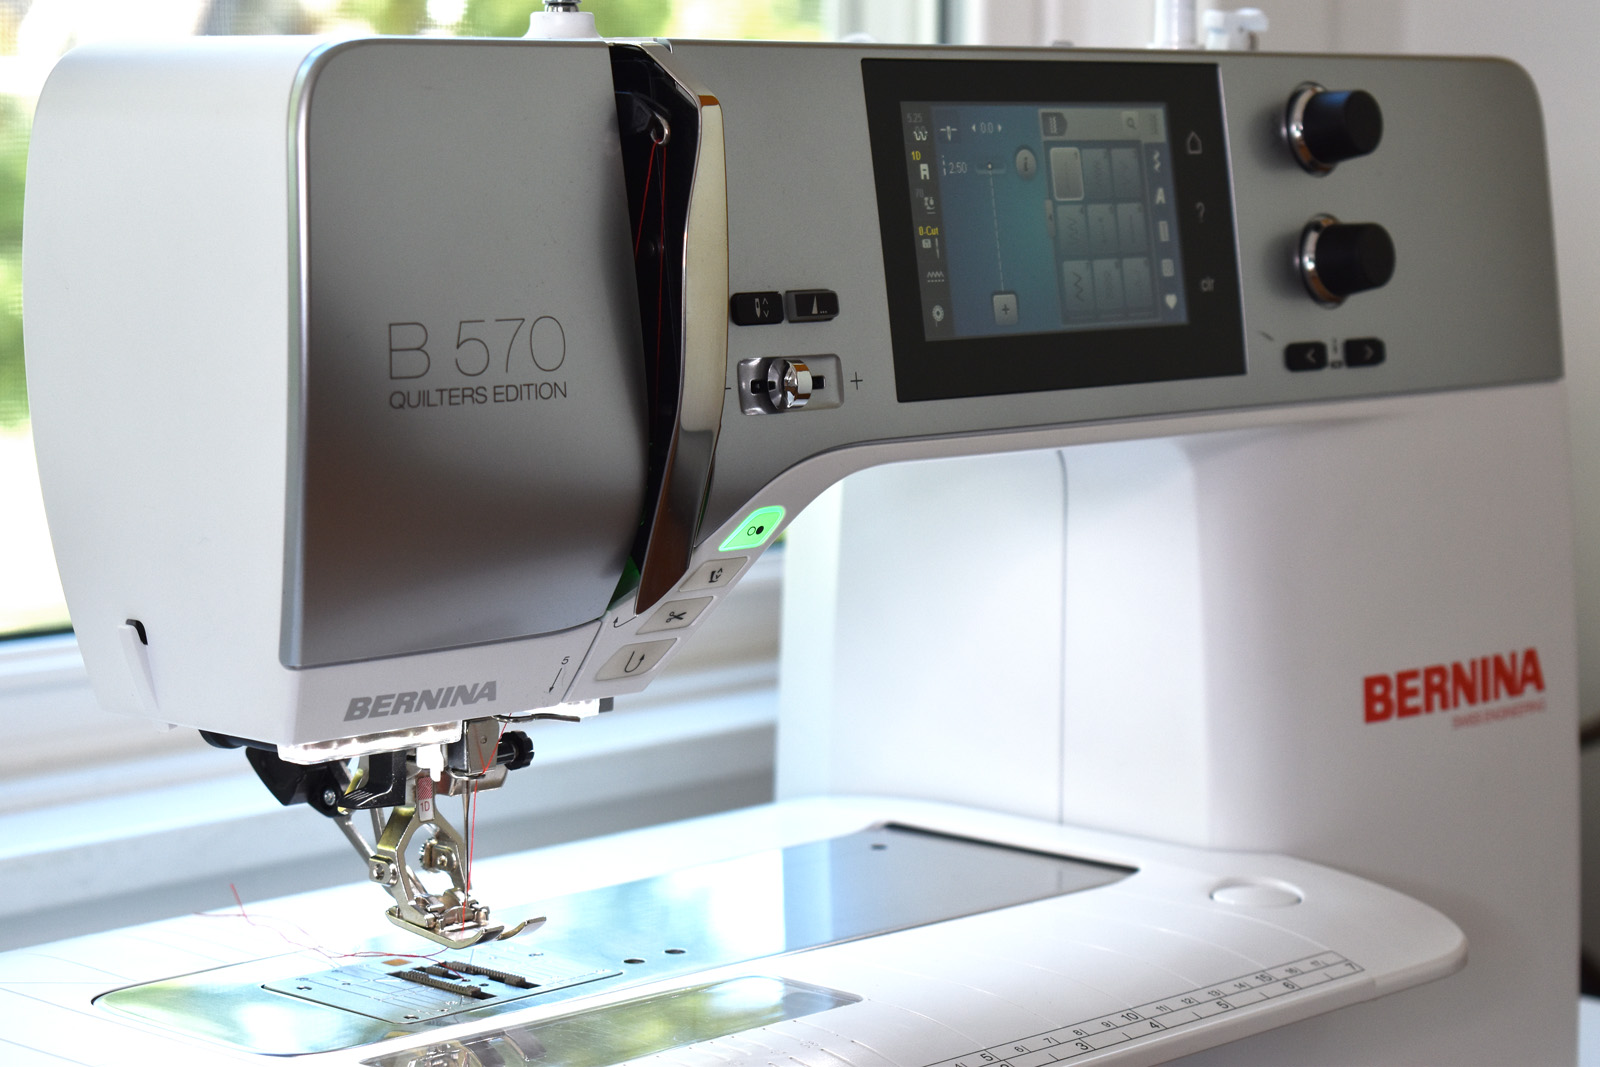
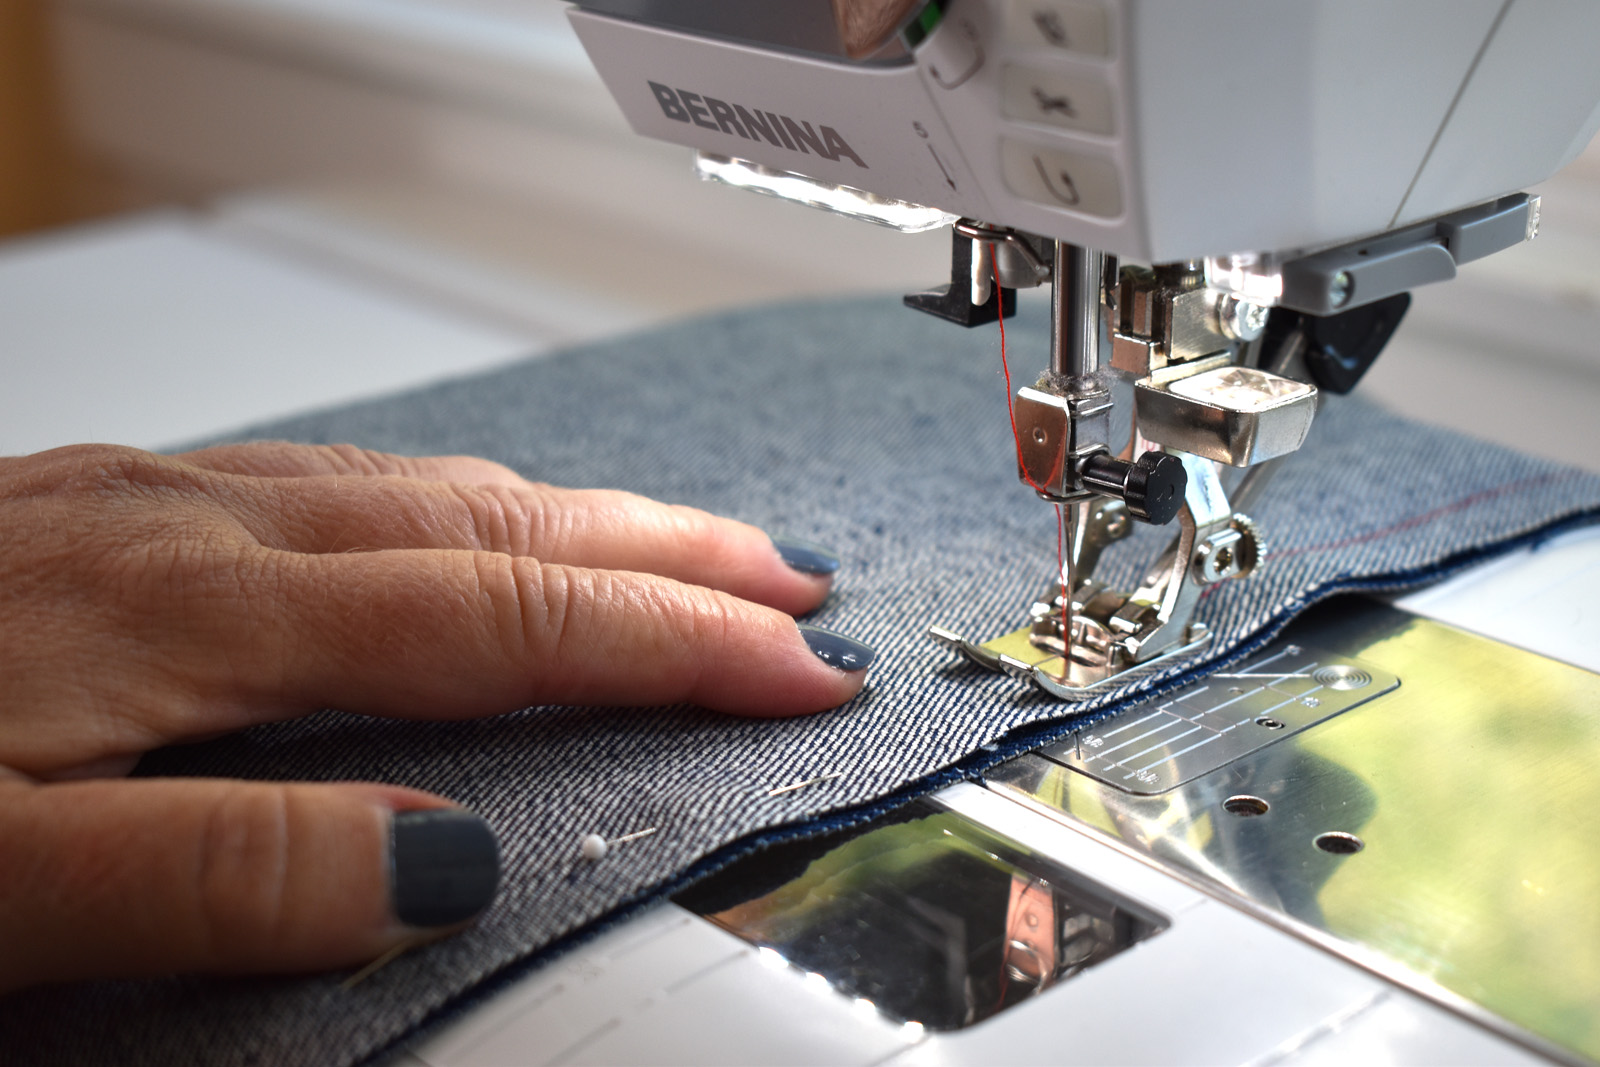
Use the Straight Stitch Needle plate and Reverse Pattern Foot #1C/#1D (the Jeans Foot #8/#8D will also work) and thread your machine with the 100% polyester 40 wt thread. Stitch this project with a straight stitch and 1/2″ seams unless otherwise noted.
Prepare the Straps and Ties for the Garden Harvest Apron Tote
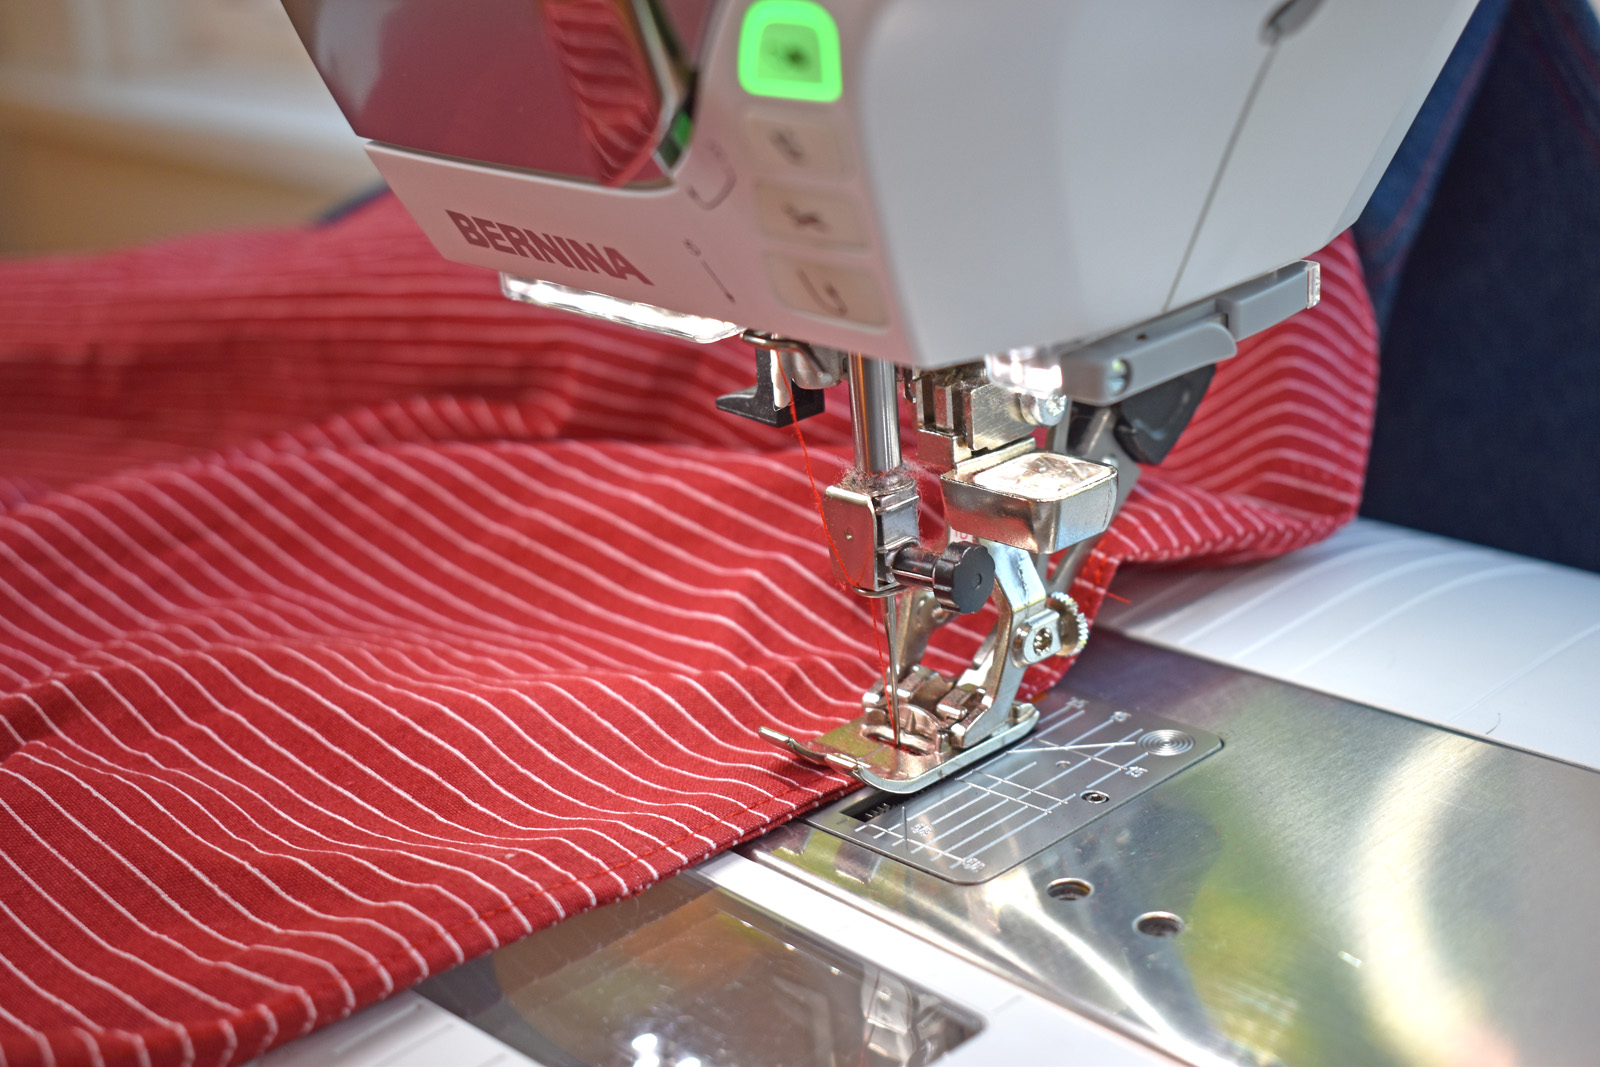
Using the six 5.5″ x WOF strips, use two strips to make the tie. Cut the selvage edges off the strips and sew two short ends together with a 1/2″ seam to create one long strip.
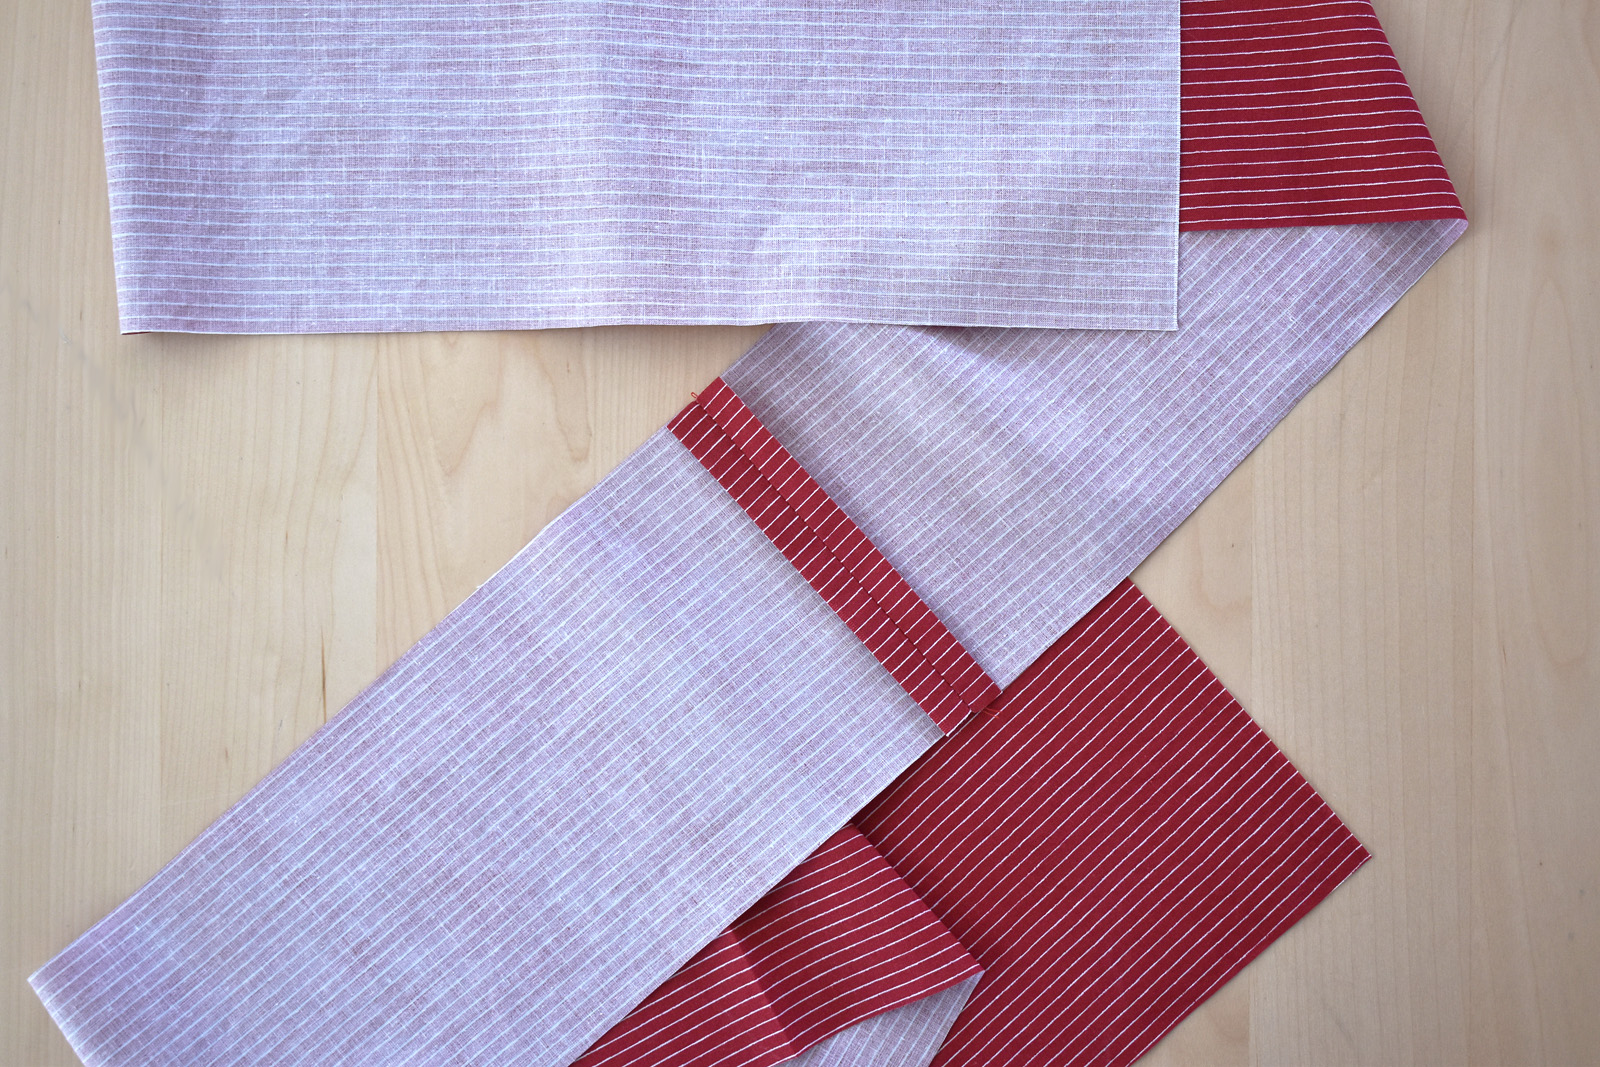
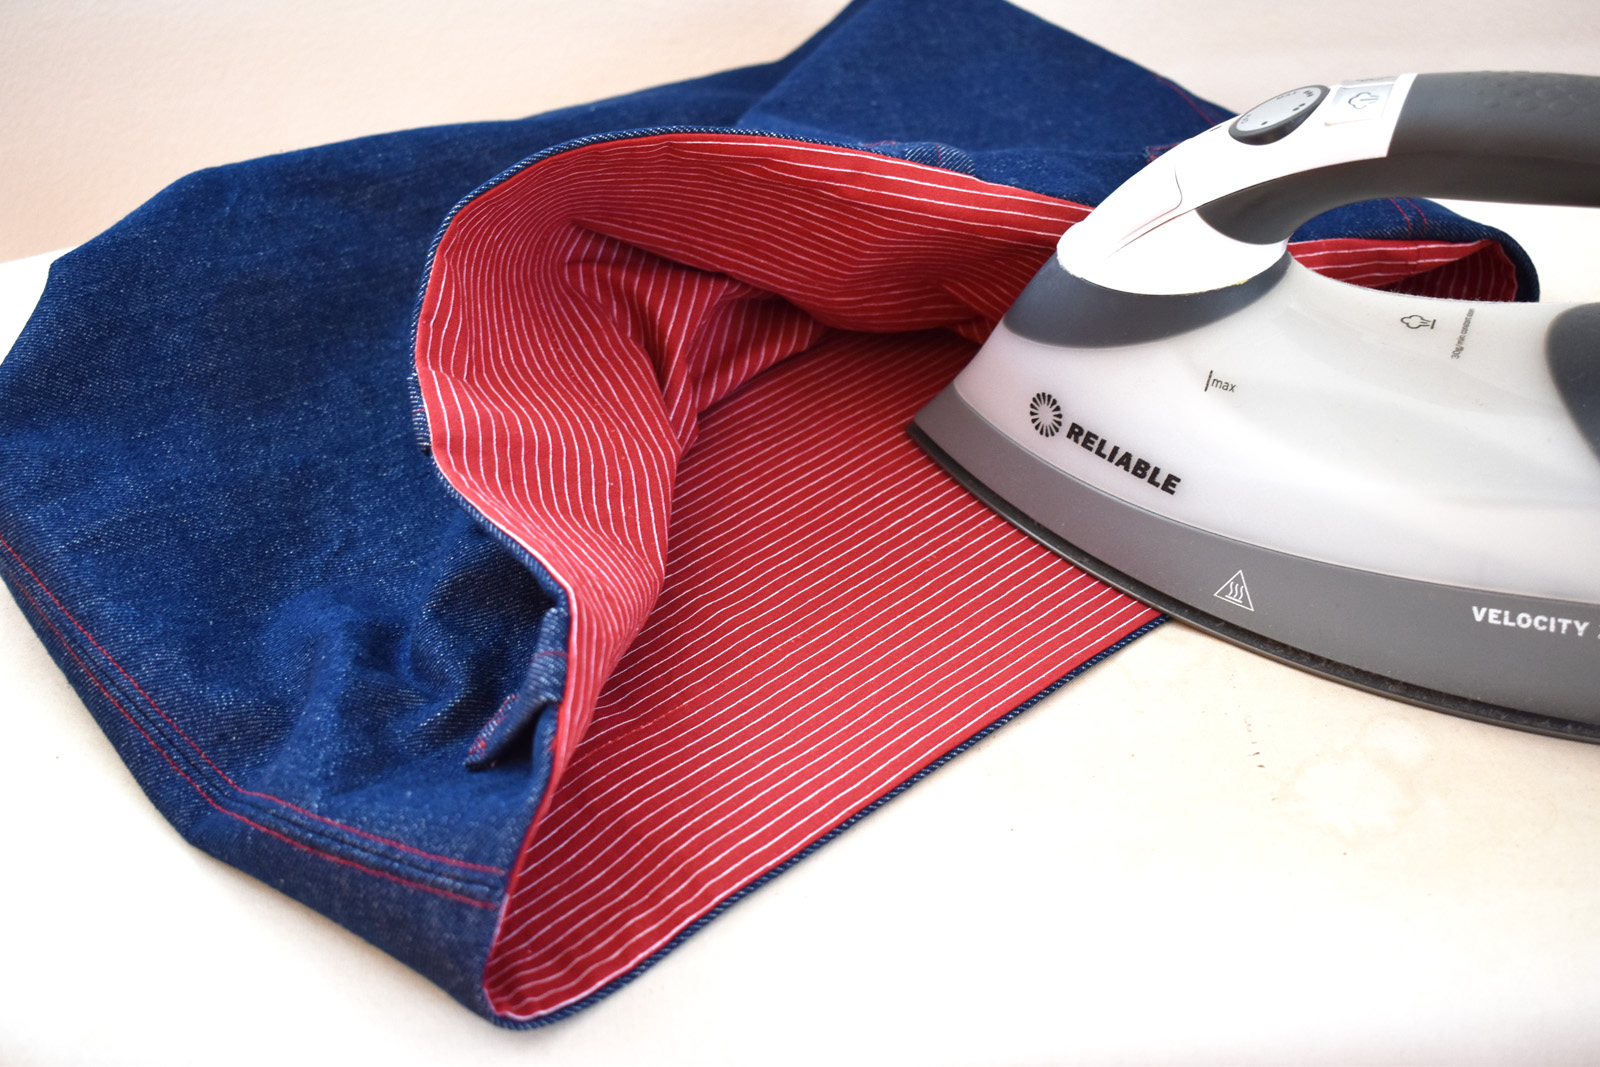
Press seam open.
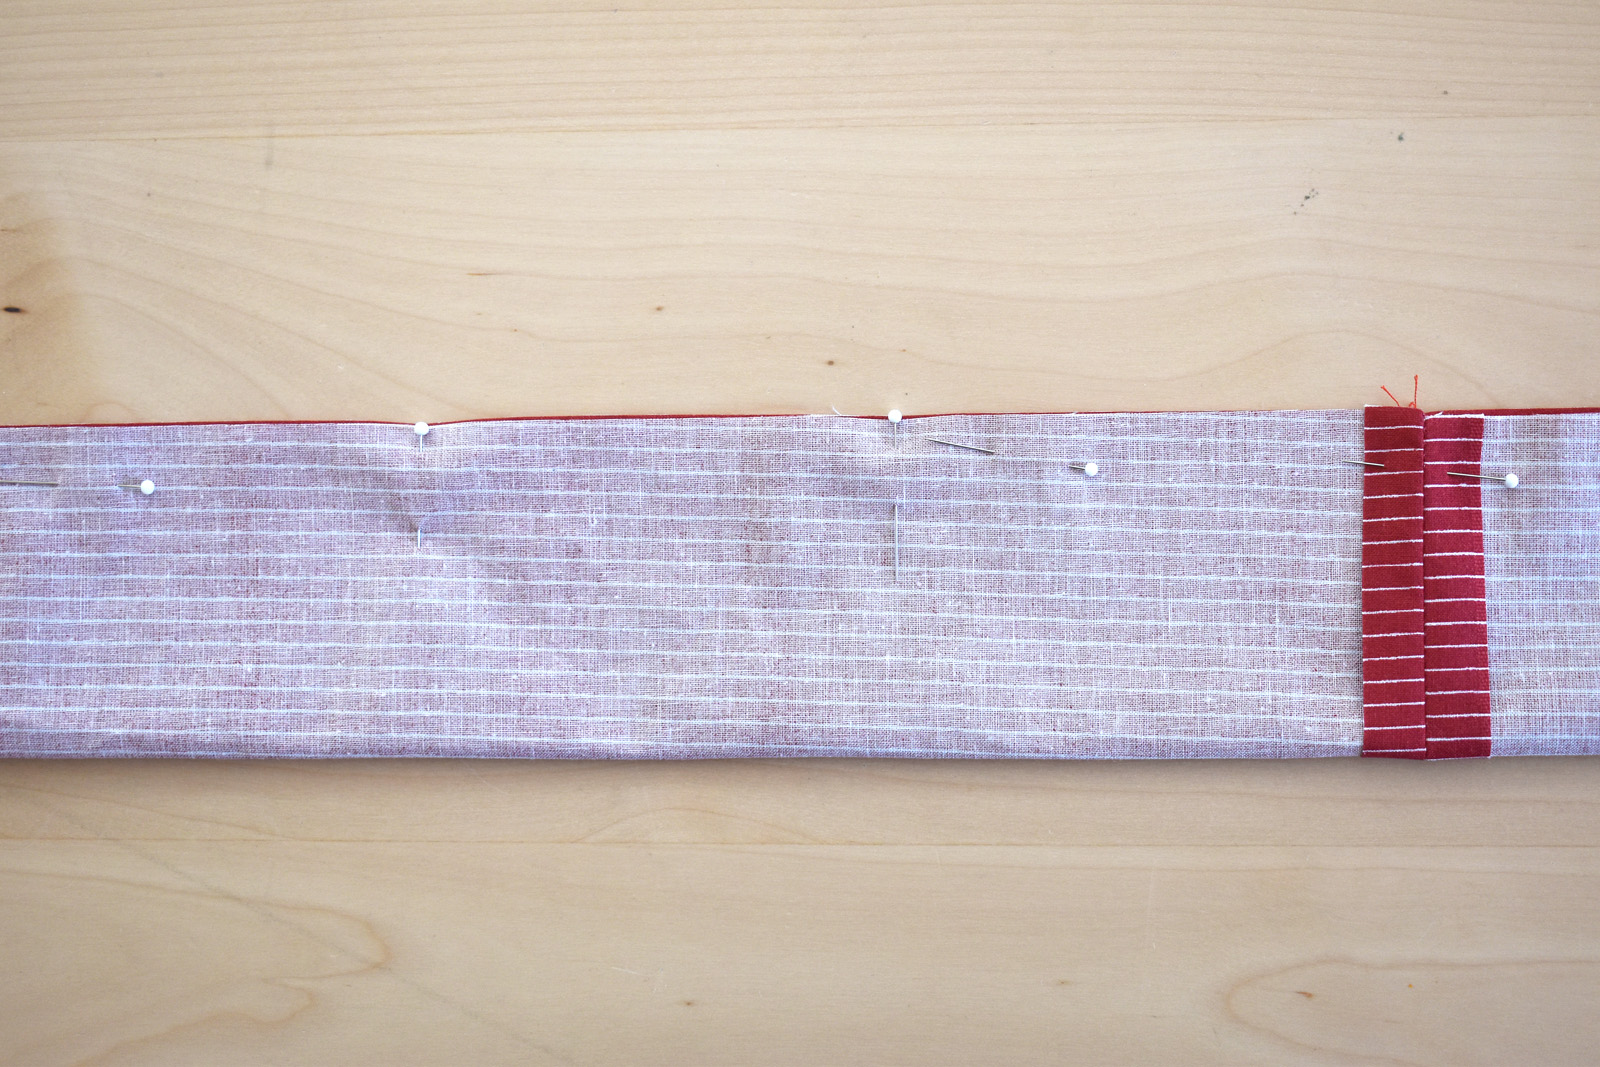
Fold the strip over lengthwise and pin together, leaving an opening about 4″ wide to the side of the seam (for turning the ties inside-out in a later step).
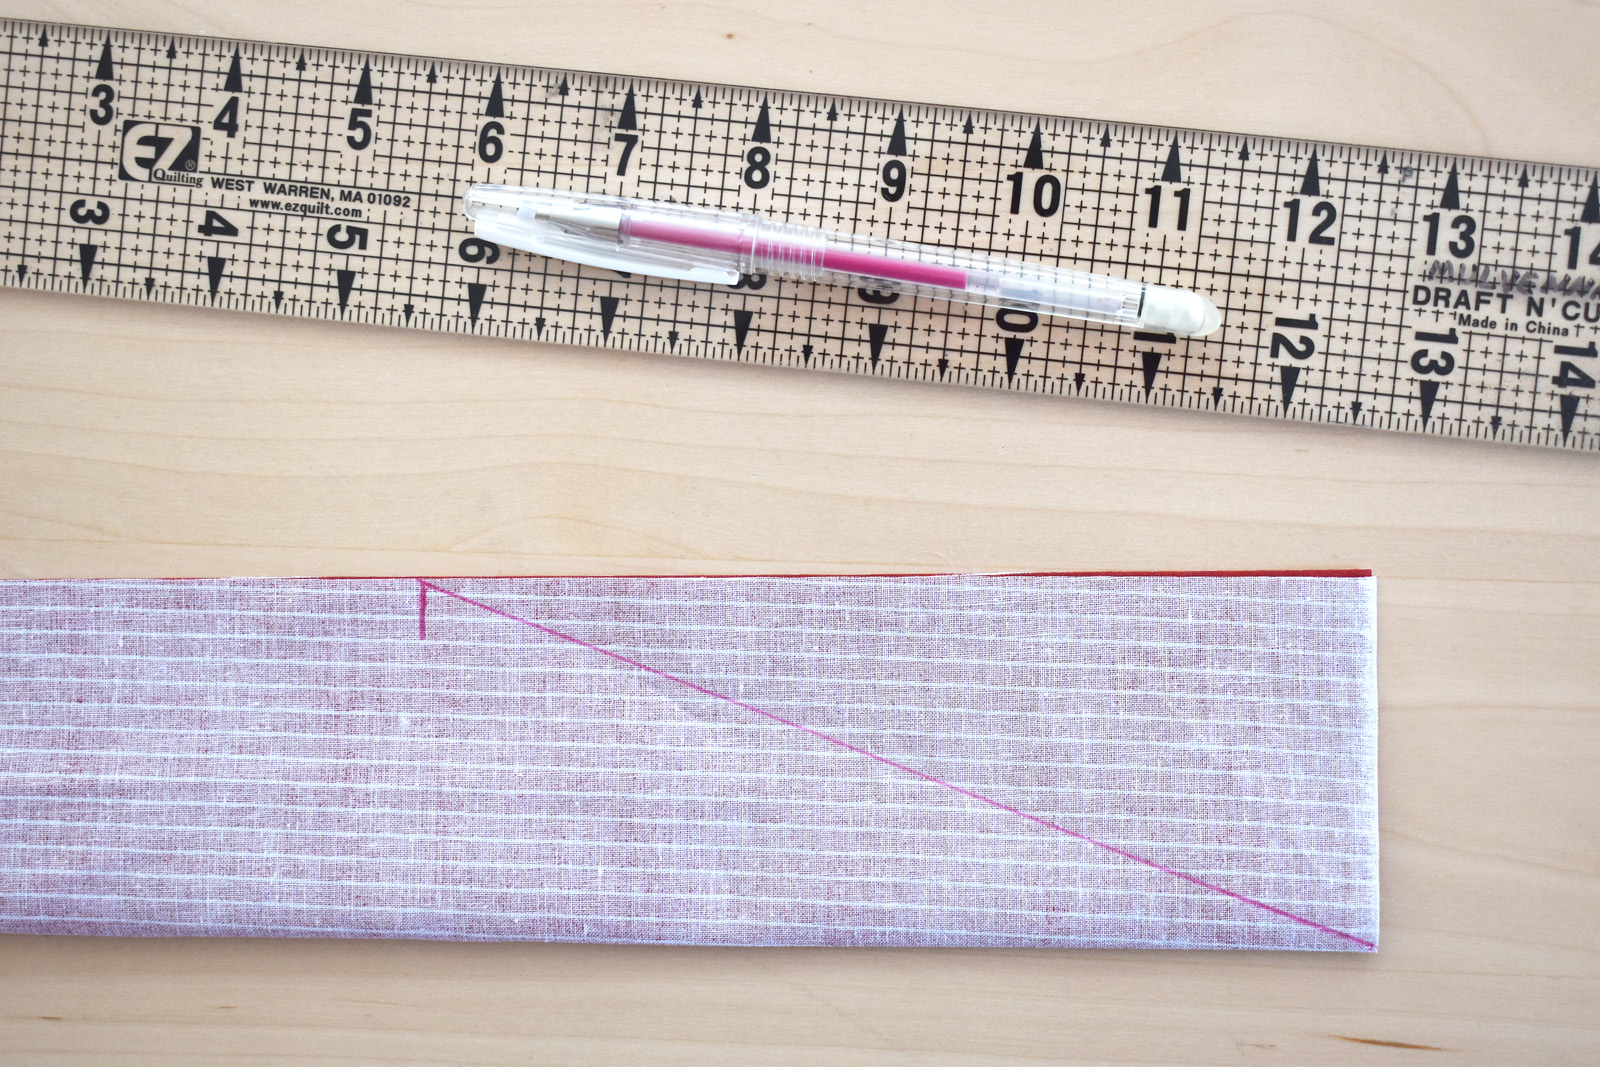
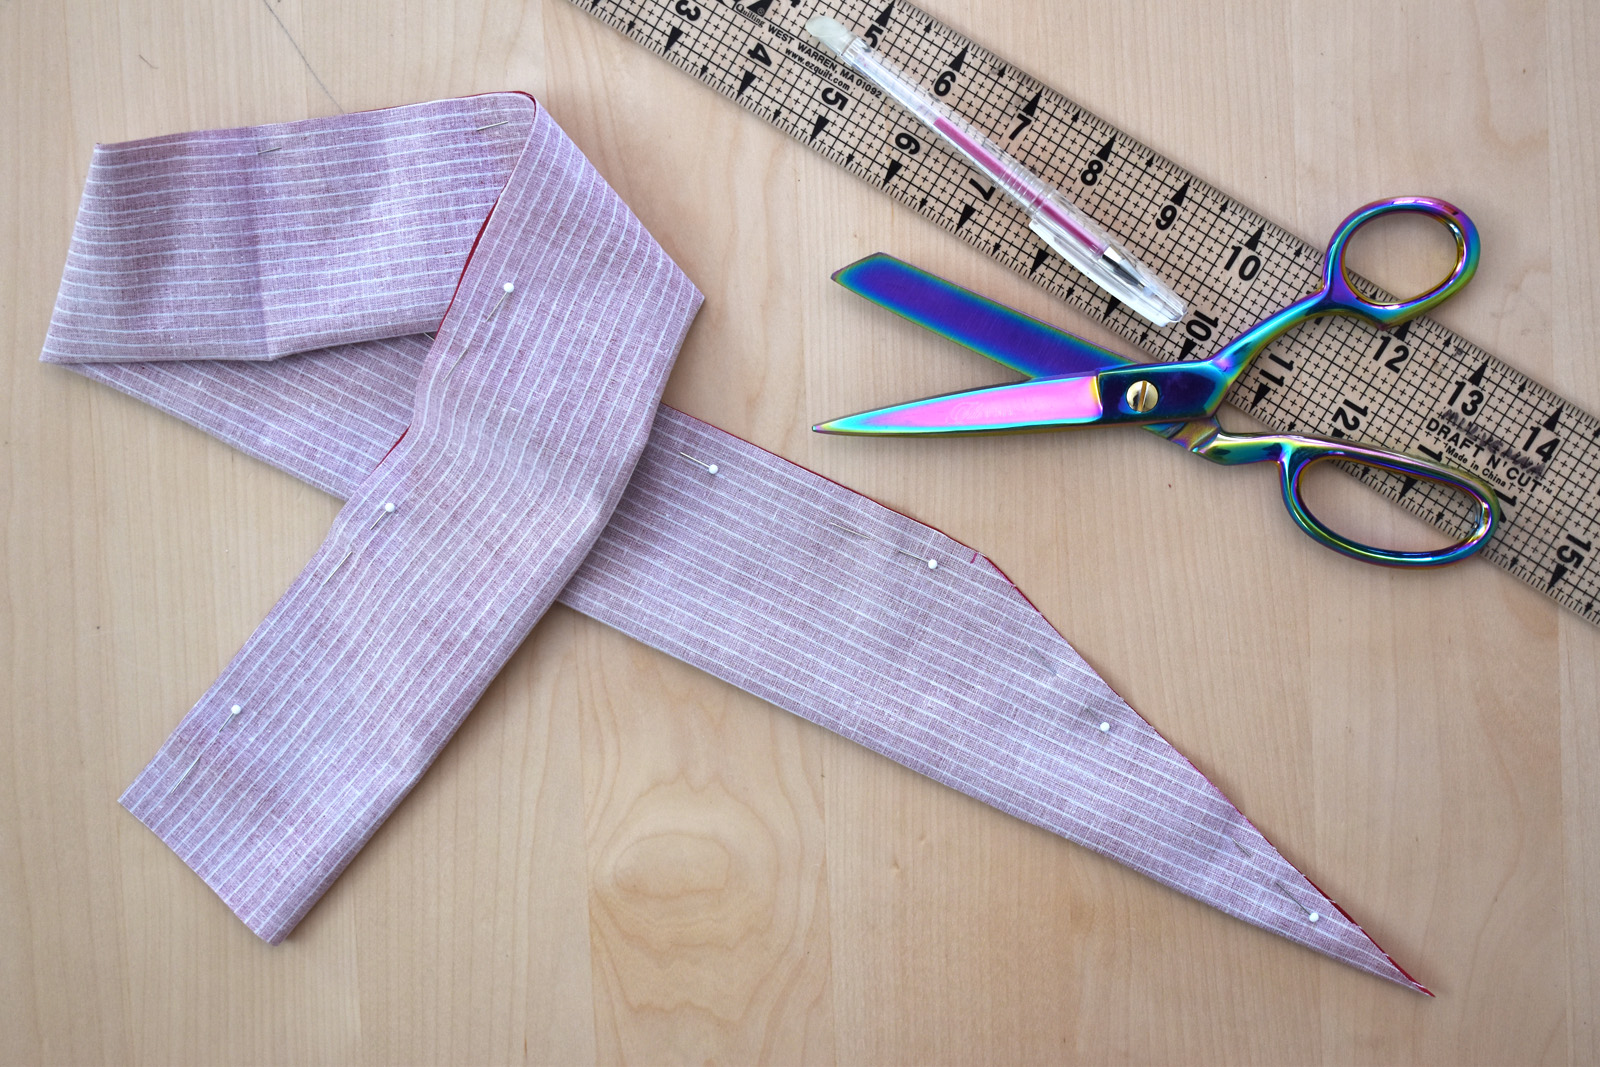
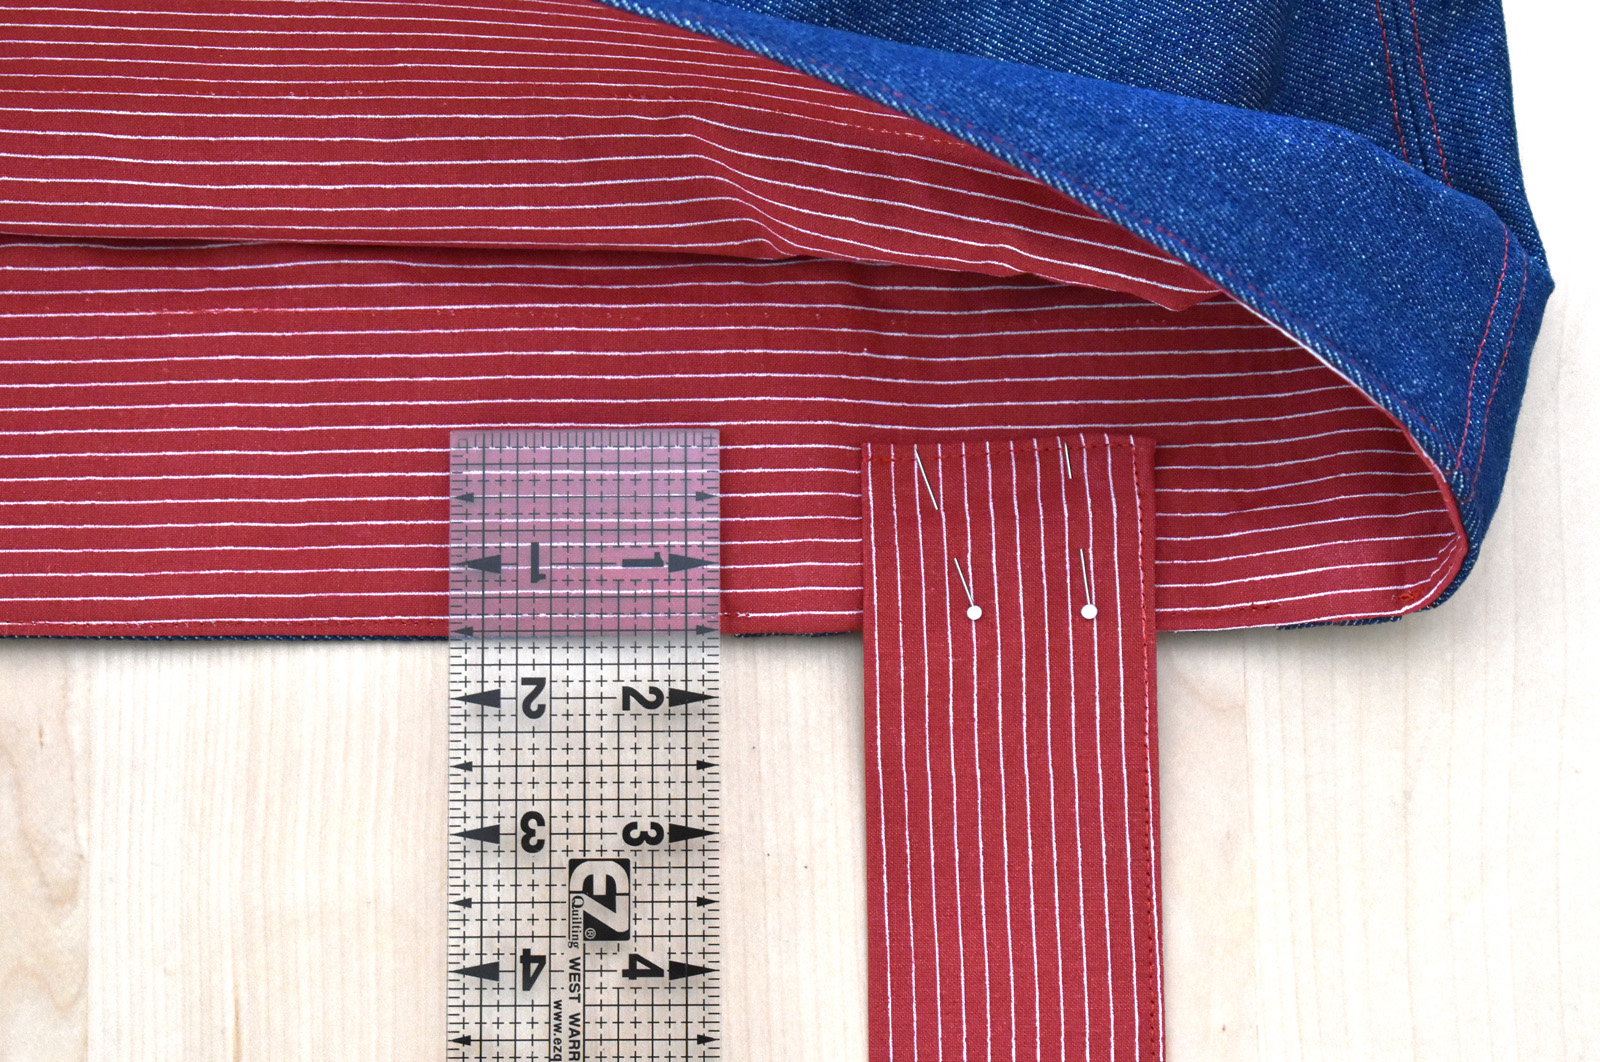
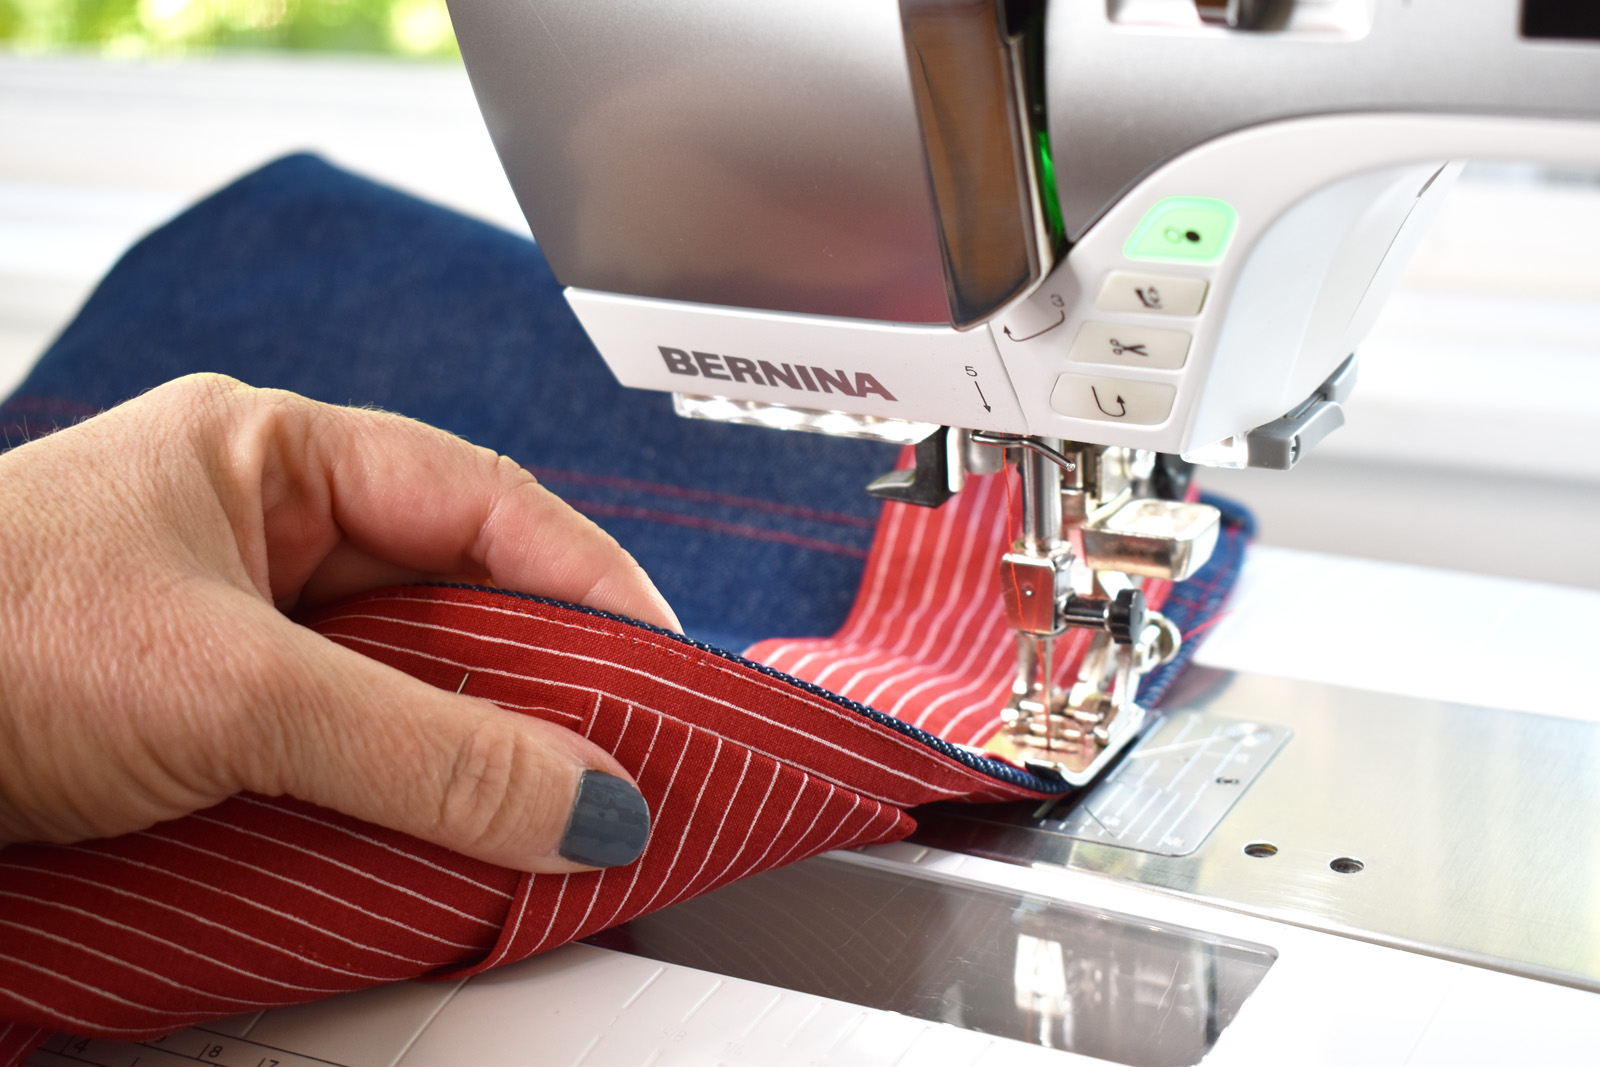
At each end of the ties, use a ruler and fabric safe pen to mark 7″ away from the short end along the raw edge. Then draw a line from the folded corner end to the 7″ mark as in the photo above.
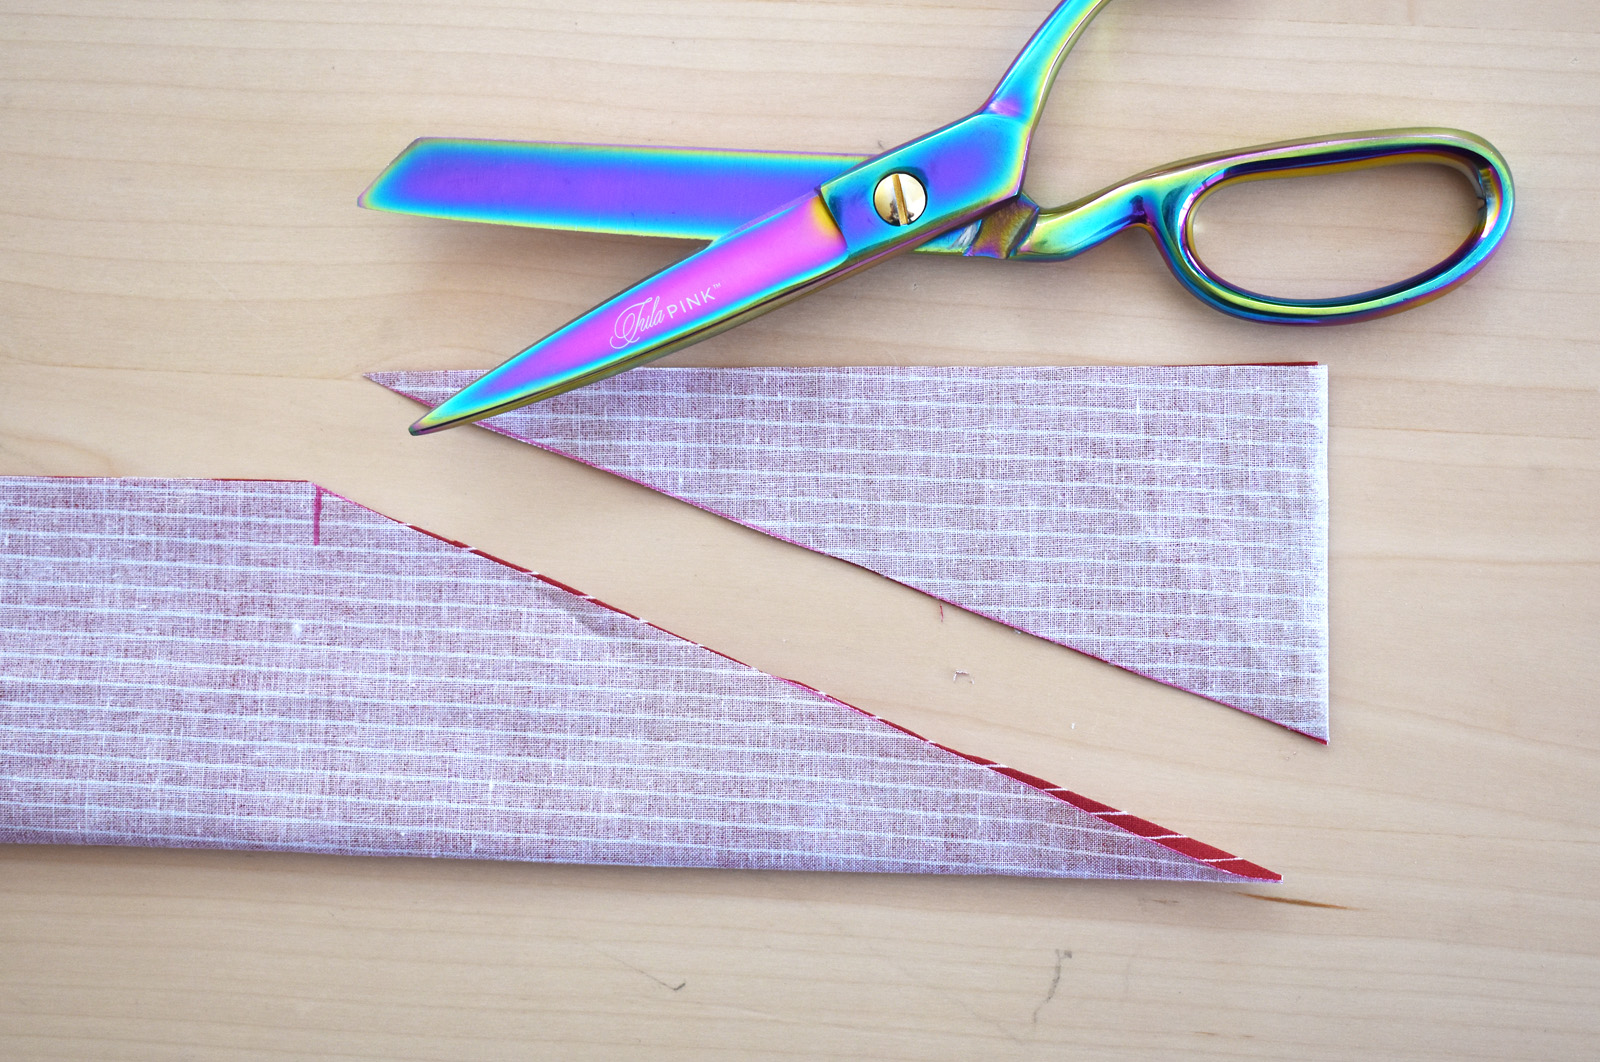
Cut along this line from the corner to the mark. Pin down the edge to the corner. Sew along the raw edges with a 1/2″ seam from one pointed end to the other, leaving the 4″ opening. After sewing snip away the points close to the stitching.
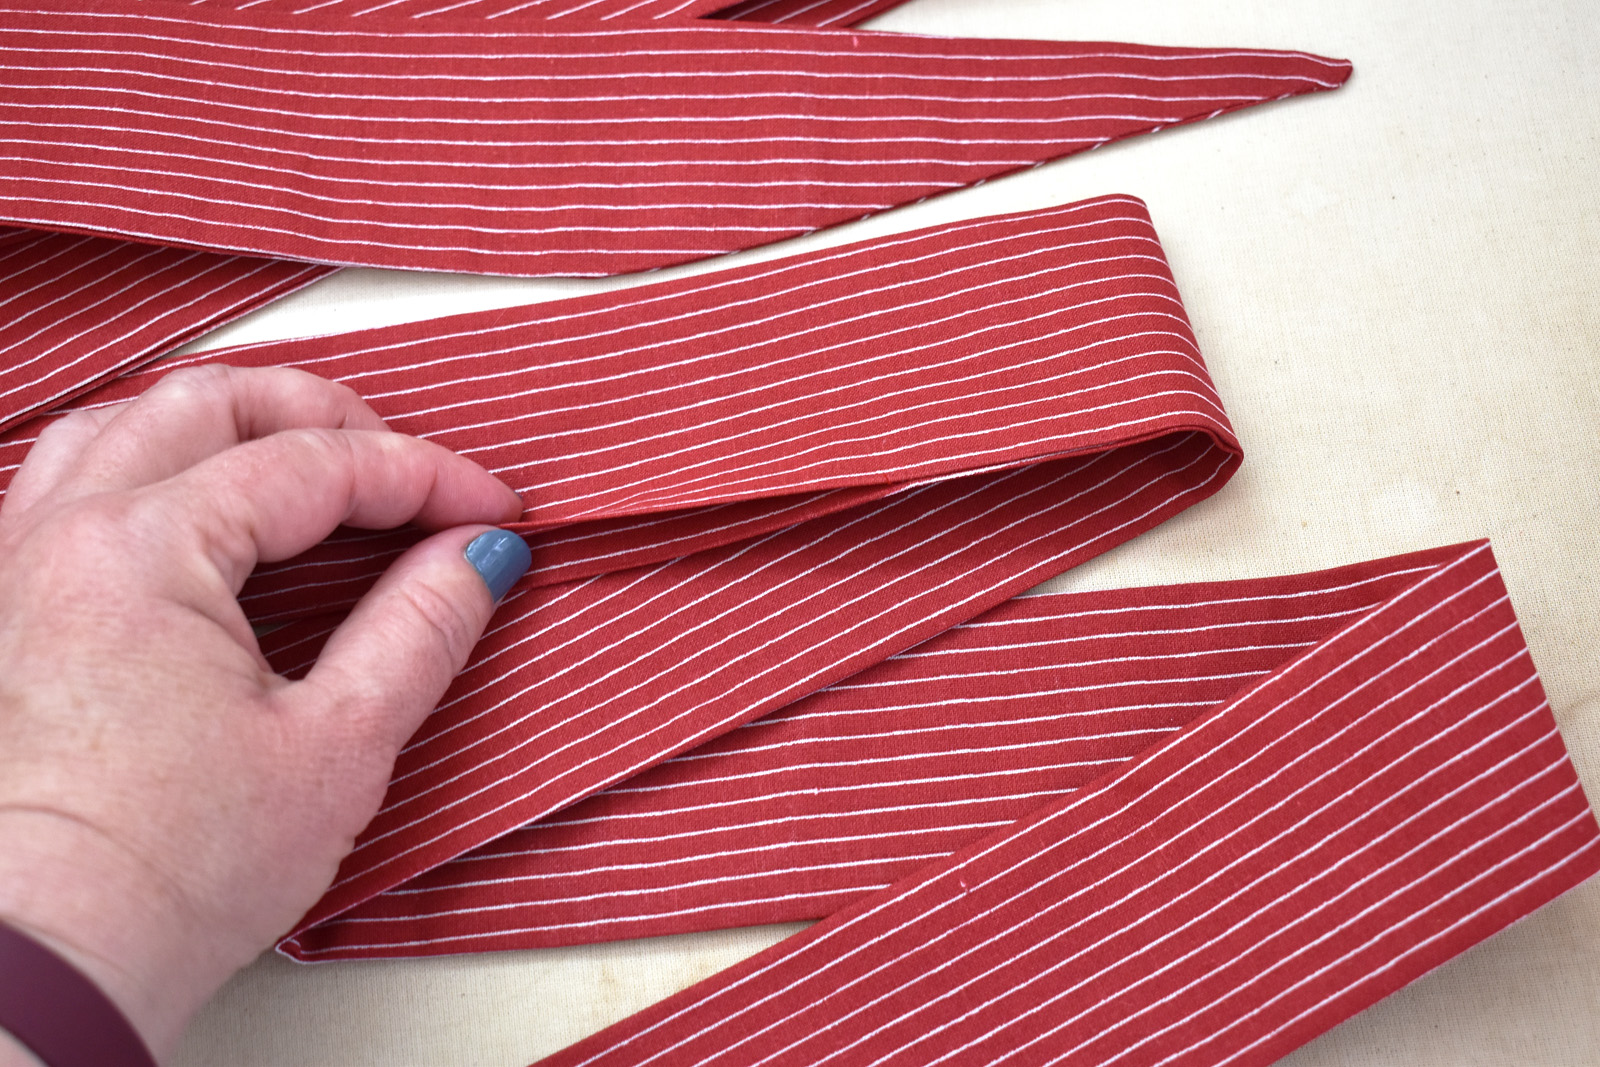
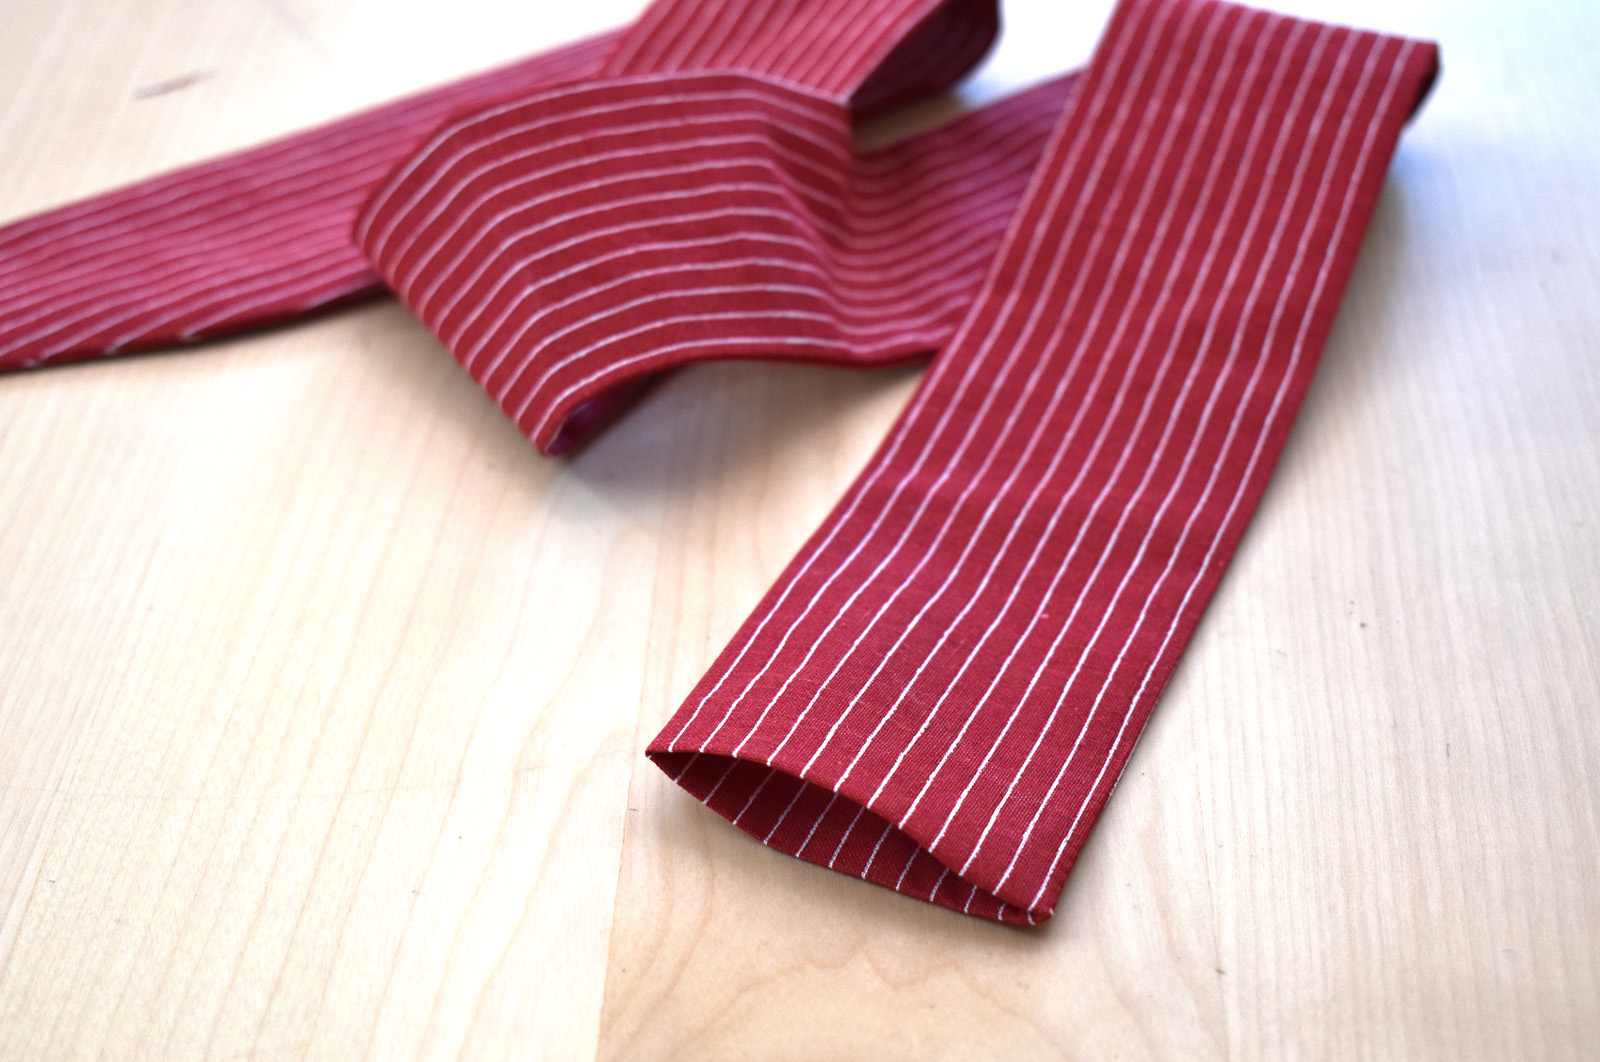
Pull the tie ends through the opening and push the pointed ends out with a chopstick or pencil eraser end. Press the tie flat, turning seams inside the opening.
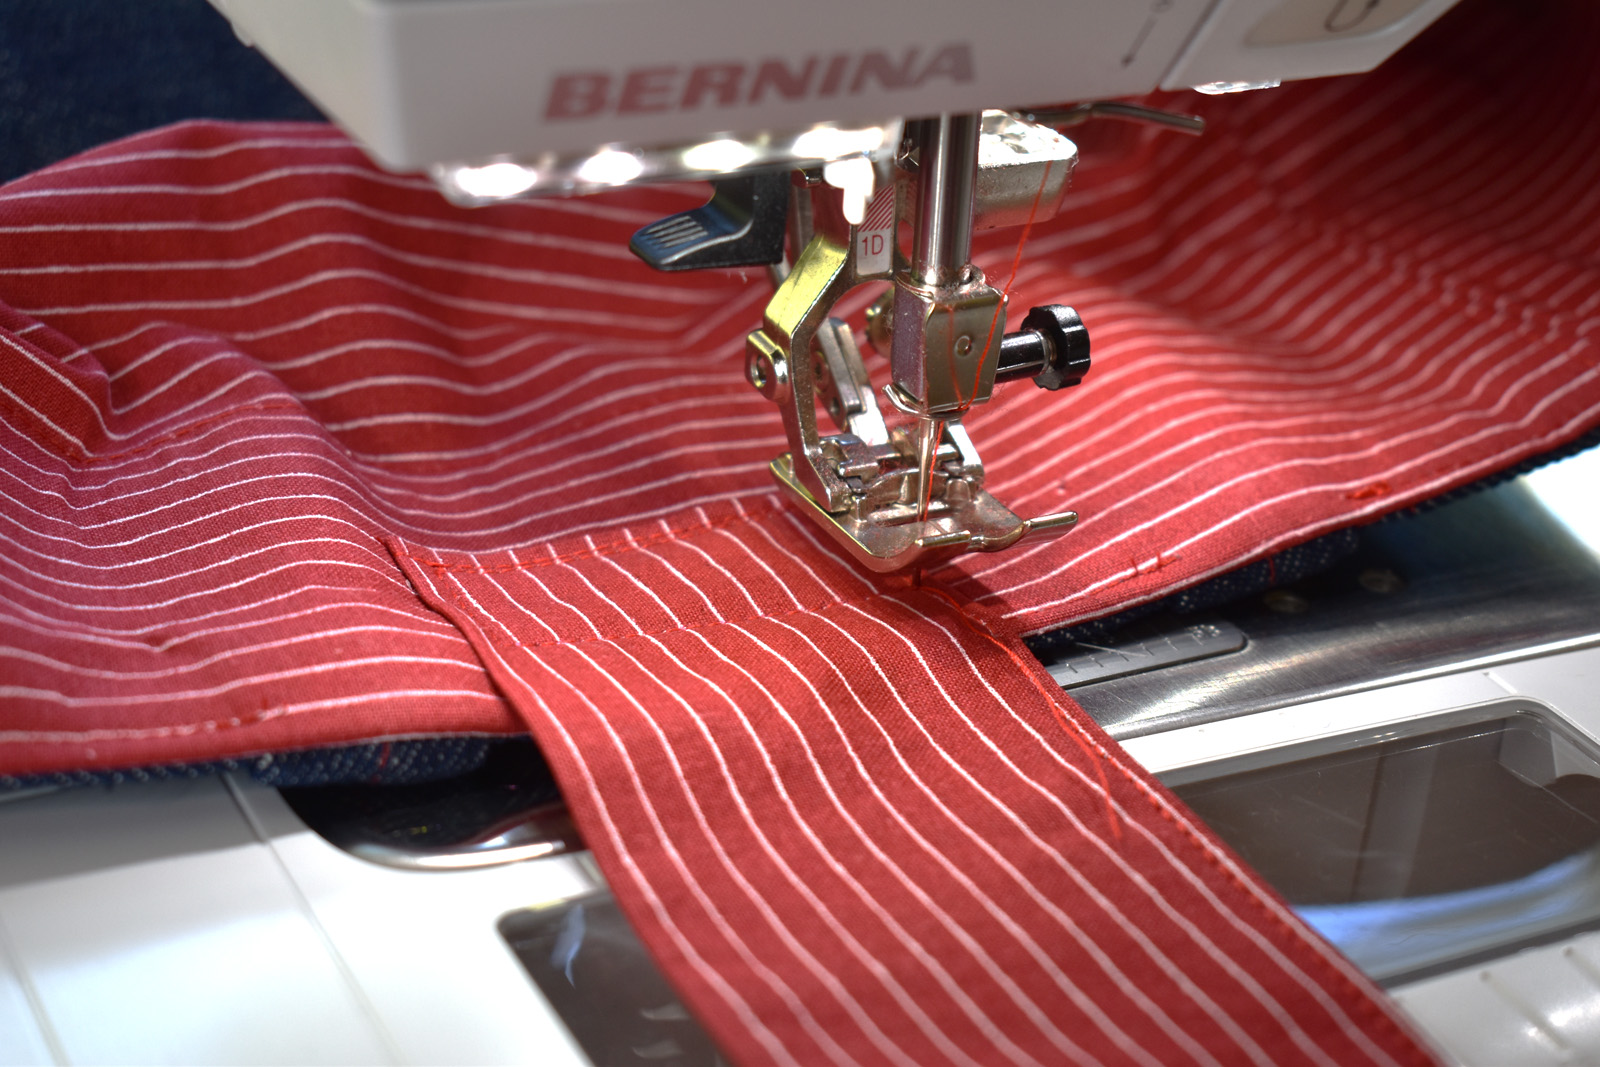
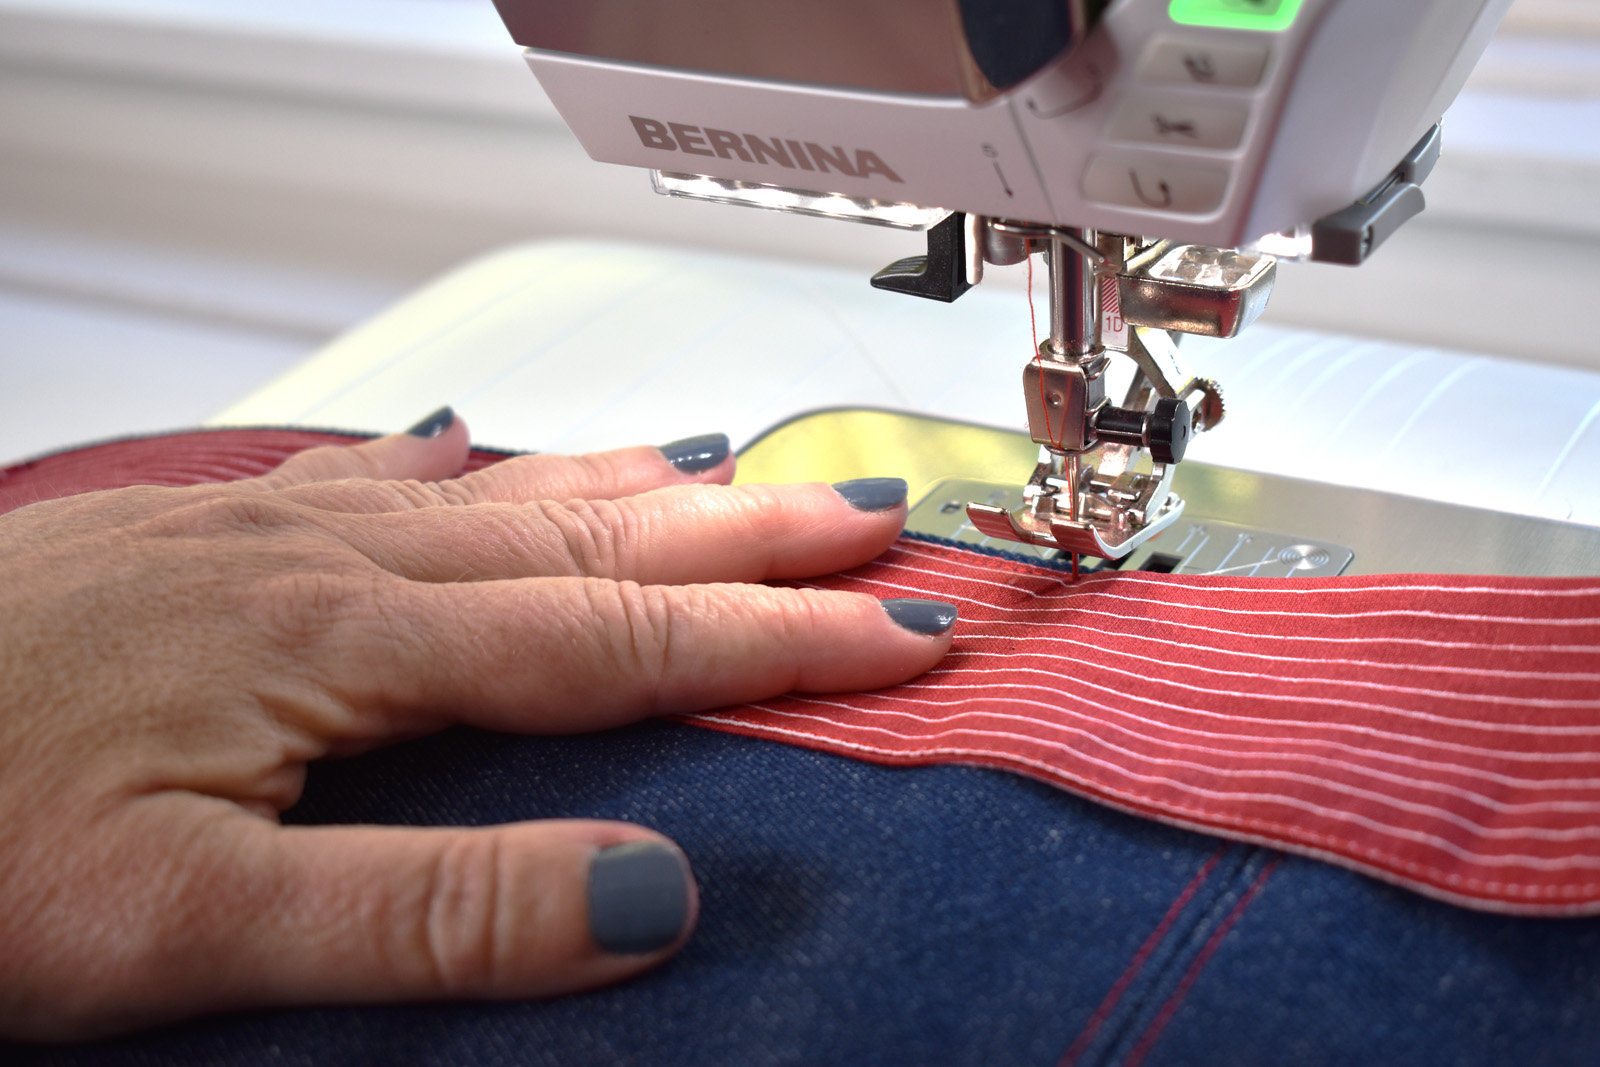
Stitch on the seam edge of the tie, from one point to the other, closing the opening in the process. Set the ties aside.
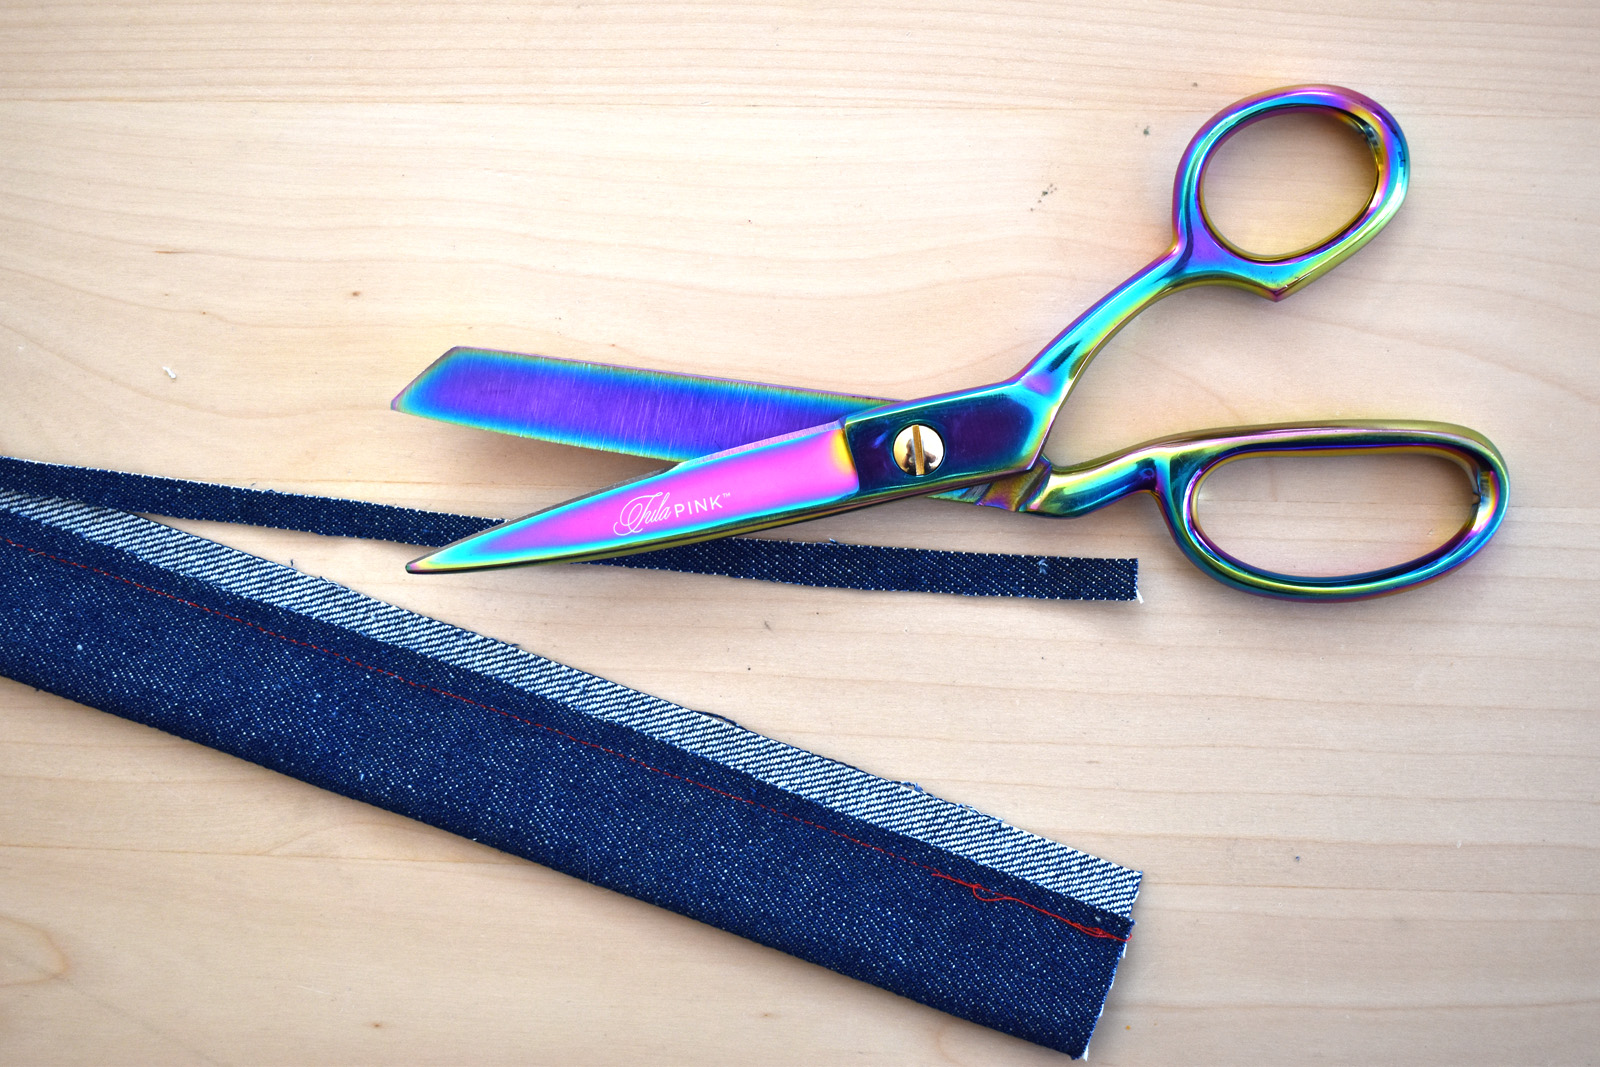
Use the remaining four 5.5″ x WOF strips to create the handles. Cut the selvage edge from one end of the strips, then cut the strips to 37″ long. For each strip, follow these steps.
Starting with one handle, fold the strip in half lengthwise and pin along the long edge leaving one end open. At the other end, follow the steps above to measure and cut the end into a point. Stitch along the pinned edge with a 1/2″ seam. Snip the point off close to stitching and turn the handle right side out through the end opening.
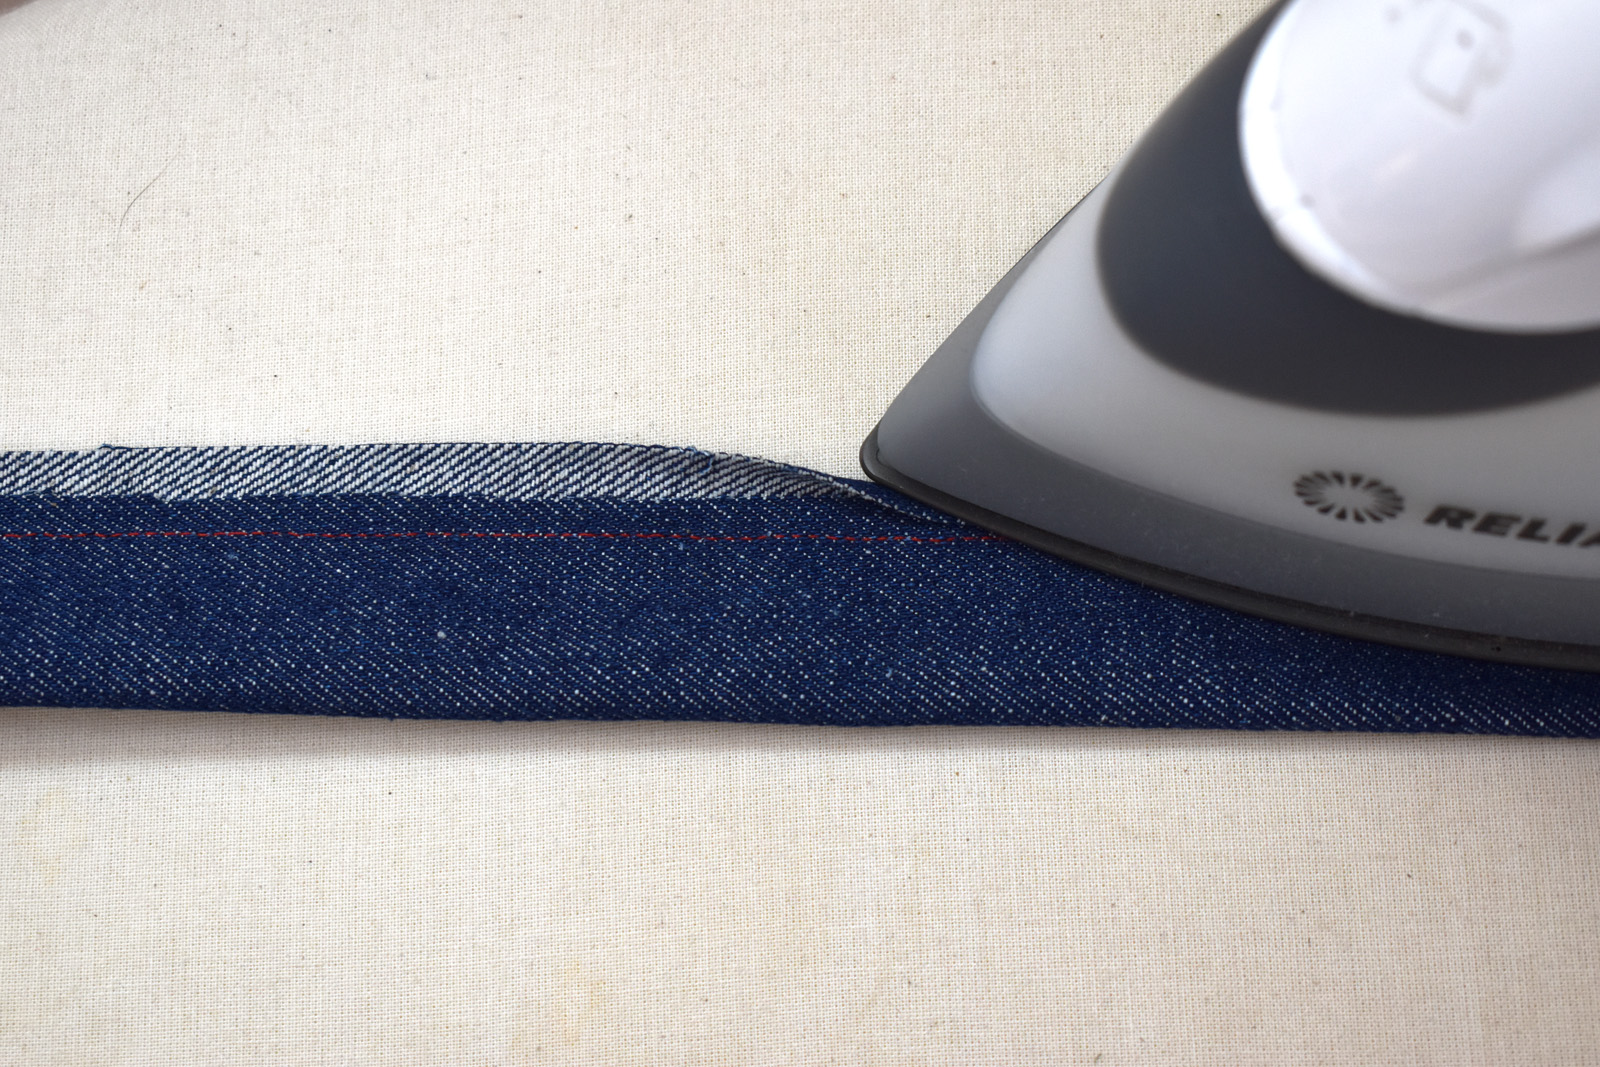
Press the handle flat, turning the raw edges in 1/4″ at the end. Stitch all along the seam edge from the point down to the end, sewing the opening closed. Repeat with all handles, and set the completed handles aside.
Sew the Main Tote Bag Section
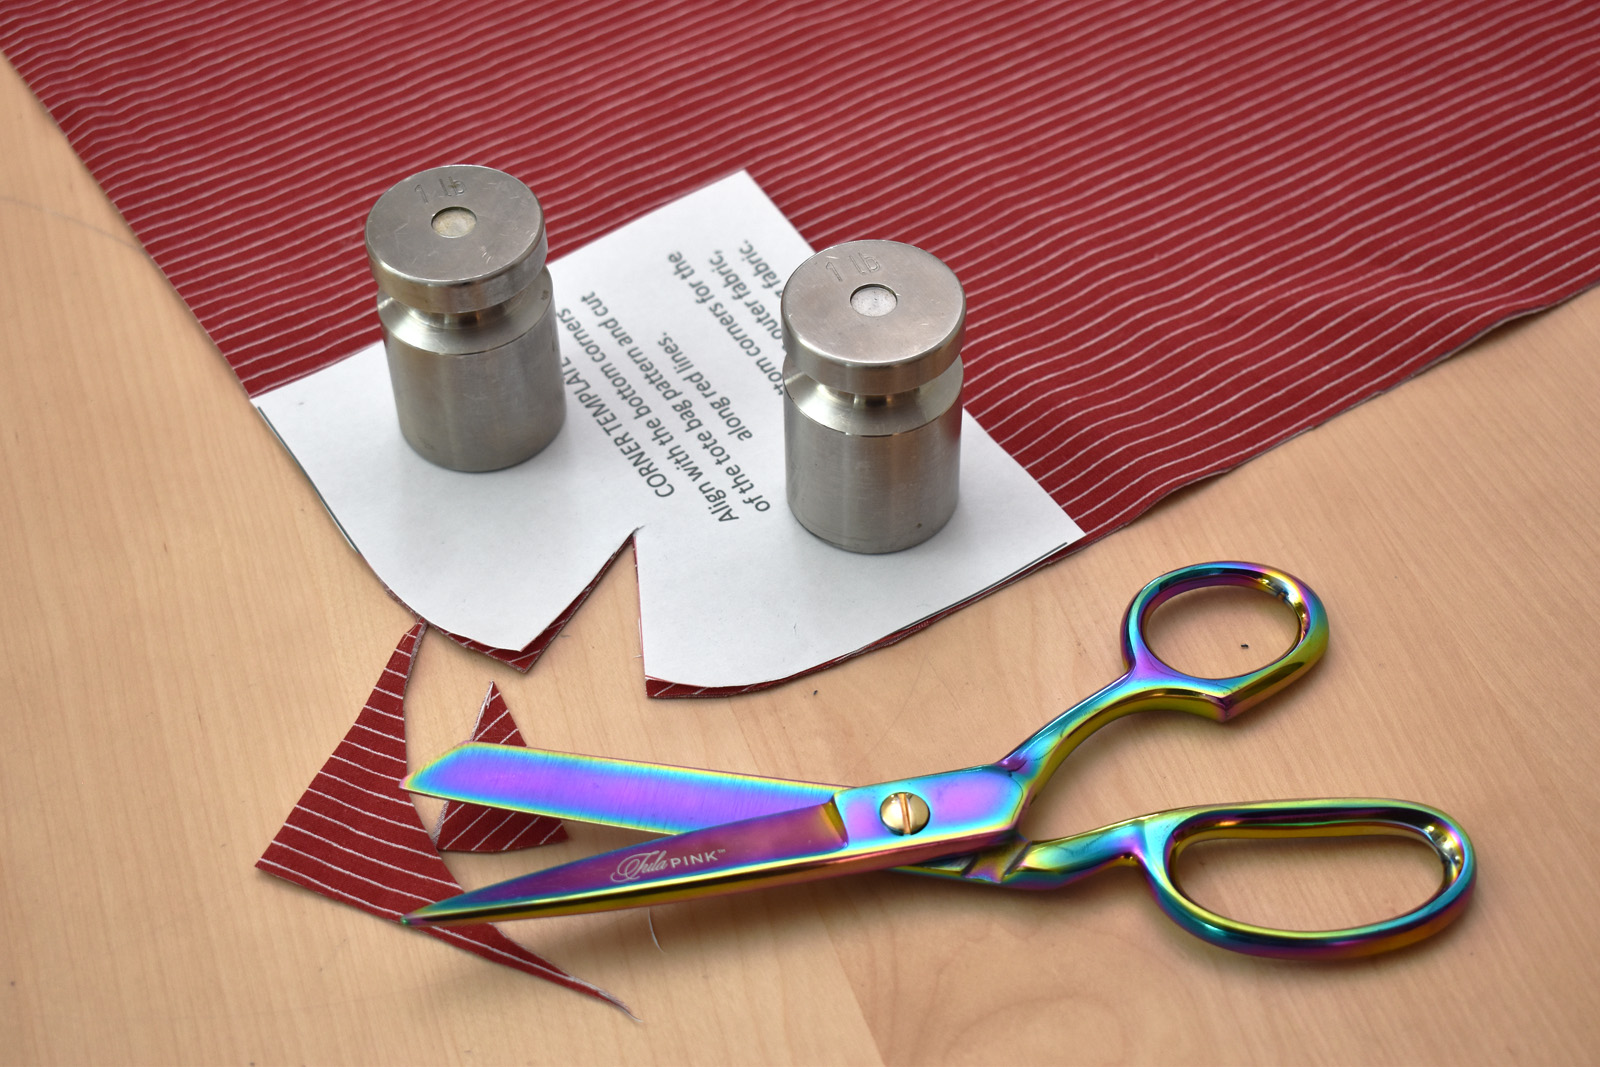
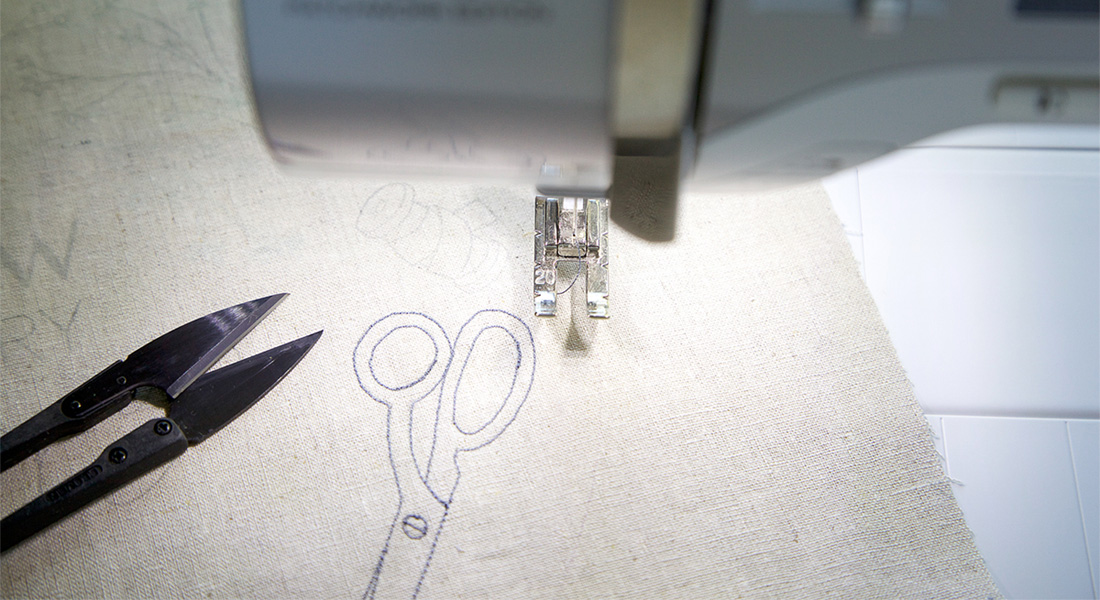
Cut the bottom corner sections of the main outer tote bag. Using the printed template, cut along the black lines to the corner, and cut close to the wording as in the photo below.
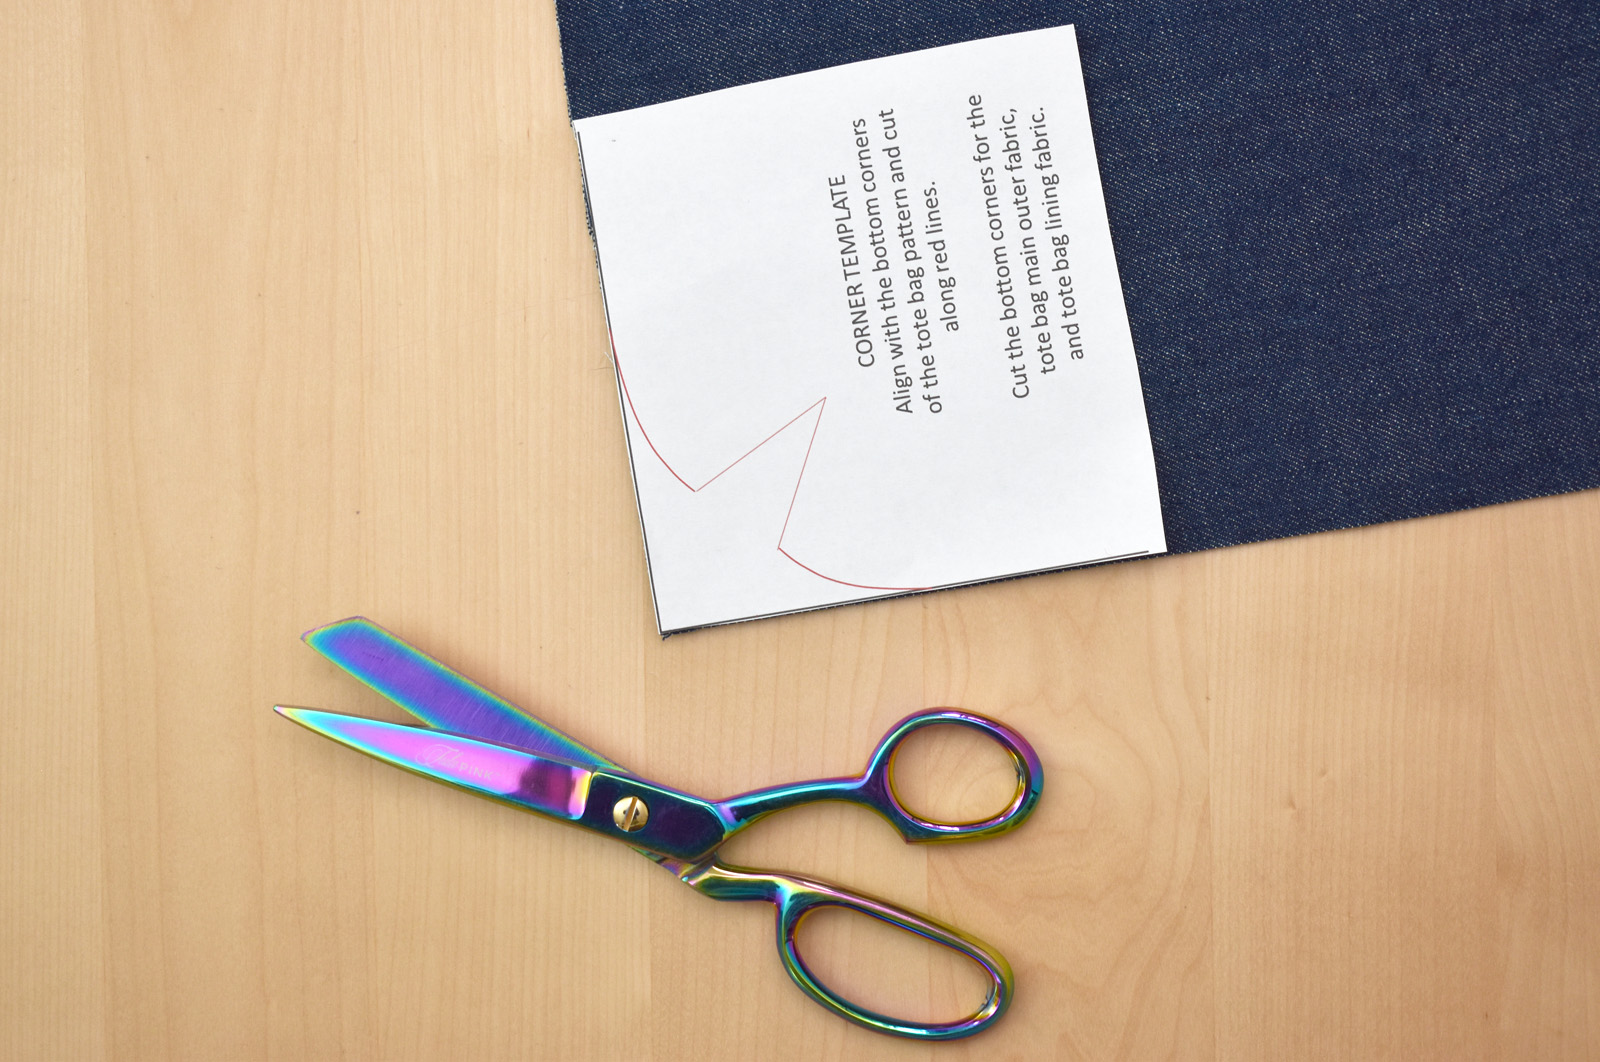
Line up the template with one bottom corner of the main bag.

Use pattern weights or pin the template in place and cut along the red lines. You may find it easiest to cut the curved line first, then go back to cut the “V” notch. Repeat with the other bottom corner.
Place main bag pieces right sides together and pin the bottom edge between the notches. Stitch along bottom edge with a 1/2″ seam.
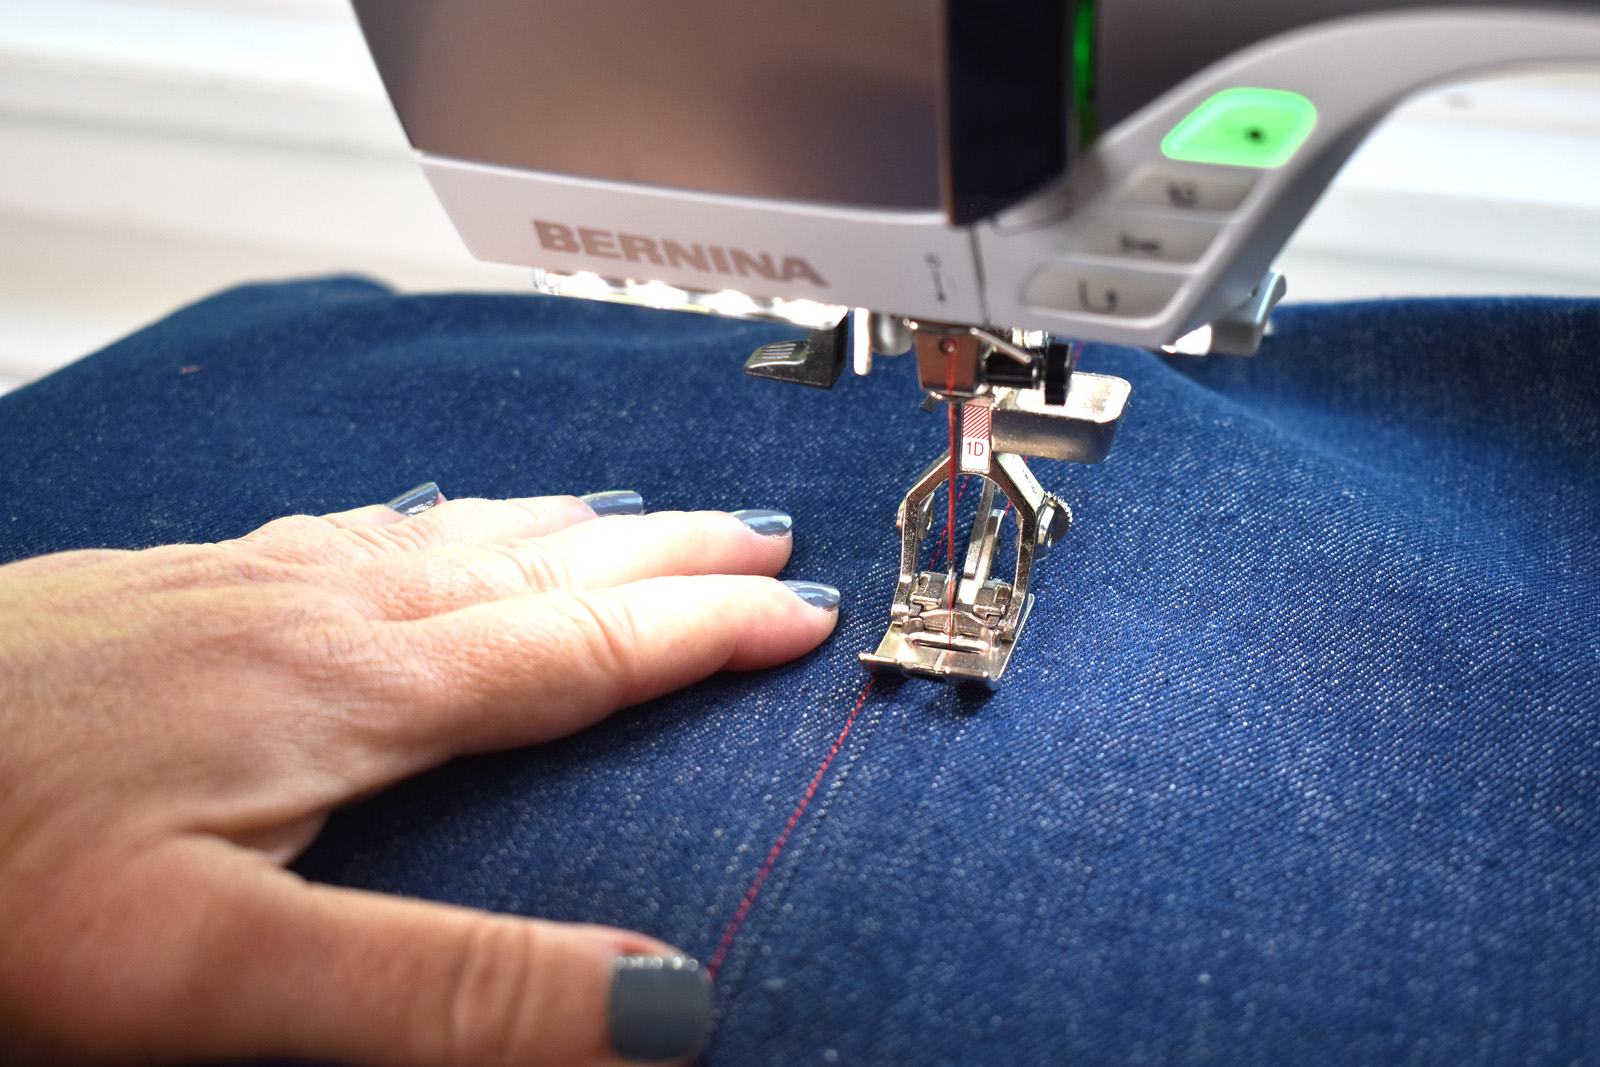
Press the seam open, working the iron into the curved ends (or use the small curve of the ironing board to help press the curves). From the right side of the bag , stitch about 1/8″ from each side of the seam to sew the seam allowance down flat.
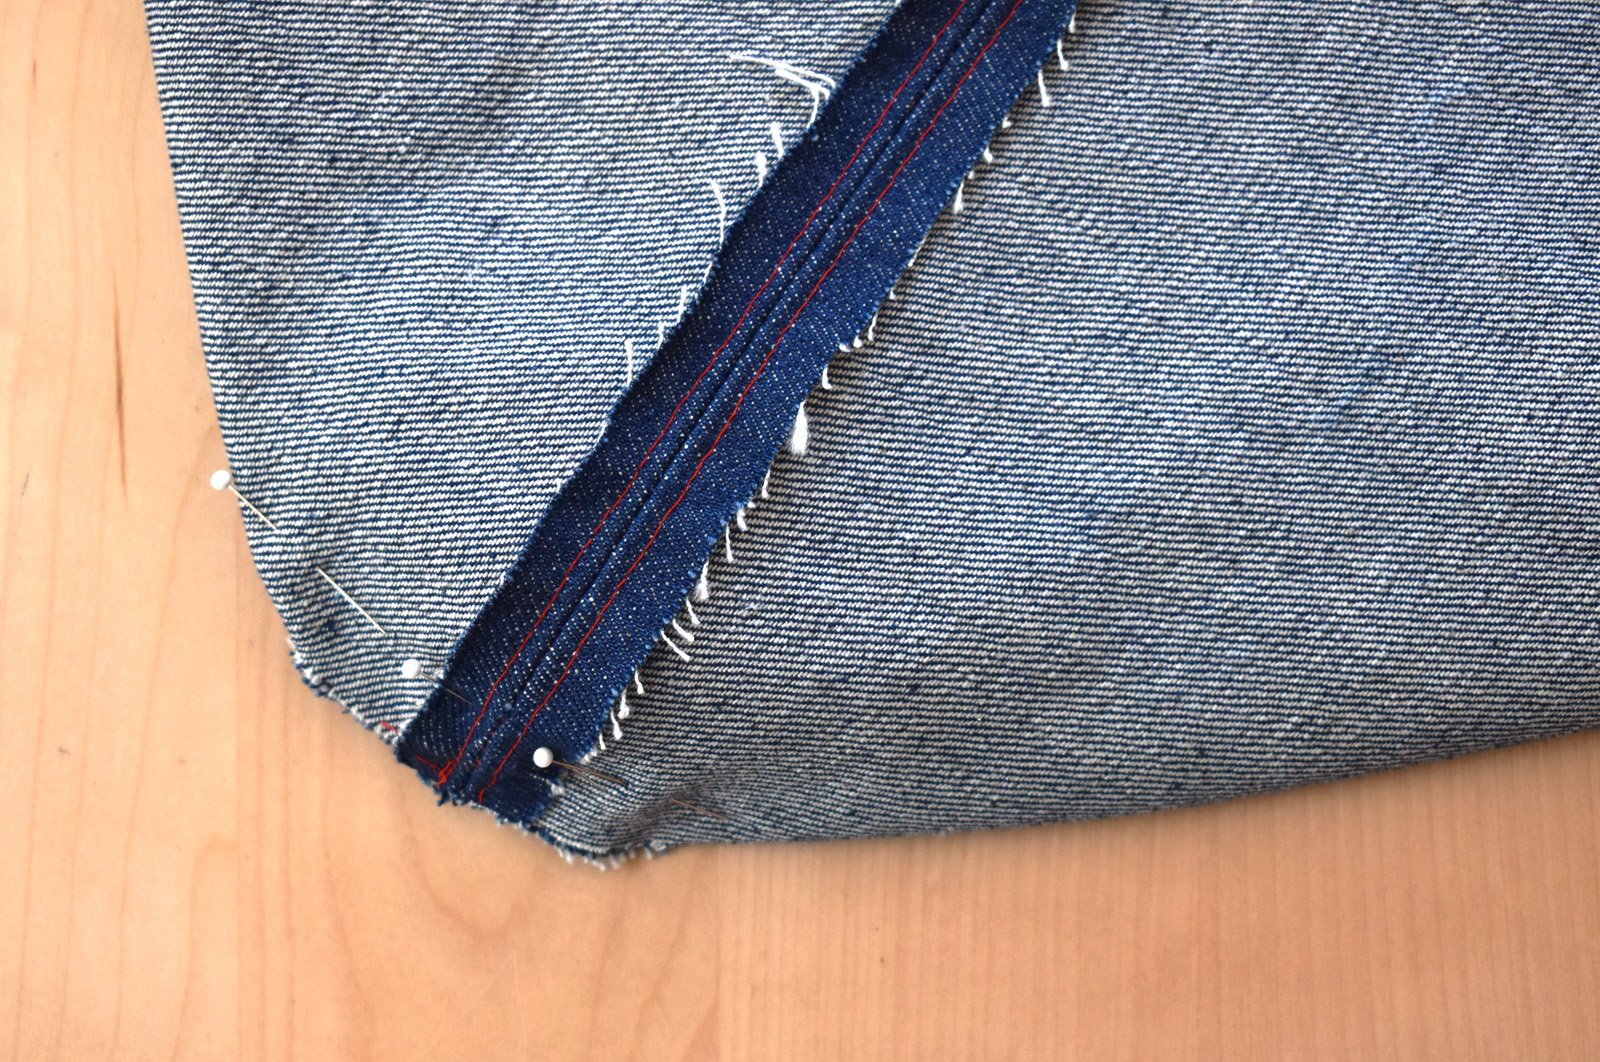
Next, fold the bag right sides together and pin down both sides from the top edge to the notch with a 1/2″ seam. Press seams open.
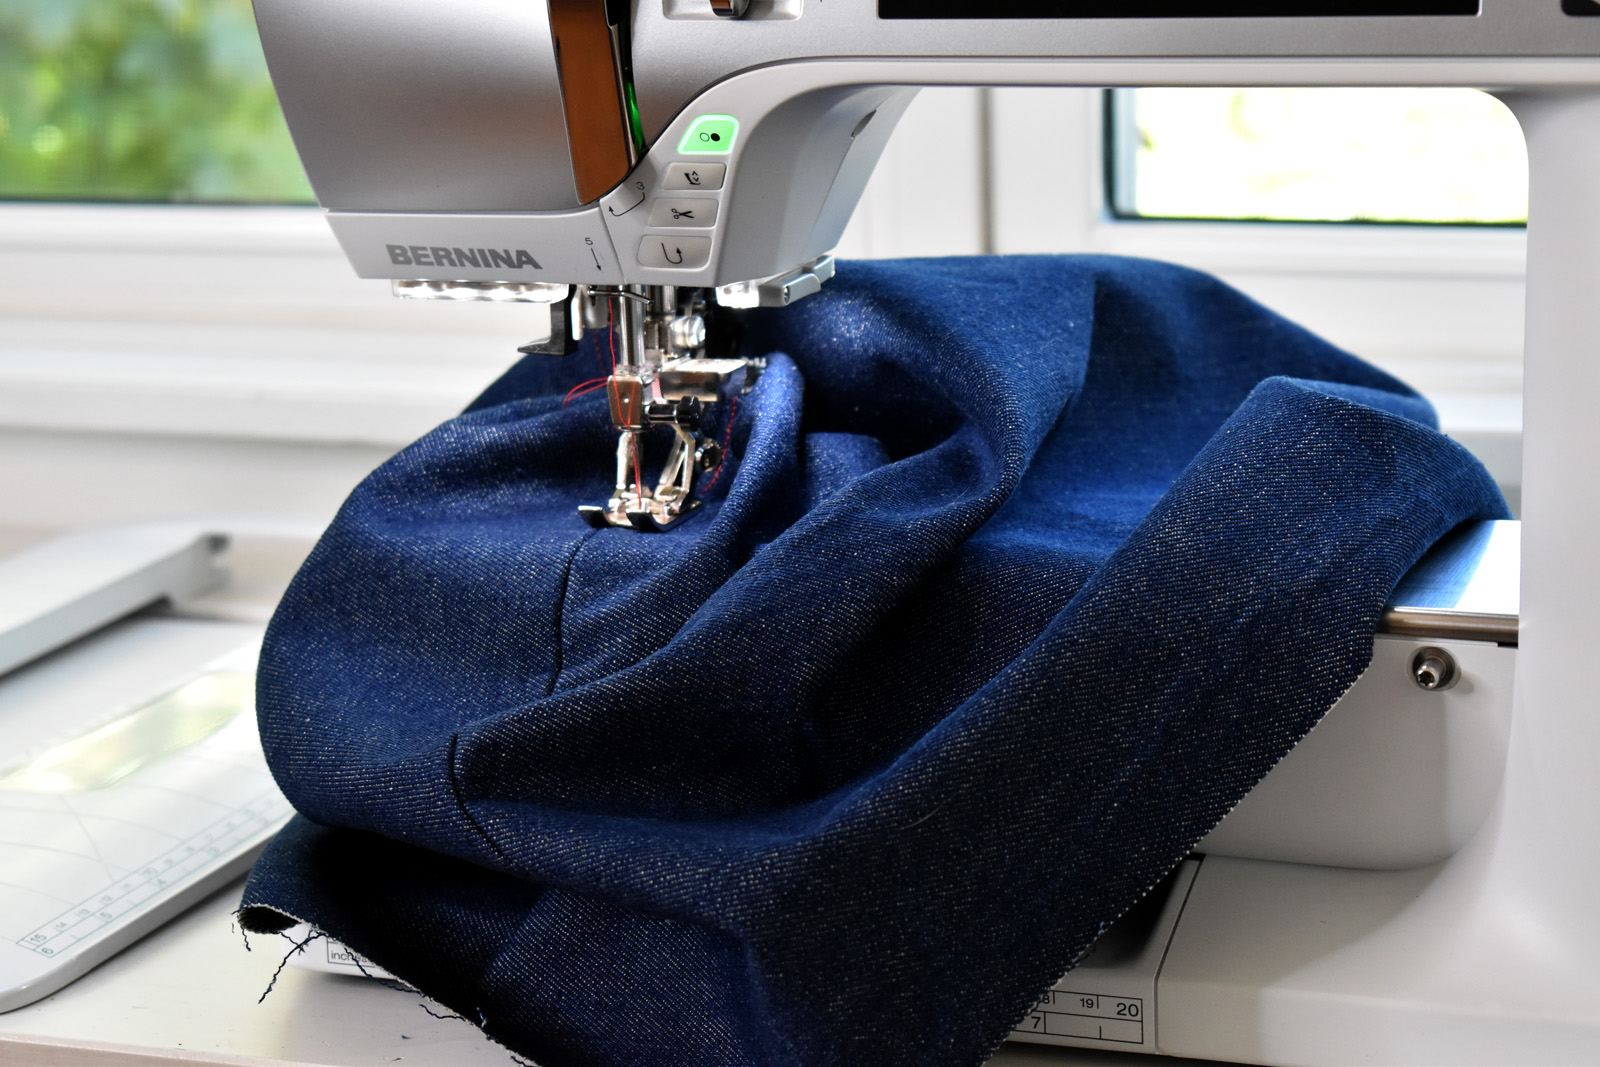
Stitch on each side of the seam as in the previous step. Removing the sewing table to use the Free Arm can help to get close to the corners of the bag under the needle to stitch.
Finish sewing bottom corners of the main bag. Pin the corner opening together, matching the side seams with the bottom seam. Stitch across the corner with a 1/2″ seam. Trim seam allowance to about 1/4″.
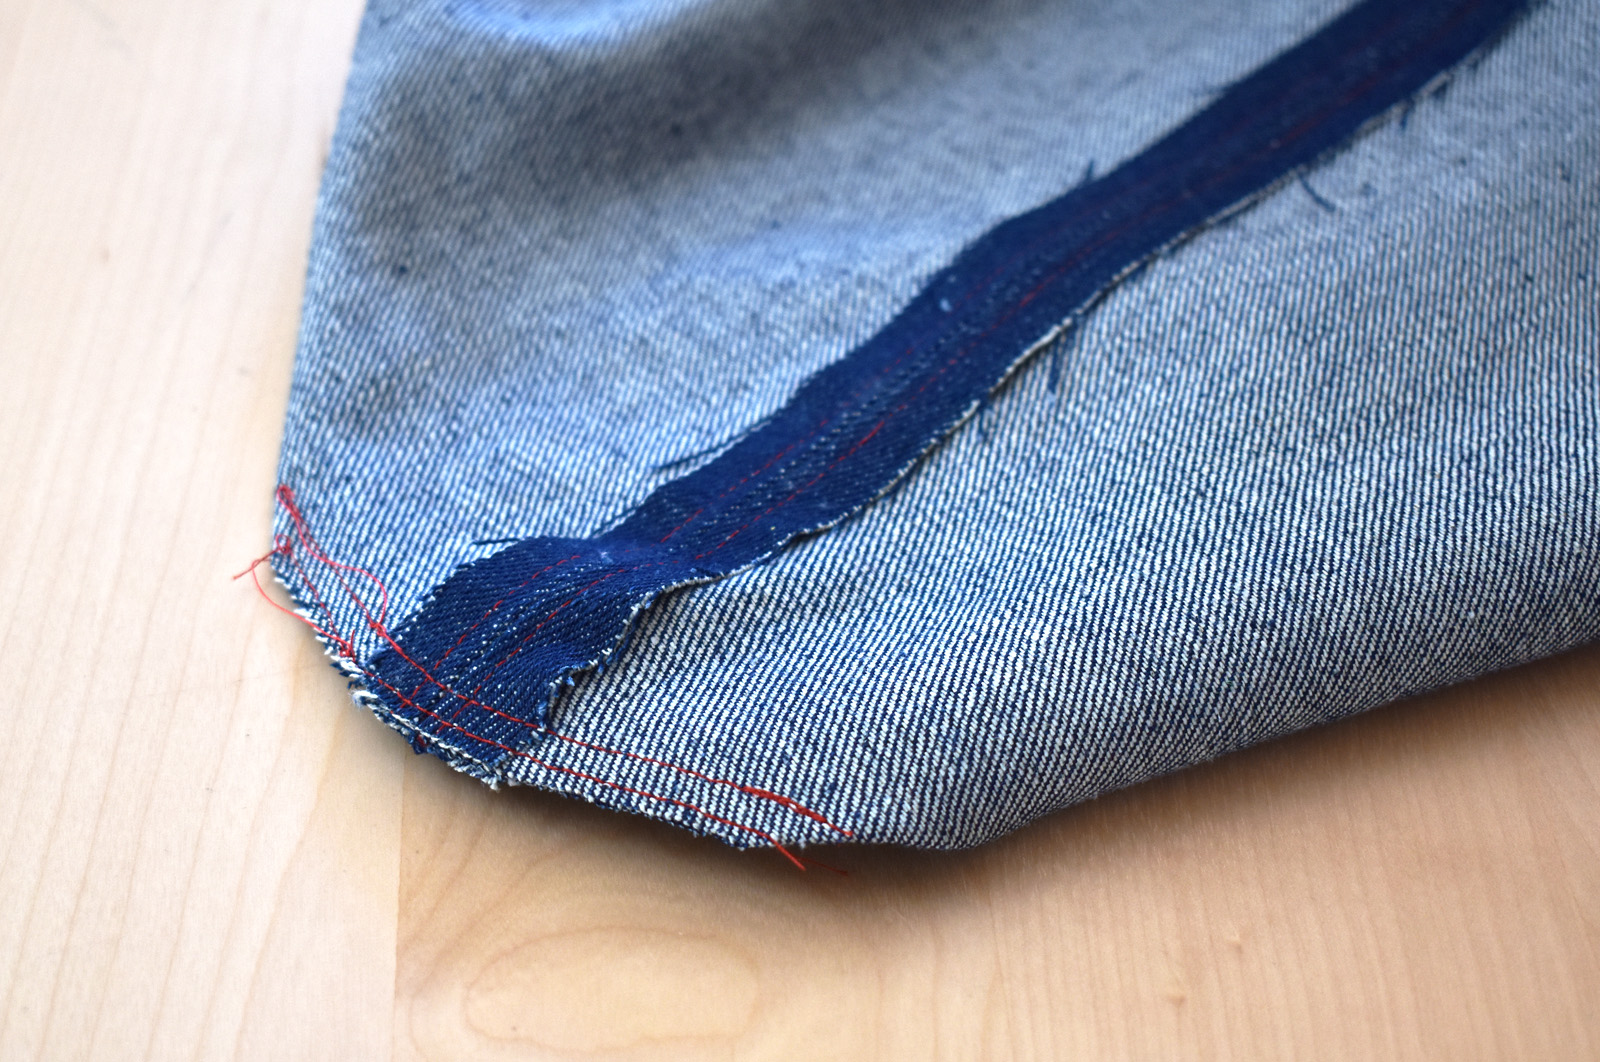
Sew a second line of stitches close to the trimmed seam edge. Set the main bag aside.
Sew the Garden Harvest Apron Tote Lining
Use the corner template to cut the curve and notch in the two bottom corners of the bag lining.

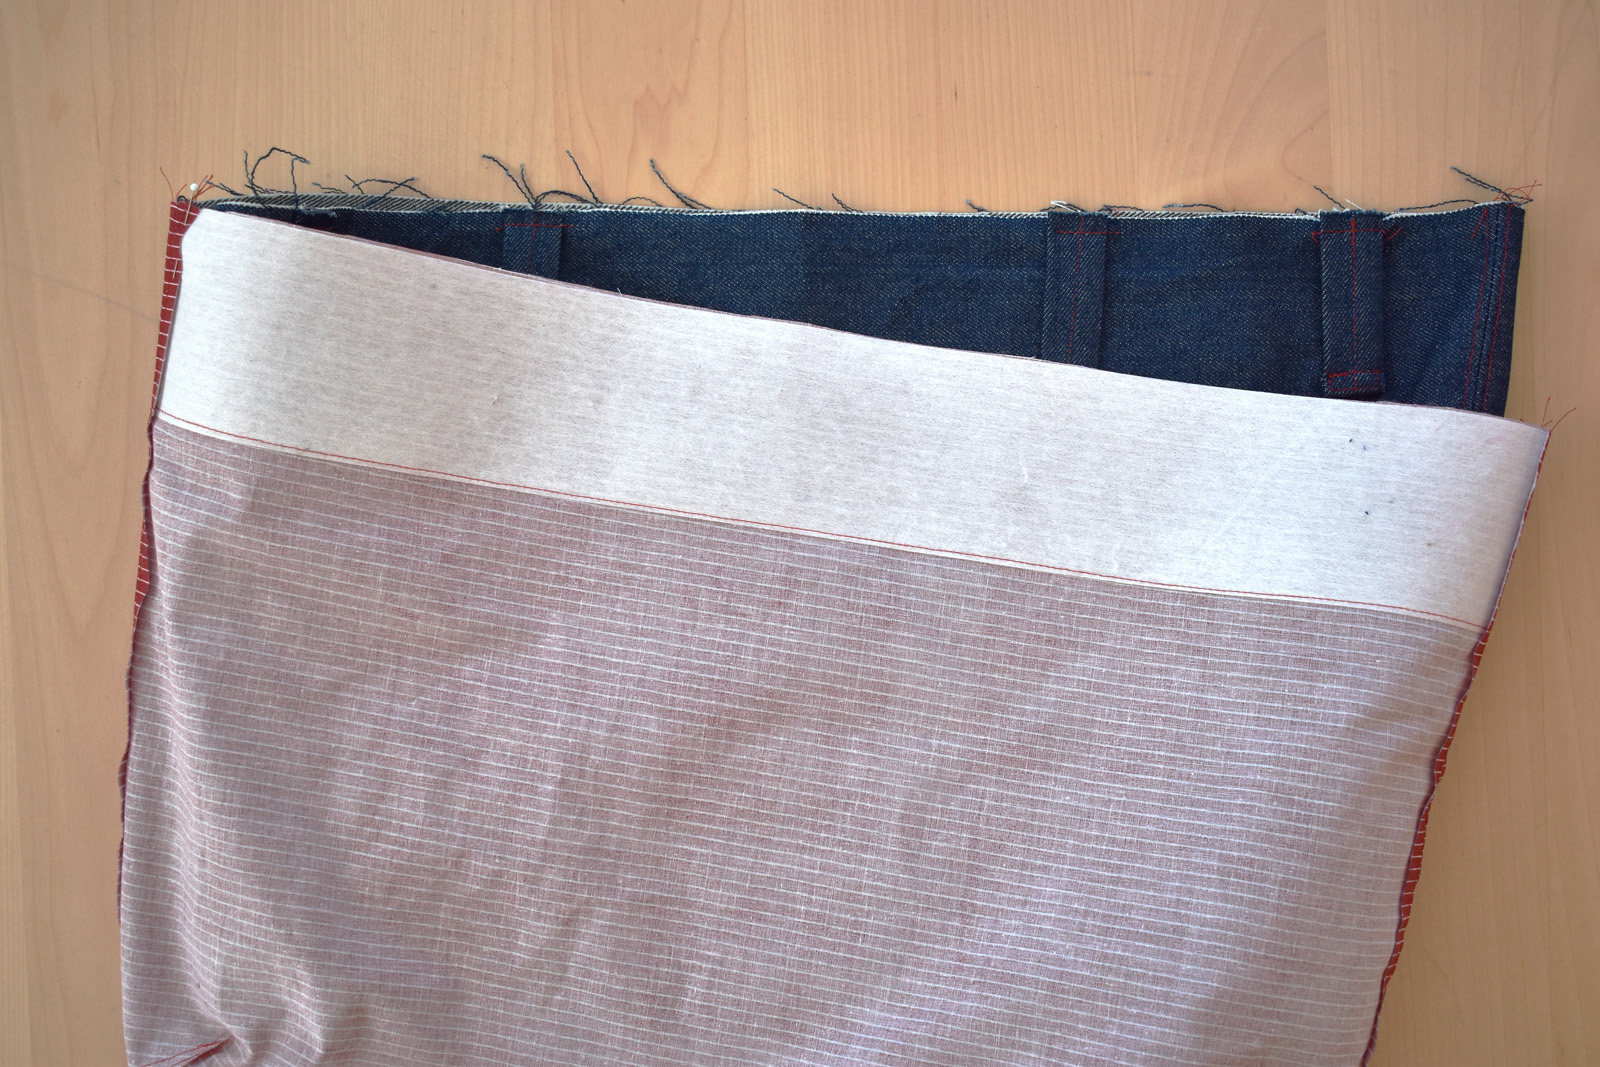
Following the manufacturer’s instructions, fuse the Pellon Craft Fuse strips to the top edge of each bag lining piece.
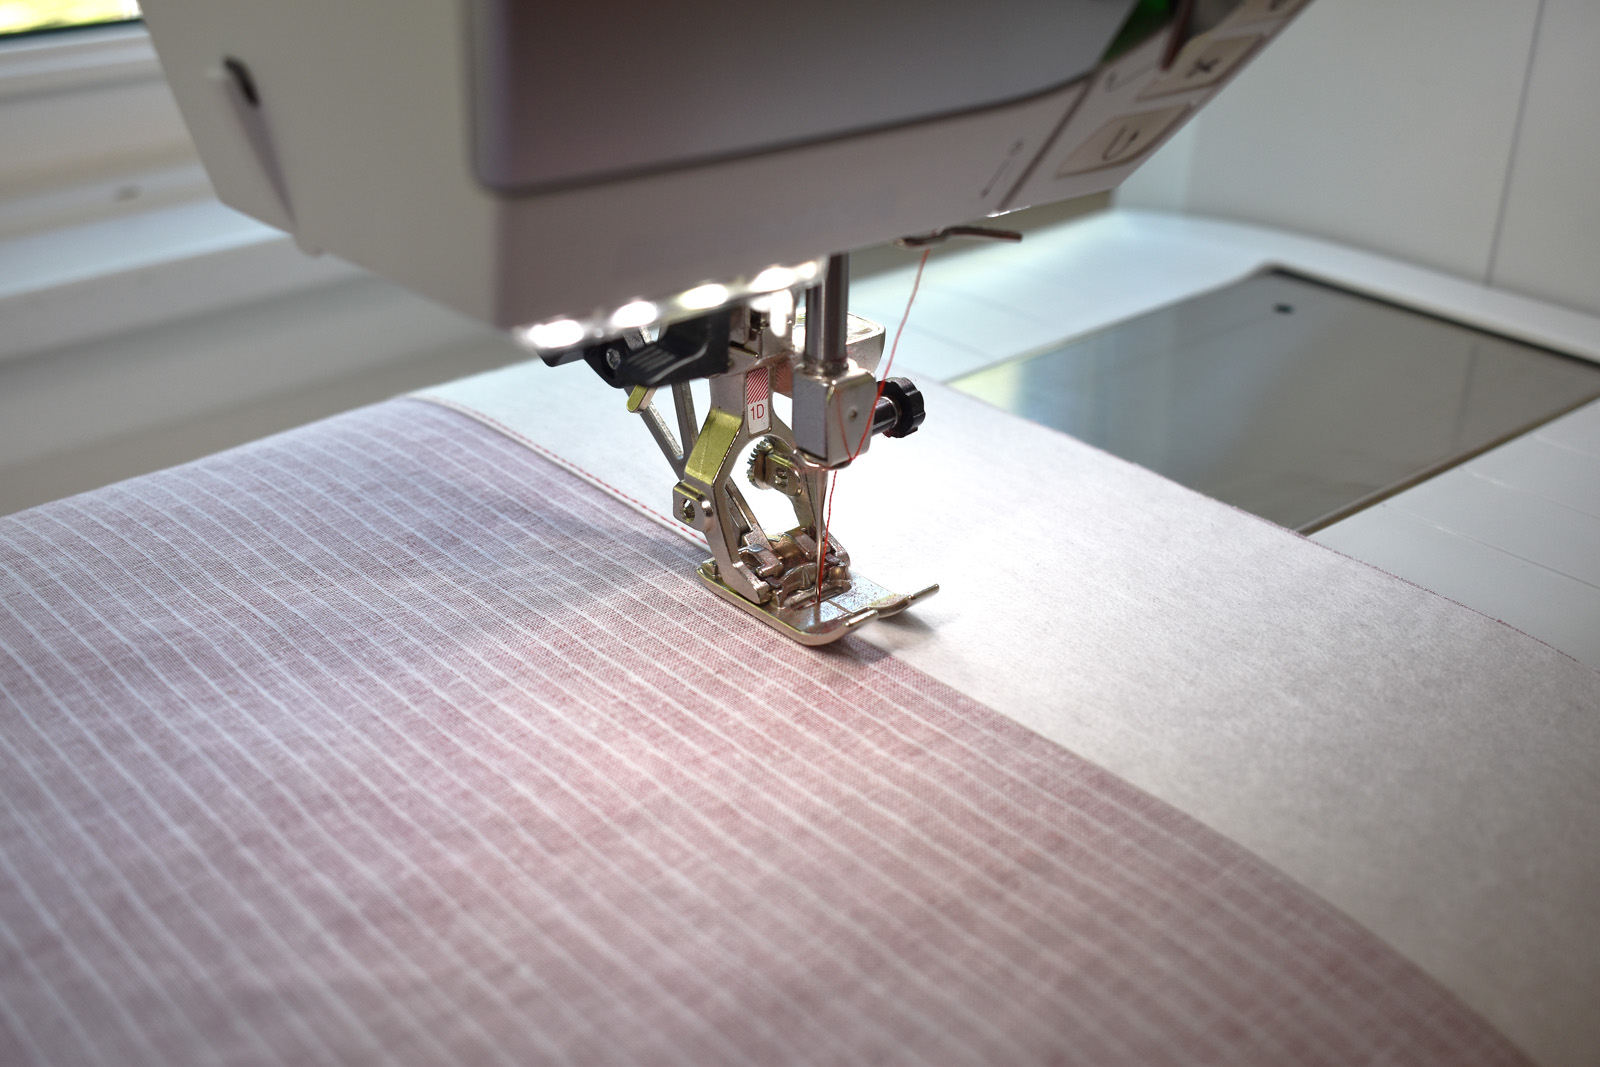
Sew a straight stitch along the bottom edge of the Pellon Craft Fuse close to the edge to secure the bottom in place.
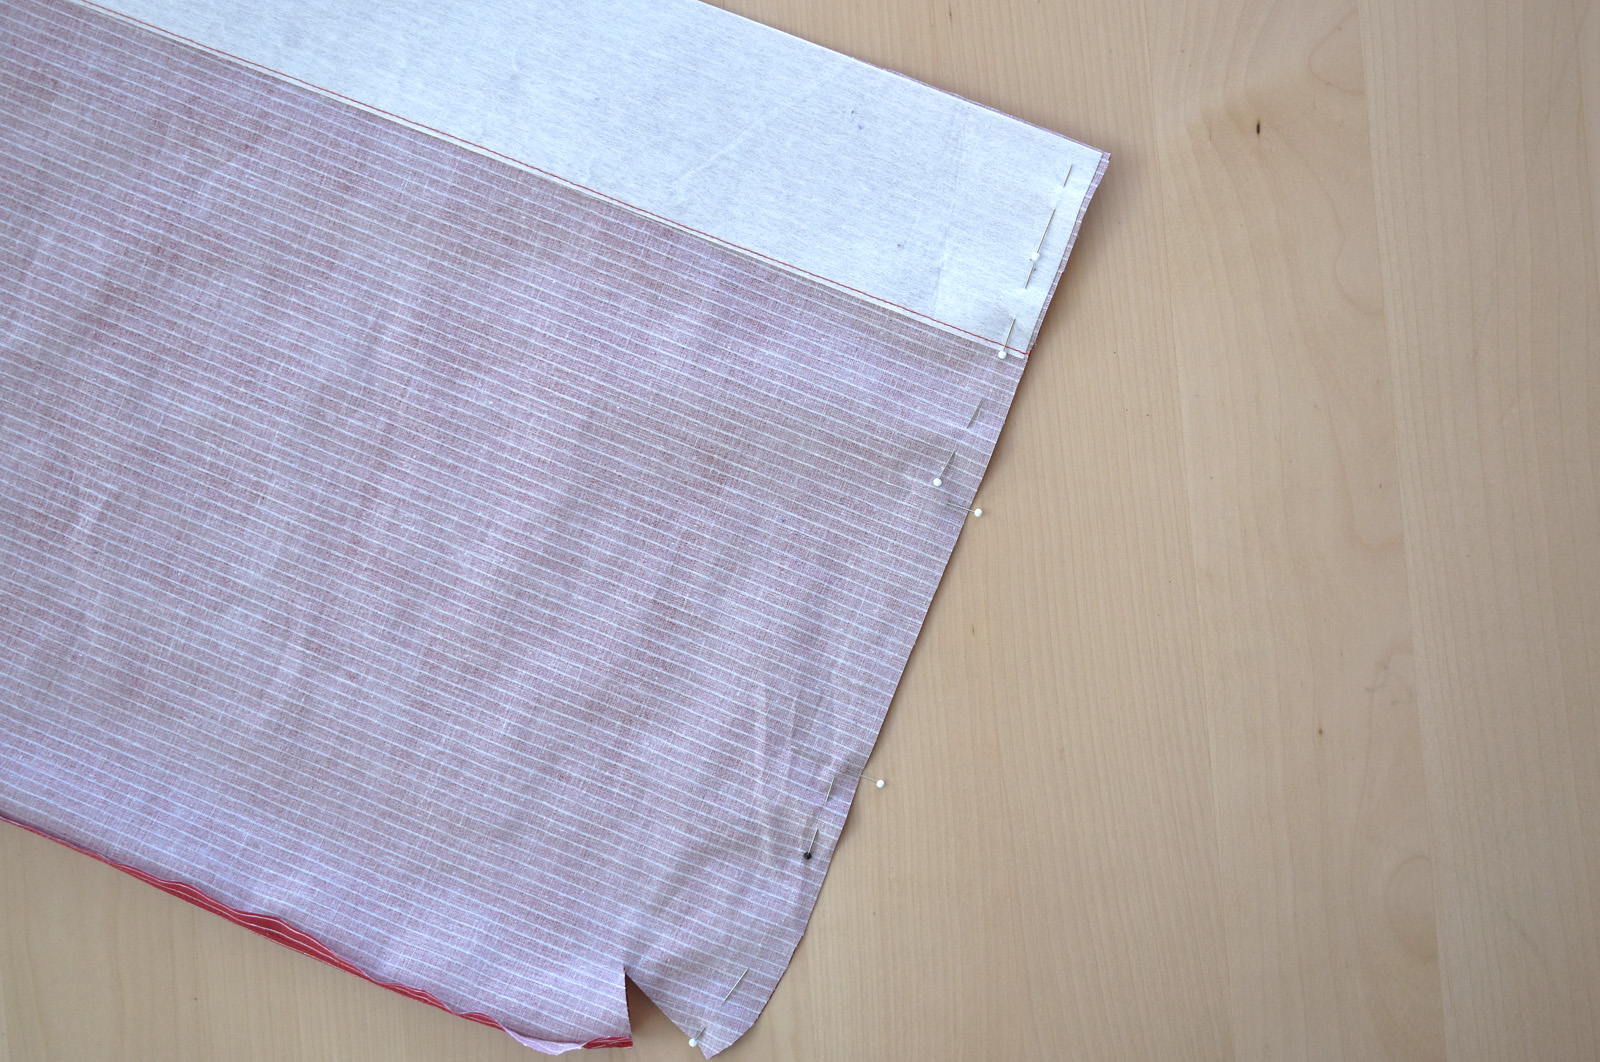
Finish sewing the lining with the same steps as the main bag above, sewing the bottom seam first. When pinning the side lining seams, leave a 5″ opening in the center of one side. This opening will allow for turning the bag inside out after the final steps.
When pressing the side seam with the opening, press the seam allowance over 1/2″ on each side. Stitch these seams flat following the same steps as above, sewing on each side of the opening as you stitch down this side. Set the completed lining aside.
Sew the Tie Loops for the Garden Harvest Apron Tote
The tie loops are stitched to the top front of the bag and hold the waist ties in place when not in use. The top edge of the tie loops are stitched in the bag seam and the bottom edge is top-stitched to the outer bag.
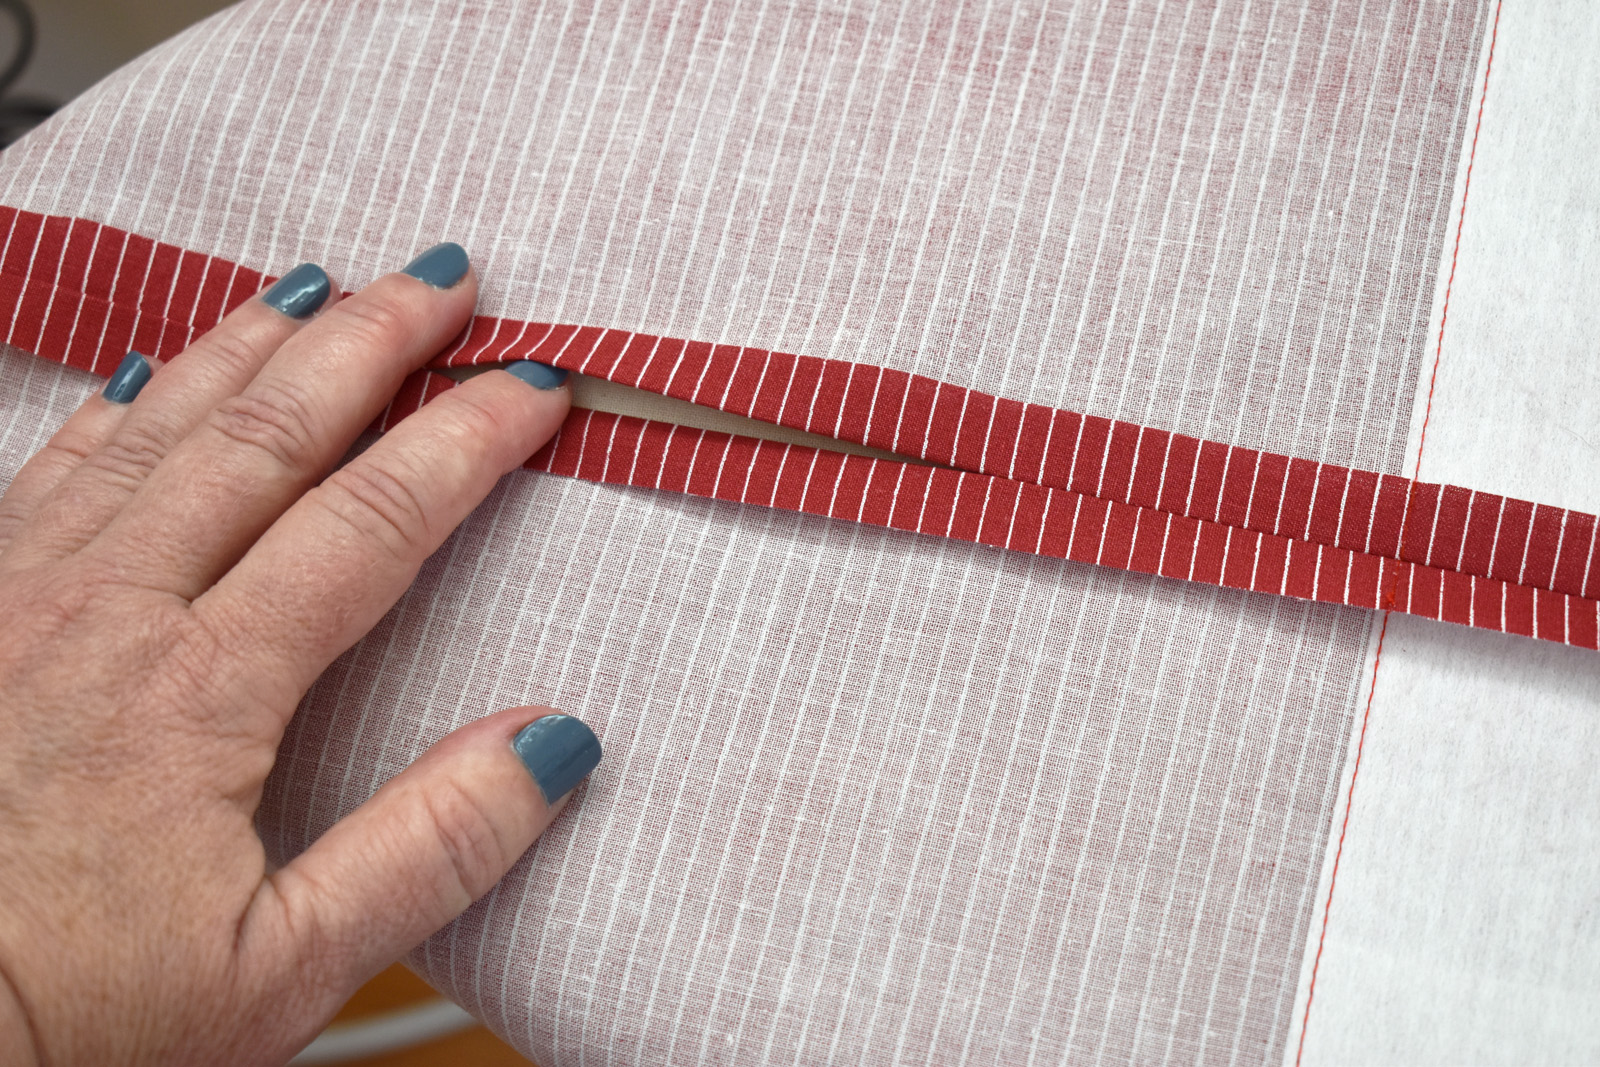
Fold the tie loop over lengthwise, wrong sides together (this means right side facing out) and sew a 1/2″ seam down the long edge. Trim only one side of the seam allowance close to the stitching.
Press the longer seam allowance down over the trimmed side, meeting the raw edge of the seam allowance to the stitching as you fold and press.
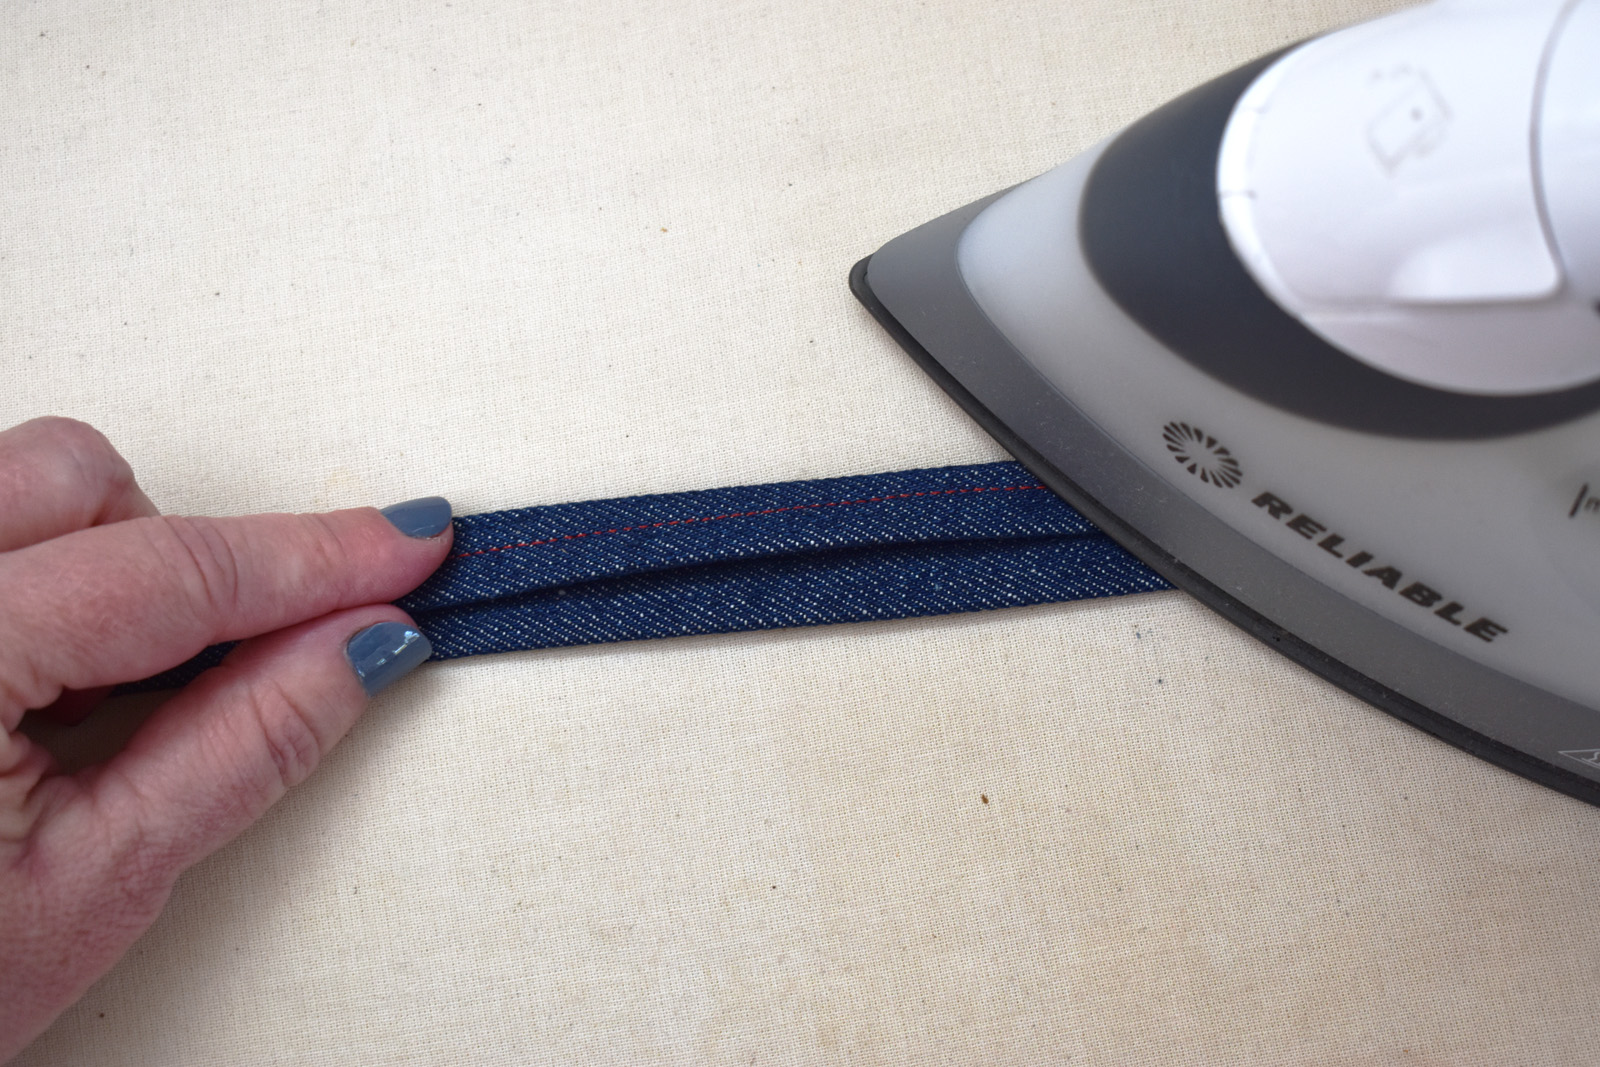
Work the long tube open with your fingers, roll the folded seam edge over encasing raw edge in the fold. Center the fold on the top of the tube and press well.
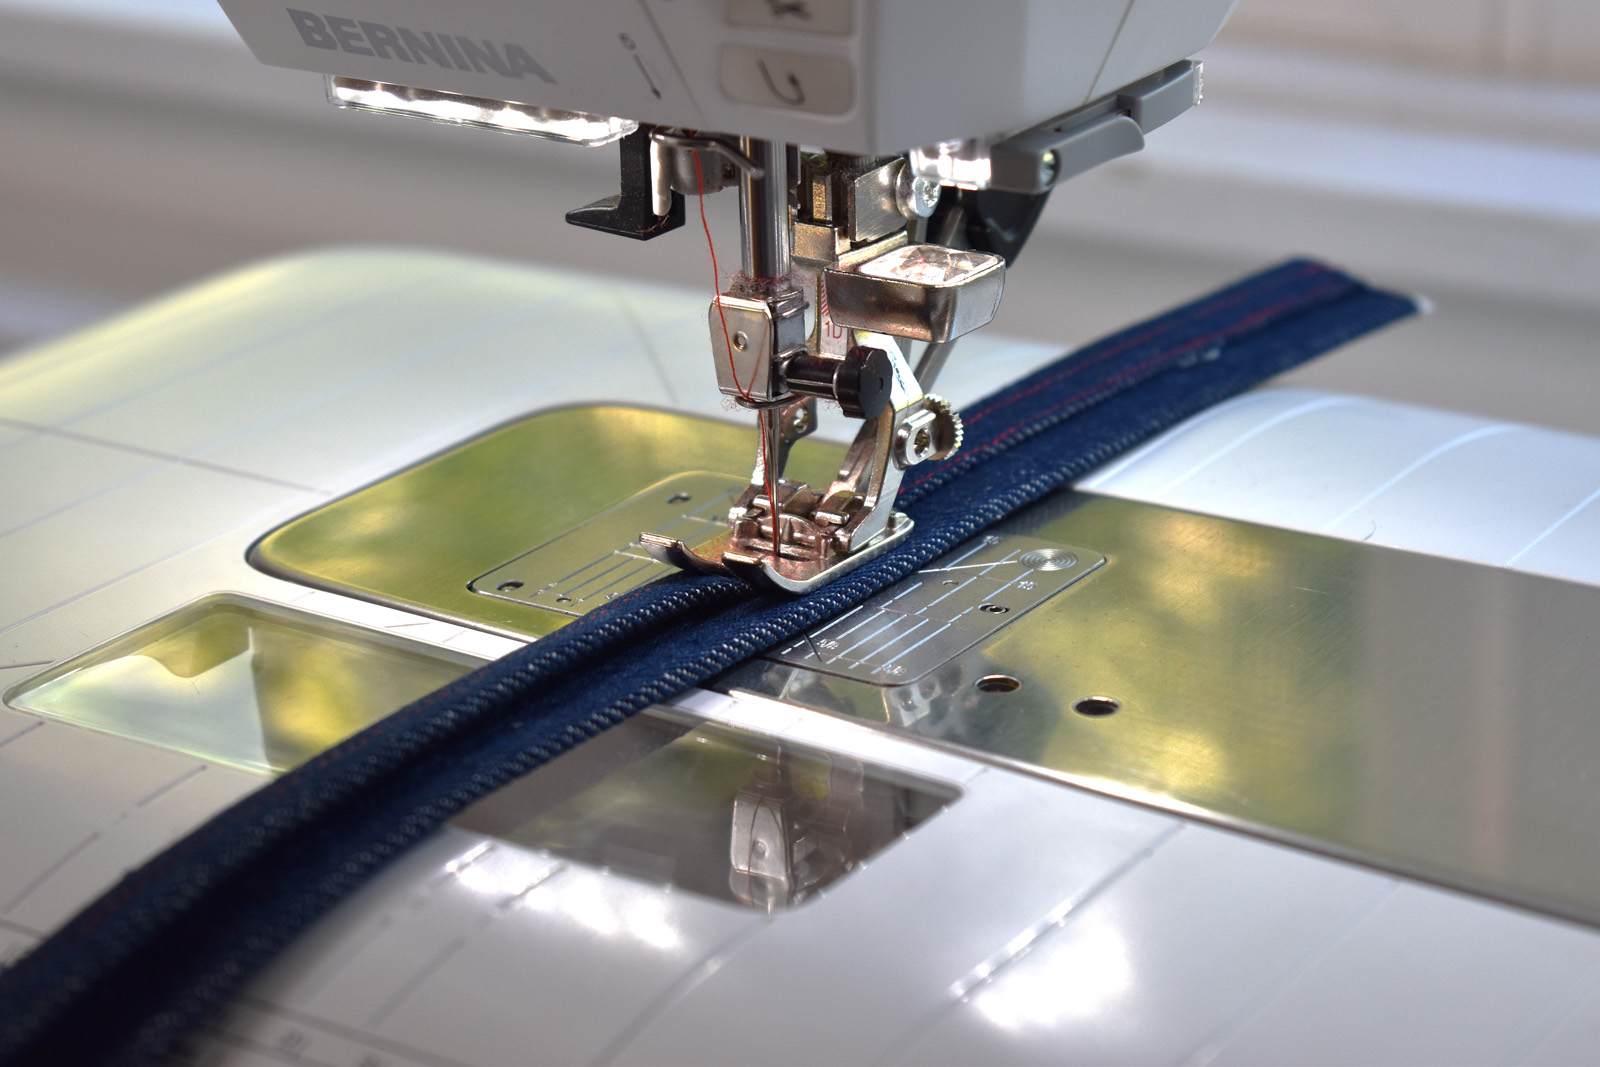
Top stitch the tube flat along the folded seam edge.

Cut the long tie loop strip into 4 equal pieces, each should be 3″ long.
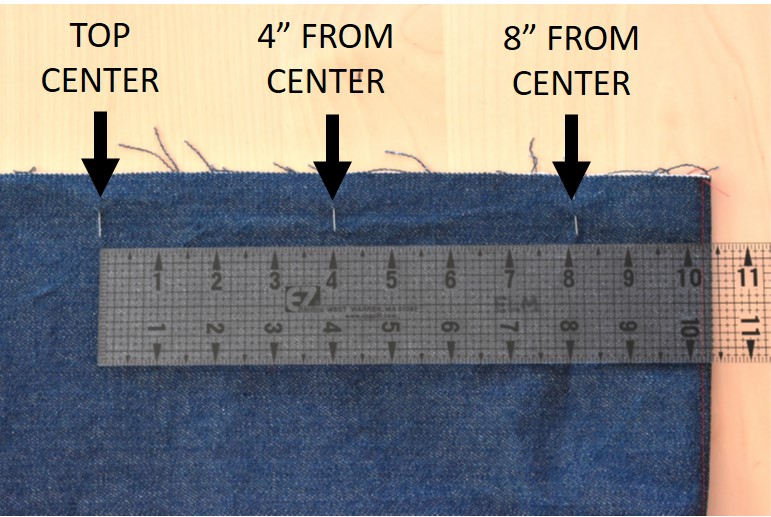
Pin the loops to the top outer edge of the main bag. On the main bag, mark the center of the top raw edge with a pin. Place a pin 4″ over from the center, and a pin 8″ over from center. Repeat marking the other top edge of the bag in the same way. Remove the center pin mark.
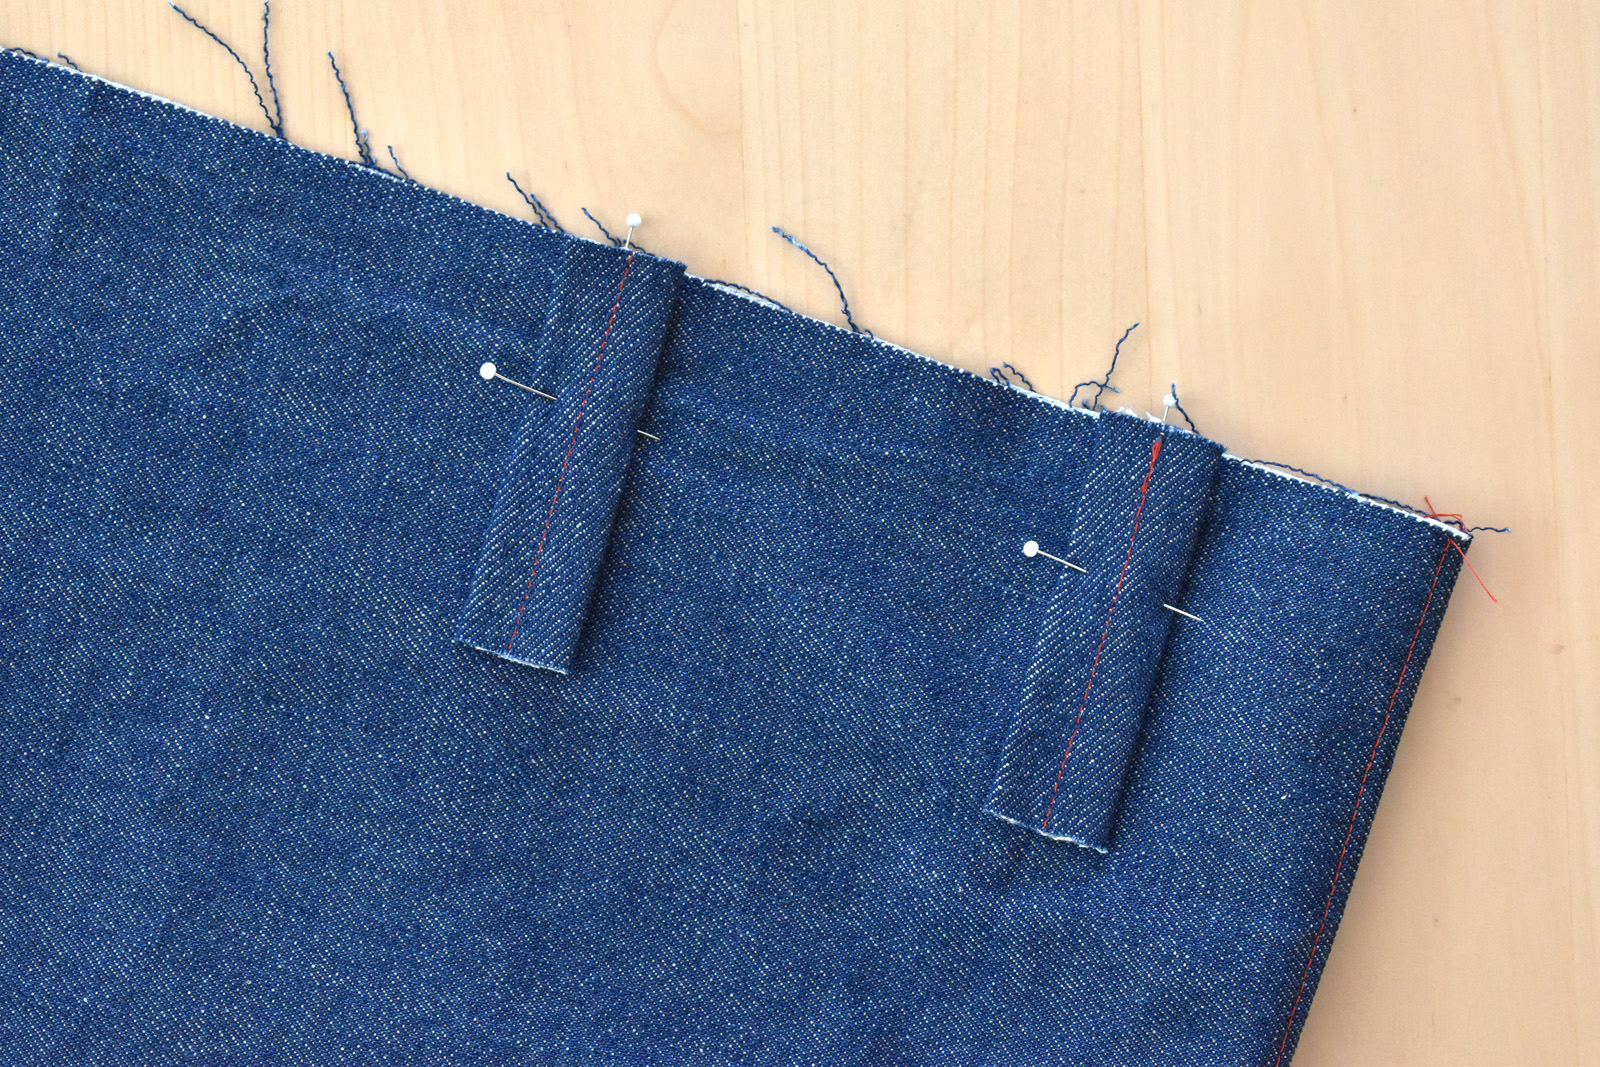
Center a loop over each pin, matching top of the loop with the top raw edge of the bag, and pin in place. Baste stitch each loop in place 1/4″ from the top edge of the bag to secure in place through next steps.
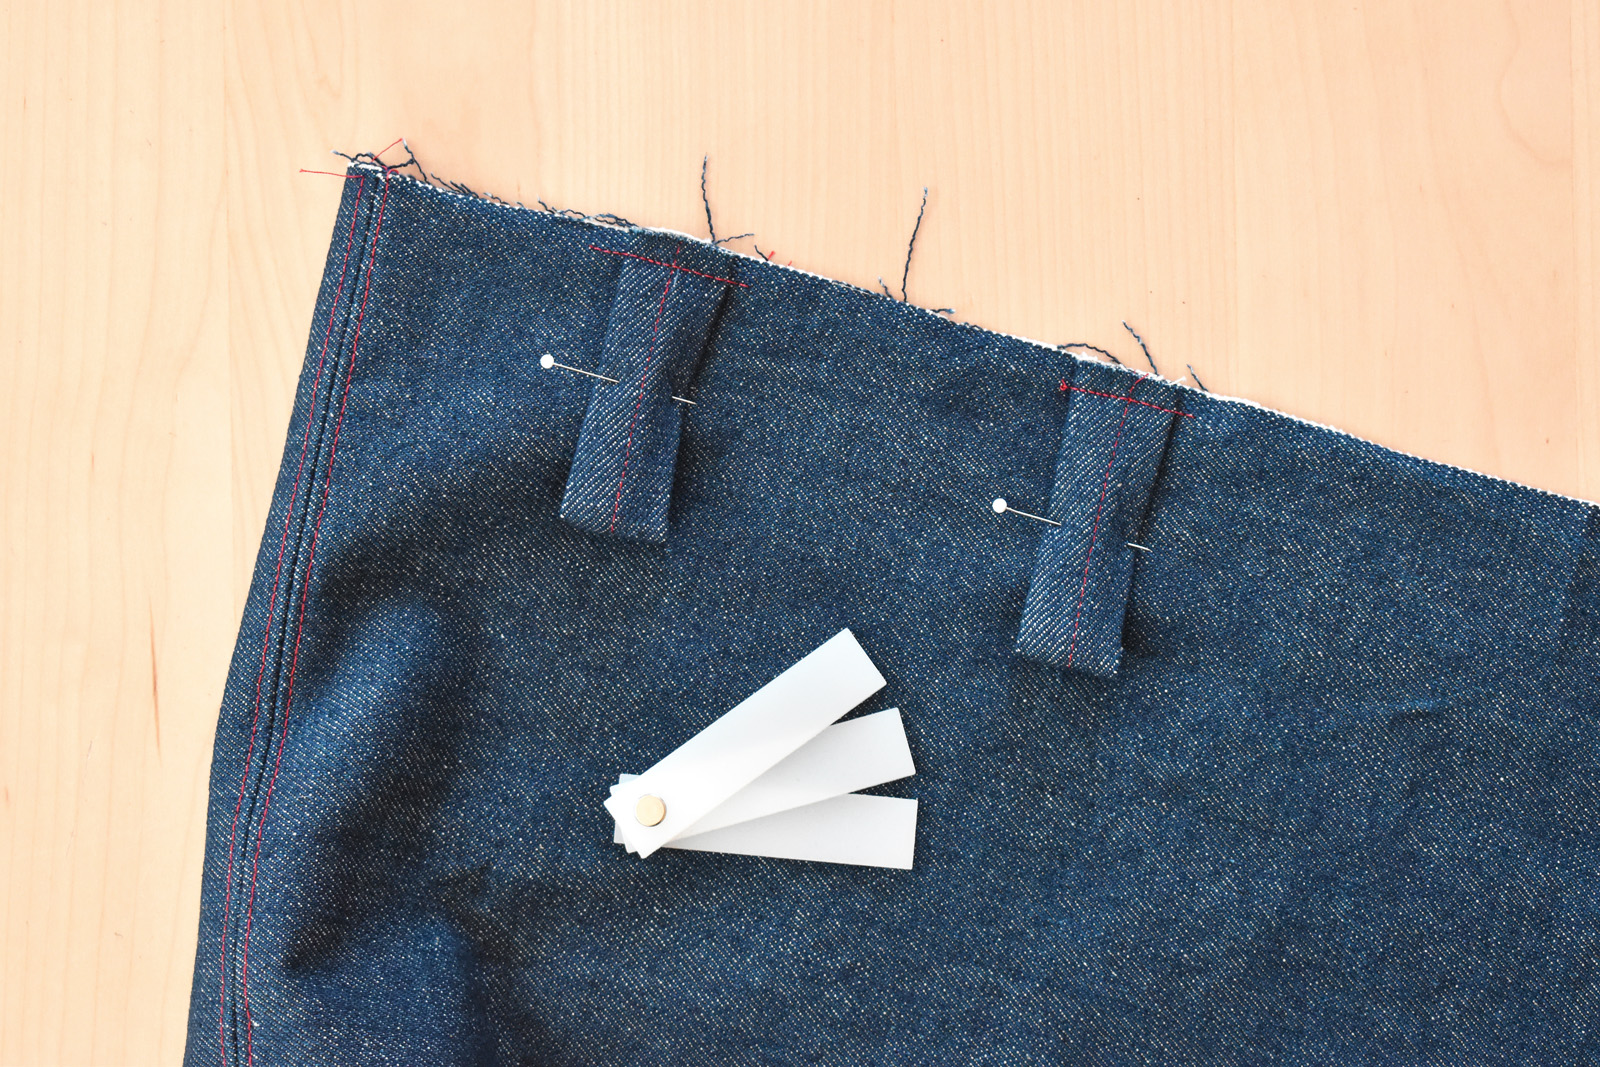
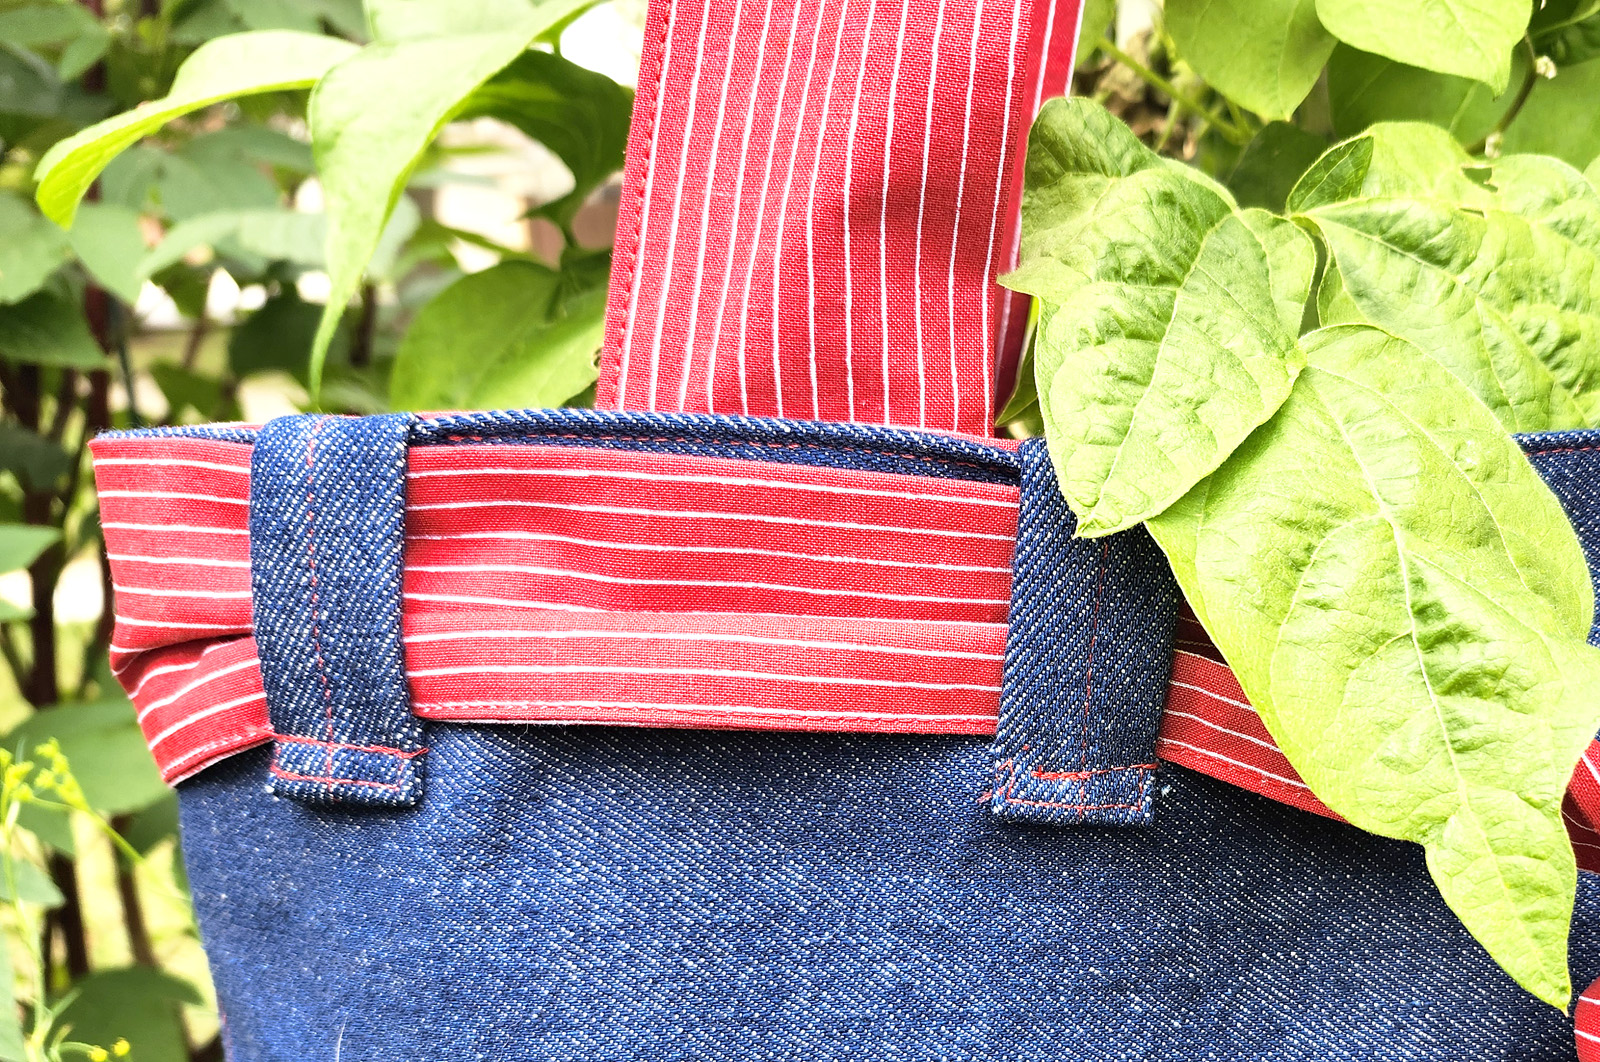
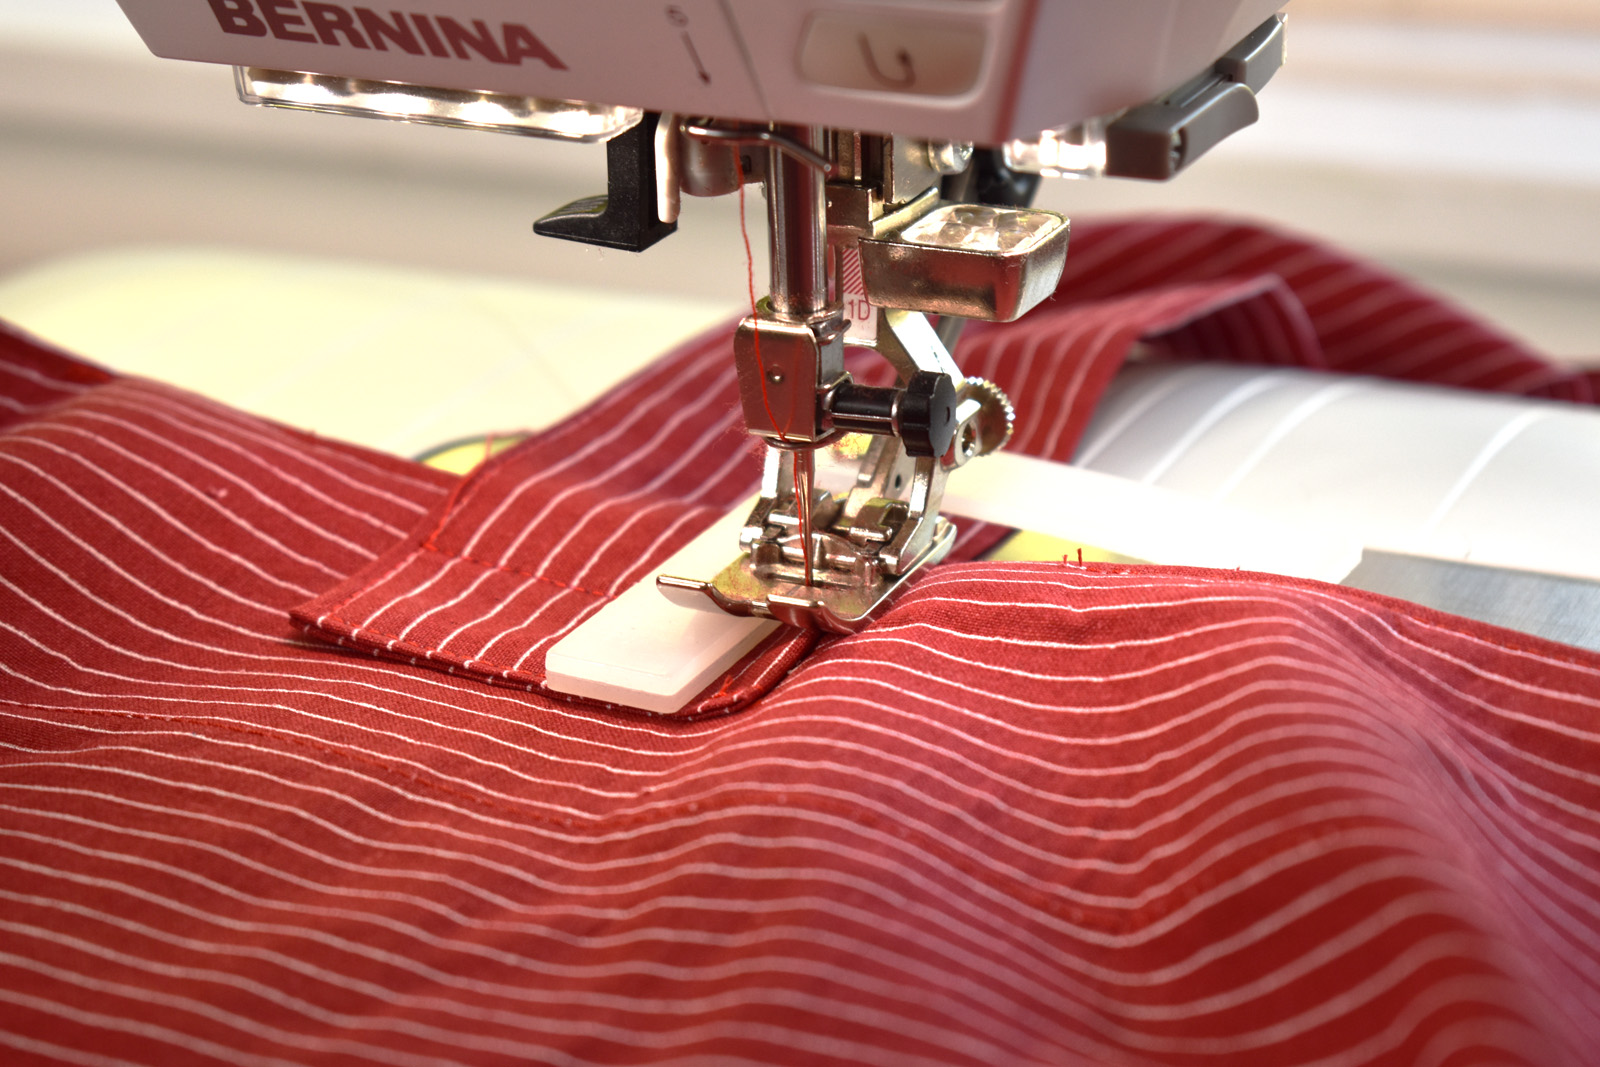
Use the BERNINA Height Compensation Tool to help keep the presser foot level through the process of stitching the thick folded over loop end to the outside of the bag. Press the bottom of each loop under 1/2″ and pin in place, placing the pin in the middle of the loop to hold it steady as you sew the end in place.
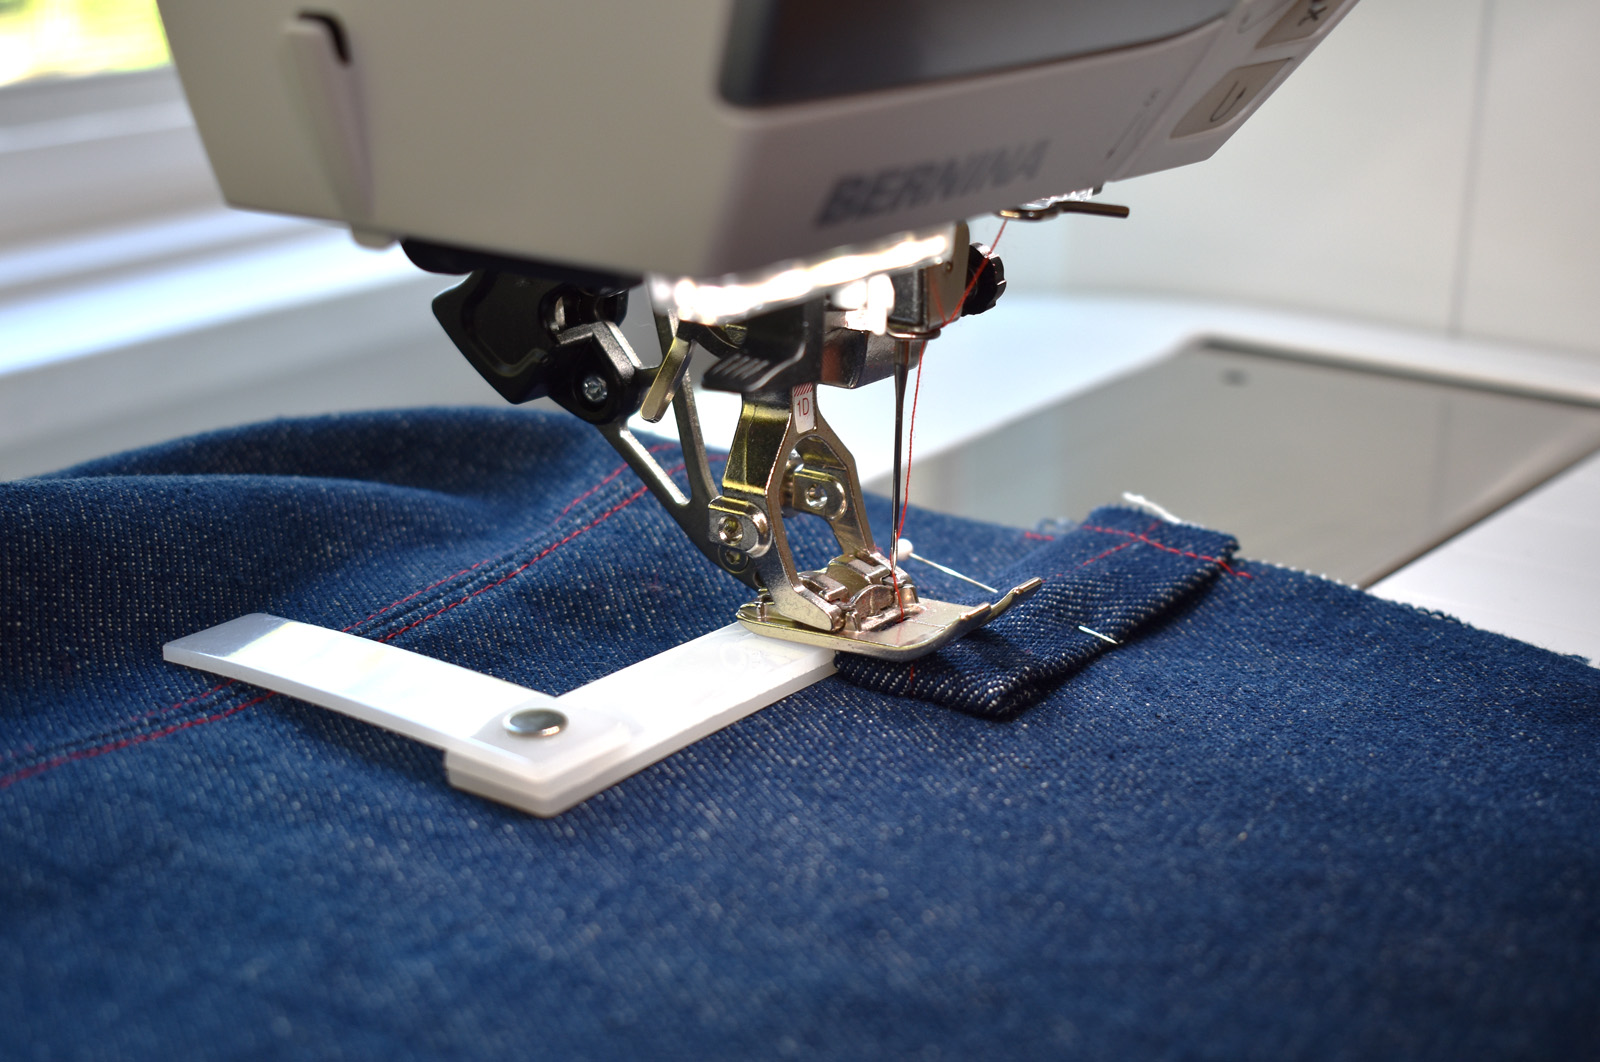
Stitch a rectangular box shape on each loop (refer to the photo at the top of this section); the bottom stitch close to the folded edge and the top stitch about 1/4″ from the folded end. The Height Compensation Tool helps sew over thick and bulky seams. It keeps the presser foot horizontal to the feed dogs, which work best when the presser foot is horizontal. Place as many blades of the tool under the presser foot as needed to level out the foot. Give the loops a light pressing after stitching.
Assembling the Garden Harvest Apron Tote
With the lining wrong side out and the main bag right side out, slip the main bag inside the lining. Match the side seams together and pin in place. Pin the top raw edges together all around the bag. Stitch around the top edge with a 1/2″ seam, slowing down to sew over the bulky tie loops. Use the Height Compensation Tool if you need a boost to get the presser foot over the loops.
Turn the bag right side out through the side opening in the lining. Press the seam with the side opening flat, and pin across the edge of the opening. Topstitch along the edge of the opening to sew it closed.
Push the lining down inside the main bag, and press the top edge well. Top stitch all along the top bag edge, sewing in between the tie loops and backstitching a few stitches on either side.
Sew the four main handle strips to the bag in the next steps.
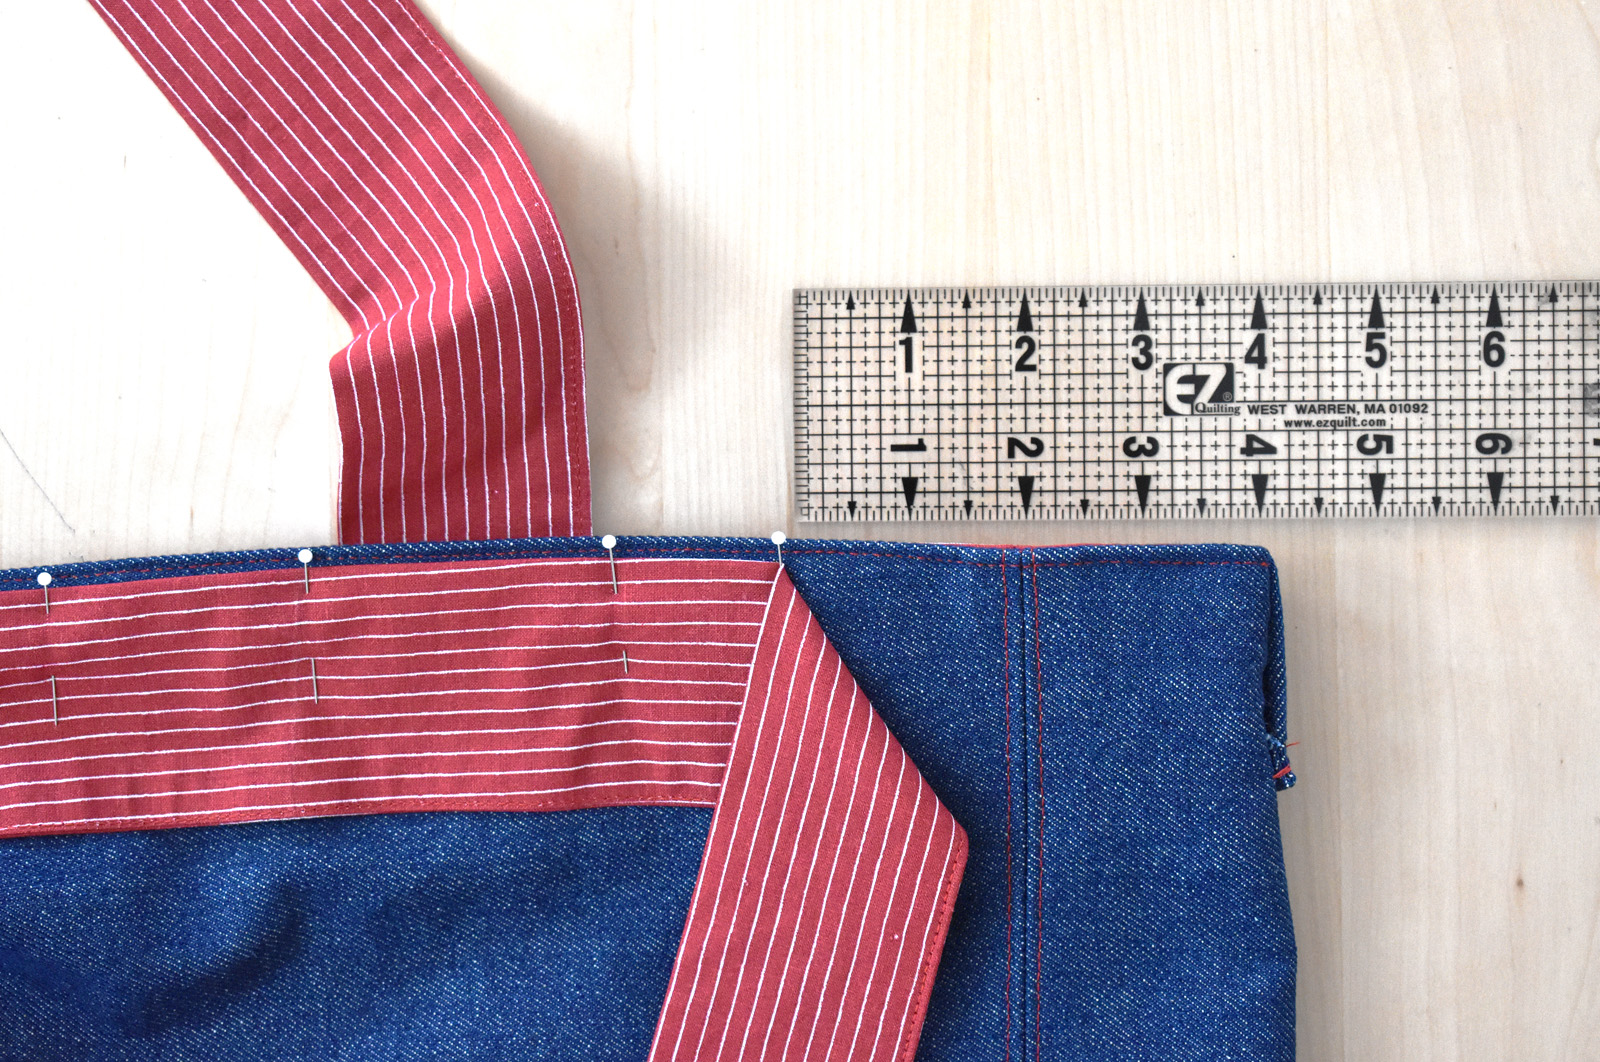
Place and pin two of the handle strips to the front of the bag, referring to the photo above. Place the bag on your workspace with the opening towards you. Line up one handle tie with square end pointed towards the bag opening, pointy end away from bag, and the top stitched seam pointed towards the side of the bag.
Insert the square end of the handle into the bag opening, lining up the right edge of the handle strap with the left side of the tie loop near the center of the bag (refer to photo above). Temporarily pin in place, and flip the bag over.
Carefully align the strap with the flat end 1 1/2″ from the top edge of the bag and pin in place. Repeat these steps for the strap on the other side of the bag front.
Sew the strap ends to the bag from the inside. Begin stitching across the strap about 1/2″ down from the top edge of the bag, then stitch close to the sides and bottom of the strap, creating a rectangle shape as you sew.
When sewing the strap close to the tie loop, use the Height Compensation Tool to keep the presser foot level and stitching straight.
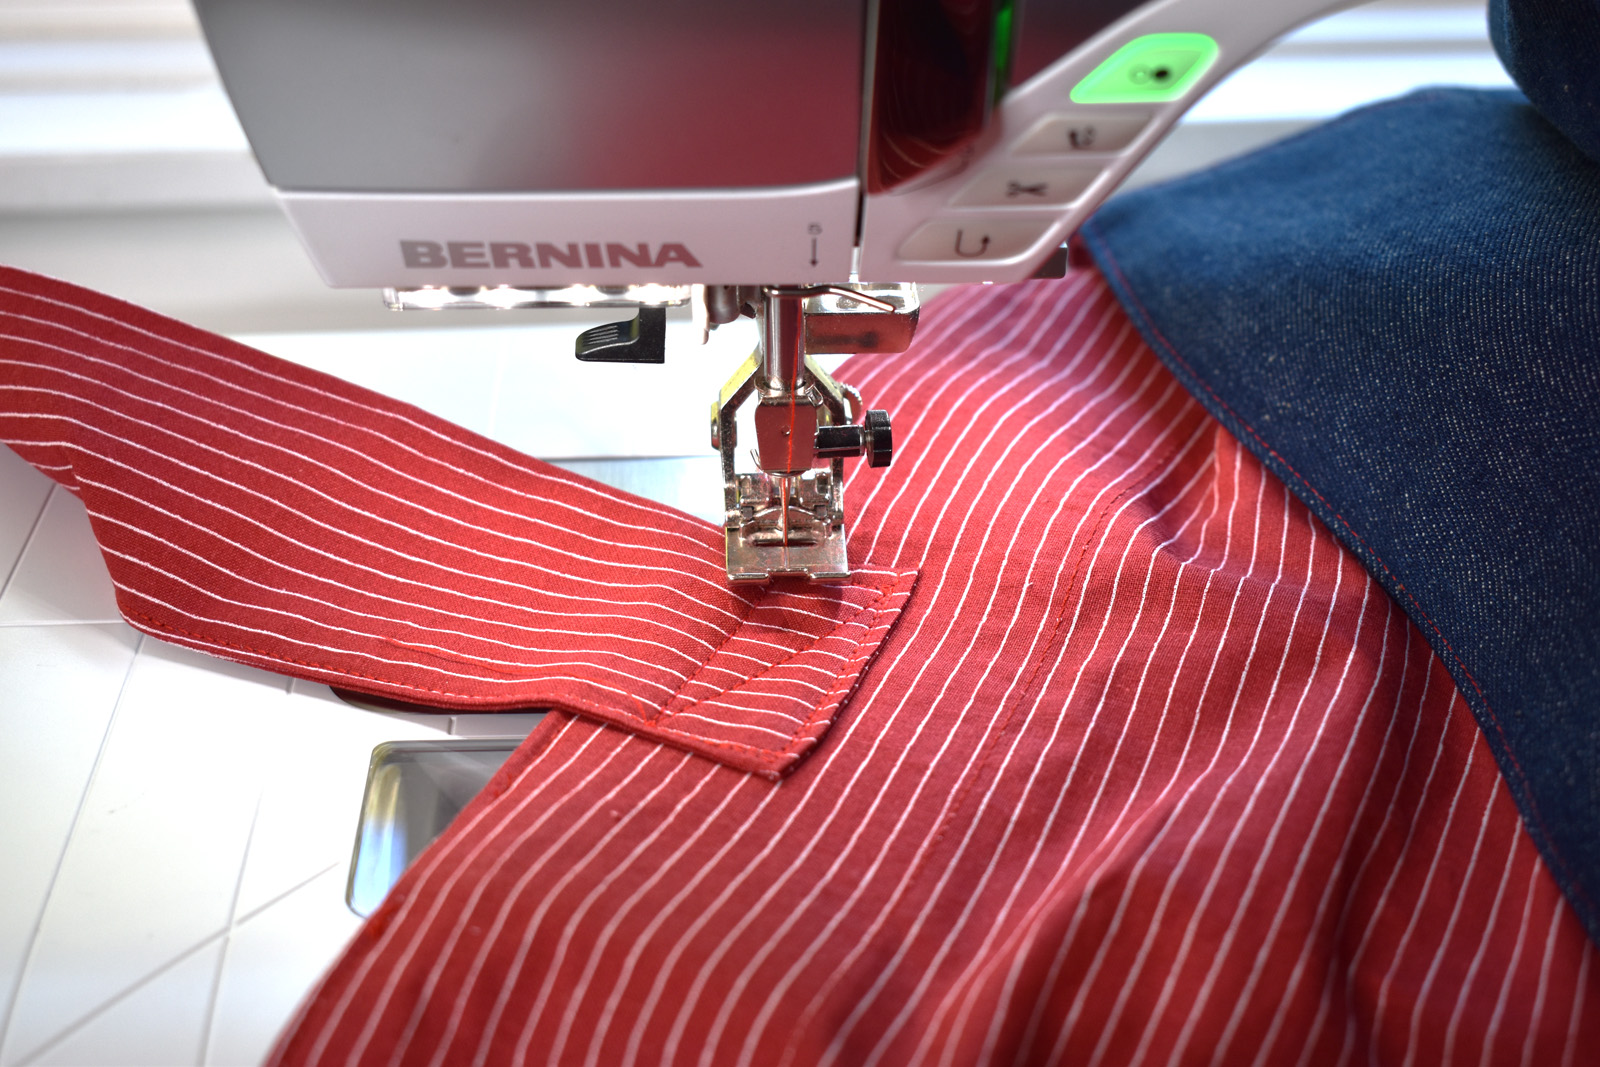
After stitching the rectangle shape on the strap end, pivot and sew an “X” shape between opposite corners of the rectangle for added strength. Repeat the steps with the second handle on the front of the bag.
On the work surface, smooth out the bag flat and folded exactly at the side seams. Use the front handles to mark the location of the back handles. Follow the above steps to stitch the back handles to the bag. In the last step, attach the bag tie to the back of the bag.

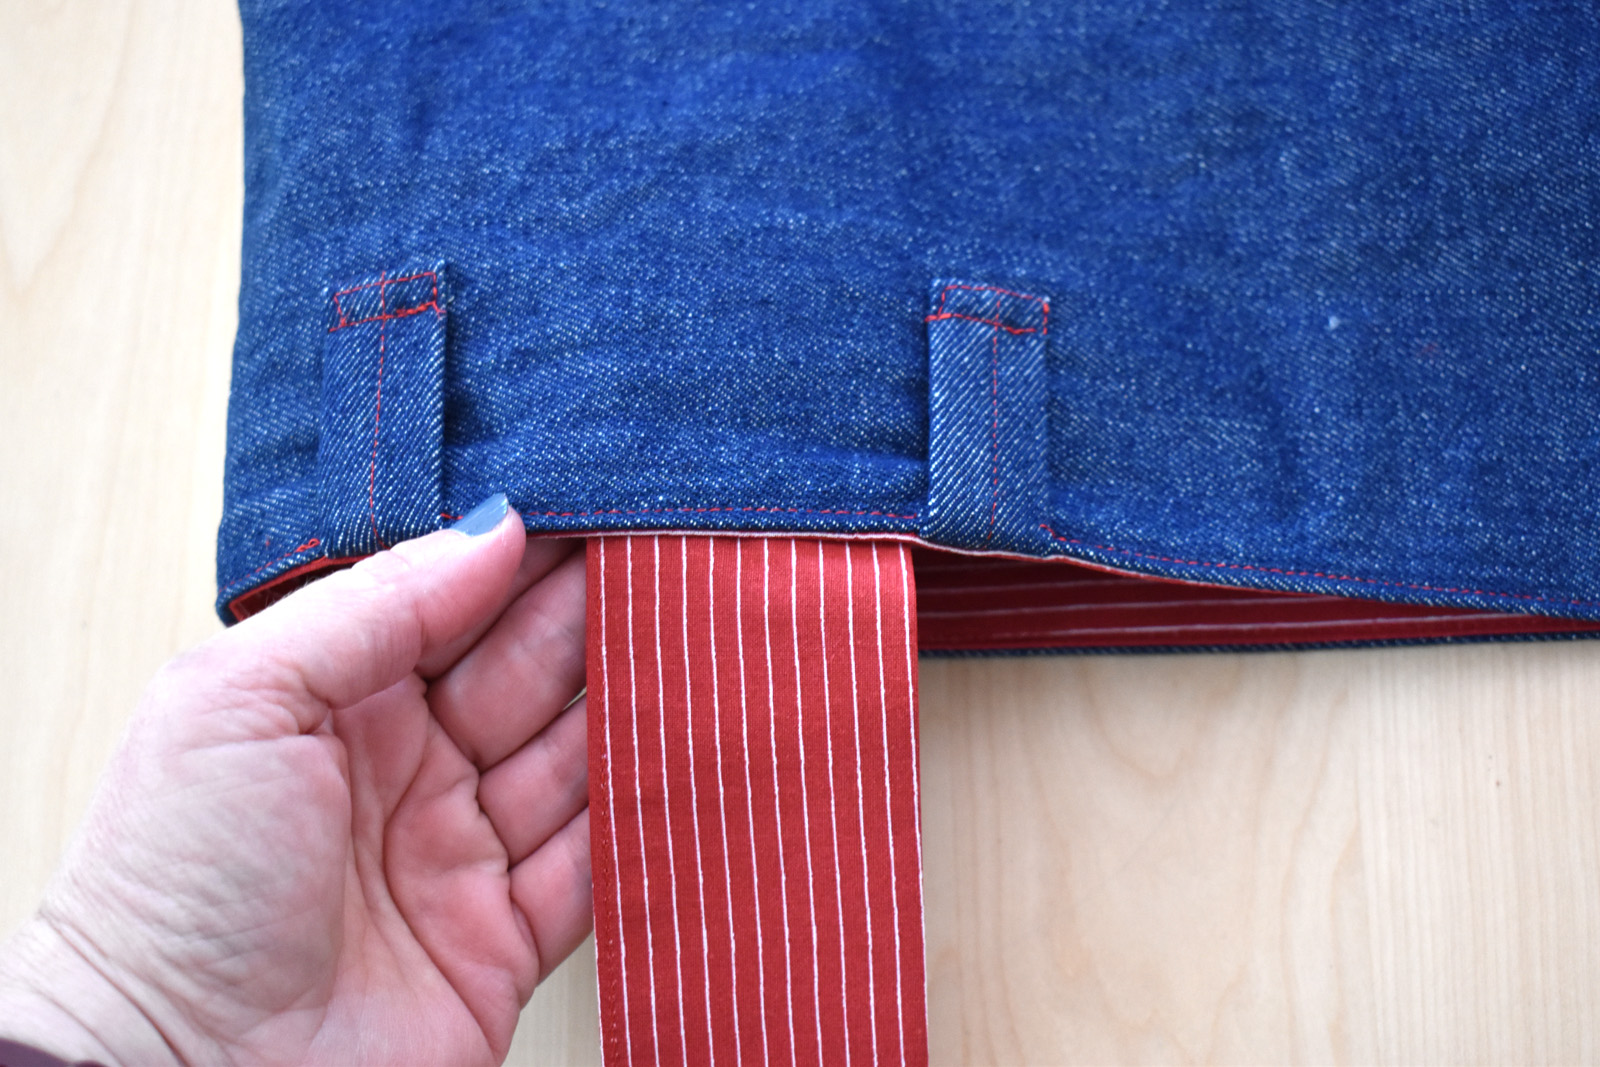
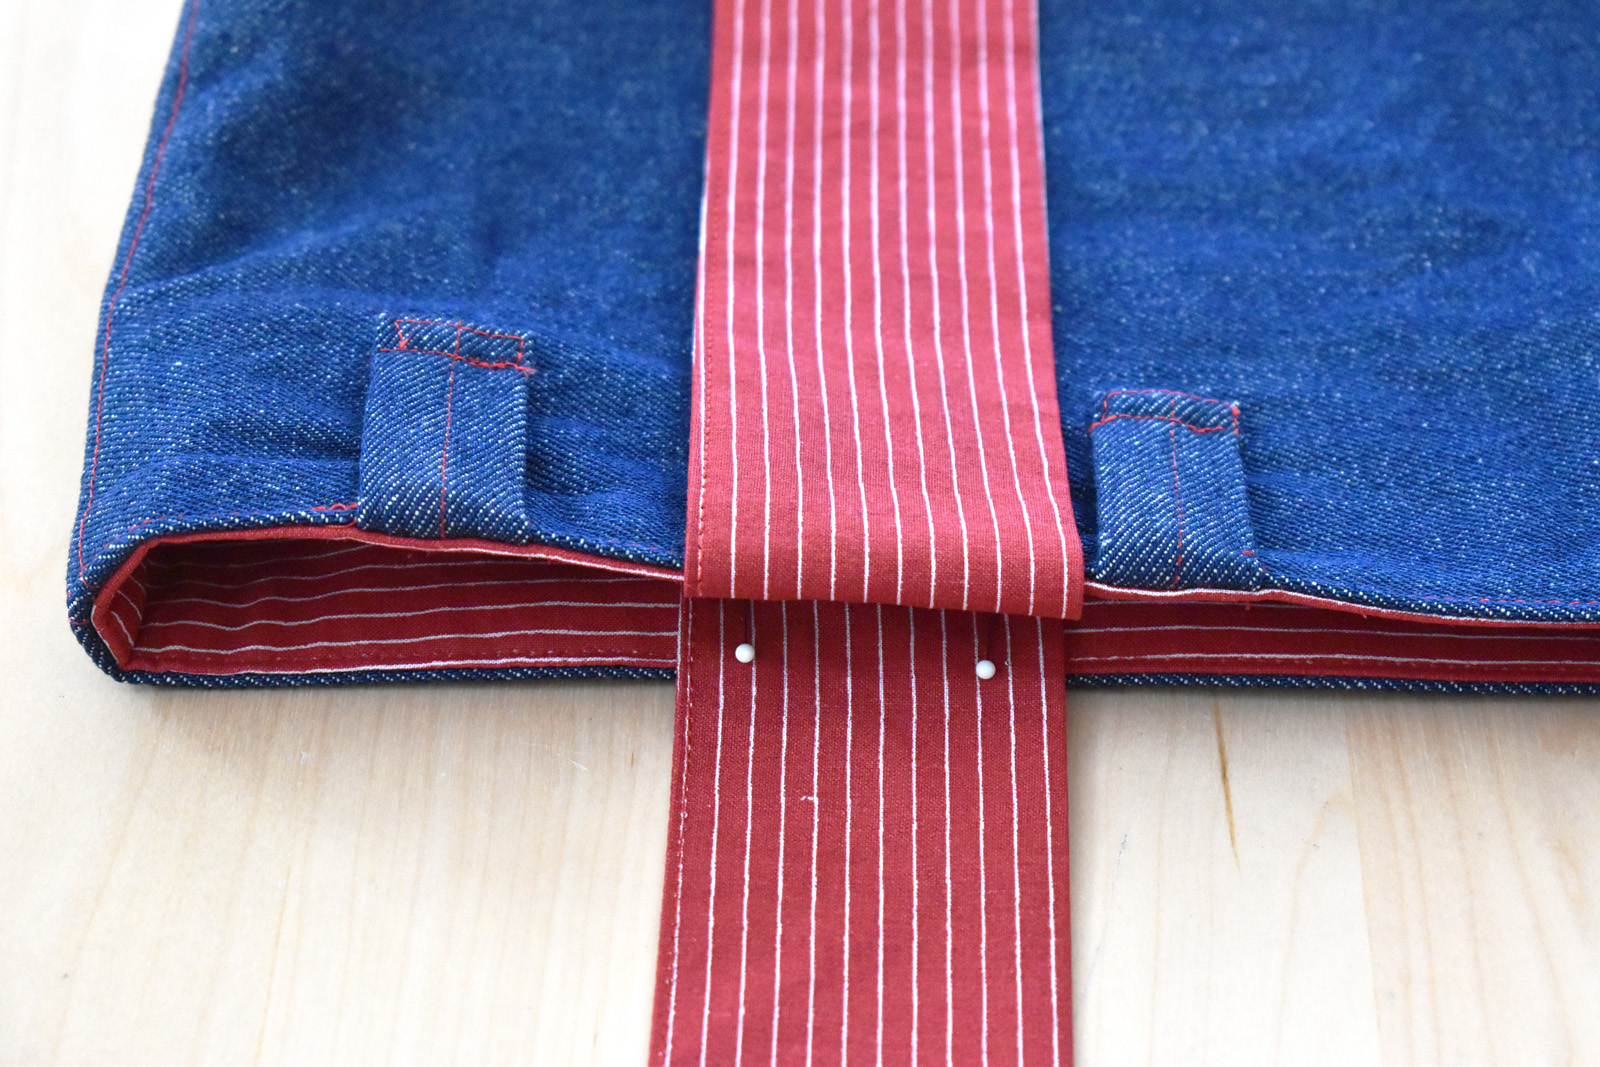
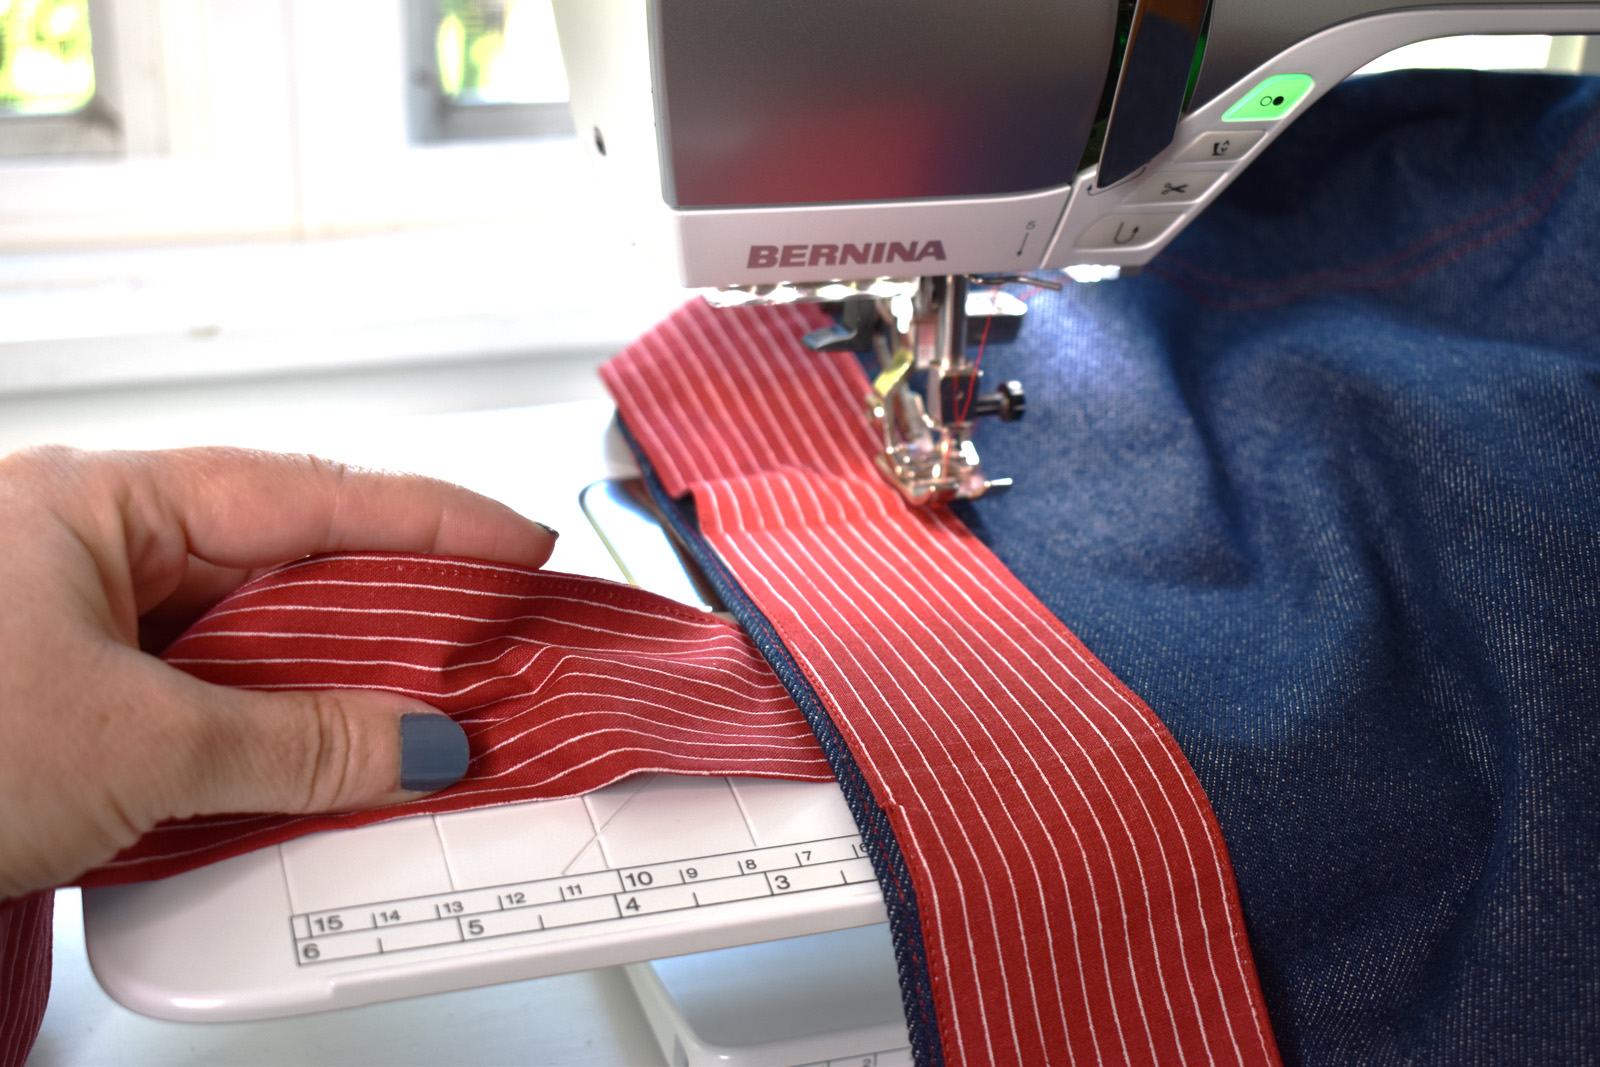
Lay the bag flat on the work surface, front side down, opening at the top. Find the center of the back by folding the bag in half with side seams touching and mark the center with a pin. Line up the tie to the bag, top stitched side down and folded edge up, matching the center seam to the pin. The top edge of the tie should sit 1/4″ down from the bag edge. Pin in place
Continue to pin the tie to the top edge on the back of the bag, placing the last pin about 2″ away from the side seam. Repeat on other side.
Begin to stitch the tie to the back of the bag, starting at one pin and top stitching along the top edge of the tie, backstitching a few stitches. Leave the pin in the starting point to mark where to end the stitching. Make sure the handle straps are INSIDE the bag to avoid sewing over them. Stitch until you reach the last pin on the opposite side of the tie strap.
Pivot at the last pin, remove the pin, and stitch down to the bottom edge of the tie.
Take the hand ties and pull them OUTSIDE the bag opening to avoid catching them in the stitching. Sew along the bottom edge of the tie until you reach the pin on the other side of the strap. Pivot and sew up the strap, backstitching a few stitches when reaching the start point. Clip any stray threads and the bag is ready to use.
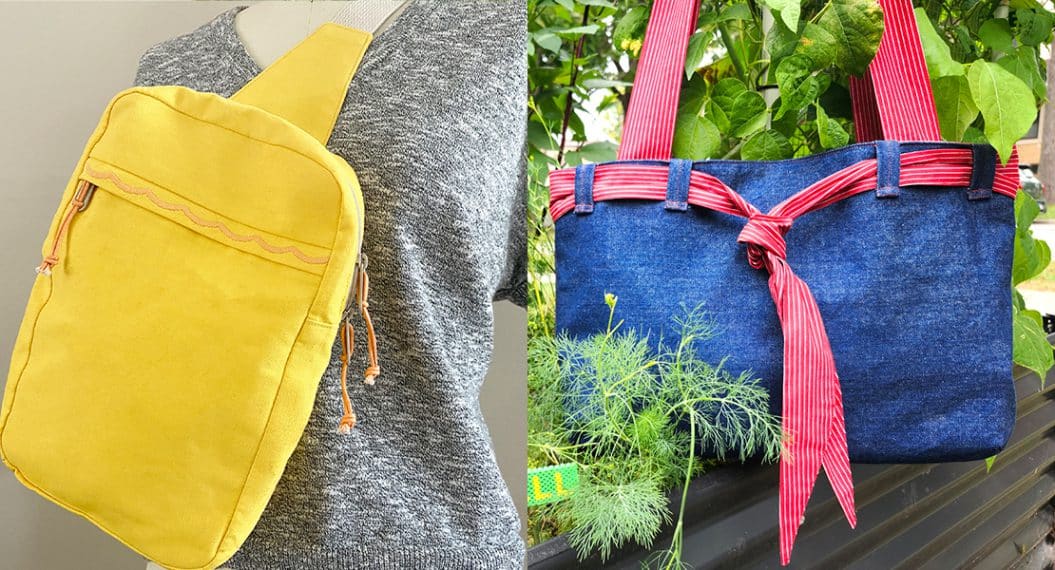
The individual handle straps gives this tote a lot of versatility! Tie two handles together as one in an overhand knot, or tie two handles together in a square knot. You can tie the handles to any length you want to make a tote with short handles, a cross-body bag with long handles, or anything in between.

To use as an apron tote, wear over the shoulder or over your neck with the back handles, dropping the front handles into the tote. Undo the front knot in the ties and secure behind your back.
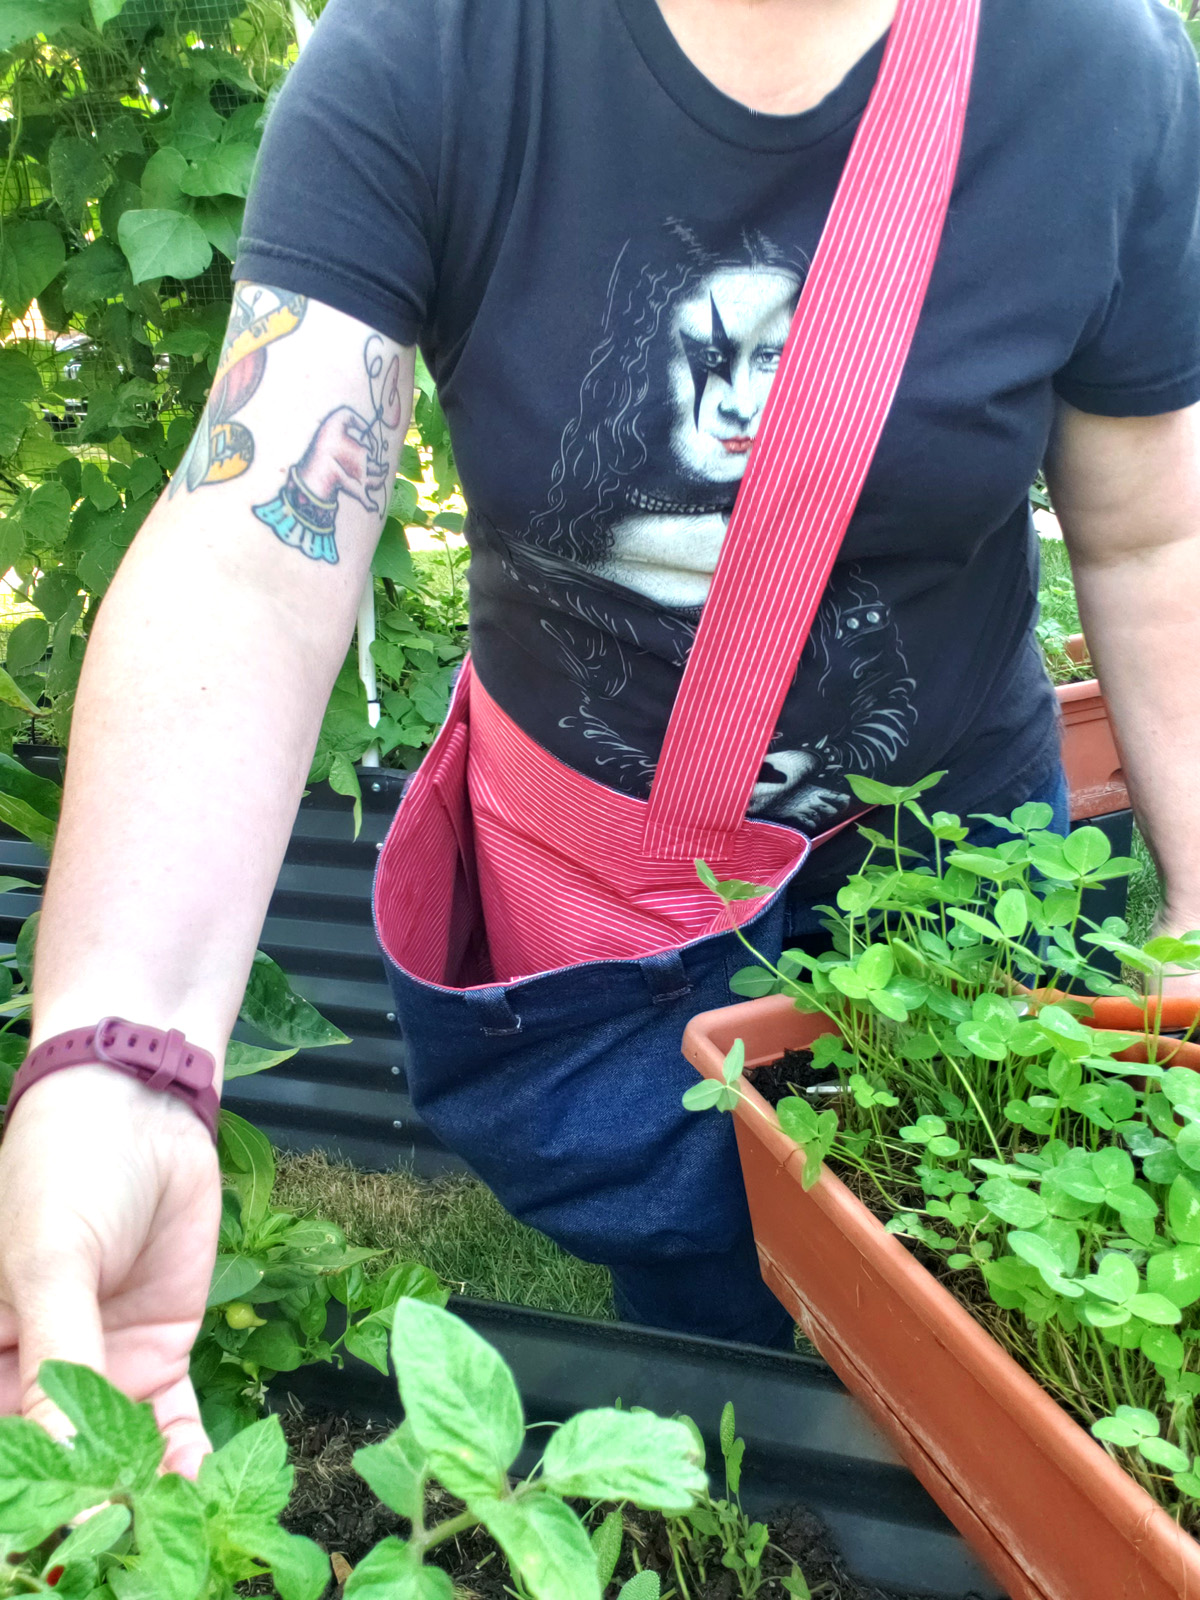
Wearing the ties ensures the bag stays put when filling it and the edge of the bag will stay open for you.
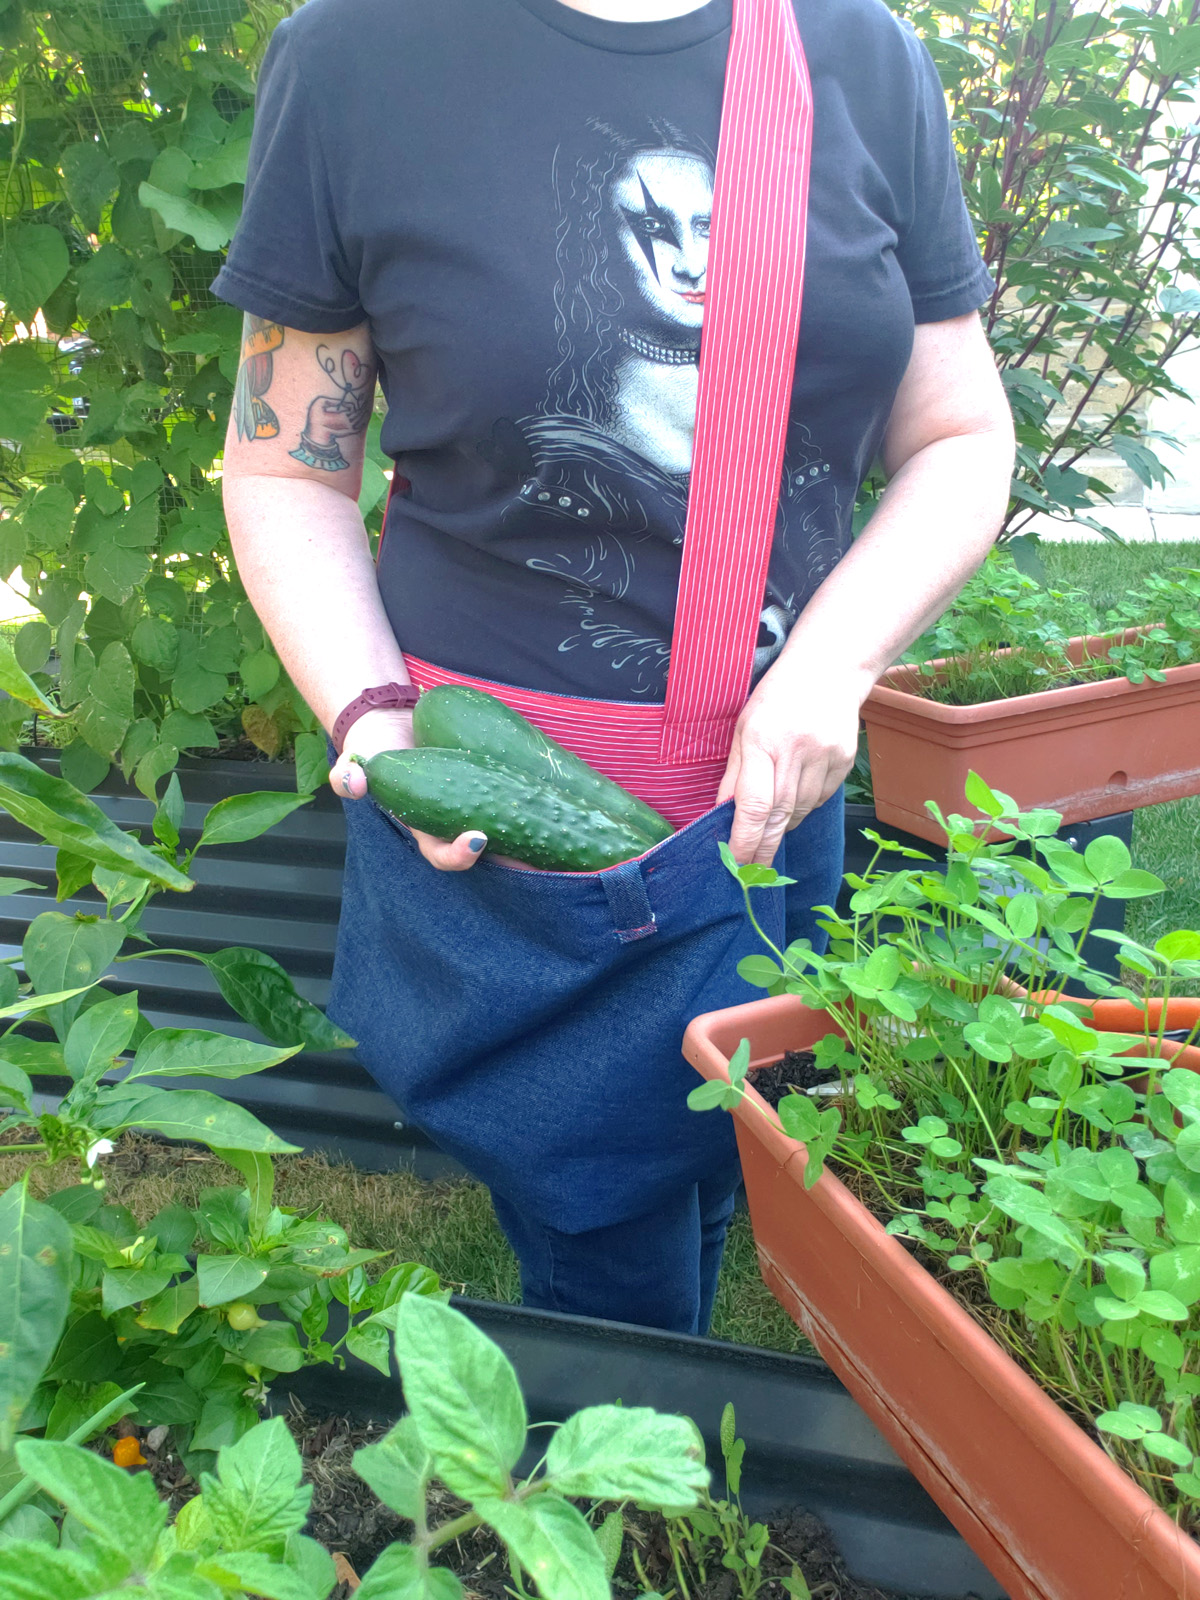
And it’s a big tote, you can fill it with lots of veg!


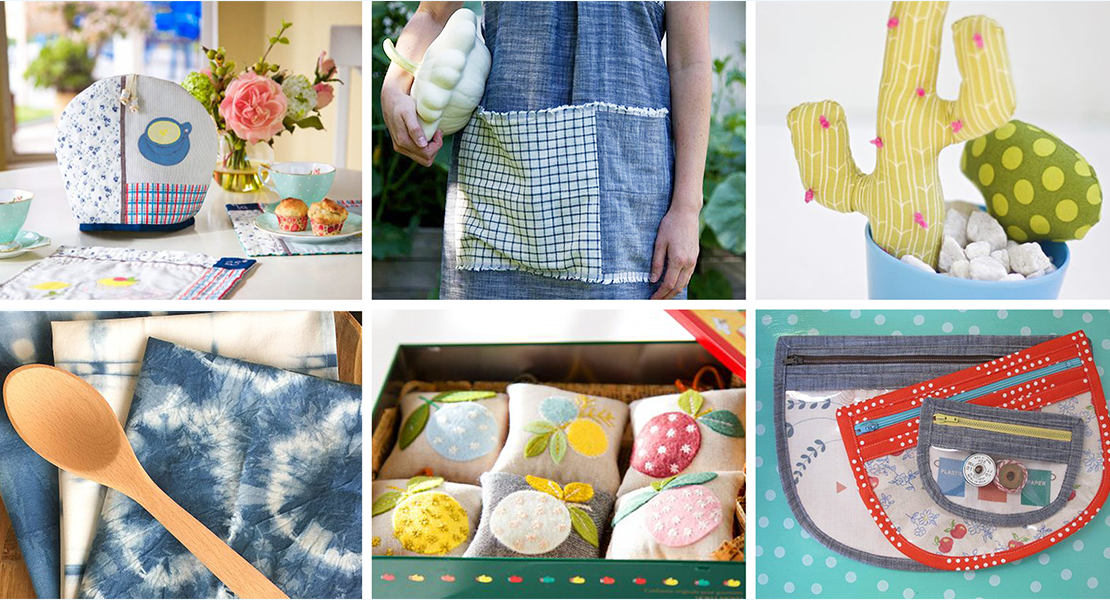
What you might also like


3 comments on “DIY Garden Harvest Apron Tote”
-
-
Hi! Here’s the link to the template: https://adobe.ly/3BOXI2f
Happy stitching!
-
-
This is just adorable – and very useful! You did a great job designing such a practical bag.
Leave a Reply
You must be logged in to post a comment.

Hello. Where is the Printed Corner Template for cutting main bag and lining?