Vibrant Celebration Fussy Cutting and Constructing
Description
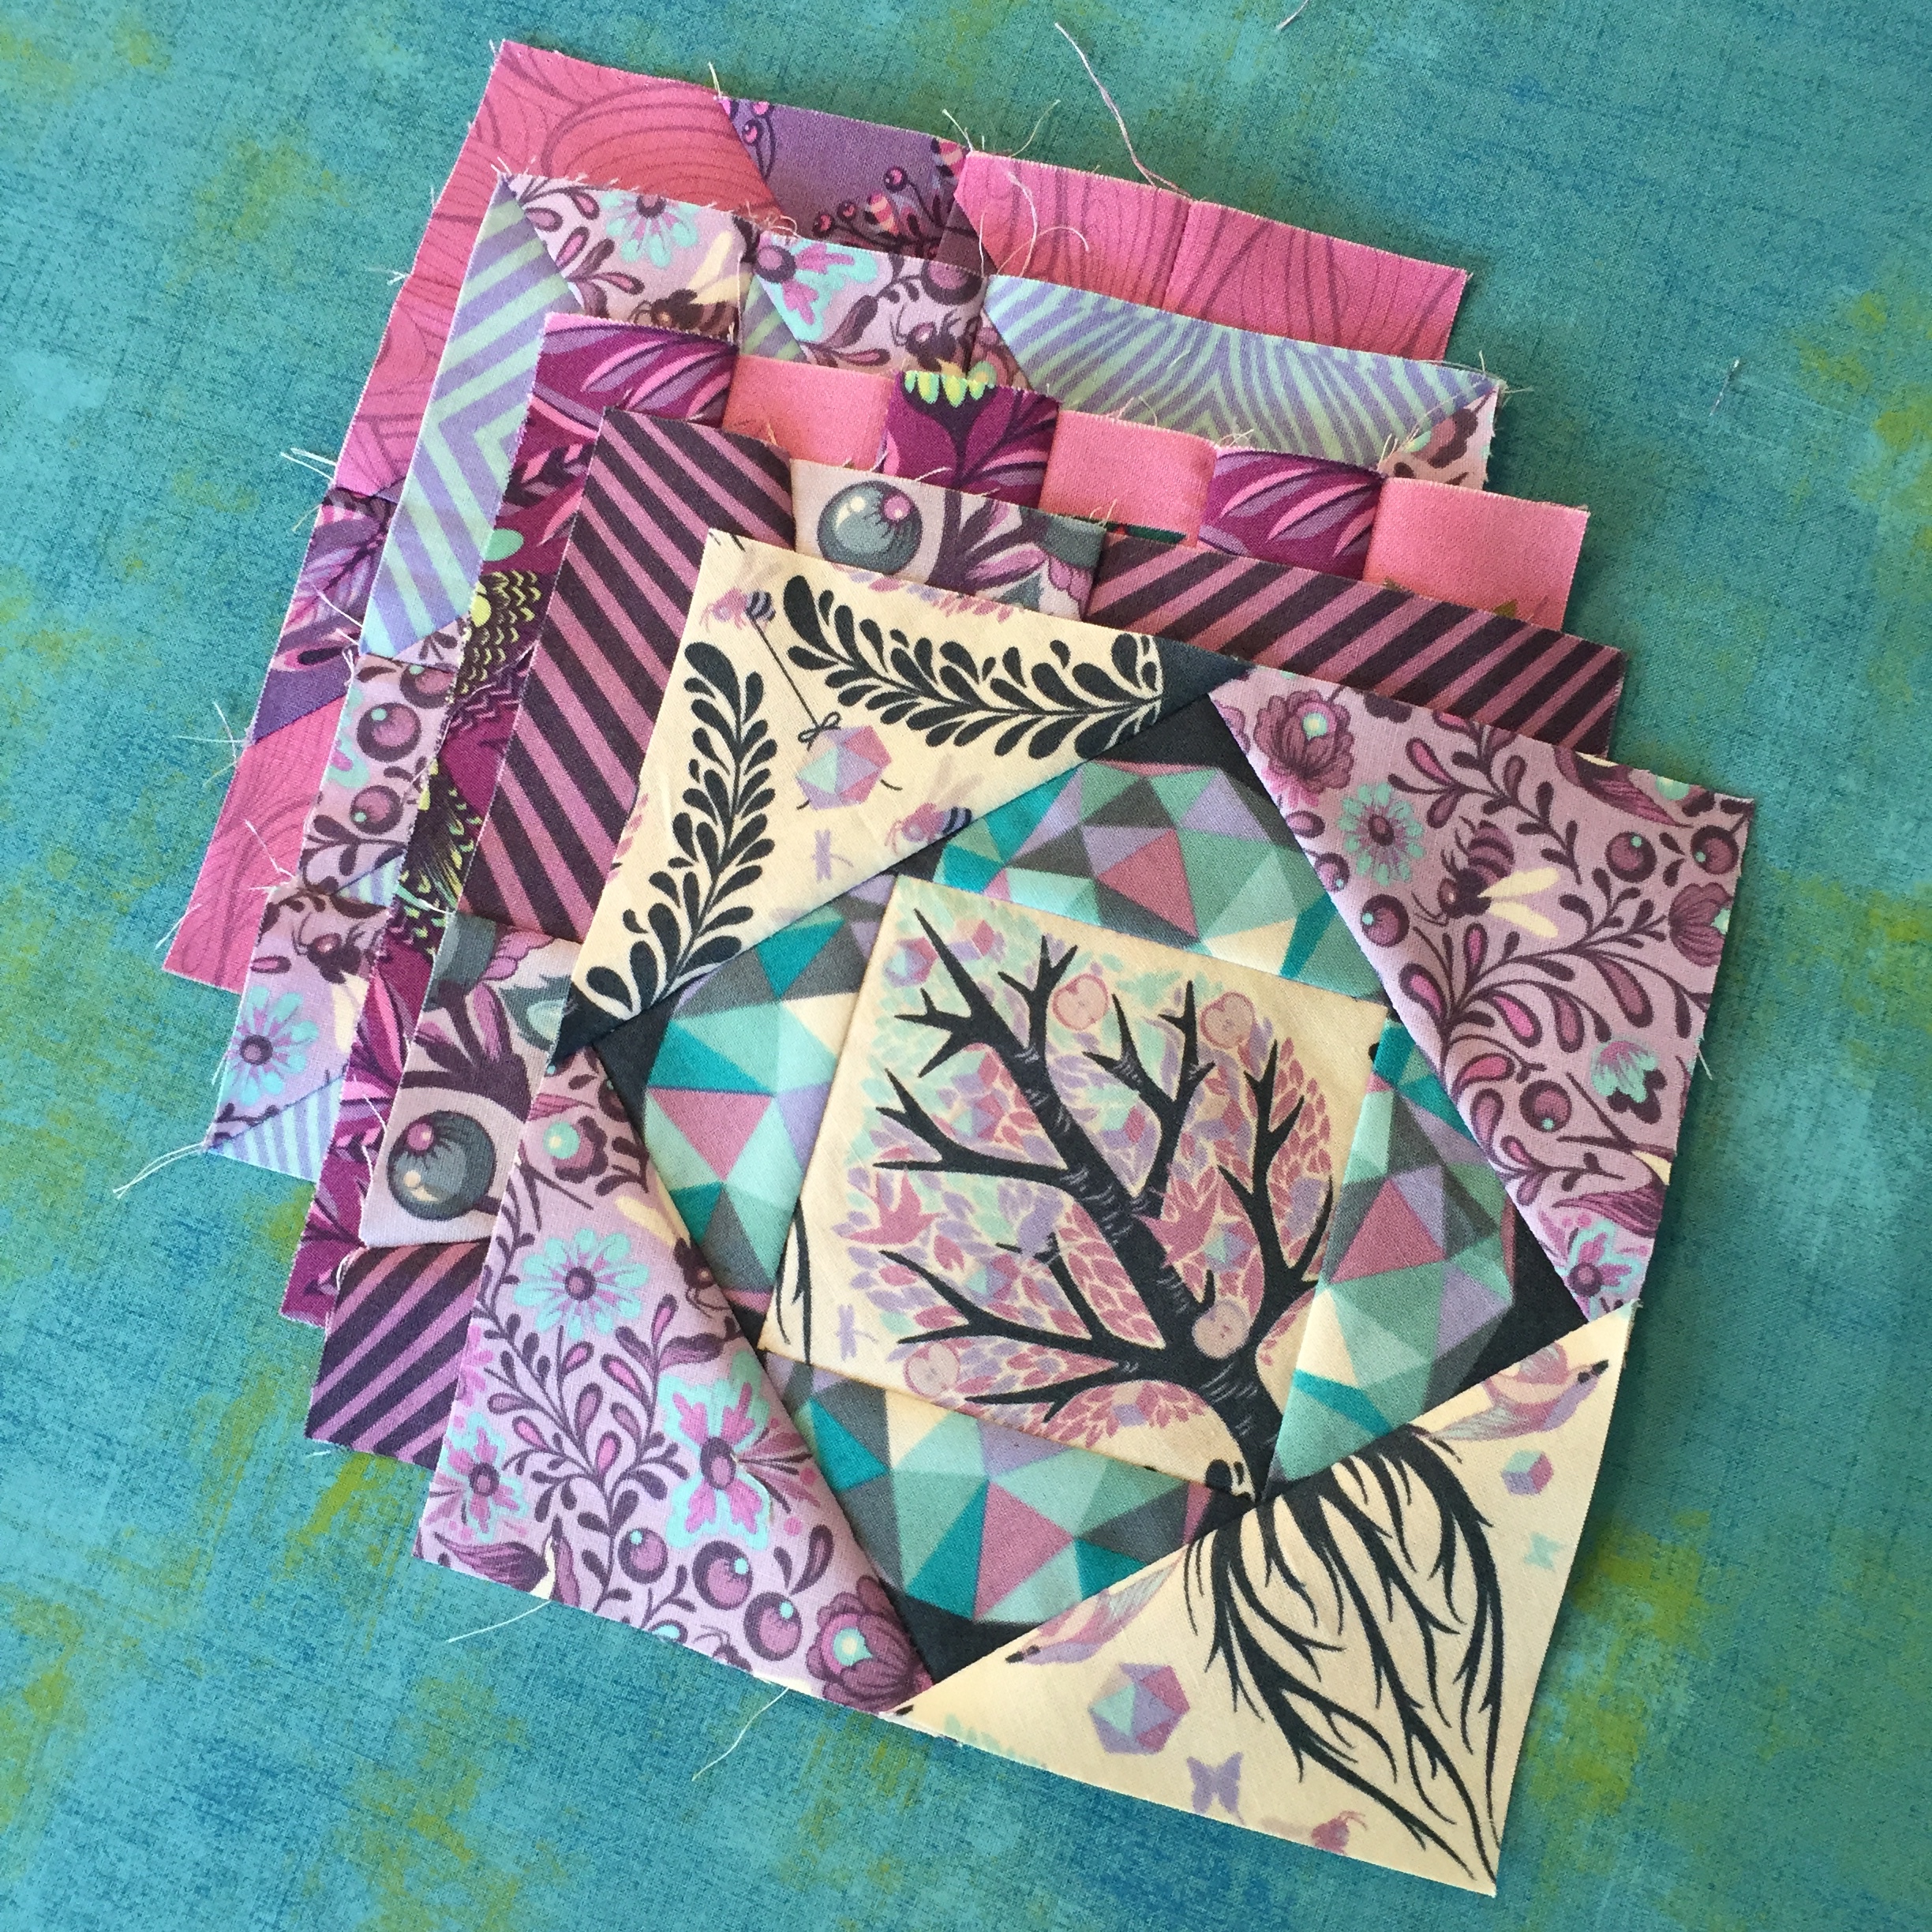
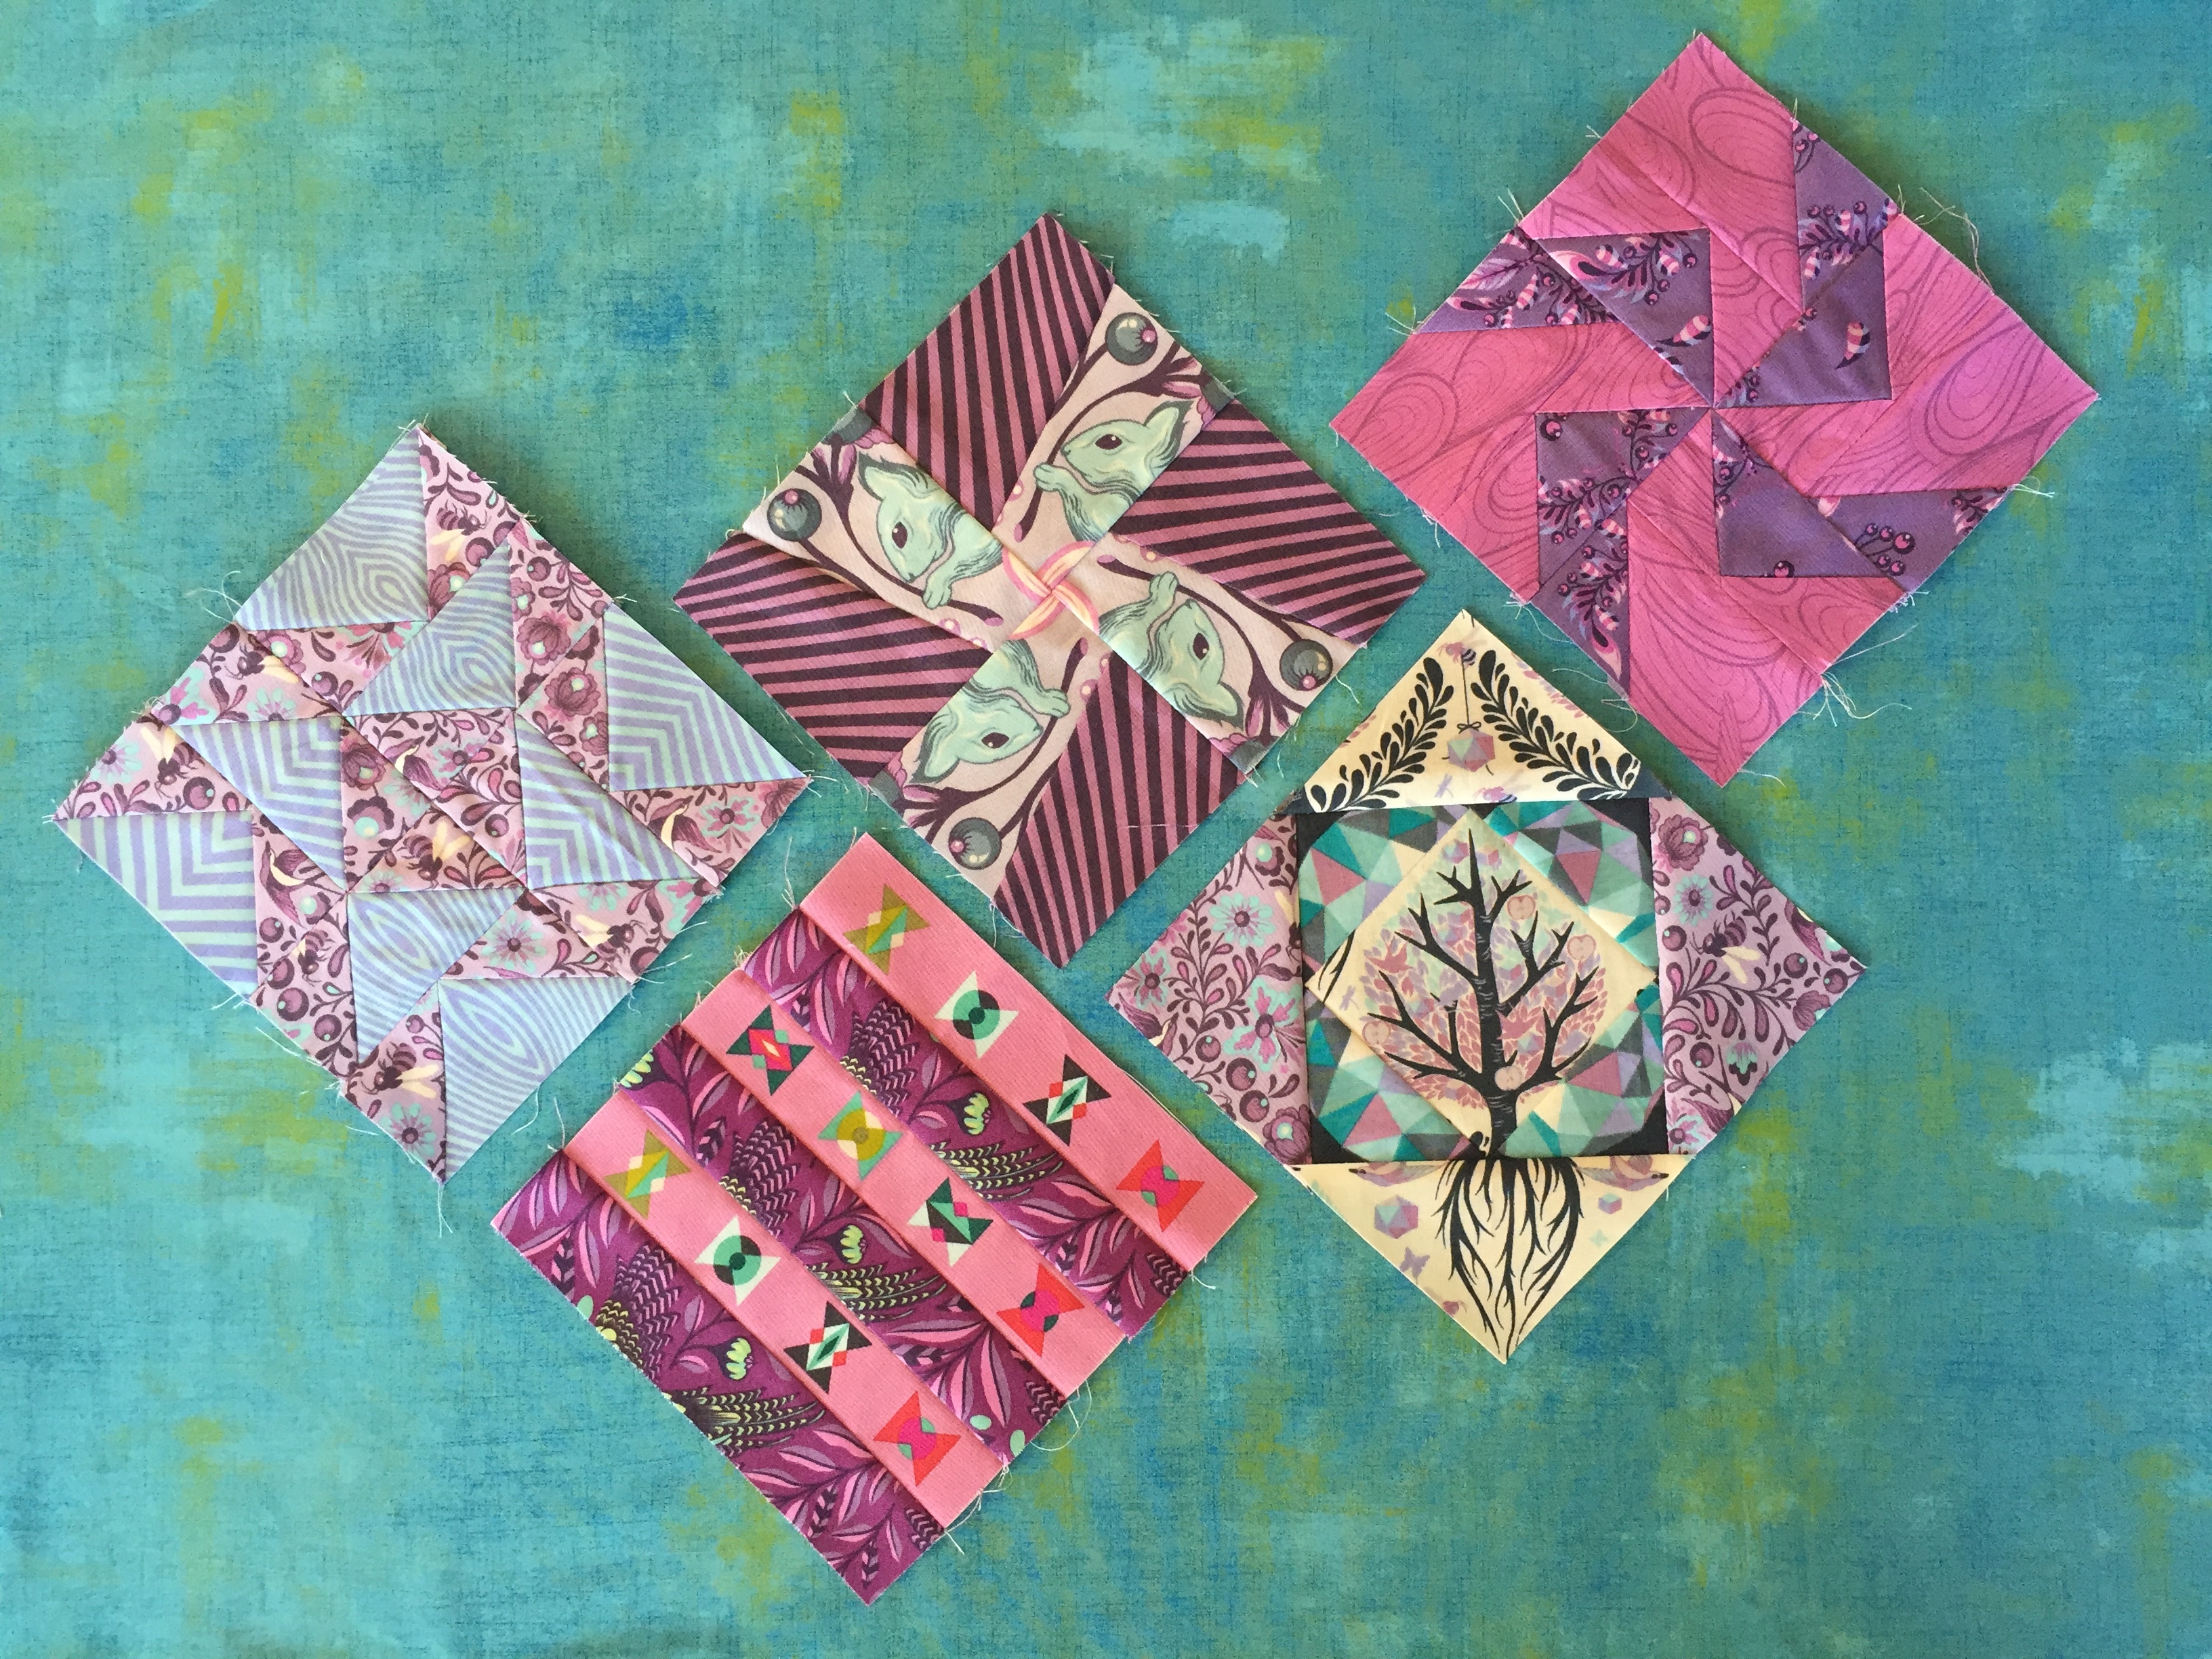
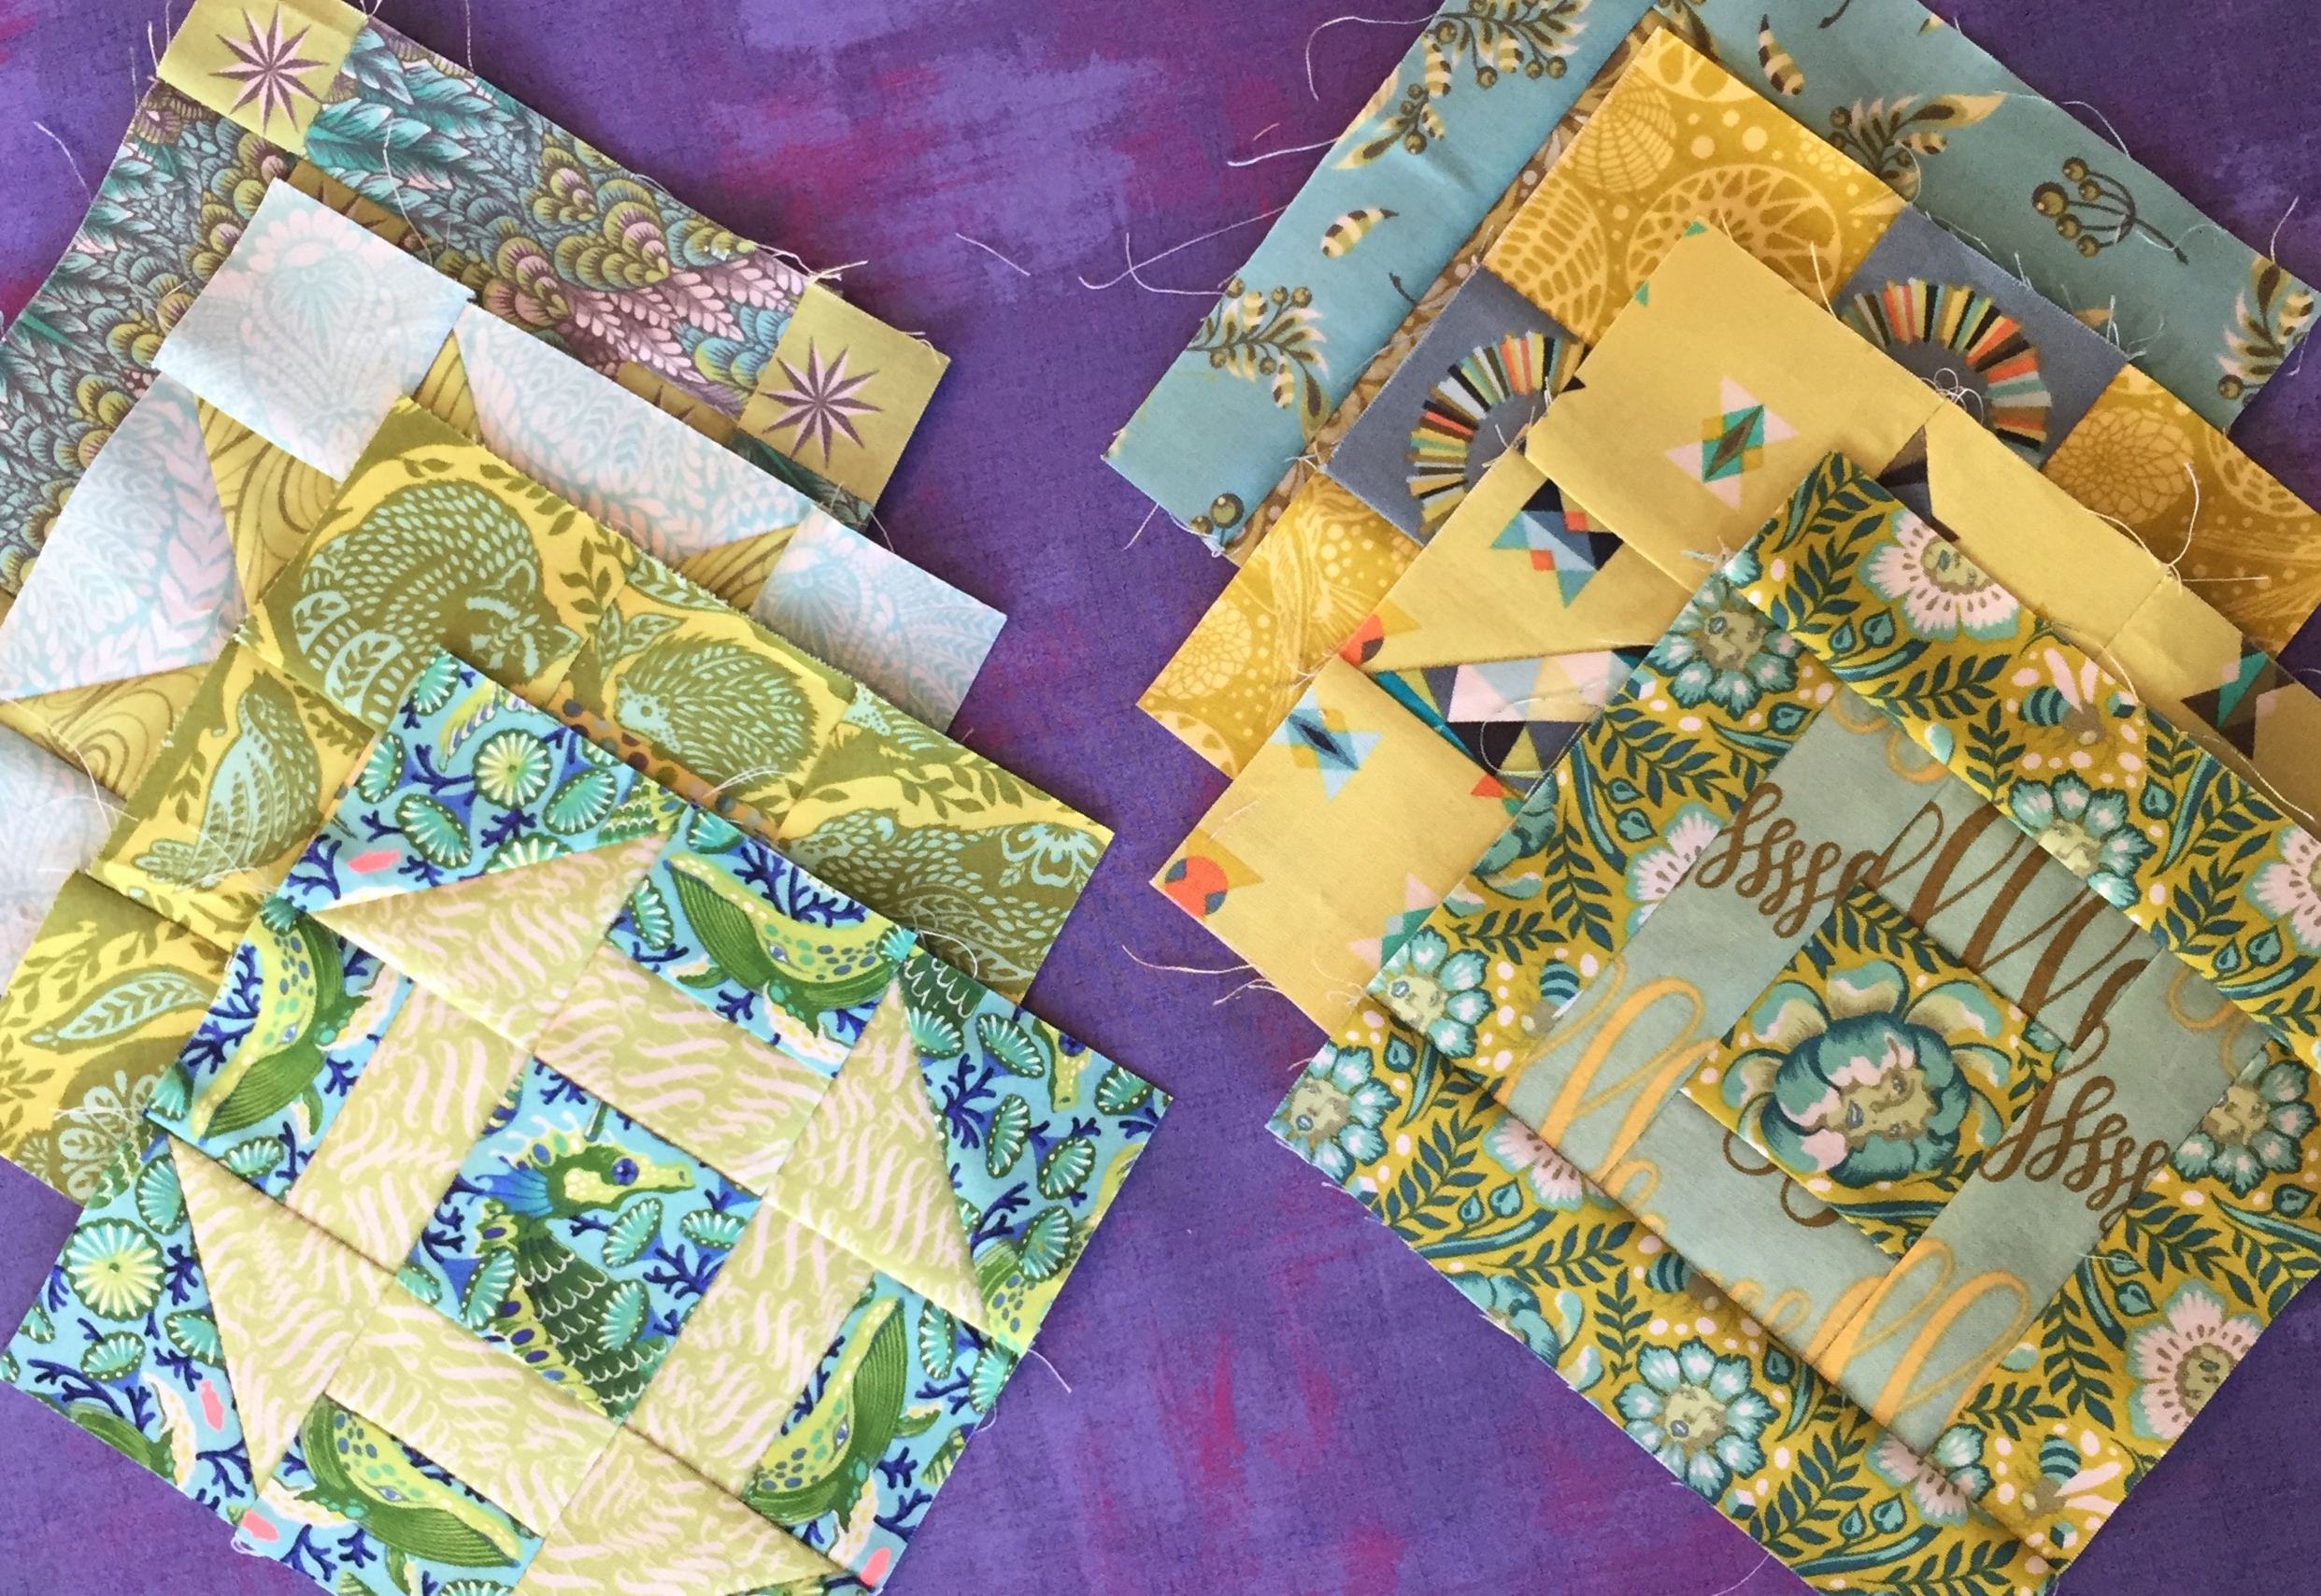
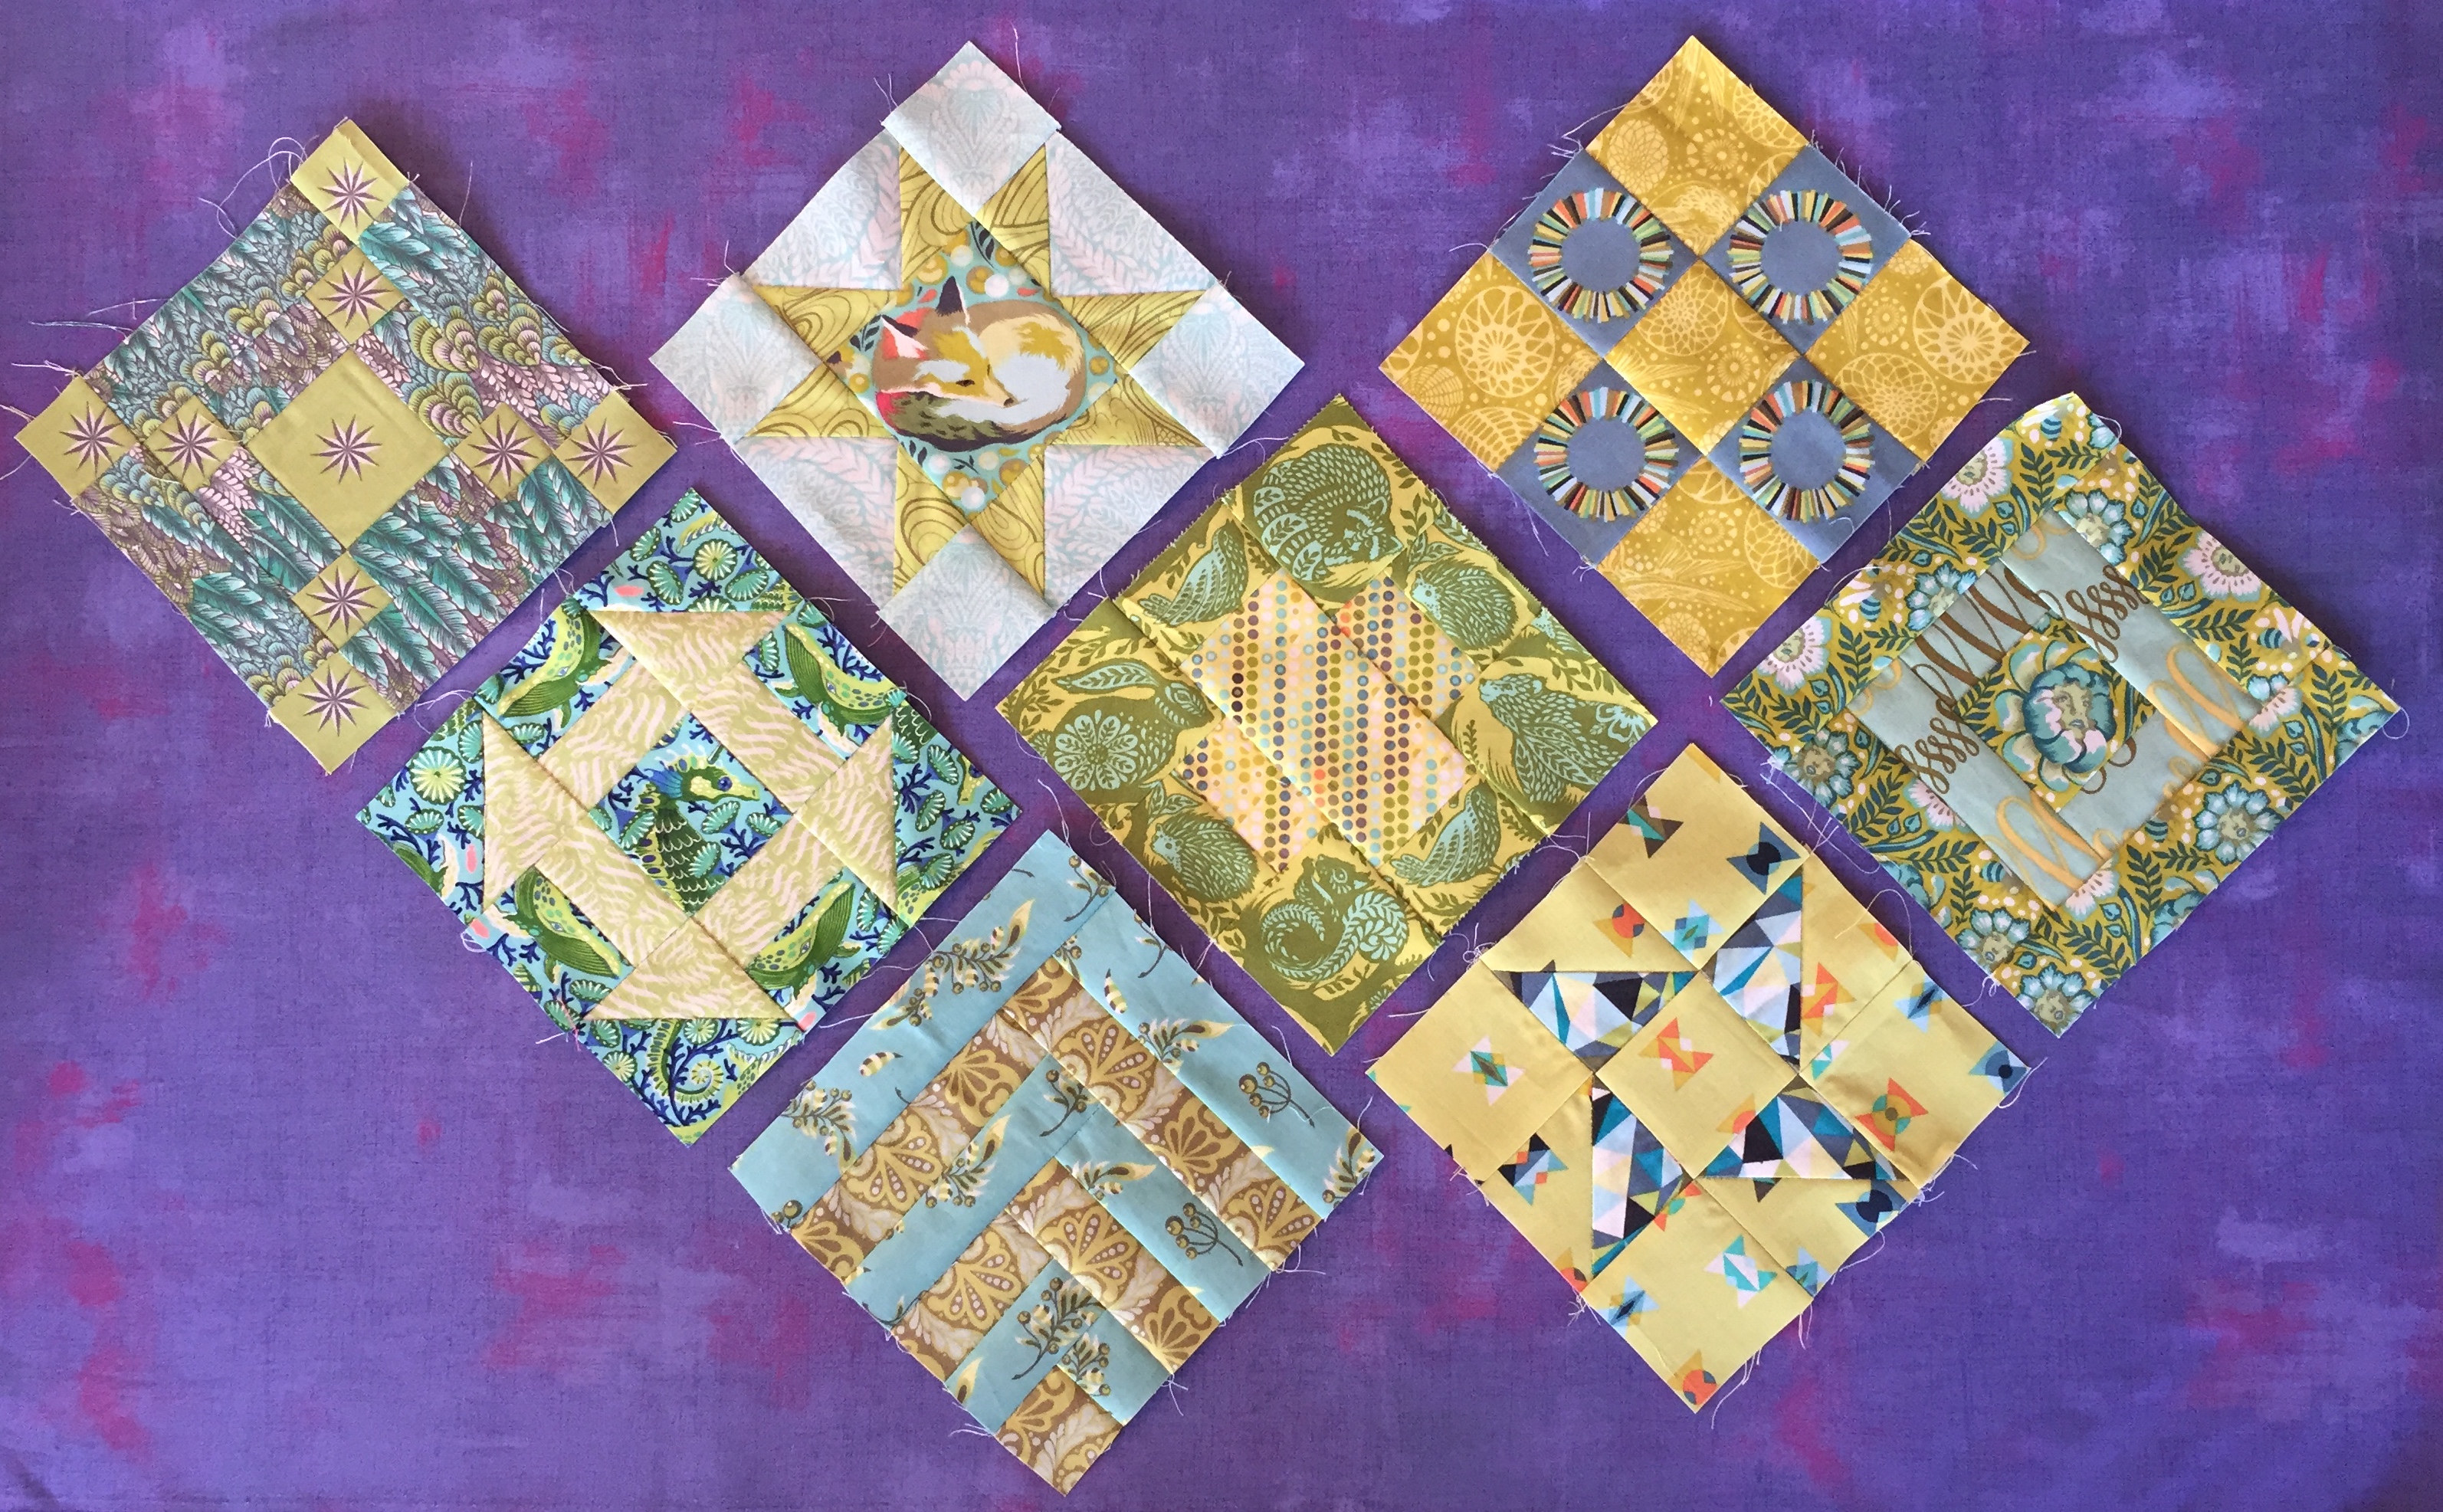
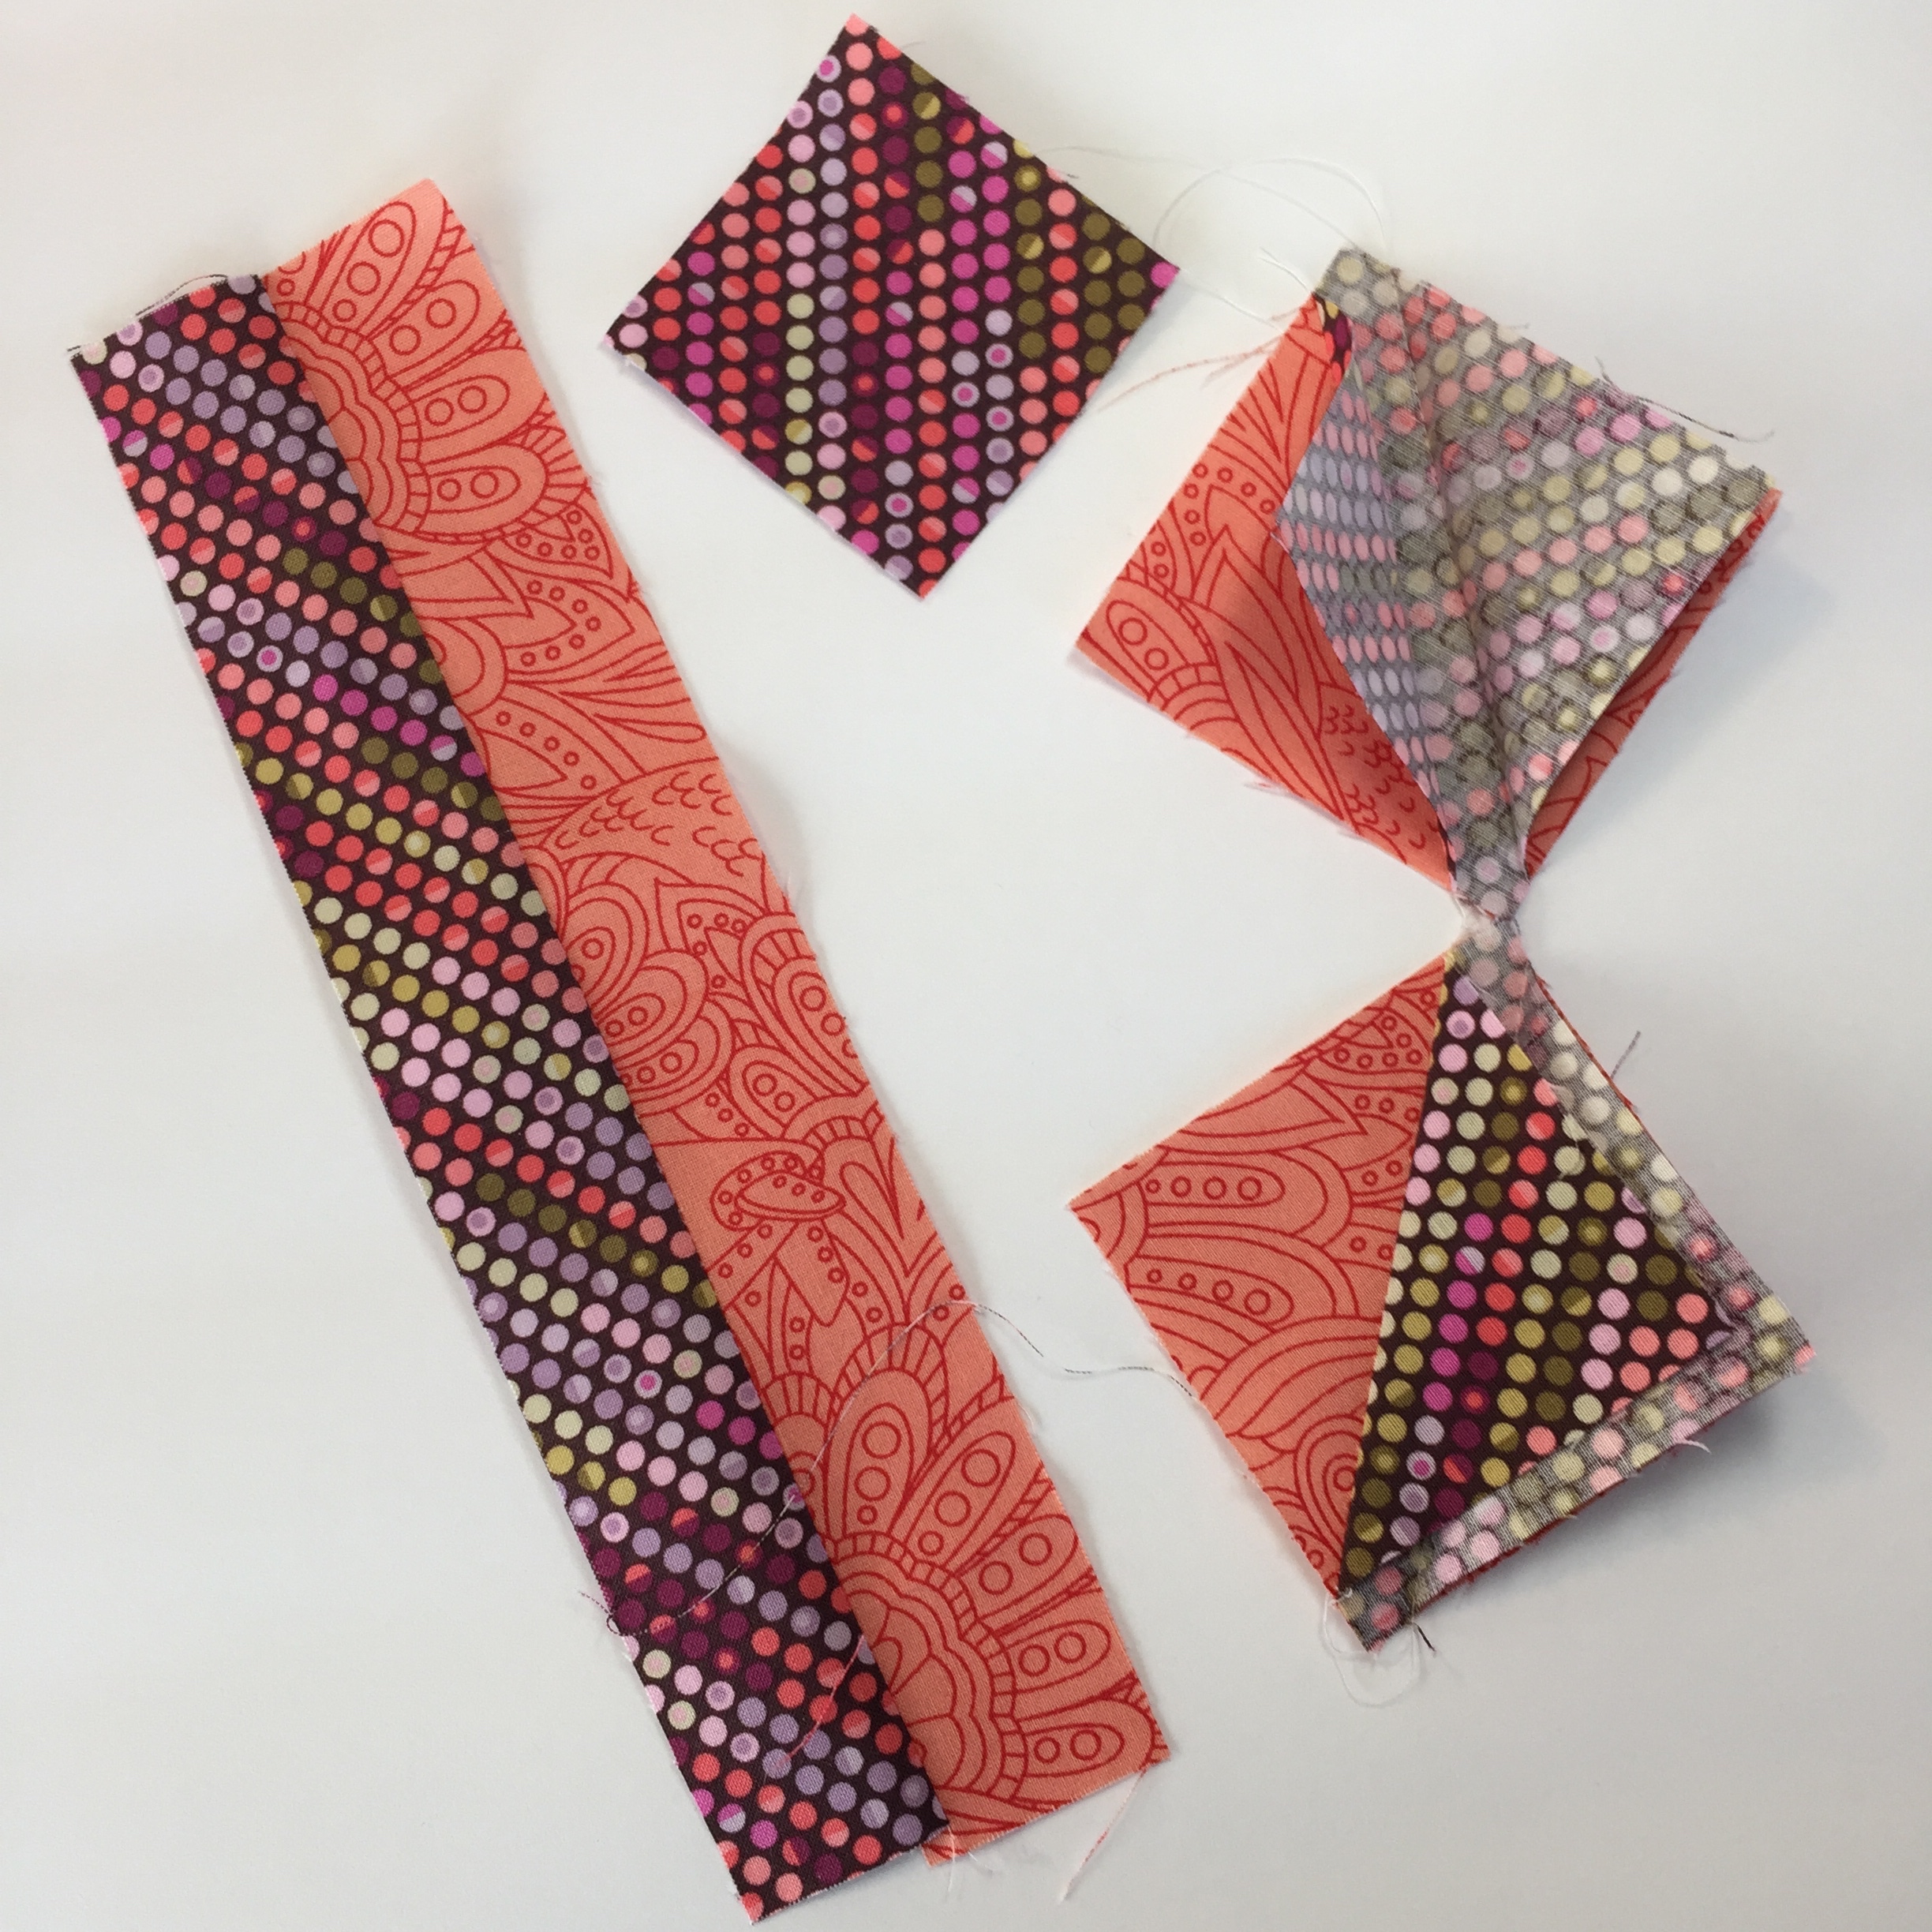
I am seizing the Bernina 125th Anniversary Quilt Along opportunity to highlight my hoarded…ahem…cherished Tula Pink fabrics. You know the prints that are just too precious, too out of print to use? Then you tuck them away by collection in tidy little bins until you see them going for outrageous prices on Instagram. The pressure is really high now because it’s not just sentimental value they hold. You want to do right by them. I must admit, I judged decluttering author Marie Kondo critically for talking to her inanimate objects; but I found myself apologizing to cotton material as I slid my rotary cutter through those precious (say in your best Lord of the Rings voice for proper emphasis) prints. I fussy cut, which I consider the antithesis of all the times I’ve told my son he can use my stash so long as he doesn’t chop hunks out of the middle. Fussy cutting takes the philosophy of fabric efficiency and puts it in a blender. Come to think of it, my fat quarters now look as if they met with the aforementioned blender. That said, it was worth it. I did use some additional strip piecing for a few of the blocks: On Block L, I cut 1 rectangle of light block fabric and 1 rectangle of dark block fabric, each measuring 1 1/2″ x 19 1/2″. I sewed one long side of these together and crosscut into three 6 1/2″ sections, 2 1/2″ wide. I then sewed these three sections together. For Block C, I cut a 1 1/2″ x 17 1/2″ rectangle of both the light and dark block fabrics, plus a 1 1/2″ x 6 1/2″ rectangle of the light block fabric. I sewed a long side of each 1 1/2″ x 17 1/2″ rectangle together and crosscut into 1 1/2, 2 1/2″, 3 1/2″, 4 1/2″ and 5 1/2″ sections. I used the new units with the remaining rectangle to form the block. In Block G, I cut a 1 1/2″ x 10″ rectangle of both the light and dark block fabrics, and sewed one long end together. I crosscut this into 2 1/2″ sections to make the four non-HST units. To fussy cut the template for Block E, I traced the shape using permanent marker onto a flexible chopping mat and cut it out. I marked the seam allowance and labeled the top so I wouldn’t accidentally reverse it. I placed this template on my fabric, and traced enough of the print to align it the same way on the print repeat to cut four identical pieces.


