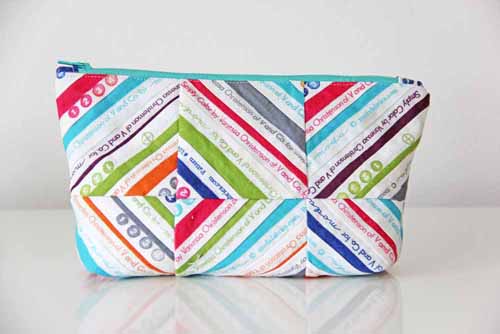
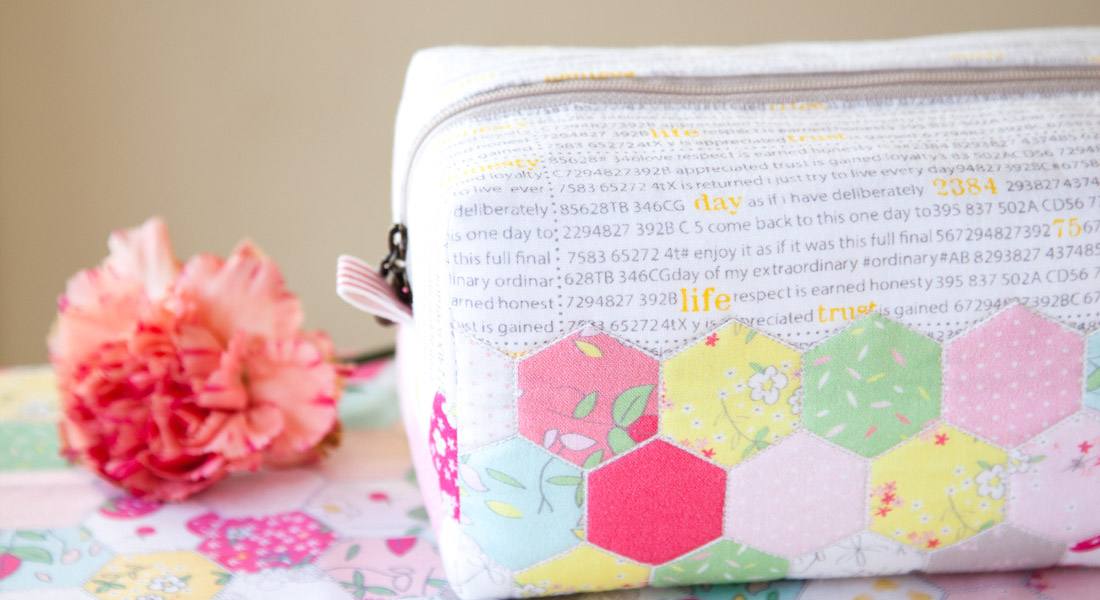
DIY Zipped Up Selvage Pouch
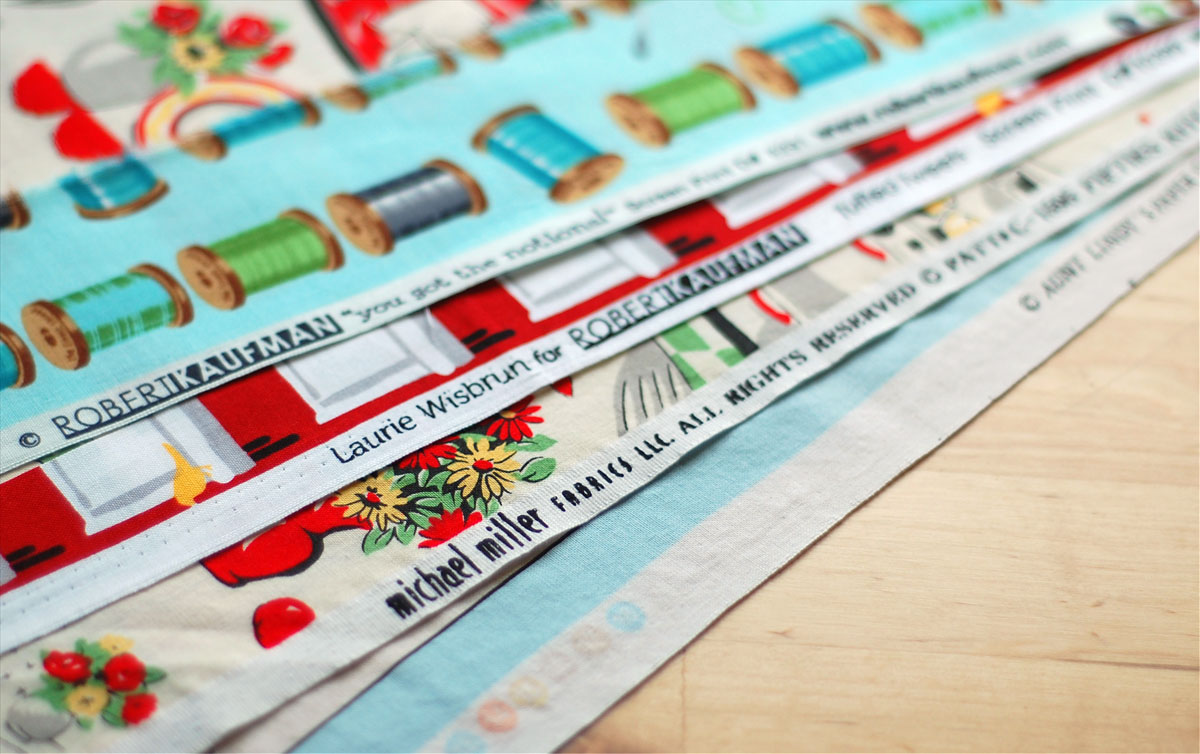
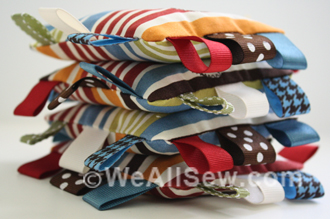
You can never have too many zippered pouches! Small or big, they can hold anything. Celebrate their usefulness from the ground up: Use fabric selvage strips from past projects to make the fabric to make the pouch. You can relive the love of those past projects every time you pull it out.
I use zippered pouches for just about everything, all in different sizes depending on what I will put in them. I like to embellish them, personalize them, and make them cute. The thought behind this selvage strip zipper tote was to use all my selvages from my first fabric line with moda, and have it be my special zipper pouch for housing my little scissors, threads , needles and small templates I may need for any small project on the go.
Use the selvages of your favorite fabrics and/or past projects. How fun would it be to pull this zipper pouch out at a retreat and explain where all the selvages came from and where the fabric was used! You can relive the love of those past projects every time you pull it out.
Supplies
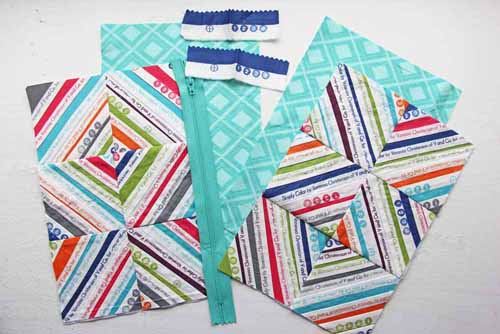
- Selvages from past projects; you’ll need approximately eight 6”-long strips for each square (12 squares = about 100 strips)
- Two 6½ʺ x 9½ʺ rectangles of fabric for the lining
- Two 6½ʺ x 9½ʺ rectangles of lightweight interfacing
- Two 1½ʺ x 4ʺ fabric strips for the tabs
- One 12ʺ-long nylon-coil zipper
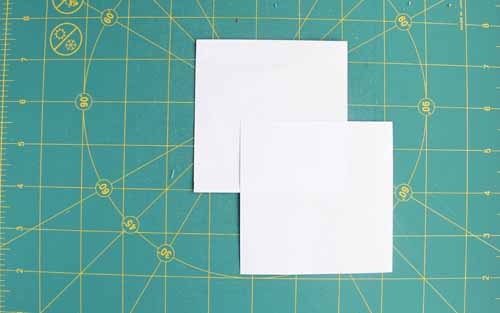
- Two sheets of paper
- White thread
- Clear gridded ruler
- Wash-away pen or pencil
- Wonder Tape (paper-backed fusible adhesive)
- Rotary cutter and mat (optional)
- Hand-sewing needle
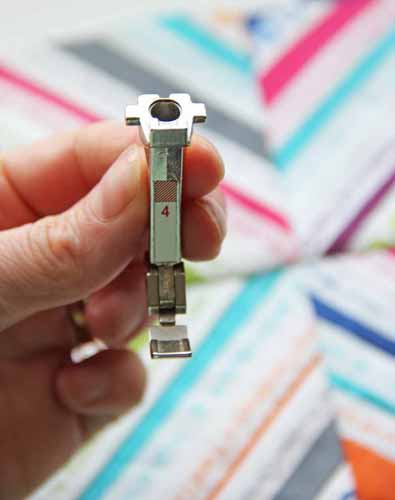
- Quarter-inch foot (BERNINA Patchwork Foot #37/37D)
- Zipper foot (BERNINA Zipper Foot #4/4D)
Step 1) Make the string=pieced squares.
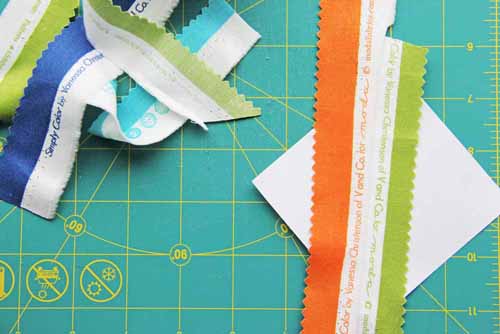
Cut twelve 3½ʺ squares from the two sheets of paper. These will be the bases for your blocks.
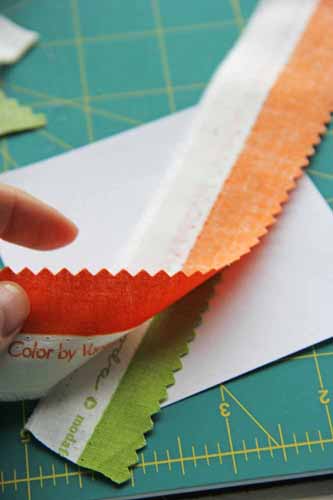
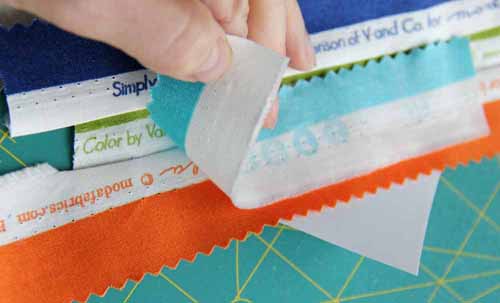
Place a selvage strip diagonally across one paper square.
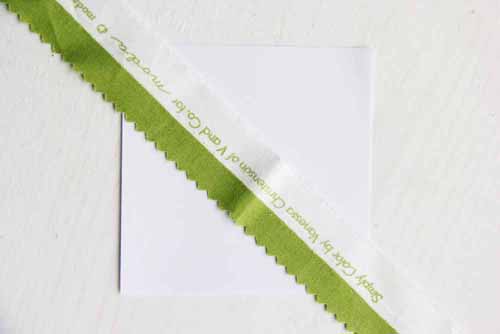
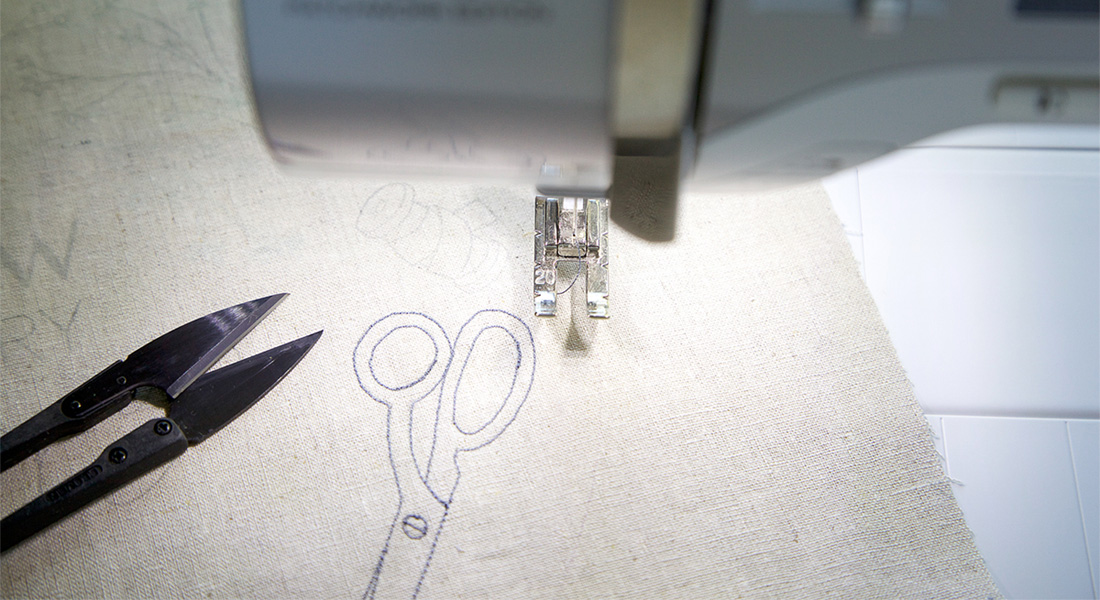
Set your sewing machine for a straight stitch with a length of 1.5 mm. This will perforate the paper so it will be easier to tear away from your completed blocks.
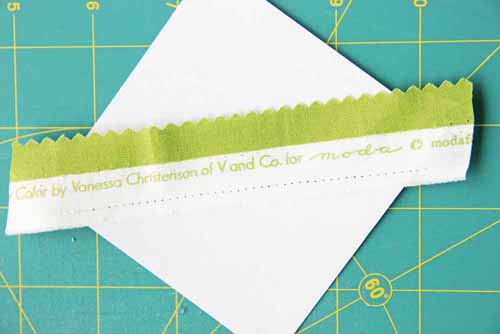
Stitching close to the edge (⅛ʺ to ¼ʺ away), sew the woven edge of the selvage strip to the paper square.
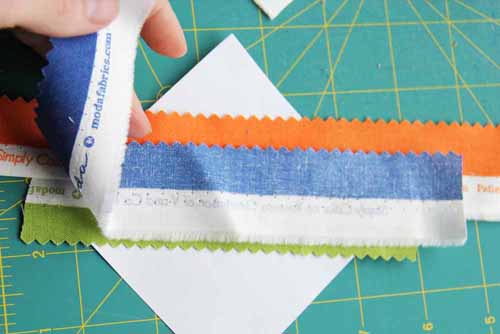
With right sides together, place a second selvage strip along the other edge of your first sewn-on strip, slightly overlapping the first sewn line.
Stitch close to the woven edge.
Open the seam allowance and lightly press them.
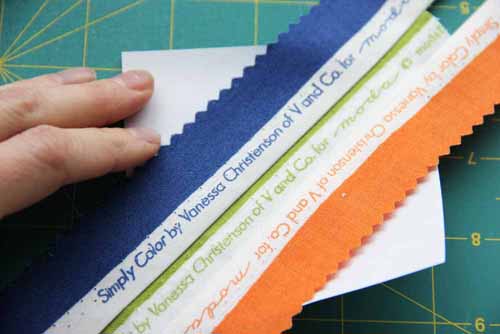
With zight sides together, place another strip along the opposite edge of your first sewn-on strip.
Tip: If there’s a bit of fabric on your selvage, let it show! It will create a pretty diagonal line of color.
Stitch. Press seam allowances open.
Repeat these steps until the whole paper square is covered.
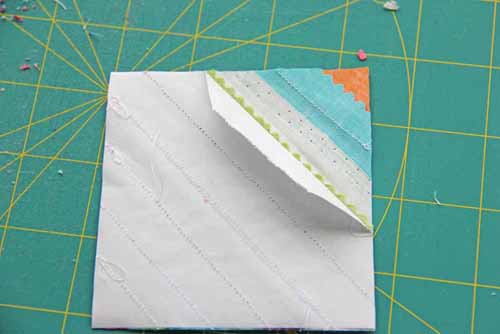
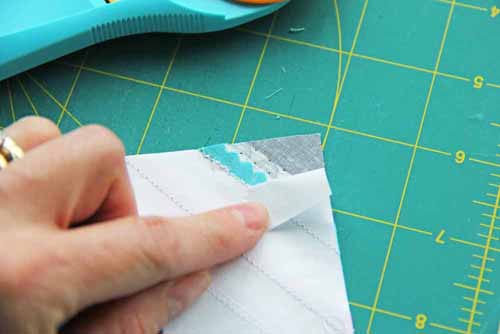
Turn the square over so the paper side faces up.
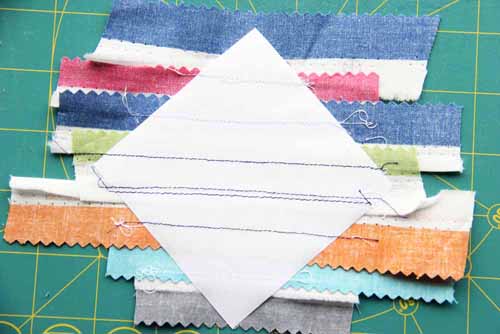
Trim away the excess fabric that extends beyond the edges of the paper square.
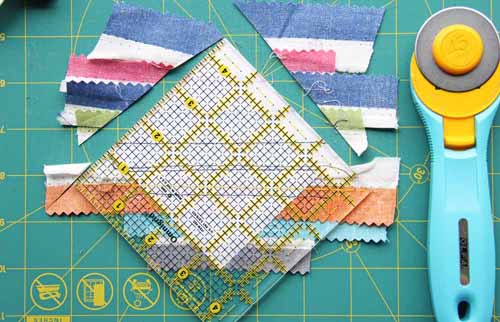
Congratulations! You now have one complete 3½ʺ selvage block.

Repeat this process to create twelve finished selvage blocks.
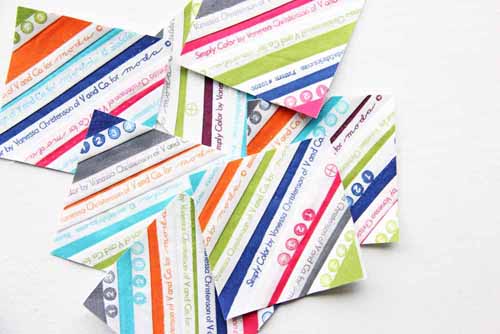
Remove the foundation paper by folding along the stitched lines and then tearing it away.
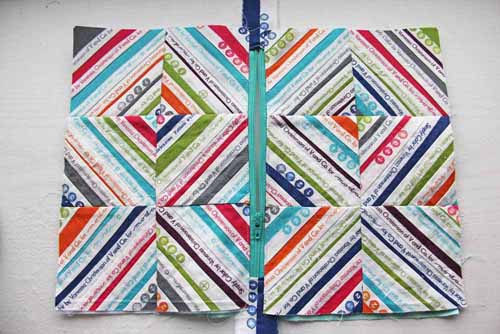
Step 2) Stitch the blocks together.
Arrange three blocks across by two blocks down for each outside panel.
You can sew them three in a row and then sew the top row to the bottom row (which makes the most logical sense).
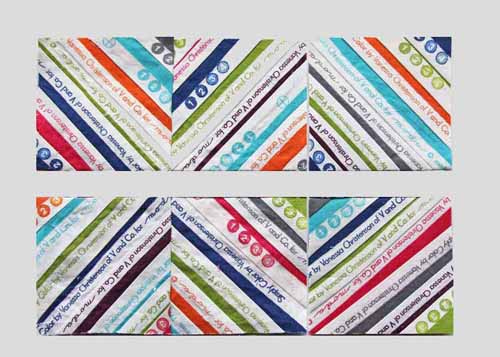
Or you can make the mistake I did and sew two together on the top and bottom rows, then sewed the last row together and stitched it to the square. Either way is fine… I think it was because I was in a rush to get done before the kids got home that I did it the way I did in the pictures. Oh, well, same end result!

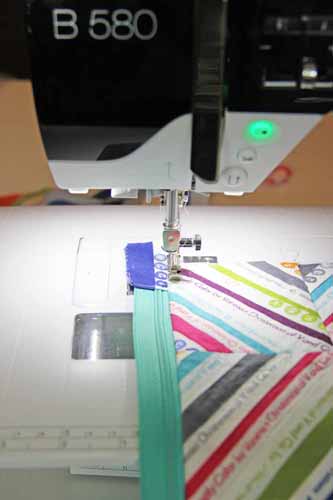
Step 3) Insert the zipper.
Change to the zipper foot and adjust the needle position to the farthest left position.
Fold the two 1½ʺ x 4” strips in half to create two 1½ʺ x 2ʺ tabs.
Center the outer pouch panel above the zipper for a visual reference.
Center the tabs on the zipper ends, folded edges toward the zipper.
If you like, use fusible tape to hold the tabs to the zipper.
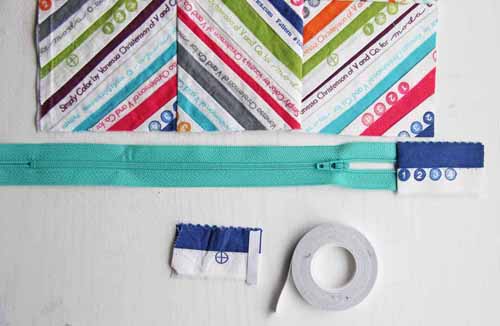
Sew the tabs to the zipper.
Trim away any excess zipper.
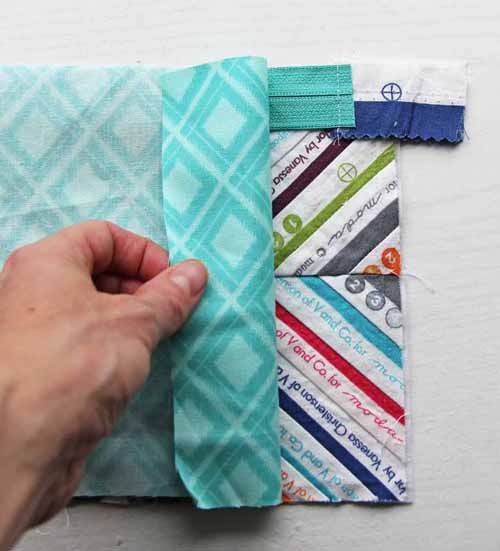
Place fusible tape on the right side of zipper’s outer edge.
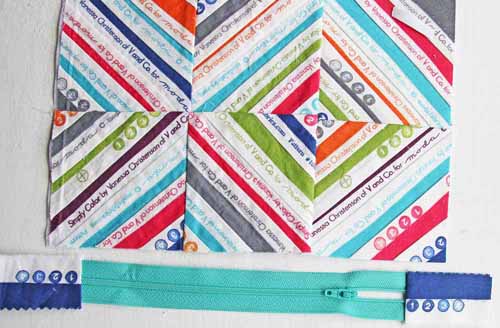
Layer as follows:
- Outside pouch panel, right side up
- Zipper, facing down, zipper tab on the left side
- Inner lining panel, wrong side up
Press with an iron so the fusible tape will adhere.
Sew the layers together, lining side up, with the outer part of the zipper foot along the raw edge.
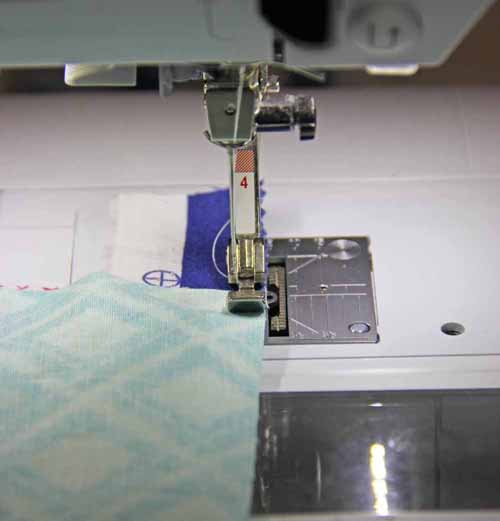
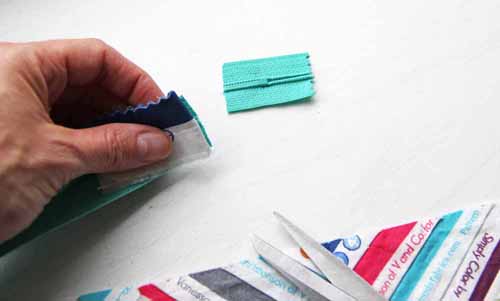
Open out the layers. Press.

Topstitch along the folded edge.
Repeat on the other side of the zipper.
Step 4) Complete the bag construction.
Change back to a quarter-inch foot.
Unzip the zipper halfway.
Unfold the layers and place both outer panels right sides together on one side and both lining panels together on the other side.
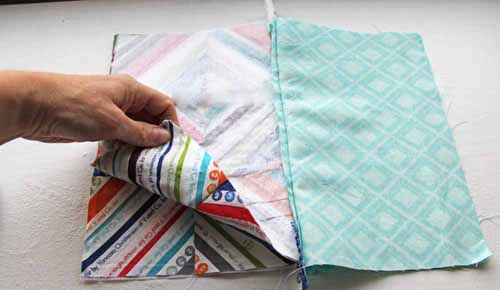
Using a ¼ʺ-wide seam allowance, sew the pouch sides together starting at the bottom of the lining side of the pouch.
Stop and backstitch ¼ʺ from the tabs at the ends of the zipper. (This will help your corners be more boxy.)
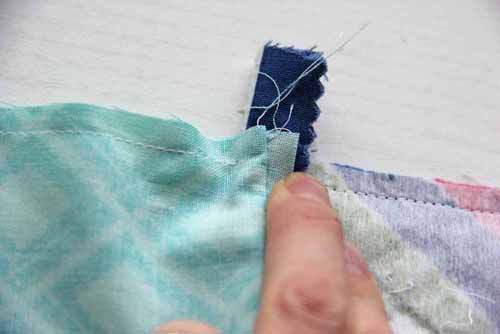
Continue stitching on the other side (the outer panels) ¼ʺ from the tab, backstitching at the beginning.
Do the same on the other side of the bag, leaving an opening at least 3ʺ long on the lining side.

Position the bag so one side seam is centered over the bottom seam, forming a point.
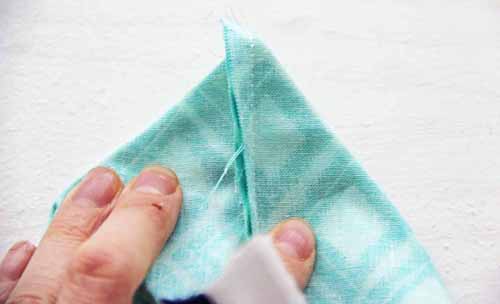
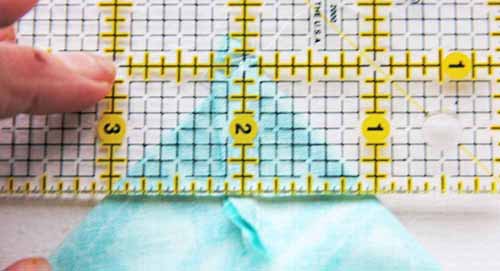
Measure down 1ʺ from the point and make a mark with a washable pen or pencil.
Stitch along the marked line.
Cut away the excess fabric from the point.
Repeat for the opposite corner.

Turn the pouch inside out through the opening in the lining.
Push out the squared corners.
Sew the lining opening closed.
Push the lining back inside the outer pouch.
Gently pull out the tabs at the top corners of the pouch. If needed, use a pin or needle to pull them out and define the corners.
Hand-stitch the tabs to the outer panels to securely finish.
For more projects and tutorials, visit Vanessa at V & Co. at www.vanessachristenson.com.
What you might also like


4 comments on “DIY Zipped Up Selvage Pouch”
-
-
Vanessa sent me! Great project, I don’t have my own fabric line but I have a big bag full of selvages to try it out. I am already a Bernina lover, my latest machine is 750, love all that extra throat space.
Leave a Reply
You must be logged in to post a comment.
Vanessa, this is an adorable project. I’m a selvage fanatic, and always cut them first. If the fabric is no longer wide enough for the project – so be it! Maybe you could design a fabric that is ALL selvage?