Tips and Tricks for Sewing with Fabric Selvages
Have you ever stopped to wonder about that “funky” edge of your printed cotton fabrics – the side you’ve probably cut off before getting started with your project?

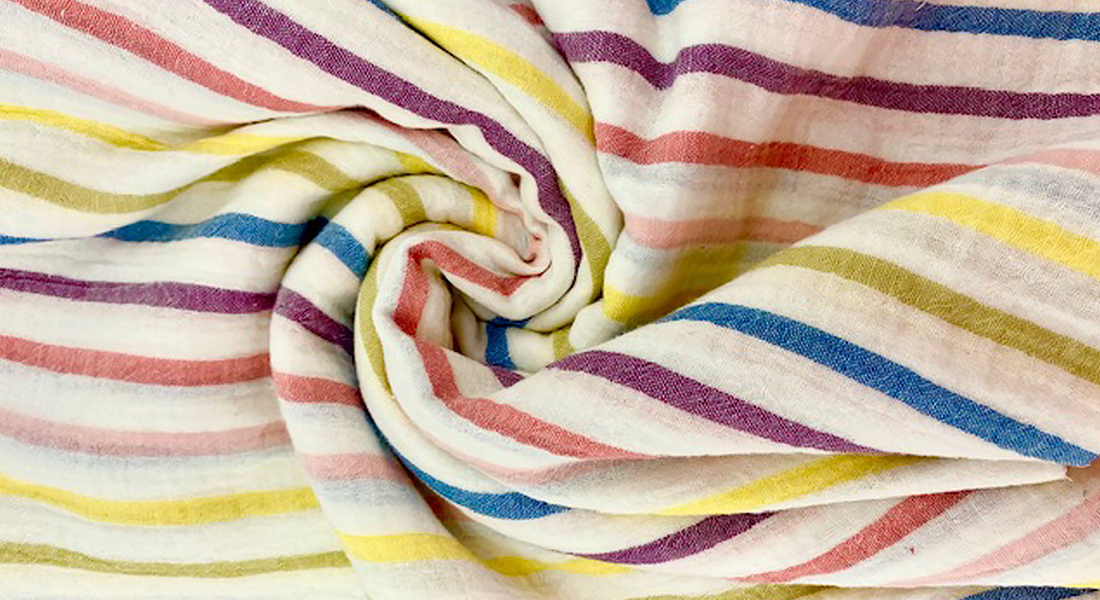
The edge of your printed cotton fabric that can include words, phrases and colors is called the selvage edge (sometimes selvedge). This humble portion of the fabric is often thought of as unusable, and cut off to be tossed into the trash. Recently sewists have discovered new ways to use the lowly selvage edge, not only for creating fabulous projects but also as inspiration for mixing and matching colors with fabric prints.
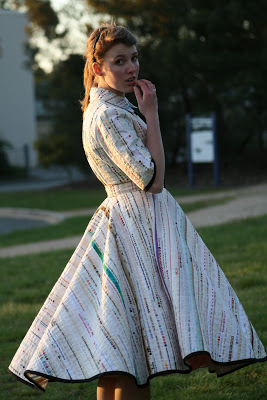
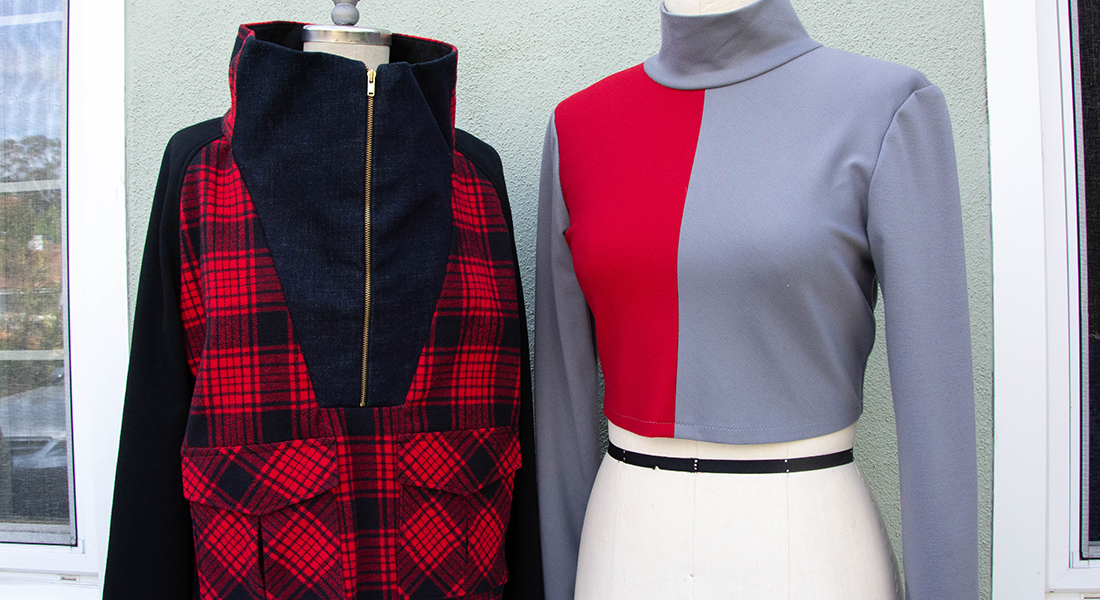
Like Jodie’s fantastic selvage edge dress posted at her blog, Vintage Ric-rac!
So why is there even a selvage edge on your fabric, you ask? It’s actually a by-product of the manufacturing process. Take a closer look at a piece of woven cotton printed fabric, and you will see threads running along the fabric in two directions; the warp threads run the length of the fabric, and the weft threads along the width. The selvage edge of the fabric is where the weft thread loops back at the end of each row during the manufacturing process.
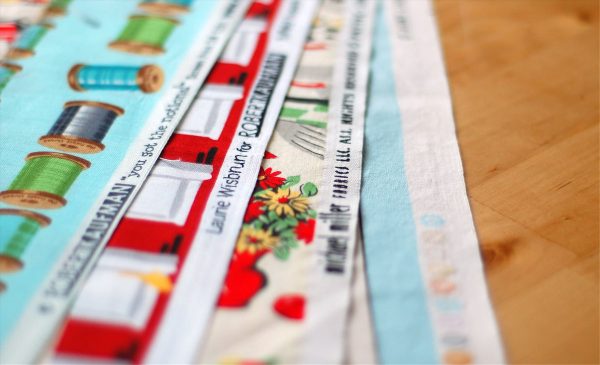
You can see this edge has a tight weave and may appear more unfinished than the rest of the fabric, and often has a bunch of “stuff” printed along the edge.
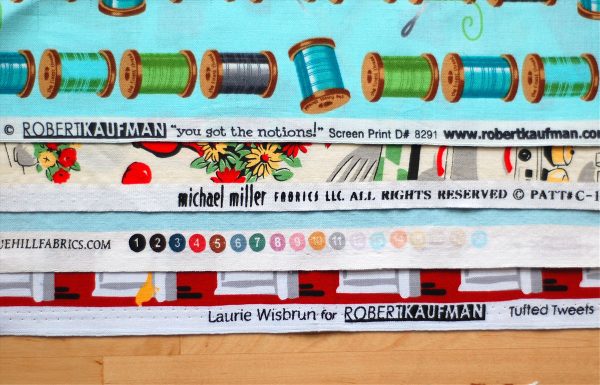
You can find the company name, the name of the fabric print, and sometimes even a colorway, product number, artist or designer name, copyright information, and more printed in this area of the fabric.
TIP: Take advantage of the information in the selvage edge of your fabric. Keep this information handy when starting a new project (either snip one part of the selvage edge or write it down), and if you need to find more fabric you will have everything you need. Even if you don’t see it in stock at your local fabric store, you can ask about it specifically, or search online.
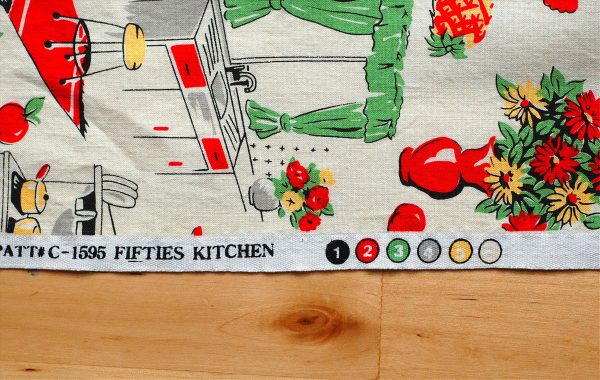
You may also see as series of colored dots (sometimes with numbers) that are used in the printing process. Each color dot represents one singular screen used to print the fabric. These dots are also used as registration marks to help insure the individual screens and printing designs are all matching up.
TIP: Looking for more solid colors or prints to match up with a fabric? Look no further than the selvage edge! Coordinate other fabrics with these colored dots. Pick one, two, or more solids to match and coordinate, or look for another print with most or all of the same colors.
Try these tips to start sewing with fabric selvage edges, and check out the project tutorials below!
- Cut off the selvage edge about 2″ from the edge
- Store your selvage edges in a container until you are ready to sew with them
- Press selvage edges well with a steam iron, and use a bit of starch – the fabric selvage can be wavy in spots
- Try using the foundation piecing technique to sew selvage edges into a larger piece of fabric for projects
- Try using selvage edges for string piecing quilts
Ready to try your hand at a sewing project using your selvages?
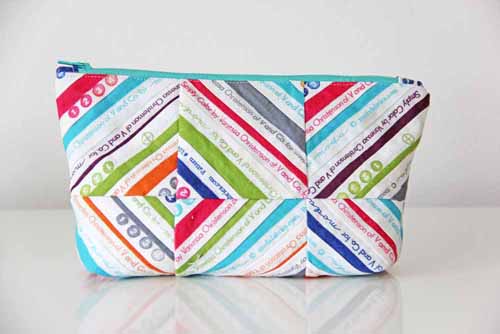
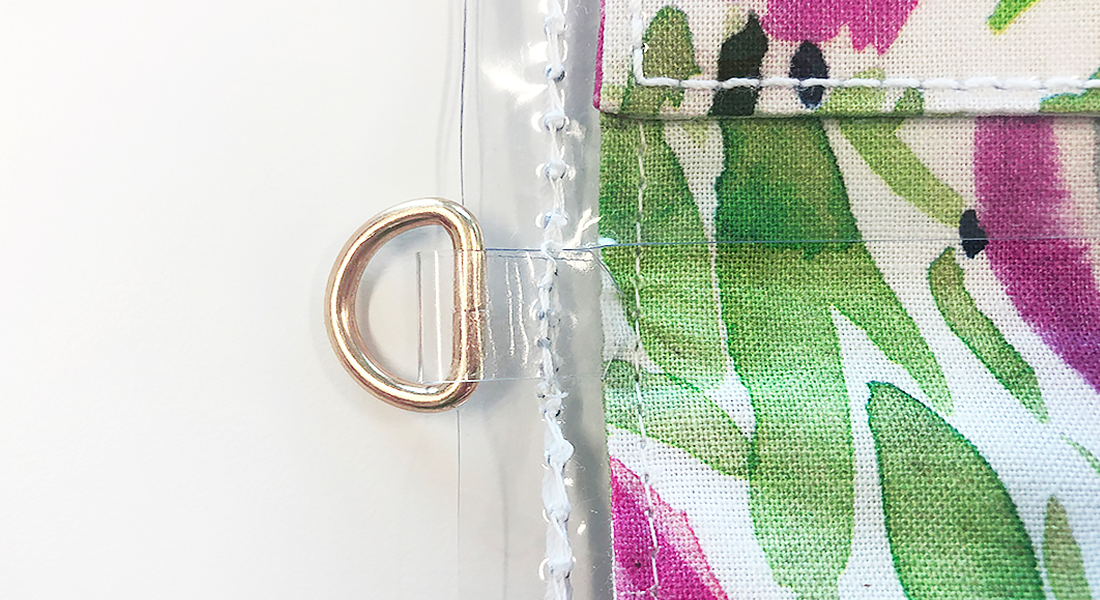
Learn the basics of how to string piece with selvage edges with our very own DIY Zipped Up Selvage Pouch tutorial.
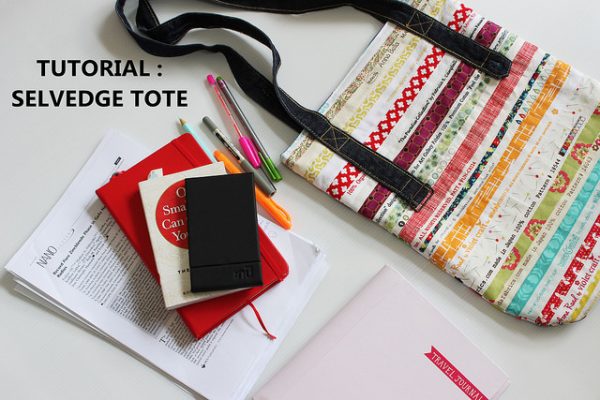
Take your selvage edges and turn them into a handy tote with this free tutorial from Little Mushroom Cap.
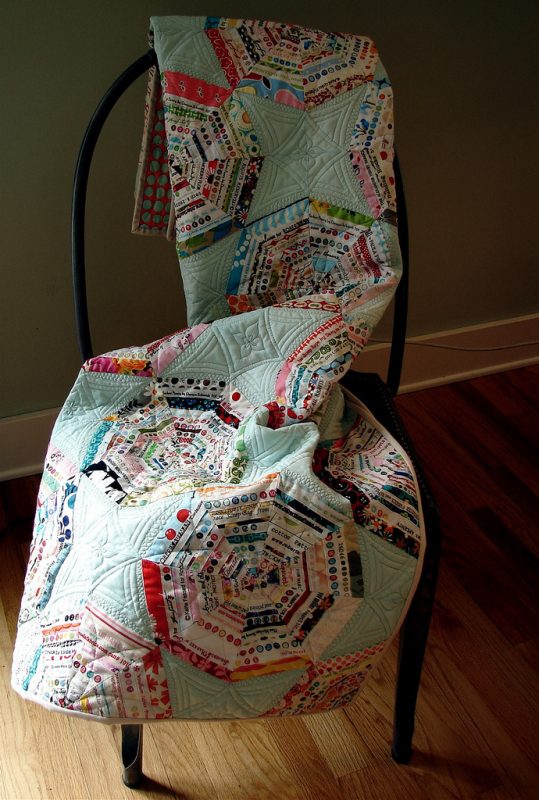
Quilt Artist Jacquie Gering shows you how to take a basic spiderweb quilt block and transform it using fabric selvages in her tutorial at Tallgrass Prairie Studios.