10 Free-motion Quilting Tips from Frieda Anderson
Could your free-motion quilting use some improvement? I know mine could! Here’s award-winning quilt artist Frieda Anderson with some great tips for perfecting your stitching. Get out some batting and fabric and start practicing! Jo
You’ve made that quilt. Now it’s time to get it quilted. Where do you start?
These are 10 basic steps you will find useful in order to be successful quilting a project on your domestic home sewing machine.
1. Make sure your sewing machine is in good working order.
You need to be able to do straight stitching and free-motion quilting with ease without fighting your machine. Have your sewing machine serviced at least once a year by a professional sewing machine mechanic to make sure it is in tip-top shape. Oil it and make sure you use a new quilting needle with each project.
2. Make sure you have a good surface to work on.
To machine quilt a larger quilt project, you need to have a larger table area to support your sewing project. If you don’t have a recessed table for your sewing machine to drop into so that your sewing machine arm is flush with the surface and supporting your quilt, make an arrangement of tables to surround the arm attachment on your sewing machine that will create a large flush area to support your large project.
3. Make sure you have good support to sit on and good lighting to see well.
An adjustable height chair with good support will make sitting for long periods of time much more pleasant and healthy for your back and your bum.
Invest in extra lighting so you see what you are doing.
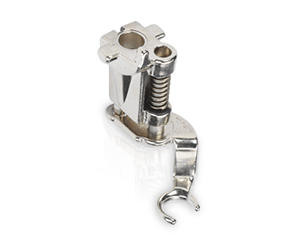
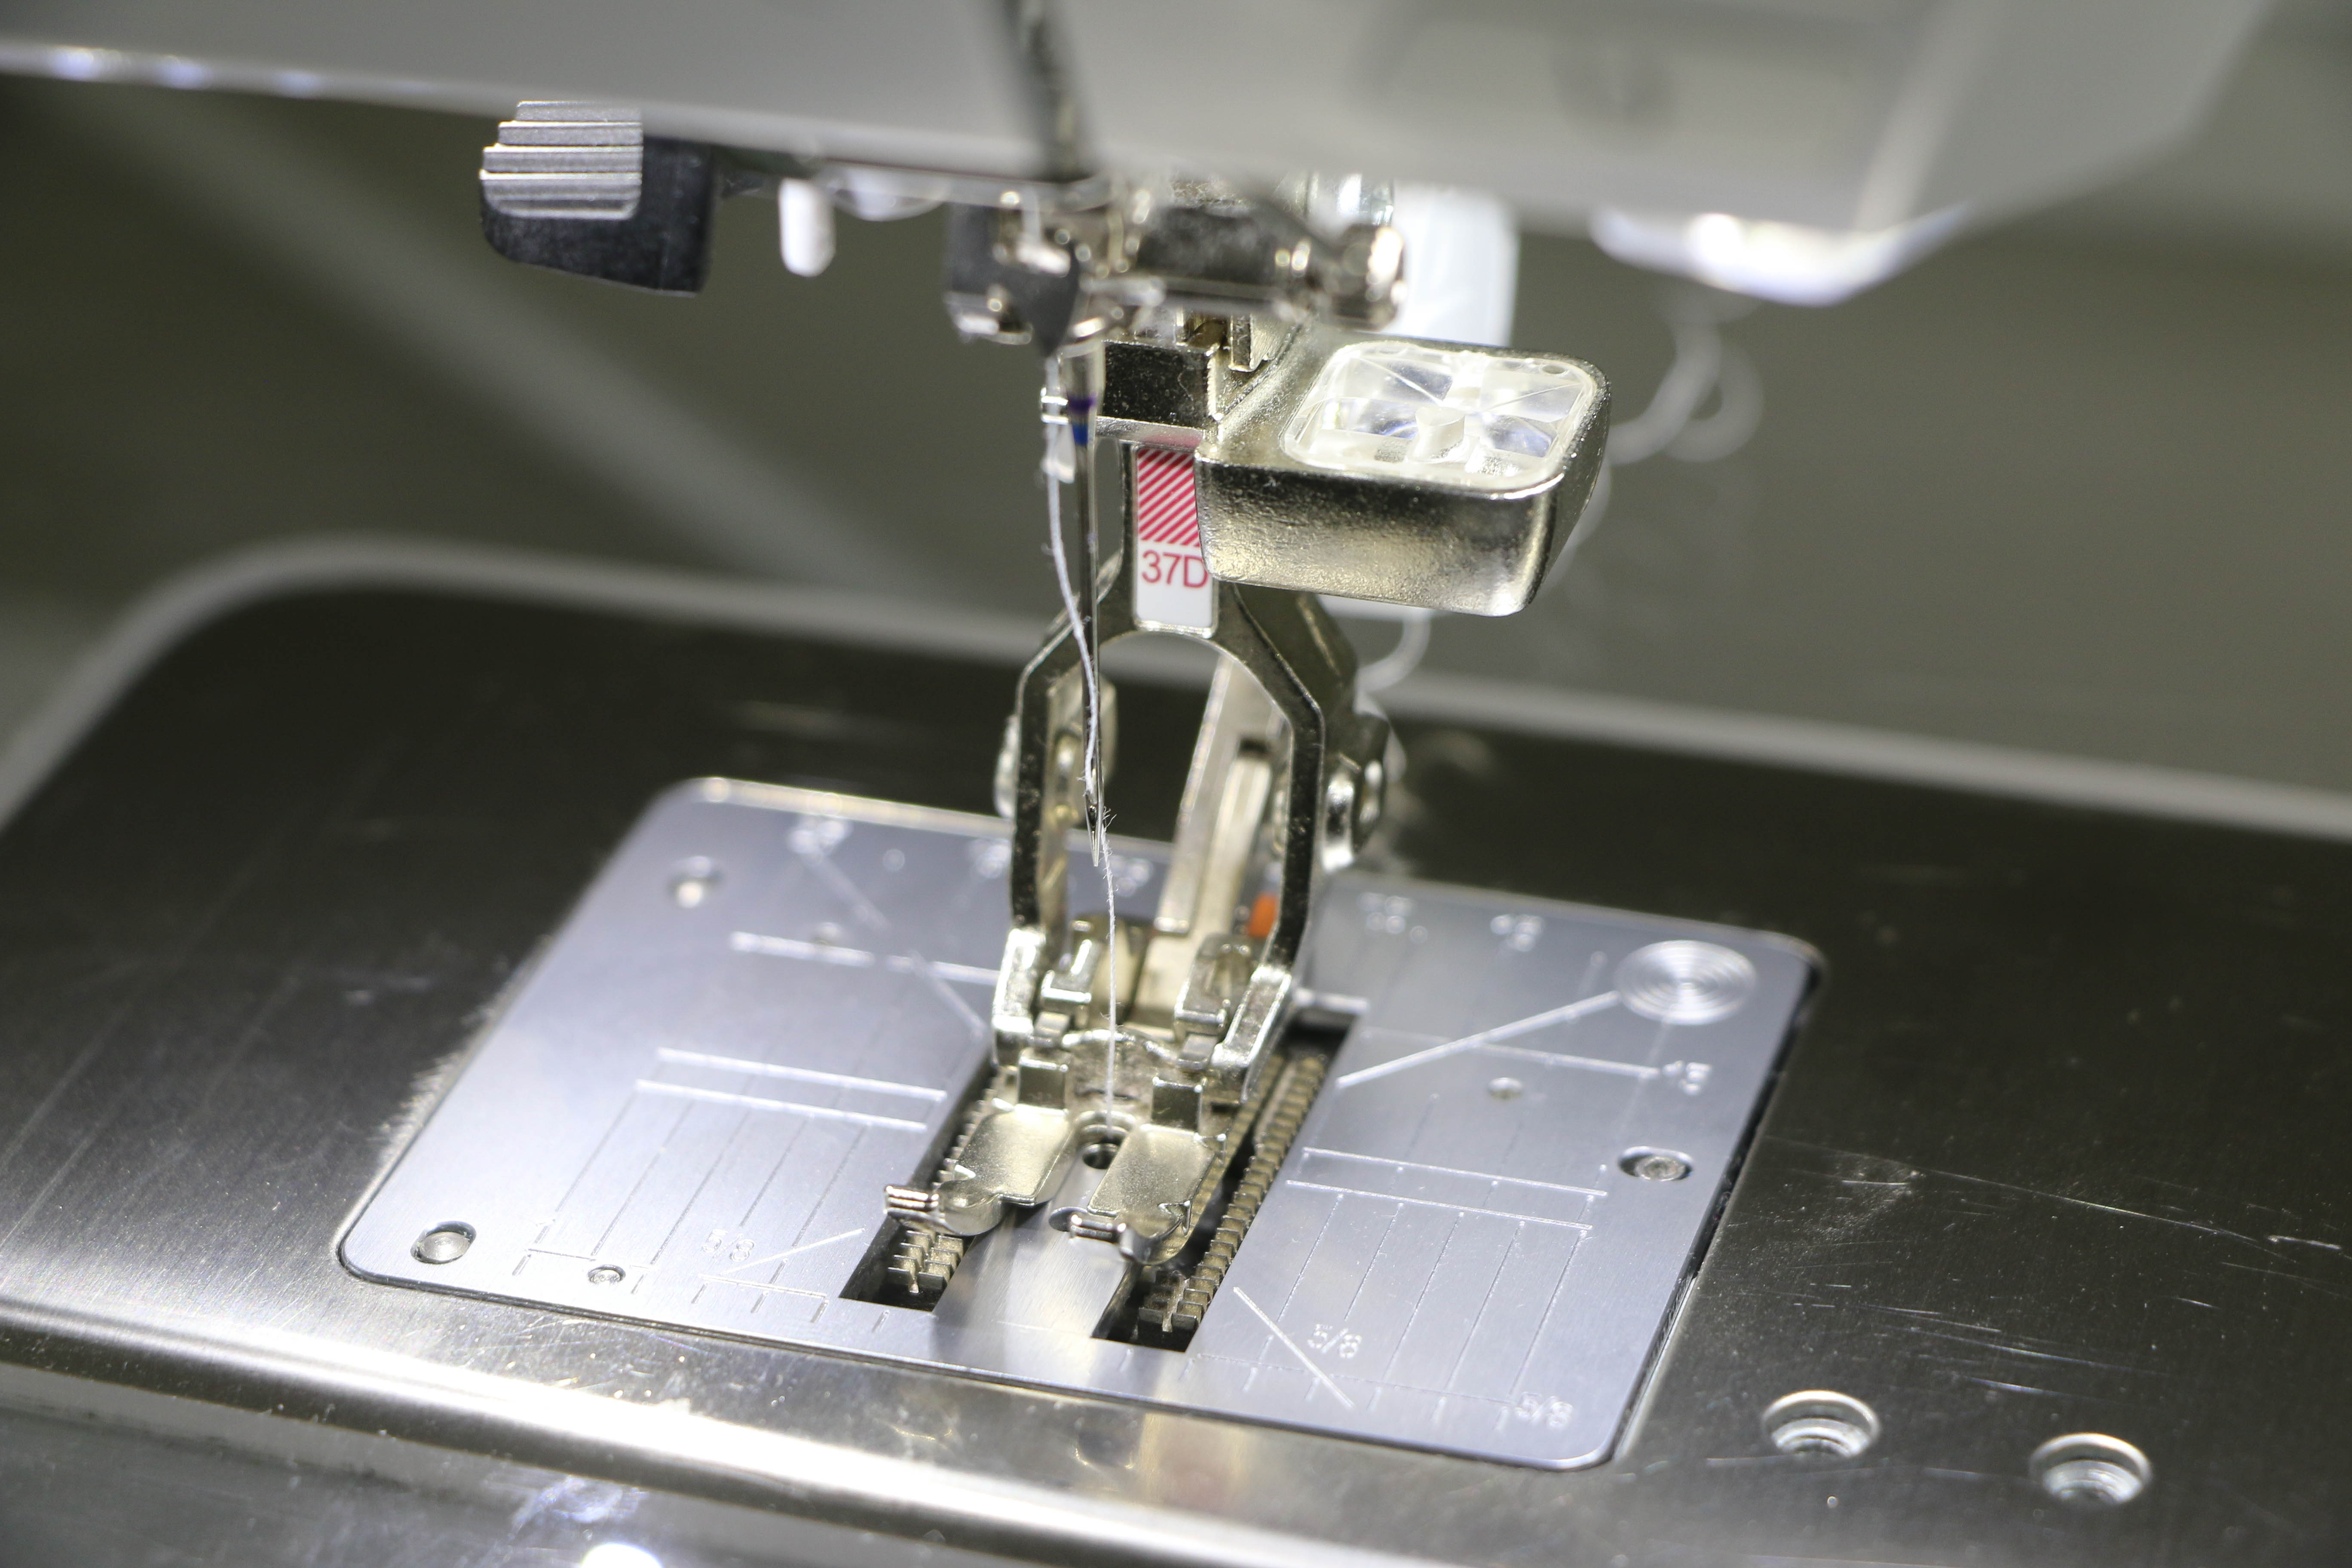
4. Make sure you have the right feet for the job.
For straight stitching you need a walking foot for your sewing machine. Many brands of sewing machines come with this foot, but for some you will have to buy it.
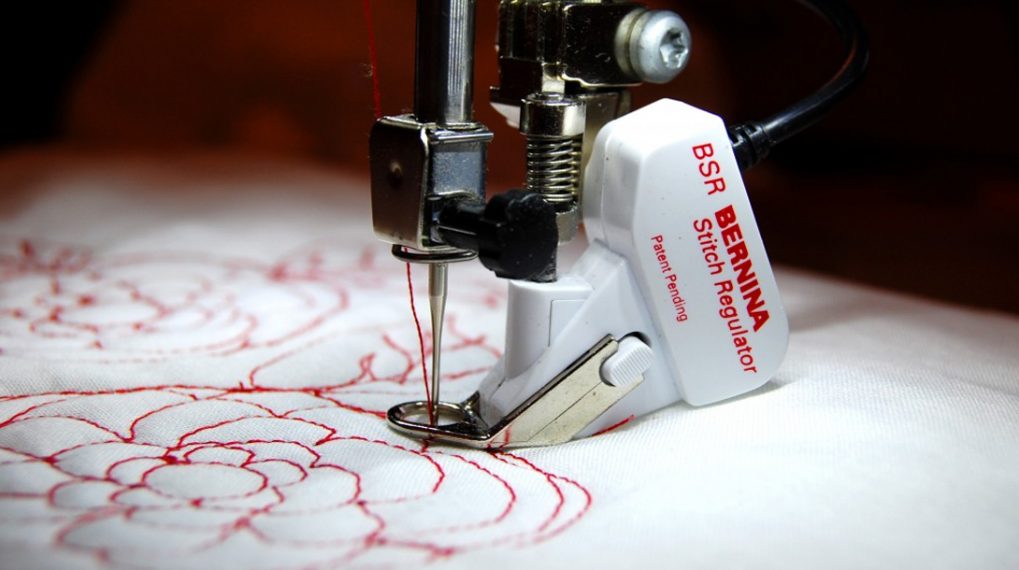
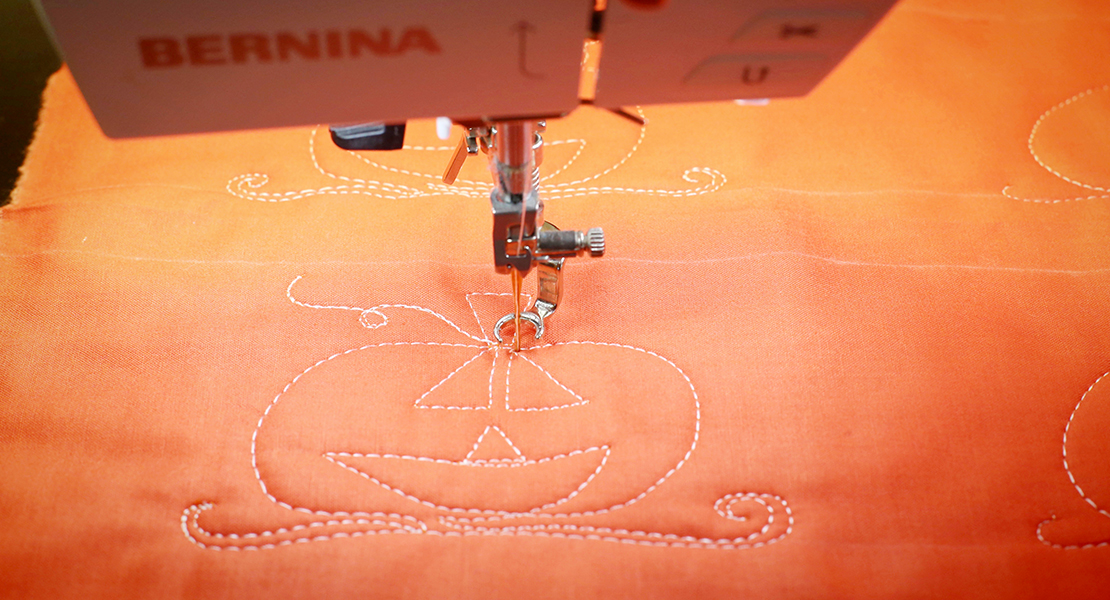
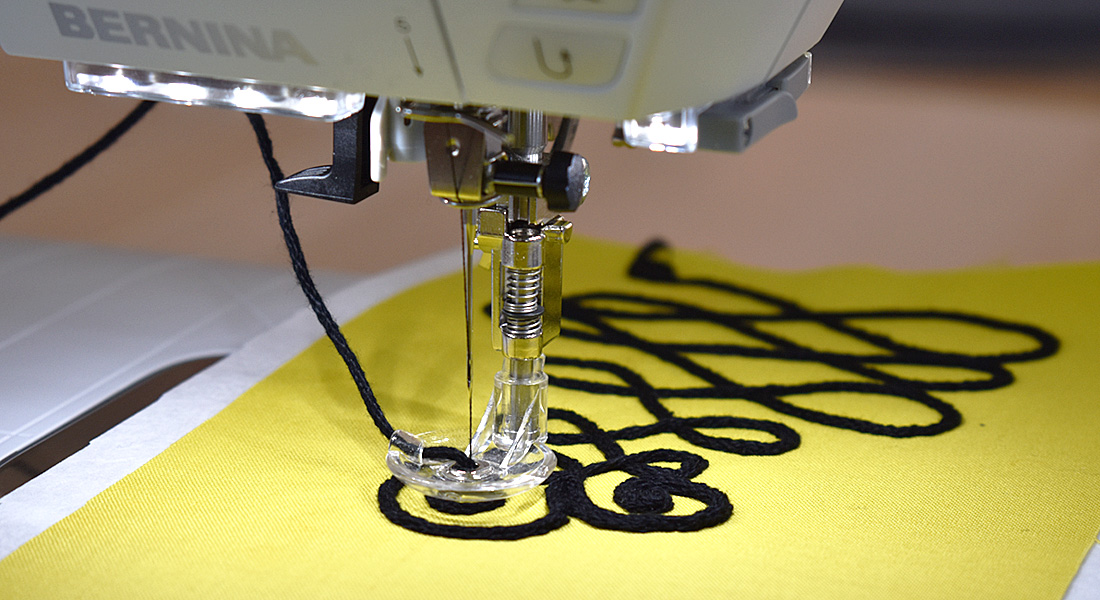
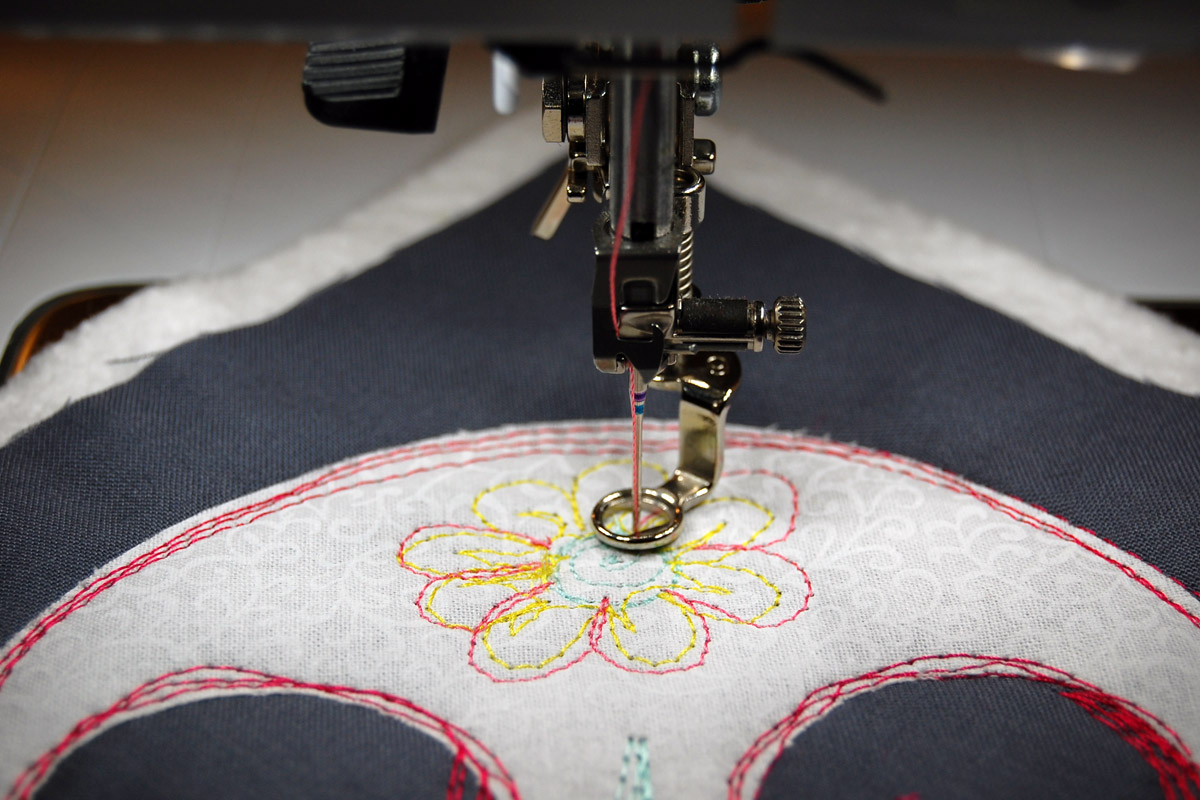
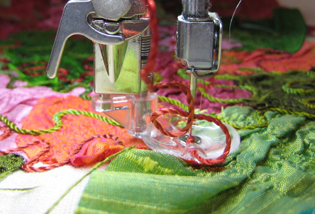
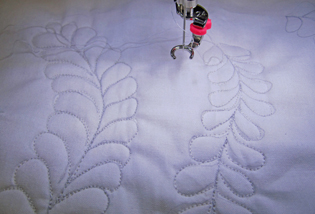
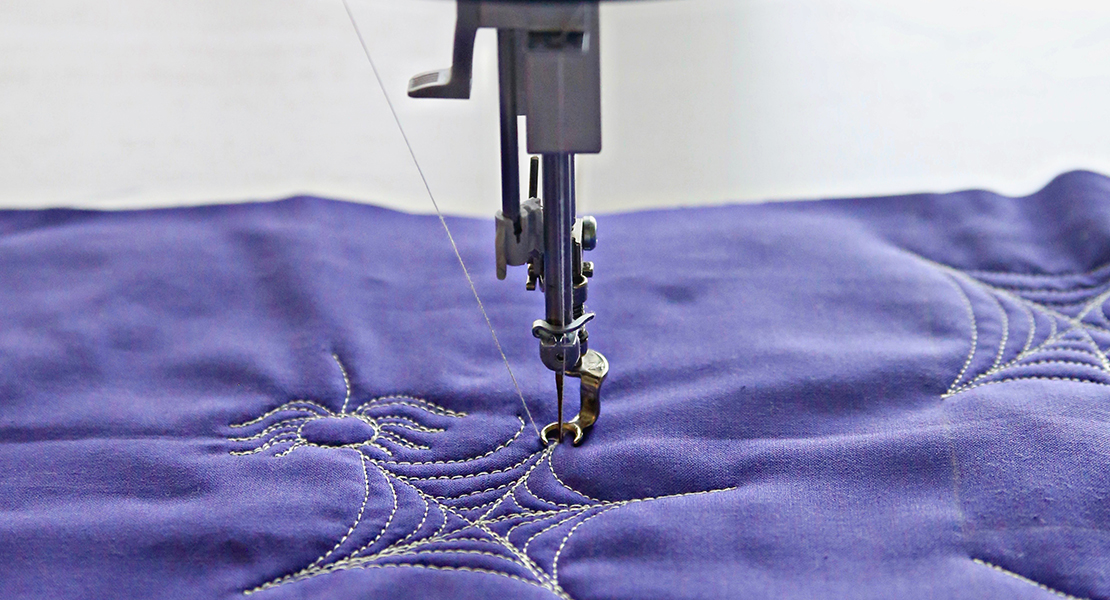
For free-motion machine quilting you need a darning foot, free-motion quilting foot, or the BSR (BERNINA Stitch Regulator). Many machines come with a circular darning foot, but I have found that I like an open-toed darning foot such as BERNINA’s Open Embroidery Foot #24.
5. Make sure you have the right thread.
Use a good quality sewing thread for your quilting project.
Make sure you have enough of your chosen thread to finish your project.
6. Make sure you have the right sewing machine needle.
Use a “Sharp” type of sewing machine quilting needle for machine quilting.
7. Baste your quilt.
Make sure your quilt project is well basted before you start machine quilting, to hold all the layers in place and keep them from shifting and sliding.
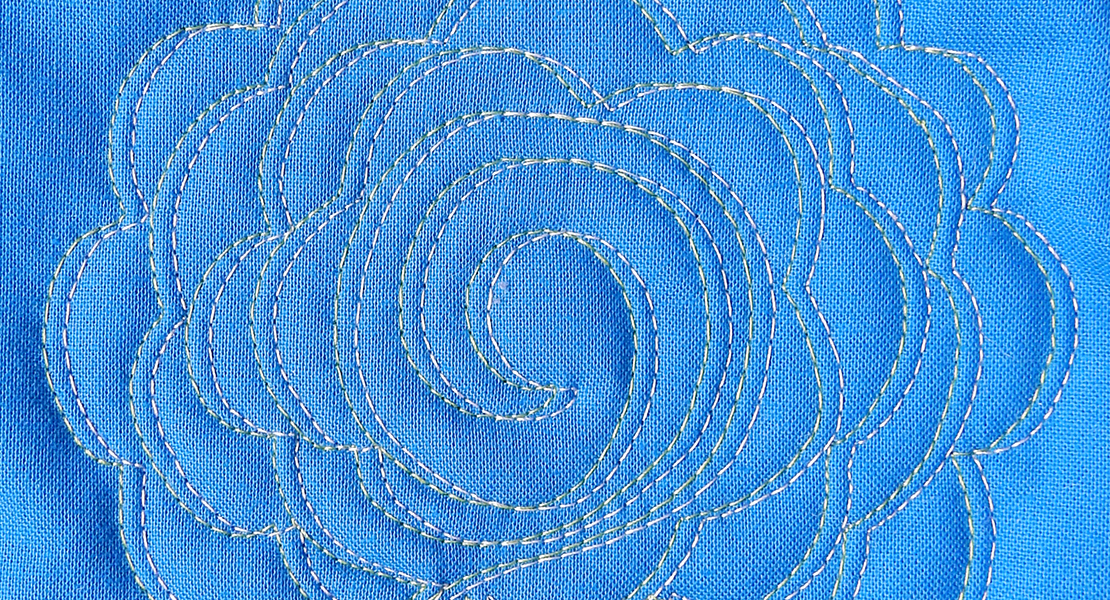
8. Build a good rhythm to help you be consistent with your stitch spacing and stitch length.
Your hands should move the quilt around at the same pace as the speed of your foot.
9. Don’t try to move the whole quilt at once; work on small sections.
Quilt an area the size of a dinner plate and then rearrange the quilt project to quilt another area the size of a dinner plate. Keep following this procedure until you’ve finished your quilt.
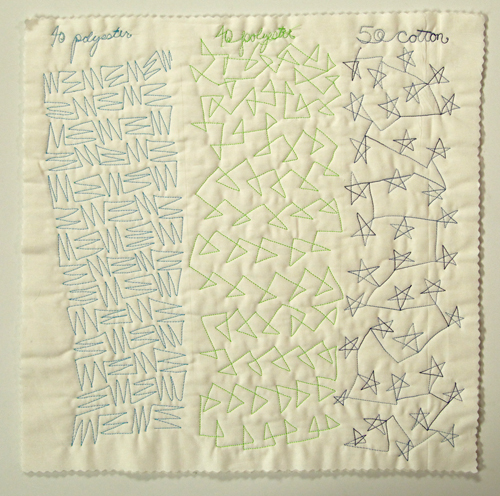
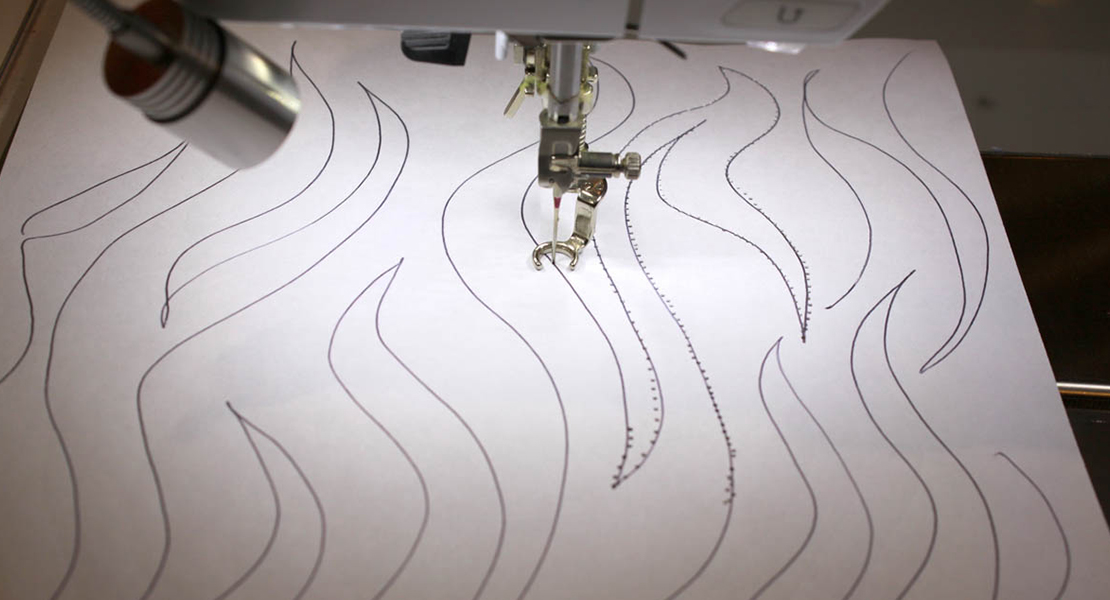
10. PRACTICE, PRACTICE, PRACTICE.
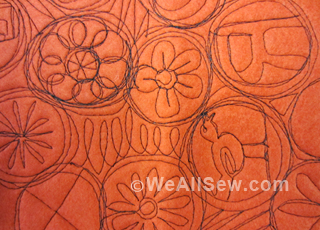
Keep lots of quilt sandwiches ready by your machine to test out your tension and also quilting designs.
A little practice goes a long way. Think of it as “An apple a day keeps the doctor away,” only “A little quilting a day keeps the puckers away!”
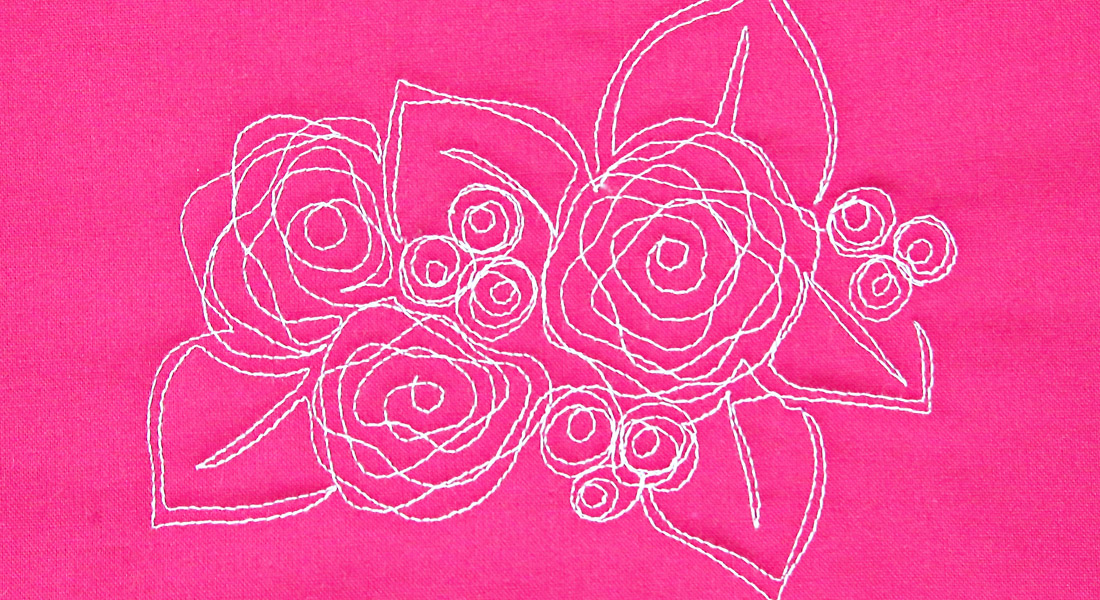
The more you machine quilt, the better you get. Believe me on this. You will only get better if you practice, SO… keep practicing, and never give up, because you CAN become adept at machine quilting.
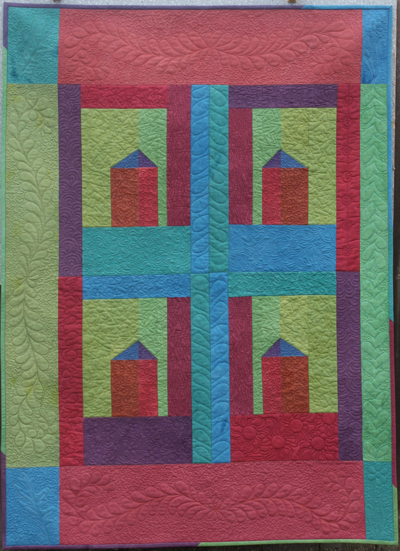
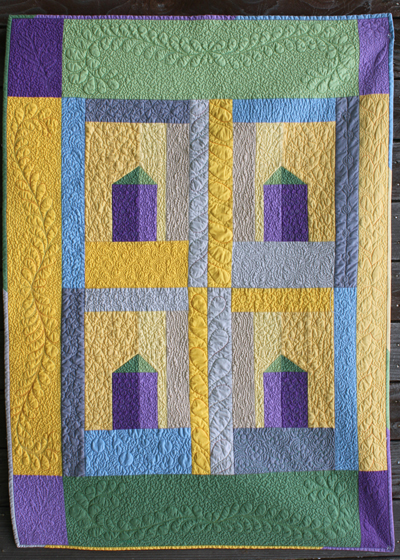
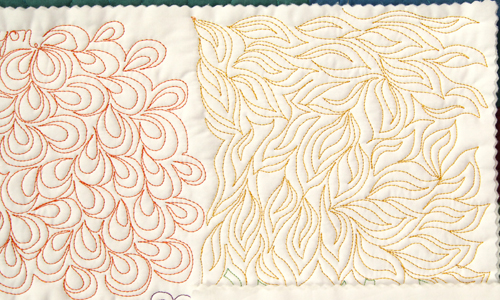
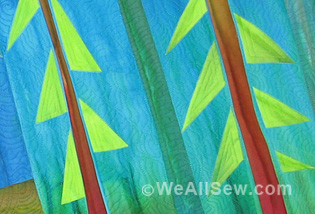
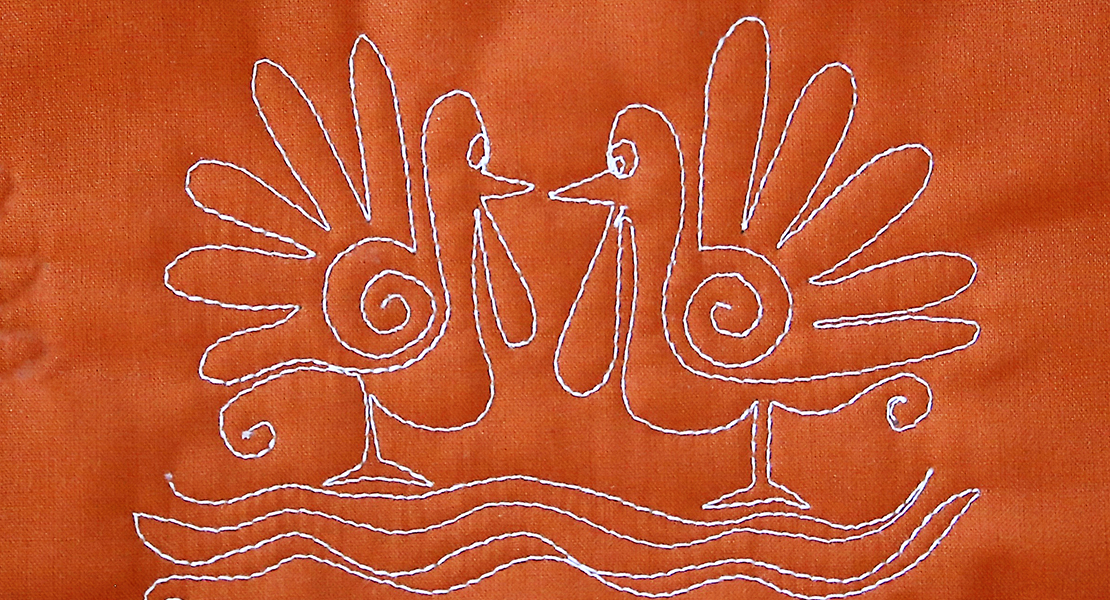
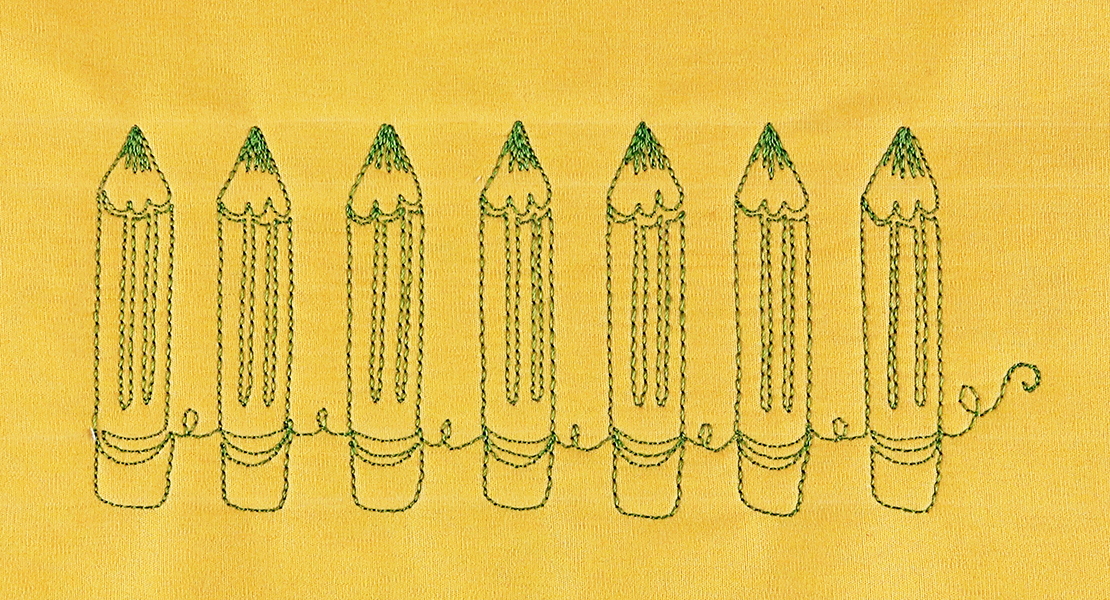
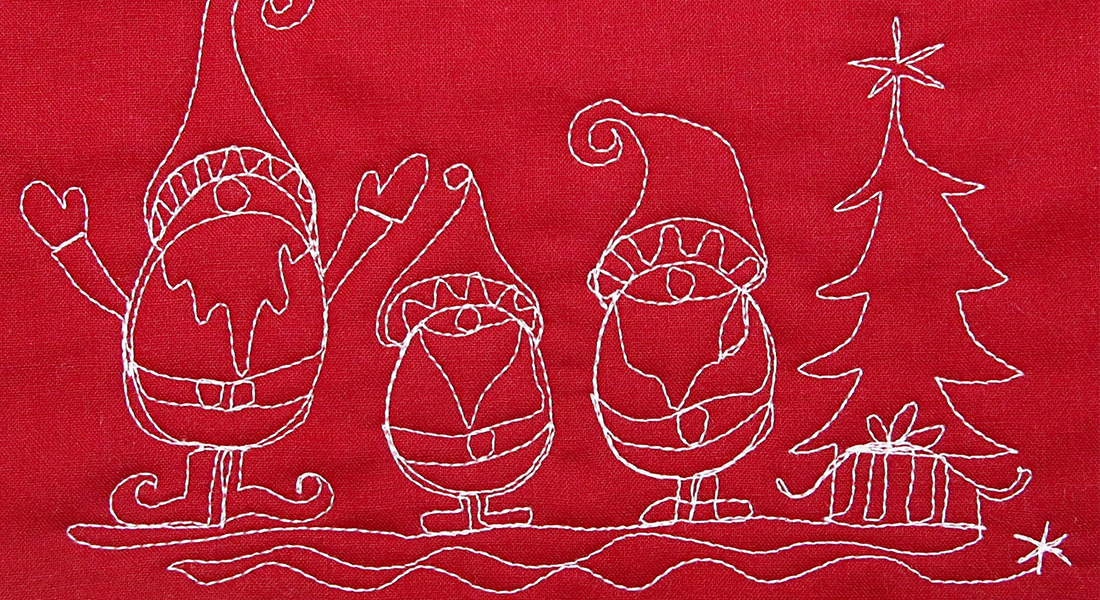
You can see examples of my machine quilting on my website at friestyle.com.
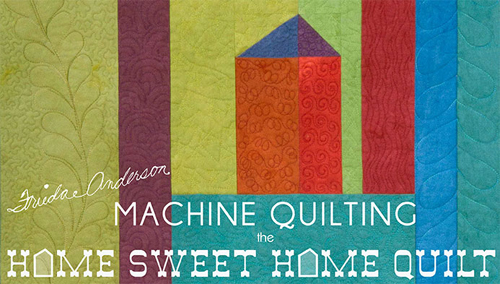
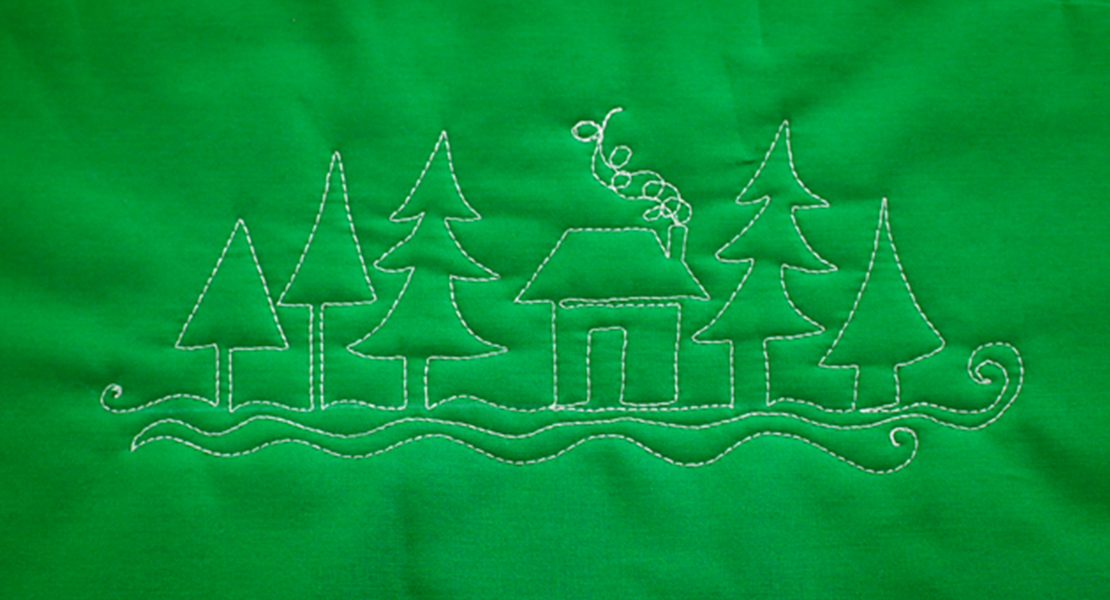
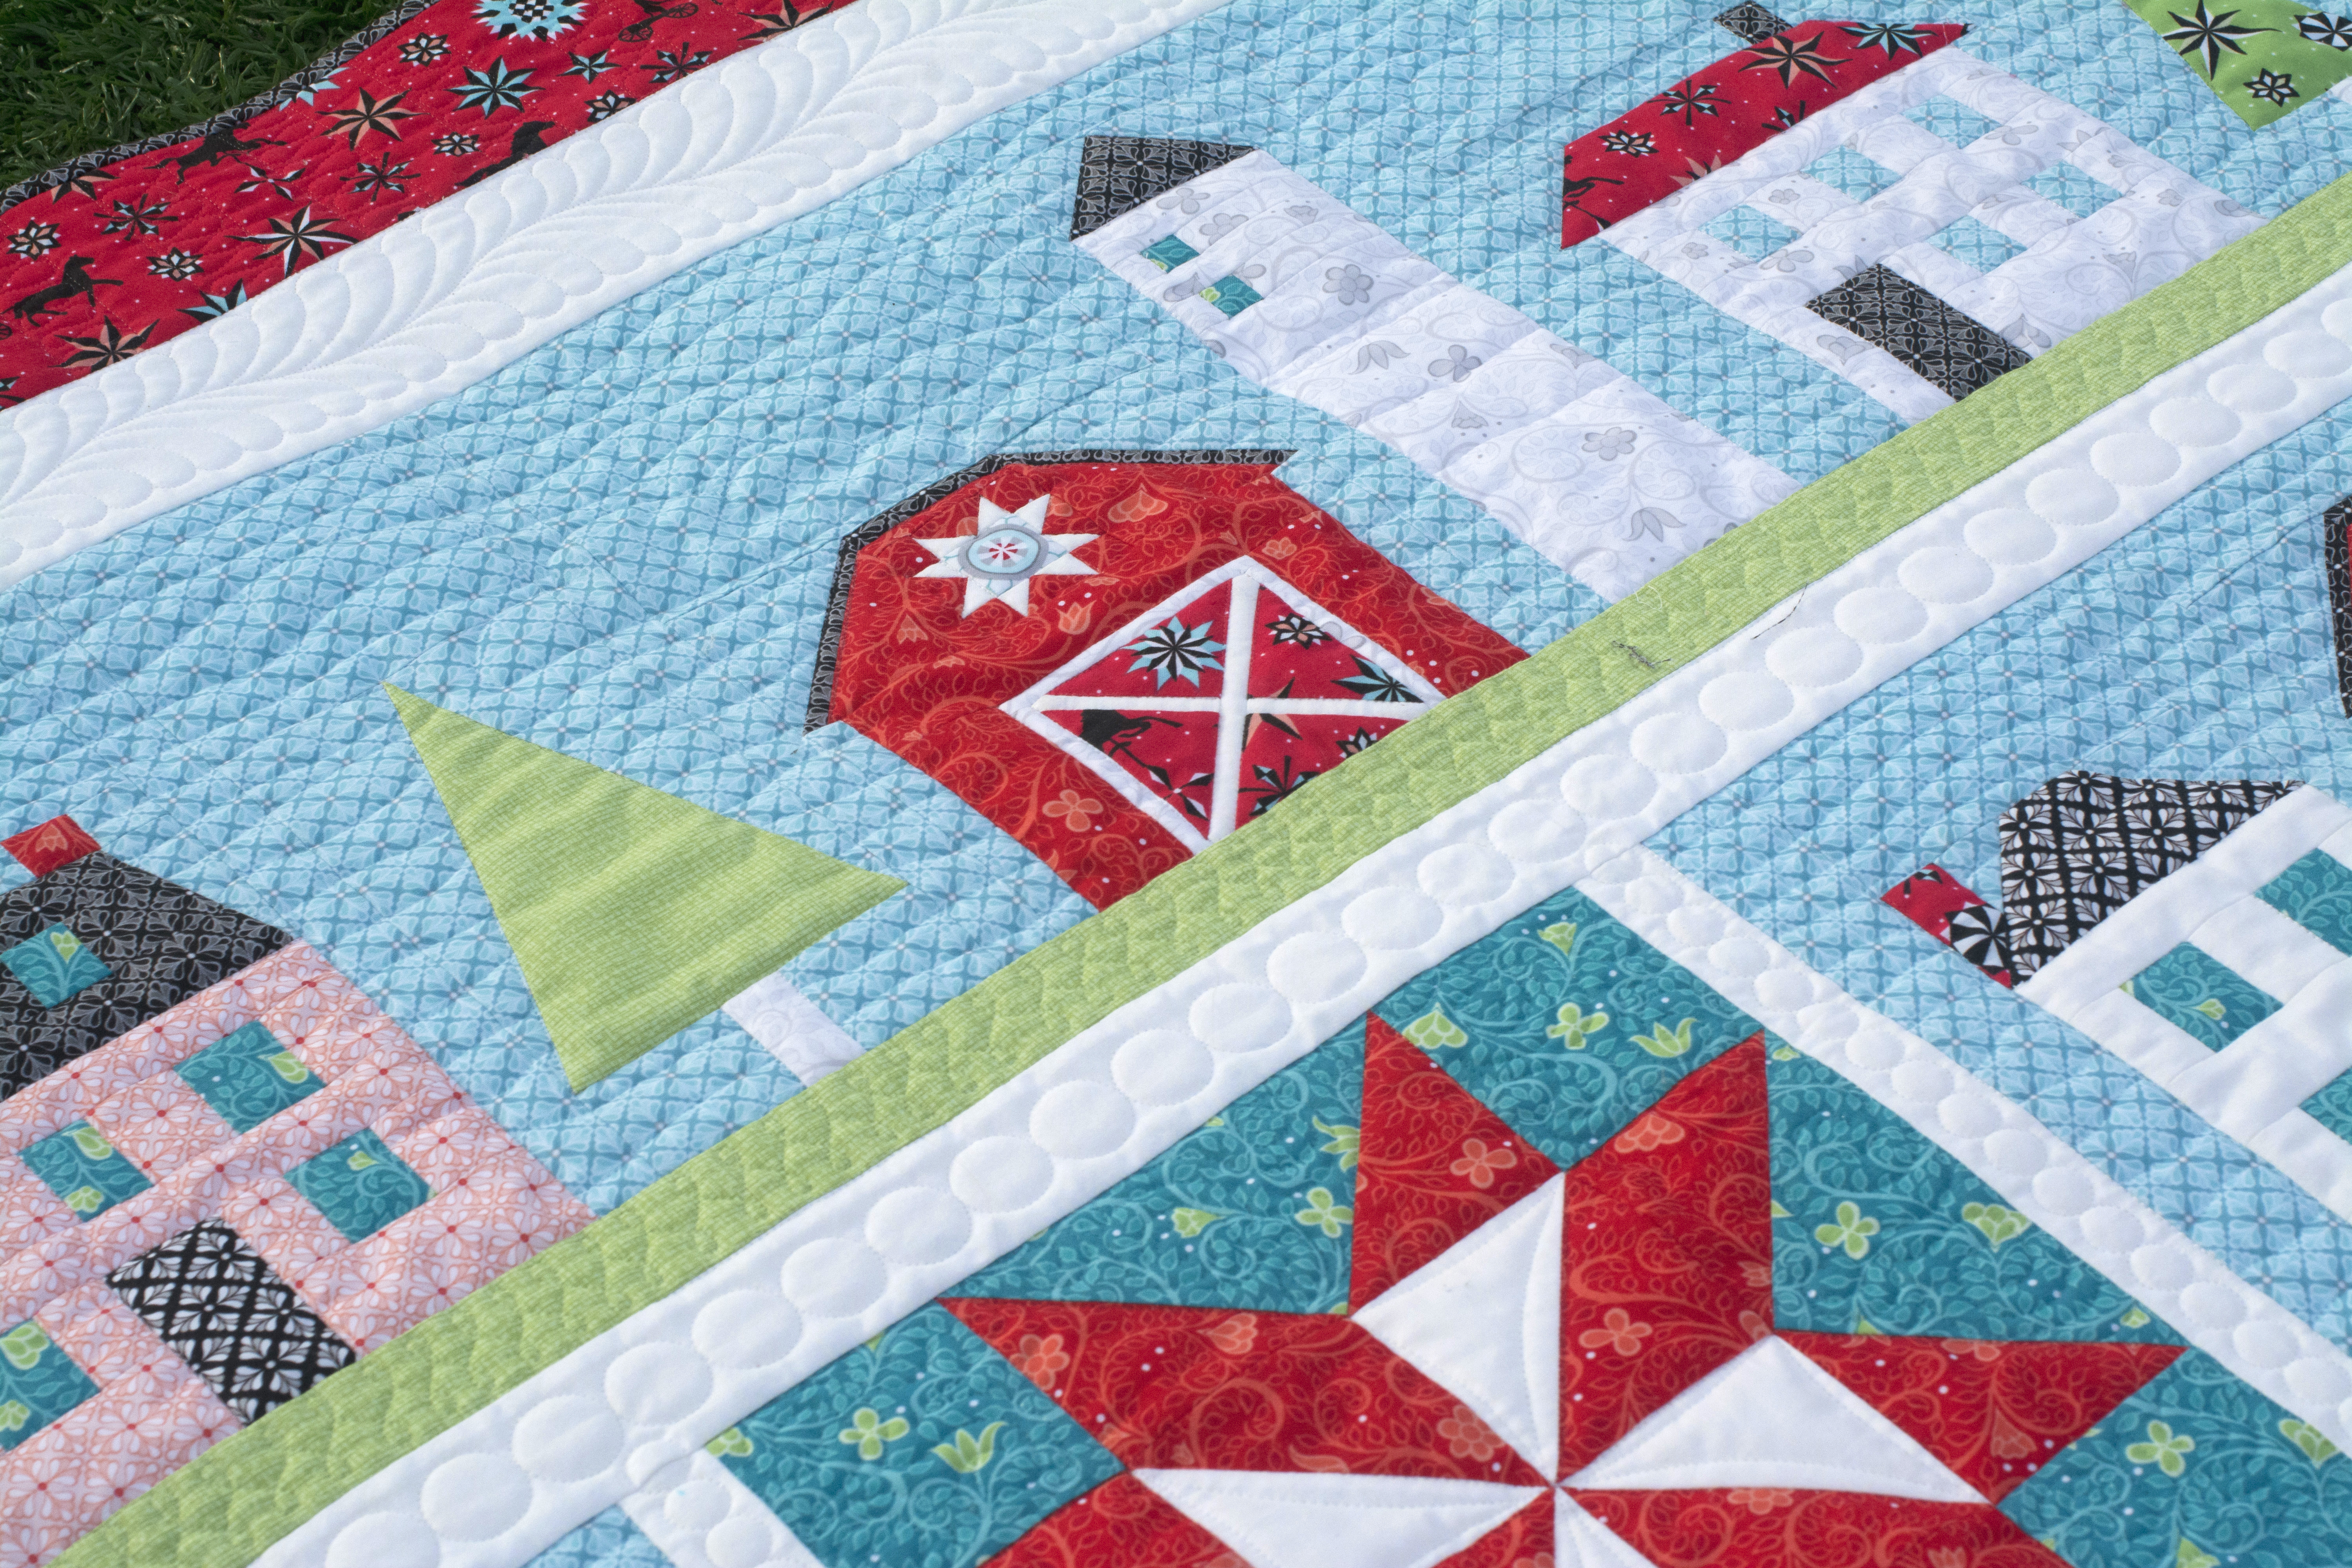
For more free-motion quilting check out Frieda’s Craftsy class – Machine Quilting the Home Sweet Home Quilt.


2 comments on “10 Free-motion Quilting Tips from Frieda Anderson”
Frieda, your tutorials are much appreciated! The use of templates in creating Feathers has given me the confidence to move forward with Feathers!