Scrap Plus Quilt Along: Week 1
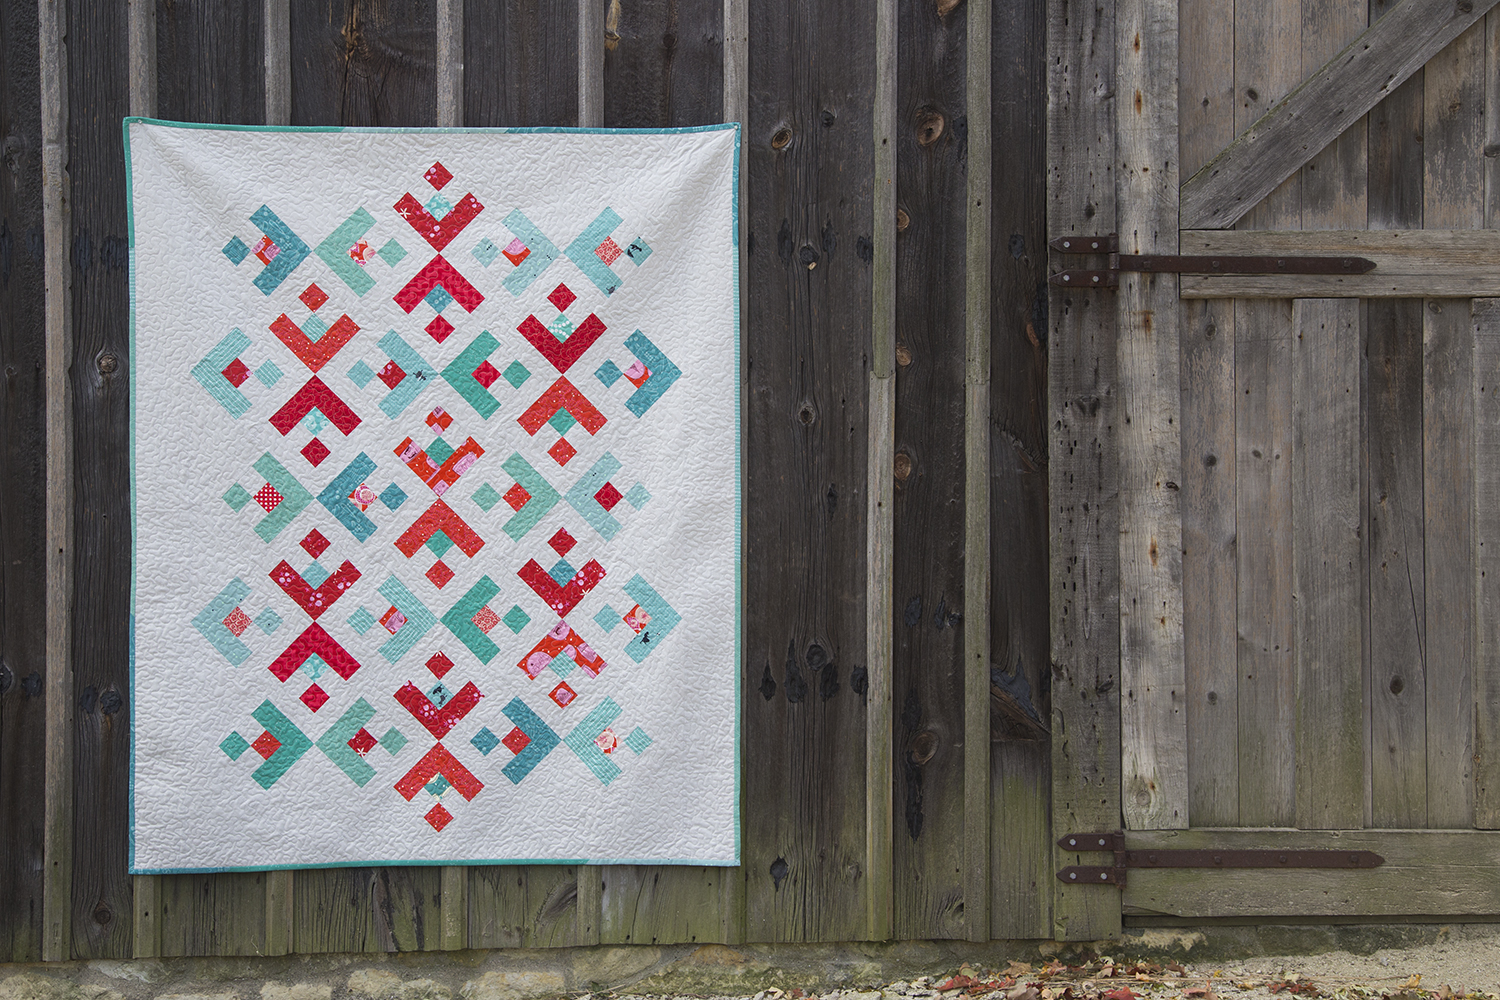
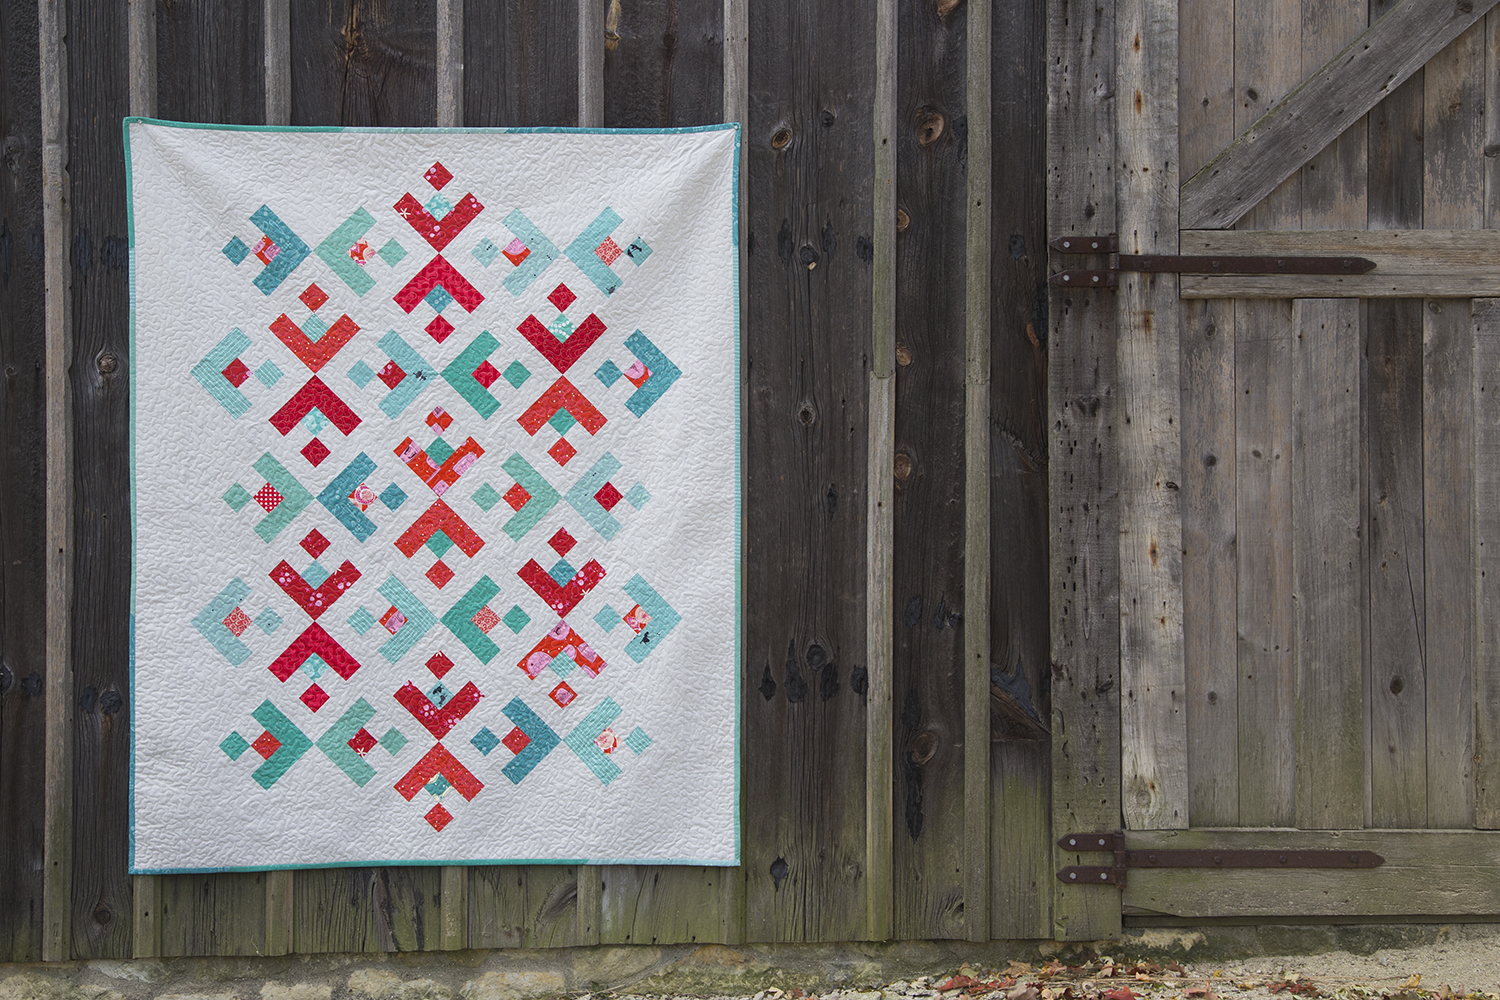
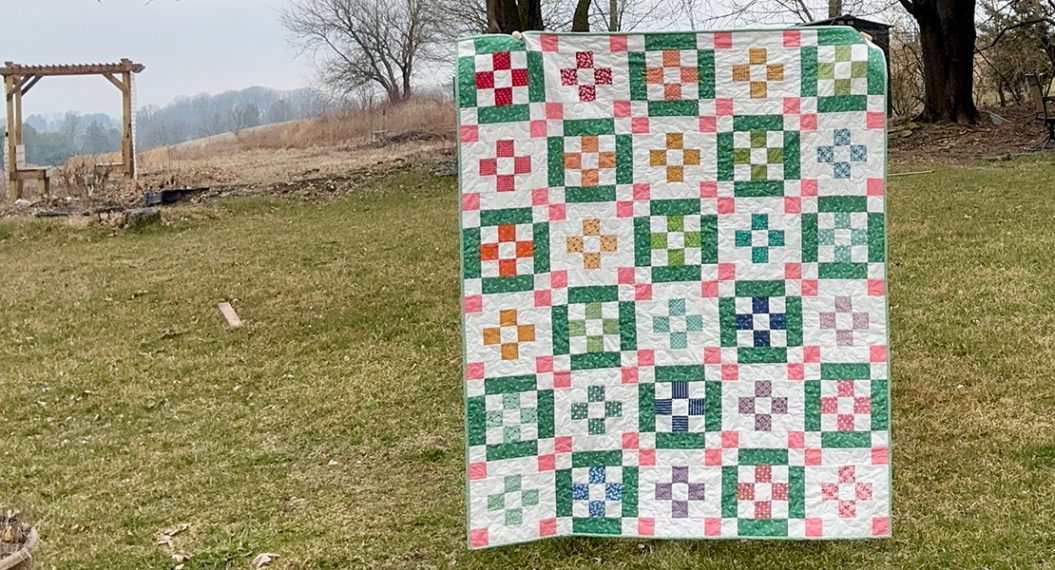
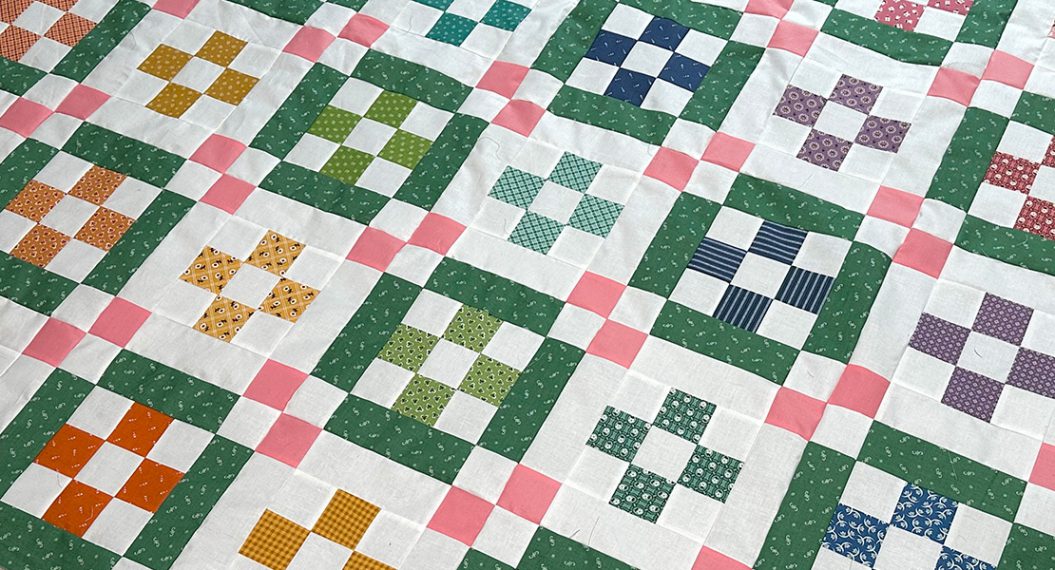
As quilters, many of us save bits and pieces of our favorite fabrics. They may remind us of a particular memory, point in time, or reason we made an original quilt. I personally love the look of a scrappy project with fabrics pulled from a wide range of styles and colors. There is just something special about scrap quilts. Today I’m excited to begin the Scrap Plus Quilt Along. We will be combining your favorite scrap fabrics, an alternate grid layout, and negative space to make a modern lap quilt.
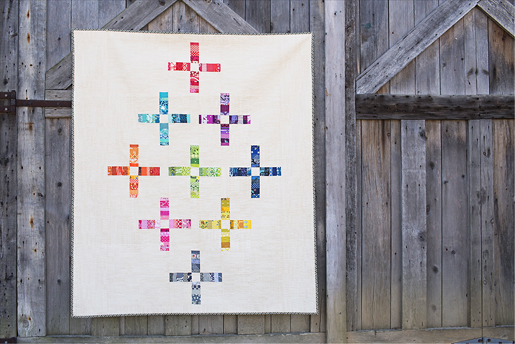
Scrap Plus Quilt Along Pattern by Faith Jones, Fresh Lemons Quilts
Finished Size: 56” x 64”
Week 1: Cutting and Block Assembly
Materials:
For my Scrap Plus Quilt, I used a scrappy mix of fabrics and colors for the focal “plus” point of my blocks. My background fabric is Ladder Lines in Natural by Carolyn Friedlander, from her Doe collection for Robert Kaufman Fabrics.
- Quilt Top: Approximately (20) pieces of Scrap Fabric, measuring at least 3″ wide and varying in length (1 ½” to 2 ½”) for each of your (9) quilt blocks, for a total of (180) pieces
- 3 yards background fabric
- Backing: 3 1/2 yards fabric
- Binding: 1/2 yards fabric
- Batting: 63″ x 70″ piece of batting
Selecting Your Fabric
Let’s talk fabric selection! There are so many options when making a scrappy quilt. First, look at your scraps. I make a lot of bright quilts, and I keep my scraps in bins separated into warm and cool colors.
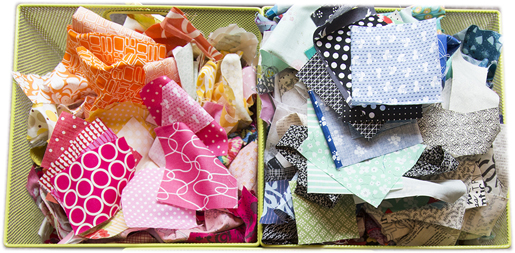
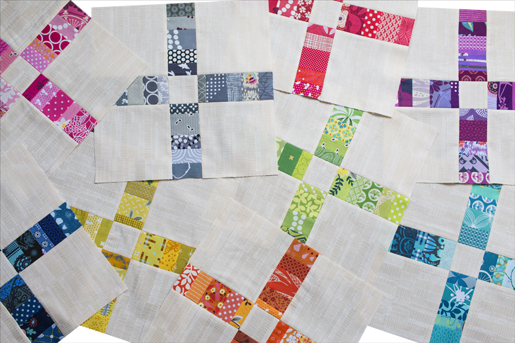
There are a lot of color possibilities with this quilt pattern. You may want to pick one color of focus for each block. Maybe you want to go that route, but add a unifying color into each block such as black, grey or tan. This element ties all your blocks together. You may want to pick two coordinating colors per block. Or even focus on solids rather than prints, neutrals rather than brights. There is no right or wrong answer – be creative and have fun!
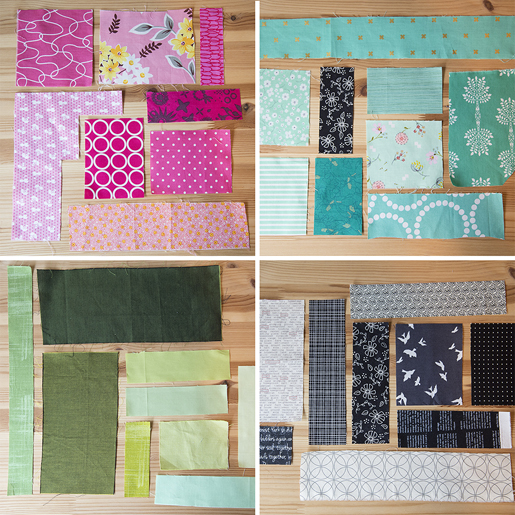
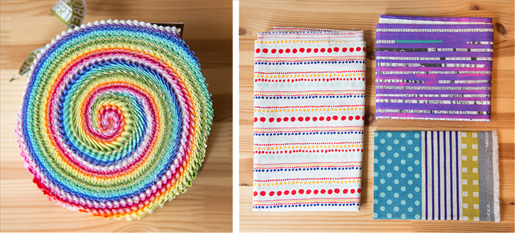
If you don’t have scraps or a fabric stash, don’t worry. You can cut up charm packs or other precuts…or even just use a stripe fabric and fool everyone. (I won’t tell!)
Cutting Instructions
TIP: Cut larger pieces first.
From Background Fabric:
Cut (2) 8 ½” x 64 ½” rectangles
Cut (2) 2 ½” x 40 ½” rectangles
Cut (4) 12 ½” x 14 ½” rectangles
Cut (4) 7 ½” x 12 ½” rectangles
Cut (4) 2 ½” x 12 ½” rectangles
Cut (36) 5 ½” x 5 ½” squares
Cut (9) 2 ½” x 2 ½” squares
From Focal/Bright Fabric Scraps:
Cut approximately (20) pieces measuring at least 3″ wide and varying in length (1 ½” to 2 ½”) for each of your (9) quilt blocks, for a total of (180) pieces.
Block Instructions
Scrap Plus Block (12 ½” x 12 ½” unfinished):
1. Gather approximately (5) scrappy pieces for your first block. Lay-out, mix and match until you are happy with the arrangement. Keep in mind the width of the scraps should be at least 3″.
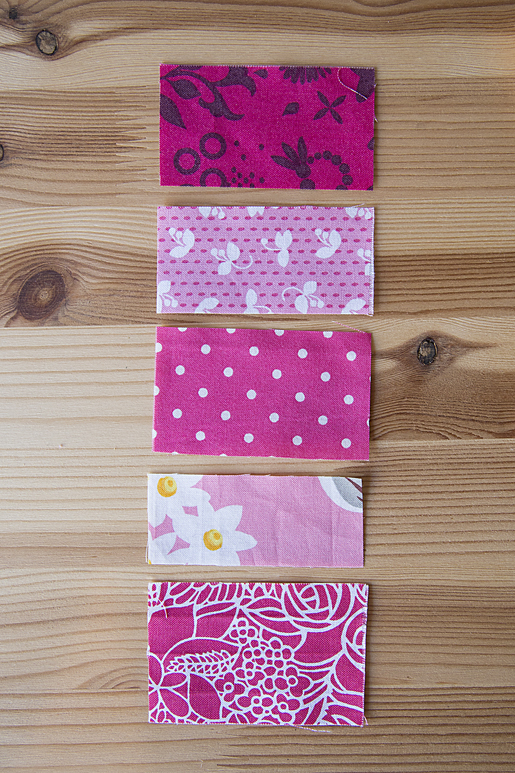
2. Sew your scraps together to form a rectangle. Measure your rectangle to ensure it is at least 5 ½” long. If it is too short, continue to add more scraps.
3. Trim your scrappy rectangle to measure 2 ½” x 5 ½”.
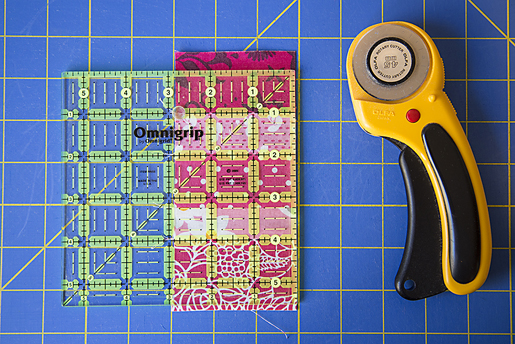
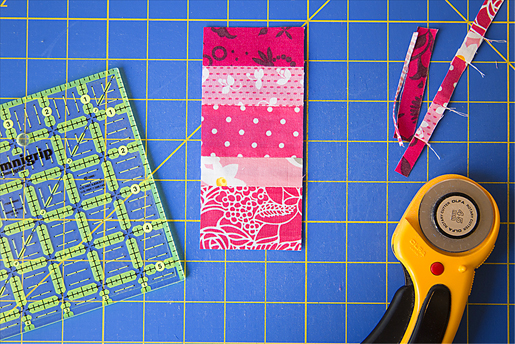
4. Repeat Steps 1 – 3 to create (3) additional scrappy rectangles, each measuring 2 ½” x 5 ½”.
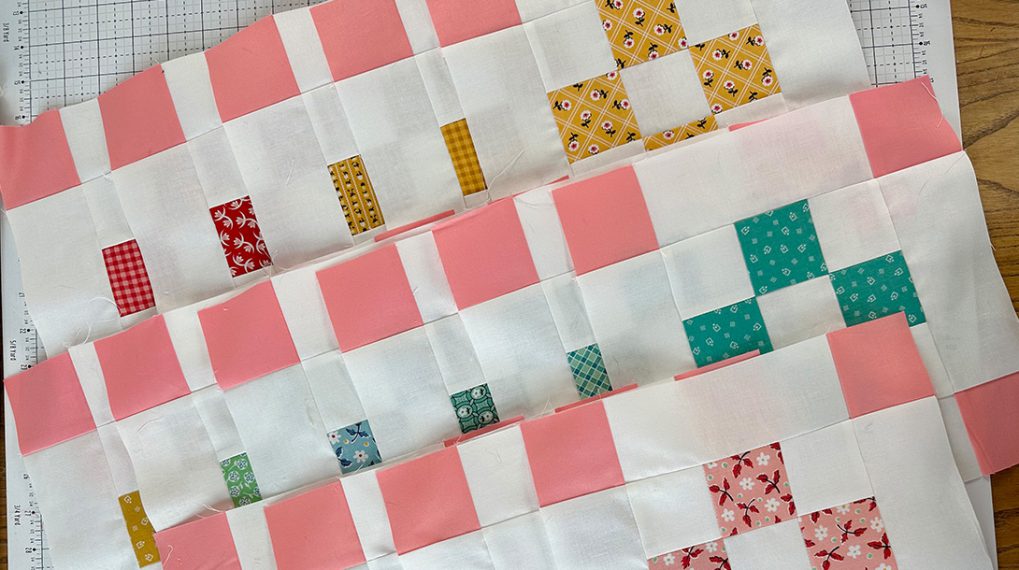
5. Gather your (4) 2 ½” x 5 ½” scrappy rectangles, (4) 5 ½” x 5 ½” background squares and (1) 2 ½” x 2 ½” square. Lay them out as shown.
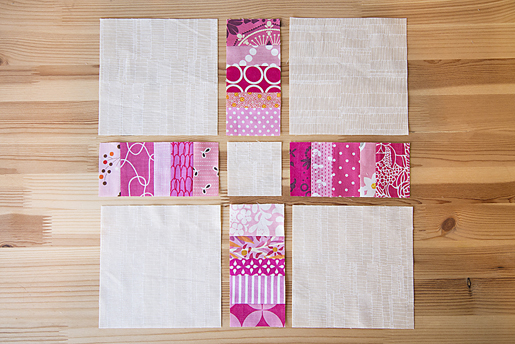
6. Sew the top row together. Press your seams towards the background. Sew the middle row together. Press your seams towards the background. Sew the bottom row together. Press your seams towards the background.
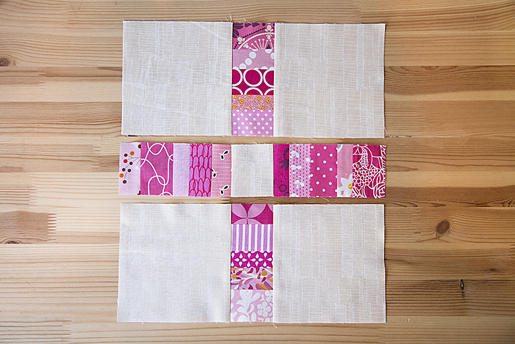
7. Sew your rows together to form your finished block.
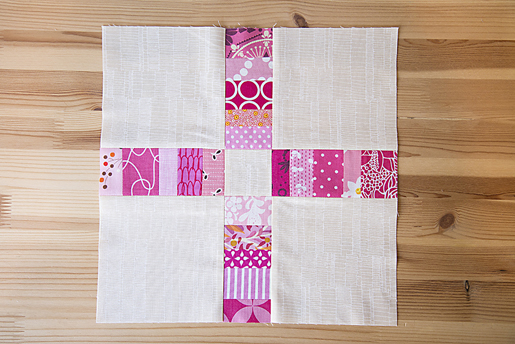
8. Repeat Steps 1 and 7 to create (8) additional blocks, for a total of (9) Scrap Plus Blocks.
Stop by next week and we will assemble the quilt top and talk about straight line quilting!




5 comments on “Scrap Plus Quilt Along: Week 1”
Not a lover of scrap quilts, but I love this one! Will do it!