How to Make an Airplane Pillow Cover
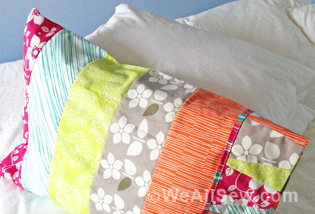
Whether you want to surprise a child with a travel accessory featuring their favorite super hero or cartoon character, or you’d prefer to rest your sleepy head on something clean during long flights, this pillowcase pattern is for you. Made of flannel for softness with a contrasting mitered border for style, this case fits the pillows supplied by airplane companies.
Supplies
- Two 12ʺ x 16ʺ rectangles of flannel
- 5/8 yard of cotton print fabric for borders, cut into eight 2-1/2ʺ by width of fabric strips (approximately 43ʺ wide)
- Two 4ʺ x 12ʺ rectangles of cotton print
- Coordinating thread
- Scissors
- Pins
- Clear quilter’s ruler
- Pencil or chalk marker
- Quarter-inch foot (BERNINA Patchwork Foot #37)
- Edgestitch foot (BERNINA Edgestitch Foot #10)
Step 1) Assemble the envelope back of the pillow.
Prepare the back of the pillow cover by cutting the 12ʺ x 16ʺ flannel rectangle into two pieces: One 6ʺ x 12ʺ rectangle and one 10ʺ x 12ʺ rectangle.
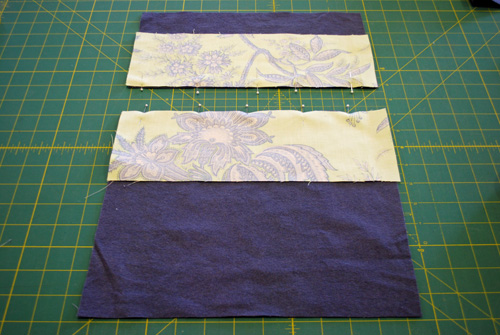
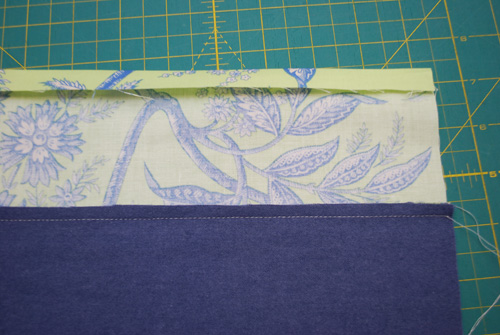
Pin one 4” x 12” print fabric rectangle to a long edge of each flannel piece, right sides together. Stitch. Press the seam allowances toward the print fabric.
Turn under 1/2ʺ along the long unfinished edge of each print border strip.
Fold the trim in half, with enough overlap for the folded edge to just hide the seamline stitches. Pin in place.
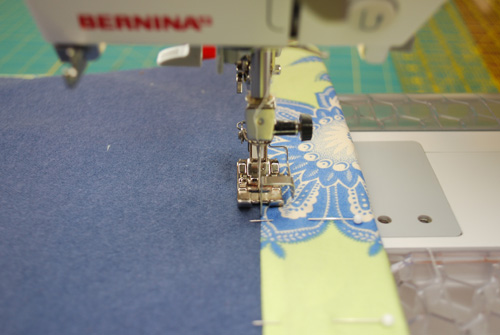
Turn your work over and pin from the front, removing the pins from the back.
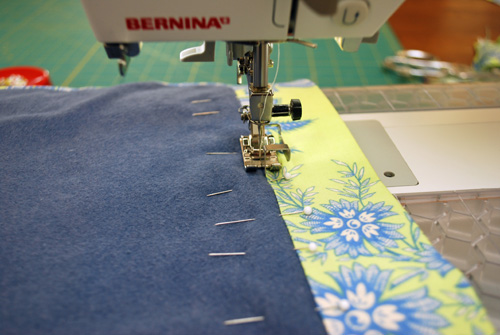
Attach the edgestitch foot to your machine and “stitch-in-the-ditch” to secure the folded edge in place.
Repeat for the second pillow back piece.
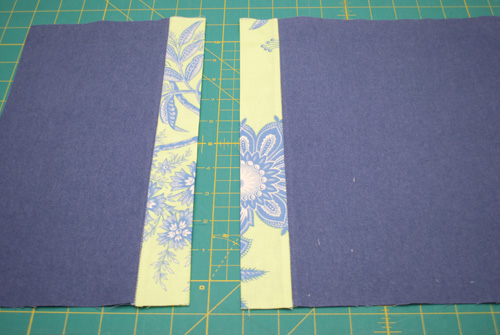
Overlap the two pillow cover back pieces about 2ʺ, with the narrow piece over the wider piece as shown. Pin to secure.
Baste the edges together.
Step 2) Add the borders and miter the corners.
Center a border strip to one edge of the pillow cover back. Do not trim to fit! Pin in place.
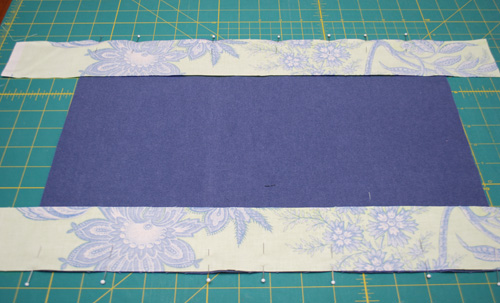
Repeat for the remaining three edges of the pillow cover back and the four edges of the pillow cover front.
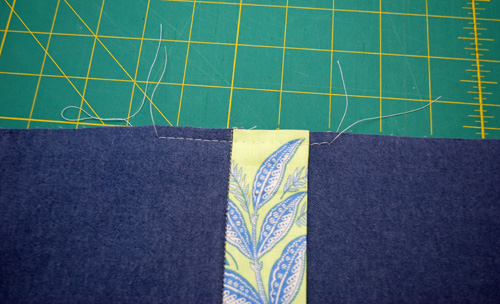
Stitch the border strips in place with a 1/4″-wide seam allowance, taking great care to start and stop 1/4″ from each end. This step is critical, so make sure you are not sewing all the way to the end.
Tip: A 1/4″ foot, such as BERNINA Patchwork Foot #37, has sides that are exactly 1/4″ from the center needle position. It also has markings 1/4″ in front and in back of the needle, making it easy to stop and start 1/4″ from an edge.
When all eight strips have been sewn to the pillow cover front and back, you are ready to miter the corners. This step scares many crafters but is actually very simple, so don’t fret!
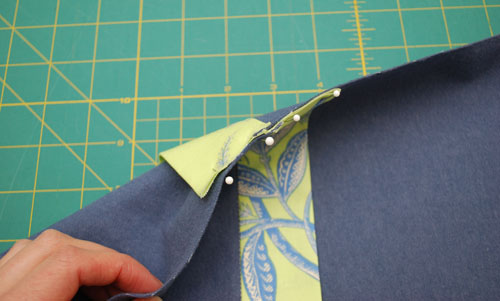
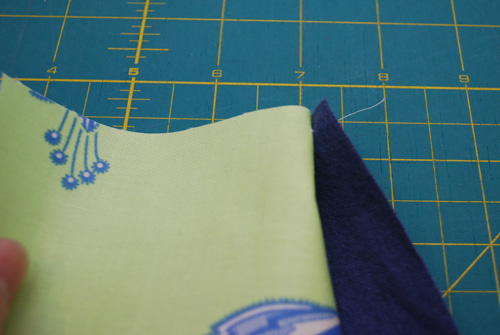
Pick a corner and fold it diagonally to create a triangle. The excess trim will naturally stack on itself.
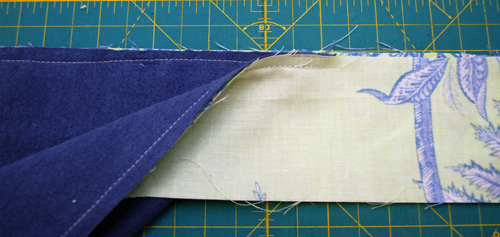
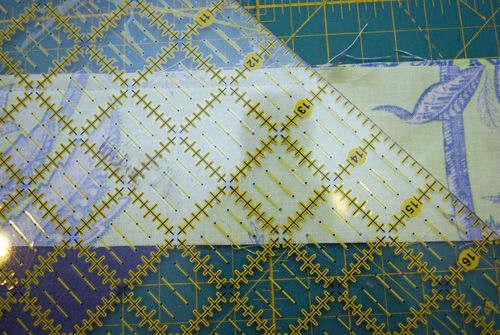
Place the clear quilters ruler over the corner at a 45° angle, with the edge of the ruler meeting the very last stitch of the seam. (The 13ʺ line in the photo.)
Draw a line along this edge to mark your stitching line.
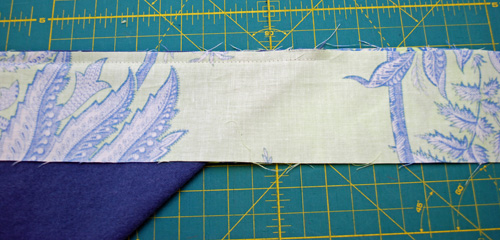
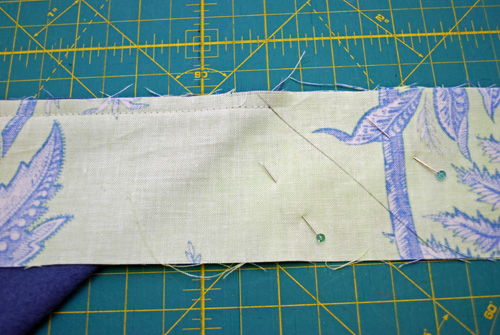
Stitch along the drawn line, then trim the seam allowances to about 1/4ʺ wide.
Pin the pillow cover front and back right sides together. If the edges are not even, you may trim them accordingly.
Sew around all sides of the pillow cover using a 1/4ʺ-wide seam allowance.
Turn the pillow cover right side out. Pin around the outer border to keep the layers from shifting.
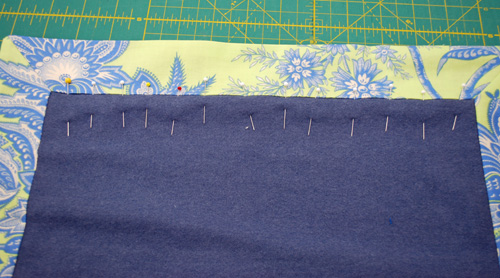
Stitch-in-the-ditch between the border trim and the flannel around all four sides of the pillow cover.
Press and you’re done!
What you might also like
17 comments on “How to Make an Airplane Pillow Cover”
-
-
Oops! That’s my fault, not Juliette’s; at the very end of step 1 it should say “Stitch.” I’ll fix the PDF and get it put back right away. Thanks for catching that! Jo
-
-
a picture of the back of the pillow would very helpful!
-
In reading step one, i am confused. You want to cut one of the 12″ X 16″ pieces into a 6″ X 16″ and a 10″ X 16″ piece. That doesn’t add up. Then I am supposed to pin the 4″ X 12″ print on the long side. Do you mean to cut the piece into two pieces, one 6″ X 12″ rectangle and one 10″ X 12″ rectangle?
-
Sorry – Another editing error. That should read “cut one of the 12″ x 16″ pieces into a 6″ x 12″ and a 10″ x 12” piece.
-
-
I love this pillow cover. How may I obtain the pattern?
-
Hi Joyce – Just below the description of the project, above the yellow box, there’s a link to the project. On my computer it’s in red, underlined. Click on the link and a PDF of the instructions will open. Happy sewing! Jo
-
-
It seems that the last instructions of the pattern are missing in the pdf. The last step listed is step 4, and the last thing it says to do is “Pin to Secure”.
-
I’ve replaced the PDF file; you should find four pages now. Jo
-
-
The instructions stop with step 4 on page 2 of the PDF file. There is a 3rd page, but there is nothing on it. Where is the rest of the instructions?
-
This cannot be all the instructions. Page 3 didn’t even load and I’ve tried it several times. Did anyone else have trouble?
-
When I am in the project link, I am missing page 3 of the instructions. I can print the PDF file, but won’t until I can get page 3. Thank you.
-
I see the entire pattern now, thank you!
-
Thanks for fixing the problem with all the pages showing up. I have it now and have printed it. I plan to make 4 of these as my daughter’s family is taking a long plane trip this summer. The kids are 2 and 4 and I am hoping this will entice them to sleep on the plane. I know my daughter will be happy to have these for sanitary purposes! Thank you for a really useful and cute pattern.
-
P.S. to my above comment. I am also going to learn to make mitered corners. This has been on my to do list for a long time! What a great project to learn on.
-
Thanks for uploading all the pages now.
Leave a Reply
You must be logged in to post a comment.







Hi Juliette,
In step 1, I think you forgot to tell us to sew the two pieces together and the size of the seam allowance. Since I quilt, I’m used to a 1/4″ seam, but you may mean a 5/8″ seam. That makes step 2 a little confusing, but I see in the picture that there is a sewn seam. Thanks,