Embroidered Orange Delight Pincushion Tutorial
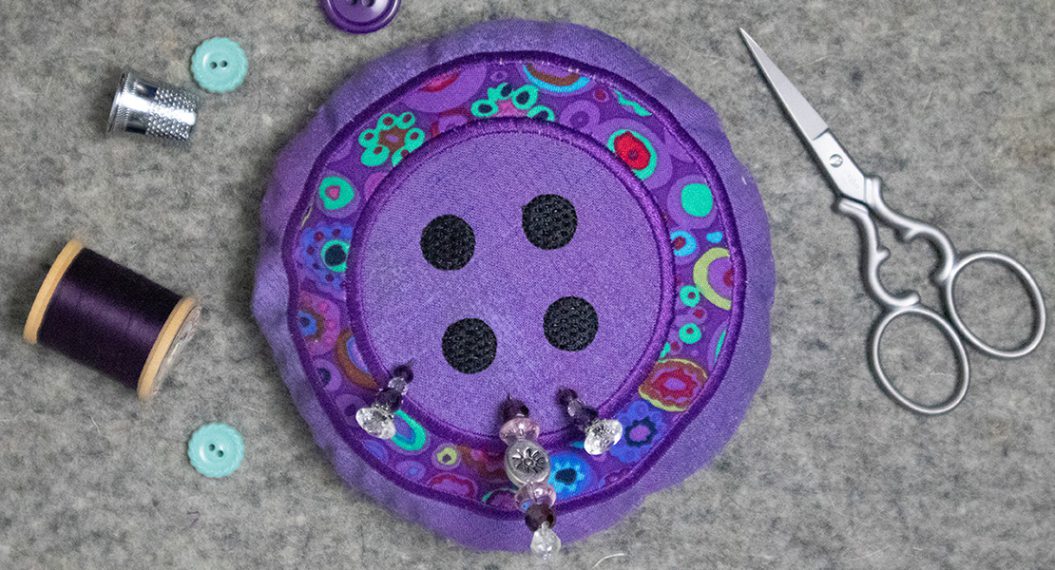
Bring a touch of joy to your sewing room with this fun pincushion from BERNINA Ambassador Nancy Mahoney. The machine embroidered top is oh-so-easy. The variegated thread adds a decorative touch and can be changed to suit your tastes. A few hours is all you need to make this pincushion, so you’ll want to make several to give as gifts.
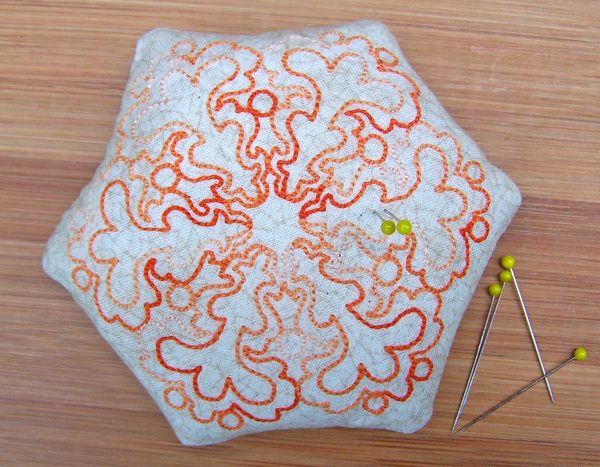
Finished size: 4 1/4″ x 3 3/4″ before stuffing
Materials
- 1 fat eighth (9″ x 18″) of beige print
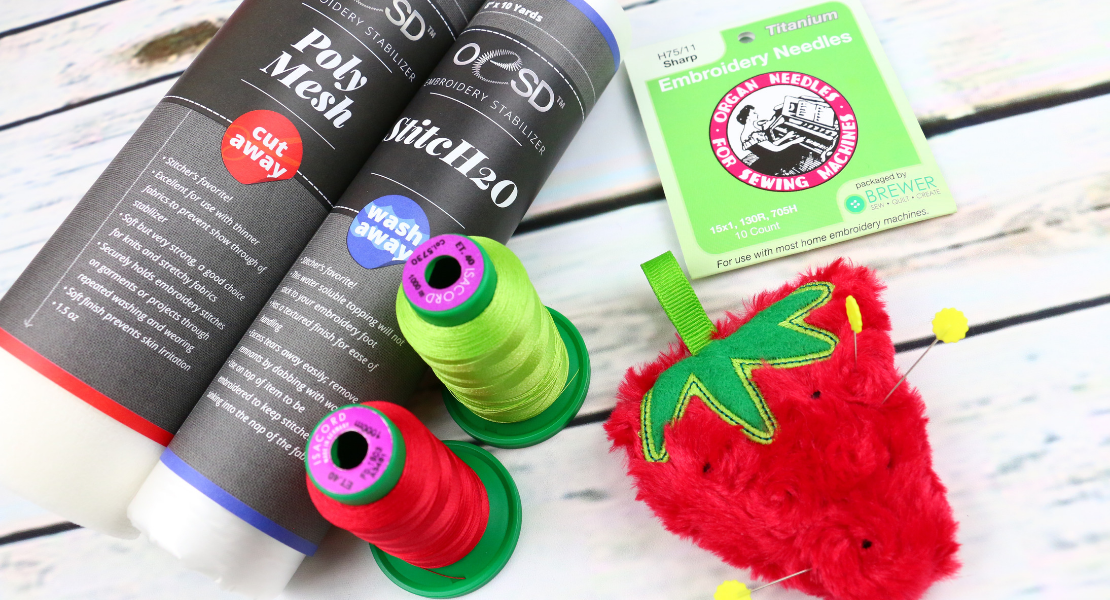
- 7″ x 9″ rectangle of OESD Wash Away Embroidery Stabilizer
- Beige Mettler 50-wt thread for patchwork
- Mettler 30-wt variegated embroidery thread (I used col. 5383)
- Sewing Machine (I used a BERNINA 780)
- Patchwork foot (#37/37D or #97/97D)
- Machine embroidery foot #26
- Sharp 80/12 needle for patchwork
- Embroidery needle for machine embroidery
- Straight Stitch plate for patchwork
- 5mm or 9mm Stitch plate for machine embroidery
- Medium hoop for machine embroidery
- Cotton stuffing or crushed walnut shells
- Fabric marking pen or pencil
- 4″ x 5″ rectangle of template plastic
Hexagon Template for Embroidered Orange Delight Pincushion Tutorial
Cutting
From the beige print, cut:
1 rectangle, 7″ x 9″
1 square, 5″ x 5″
Assembling the Pincushion
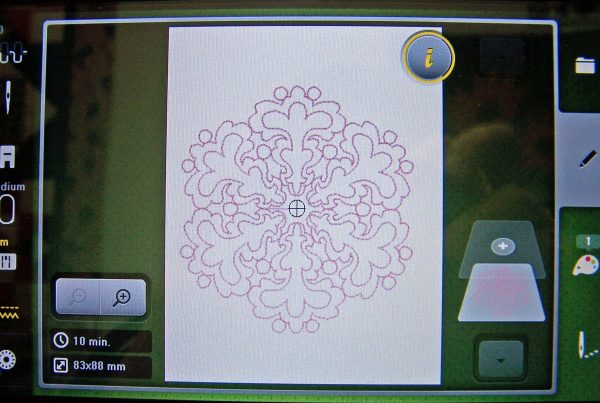
Attach the embroidery module to your machine. Install an embroidery needle and an embroidery foot. Thread the machine with 30-wt thread.
Select the embroidery design; on my B 780, I selected BD553 and reduced the size to 83 x 88 mm, or 73% of the original. Refer to the manual for your machine for help setting up your machine.
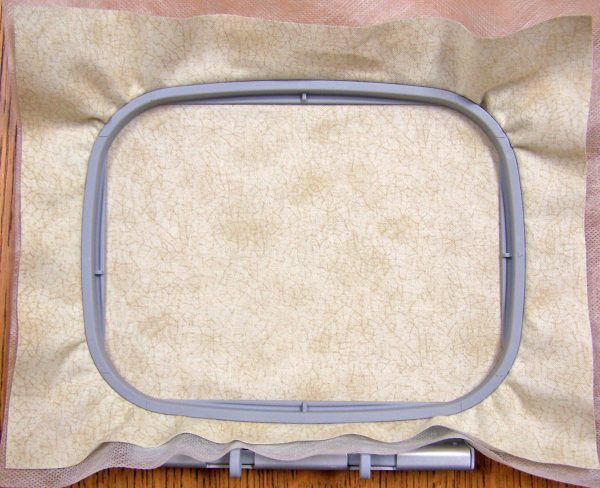
Place the beige rectangle on top of the stabilizer. Then place the layered rectangles in a medium hoop.
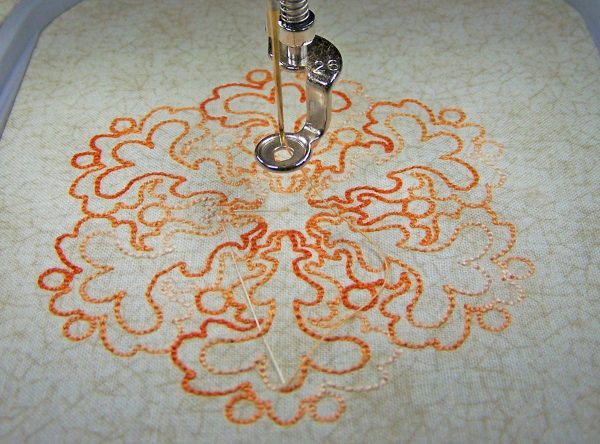
Embroider the design.
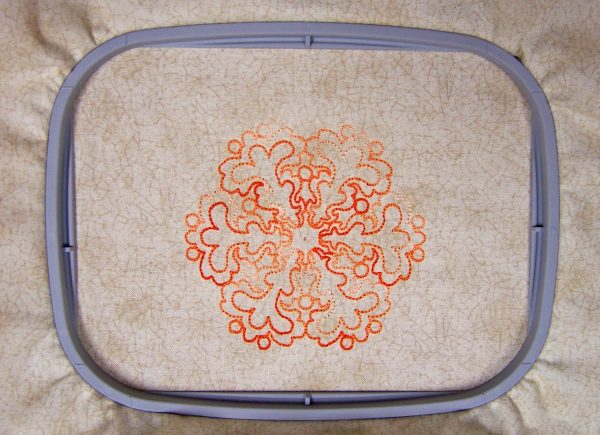
Remove the hoop from your machine and clip the threads.
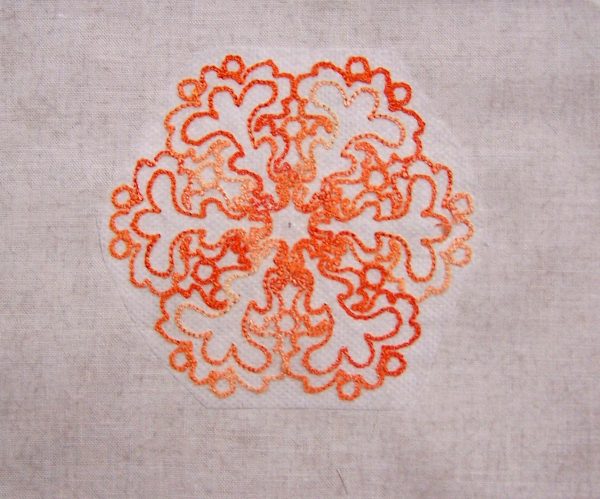
Remove the hoop and trim away the stabilizer on the wrong side of the fabric. Follow the manufacturer’s instructions for removing the remaining stabilizer.
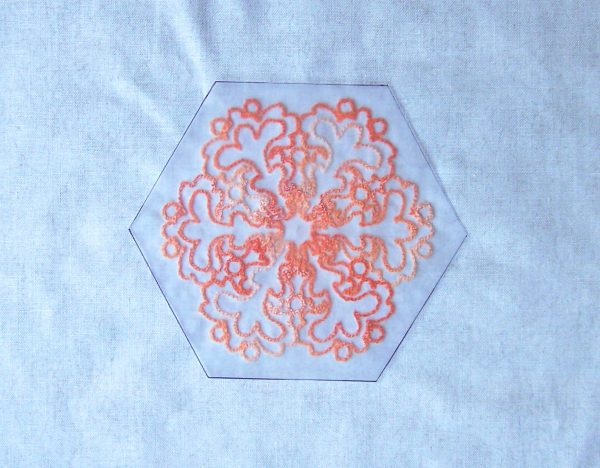
Trace the hexagon pattern onto template plastic, and then cut out the template. Centering the design, place the template on the wrong side of the embroidered rectangle.
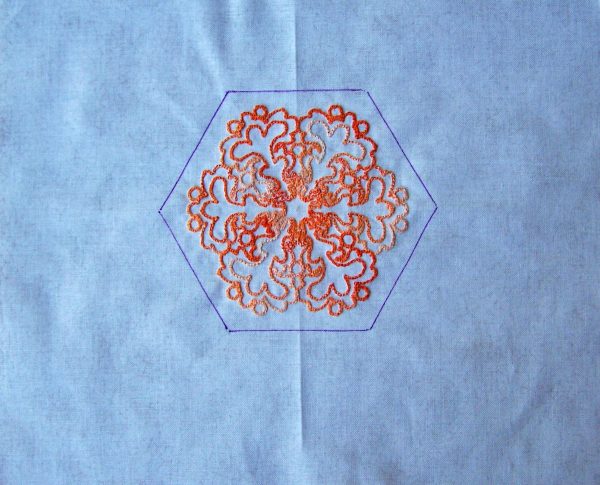
Using a fabric marking pen or pencil, trace around the template.
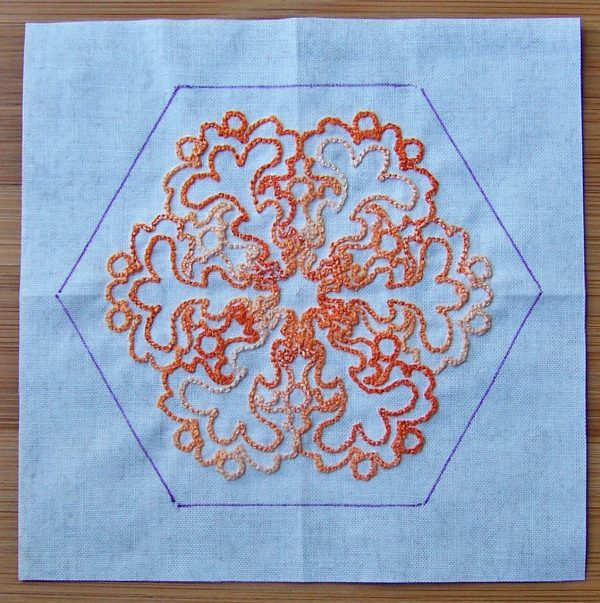
Centering the design, trim the beige rectangle to 5″ x 5″.
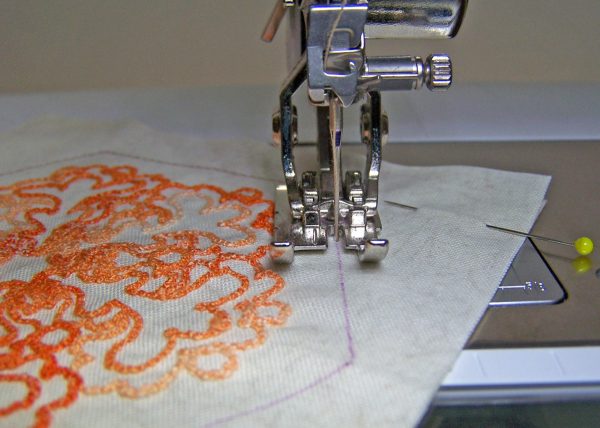
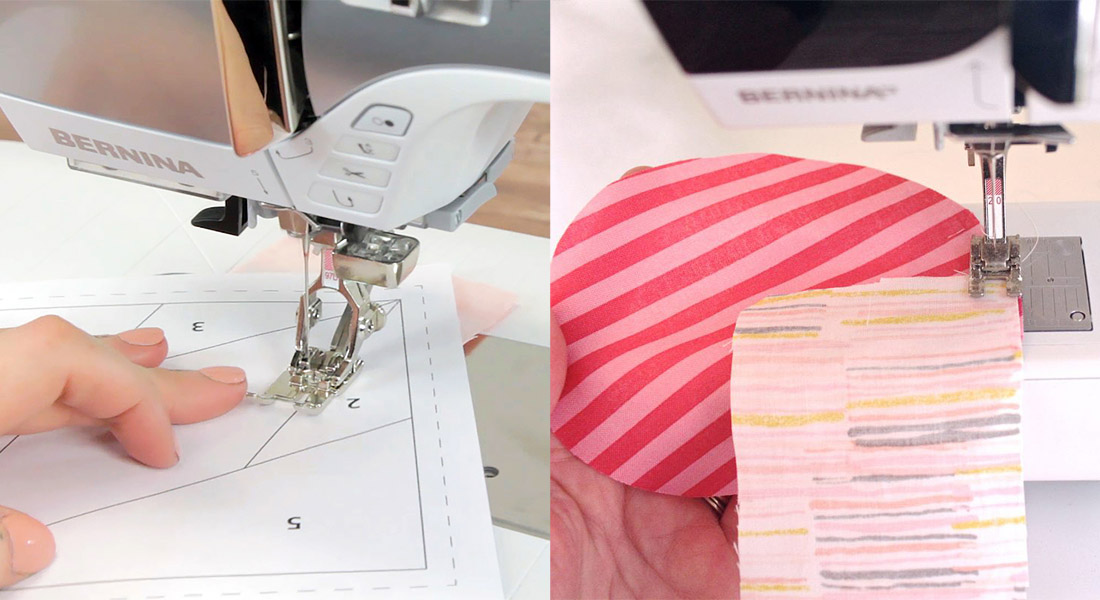
Install a Patchwork foot (BERNINA Patchwork Foot #97D pictured), straight stitch plate, and an 80/12 needle. Use a straight stitch and set
the stitch length to 2.25. Lay the embroidered square on the remaining beige square, right sides together. Pin the layers together.
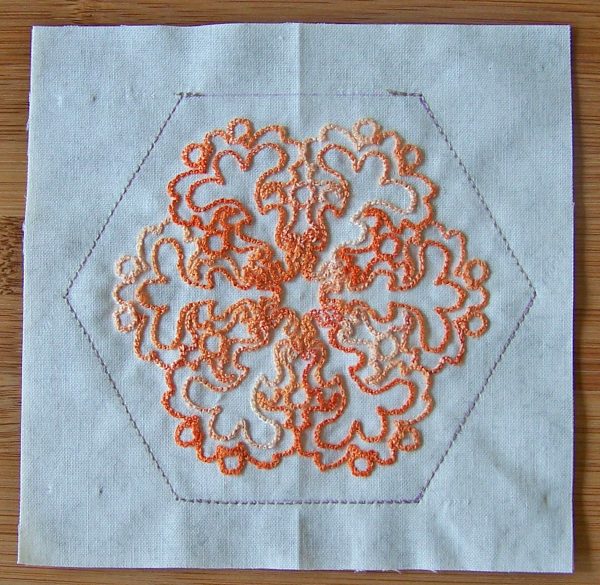
Starting 2 or 3 stitches from one corner with a backstitch, sew on the hexagon outline all the way around. Stop sewing 2 or 3 stitches
beyond the last corner with a backstitch to leave a 1-3/4″-wide opening for turning.
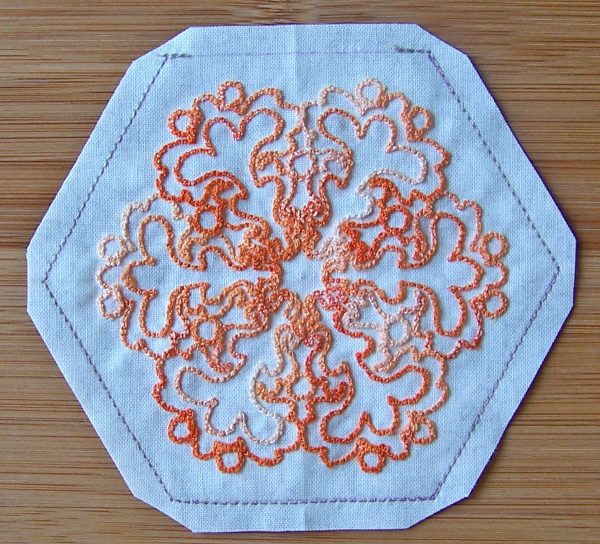
Trim 1/4″ from the stitched line. Trim the corners.
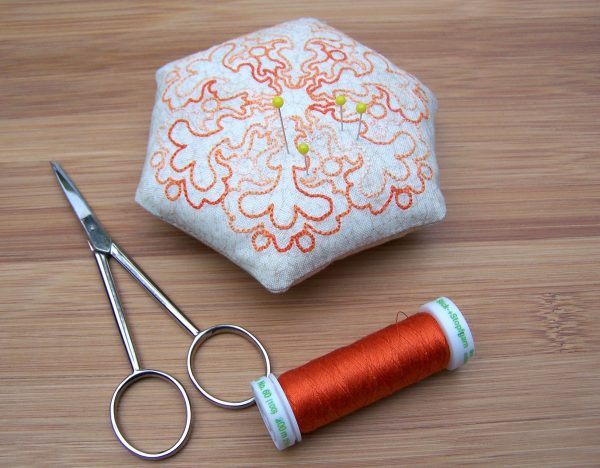
Turn the pincushion right side out through the opening; pressing the seam allowance along the opening under. Stuff firmly with cotton
stuffing and/or crushed walnut shells. Hand stitch the opening closed.
Tip: Add small amounts of stuffing at a time. Pack the stuffing firmly, then add more stuffing.
What you might also like
4 comments on “Embroidered Orange Delight Pincushion Tutorial”
-
-
Sandy, on your Bernina 780, you have a folder of embroidery designs that came with your machine. Choose Embroidery, open the folder on the machine, and choose design BD553. I teach the guide classes for all the Bernina Embroidery machines at my dealership–have fun!
-
-
Great project, Nancy. I’m going to use your tutorial in the My Bernina 4 new owner classes I’m teaching.
-
Is this design available on the Bernina 830?
Leave a Reply
You must be logged in to post a comment.



I also have a Bernina 780, but I have no idea what design BD553 is. Can you clarify, please? Thanks!