Free-Motion Quilting Scissors Pincushion Tutorial
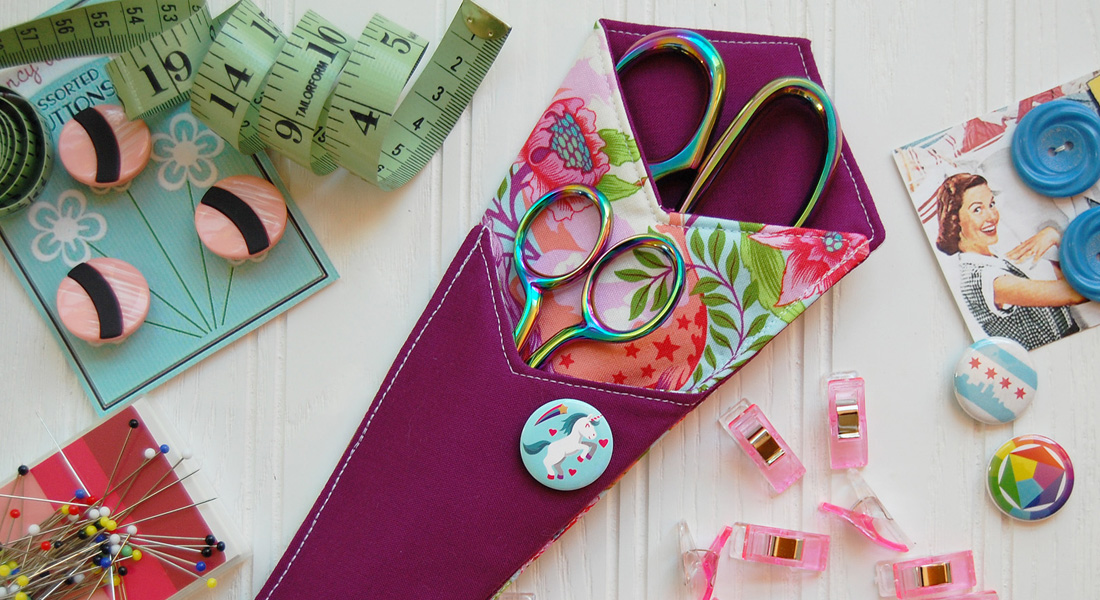
Learn how to make a free motion quilted scissors motif, then turn your snips into a mini-quilt or pincushion with this tutorial from Lori Kennedy of The Inbox Jaunt.

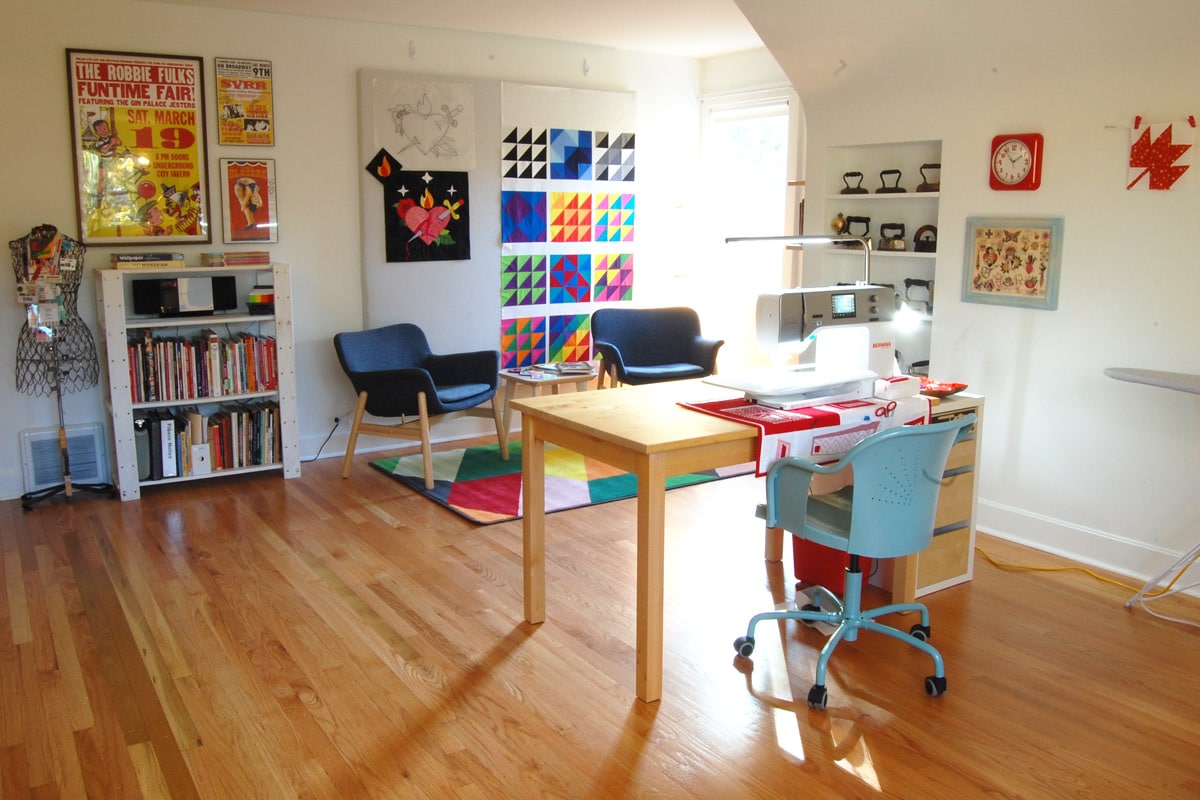
Do you need to spruce up your sewing studio? Or, do you need a gift for your sewing friends? In less than an afternoon, you can free motion quilt The Scissors motif wall hanging or divide the banner into pincushions to give as gifts with this free motion quilted scissors pincushion tutorial.
Materials to make a Scissors Motif Banner or Pincushion
- Fat quarter solid fabric
- Fat quarter print fabric for backing
- Lightweight batting
- Rayon, Polyester or other decorative thread for Free Motion Quilting
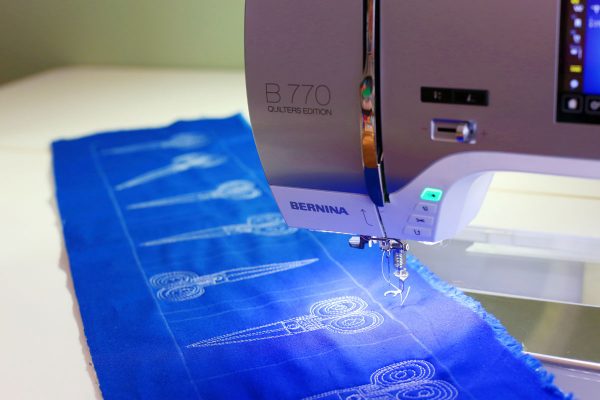
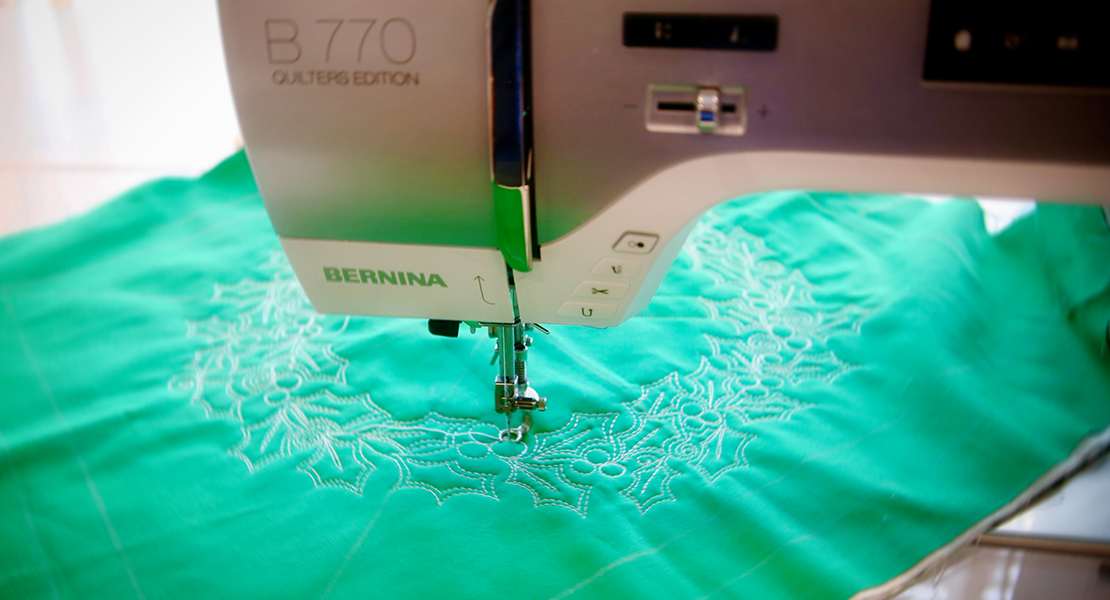
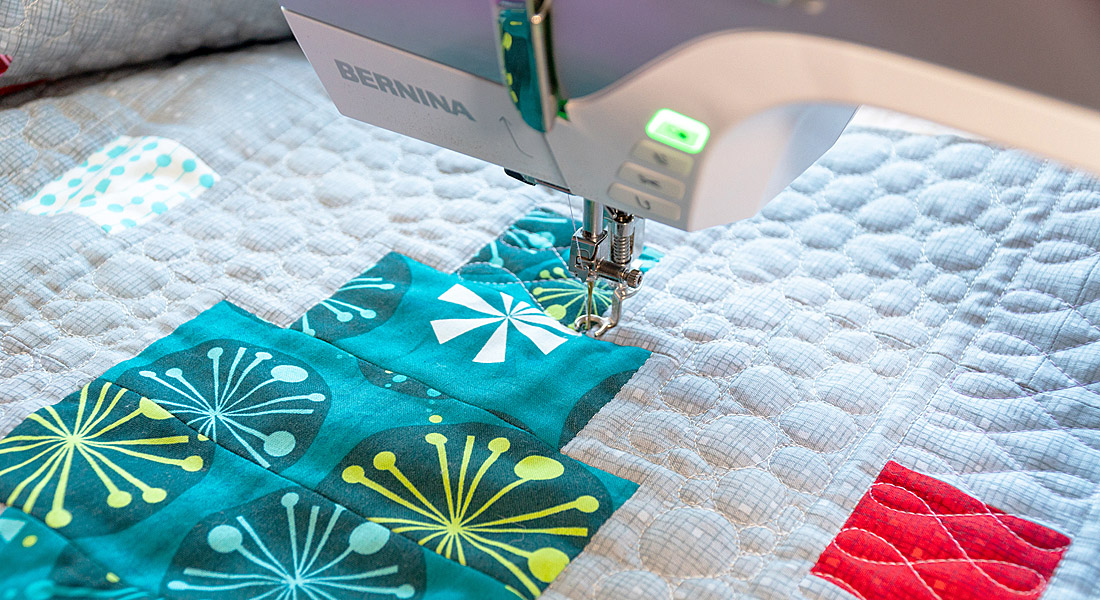
- Sewing machine (I use a BERNINA 770)
- Thread for construction of pincushion (cotton or polyester)
- For Pincushion, add:
Fiberfill
Ground nutshells for pincushion filling (optional)
Lavender (optional)
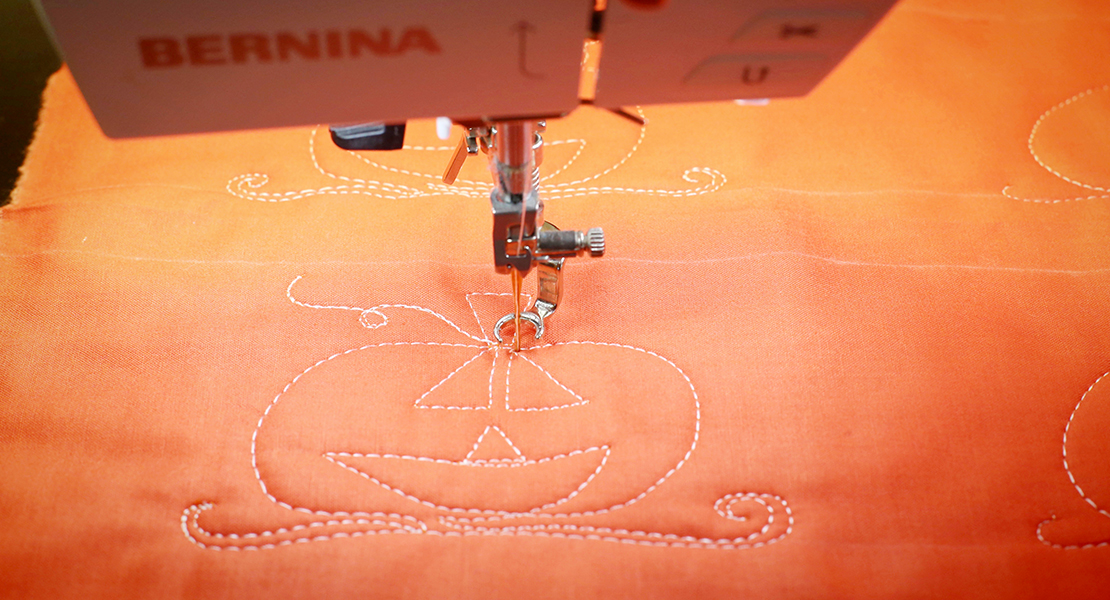
How To Free Motion Quilt a Pair of Scissors
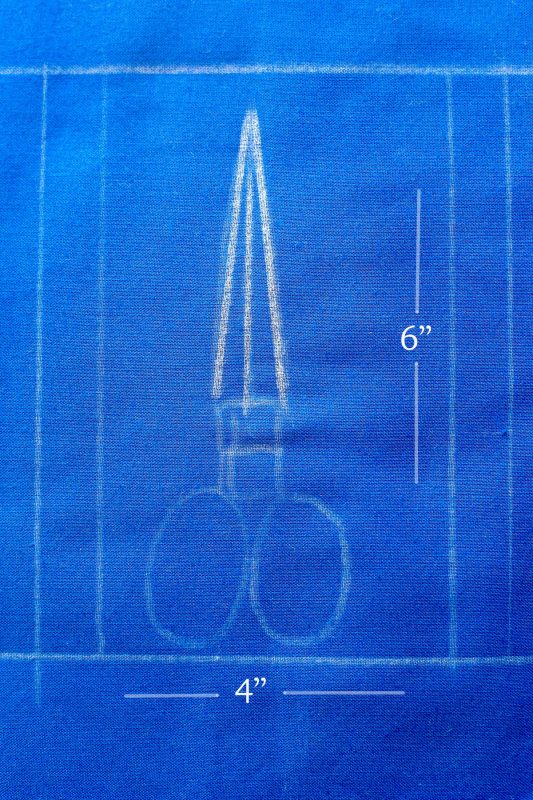
Begin by drawing a 4″ x 6″ rectangle. The scissors are easy to draw: draw two ovals, two small squares and one long triangle. Optional: use a ruler to draw the triangle.
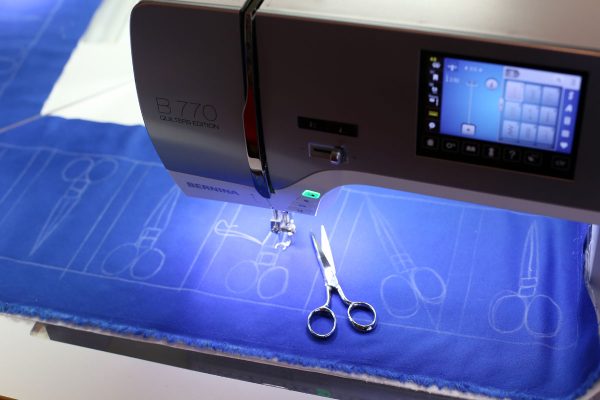
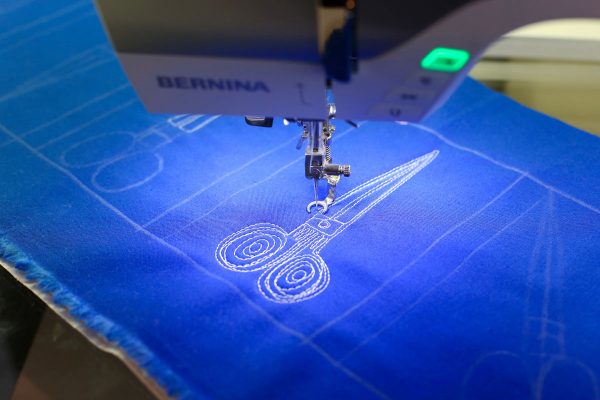
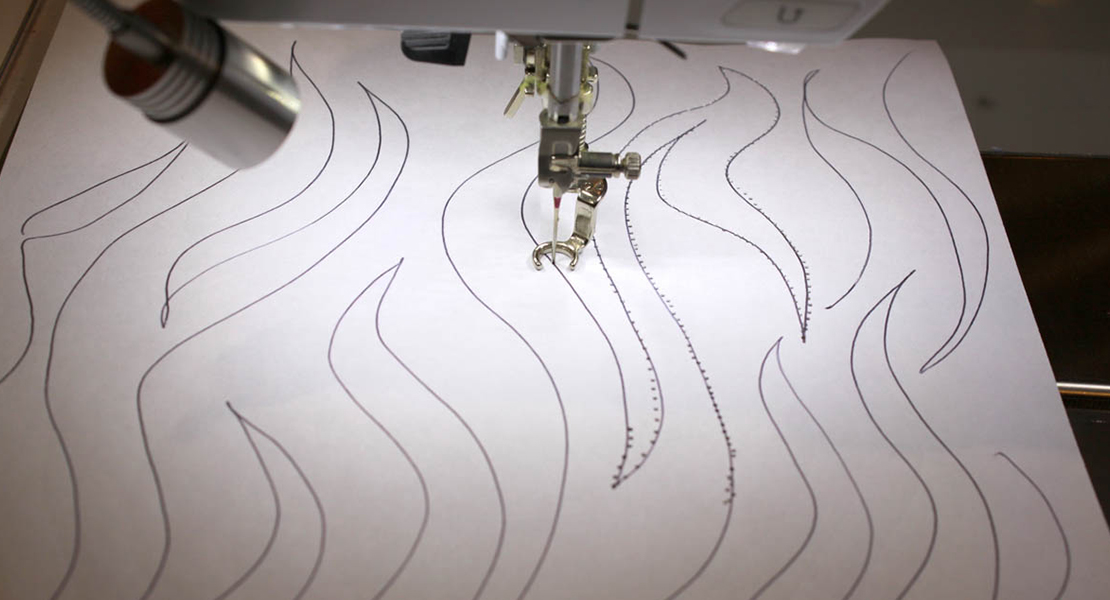
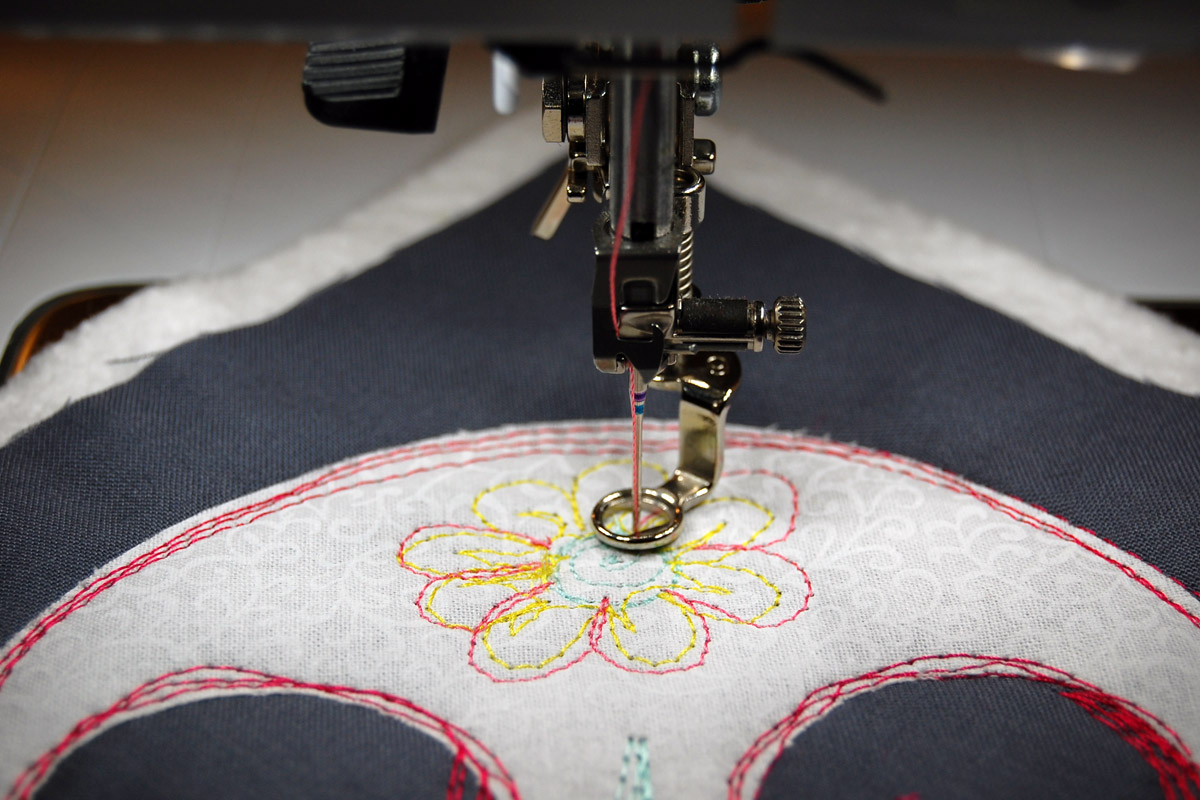
Create a quilt sandwich with light batting and set your machine for free motion quilting. Use a BERNINA Stitch Regulator, Quilting foot #29, or my favorite, the Free-motion embroidery foot #24, shown here.

Begin stitching on the left side of the long triangle. Stitch up to the point and back down again. Stop here with the needle down.
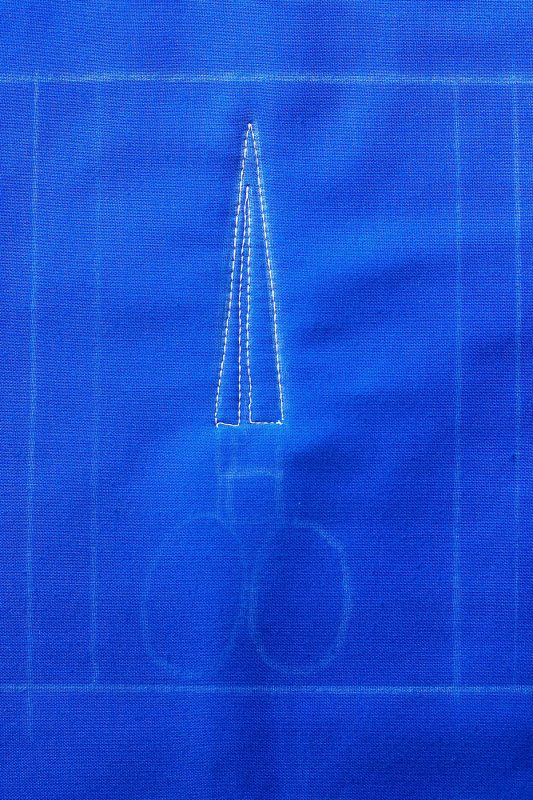
Stitch to the left a few stitches, then stitch into the center of the triangle and back down again. (NOTE-It is better to stop short of the very tip of the triangle to avoid a build up of stitches at the point.) Stitch to the left, back to the beginning of the stitching line.
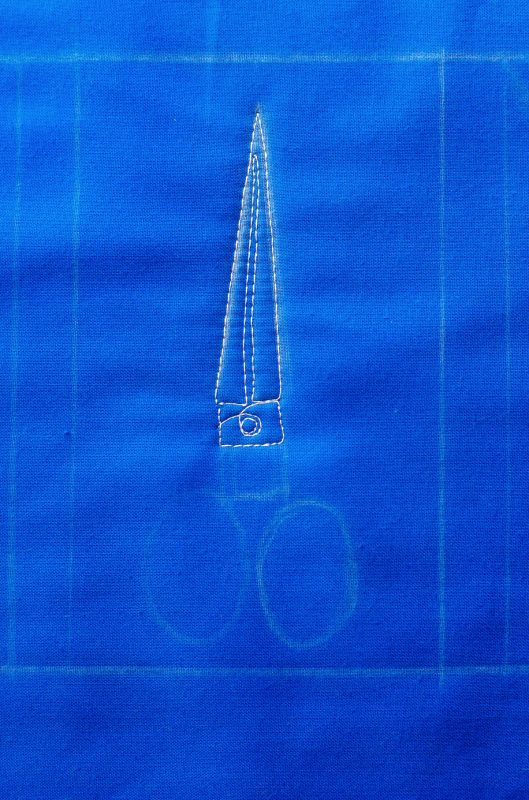
Stitch around the top square, then stitch a small circle to create the scissor’s screw. Stitch to the side of the top square. Stop with the needle down.

The lower square and the oval form the handle of the scissors. Stitch all the way around the two shapes to create the left handle.
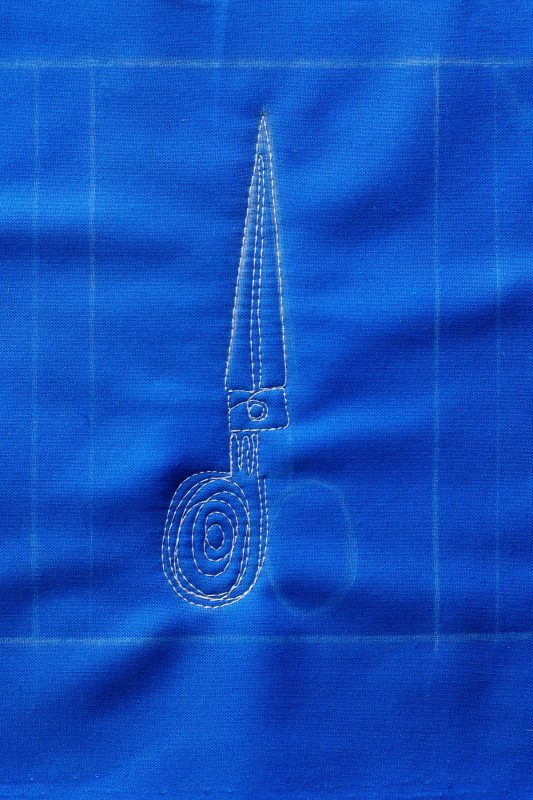
Fill in this shape with wavy lines on top and a messy spiral.
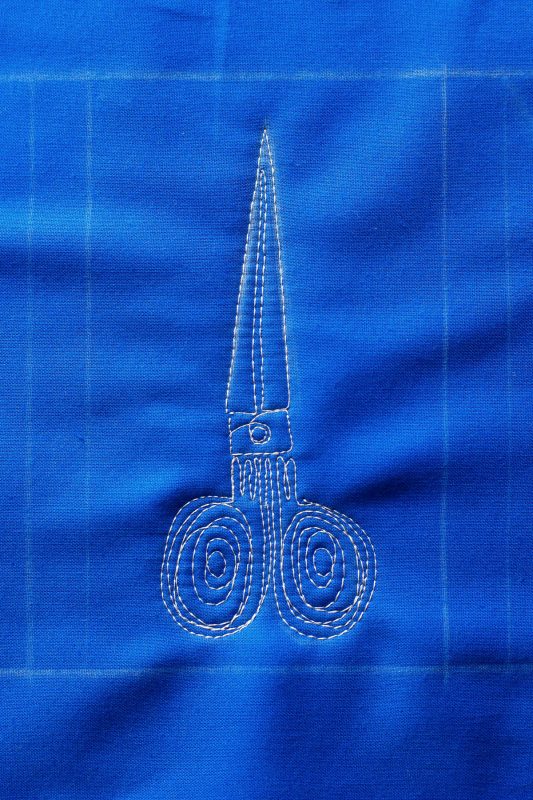
Stitch around the right handle and fill in the shape with a messy spiral as well.
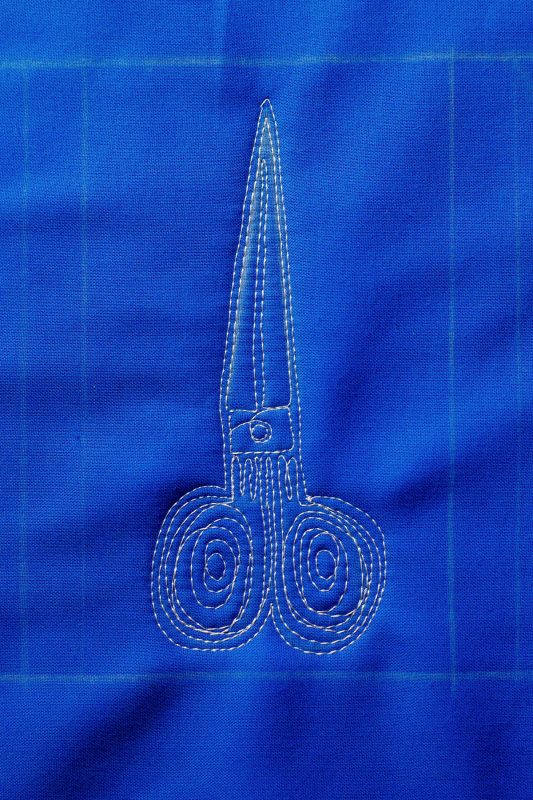
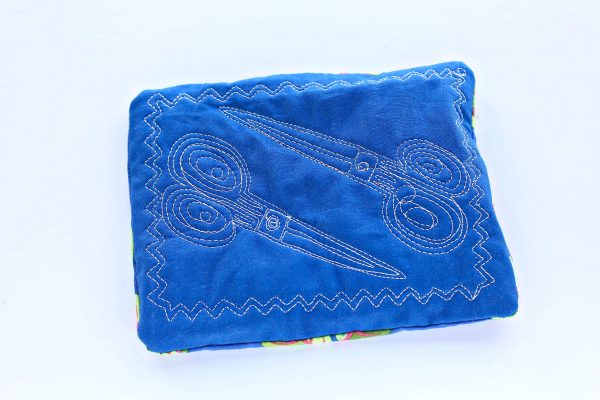
Closely echo stitch around the entire motif to complete one perfect pair of scissors.
CAUTION-These scissors are for FABRIC ONLY!!
Once you start, you won’t want to stop!
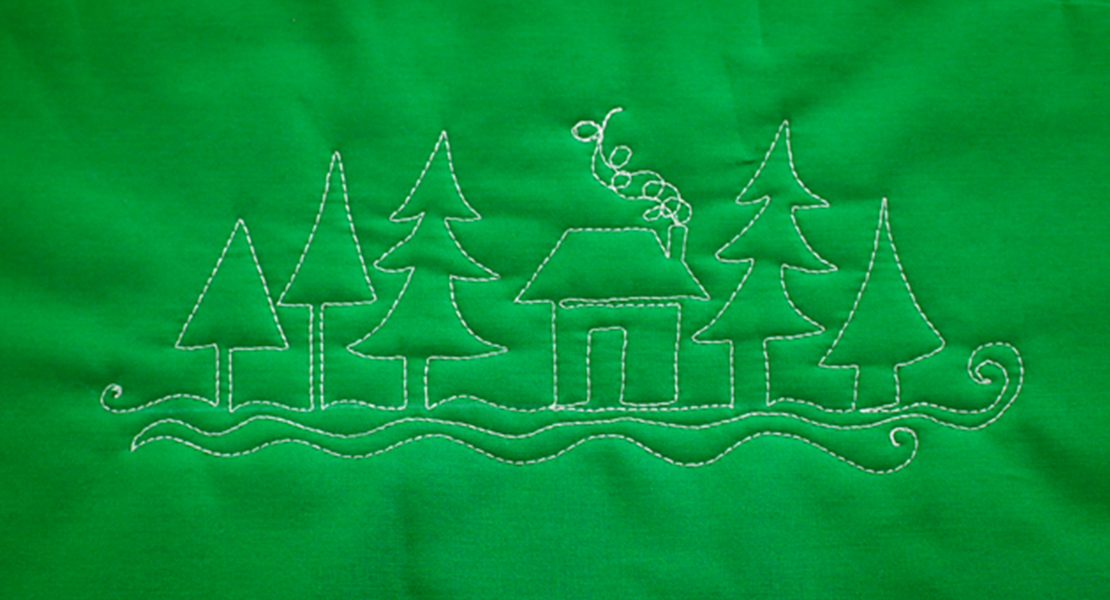
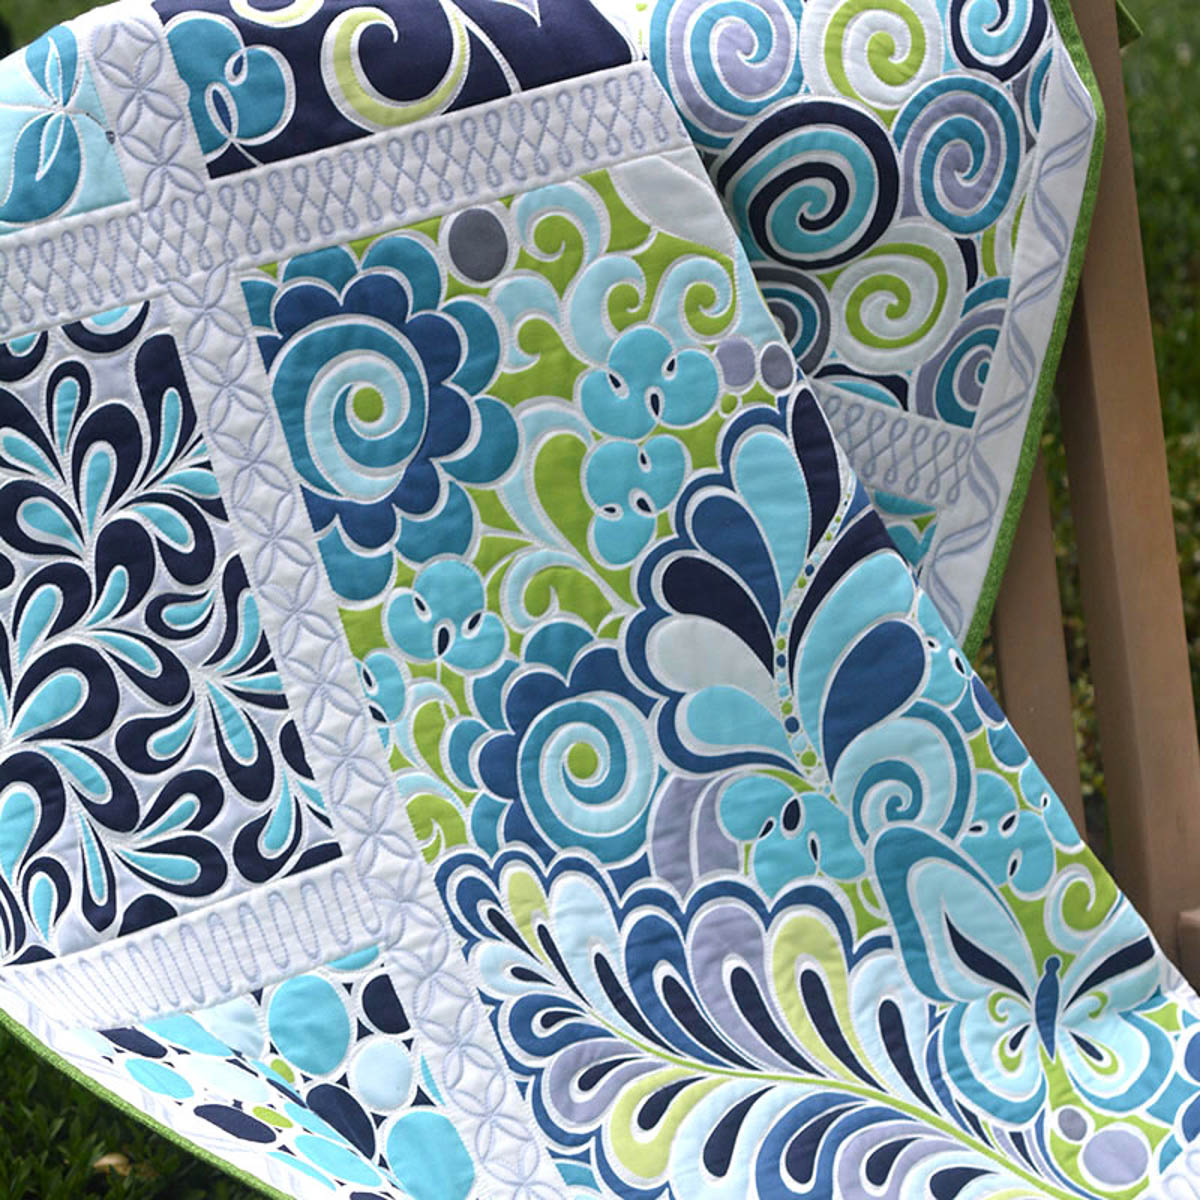
How To Make a Free Motion Quilted Scissors Banner
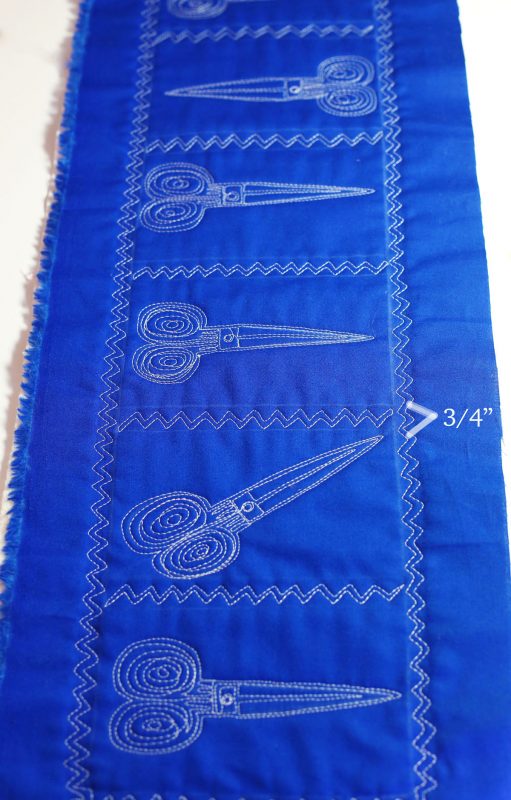
To make the banner wall hanging, space the scissor ¾” apart. Free motion quilt a decorative line between each pair of scissors and around all of them to create a frame.

To create the frames around the scissors, free motion quilt a double line of zig zag or use one of the gorgeous decorative stitches available on your BERNINA! Finish binding the edges of your banner using your favorite method.
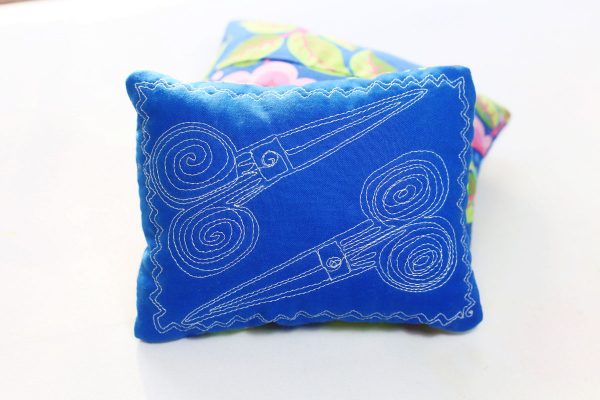
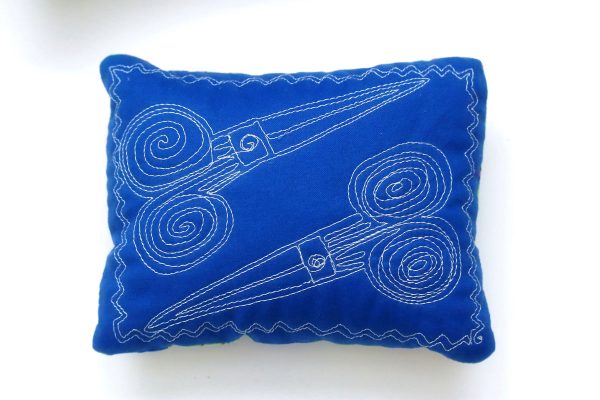
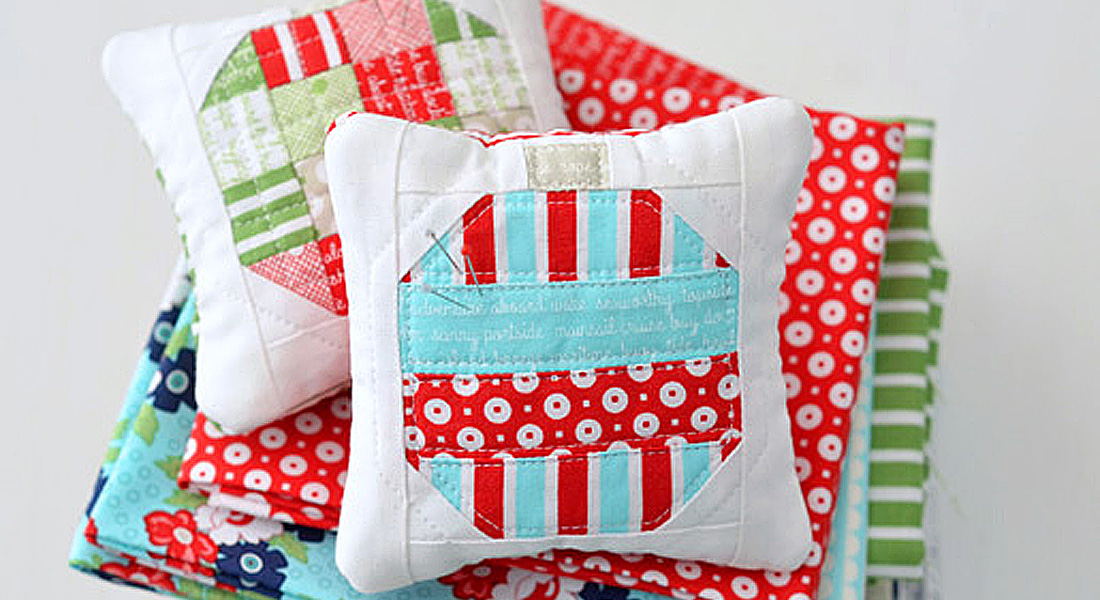
How To Make a Free Motion Scissors Pin Cushion
The Pin Cushion can be made with one or two Scissor motifs.
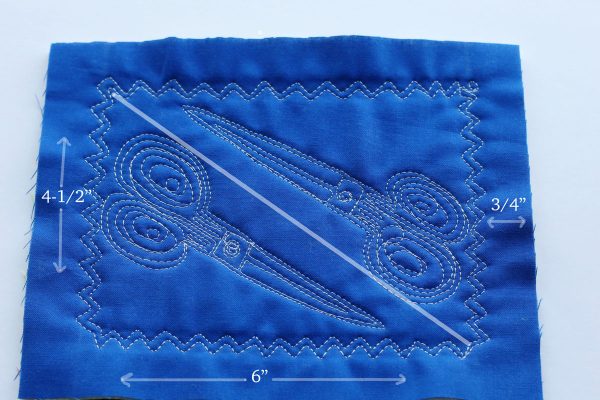
To create the Pincushion with two pairs of scissors, draw a rectangle 6″ x 4-1/2″ and divide it diagonally. Draw and stitch the scissors as above.
NOTE-Each pincushion requires a margin of ¾” all the way around. If you are sewing several pincushions in a row, leave 1-1/2″ between each rectangle.
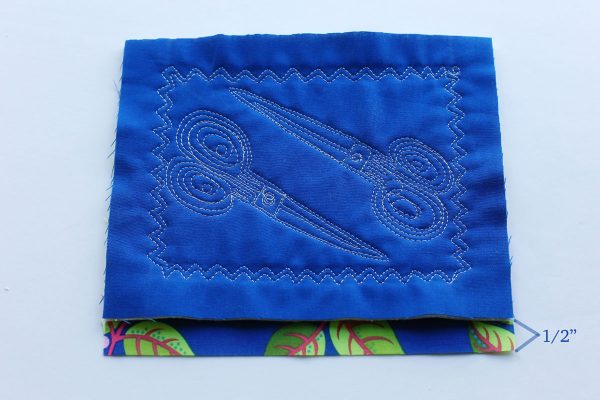
Cut a backing for the pincushion ½” longer than the top of the pincushion.
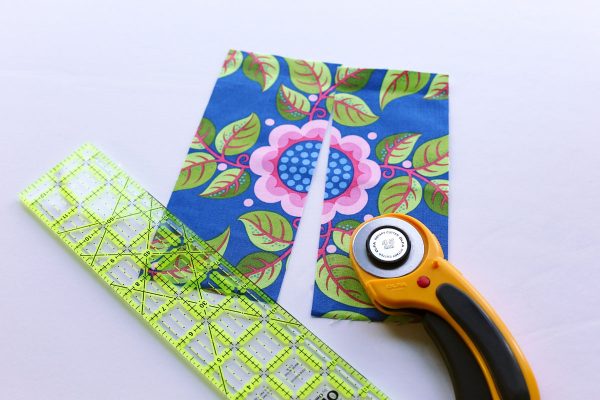
Cut the backing in half.
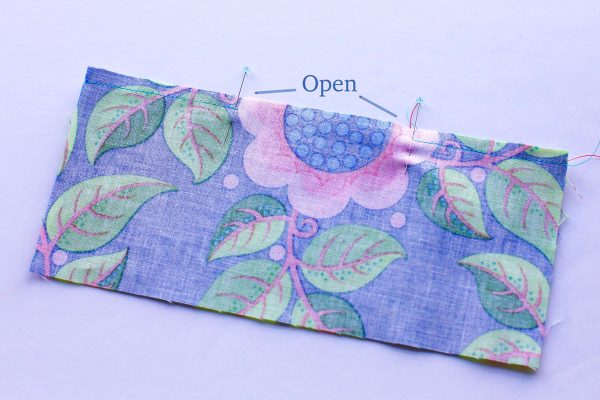
Stitch a seam in the backing, leaving an opening for turning and stuffing. NOTE-It is neater to hide the final slipstitching in this seam than in an edge seam.
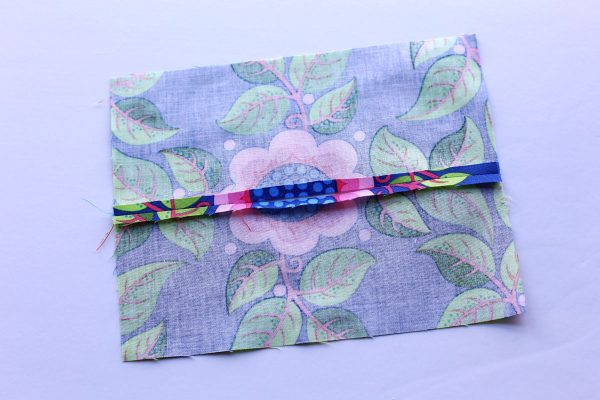

Press the seam open.
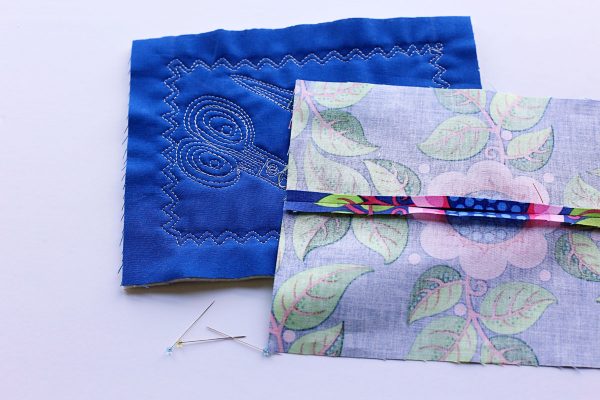
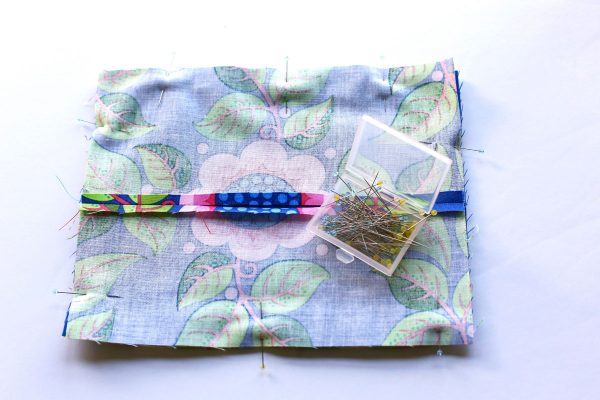
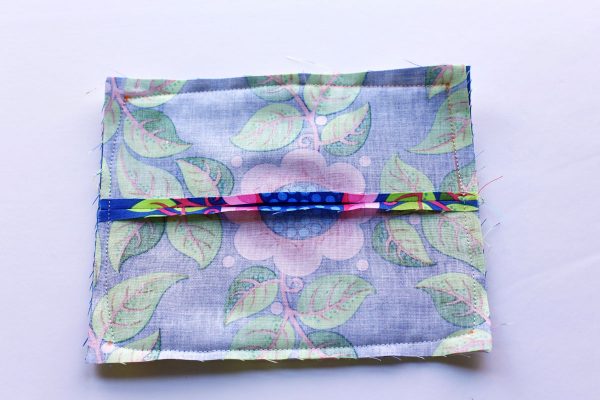
Pin the backing to the quilted motif, right sides together.
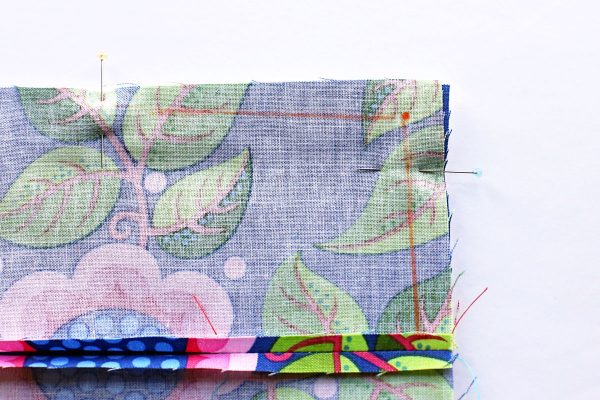
The pincushion will be stitched with a ¼” seam allowance. Taper into the corners slightly to give the pincushion a better shape.
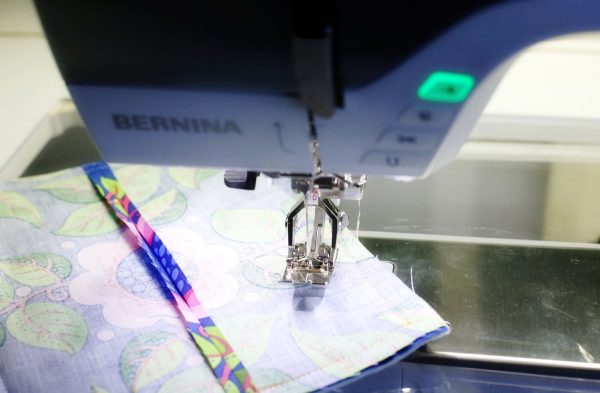
Set the machine for standard sewing and stitch all the way around the rectangle using a ¼” seam allowance.
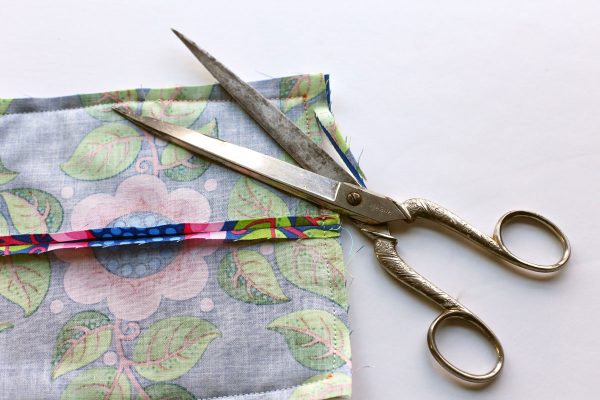
Trim the corners.
Turn right side out.

Stuff with fiberfill or ground nut shells (available at your local quilt store or pet store in the bird aisle). Add a little lavender for an additional treat to your senses!
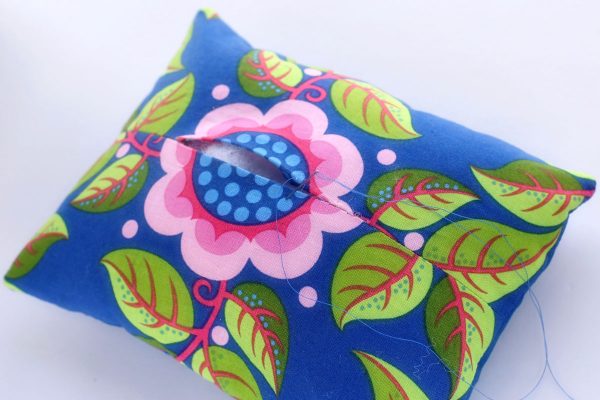
Slip stich the seam.
Voilà! Just add pins!
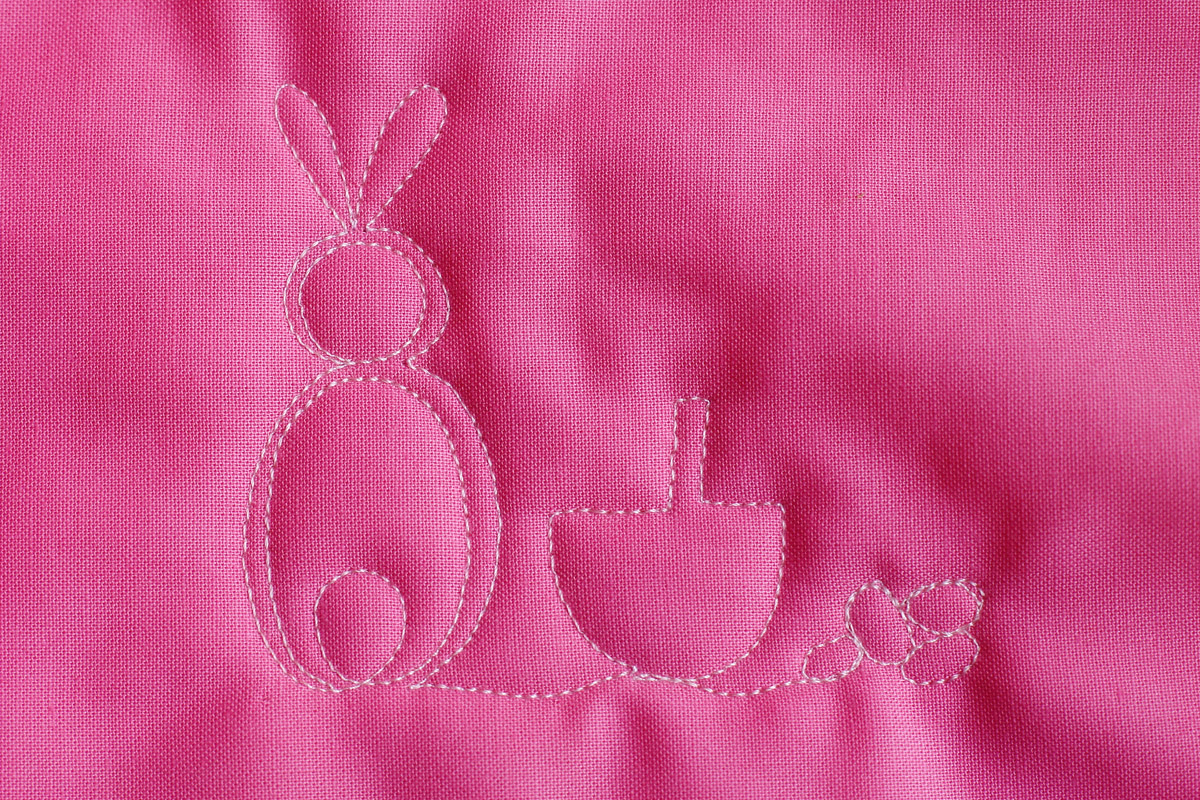
For more variety, free motion quilt Spools of Thread on to your pincushions with this free tutorial.


7 comments on “Free-Motion Quilting Scissors Pincushion Tutorial”
I love this tutorial. Sometimes I can be a bit thick headed with tutorials but this one was very clear to me. Thank you.
“Taper into the corners” was magic to my eyes. It’s the most logical and helpful tip I’ve seen in a long time, thank you!
So glad you found it helpful–it works on all size pillows!
Darling, can’t wait to try them.
Thus too I can’t wait to make. I think I might add a length of same backing fabric making 1/4″ bias attatch to Cnr of pin cushion then say 15″ at the other end small pair of embroidery scissors. Now tell me why and how much ground nut seed would you add. Love the idea of lavender.
Reptile Aisle.
Love Lori’s step by step FMQ directions.