Easy DIY Pronoun Pin
Description
Happy Pride month! I’ve been busy reorganizing my sewing room now that I’ve acquired my own L890, but I wanted to make this project and put it up before June is over! To celebrate pride, I designed my own pronoun pin in Embroidery Software 9, and then stitched it out and finished the project on my B770!
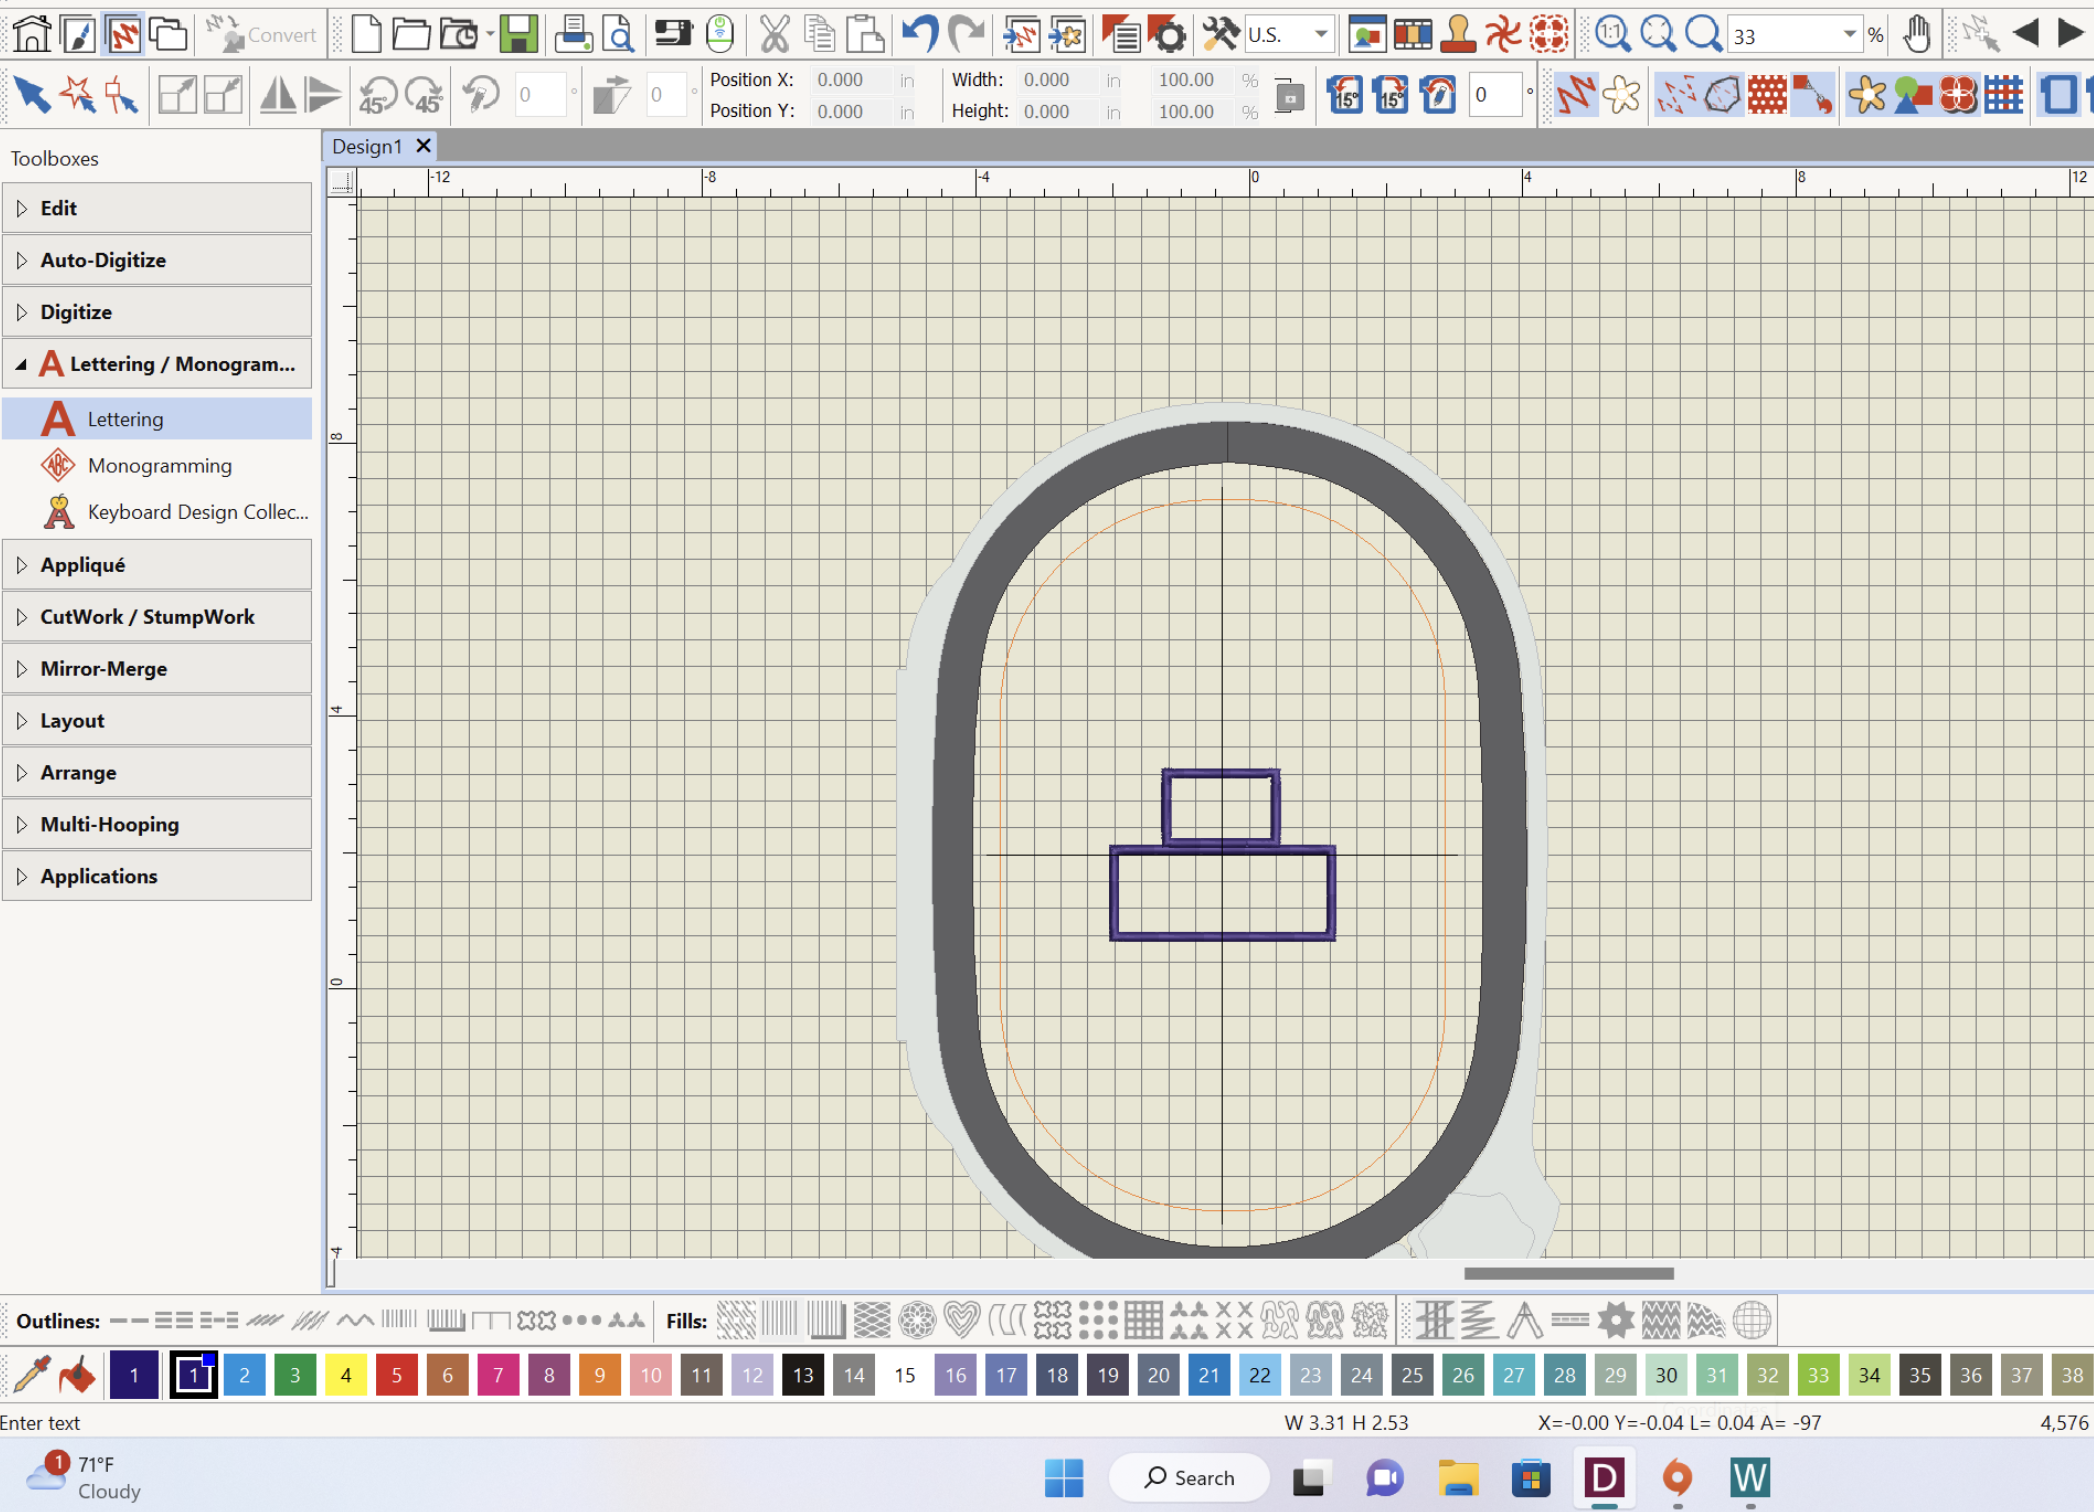
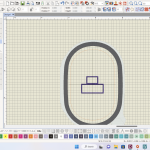
To start, I set up my embroidery canvas on Embroidery Software 9 to use the midi hoop and used the rectangle tool to make a rectangle that was eight units by three units– about three inches by one inch. The size doesn’t necessarily matter, as long as you can easily locate the center. I made a second rectangle the same height (three units), and about half of the width (four units) of the large rectangle.
After that was done, I lined the smaller rectangle on top of the larger one so it rested in the middle– I included a picture for demonstration. This will serve as the flap that I folded over to make a loop on the back to thread a pin through so I can wear it. If you’d rather make this a patch, you can skip this step.
For these rectangles, I used the satin stitch fill for both, but you can experiment with different designs for them. I liked the satin stitching because it provided some structure for the pin so it can support itself and not fold over on itself.
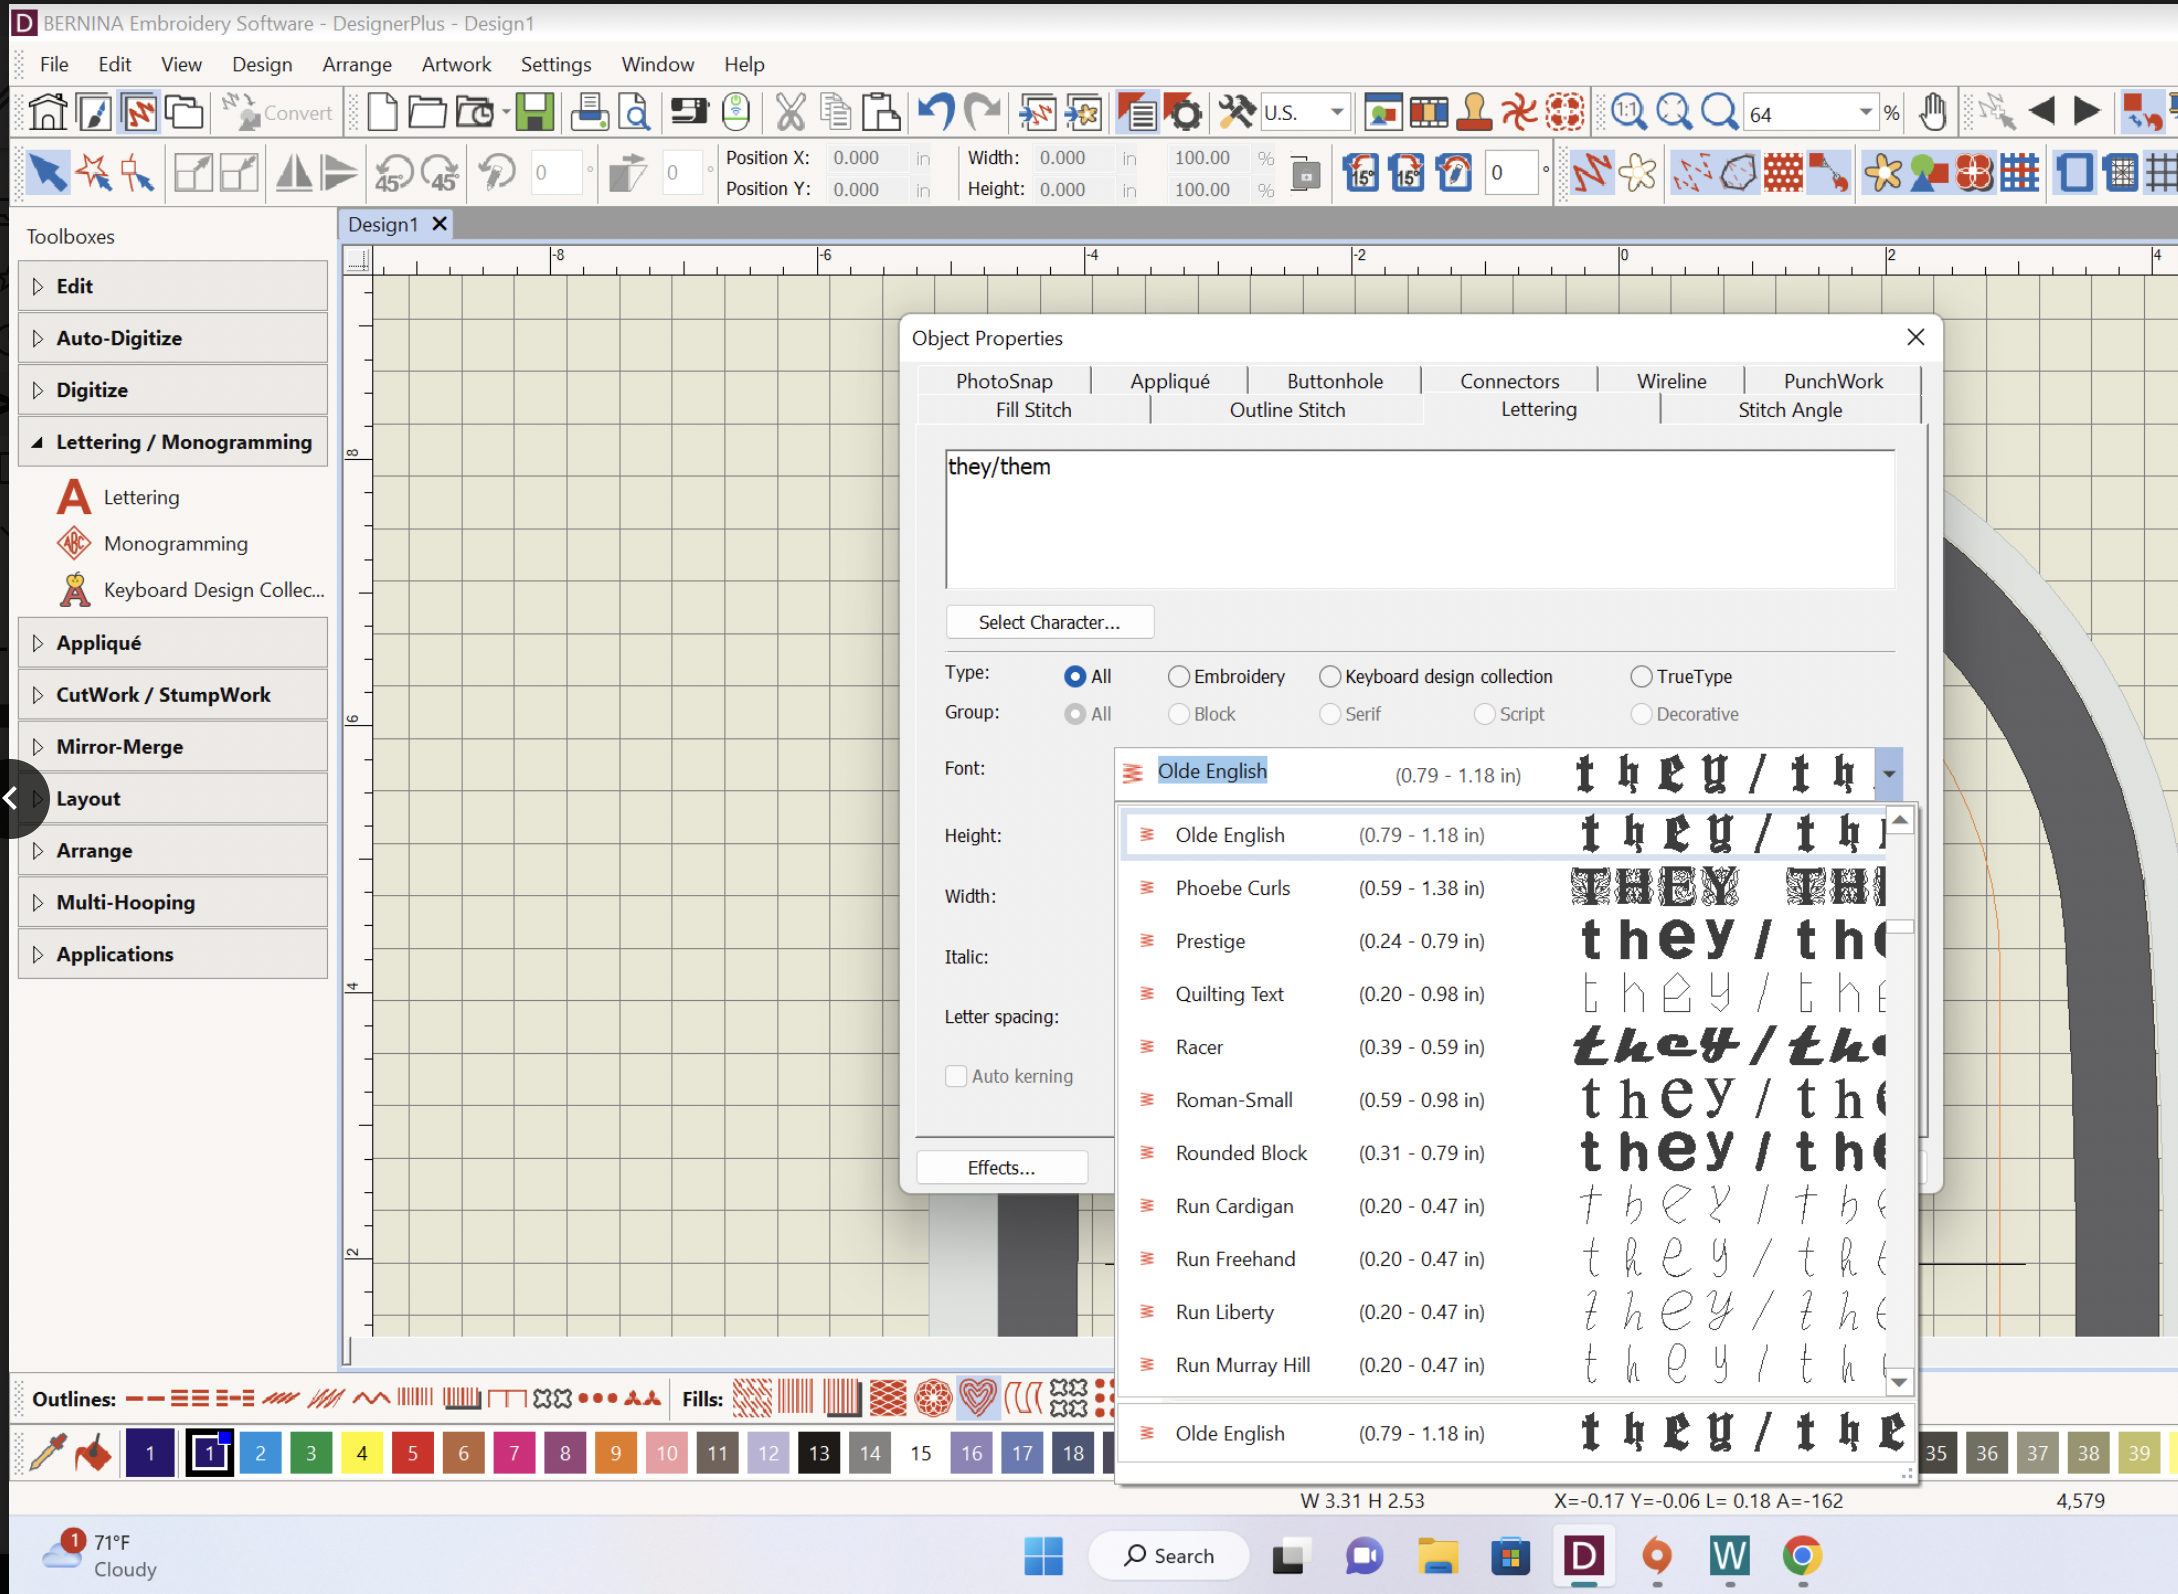
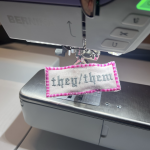
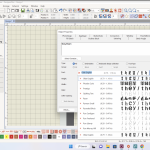
Next, I used the lettering tool and wrote out my pronouns– I use they/them pronouns, but I also made she/her and he/him designs to make pins for my friends. I picked a font that I liked, but because there are so many in the Embroidery 9 software, it’s really up to you what you like and how you want to express yourself. You could also add a little symbol like a heart or a star, but I wanted to keep mine simple.
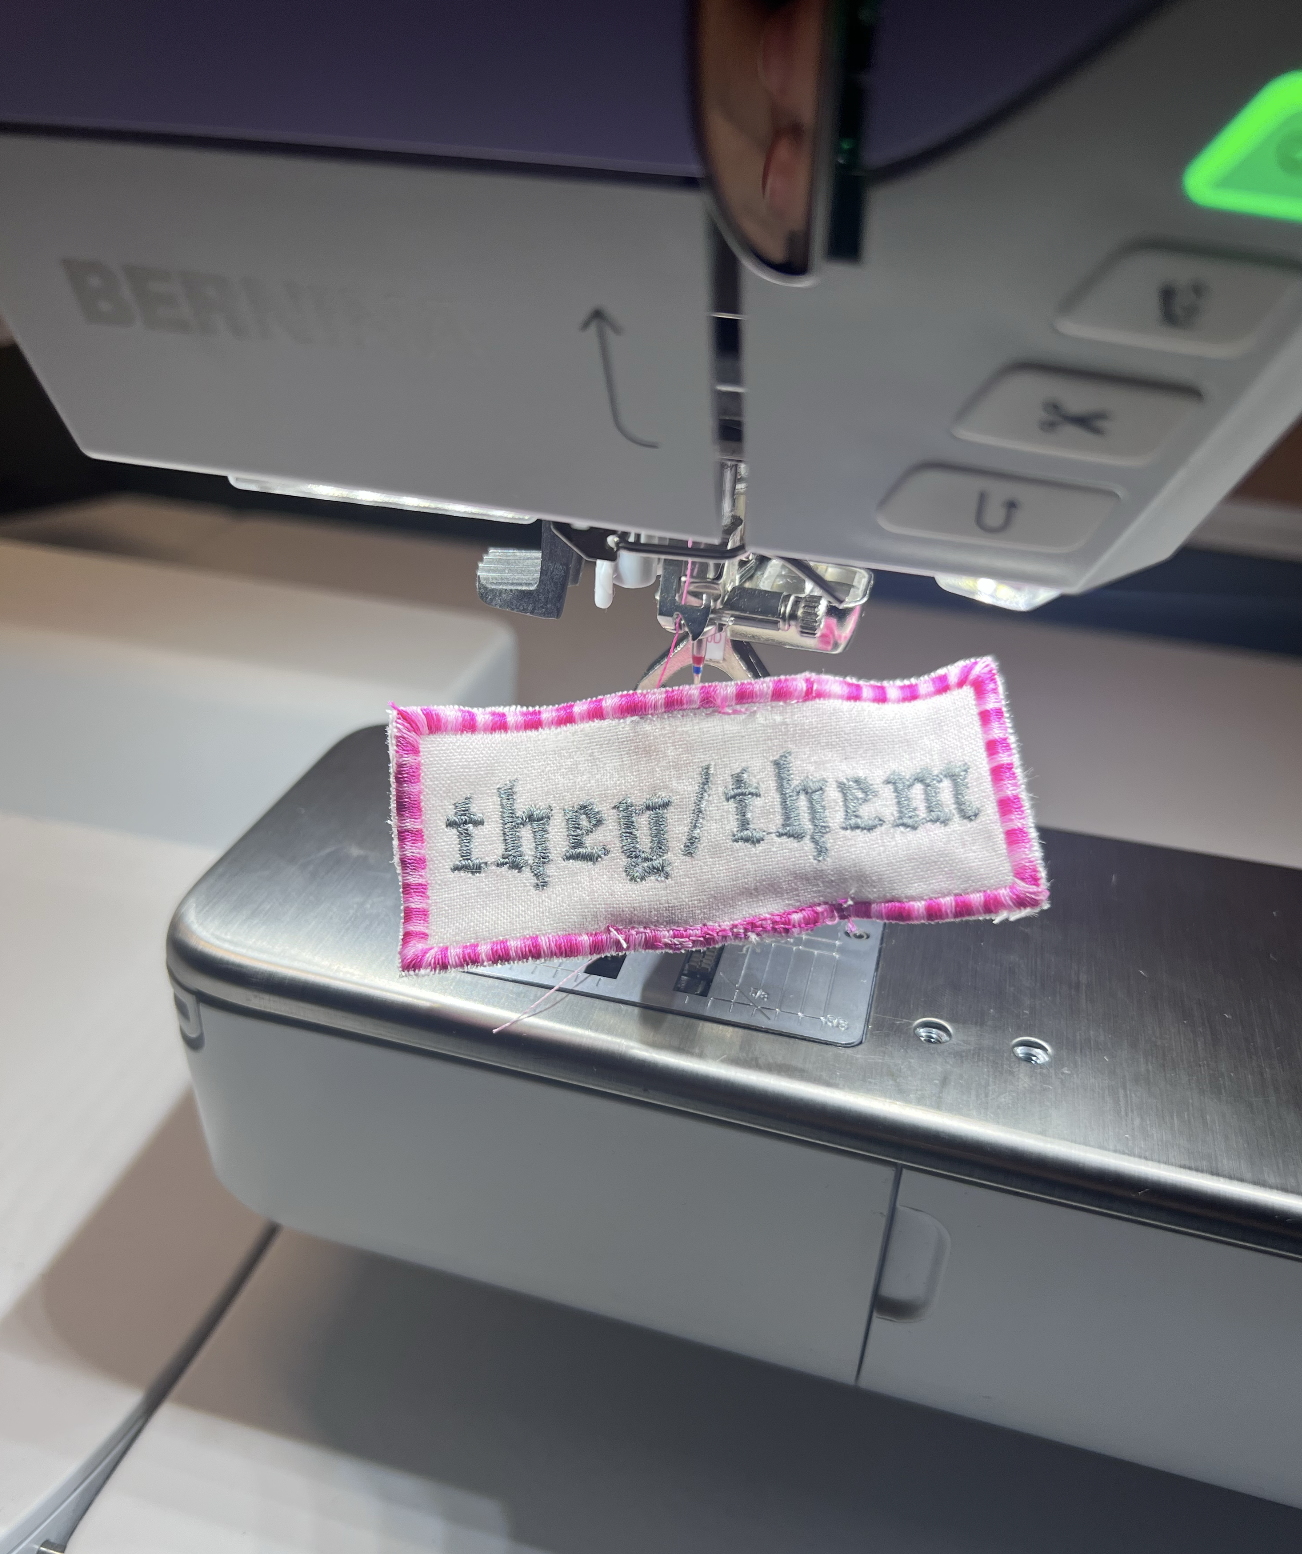
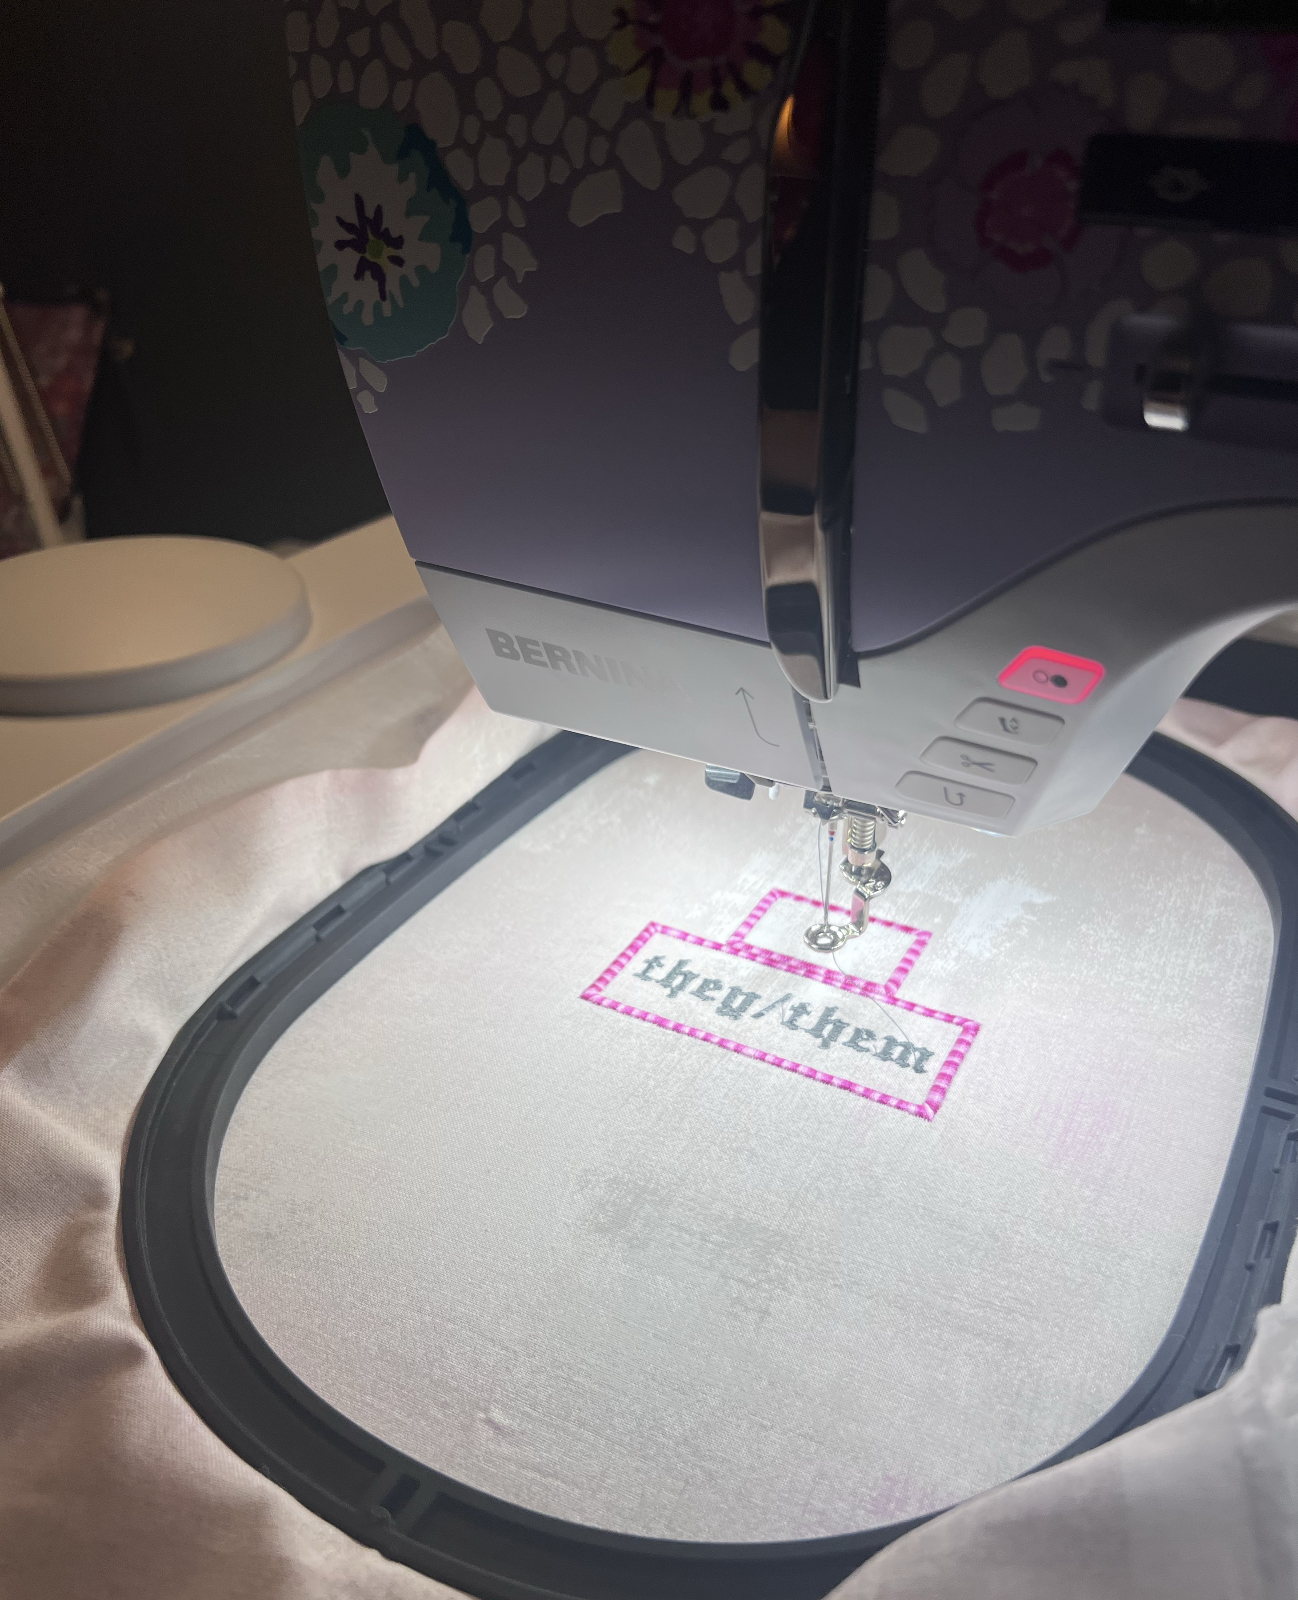
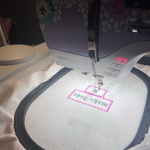
I stitched mine out using a variegated pink isacord thread for the borders and a grey isacord thread for the pronouns. For the background fabric I used, I thought this looked really nice. If I had gone with a more patterned fabric, I probably would have used the same thread for both to ground the design a little bit. Stitching out the design took about half an hour, and once it was done I took it out of the hoop and cut it out as close to the edge as I could. I folded over the small flap and stitched it down to the bottom so it created a loop that I could thread a pin into.
And tada! It’s done.
This was a really fun, easy project to work through, and I’m really glad I did! If you’re not familiar with the Embroidery Software 9, this is a great project to help you get to know some of the basic features. I included some pictures of what I did in the software because I think explaining it might sound a little convoluted. If you have any questions, I’d be more than happy to answer in the comments.
You can find more of my work on the WeAllSew blog as well as on my instagram, @ctlluscos


This is so cool! Thank you for sharing!