How a Design is Digitized for Chenille Patches: From Concept to Threadwork

Description
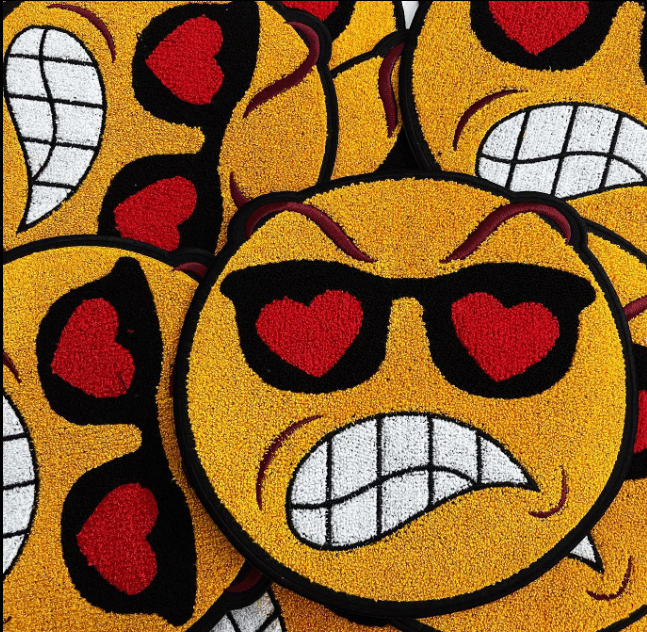
Chenille patches have a distinctive and textured appearance that adds depth and character to any garment or accessory. But have you ever wondered how a design is transformed into a chenille patch? The process of digitizing a design for chenille patches involves several steps to ensure precision and accuracy. Let’s explore the journey from concept to threadwork.
- Design Concept and Creation: It all starts with a design concept. Whether it’s a logo, artwork, or intricate pattern, the first step is to create a digital representation of the design using graphic design software. This involves selecting colors, defining shapes, and outlining any fine details that need to be captured in the chenille patch.
- Design Digitization: Once the design concept is finalized, it is time to digitize the design. Digitizing involves converting the design into a format that can be interpreted by computerized embroidery machines. Skilled digitizers use specialized software to translate the design into a series of stitches and commands that the embroidery machine will follow.
- Stitching and Thread Selection: During digitization, the digitizer selects stitch types and determines the stitch direction to bring the design to life. For chenille patches, the digitizer considers the desired texture and pile height, adjusting the stitch parameters accordingly. Additionally, thread colors are chosen to match the design, ensuring accurate color representation in the final chenille patch.
- Test Stitch-Out and Refinement: To ensure the digitized design translates well into chenille patches, a test stitch-out is performed. This involves running the design on a sample fabric, allowing the digitizer to identify any potential issues or areas that require adjustment. Fine-tuning may be necessary to optimize stitch density, stitch direction, or color blending.
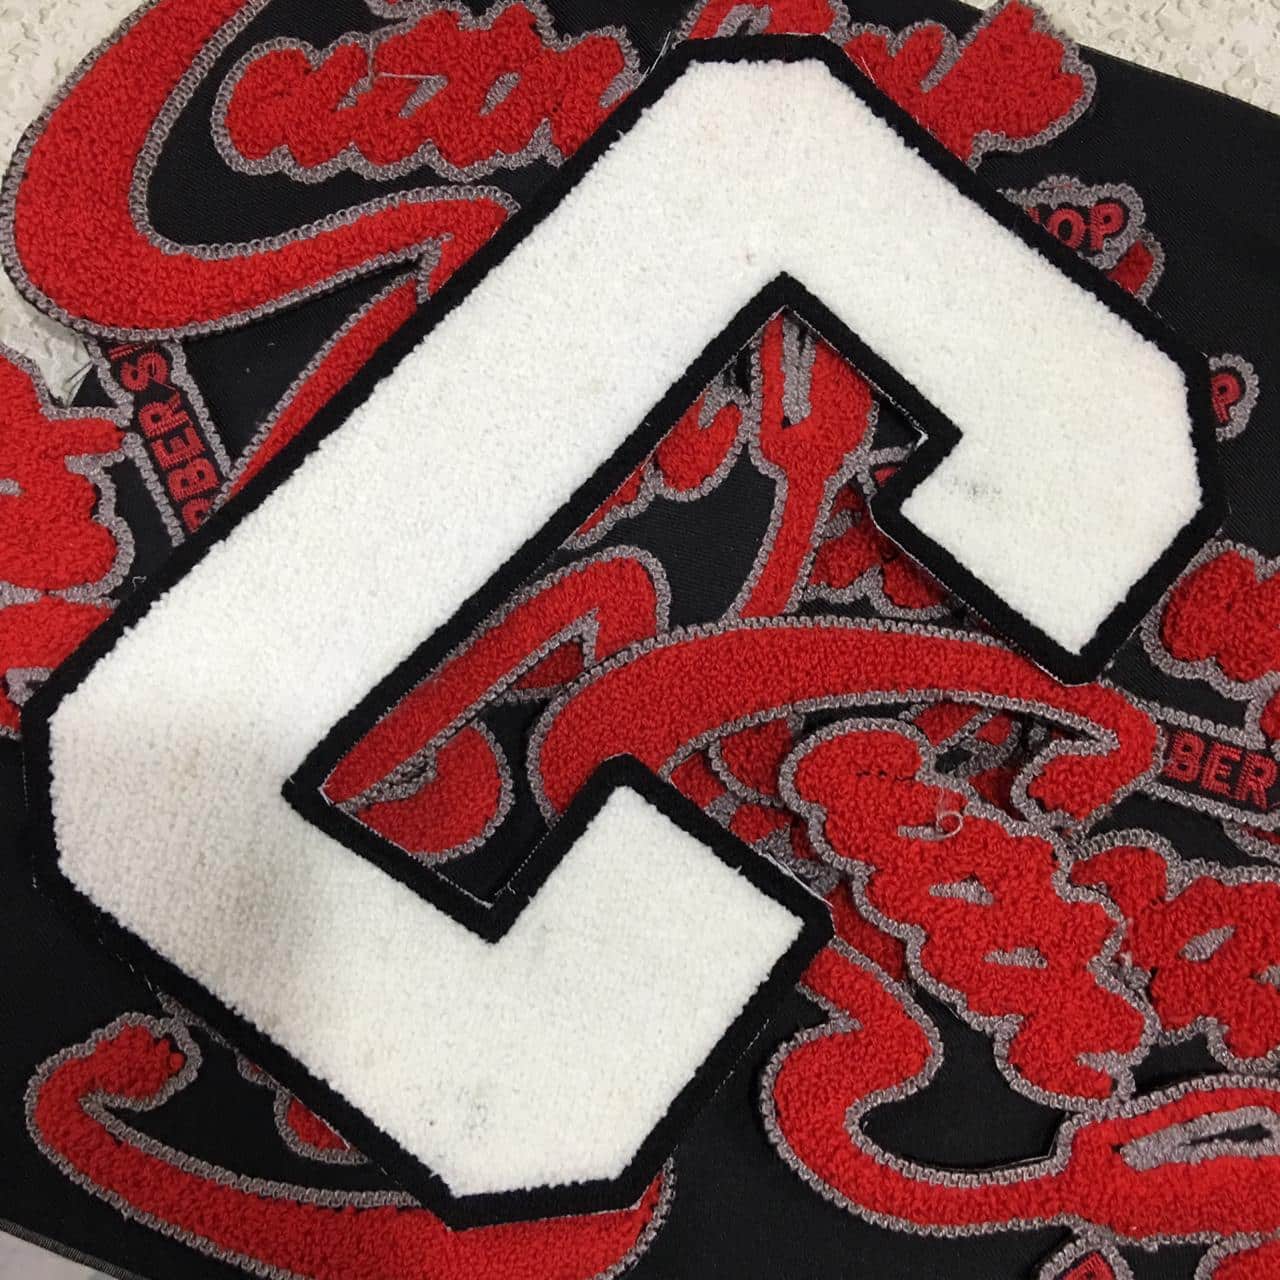
- Production and Quality Control: Once the digitized design has been refined, it is ready for production. The design is loaded into an embroidery machine, which carefully follows the digitized instructions to stitch the chenille patch. Throughout the production process, quality control measures are implemented to ensure consistent stitching, color accuracy, and overall patch quality.
- Final Inspection and Finishing: Before the chenille patches are ready for use, they undergo a final inspection to ensure they meet quality standards. This includes checking for any defects, loose threads, or stitching errors. Once approved, the patches may undergo additional finishing processes, such as trimming excess threads or applying adhesive backings.
Digitizing a custom design for custom chenille patches is a precise and intricate process that requires skill and attention to detail. From the initial design concept to the final stitched patch, every step is essential in capturing the essence and intricacies of the original design. The result is a beautifully textured chenille patch that adds a unique touch to clothing, accessories, and more.


