Fabric Easter Basket Tutorial
Hello We All Sew readers! My name is Melissa Mortenson and I’m the founder of the Polka Dot Chair Blog. I also work as a fabric designer for Riley Blake designs and am so excited that today’s Easter Basket tutorial features my lastest fabric collection, Wonderland Two. To find out more about the line you can just visit my blog.
This year for Easter we will be home, but have been out of town many times in years past for Easter. Our school systems Spring Break is usually right around Easter, and I have found myself more than once celebrating Easter morning in a hotel room. Not my favorite thing to do, but sometimes it’s just how it all works out.
In the past when we celebrated Easter away from home, I didn’t want to lug our big Easter baskets all the way across the country with us, so I usually skipped the basket all together or substituted something “vacation -y” like a sand pail or beach towel.
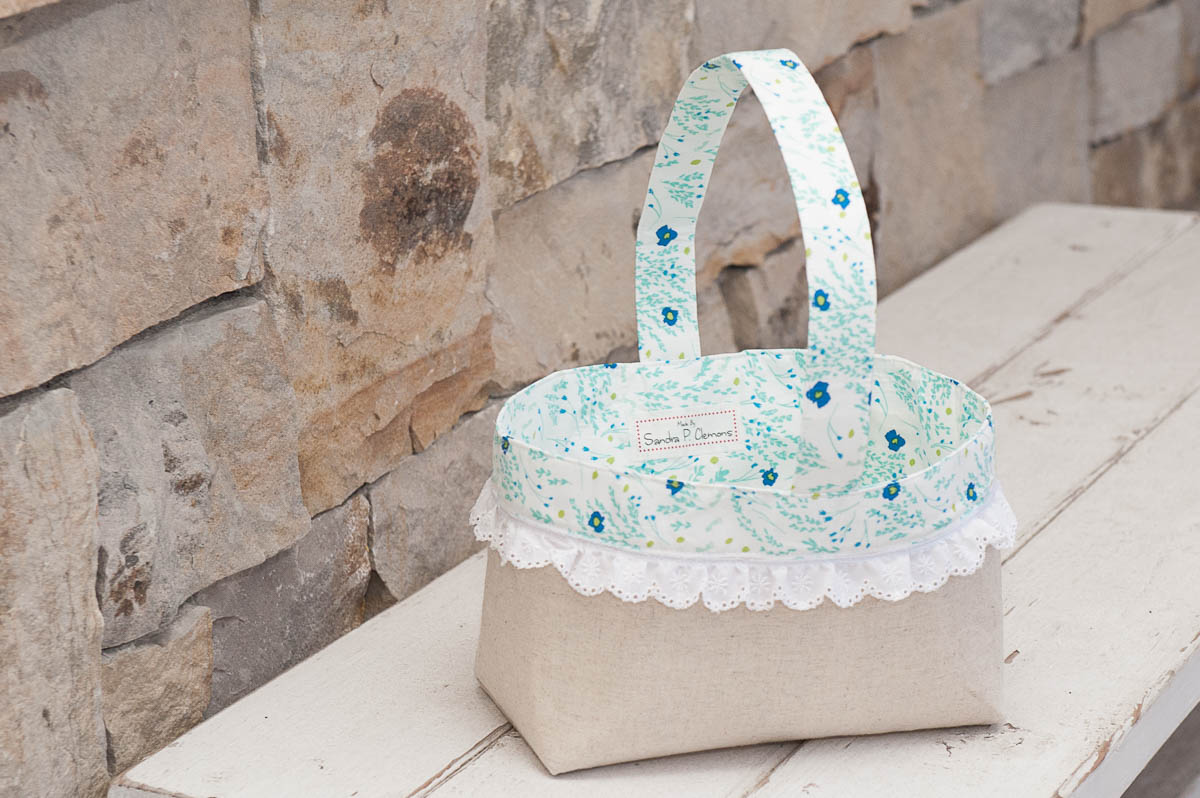
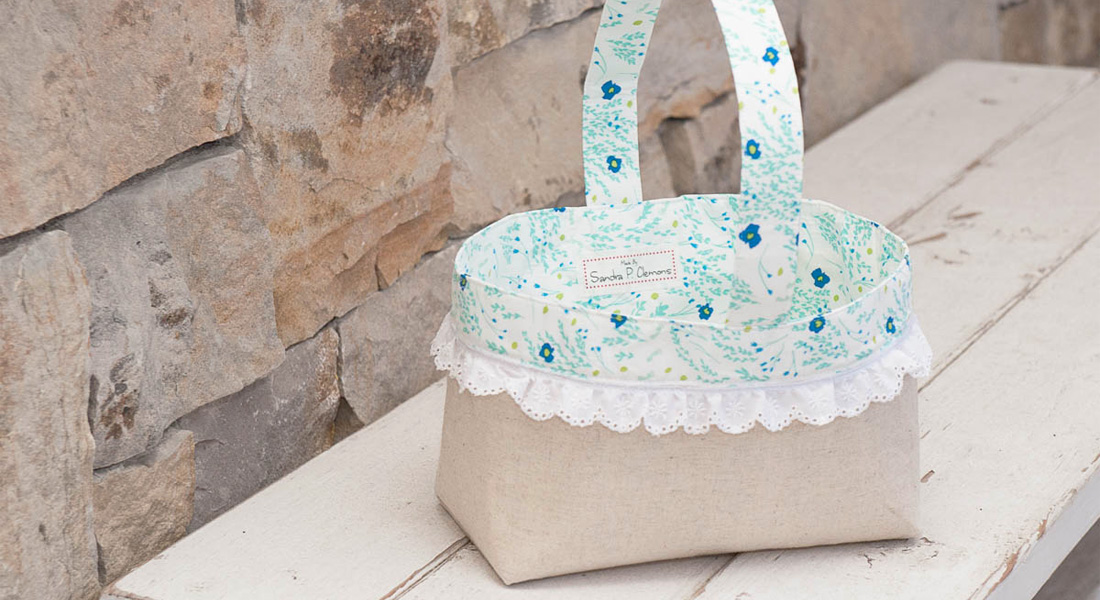
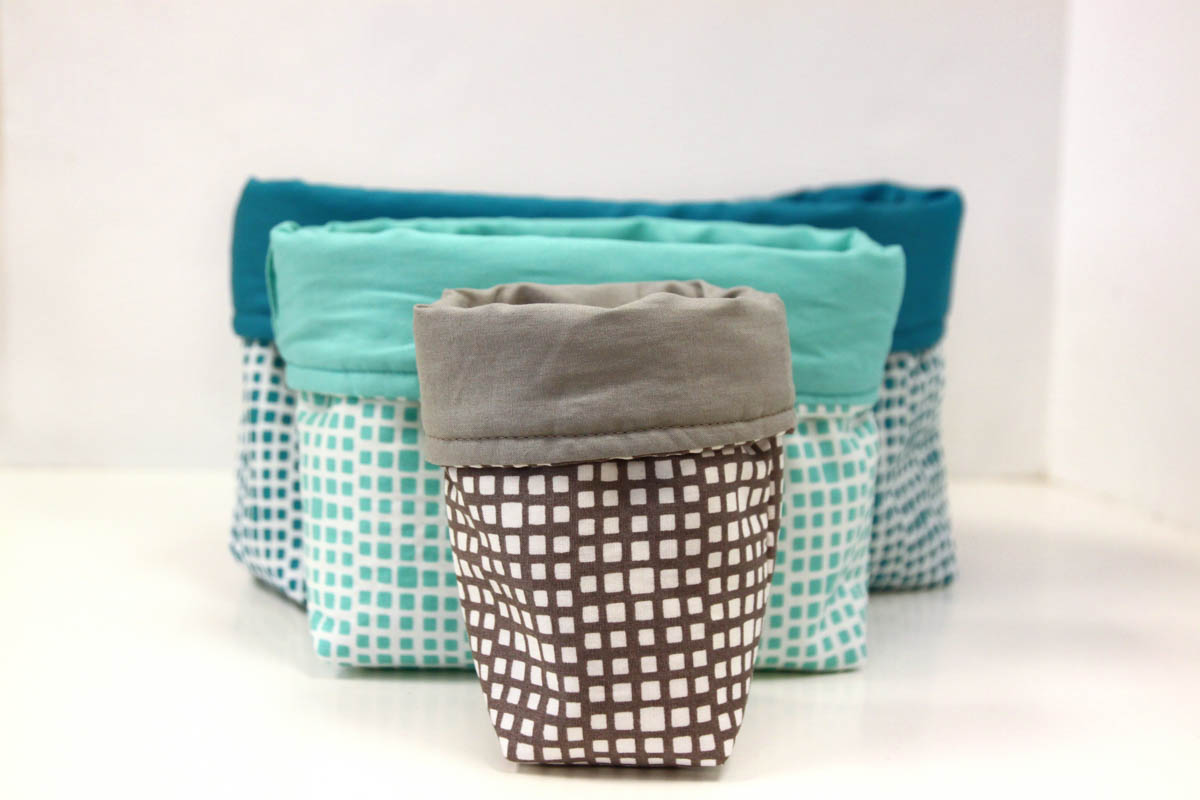
A few years ago I got the idea to make small Easter baskets out of fabric, so that I could take them with us on Spring Break. I made 3, one for each kid. Those ‘kids’ are all teenagers now, and this year I realized this year that I have never shared a tutorial for the baskets with my readers. So I’m sharing one with you today!
These small fabric baskets would be great for “little hands” on Easter morning. Since they are made of fabric they are also very “packable”. You can send them to friends or family far across the country!
The baskets are about 7″ tall and 5 1/2″ across on the bottom.
If you’d like to make one, here’s how you do it.
Materials to Make a Fabric Easter Basket
- 1 Fat Quarter of Fabric for Basket Outside
- 1 Fat Quarter of Fabric for Basket Lining/Bottom
- 1 Fat Quarter of Fabric for Basket Bottom Outside (If you desire a different fabric on the bottom of the basket than the outside of the basket).
- 1 Fat Quarter of Fabric for Basket Handle
- 1/2 Yard of Canvas
- 1/2 Yard of Shape Flex Interfacing
- 1/2 Yard of Fusible Flex Foam Interfacing
- 1/2 Yard 1″ Wide Webbing (note: buy cotton if you can find it, if you buy nylon webbing, make sure that you do NOT ever press it directly with your iron)
- Thread
- Fray Check
- Binding Clips
- Basic Sewing Supplies
- Reverse pattern foot #1D with Dual Feed engaged, or use a Walking foot #50 (If you don’t have a walking foot, you can still complete the project, the walking foot or dual feed foot will just make the construction process easier.)
Step One: Create Pattern Pieces
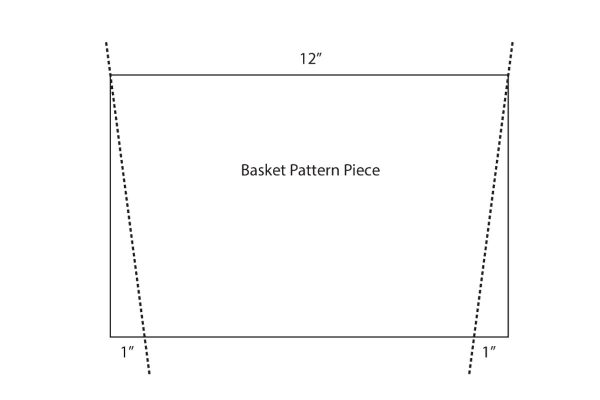
Before you begin you need to draft some very basic pattern pieces. One pattern piece is for the basket, and the other is for the basket bottom. To draft the Basket Pattern piece draw a rectangle that is 12″ wide by 8″ tall. On the bottom of the rectangle measure in 1″ from each corner. Draw a line from the upper corner of the rectangle to the 1″ mark on the bottom. Repeat for other side. Cut piece along these lines.
Fold it in half and make sure the piece is perfectly symmetrical.
You should now have a trapezoid shape that is 12″ wide on the top by 10″ wide on the bottom.
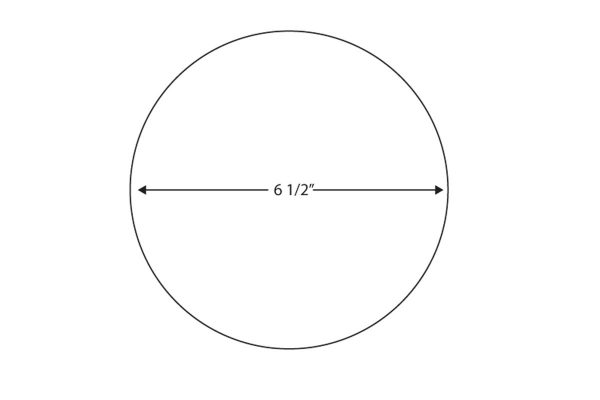
To create the basket bottom piece cut a circle that has a 6 1/2″ diameter. To do this I recommend using a compass drawing tool or finding a plate or other item that has a 6 1/2″ diameter to trace.
Step 2: Cutting
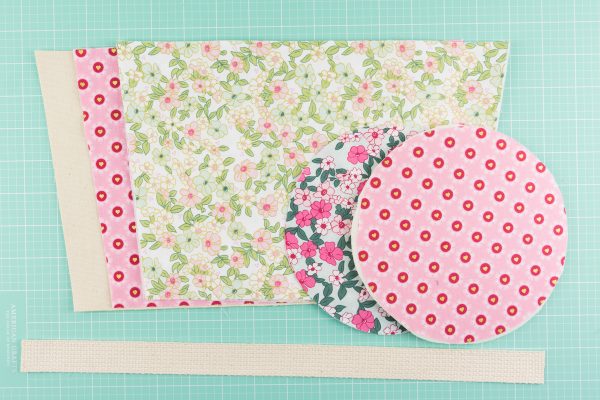
After you have created your pattern pieces you need to cut the following pieces.
From basket pattern piece:
- 2 pieces from Basket Outside fabric
- 2 pieces from Basket Lining fabric
- 2 pieces from Shape Flex Interfacing
- 2 pieces from Canvas
From the Circle Piece Cut:
- 1 piece for Basket Bottom Outside
- 1 piece for Basket Bottom Lining
- 1 piece from Fusible Flex Foam
From the 1″ wide webbing Cut:
- 1 piece 16″ long
From Basket Handle Fabric Cut:
- 1 piece 3″ x 16″
Step 3: Construction
Note: All seam allowances are 1/2″ unless otherwise specified.
Press the Shape Flex interfacing to the wrong side of the basket outside pieces according to the directions on the package.
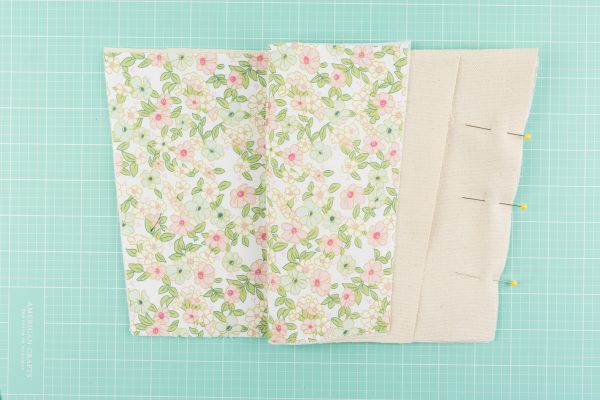
Layer the two interfaced basket outside pieces together, right sides facing. Place one piece of canvas on the wrong side of each of the basket lining pieces. You will have a “sandwich” with the canvas on the outside and the basket outside pieces on the inside.
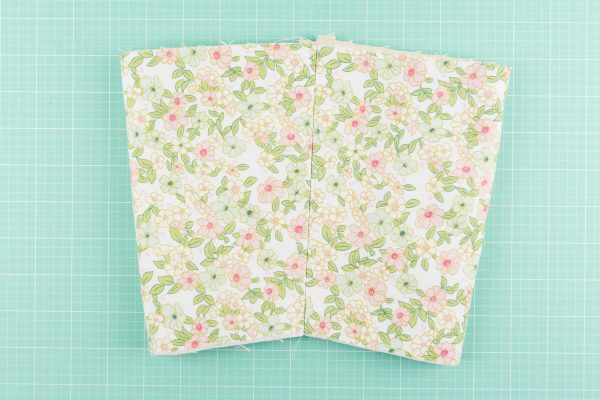
Stitch together along the sides. Press seams open.
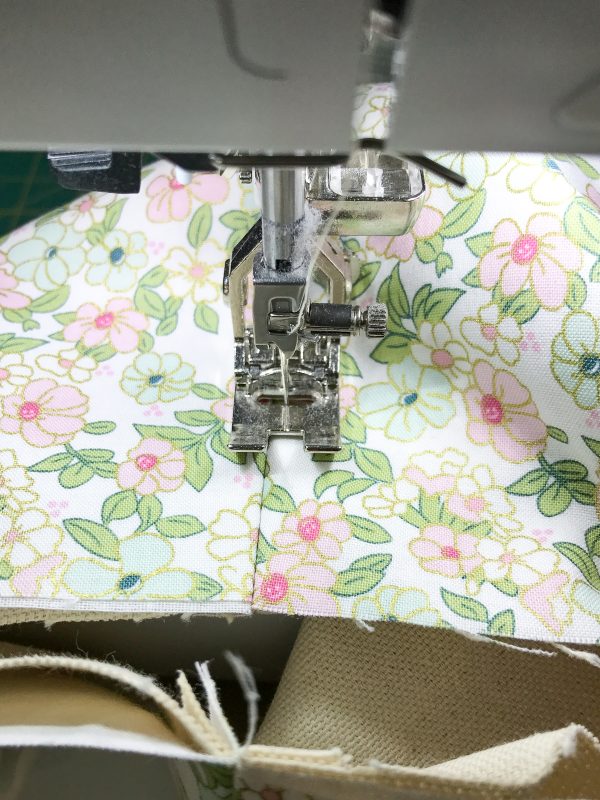
Top stitch along both sides of the seam on the outside of the basket piece. I find it is helpful to remove the arm from my sewing machine while completing this step.
Apply the flex foam interfacing to the wrong side of the basket bottom piece.
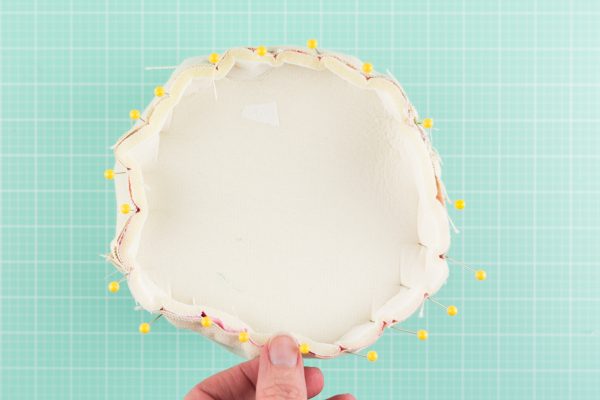
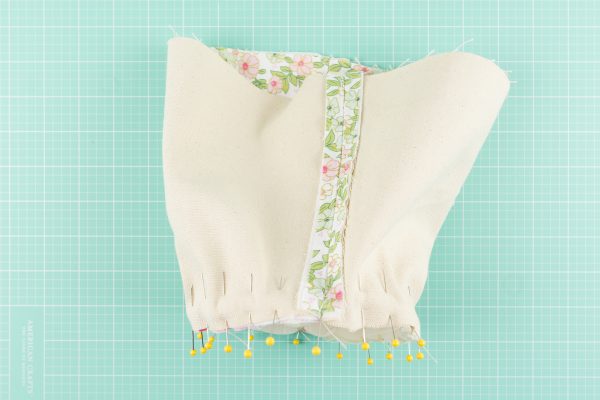
Pin the basket bottom piece to the sewn basket outside piece, right sides facing. You will need a lot of pins. If for some reason your basket outside piece doesn’t fit properly, unpick the side seam and adjust it until it does fit.
Stitch the basket bottom piece to the basket piece.
Repeat the steps for the basket lining pieces. Note: you do not apply any interfacing or canvas to the bag lining pieces. Stitch the basket lining piece with a 5/8″ seam allowance to ensure a snug fit when you stitch it to the basket outside piece.
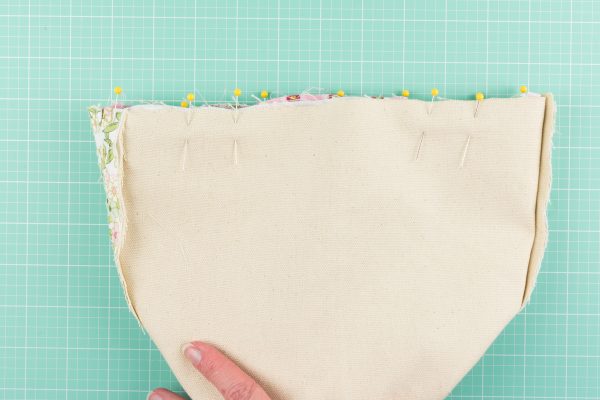
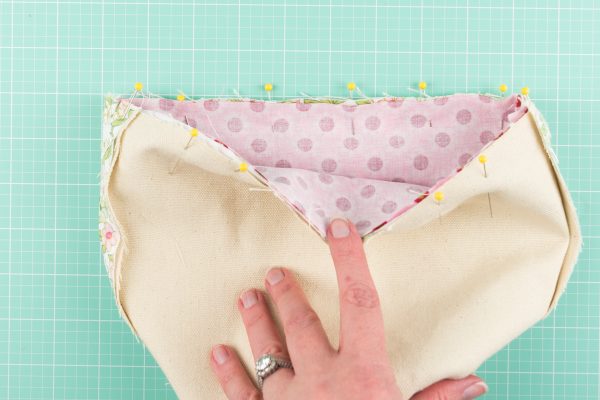
With the basket lining right side out and the basket outside wrong side out, slip the basket lining piece into the basket outside piece. Pin well.
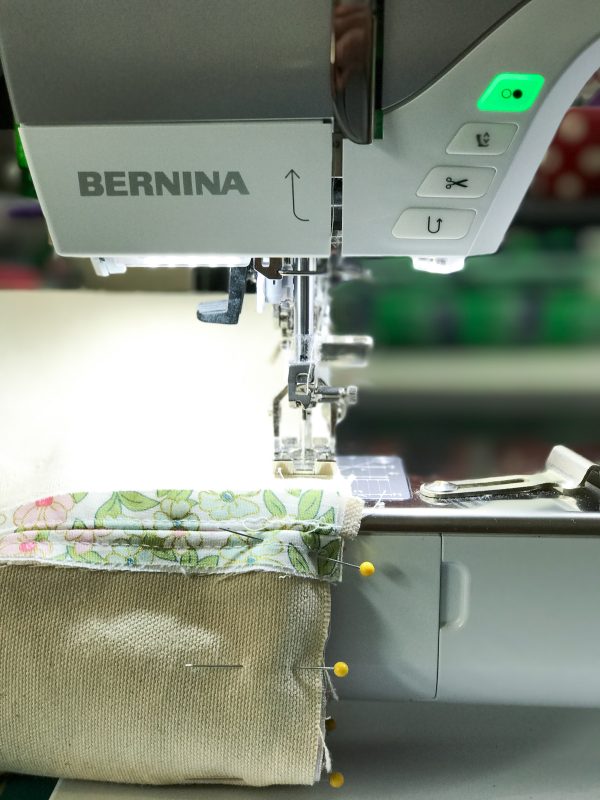
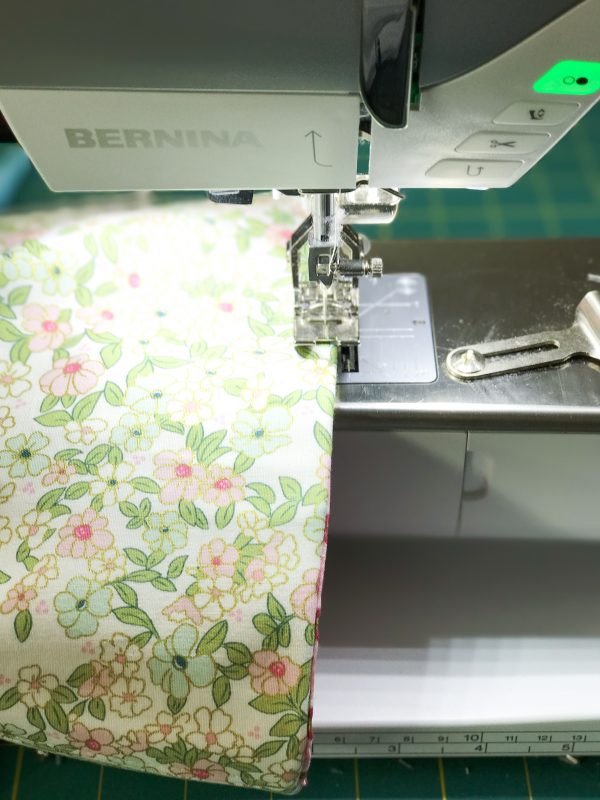
Stitch the basket lining piece to the basket piece along the top raw edge. Leave a 4″ opening in one side of the basket so that you can turn it right side out. When you are stitching the pieces together I find it helpful to remove the arm from my machine, and to place the lining fabric towards the feed dogs of my machine. This will help you reduce puckers as you sew.
Turn the basket piece right side out and press. Turn the raw edge of the basket under and top stitch along the top edge of the basket making sure to catch the opening of the basket as you sew.
Press well.
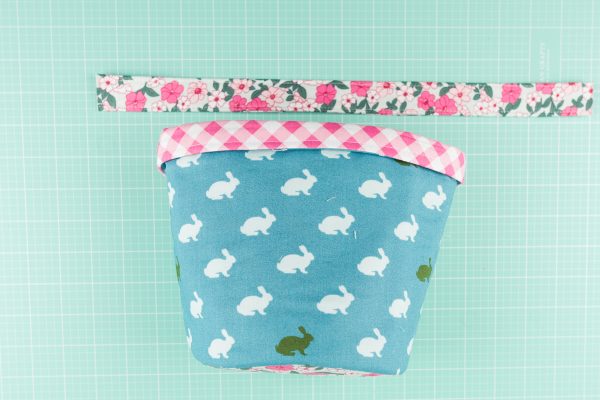
Fold the basket top over 1″ to the outside of the basket and press in place.
Step 4: Handle
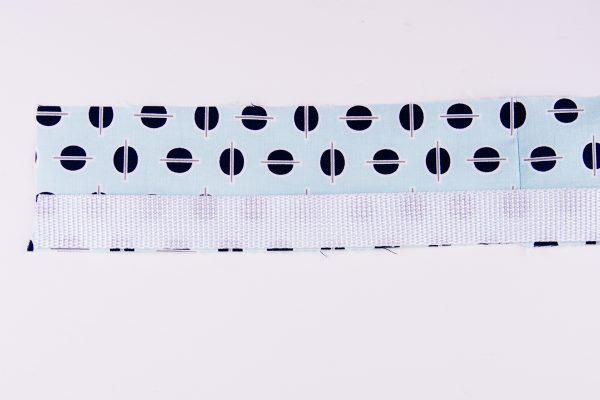
Stitch your handle fabric to your 1″ wide webbing with a 1/4″ seam allowance. You will be stitching the webbing to one side of the fabric on the right side of the fabric.
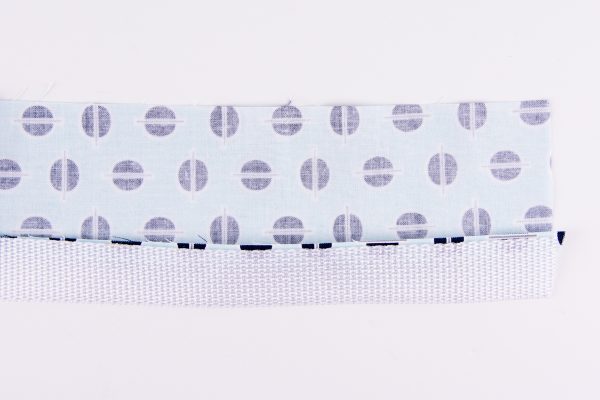
Flip the fabric up and press. Turn under the raw edge of the fabric 1/4″ and press.
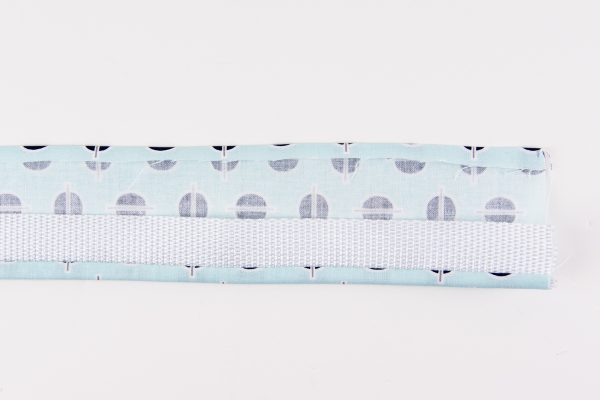
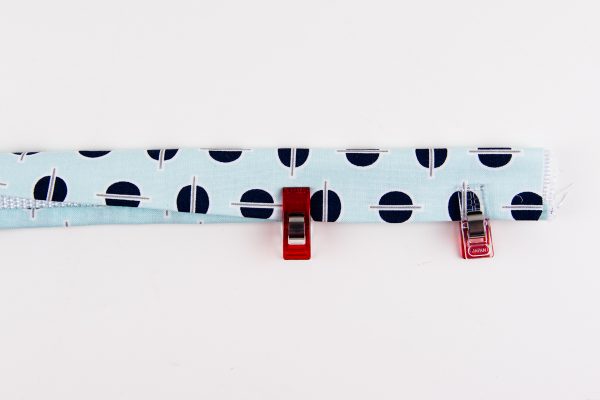
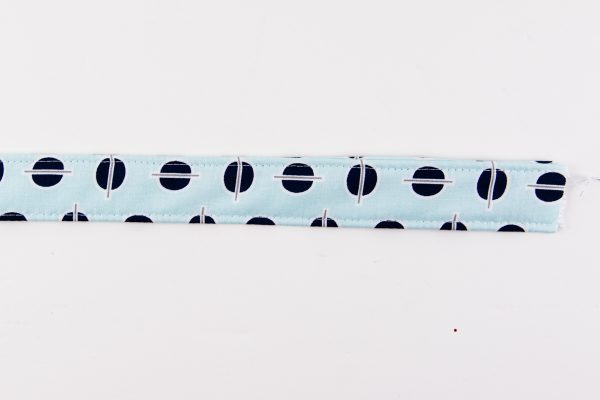
Bring the folded edge of the fabric even with the edge of the strap. Secure in place with binding clips.
Top stitch along both sides of the strap.
Cut the ends of the strap so that you have a clean edge and apply fray check to each raw edge. Allow the fray check to dry.
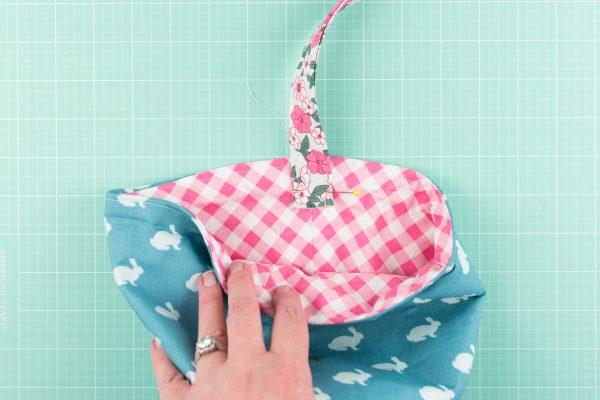
Pin the handle to the inside of the basket so that the bottom of the strap is 1″ below the fold in the basket. The handle will be pinned over the top of the side seam of the basket.
Stitch in place along bottom edge of the strap. Then again right below fold in the fabric. the Make sure you back stitch at the beginning and end of each seam.
Repeat to attach the strap to the other side seam of the basket.
To finish your basket, give it a good pressing. Use a bit of steam if you need to remove any wrinkles that developed during the construction process.
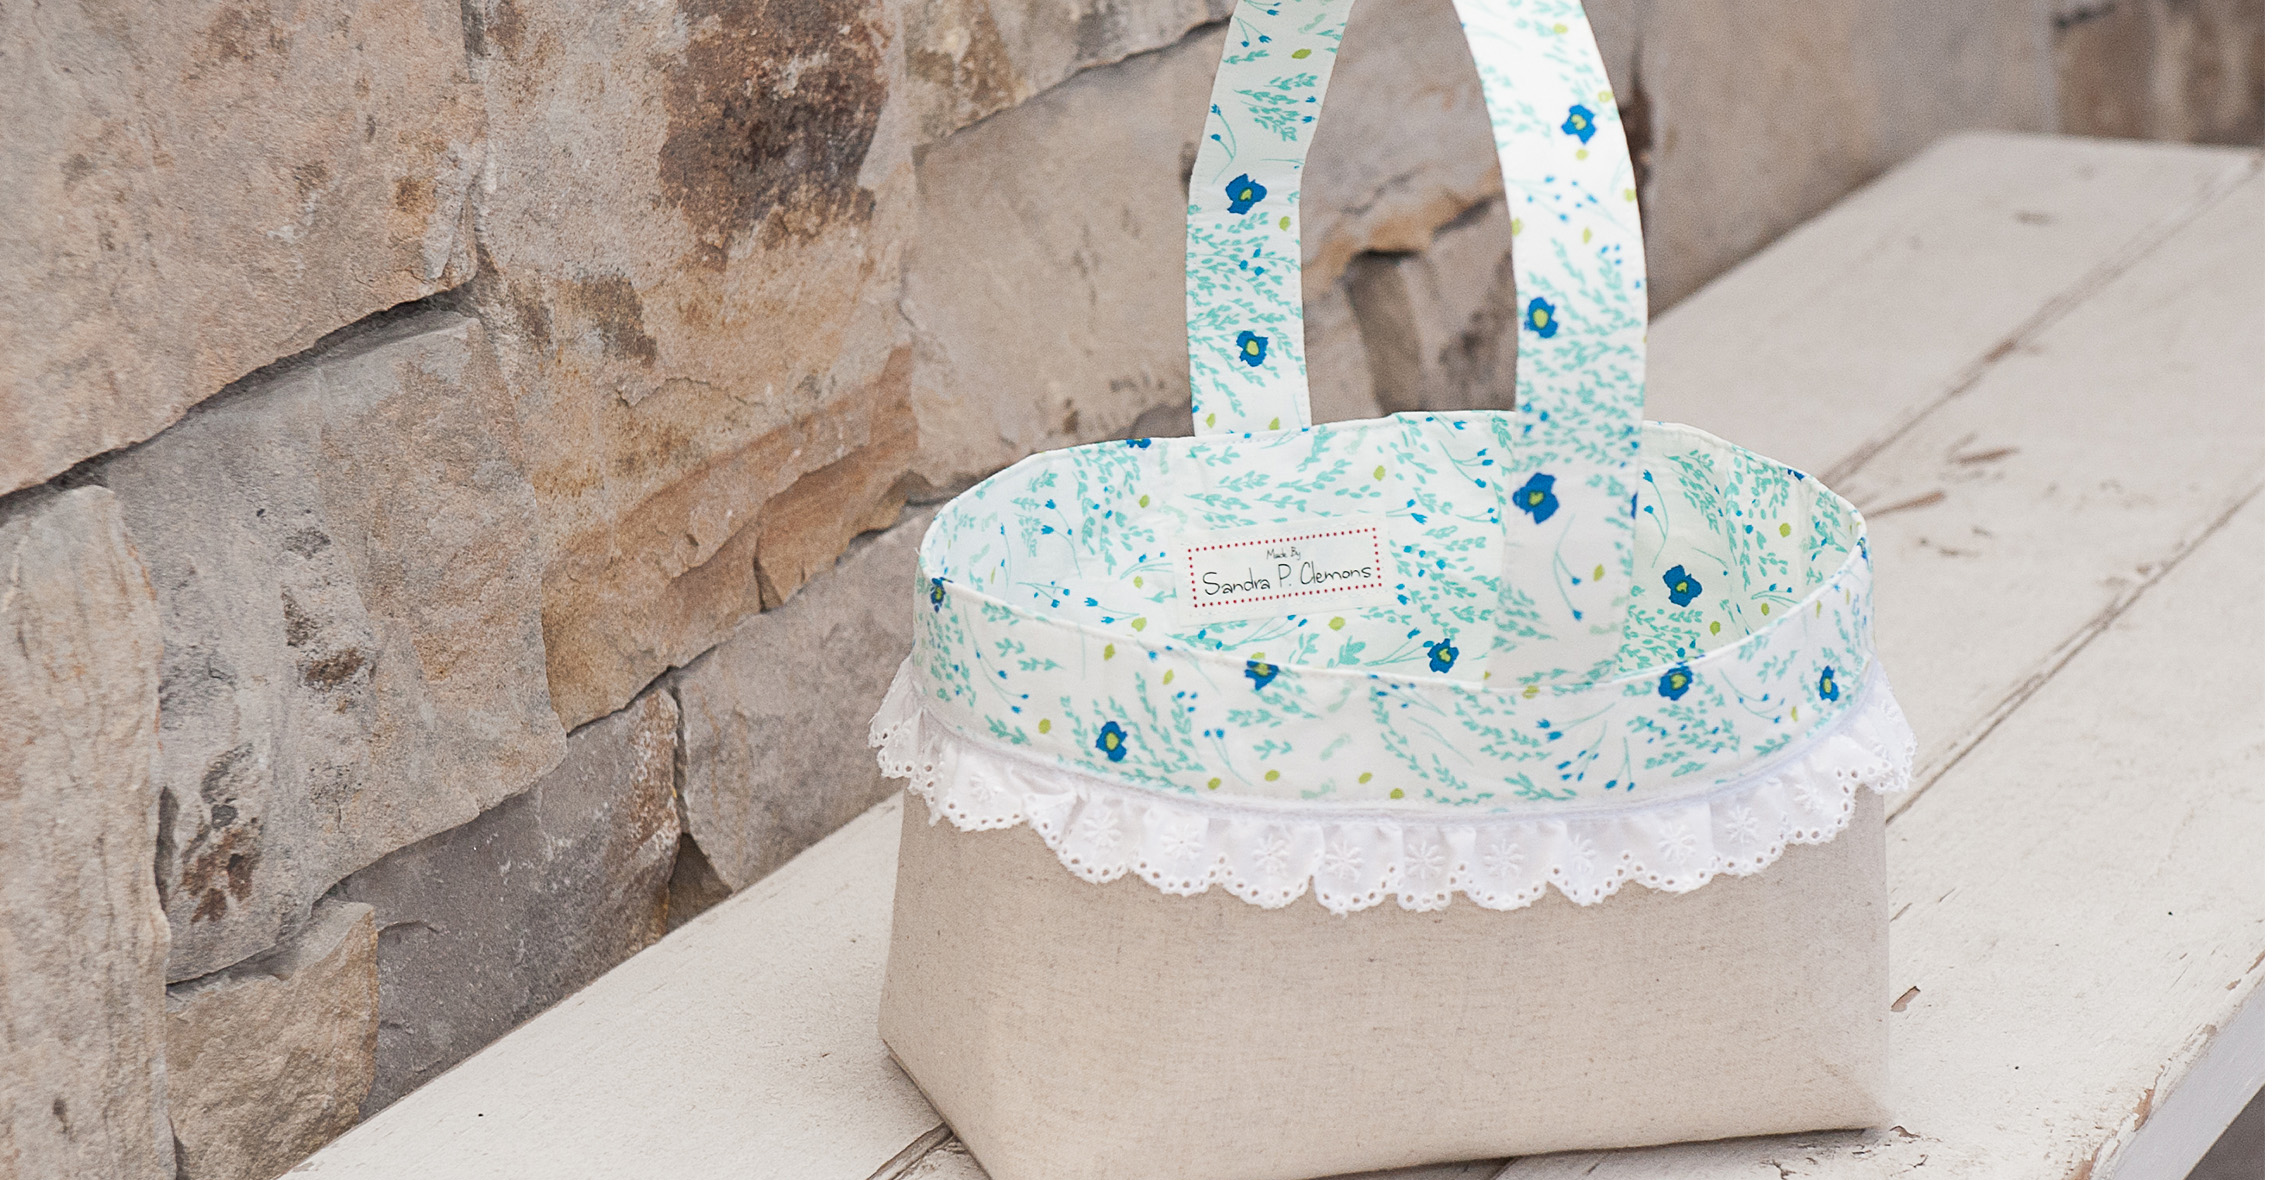
That’s it! Clip your strings and you’re done!
What you might also like
One comment on “Fabric Easter Basket Tutorial”
Leave a Reply
You must be logged in to post a comment.










Thanks for the tut. I hope I have time to make 3 of these for my Great grandchildren in time for Easter! Thanks a bunch and happy Easter.