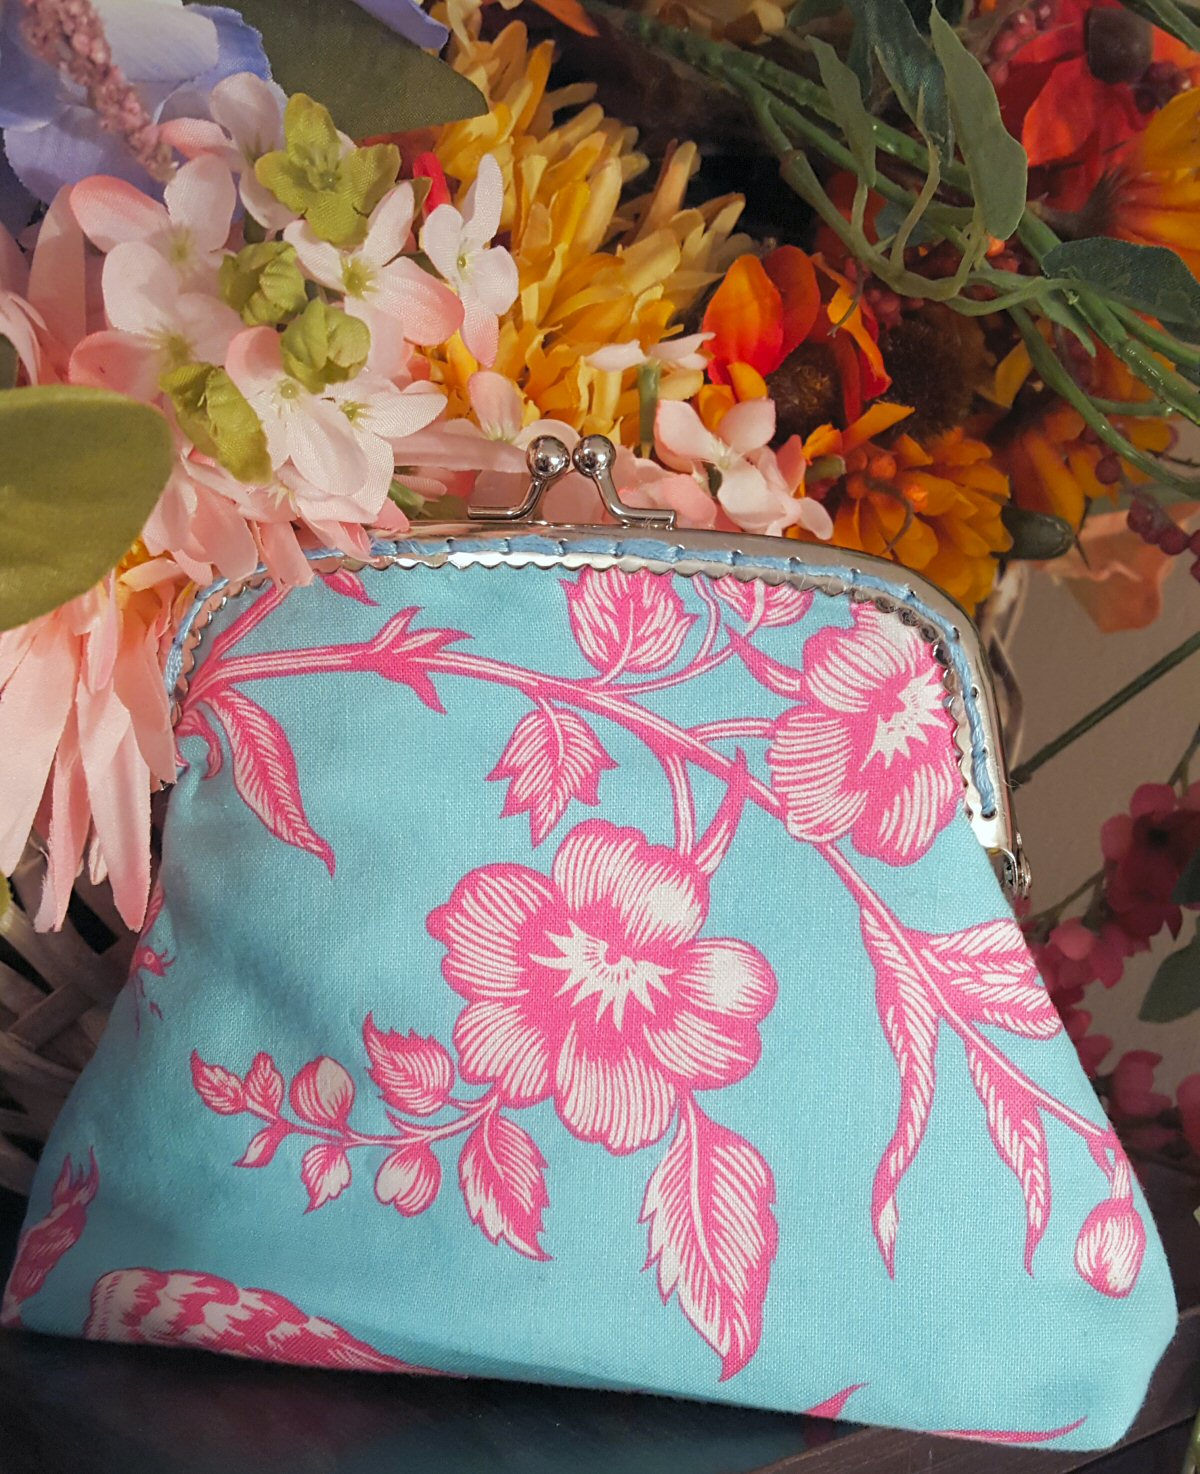
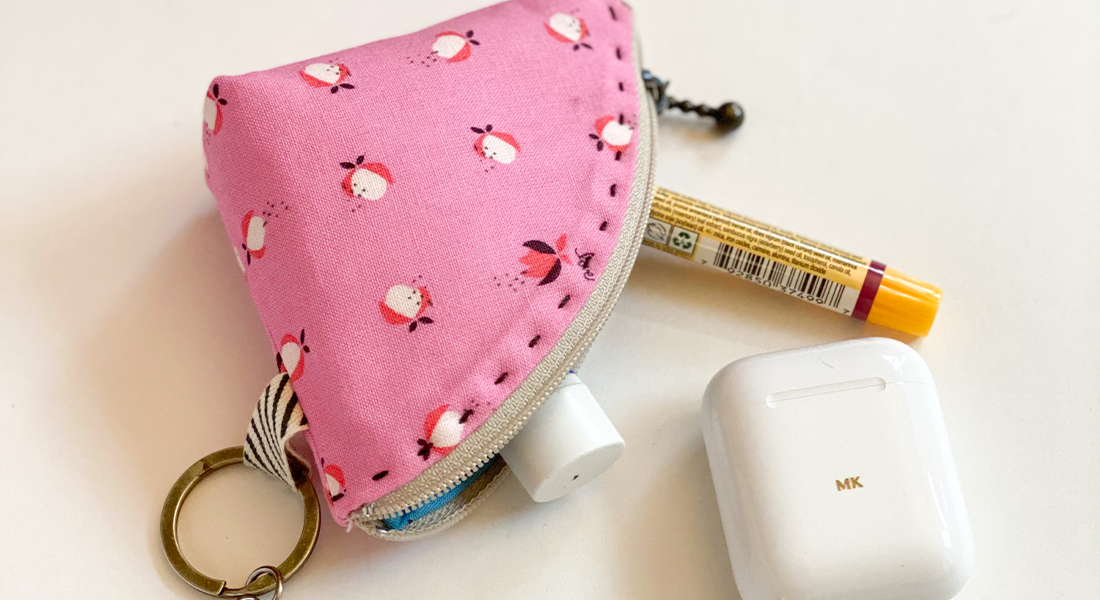
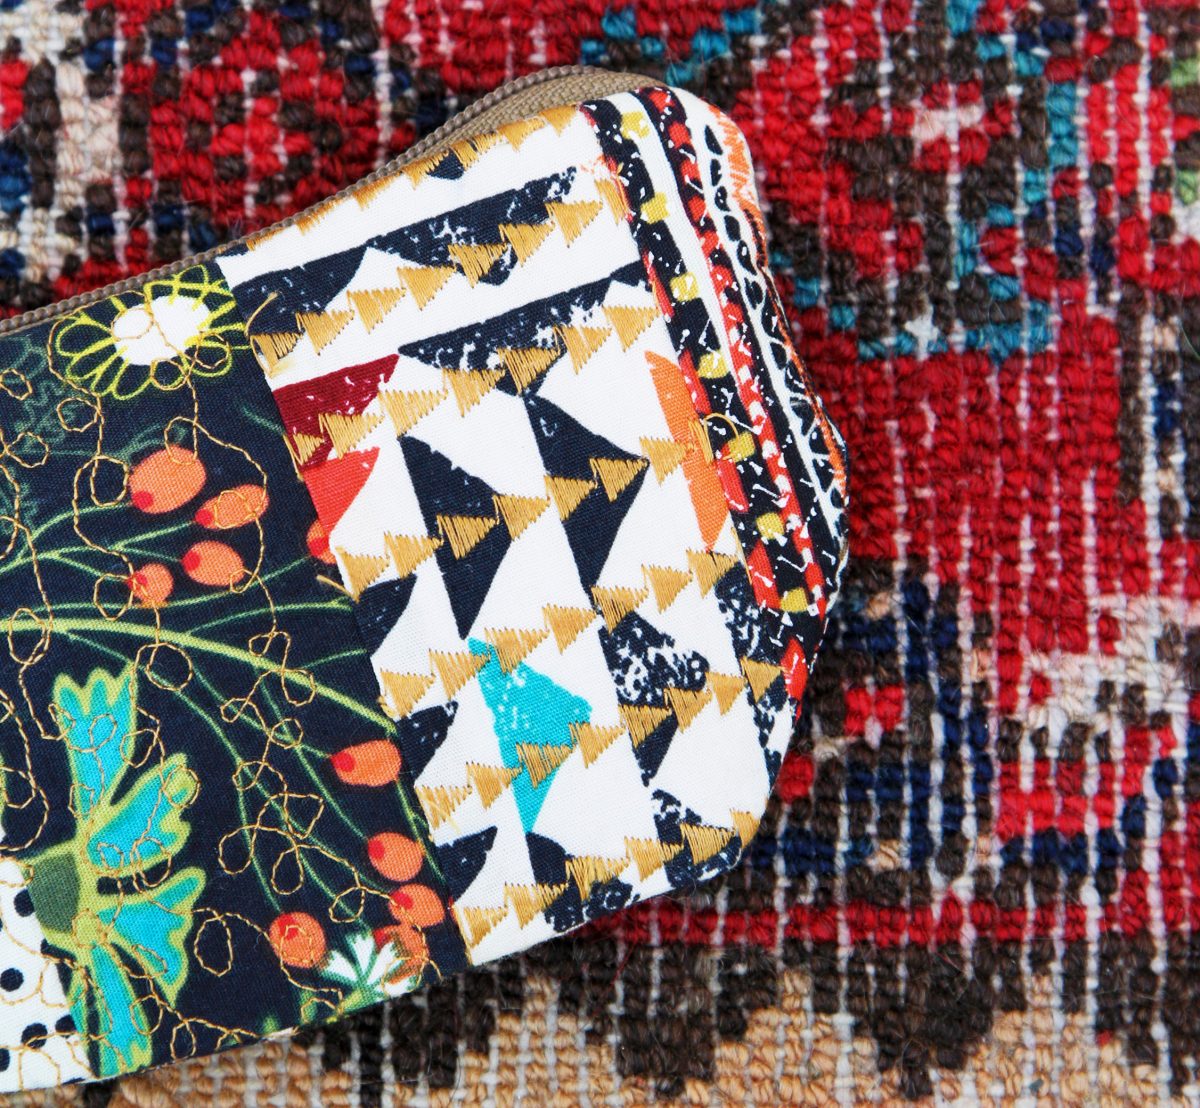
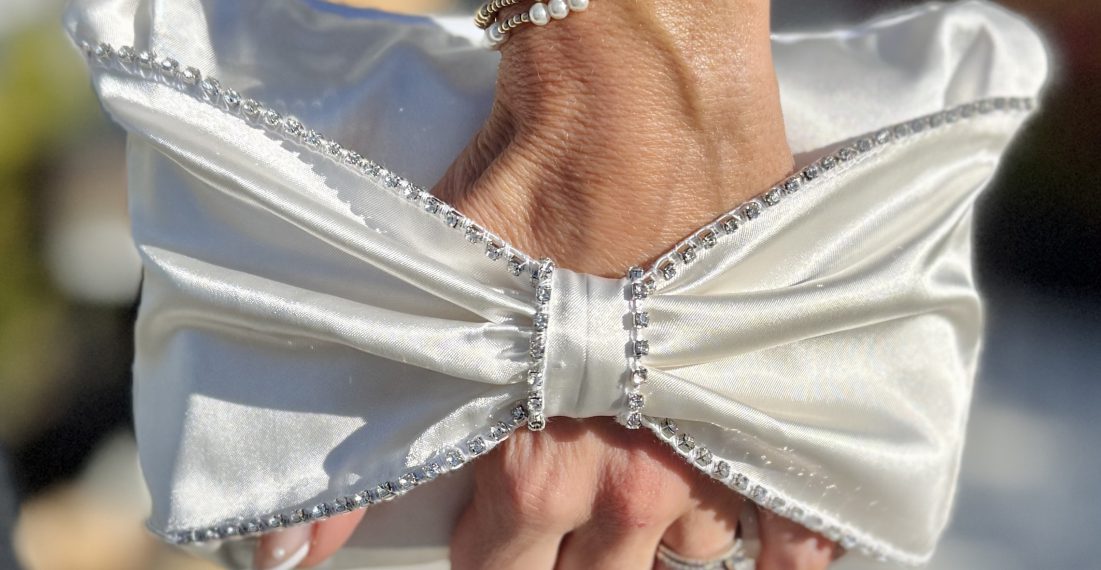
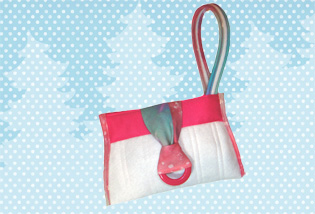
Framed Purse
I’ll admit it. I am a bag junkie. I not only love to make them for myself, but I love giving them as gifts too. So this Mother’s Day, I’ve decided to make my mom a pretty little clutch using a purchased purse frame. This bag is just the right size to hold a bit of money, an ID and\or credit card, a set of keys and even a favorite tube of lipstick. I’m sharing my pattern and instructions so you can make yourself (or someone special) one too, but feel free to use a larger or smaller frame that will suit your needs-I’ve included a bit of information on how to change up the dimensions to fit the hardware you’ve selected.
Materials to make a Framed Purse:
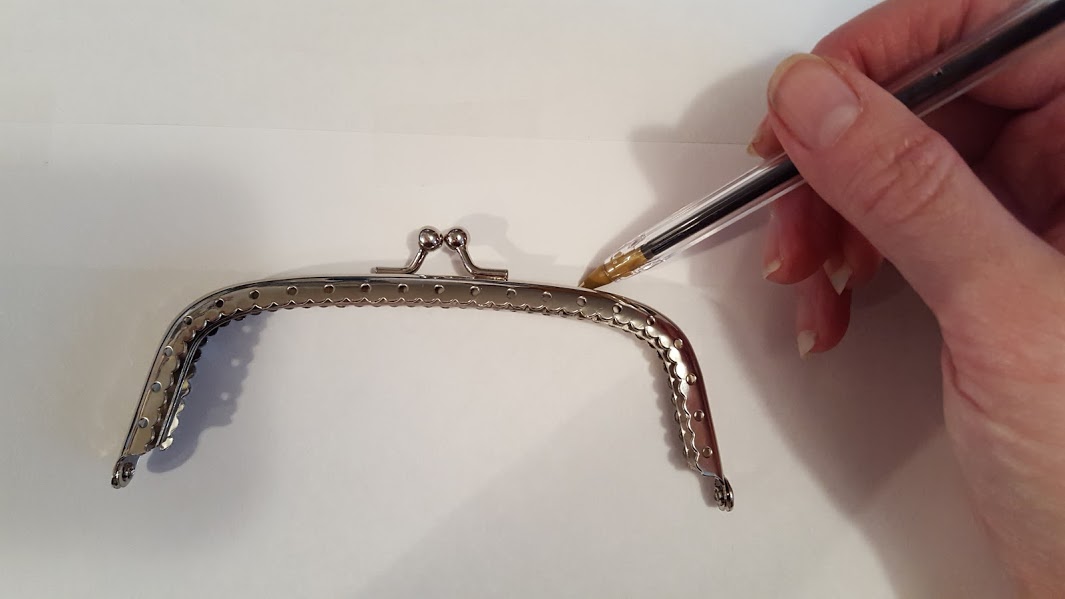
- Large, sew-in purse frame (I used the large frame from everythingMary)
- Fabric for exterior and lining (the amount needed will vary depending on the size you make)
- Fusible fleece
- Water soluble marker
- Embroidery floss
- Hand sewing needle
- Thread to match
- Purse template (optional)
- Sewing machine, I sew on a BERNINA 580
- Patchwork Foot #37 (optional)
- Purse template
Making a Framed Purse pattern:
If you find that your purse frame is a different size or shape than the Purse Template you can easily make your own. Simply trace the outside of the frame onto a piece of paper, then draw in the desired size\shape of your bag. Be sure to indicate where the purse frame ends on your pattern piece and remove a 3/4″ square from each side of the lower bag edge (this will allow you to ‘box out’ your bag easier in the steps below).
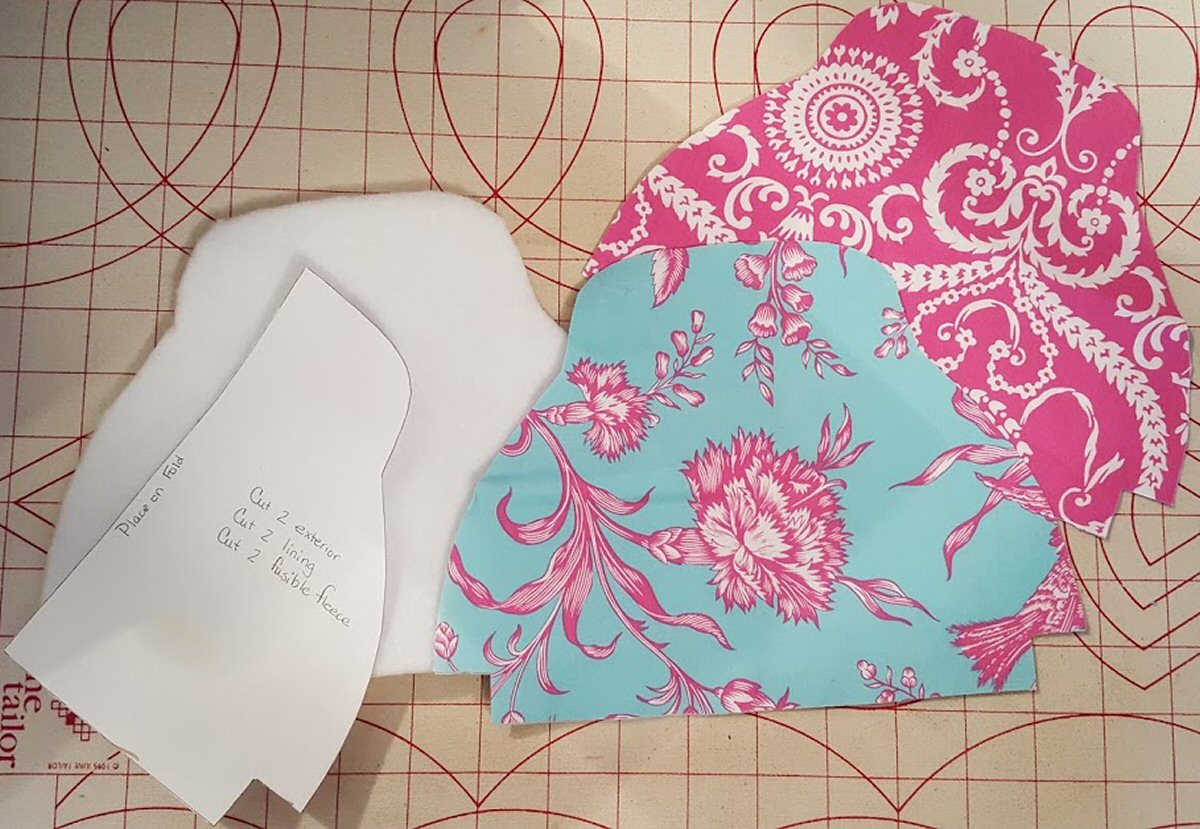
Cutting your Framed Purse fabric:
Cut 2 exterior, 2 lining, and 2 fusible fleece pieces from Purse Template (or self) pattern. After cutting, fuse fleece to the wrong side of exterior fabric, following manufacturer directions. Using a water soluble marker, transfer markings to wrong side of fabrics.
Instructions to sew a Framed Purse:
All seams are 1/4″ unless otherwise specified
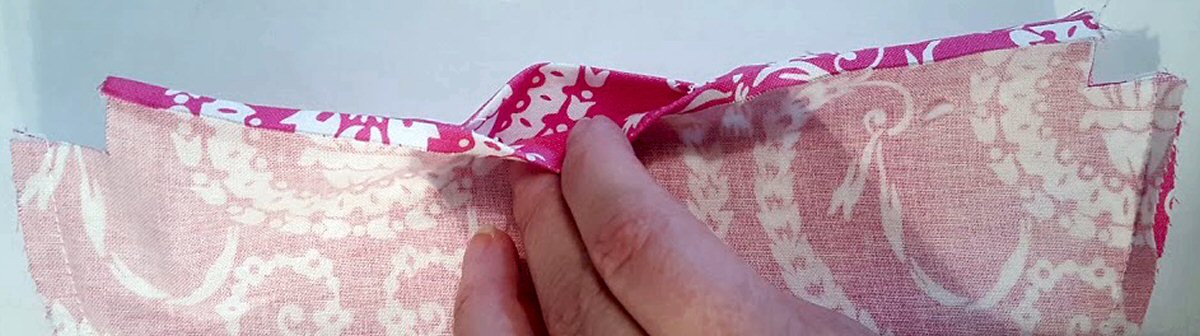
With right sides together, sew the bottom edge of bag as well as the side edges from mark to bottom edge.

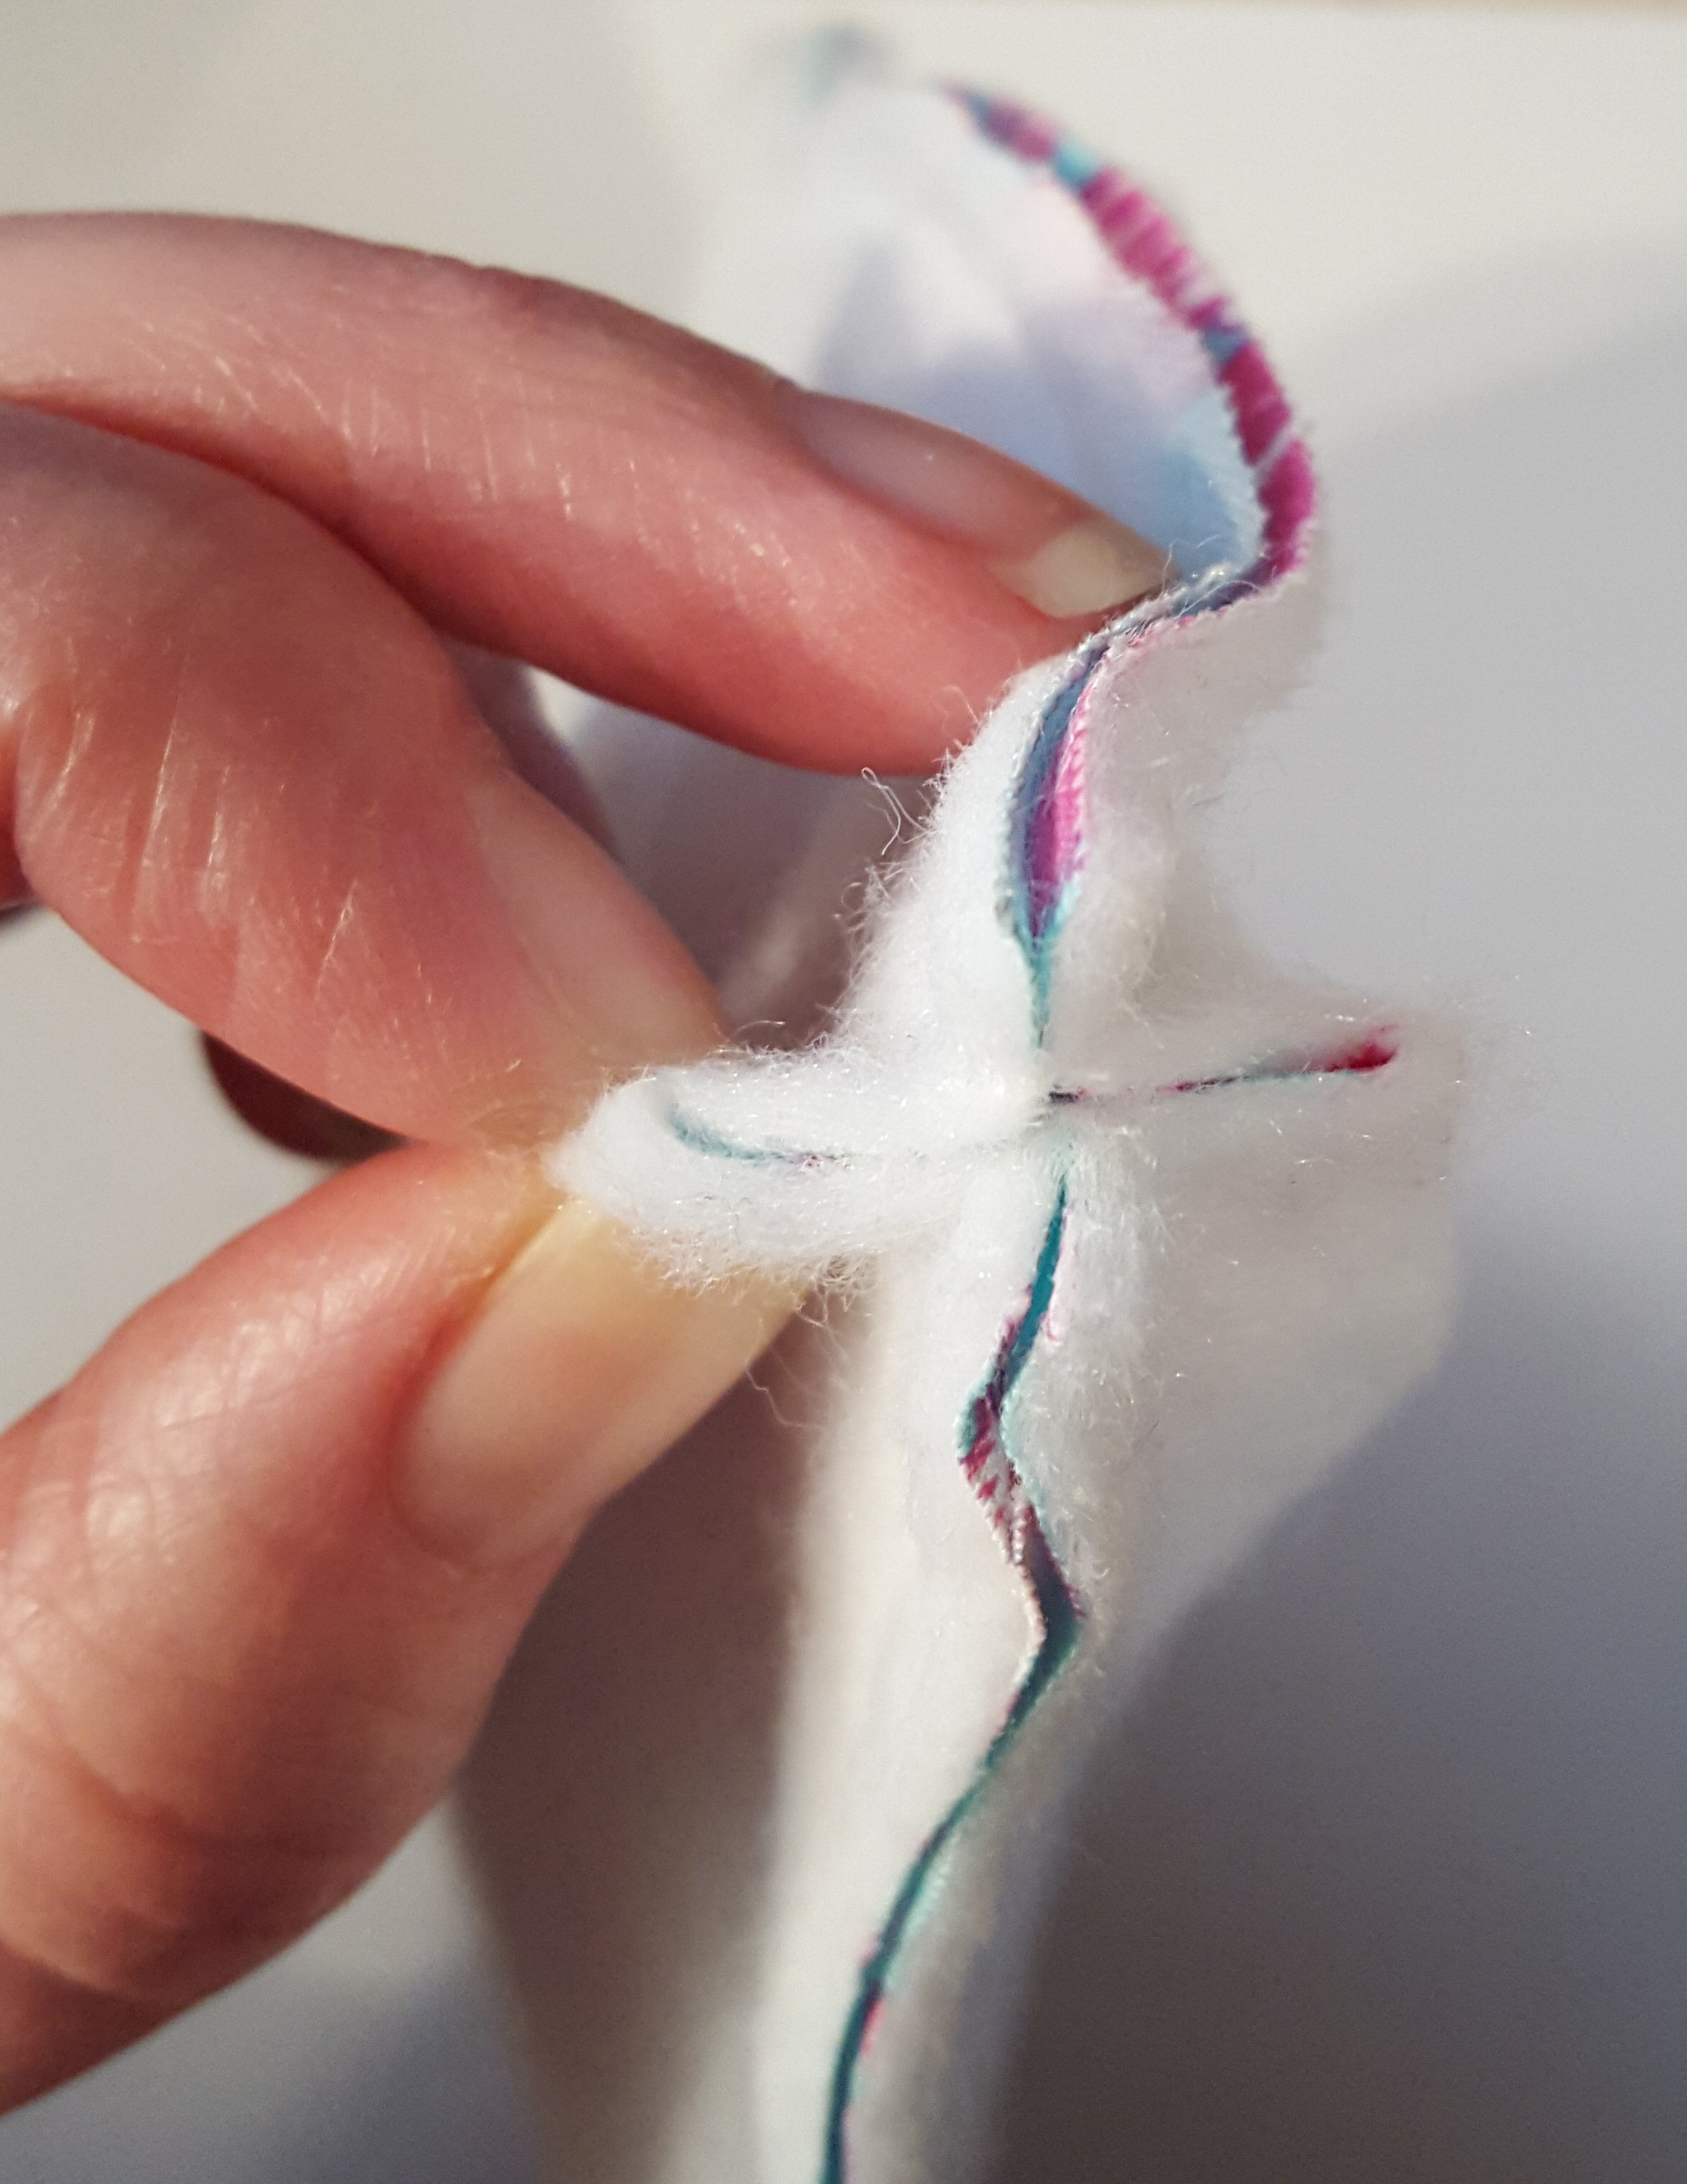
Box out the edges of the bag: open out the side and bottom seams, then match them together and pin. Sew across seam. Repeat for second side.
Sew the lining using the same steps as above. However, leave the bottom lining edge open 3-4″ for turning.
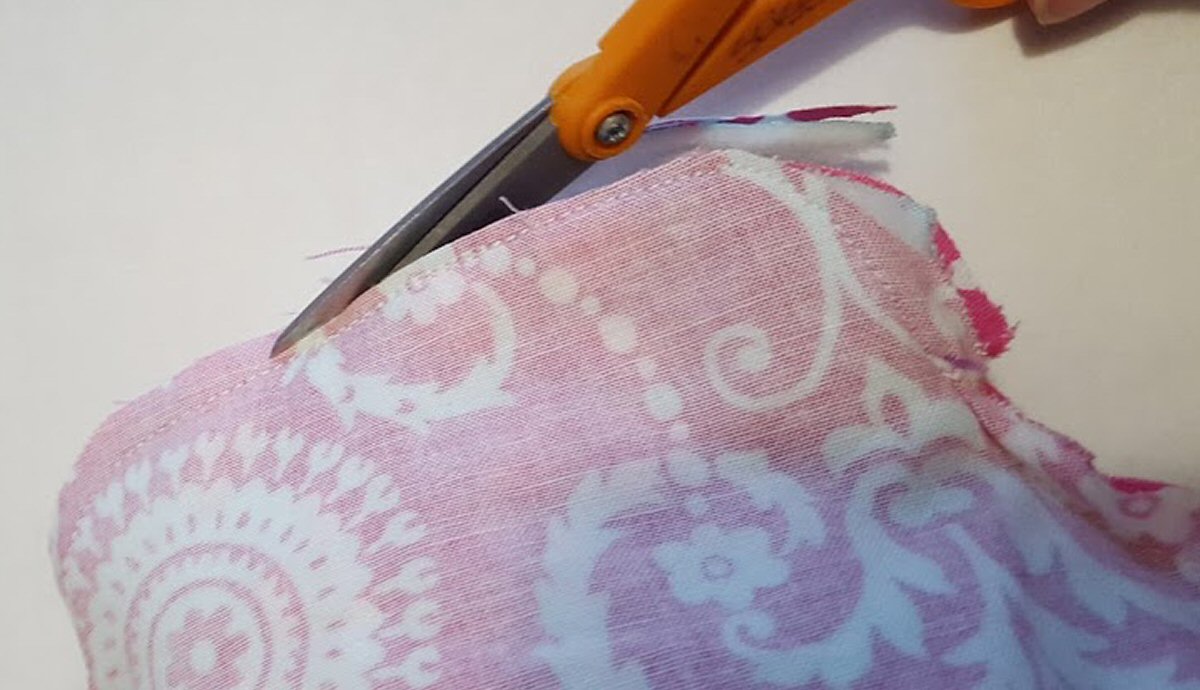
With right sides together, place the exterior and lining fabrics together, matching seams, raw edges, and markings. Sew around top edge. Trim seam to a scant 1/8″.
Turn purse right side out through opening in the lining. Slipstitch the opening in the lining closed with matching thread and hand sewing needle.

Slip bag into purse frame. Using embroidery thread and hand sewing needle (it is recommended that you use a regular, larger eye needle for this step. An embroidery needle is generally too thick to go through the holes on the frame) sew bag to frame using a back stitch. To back stitch, you will insert your needle through the fabric and have it come out through the 2nd hole of the purse frame. Then insert the needle through the 1st hole of the frame and through the fabric. Bring your needle up through the 3rd hole (from there, you will reinsert the needle through the second hole and fabric). Repeat backstitching until your bag is securely attached to the purse frame.


One comment on “Framed Purse”