Traveler’s Purse Tutorial
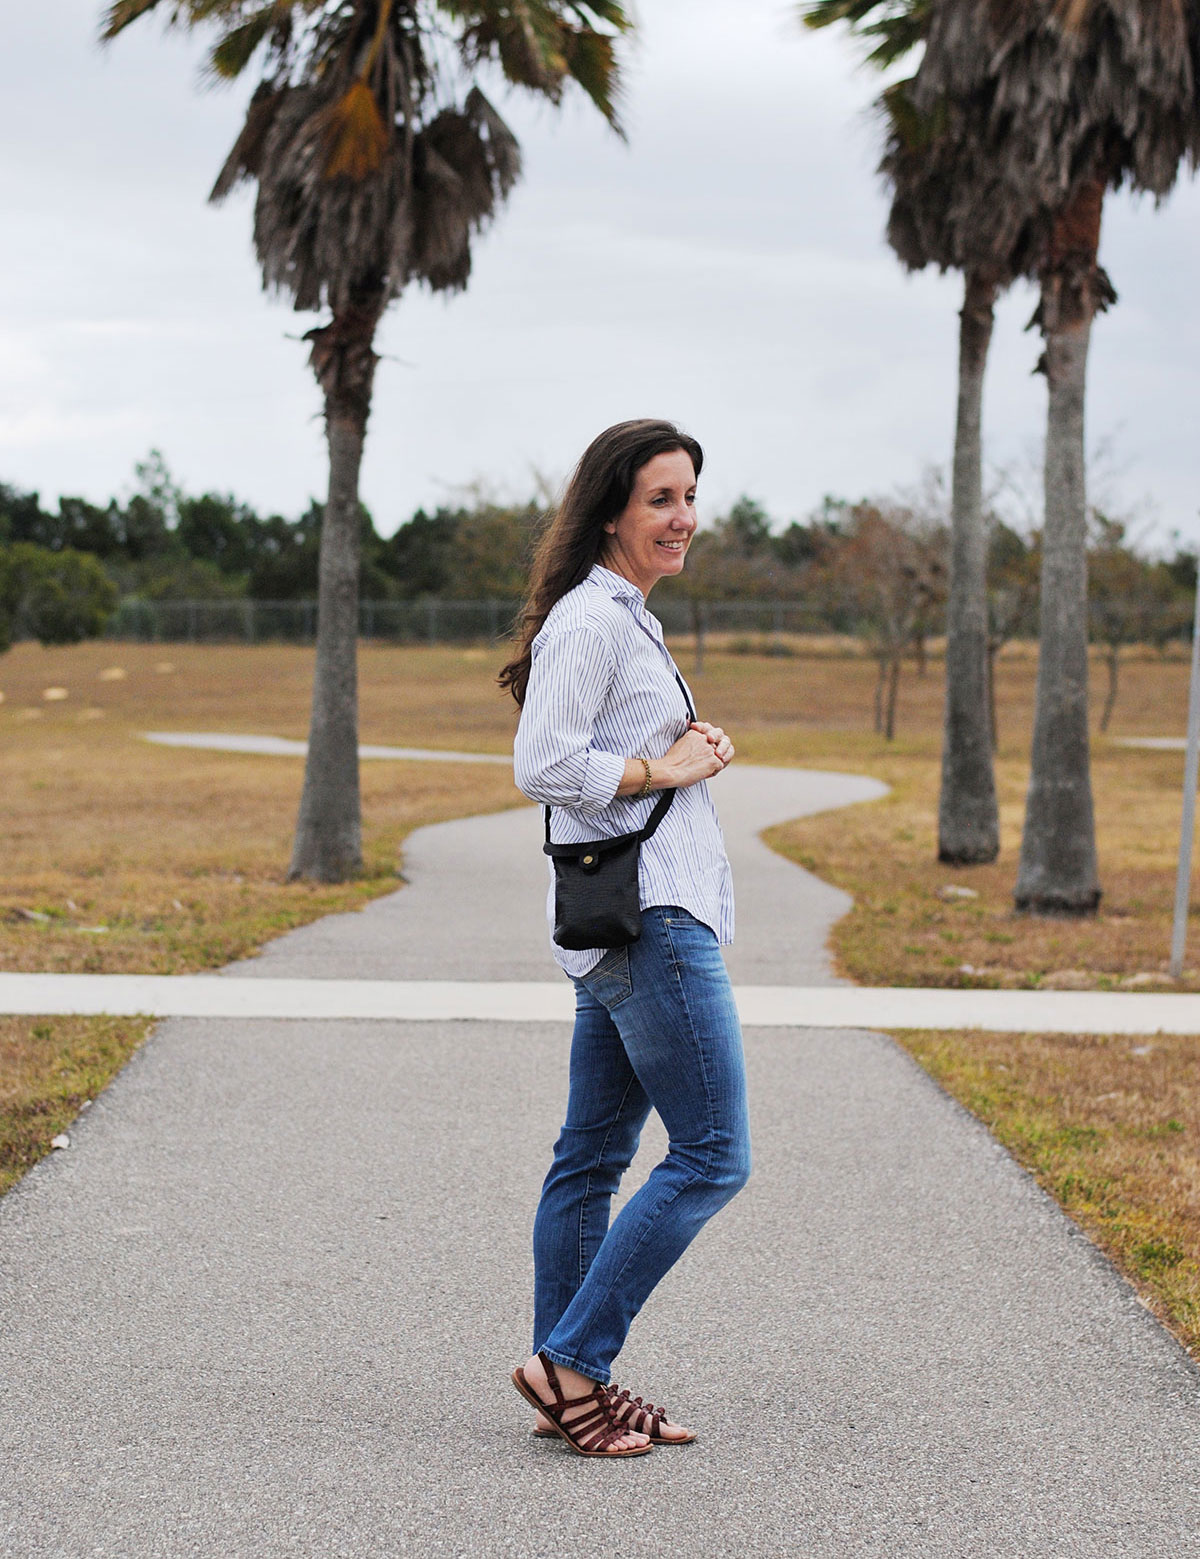
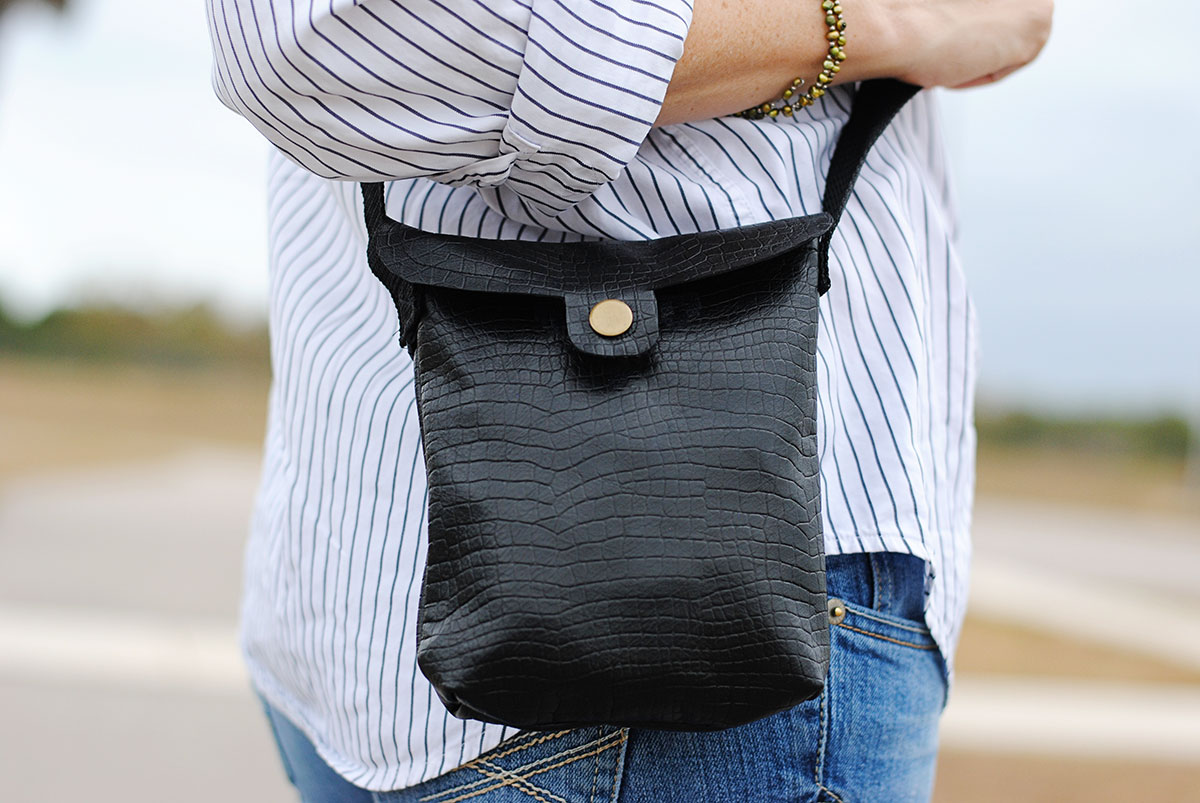
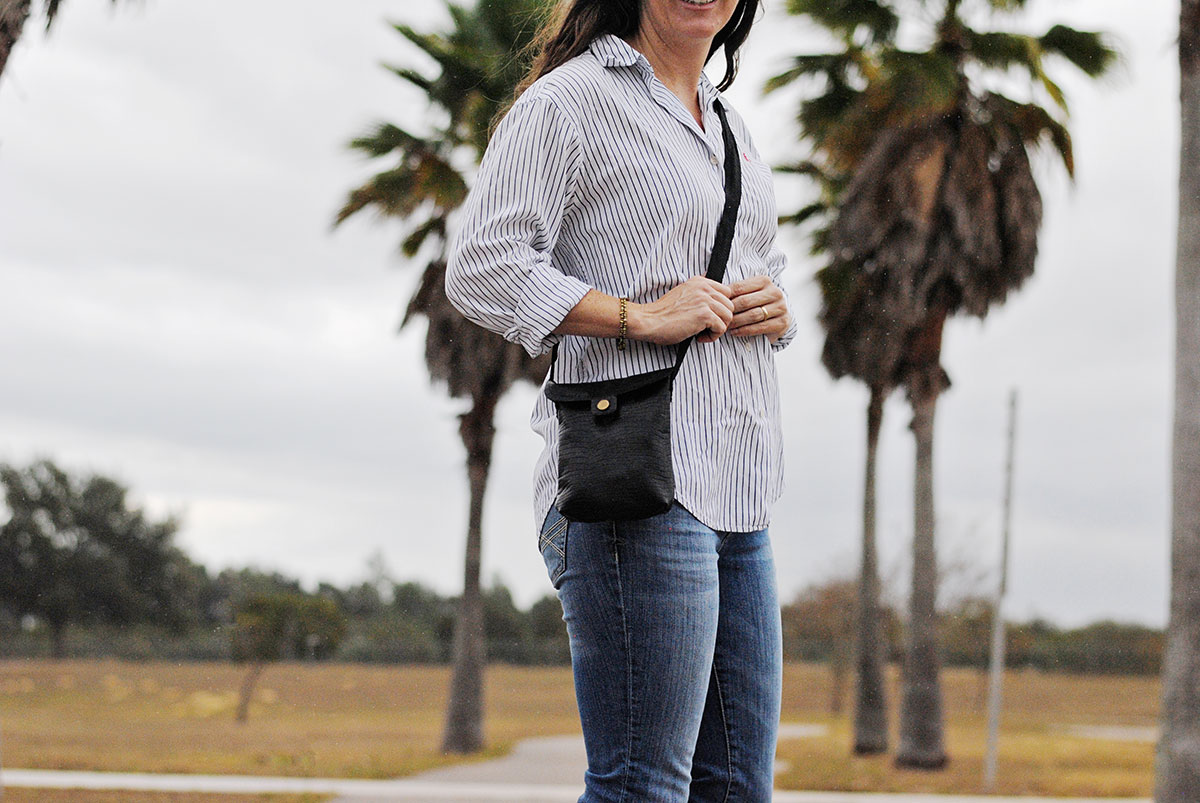
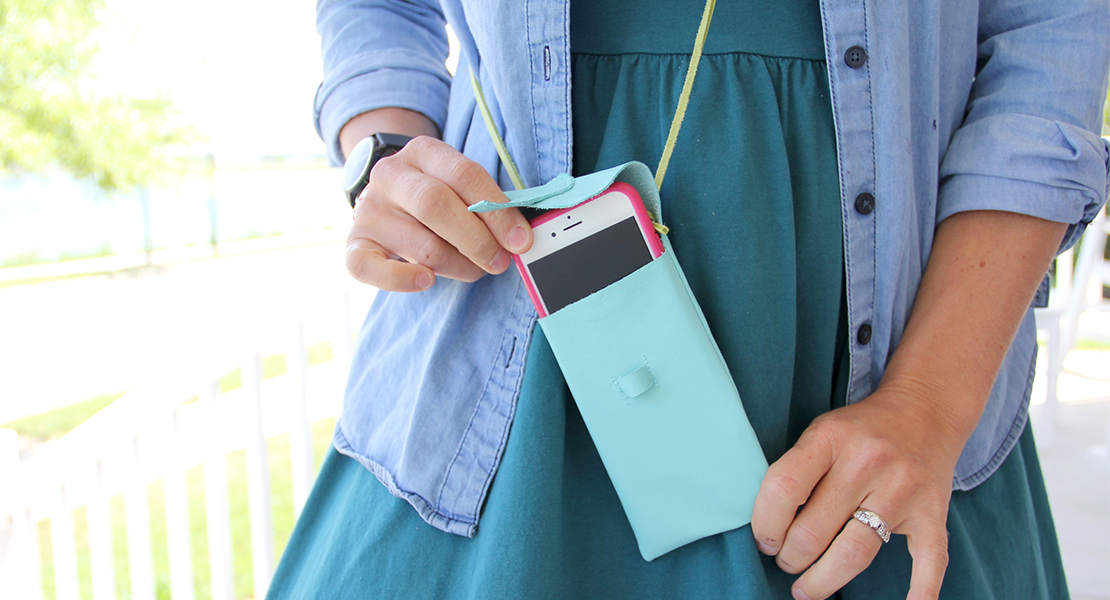
We love to travel in our family! We just returned from a great vacation to the mountains and we’re embarking to head off on an overseas trip to Japan in a few weeks. All of this traveling has led me to search for a small little purse that can hold just a few of my essentials. I created this traveler’s purse tutorial so I could have a small bag that is just big enough to hold my phone, wallet, lip gloss and sunglasses, just the necessities. Take a look at this simple 10 step tutorial to make your own traveler’s purse.
Materials to Sew a Traveler’s Purse
- Download the Traveler’s Purse Pattern
- Leather
- Webbing for Strap
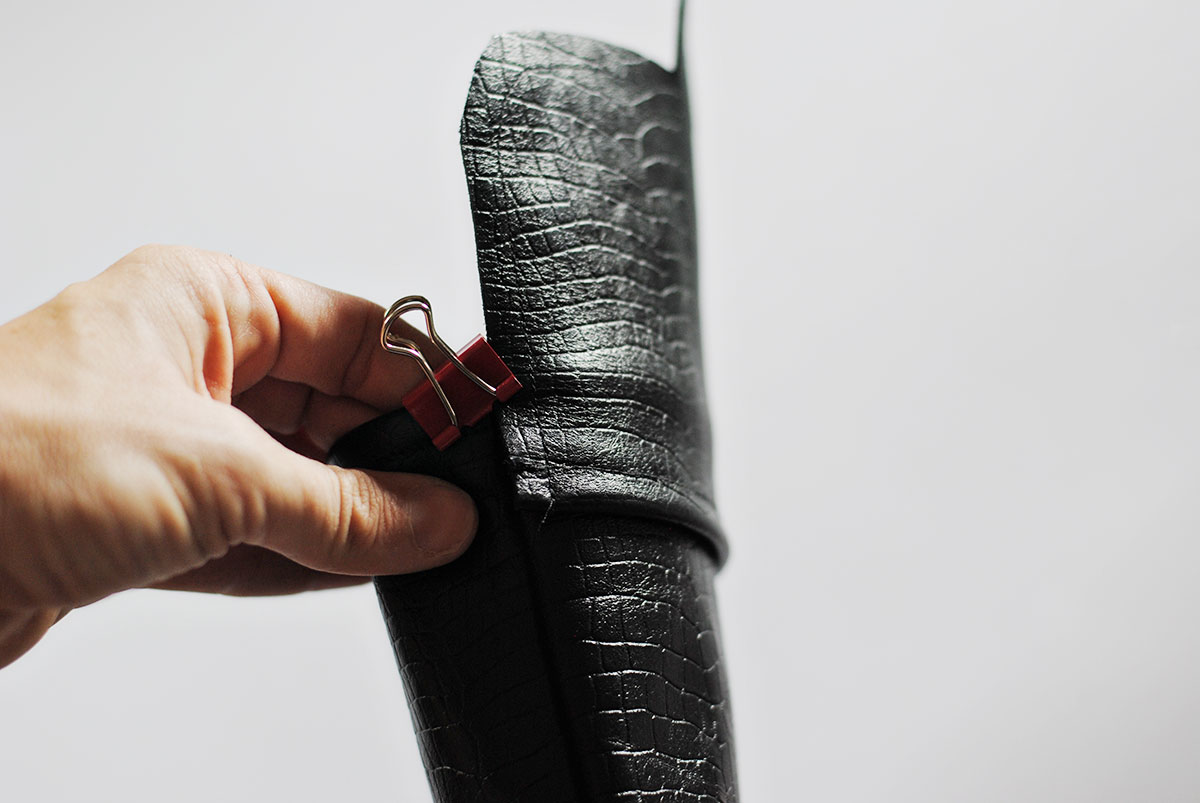
- Binder or Clover Clips
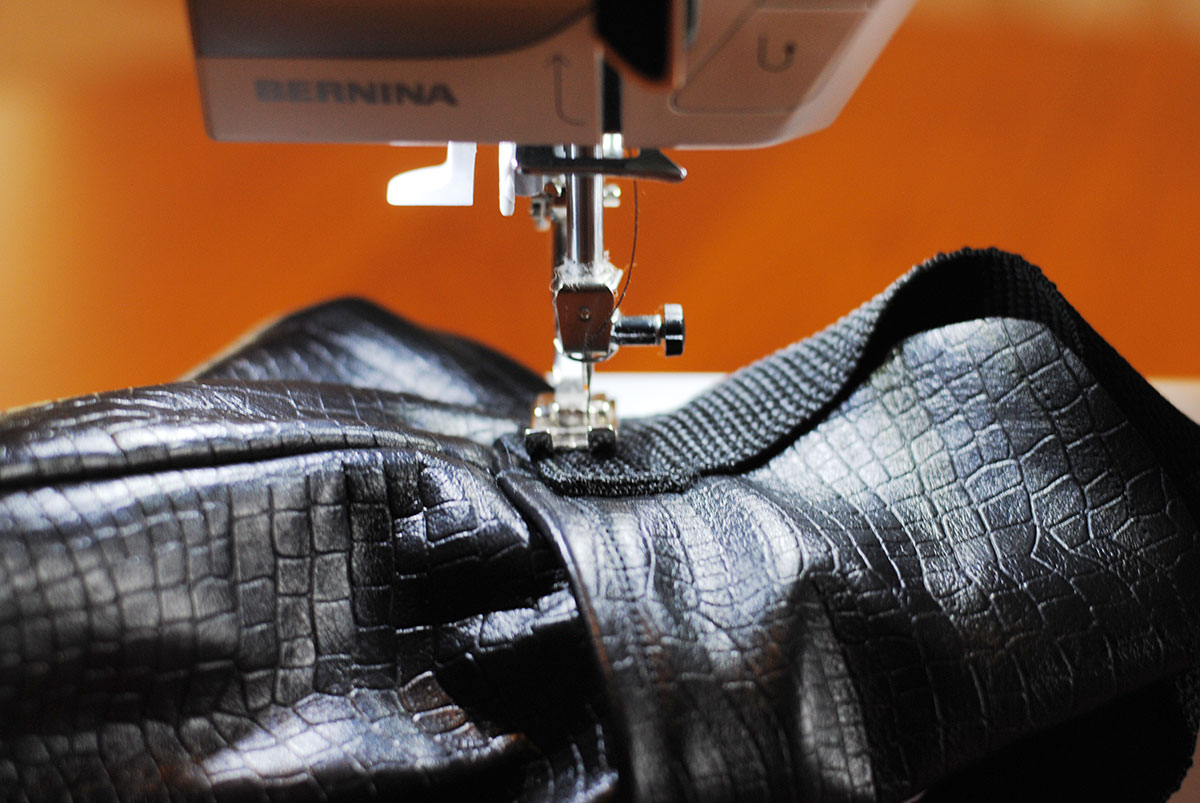
- Sewing Machine (I used my BERNINA 350 PE)
- Straight Stitch Foot #53 with non-stick sole or tape
- Leather Sewing Needle
- Double Sided Tape
Tips for sewing with leather
- Have a new, sharp leather sewing needle in your machine (these are marked leather on the front of the case.)
- Use binder clips or clover clips instead of pins to hold your project together.
- Remember that once a needle goes into leather, the hole is there forever.
- You don’t need to finish seams or line a leather project, the edges will not fray.
- Use a presser foot with a non stick sole, such as Straight stitch foot #53 with non-stick sole
- If you do not have a non-stick foot, use a piece of tape attached to your presser foot as mentioned and illustrated here.
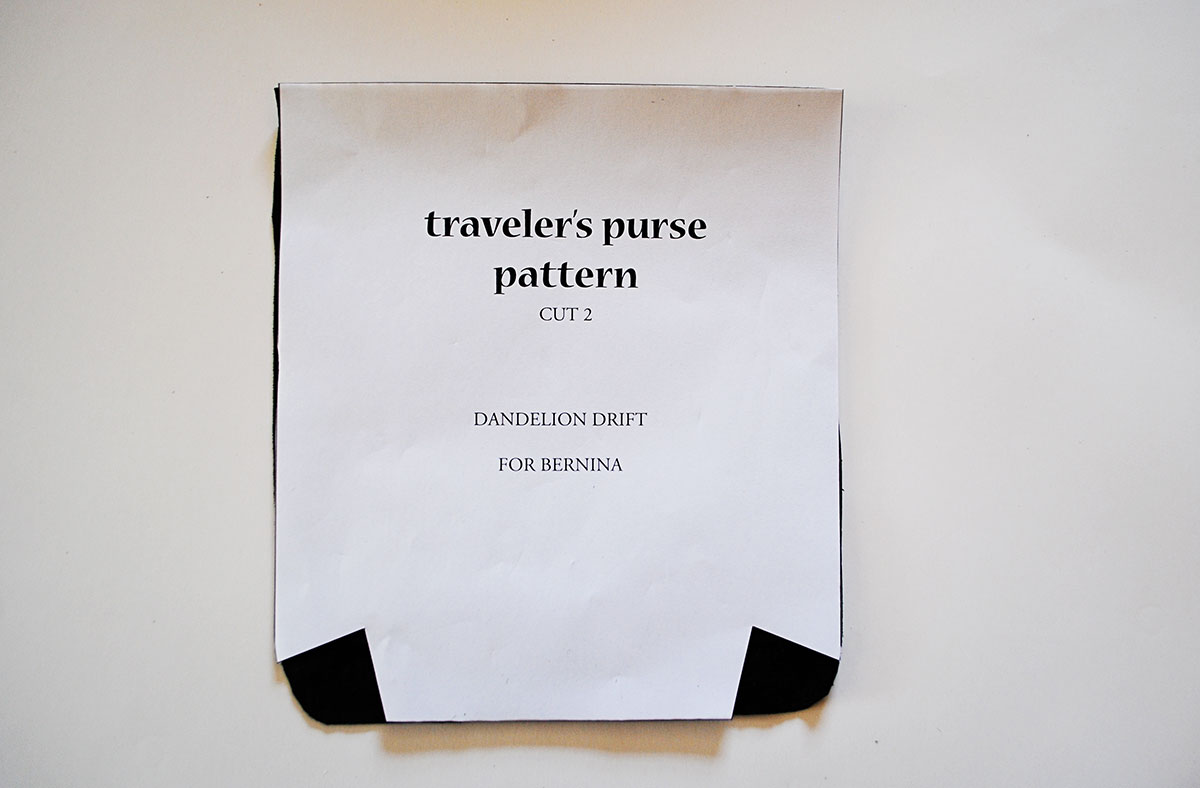
Assemble the Pattern
Print out the traveler’s purse pattern above. It will print out on two pages. Make sure when printing the pattern that you have selected print to actual size and auto portrait/landscape.
Instructions to Sew a Traveler’s Purse
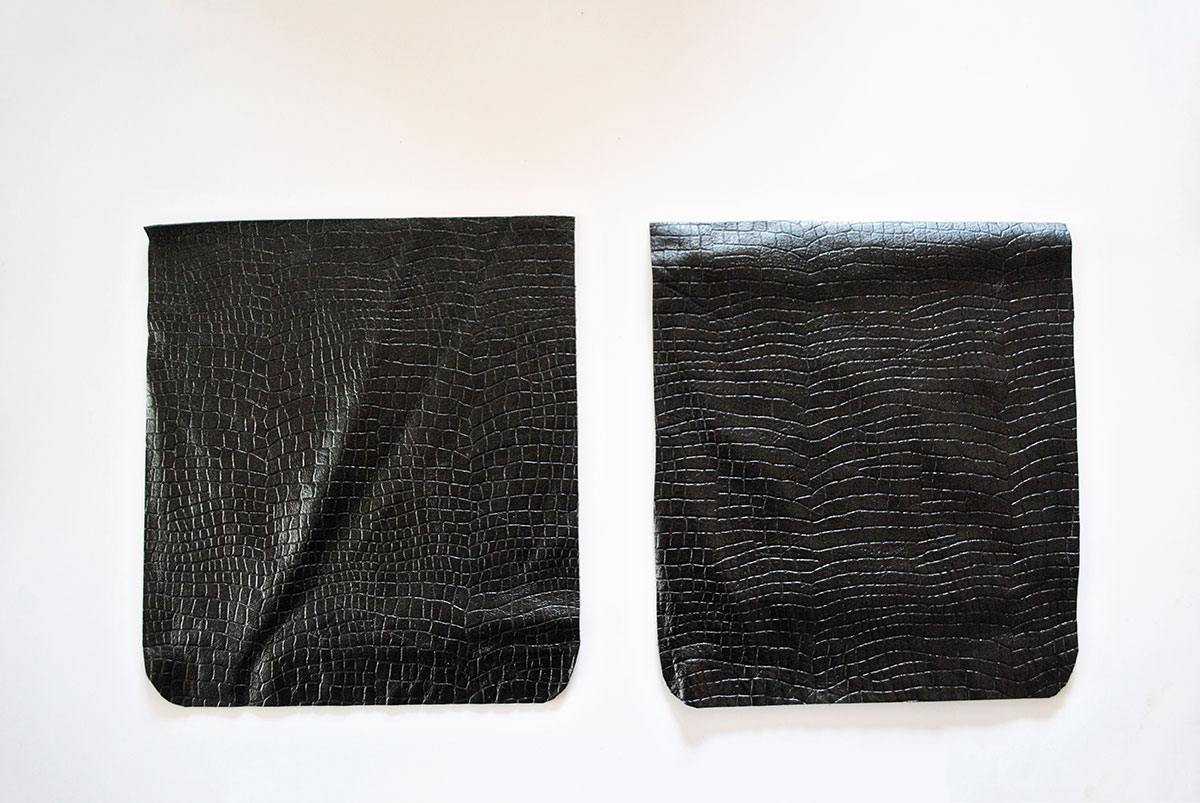
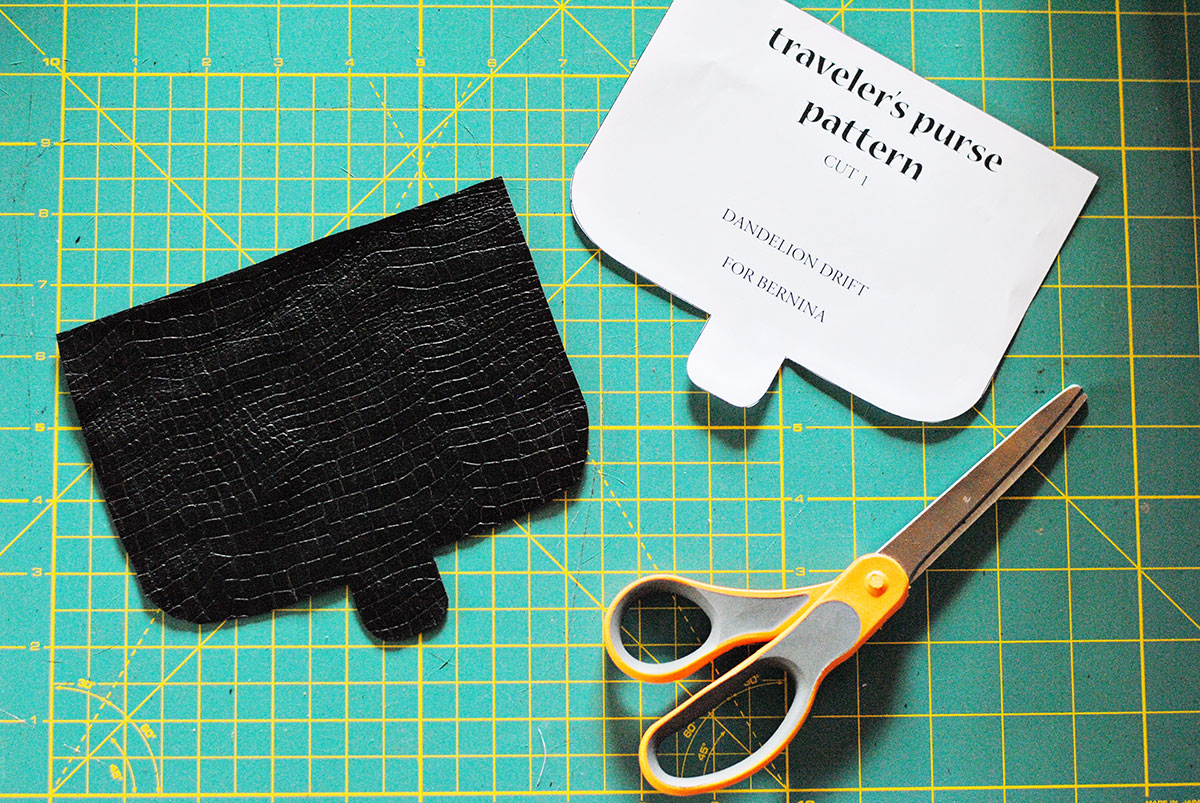
Step 1: Cut Out Pattern
Once the pattern is printed, cut out two body pieces from the leather. Do not cut out the triangles at this time, only cut on the outside lines.
Step 2: Cut Out Triangles
Now it is time to cut the triangles from the pattern. Once they are cut out, trace the triangles onto the wrong side of the bag pieces.
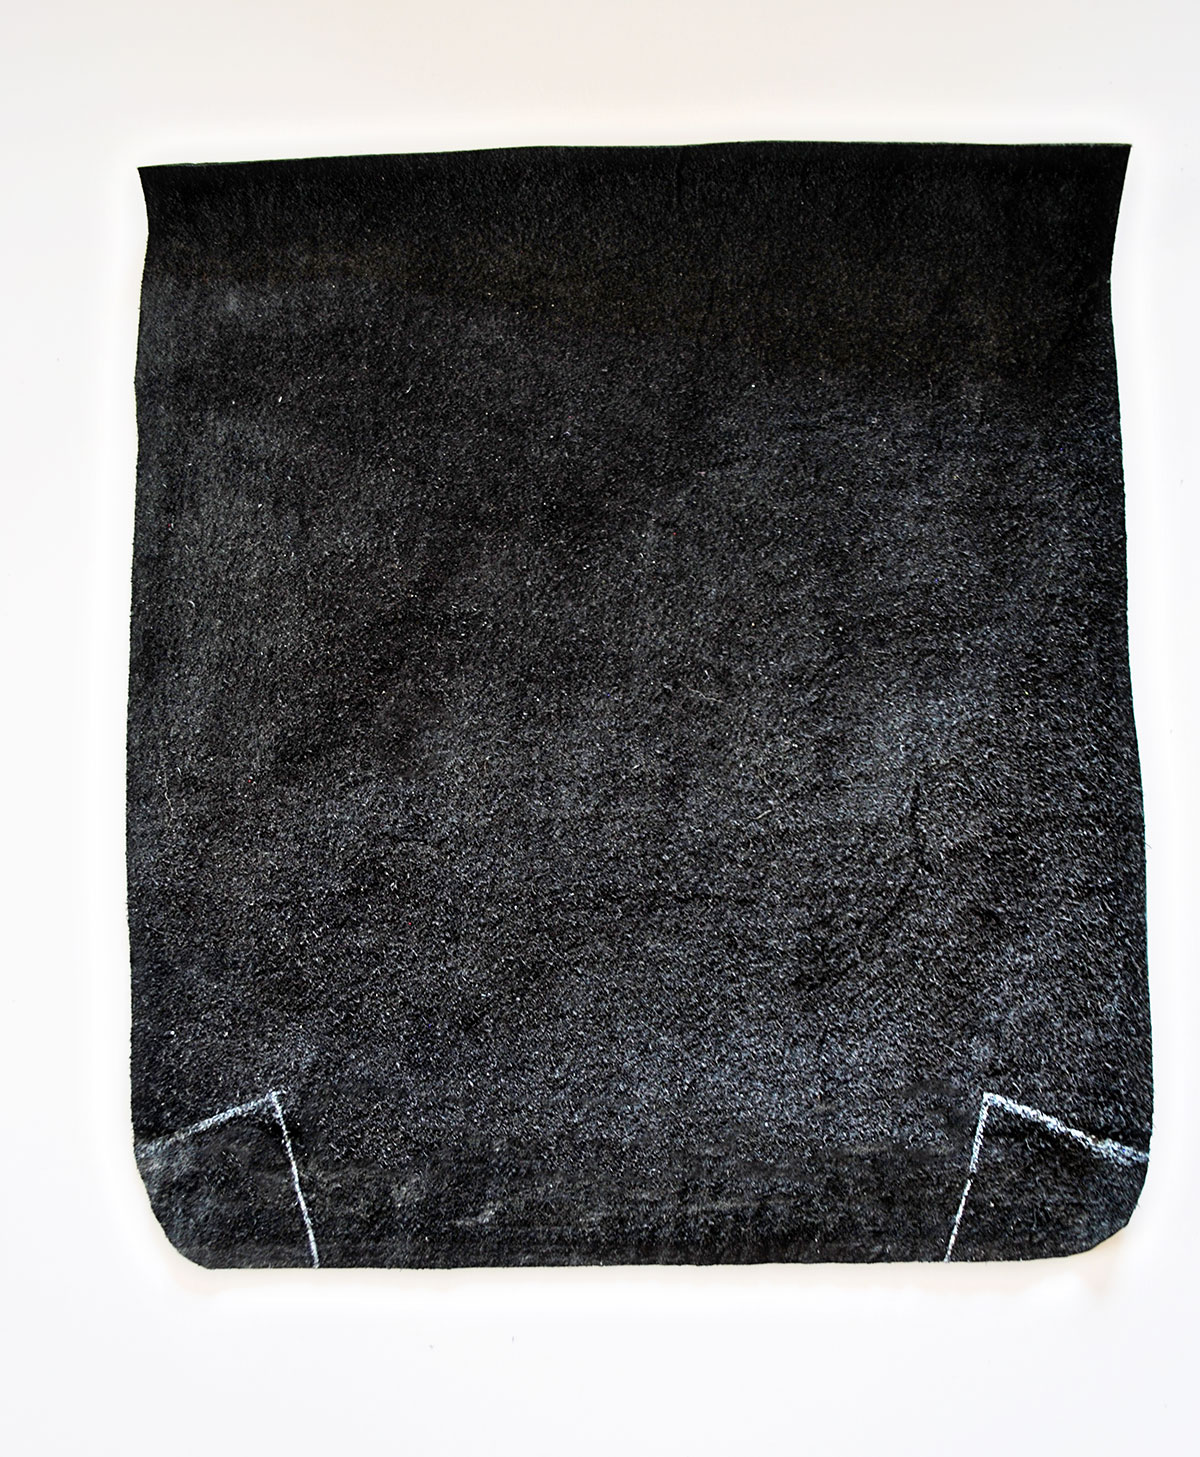
Step 3: Sew Triangles
With right sides together, align the two legs (straight lines) of the triangles. The point of the triangle will be at the fold and the two edges will meet up. Sew directly on the marked line. You will sew a total of four triangles.
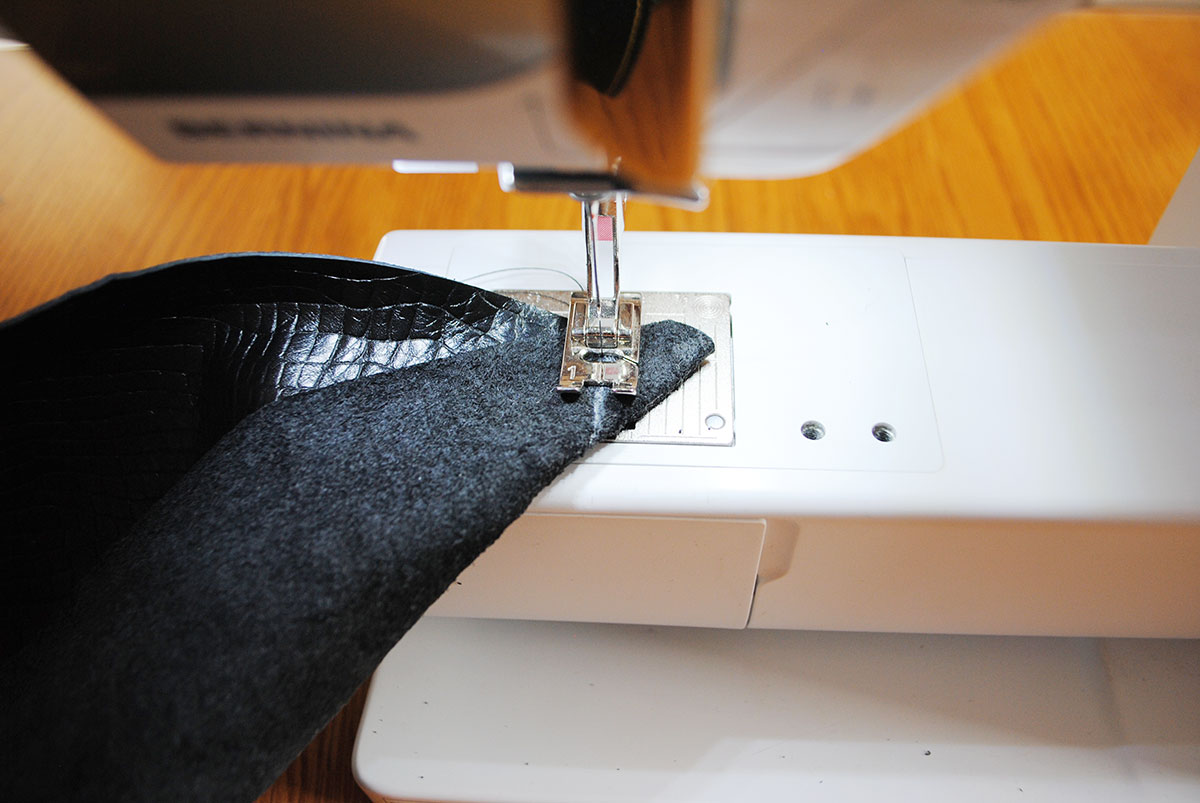
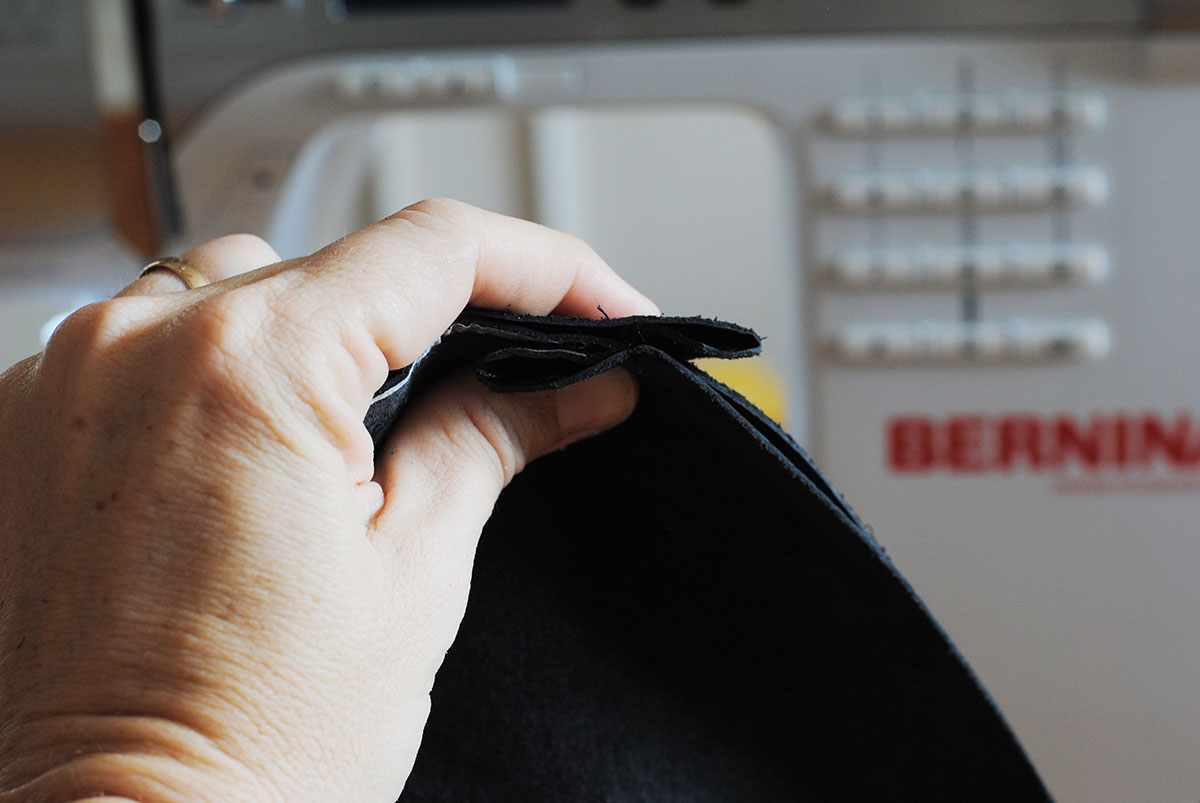
Step 4: Sew Front and Back Together
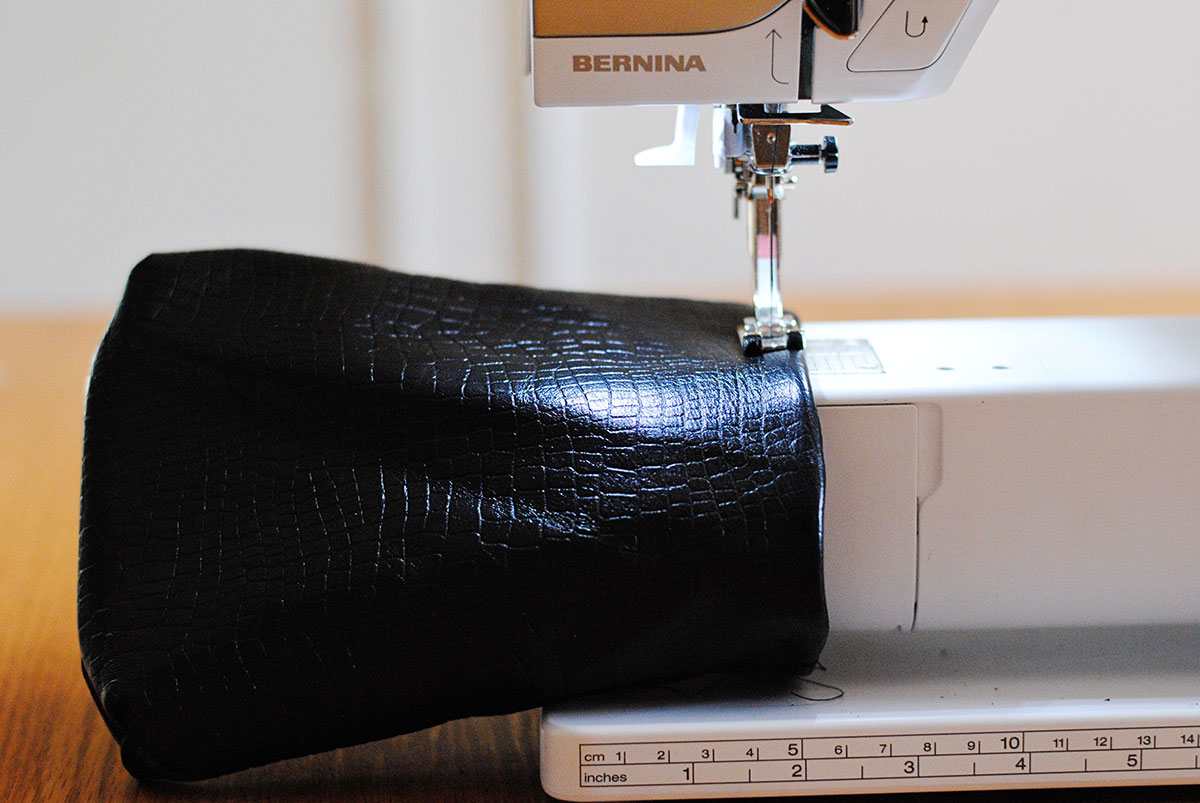
Finger press the triangles you sewed in step three. Press the triangles from the front bag piece to the inside and press the triangles from the back bag piece to the outside. Doing this will help the triangles nest against each other, making it easier to line seams up, this also creates less bulk. Use binder or clover clips to hold seams in place and sew the front and back pattern pieces together using 1/2 inch seam allowance.
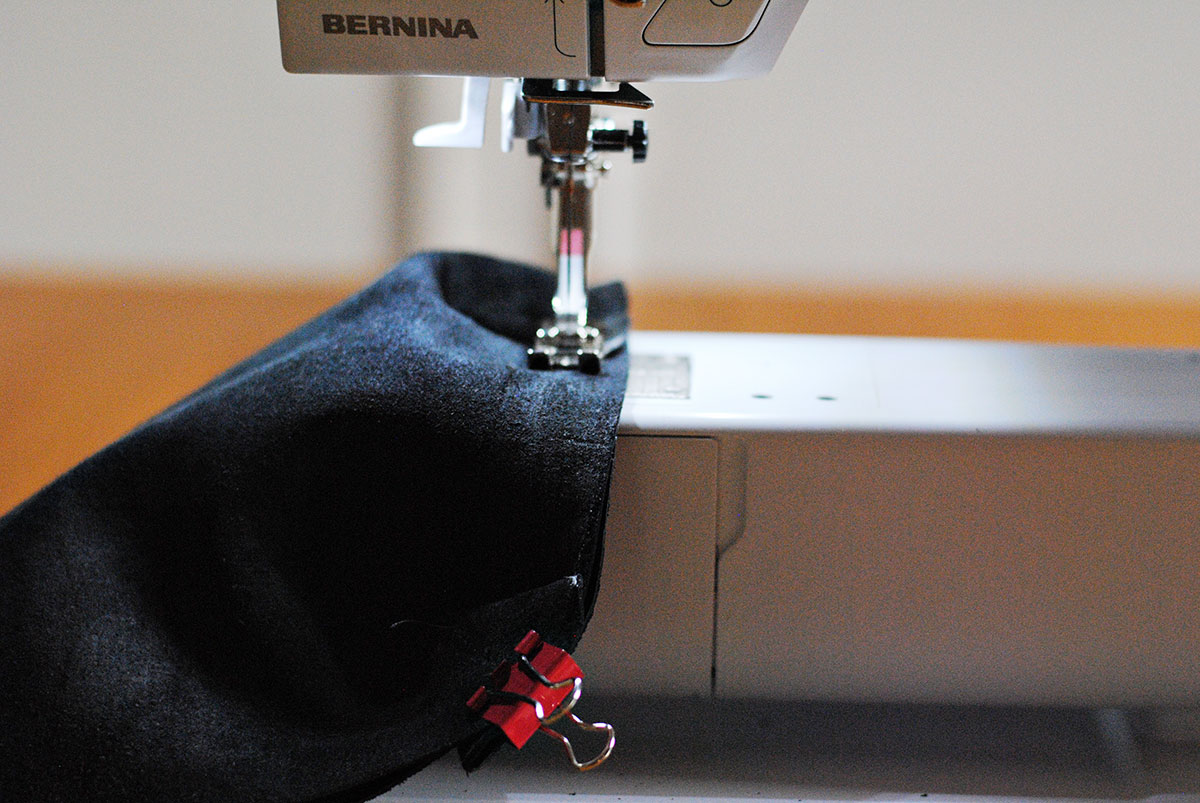
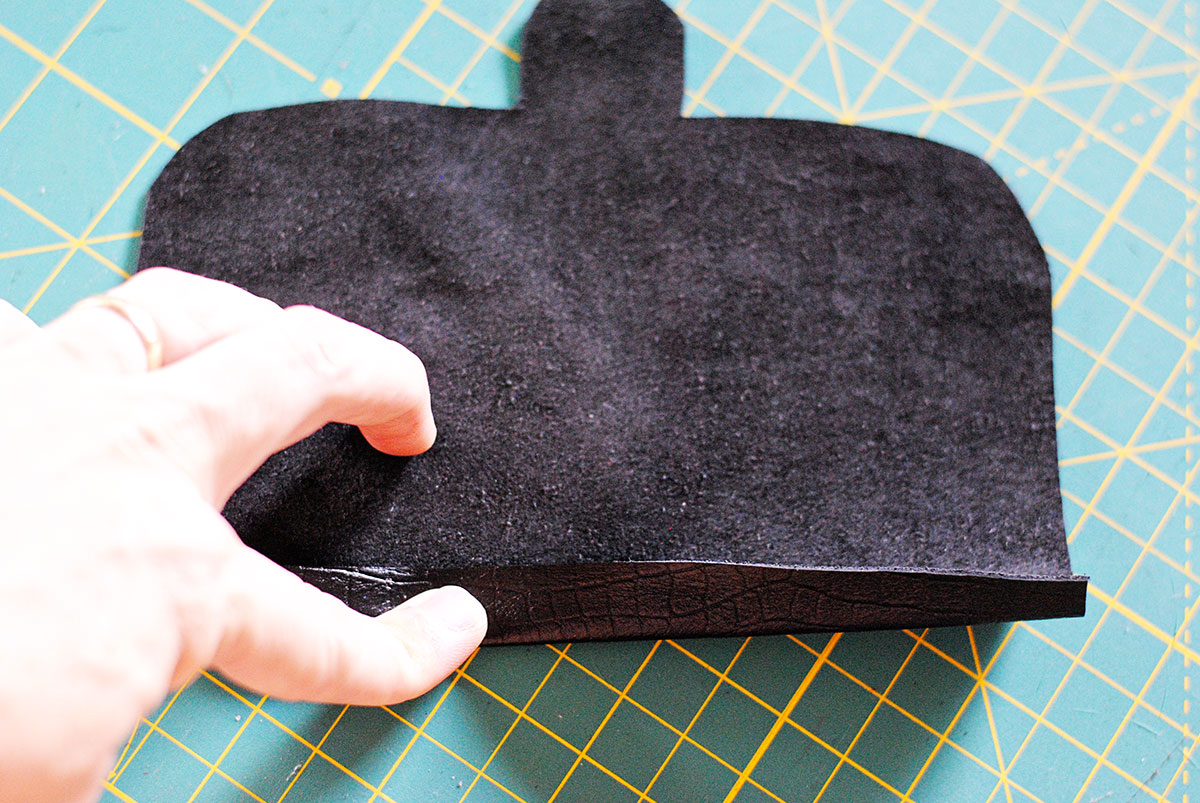
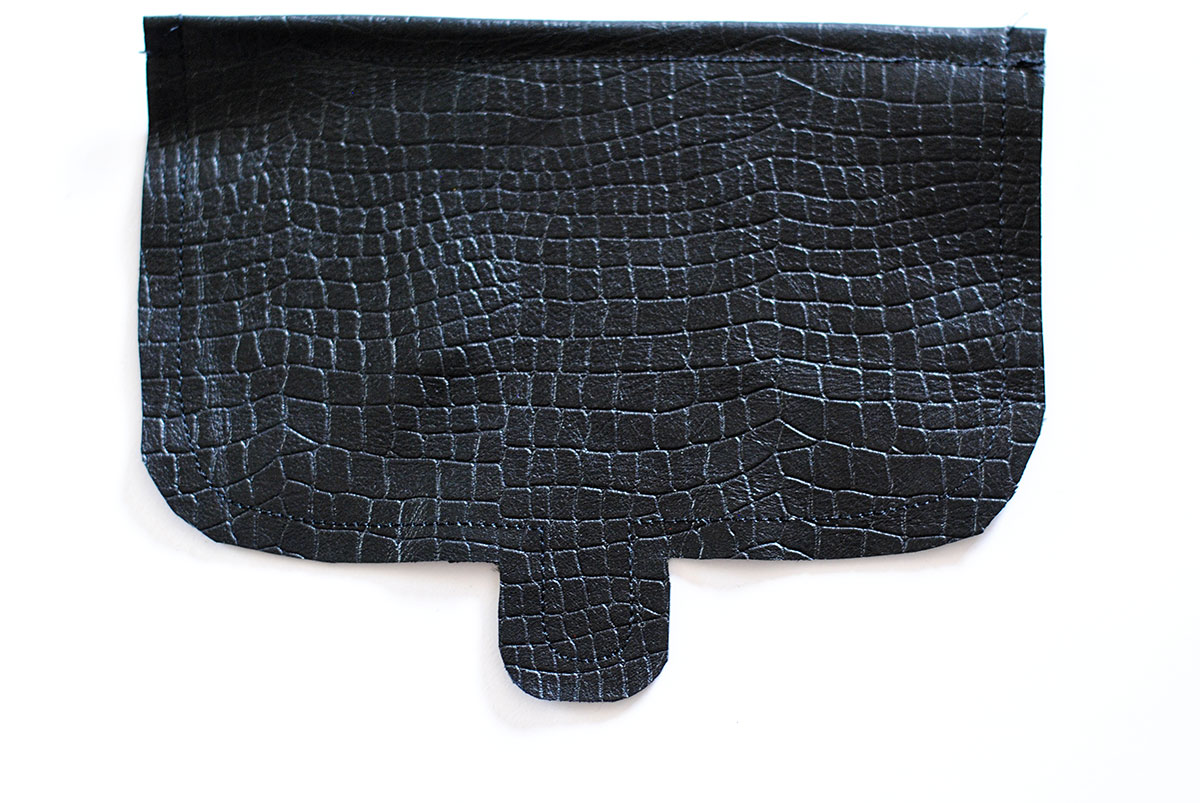
Step 5: Topstitch
Finger press down the top edge of your bag. Press down 1/2 inch, and use binder or clover clips to help hold in place. Using 1/4 inch seam allowance, top stitch this edge.
Step 6: Cut Out Flap
From the remaining piece of your leather, cut out one flap pattern piece.
Step 7: Top Stitch Flap
Finger press the top edge (straight edge) of the flap down 1/2 inch. Use binder or clover clips to hold in place. Top stitch this edge using 1/4 inch seam allowance. Now top stitch around the remaining sides using 1/4 inch seam allowance.
Step 8: Attach Flap
It’s time to sew the purse flap to the body of the bag. Measure down 3/4 inch from the top of the bag and align your finished edge of the flap on the 3/4 inch line. Sew the flap in place, using 1/4 inch seam allowance on three sides (the left, right, and along the previously top stitched line).
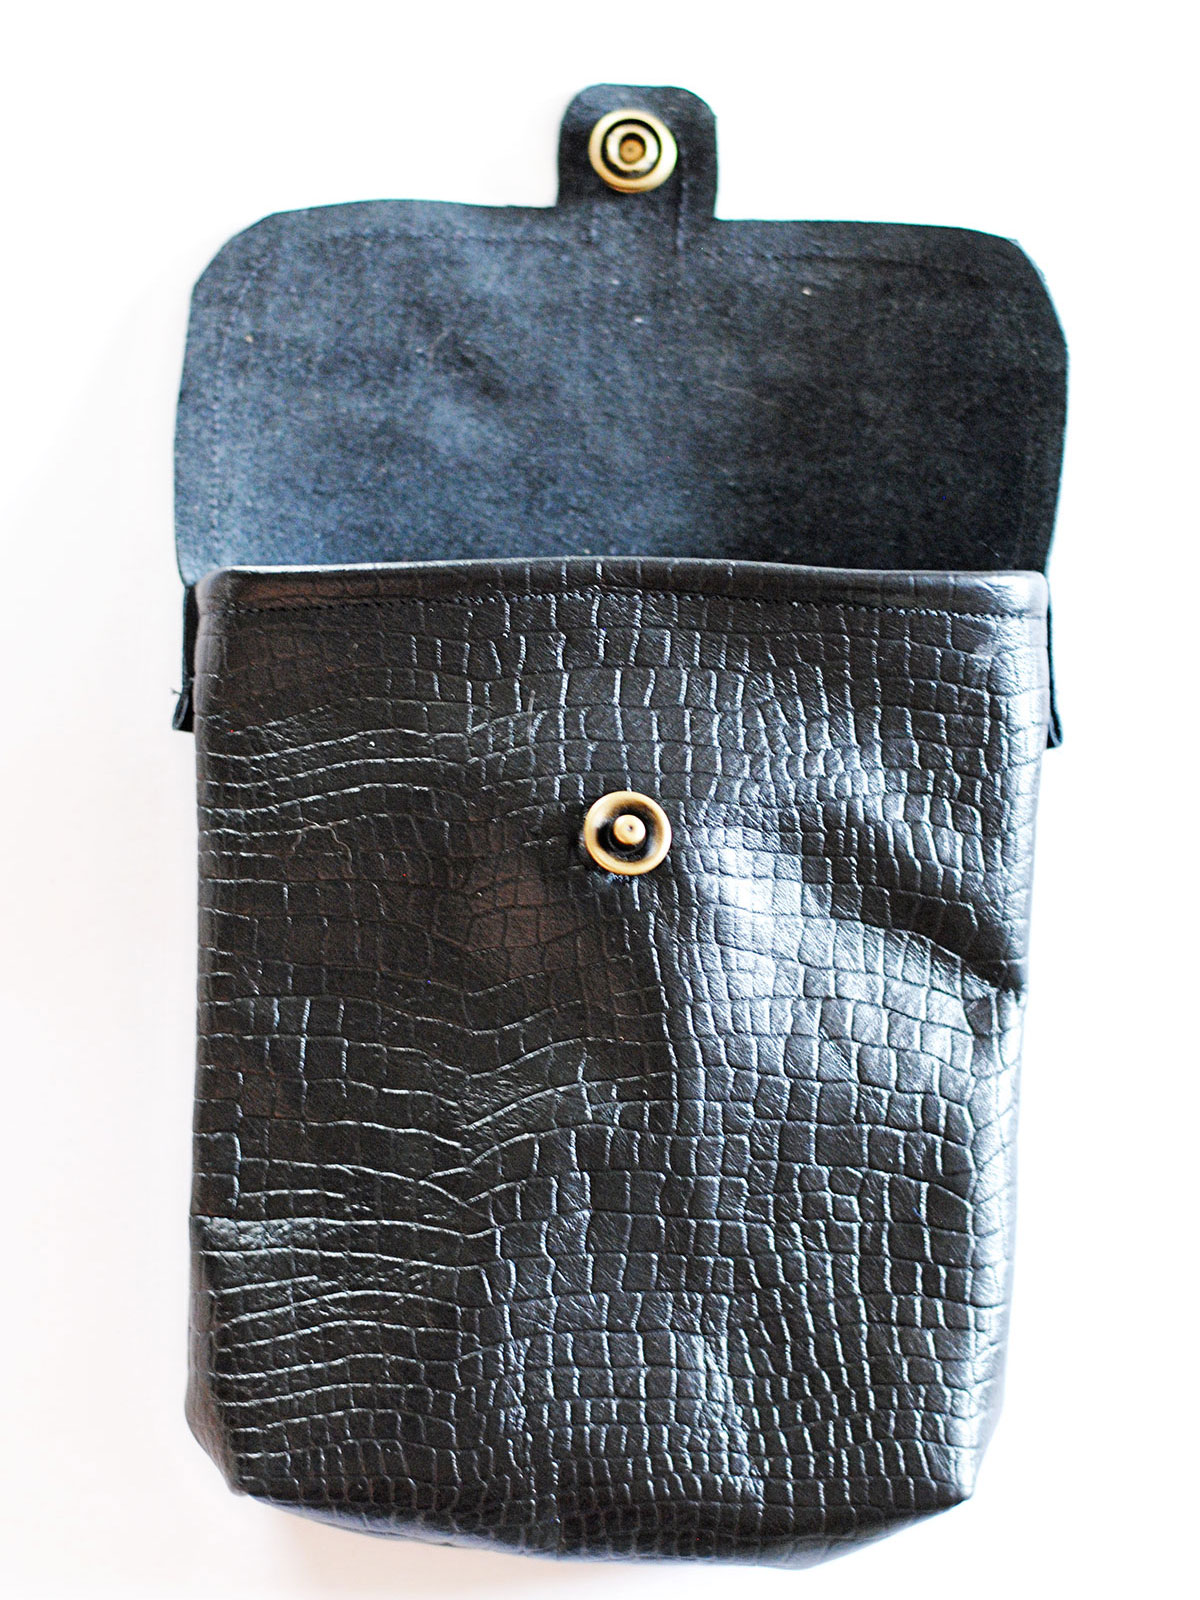
Step 9: Add Snaps
Following the snap manufacturer’s instructions, add snaps to the bag. Make sure your snaps align. Here’s a quick little tip for adding snaps to leather. I found it challenging to poke the prongs through the leather, so I used a sewing needle to help get those holes started. The prongs then easily slipped through the small hole I created with the sewing needle.
Step 10: Sew on Straps
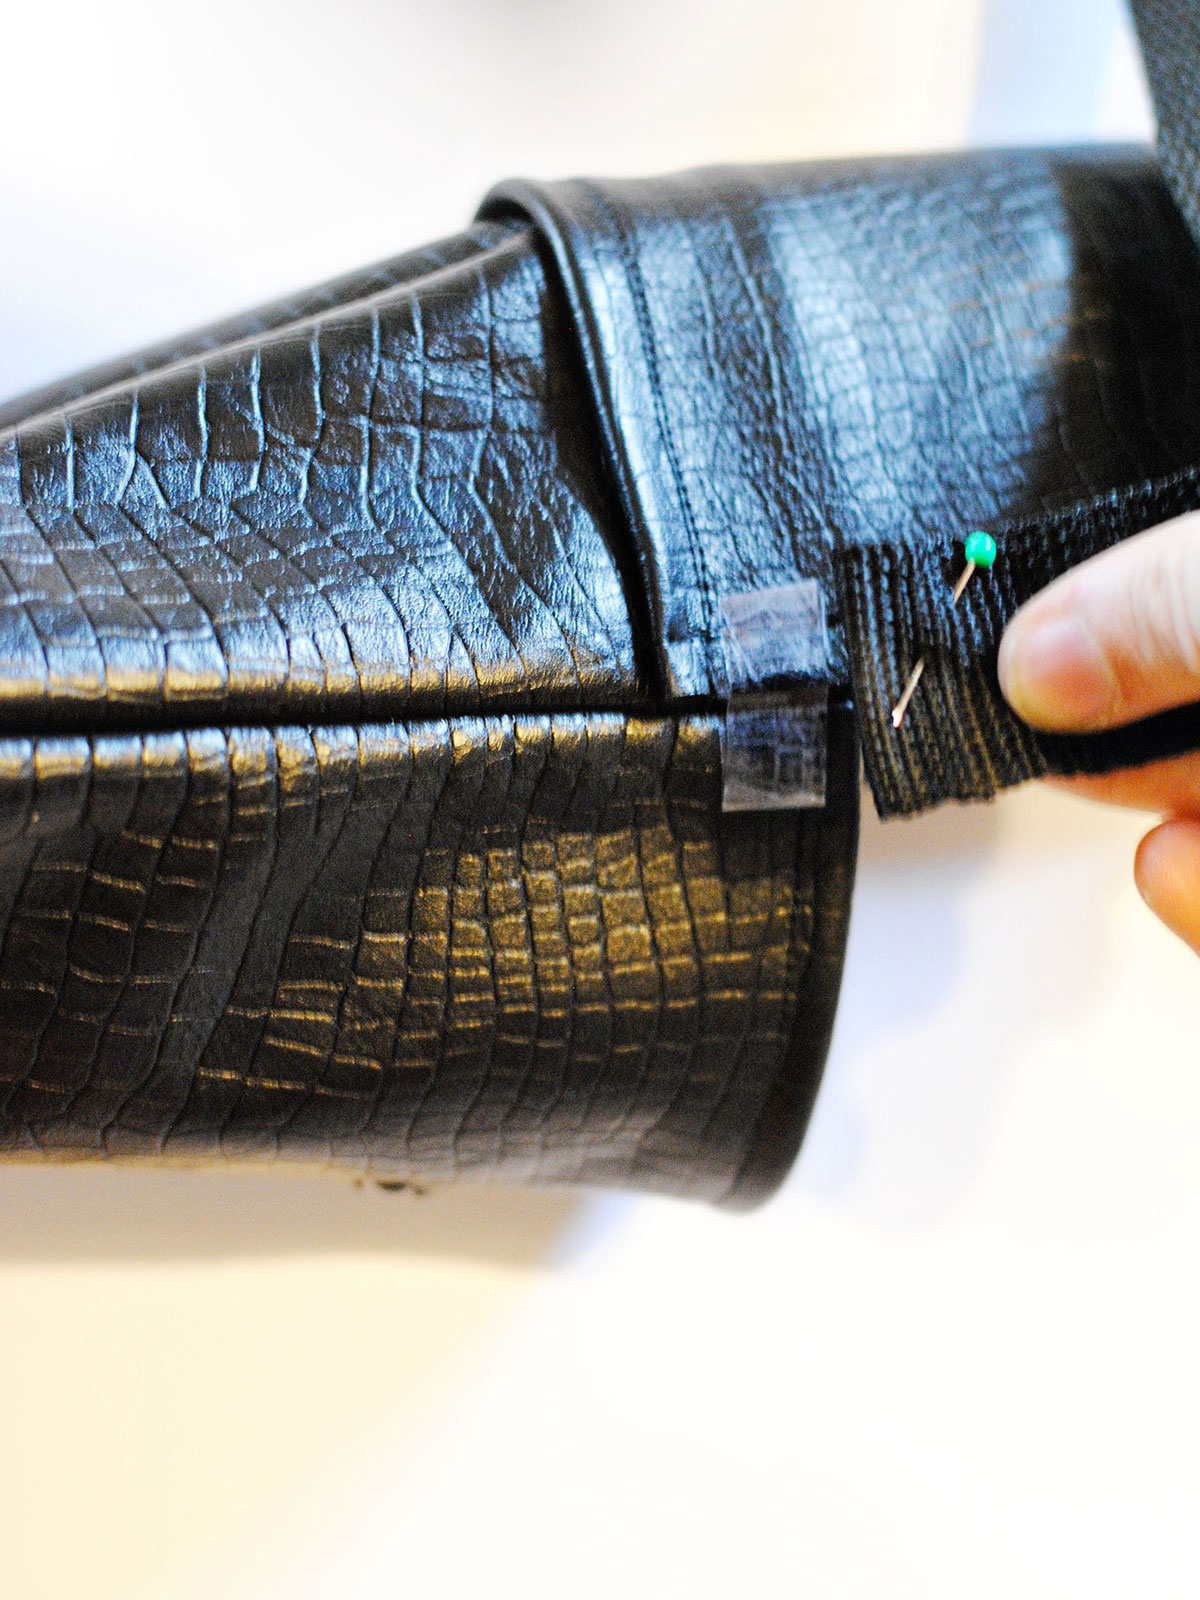
Woo hoo! We’ve made it to the last step. It’s time to take your webbing and sew on the purse strap. I simply measured the length I wanted my strap to be, added 1 inch and cut to size. Fold under 1/2 inch on either end and pin to itself to hold the fold. This last step I used double sided tape to hold my webbing to the bag.

Measure down 1/2 inch and tape your folded webbing in place. The double sided tape is strong enough to hold the strap in place while you sew on all four sides, using 1/8 inch seam allowance. I also sewed an x where the strap is on the bag to help reinforce this seam.

That’s it! Your traveler’s purse is done and you are ready for your adventures!
Our December 19 Gift for You:
A bright BERNINA red umbrella to keep you dry when skies are gray to one lucky WeAllSew fan!
All you have to do is post a comment below answering the following question:
What type of bag or purse do you want to learn how to make in the coming year?
A winner will be chosen at random on December 20, 2016 and announced the following week!
Good luck!
The contest is open for comments until December 19 at 12:00 midnight Central Time. Click here for contest rules.
Congratulations to WeAllSew reader “cecilia3,” the winner of our December 19th gift. Enjoy!


What you might also like


73 comments on “Traveler’s Purse Tutorial”
-
-
My son in law is a falconer and has almost lost his phones while hunting with his birds. This would be a great help to him. He wears a lot of gear to keep his hands free and this will make him a wonderful tool when he is out in the field hunting!
-
-
While I’ve knitted and felted bags, I’ve never sewn a purse or a bag. I’d really like to learn some basic techniques so that I could design my own tote and clutch. Ideally, I’d like a heavy canvas tote that is wider than it is long and that has long handles so it can be carried as a shoulder bag and a zippered clutch large enough to hold an iPhone 6+, keys, lipstick, and credit cards.
-
I have some scraps of leather from an old purse that I want to use maybe something with that.
-
I would like to make a large duffle bag for travel. I would like to learn more about sewing with leather. Thank you for the tutorial.
-
I want to make a small simple wristlet to carry my debit/credit card, drivers license and keys that I can quickly pull out when I don’t want to carry a purse.
-
I like small bags that fit in a larger bag. A matching set would be nice.
-
I love the size of this purse. Perfect for traveling. I would also like to make another “professional Tote Bag”.
I took a class earlier this month from my local Bernina Store and made one for my sister. The directions were a little difficult to follow and I would love to make one for myself so I would love to take the class again. -
A tote bag would interest me.
-
I want to copy a purse I have in cloth and a couple of travel duffels.
-
I would love to have a pattern for a strong, multi compartment bag. With outside compartments for cell phone and keys. Inside compartments for an I-pad, school papers, lunch, wallet, glasses etc.
-
I would like to try sewing a leather type of purse or carry-all bag. The instructions and pictures for sewing with leather are helpful. Thank you.
-
I am in the process of making a bag with pictures of every member of my family on fabric that I can print pictures on. It is a quilted bag. I started it last summer, and then my husband and I decided to move. So I put it away and now I have Christmas gifts to finish. I will love using it when I am done. I carefully made sure I have the same number of pictures of each grandchild on the bag. LOL
-
Project bag – something that will help me organize the sewing projects I am working on. I would also like to learn how to make a bag for overseas traveling – one that will hold my passport and other documents needed to board an airplane and cruise ship.
-
Love the cross body bags. Have done a tote and turned out great.
-
I would like to learn how to sew this purse or another cross body purse. I used to carry a larger purse but it gets heavy and weighs on you shoulders and neck.
-
I would like to learn how to make a larger travel size duffel bag with metal feet and lots of side pockets.
-
A book bag
-
I would like to make one a little larger than this….great,simple style!
Thank you. -
Carry-on bag for flights
-
One with lots of interrior pockets and dividers.
-
I have no clue. I’ve collected so many bag instructions and haven’t ventured to make any of them yet, but I would love a red umbrella!
-
one with LOTS of zippers but still looks nice
-
One with lots of separate compartments, or pockets so you cn put things in the different places and stay organized.
-
-
I started making bags about 2 years ago. I still have trouble with deciding what to use to close internal pockets-snaps, velcro, zippers? They all have issues
-
Great bag! I would love to make a bag with lots of pockets and zippers inside and out.
Thanks for the chance to play : ) -
I want to learn how to sew a leather hobo bag.
-
Sewing on leather was one of my goals this year. Haven’t decided on the project.
-
Number 1 – I want to make this traveler’s bag!
I would like to make a carry-on bag for air travel out of leather. Pockets, zipper, lightweight, ando fits under seat. -
Either a draw string backpack or a zippered bag.
-
I am still hoping to complete 4 smaller 9×5″ zippered bags/pouches before Christmas.
-
I’m just finishing a large duffel (weekender) bag from my own pattern. I would like to make another for my sister, but first would love to see a tutorial on a large bag with lining and inset zippers. Also, lots of pockets, inside & outside. Thank you! Linda
-
I would like to learn how to sew with leather. A purse a little bigger than the one shown with dividers and zippers.
-
I love some of the smaller purses that are popular right now. They’re so versatile and cute!
-
I would like to make a small bag suc as today’s bag or a cross body bag.
-
I too would love to learn how to make purses of all sizes and materials. Sometimes I need to carry just a bit…other times it seems like I need way too much!
-
I love the idea of this purse, although I would like one a little larger just big enough to hold a water bottle, in addition to the other items mentioned for traveling.
-
cool bag, how about a slighty bigger one with inside pockects…lots..
-
a canvas tote bag
-
Cross body bags for me.
-
Small zipper bags that I can embroider on.
-
I have made a lot of fabric purses. I would like to learn how to make one with leather, especially since I have the leather roller foot for my Bernina !
-
I want to make an “in the hoop” bag for each of my daughters.
-
a cross the body bag with long straps
-
I would like to make a purse with lots of pockets inside so that I can find things quickly without rummaging around in the purse to find something.
-
More small and medium sized purses with two to three zippers and a variety of embellishments.
-
I’d like a small bag with dividers or zippers to carry essentials when I’m traveling. Thanks for the generous giveaway and all the good info!
-
I’d like to learn to sew cute purses for little girls out of different fabrics.
-
I’d like to learn how to make a very small backpack.
-
I would love to learn how to do bags that stand up with a firmer base on them!
-
A nice tote to carry multiple media.
-
I would like to learn to make a “pochi” pouch. There is some fabric printed expressly for making one, but there is also a way to make a pattern on one of the blogs I follow. It’s a cute zipper pouch.
-
I would like to make a bag with multiple pockets and zippers that is a little firmer.
-
I like small bags that hold a little cash, credit card, cell phone and drivers license.
-
I would love to make a small sling bag, but I’m interested in all types of bags.
-
I want to learn more about quilted bags but I think learning to sew a leather bag would be great!
-
Very easy pattern with well written instructions. I would make it just a bit longer, but not wider and add an inside cell phone pocket. Fabric weight leather would be great or even ultra-suede.
-
I plan to make a 3 in 1 Betsy Bag using the cork fabric as its base. Cannot wait!
-
Tote bag with pockets specifically for holding my sewing supplies on-the-go!
-
A crossbody slouch bag to carry lots of stuff at quilt shows.
-
I’d like to learn how to make a purse with a metal frame.
-
I really love using a crossbody, but big enough to hold a few things and zippers are a must. Great tutorial
-
I’d like to make a leather Dopp Kit for my husband.
-
I have made many bags over the years, with or without a pattern, to match outfits. I have made camera cases and storage bags for electronics. It is a good way to practice zippers and use up those pieces of free motion stitches and leftover quilt blocks.
-
I have an old leather coat that I would like to make a hobo bag with, also would like to make different cases, i.e. flash drive case and tape recorder case.
-
I want to make a faux leather one, but not sure what pattern to use. I have several choices.
-
I need a nice evening bag in black…something glitzy. Plus I would like a cross body bag. small like this one, but maybe with a coupled zippered pockets for security. I think I have a couple patterns somewhere that I need to get busy on.
-
Cute! Have a great trip! I’d like to recreate a bag my mom really likes but broke. It has several exterior pockets and a large zippered main area. I would also like to make some reuseable shopping bags.
-
A wallet would be great. I can’t seem to make a nice one.
-
A large bag that can sit next to my chair and holds my
-
Holds my yarn knitting and needles
-
A purse organizer
-
Please, i need make a lunch bag fashion….. help me and Thank you…l!
Leave a Reply
You must be logged in to post a comment.

Small purses with different shapes like the one today. They are great for short trips to fairs and expos. They hold just what you really need and the shoulder straps are perfect so no to get lost.