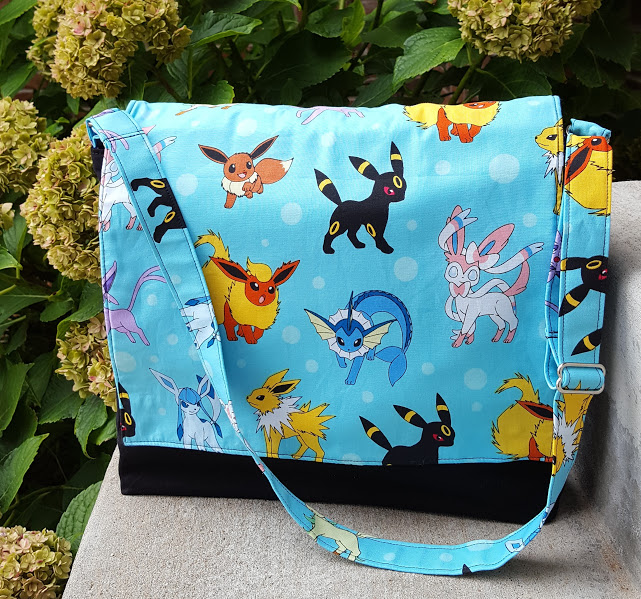
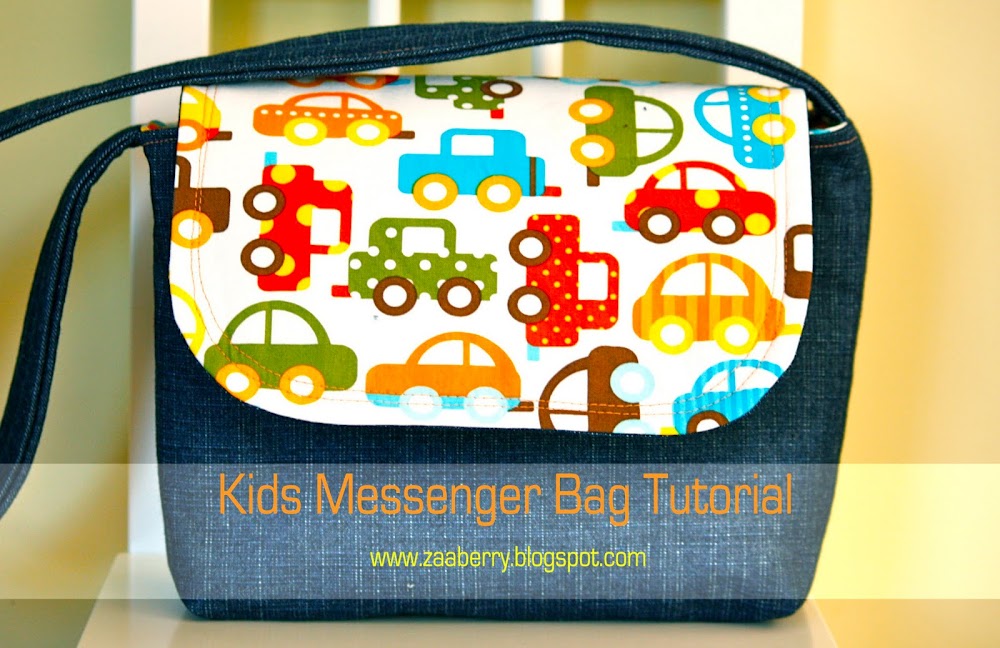
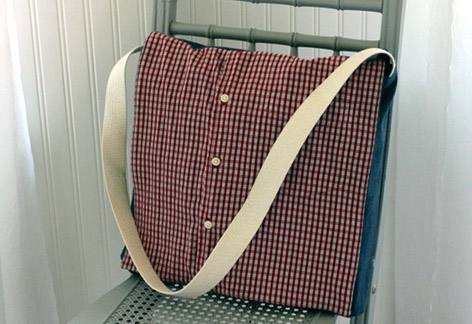
Kids Messenger Bag
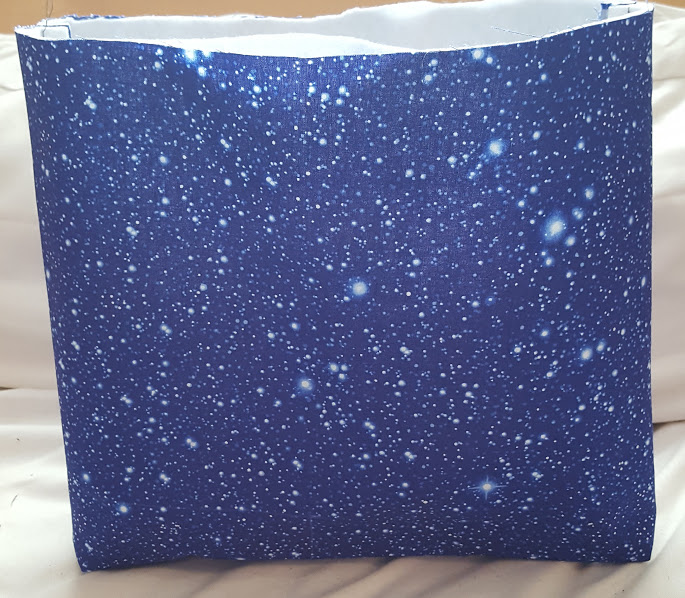
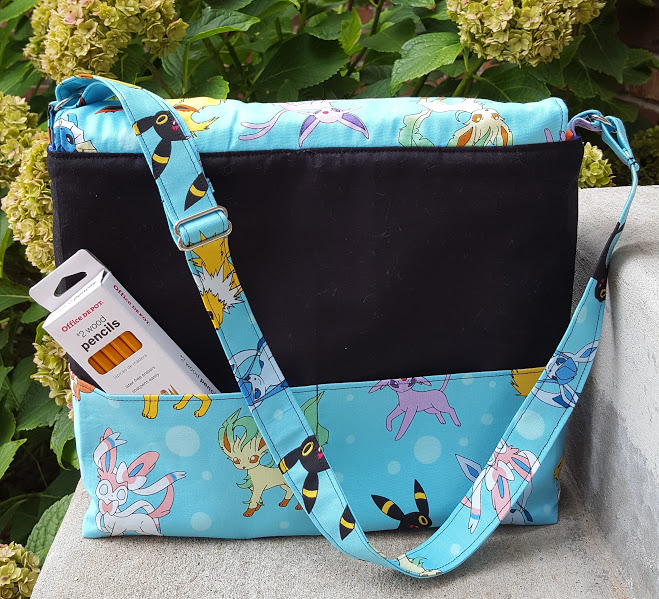
While getting ready for back to school this year, I discovered that child-sized messenger bags are few and far between. Finding one that’s made for boys is even harder. So this year, I decided to make a messenger bag that not only suits my child’s interests (which is currently Pokemon Go), but is the perfect size for little ones to carry around (and still holds plenty for school). Finished measurements are 10″ high x 12″ wide x 3″ deep and can easily hold two 1″ ring binders.
Materials to sew a Child’s Messenger Bag:
- 3/4 yard of accent fabric
- 1/2 yard of material for bag exterior
- 3/4 yard of lining fabric
- 3/4 yard of fusible fleece
- 1/4 yard of interfacing
- 2 – magnetic snaps
- 2 (two) 1″ D-rings
- 1 (one) 1″ slider buckle
- Ruler
- Water soluble marker
- Thread to match
- Scissors\rotary cutter mat
- Reverse pattern foot #1/#1C/#1D
- Your sewing machine. I sew on a BERNINA 580 E
Cutting fabric for Child’s Messenger Bag:
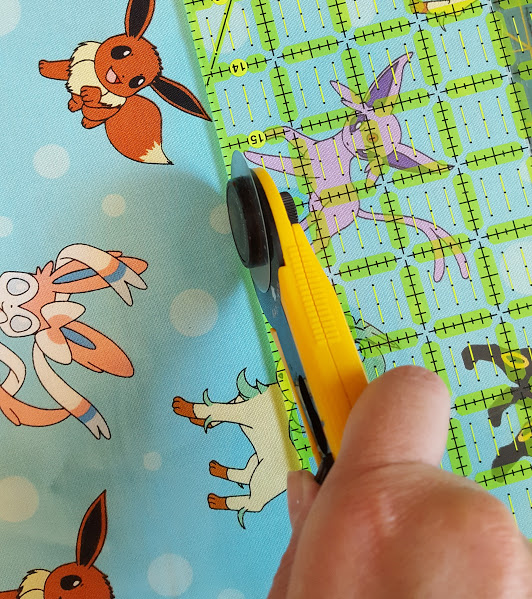
From Accent Fabric:
- 12″ x 13″ rectangle for flap
- 13″ x 16″ rectangle for back pocket
- 2 (two) 4″ x 4″ rectangles for D-ring tabs
- 4″ x 40″ strip strap
From Exterior Fabric:
- 12″ x 13″ rectangle for flap
- 2 (two) 13″ x 16″ rectangle for bag
From Interfacing:
- 2 (two) 2″ x 3″ rectangle for d-ring tabs
- 2″ x 40″ strip for strap
- 6 1/2″ x 16″ rectangle for pocket
From Fusible Fleece:
- 12″ x 13″ rectangle for flap
- 2 (two) 13″ x 16″ rectangle for bag
Sewing Child’s Messenger Bag:
Seam allowances are 1/2″ unless otherwise noted.
Attach fusible fleece to the wrong side of lining pieces. Center fusible interfacing to the wrong side of d-ring tabs and strap. Attach fusible interfacing to the lower half of pocket piece following manufacturers instructions.
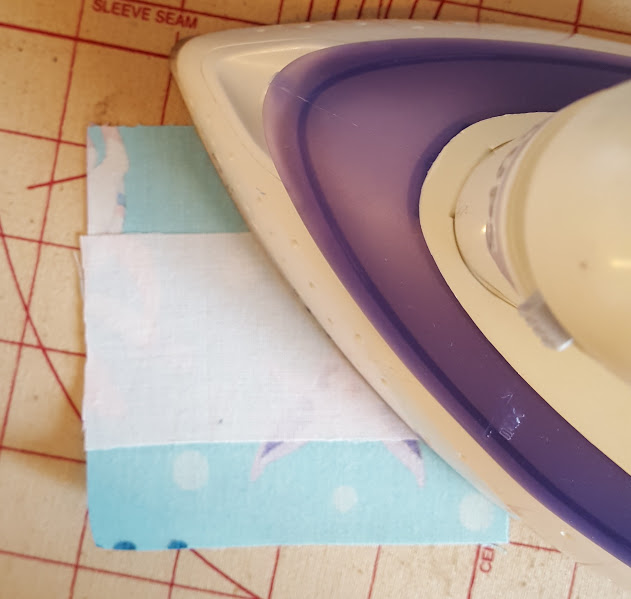
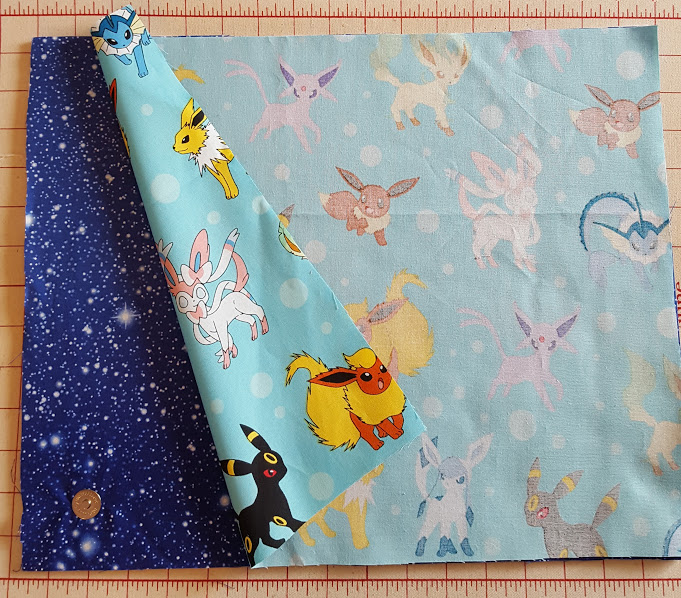
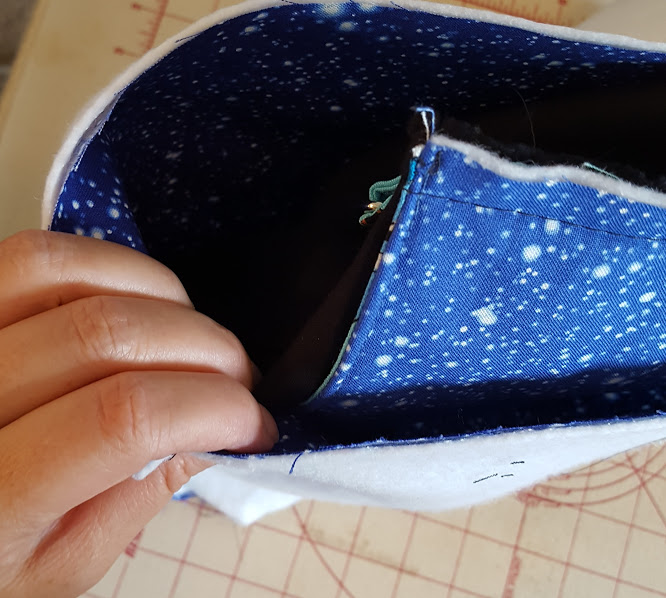
Fold pocket in half with wrong side together and press. Topstitch 1/8″ away from folded edge.

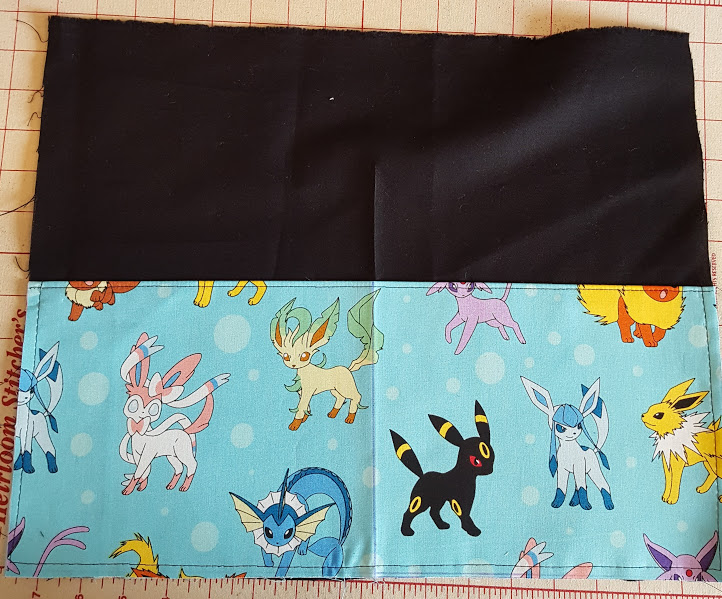
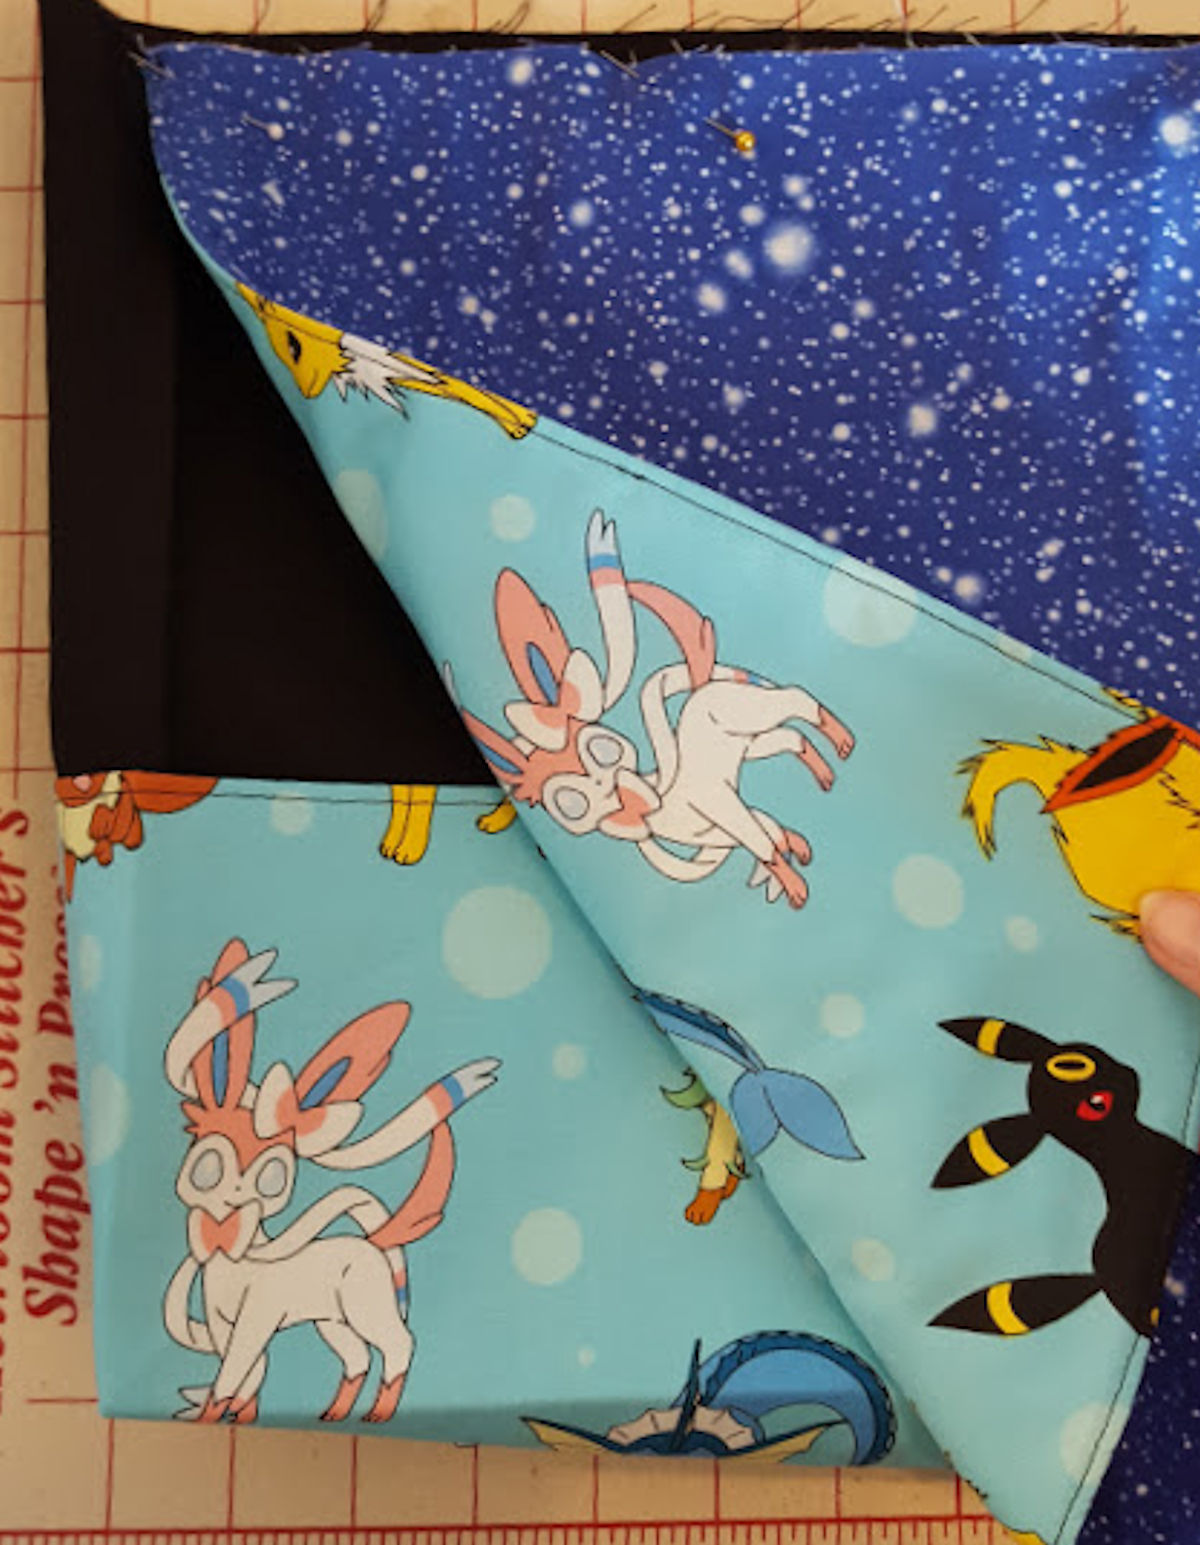
Increase stitch length to the largest setting (5.0) and baste the pocket to the right side of bag bottom, matching raw edges on sides and bottom. Fold pocket in half and stitch along fold line.
On lower edge of bag, remove 1 1/2″ square from both edges. Repeat for bag front.

Sew sides and bottom edge of bag, leaving notched edges free from stitching.

Open out bag, match side and bottom seams and stitch. Trim seams.

Turn bag right side out. Press, creating creases along bag sides and bottom.

Repeat steps above to create the lining.
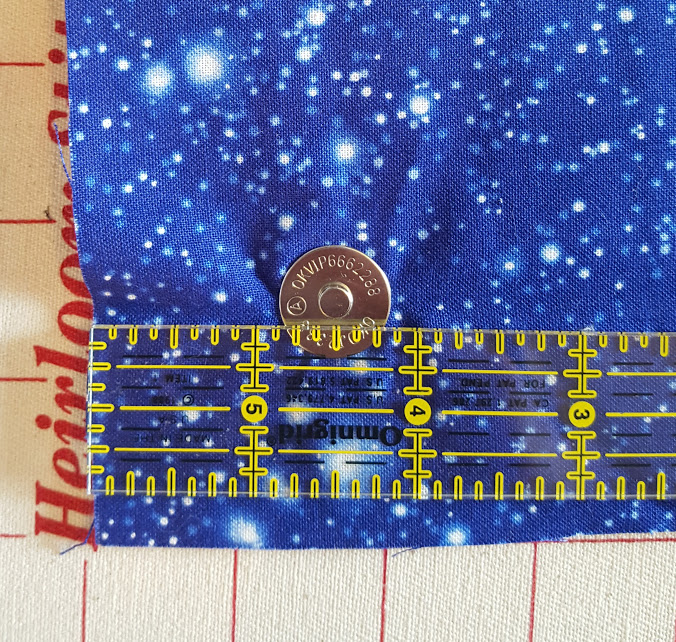
Add magnetic snap 1 1/2″ from side and bottom edge of flap lining. Repeat for second snap.
With right sides together, sew flap and flap lining together, leaving top edge free from stitching. Clip corners, turn right side out and stitch 1/8″ away from finished edge.
With right sides together, baste the flap to the exterior bag back, matching centers. The finished edges of the flap should line up with creases pressed earlier.
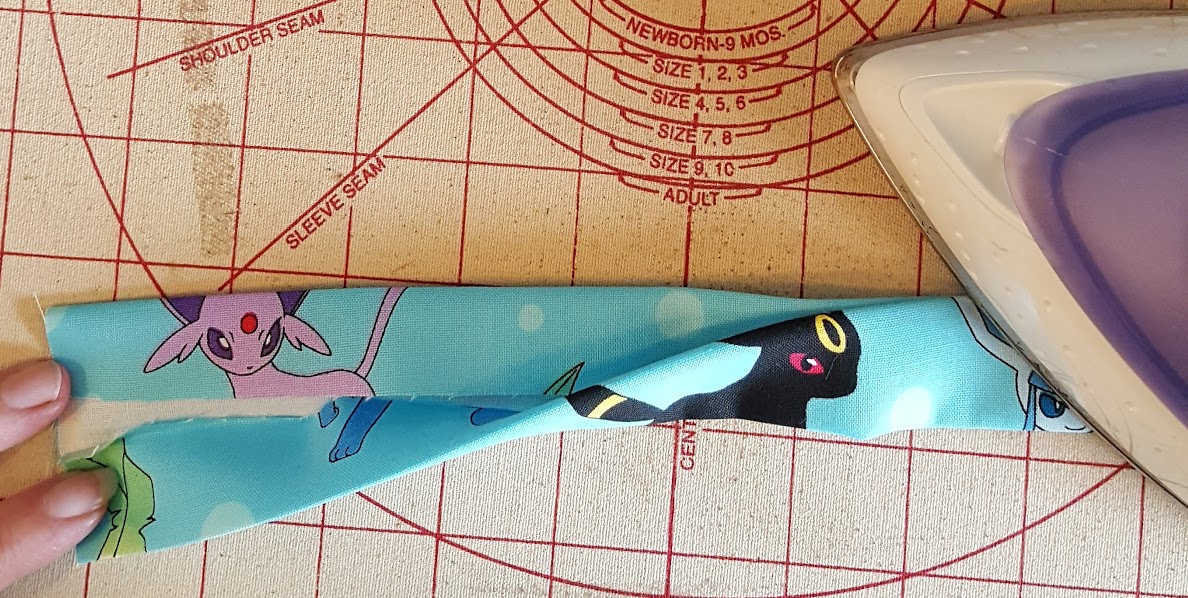
Create the d-ring tabs by folding the rectangle in half, lengthwise. Open out fold and bring raw edges to meet crease. Press and topstitch 1/8″ away on each long edge.
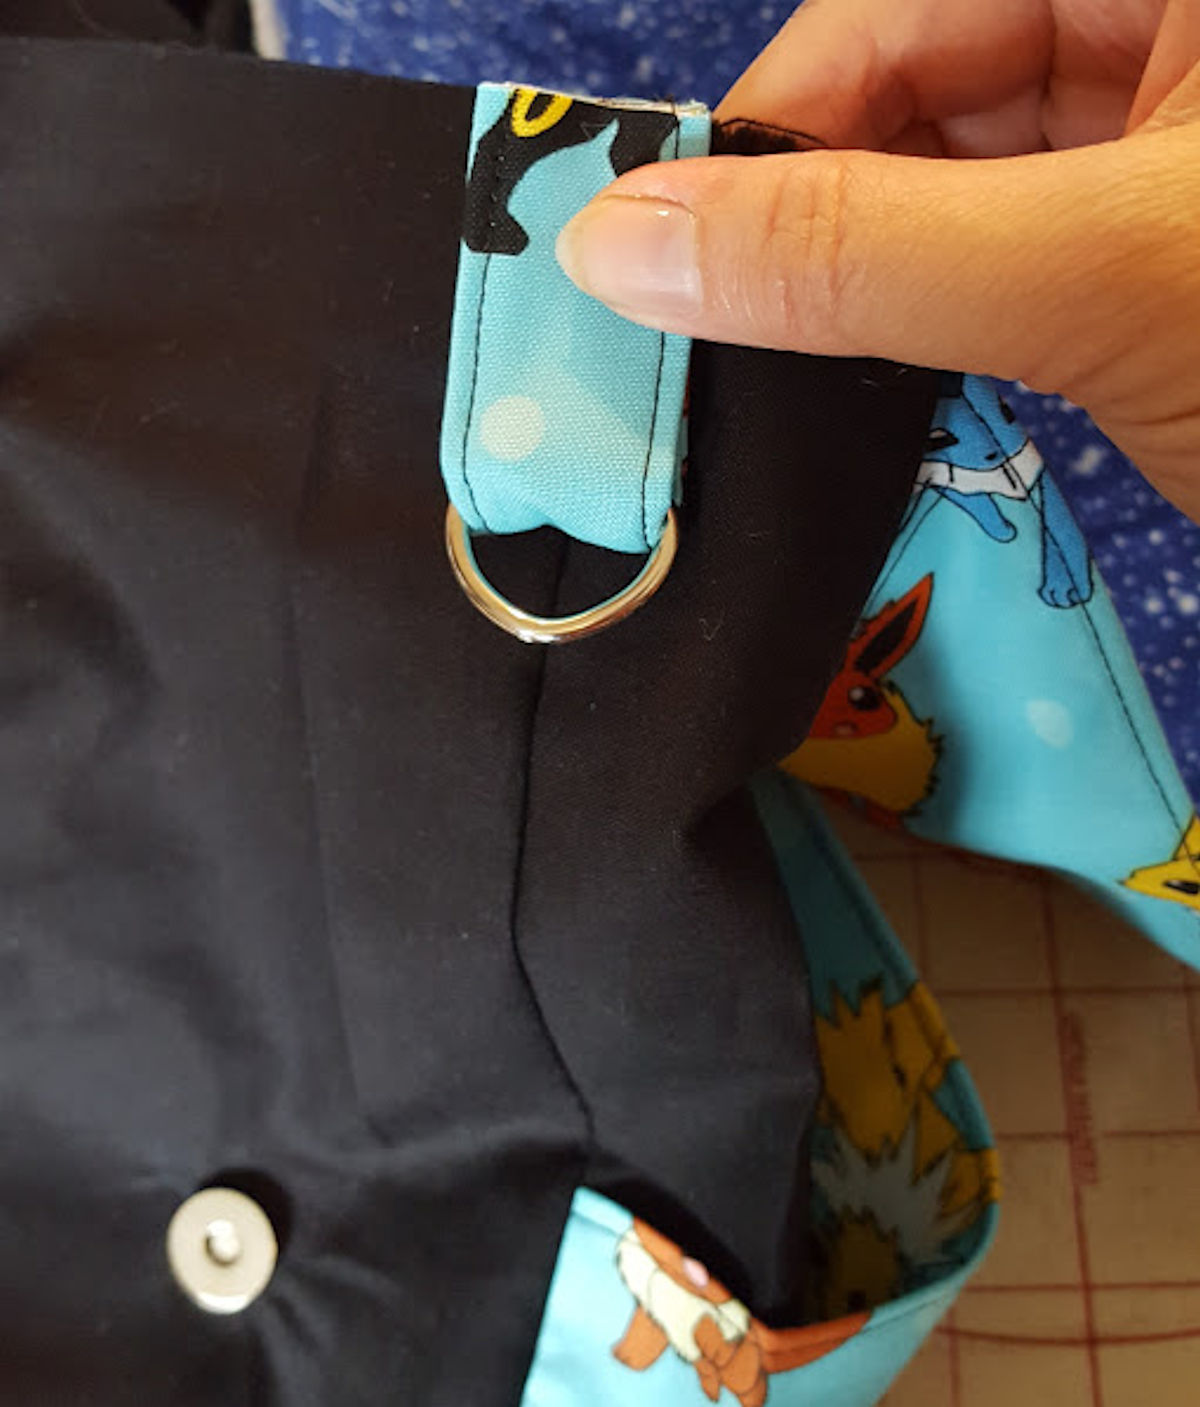
Thread a d-ring through the tab and fold in half. Center the raw edges of tab along side seam and baste in place. Repeat for the second d-ring\tab.
To attach the magnetic snaps to the bag front: Measure down 8″ from top edge and 1″ away from each creased side and mark. Before installing the snap, you can double check the placement by folding down the flap. TIP: If your fabric is thin, it’s a good idea to place a scrap piece of interfacing to the wrong side of the fabric in the area the snap will be placed to keep the material from stretching and\or tearing.

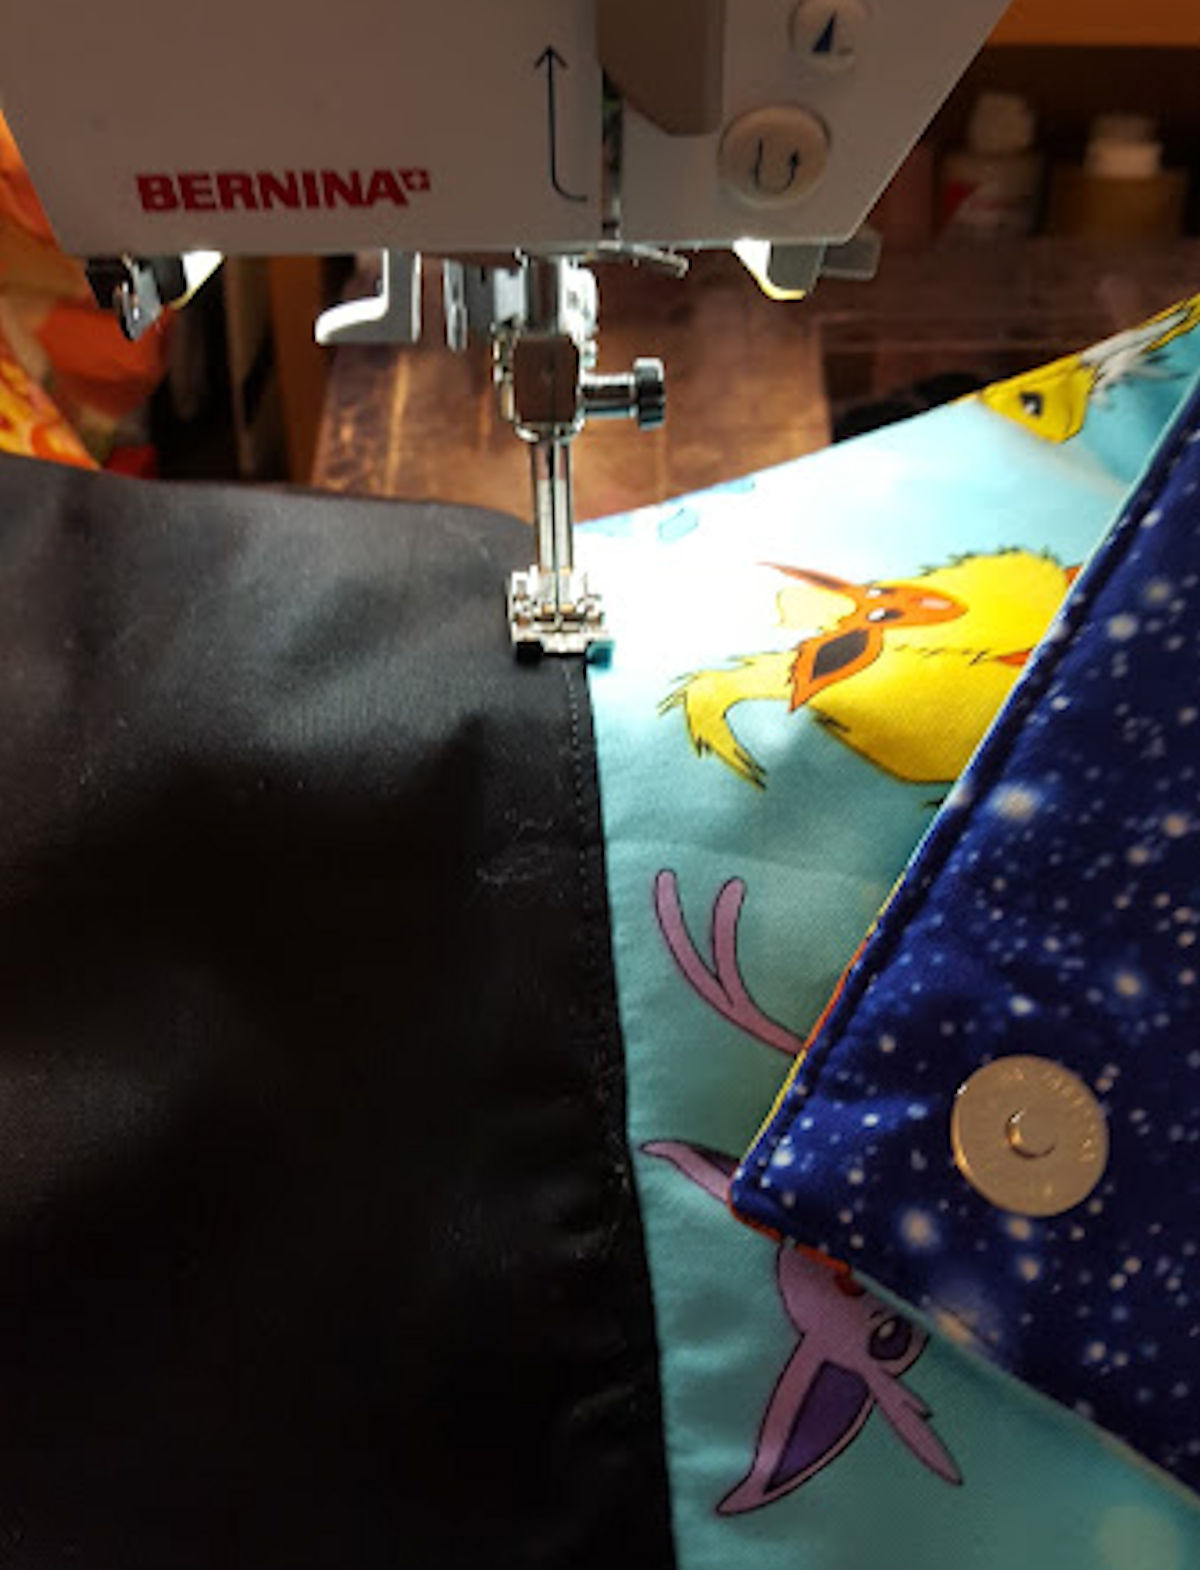
Place the bag inside the lining, right sides together. Match raw edges and seams. Sew around top edge, leaving a 4-6″ opening in the front of the bag for turning.
Turn bag right side out through opening and press. Topstitch along top edge of bag, making sure to keep the flap and d-ring tabs free from stitching.
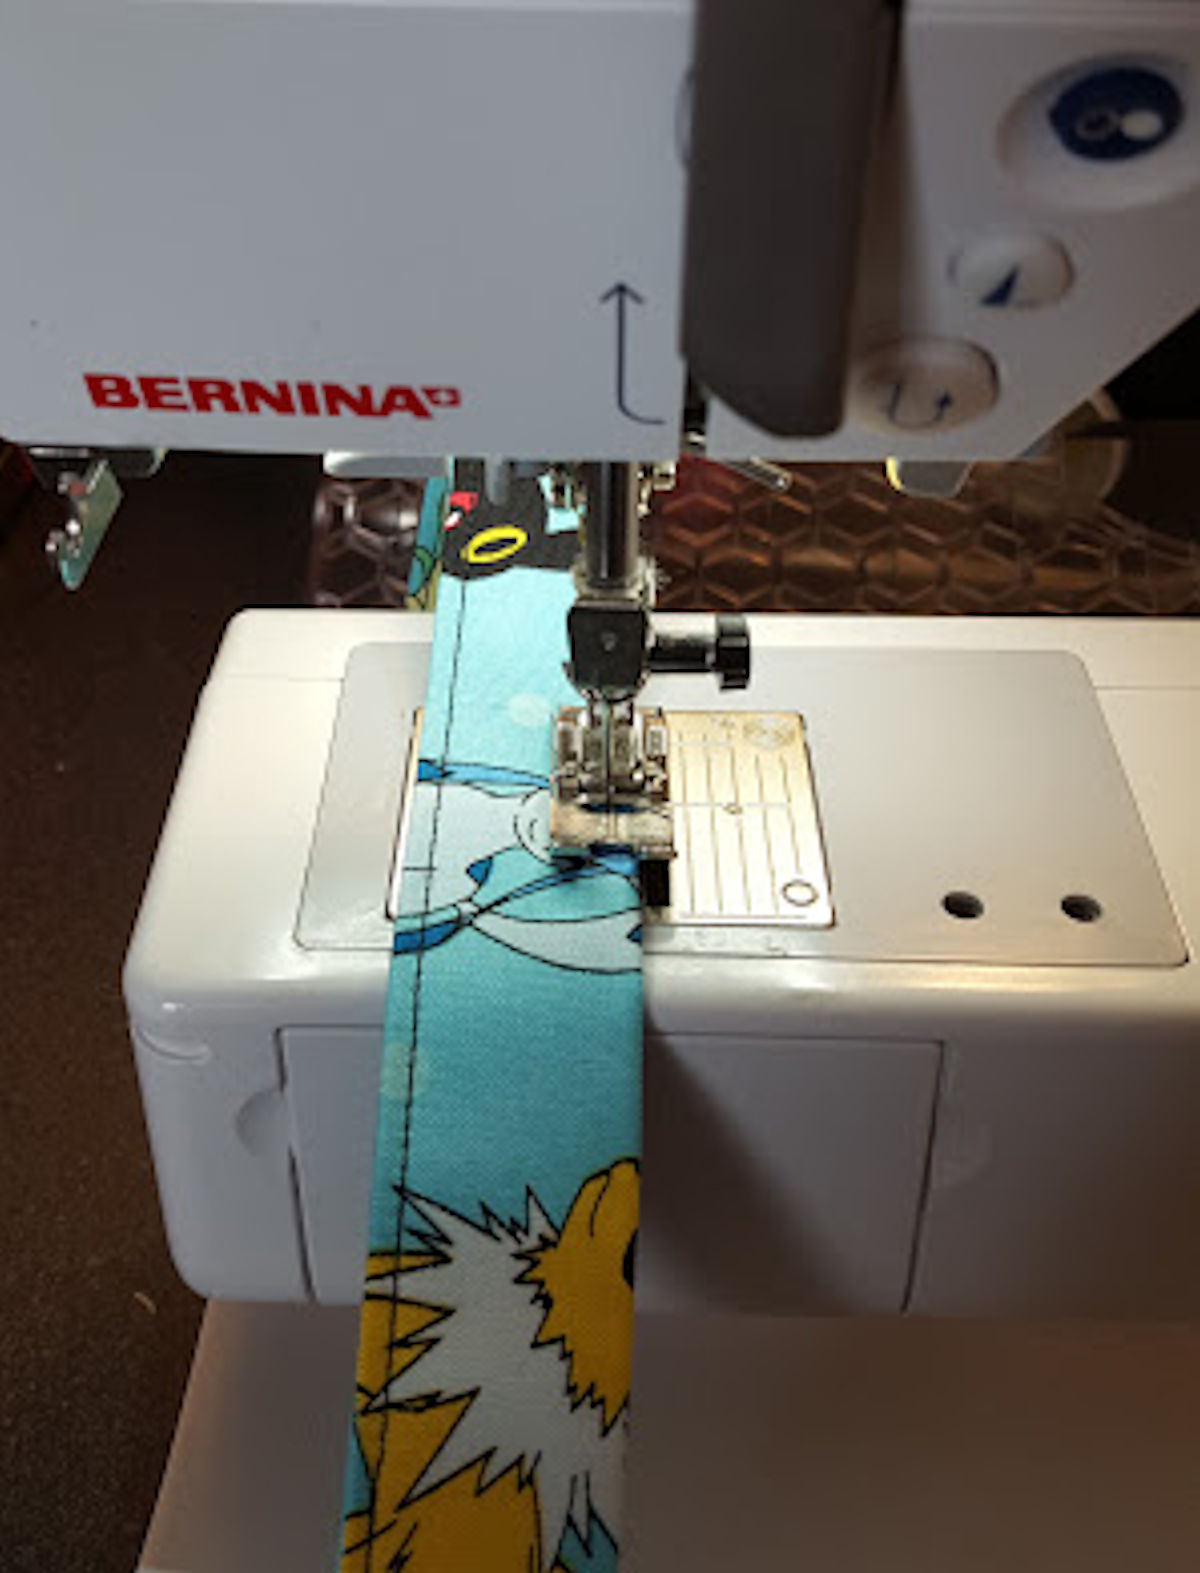
Fold the strap in half, lengthwise. Open out fold and bring raw edges to meet crease. Press and stitch 1/8″ away on each long edge.
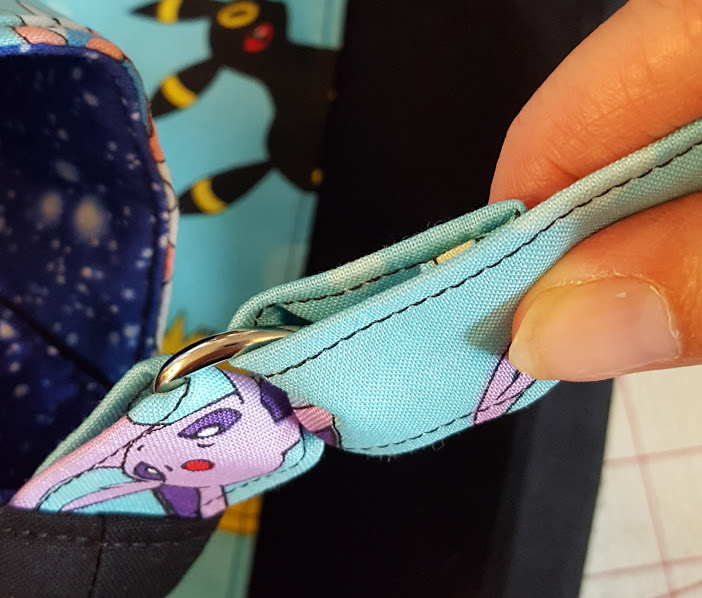
Thread strap though one d-ring 1 1/2″. Fold under the raw edge toward strap, creating a finished edge. Stitch close to edge. Stitch again 1/8″ away to secure.
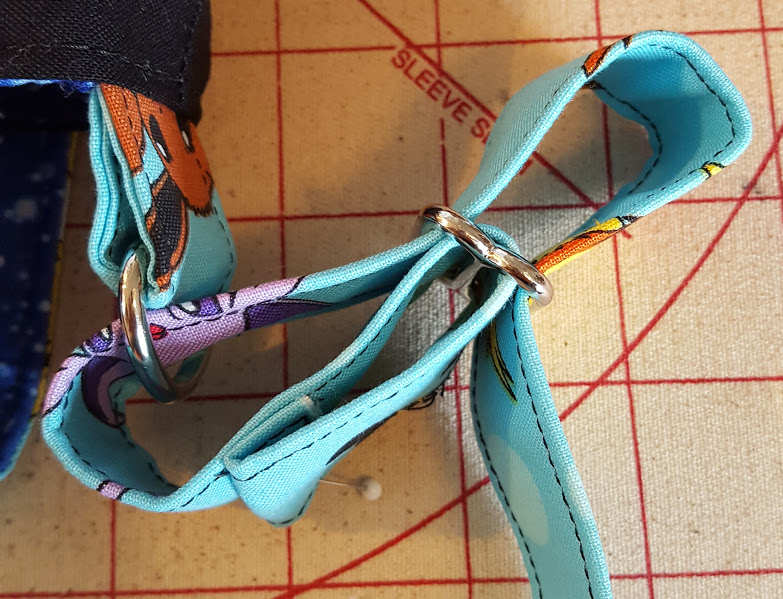
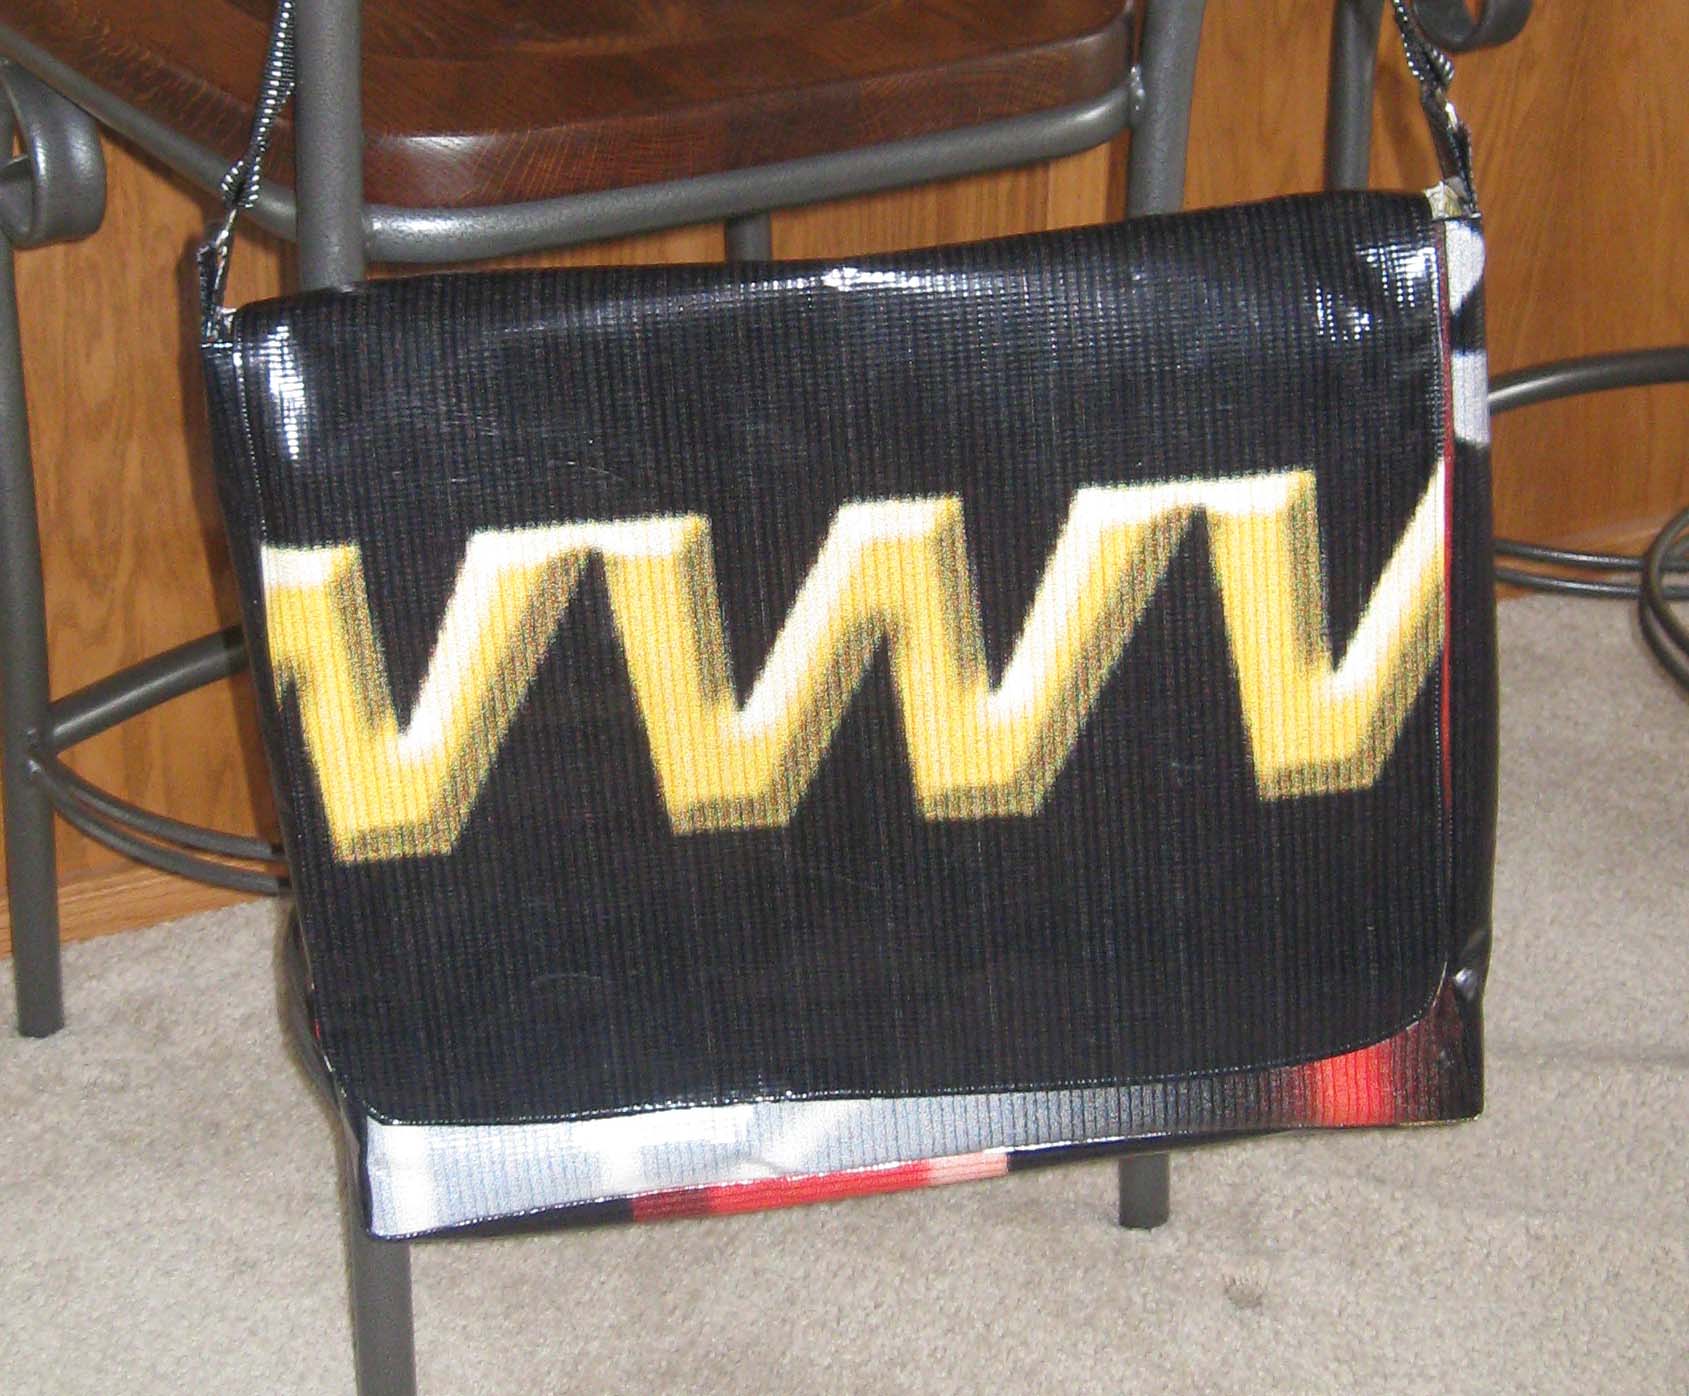
Being careful not to twist the strap, thread strap through slider buckle, then through the d-ring, then back through the center bar of the slider buckle. Fold the raw edge of the strap over toward the bottom edge like the picture below, and sew close to edge. Stitch again 1/8″ away to secure.
Fill with school supplies and you’re set for the new year!


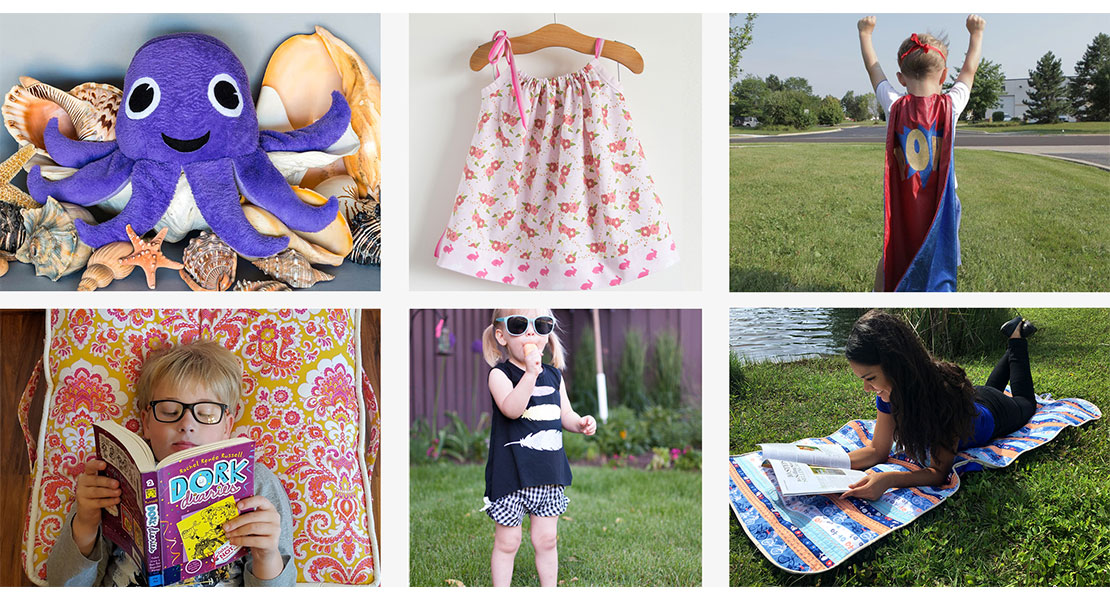
What you might also like


6 comments on “Kids Messenger Bag”
-
-
Sorry, I went back and read the description and saw the dimensions. But I still think having them at the top of the materials or the directions would be good. Thanks, Kristin.
-
What are the dimensions for the lining fabric? I see cutting directions for accent fabric, exterior fabric, interfacing and fusible fleece.
-
They are the same as what the exterior cutting fabric: 2″ x 13″ rectangle for flap
2 (two) 13″ x 16″ rectangle for bag. Thank you for finding that omission!
-
-
I am confused about the cutting of fabric and fleece for the pocket. If you cut the fabric for the pocket to 13×16 and cut the fleece to 6.5×16 and fold the fabric in half, the pocket is too big for the bag. It is 6.5×16 and goes over the edge of the bag outside fabric. If you turn the fabric the other way, you get a pocket that is 8×13 but then the fleece is too short. Can you explain?
-
Fleece is just used for the exterior and flap of the bag. Interfacing is used for the pocket to reduce bulk and should be applied to the lower half of the pocket only (with the interfacing going the full 16″ length). When it is folded in half (wrong sides together) the pocket will measure 6.5 x 16″ (instead of the original 13 x 16) and the pocket will be fully interfaced. You could interface the entire pocket piece (13 x 16) and then fold in half when you get to that point, but that much interfacing really isn’t necessary unless you have very thin material.
-
Leave a Reply
You must be logged in to post a comment.

Maybe I missed it, but are the bag’s dimensions listed somewhere? It would be really good to have them right at the top. Thanks, Kristin.