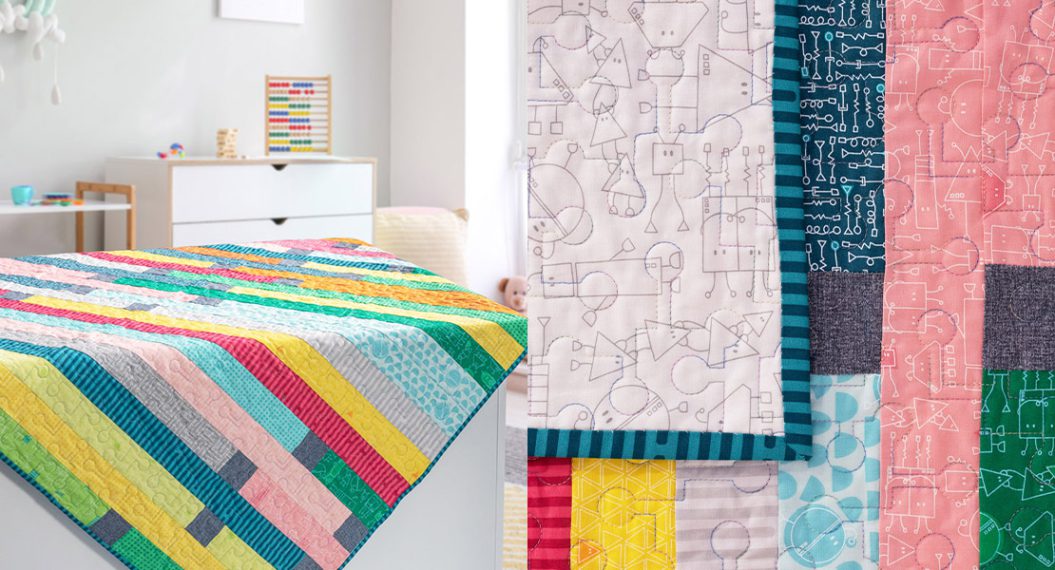
Nine-Patch Picnic Quilt, Part Two
Hi friends! Candice from A+CO here, back at it with our nine-patch picnic quilt. In part one, we worked on cutting, organizing, and pairing up our squares. For today, we will focus on block construction and finishing. Putting these blocks together is a breeze thanks to straight stitching and nested seams. Let’s dive in!
Materials to sew a Nine-Patch Picnic Quilt
- BERNINA 735
- Patchwork foot with guide (#57)
- Thread for piecing
- Iron
- Wool pressing mat
- Seam roller (optional)
- Pins
Techniques Used
Chain Piecing
Chain piecing is a technique you can use when sewing multiple sets of a block, or part of a block. To chain piece, you simply don’t cut the thread after sewing your seam. Instead, you raise your presser foot to allow your next fabric pair to be bumped up (but not overlapping) to the first and keep sewing. Once you finish the sets you are chain piecing, you will have a long line of sewn pairs, all connected by one length of thread.
Web Piecing
In many cases, you would then separate each of the sets by snipping the thread between them. For today’s project, we will be chain piecing smaller squares as we build our nine-patch and keeping them connected. This helps both with time-saving and accurately lining points up.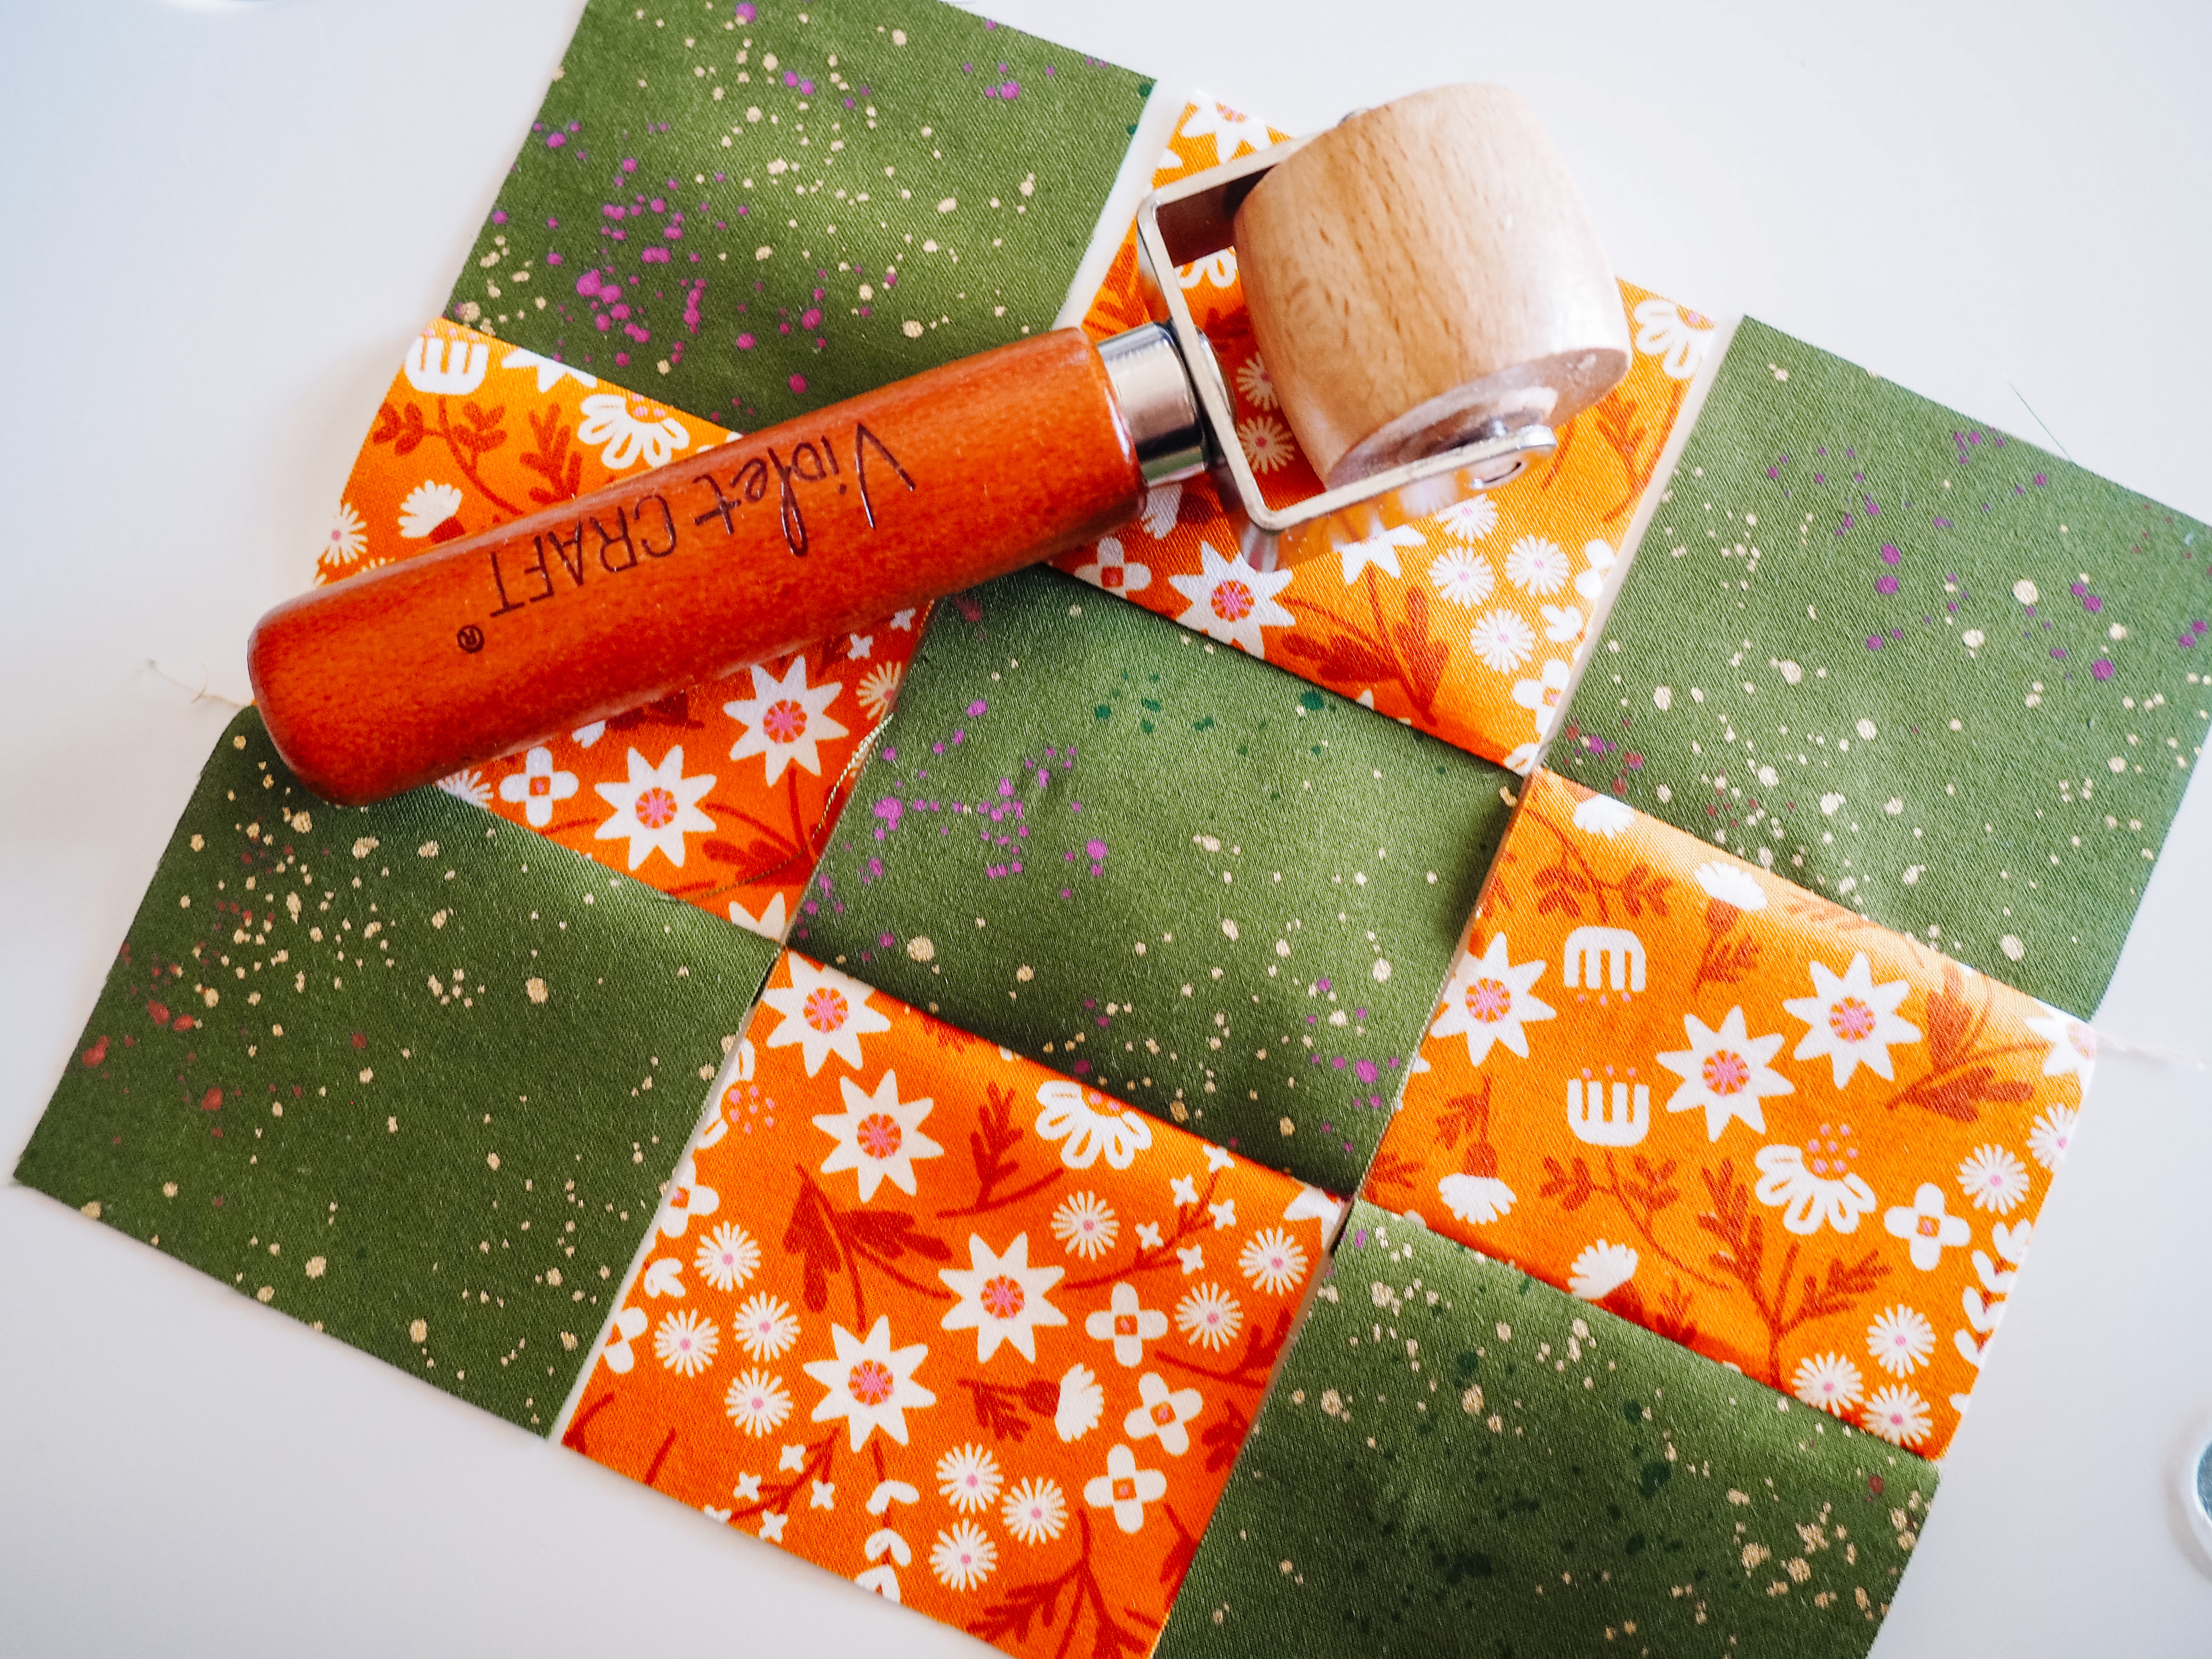
Nested Seams
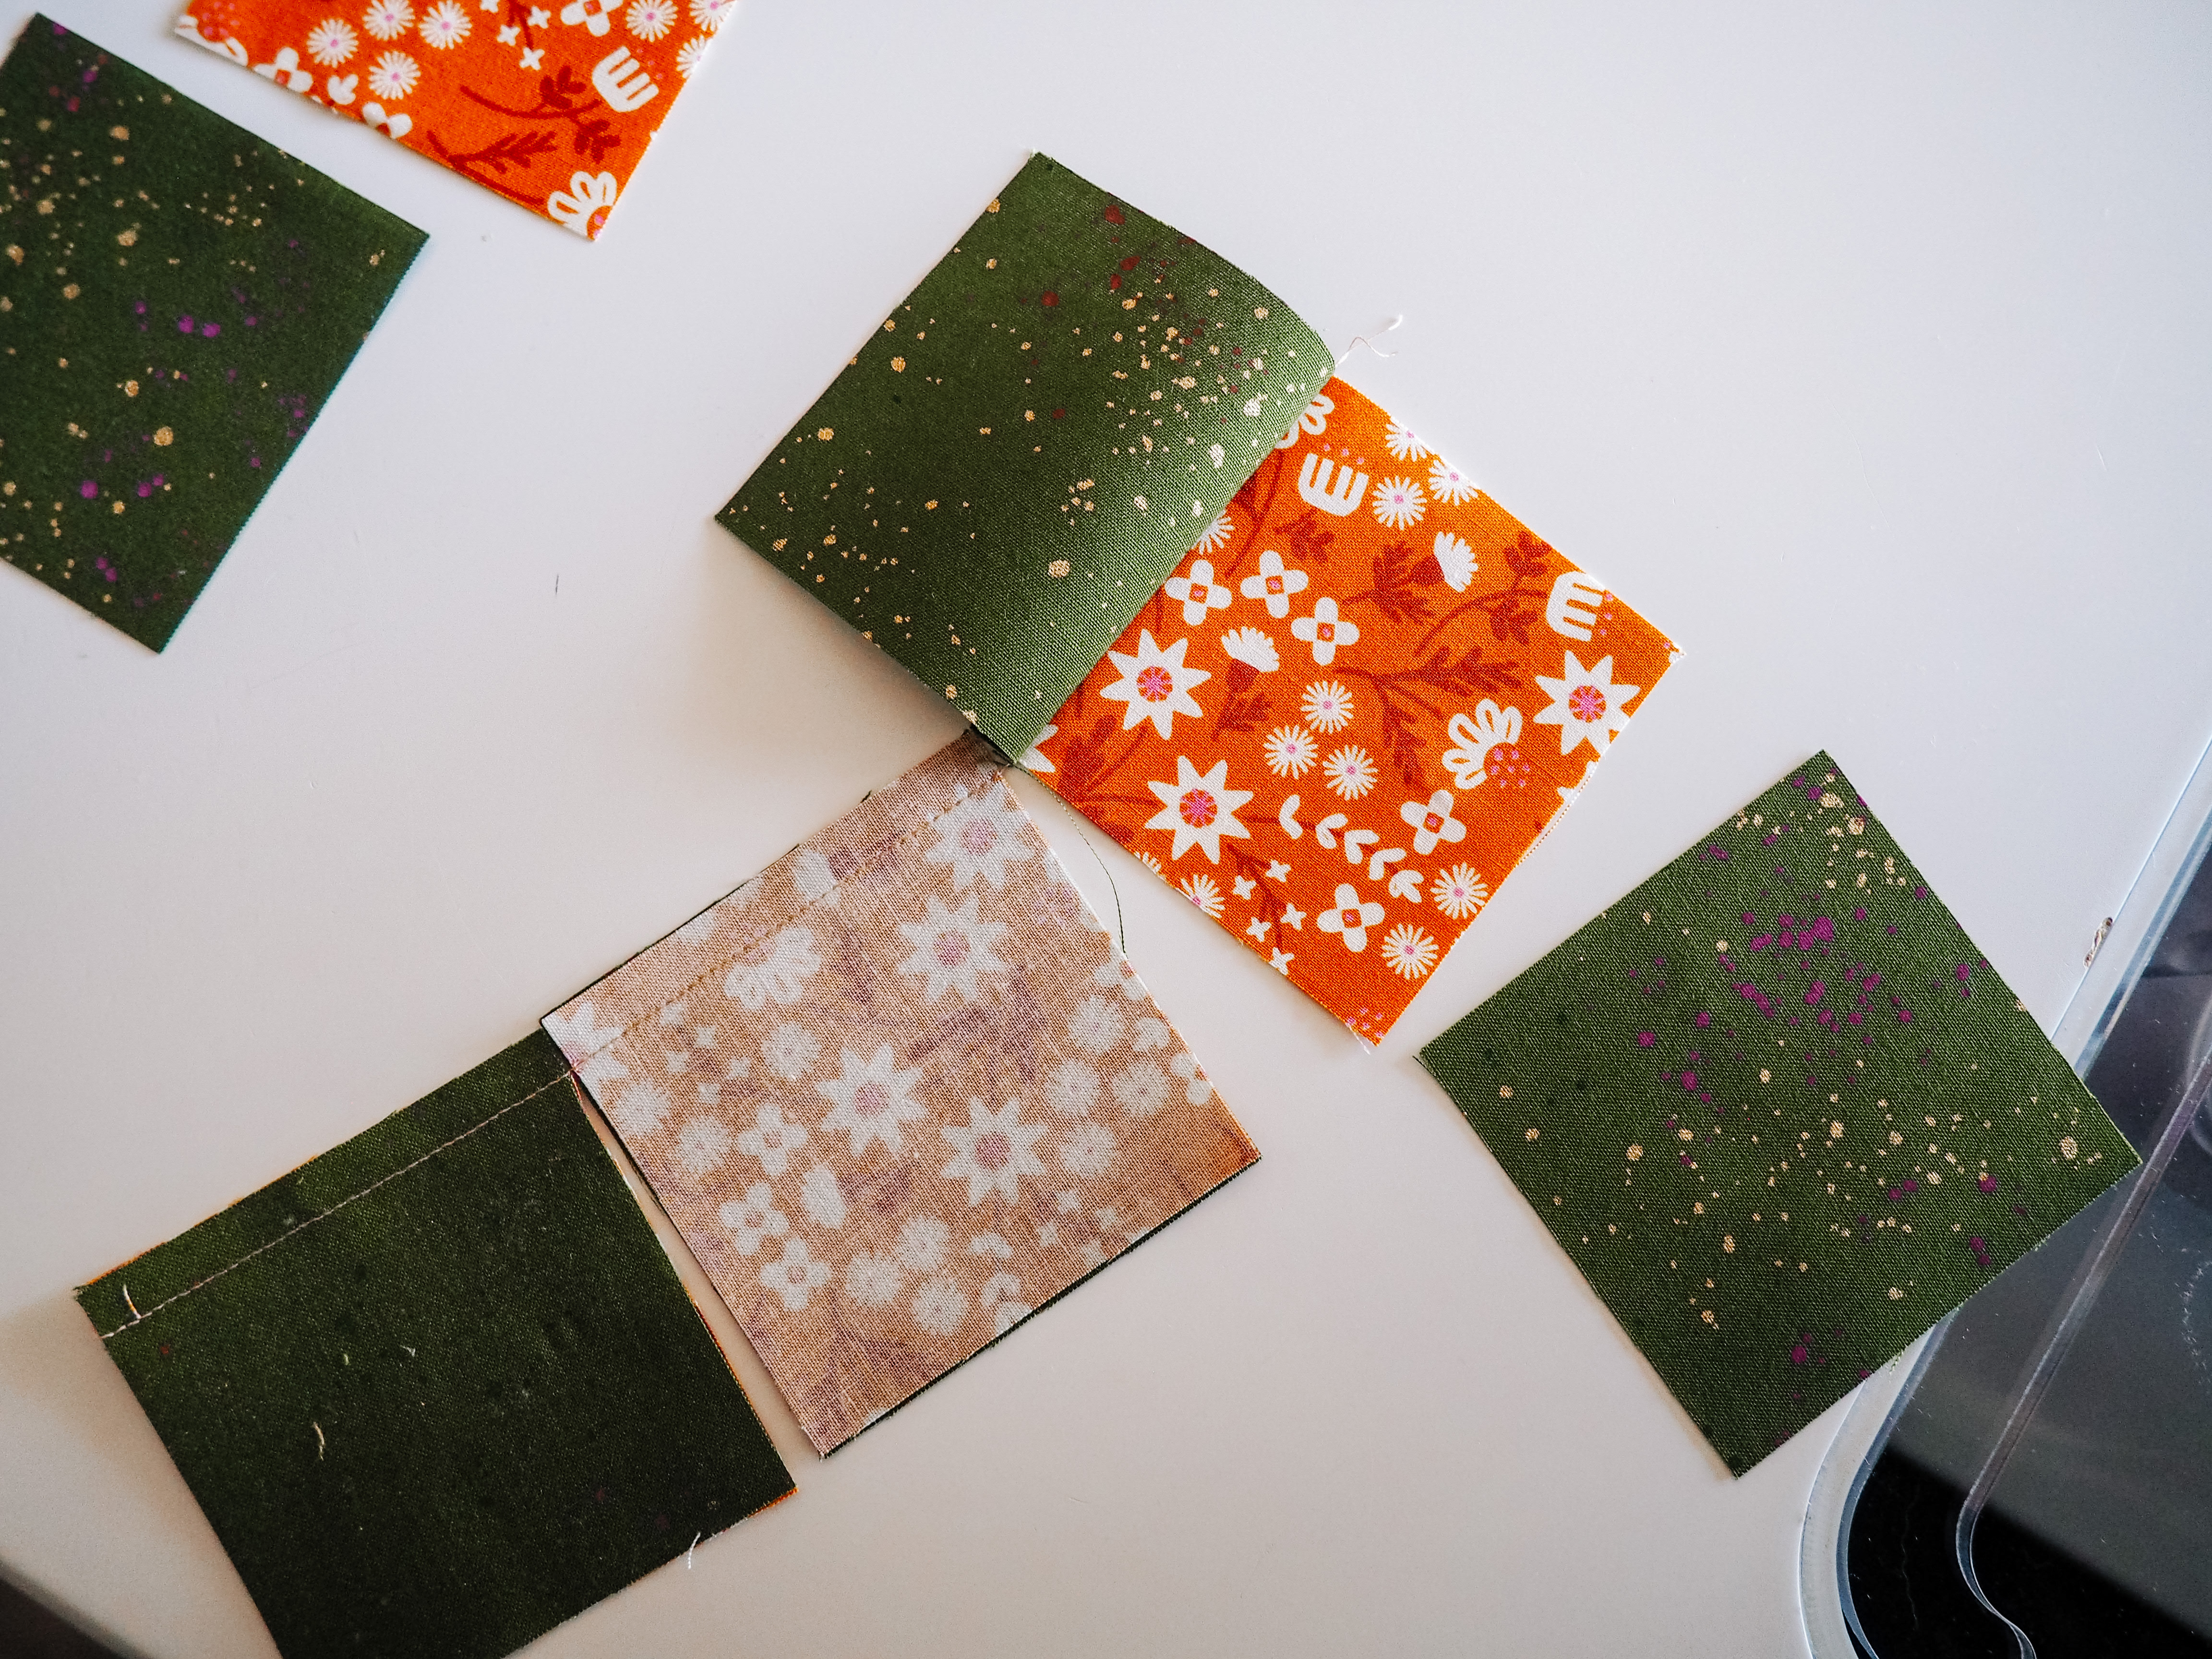
The pressing instructions will direct you to press to the side rather than opening. When you have two pieces that both have a perpendicular seam that will line up, you will press those perpendicular seams on opposite directions. This allows the ridge from each piece to butt up against each other. Nesting the seams reduces bulk and helps with lining corners of the squares up accurately.
Instructions to sew a Nine-Patch Picnic Quilt
We will start by first sewing our small nine-patch blocks. These will be made up of the pairs of main and background fabric that we cut and organized in the part one of this series. As a reminder, we sorted our fabrics into groups for either block 1 or block 2.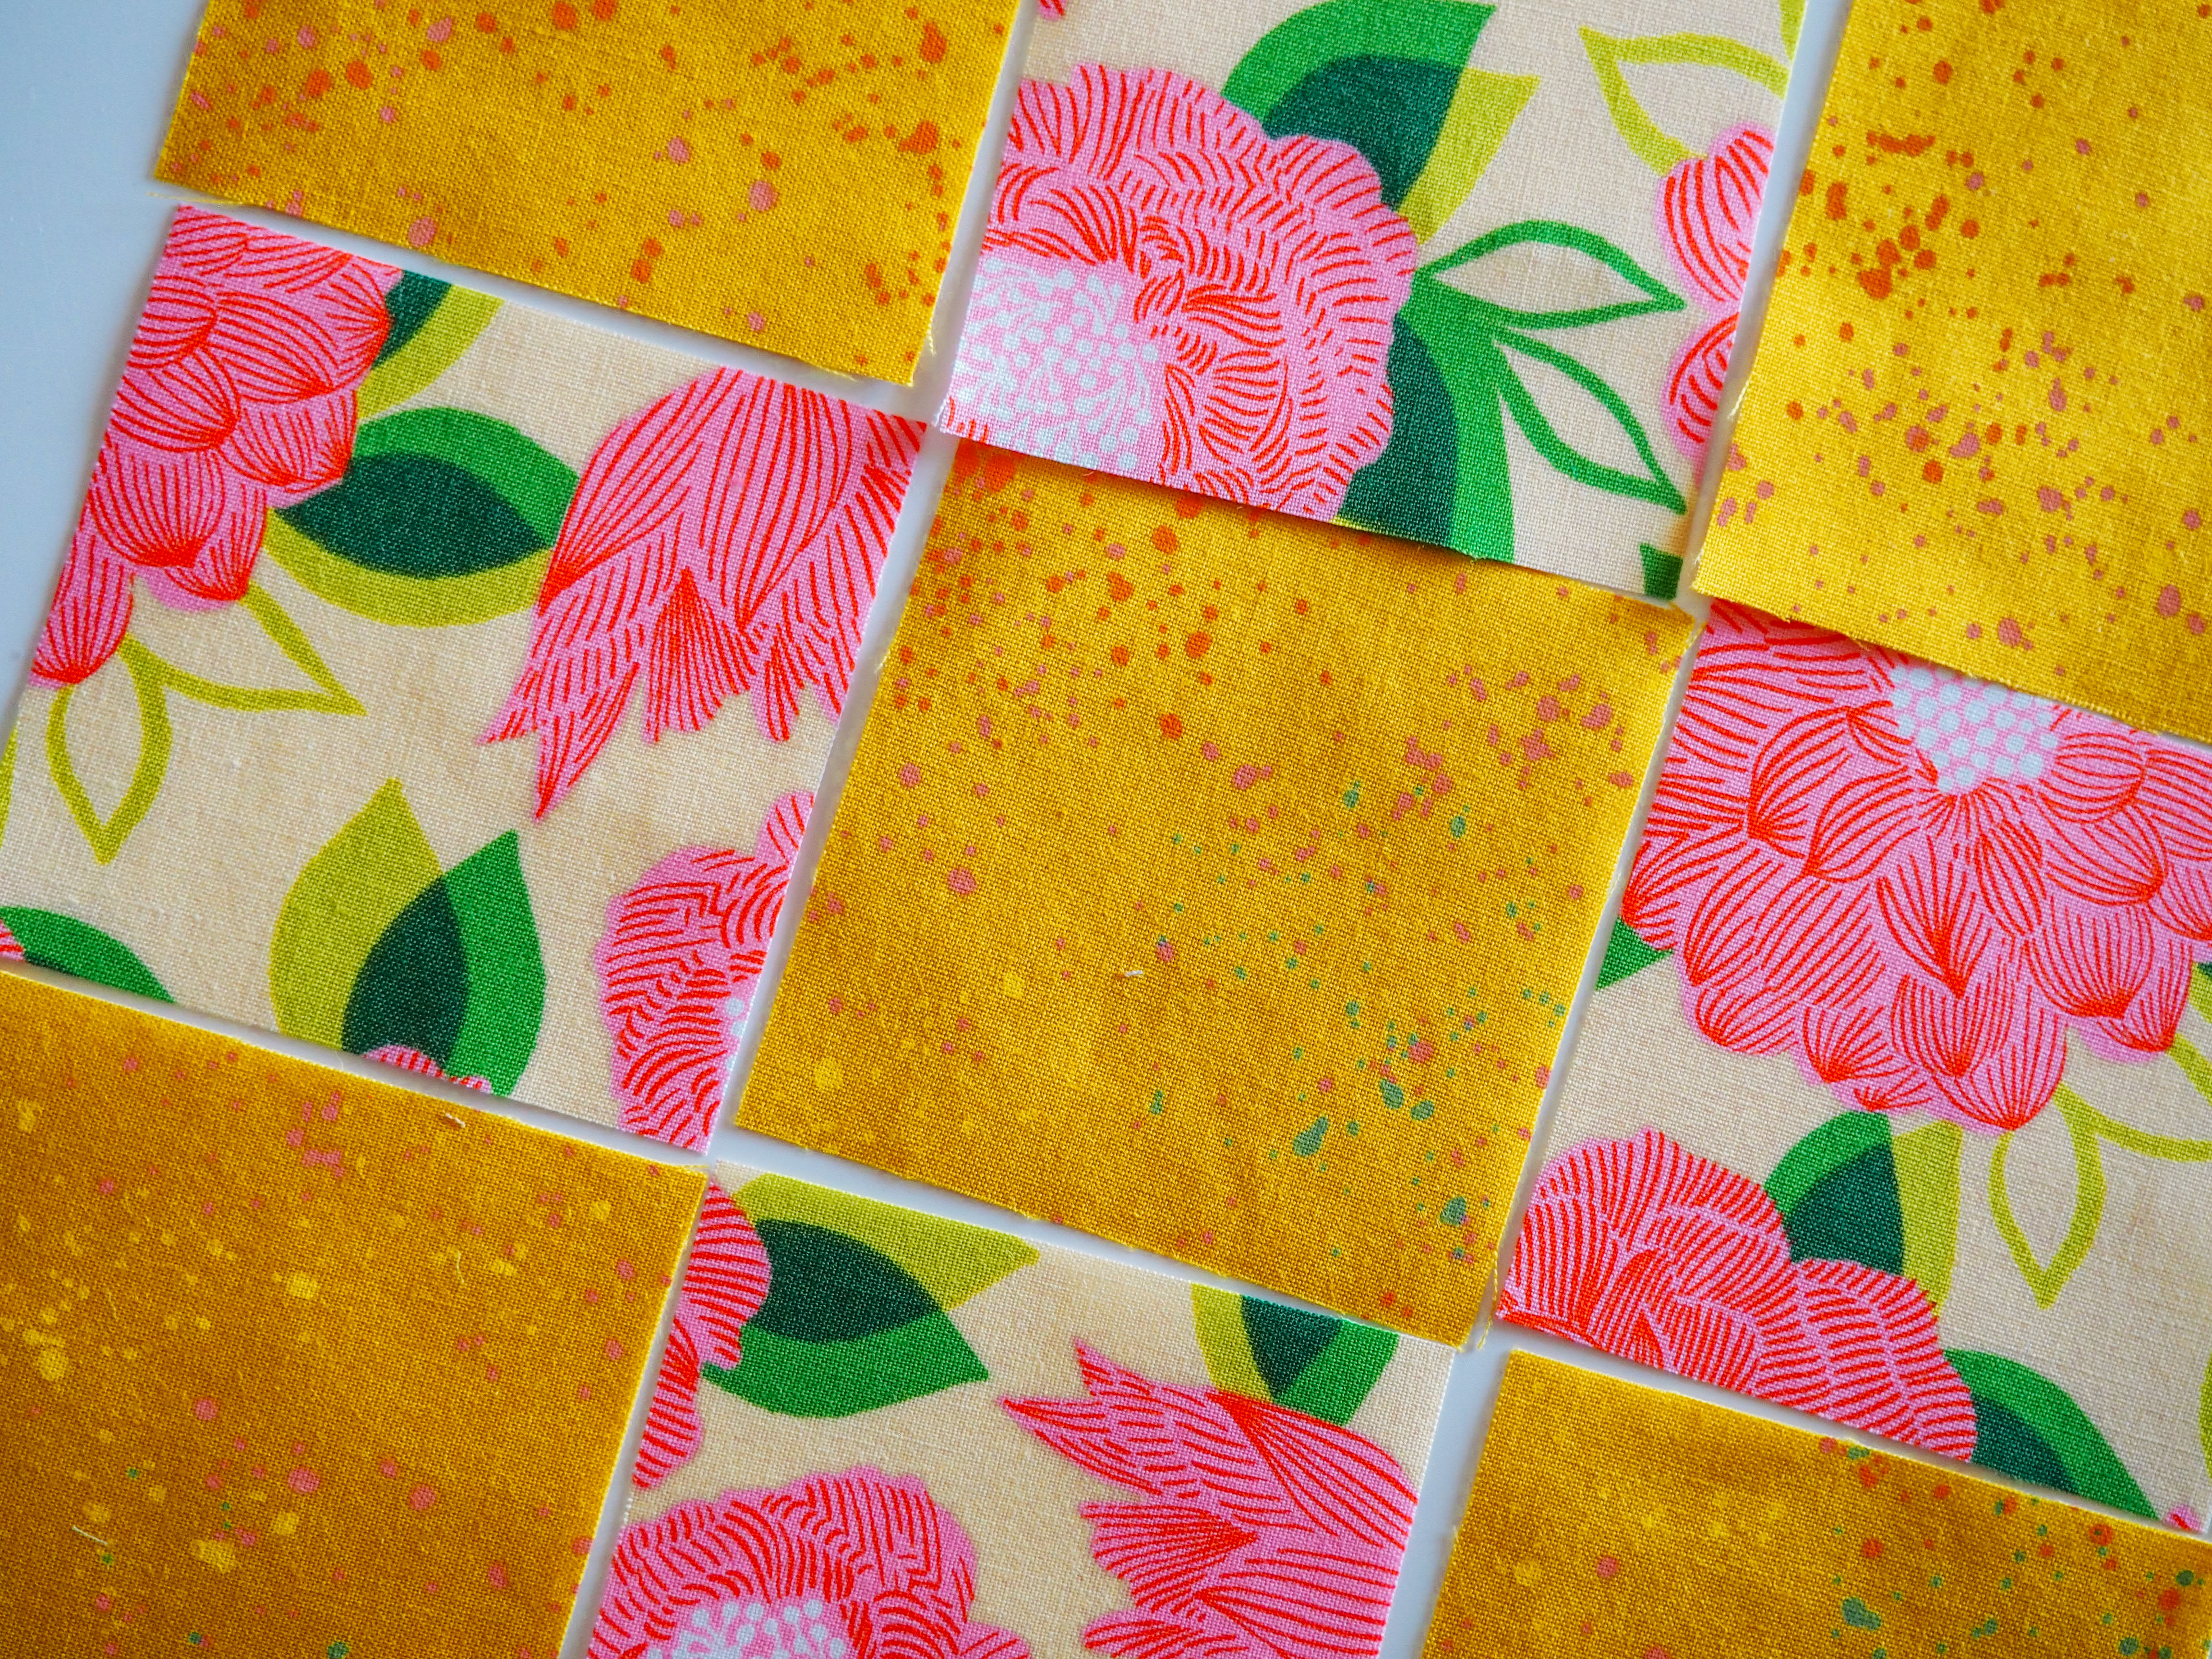
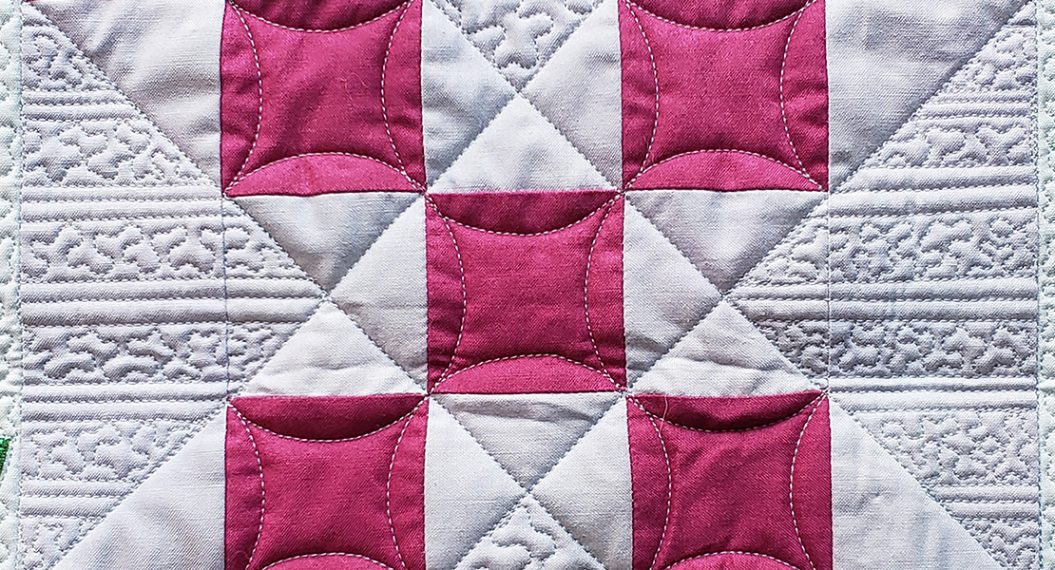
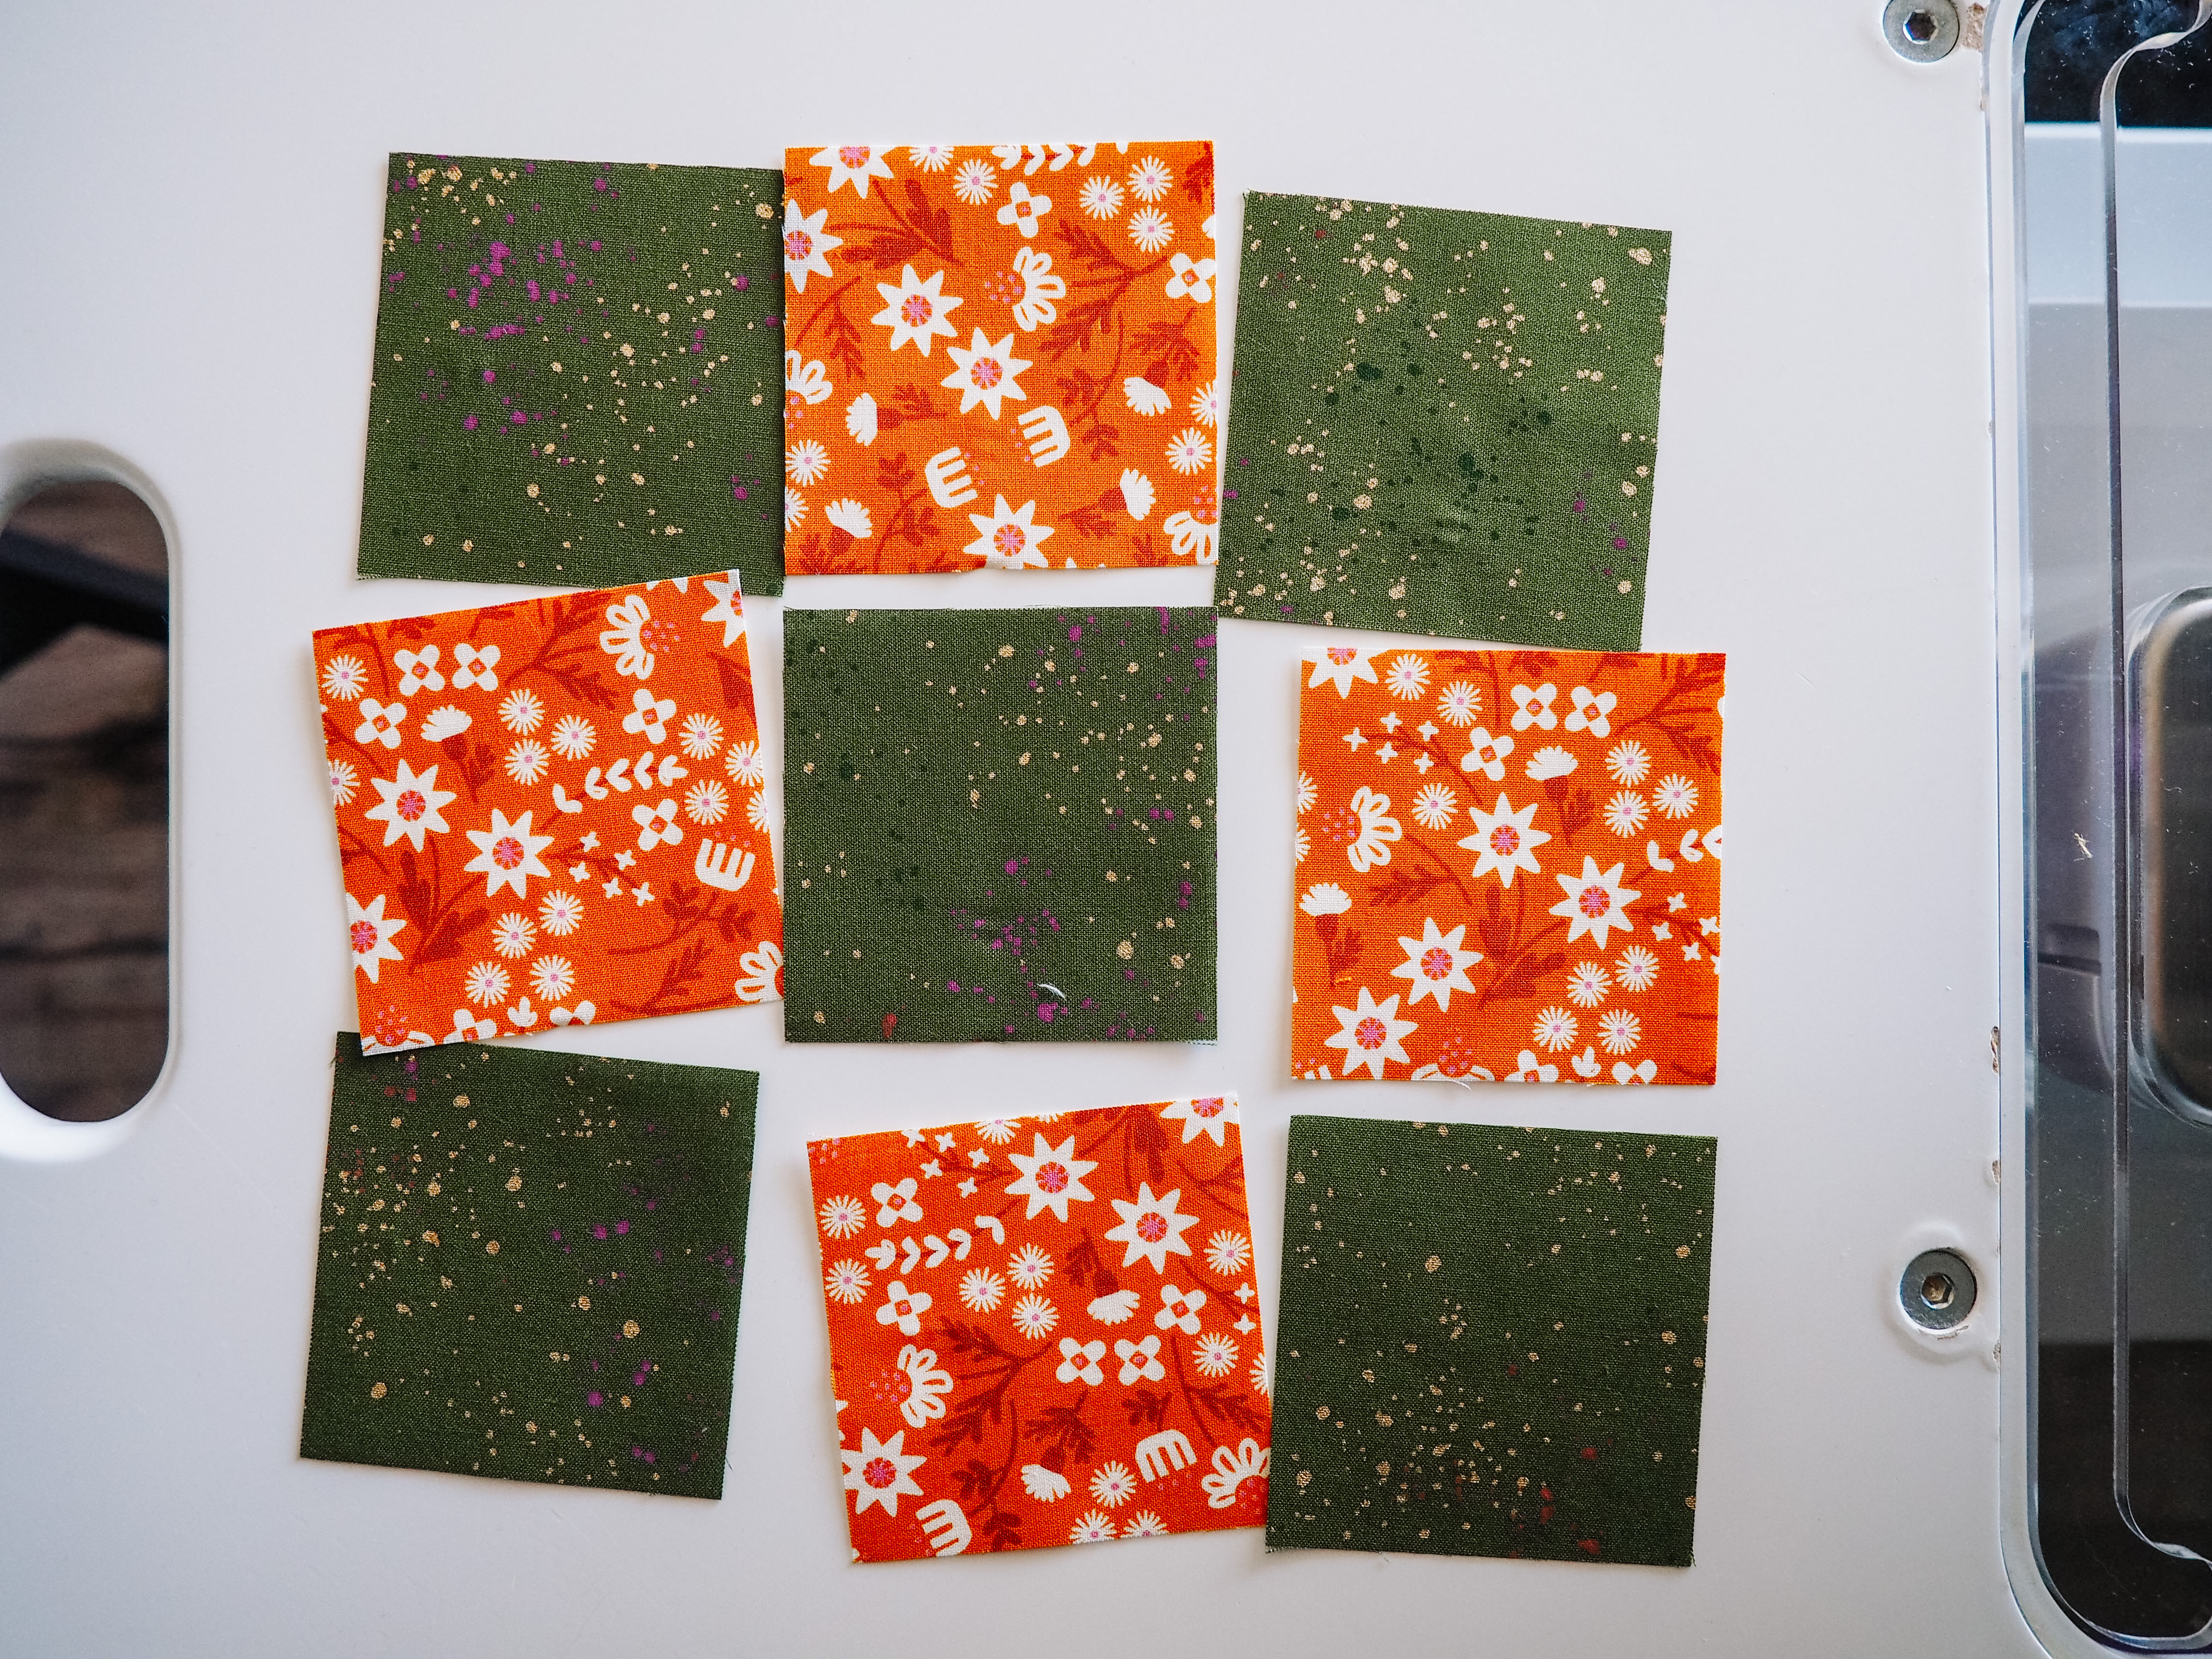
Each block consists of (9) 2.5″ squares, 4 from one fabric and 5 from another. These can be arranged in two ways:
- Block 1: The top left square is the background fabric. This block requires (5) background squares and (4) main fabric squares
- Block 2: The top left square is main fabric. This block requires (5) main fabric squares and (4) background squares
The order that you make the blocks doesn’t matter just yet. Once they are all sewn, we will decide on layout before moving on.
Sewing the Blocks
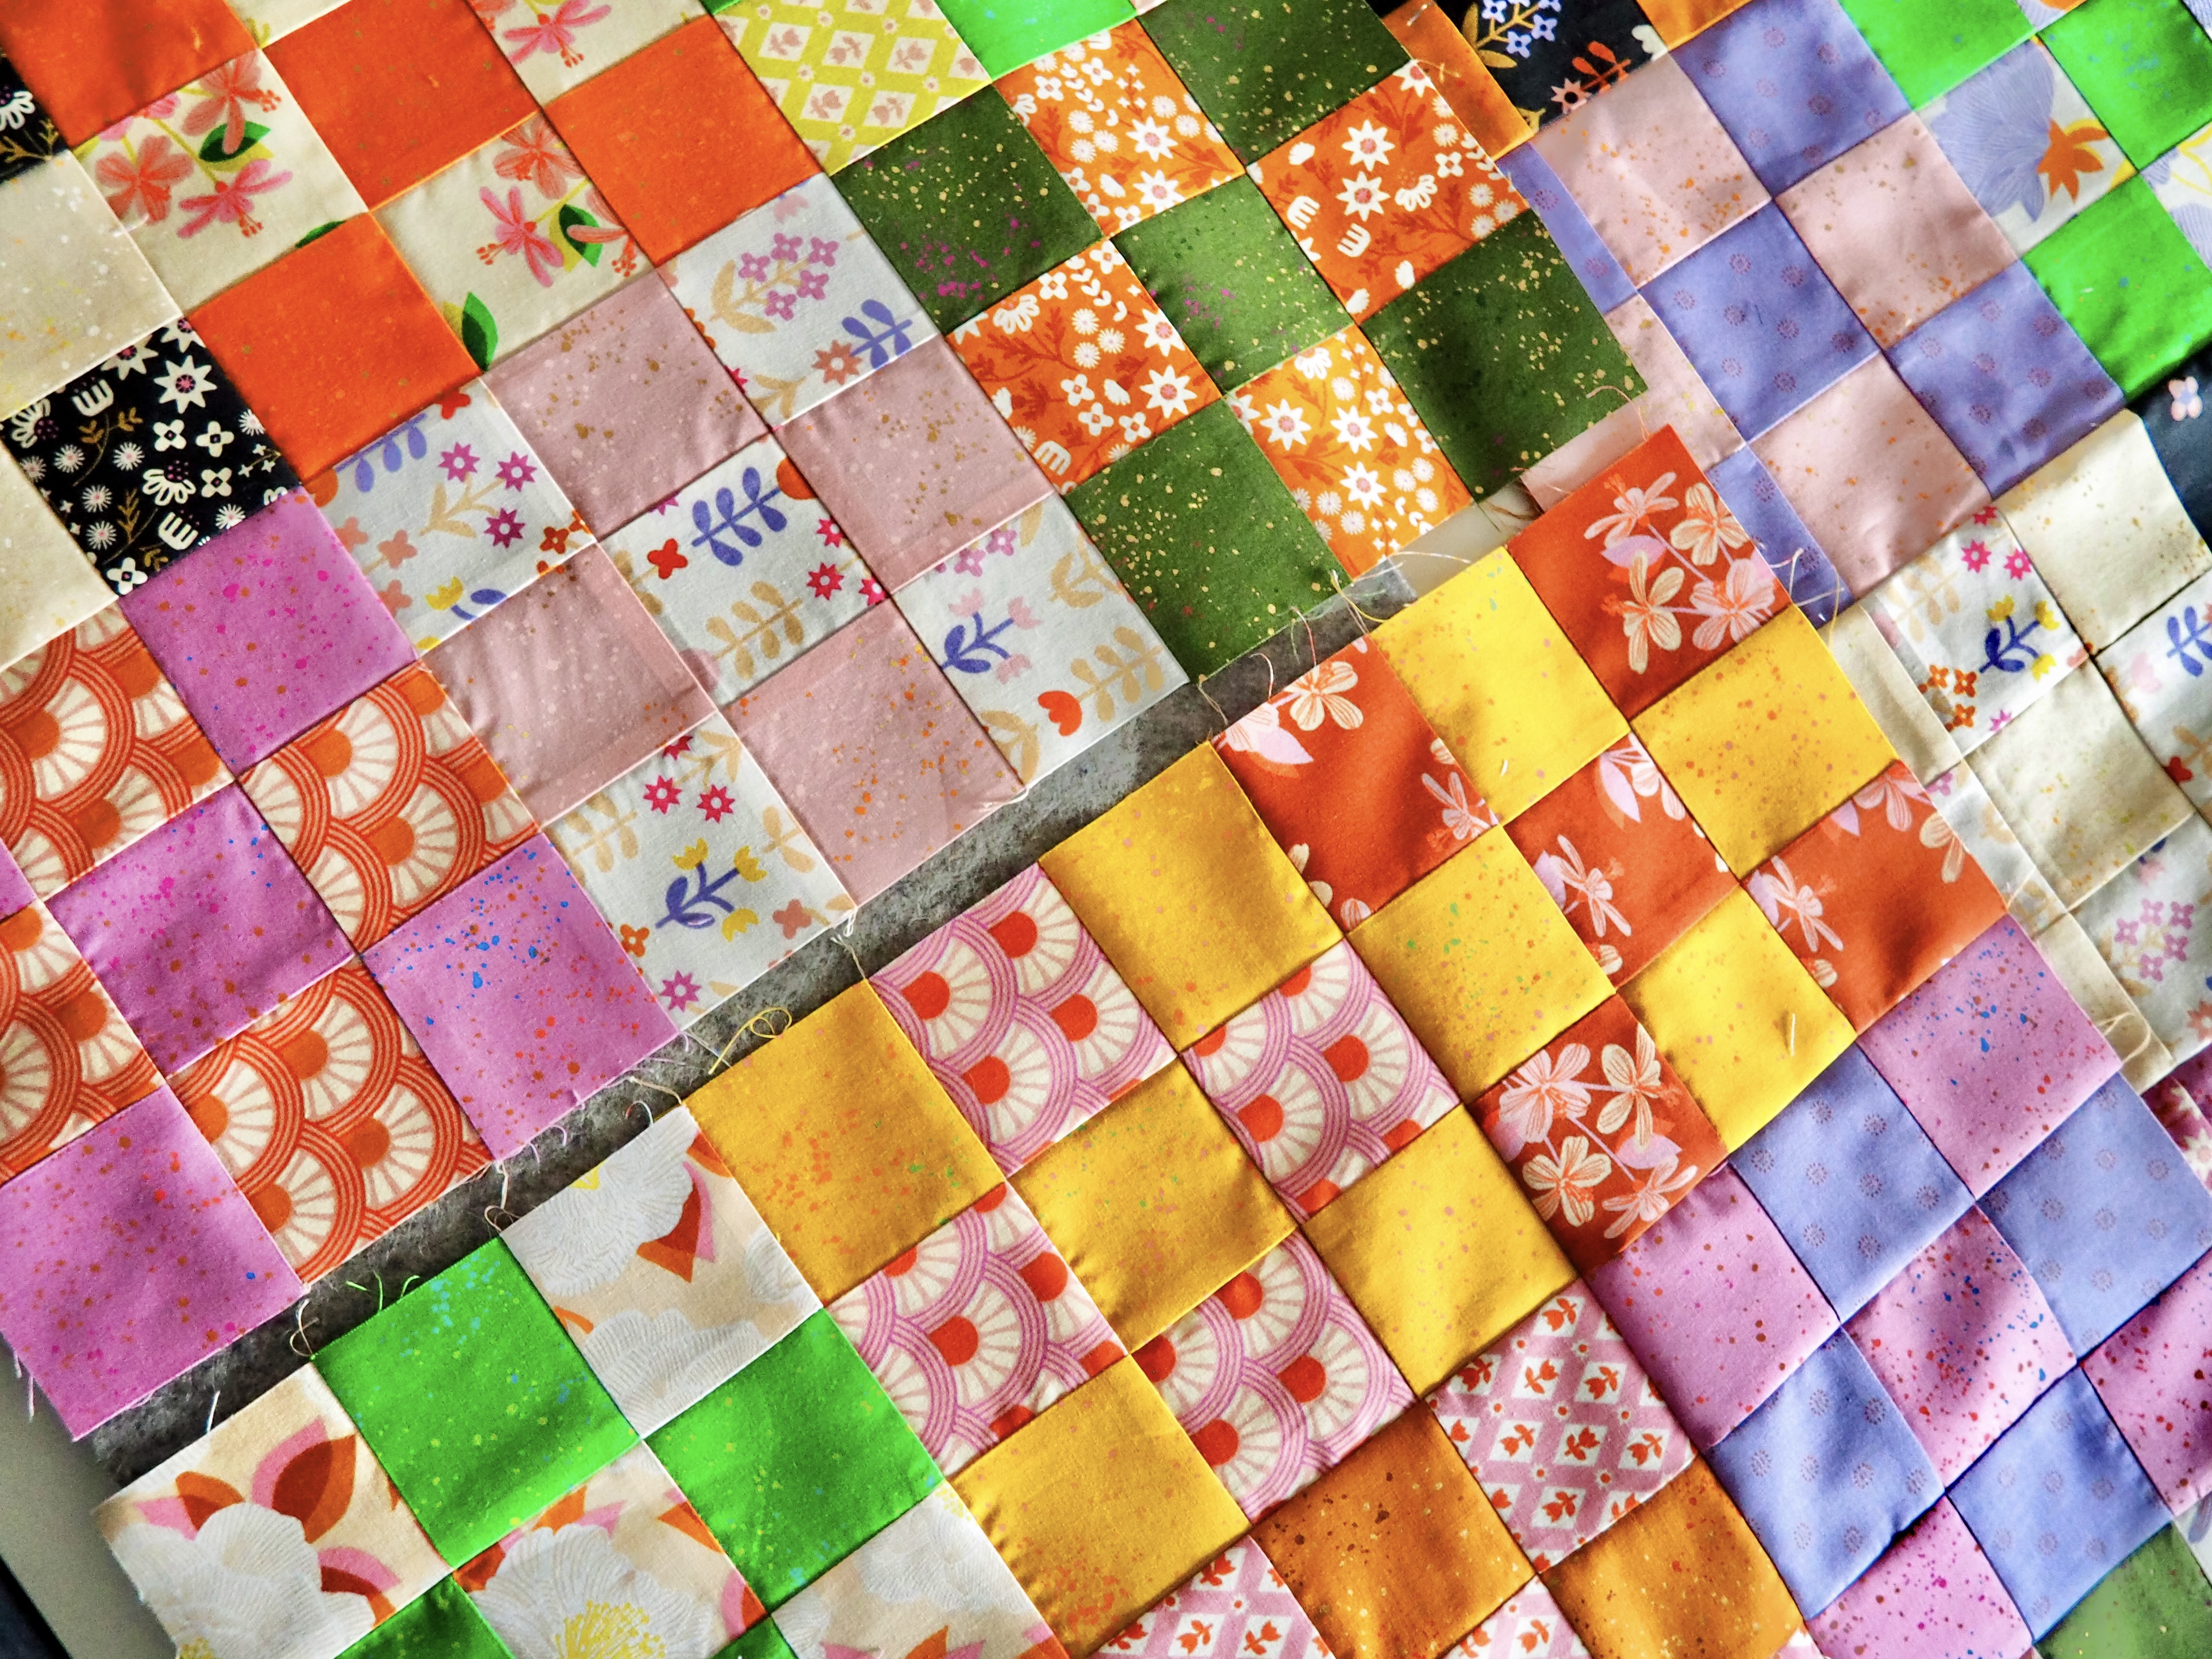
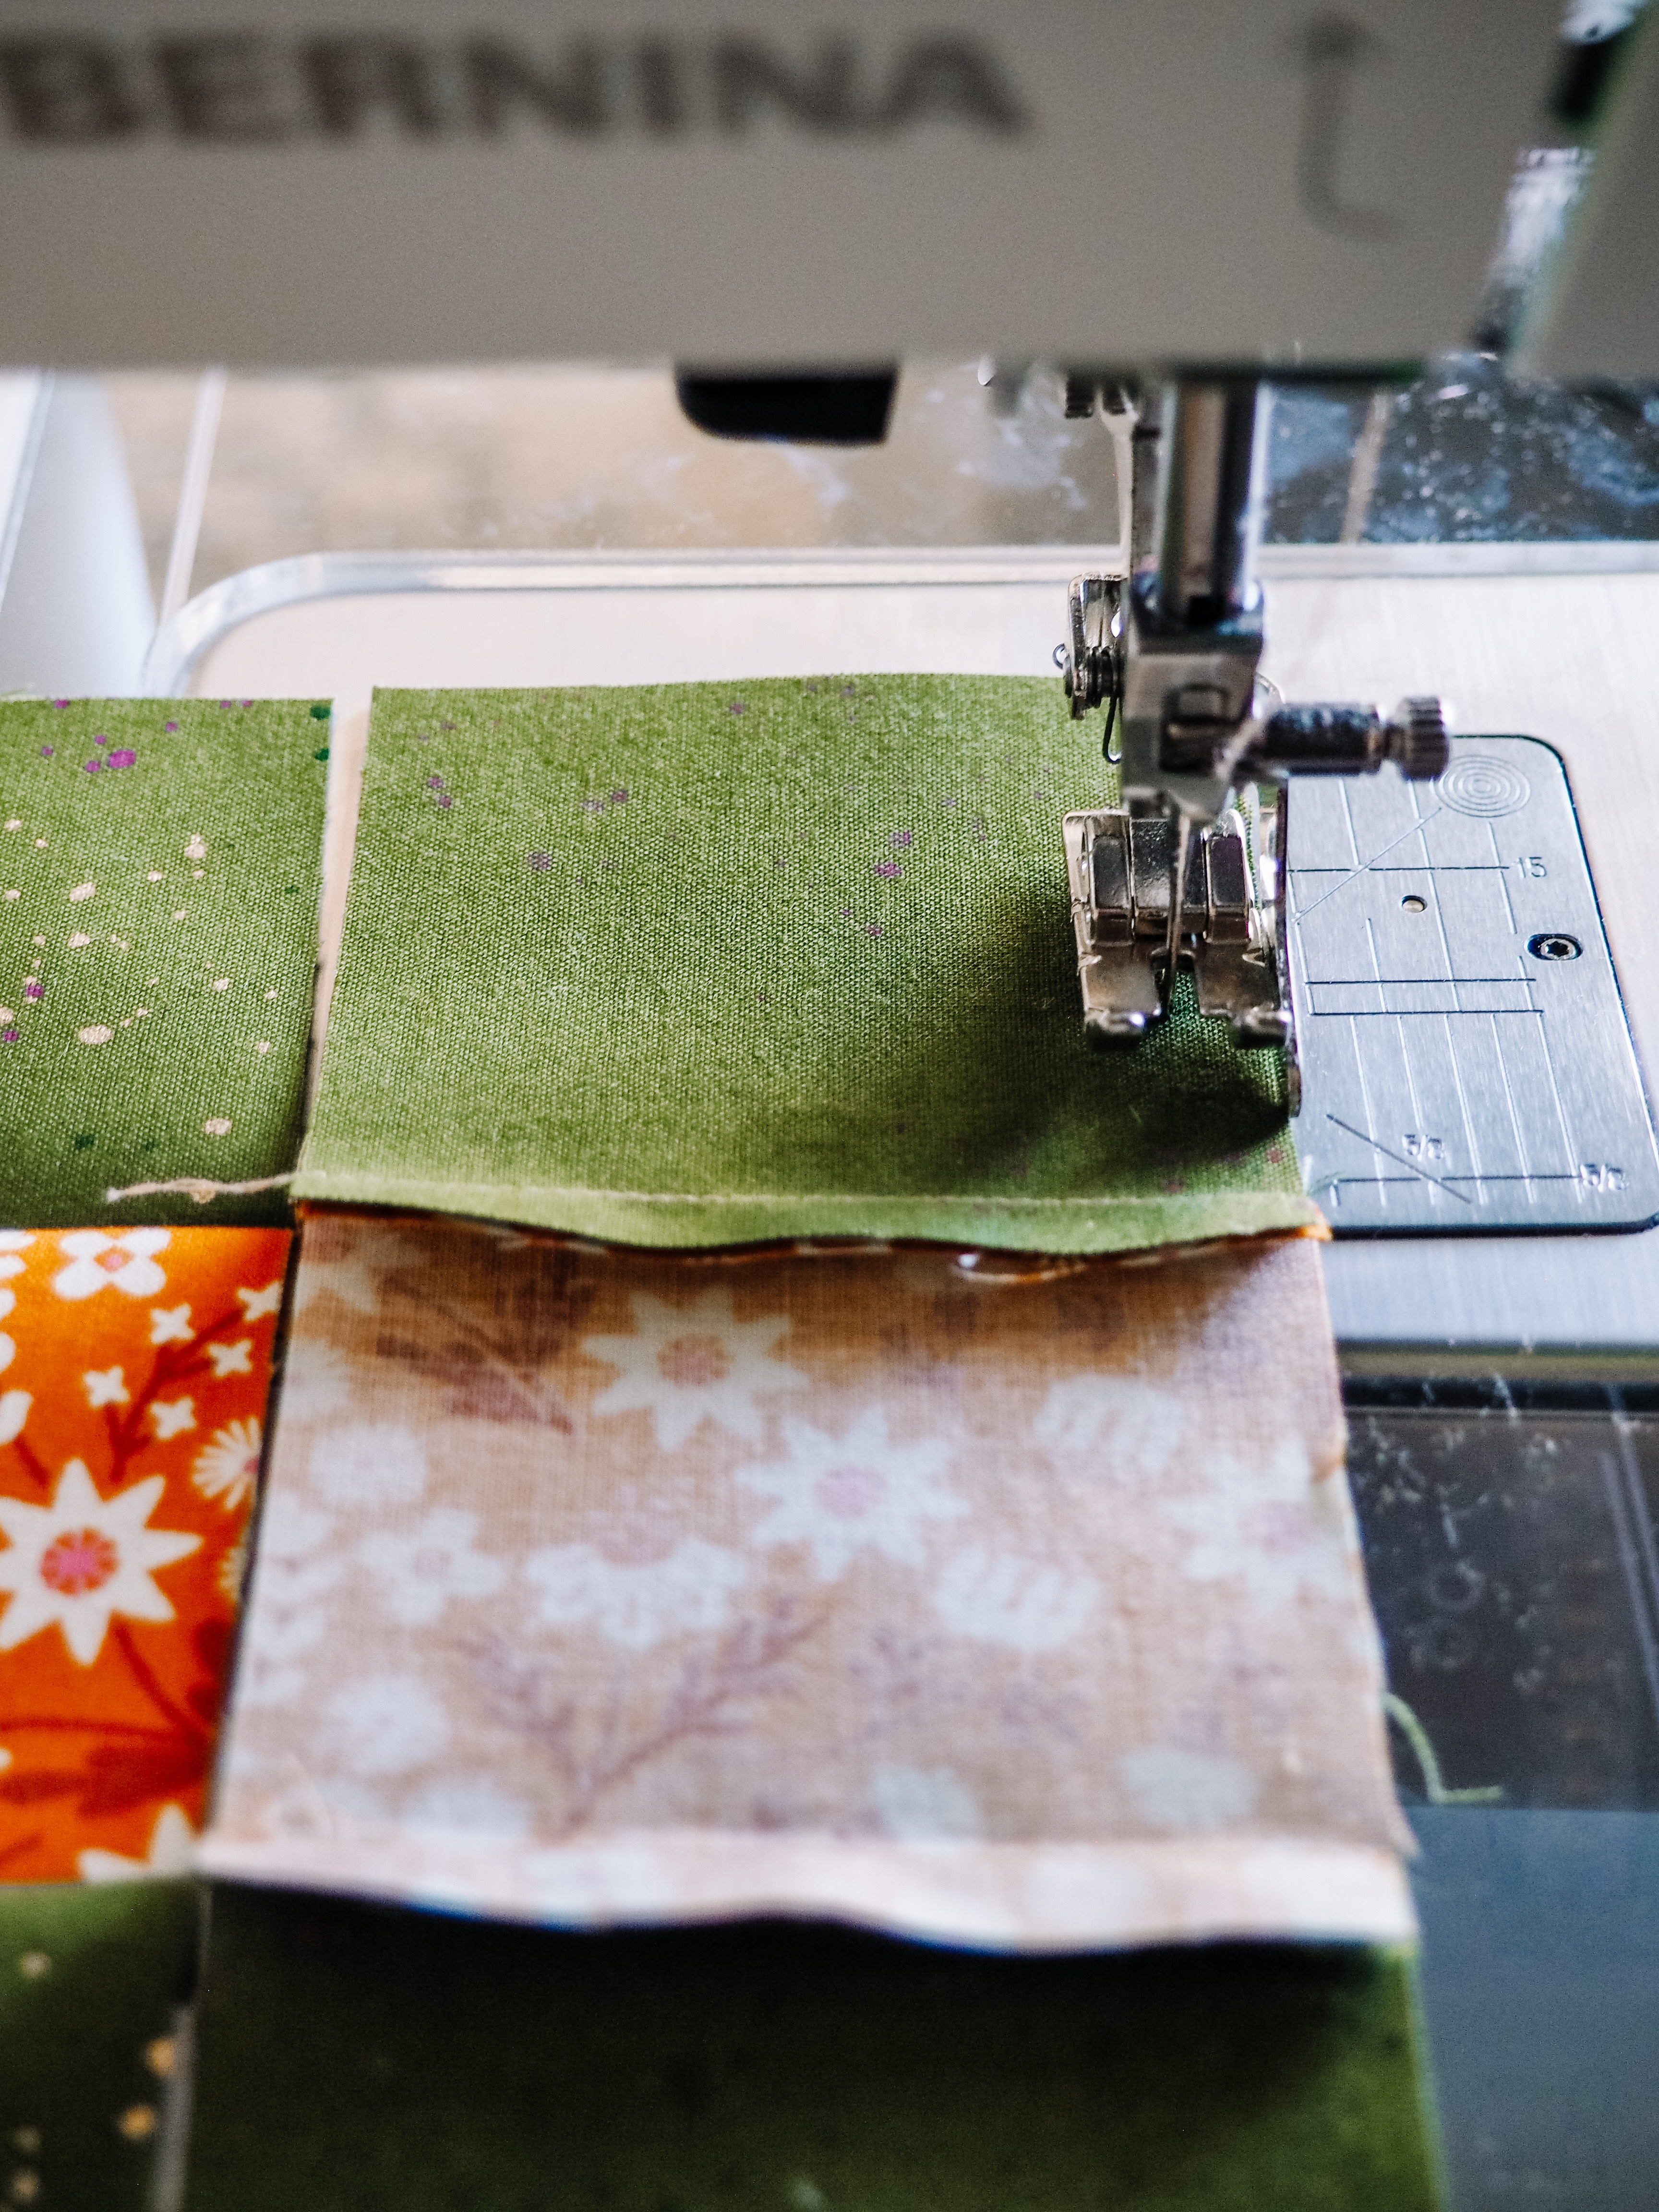
- Take a sorted group of fabric and layout the pieces as they would look finished. There should be three squares across, and three squares down. The fabrics should alternate. Be mindful of any directional fabrics.
- Place the square from the top right position face down on the top middle square. The fabrics should be right side together, with the middle square on the bottom
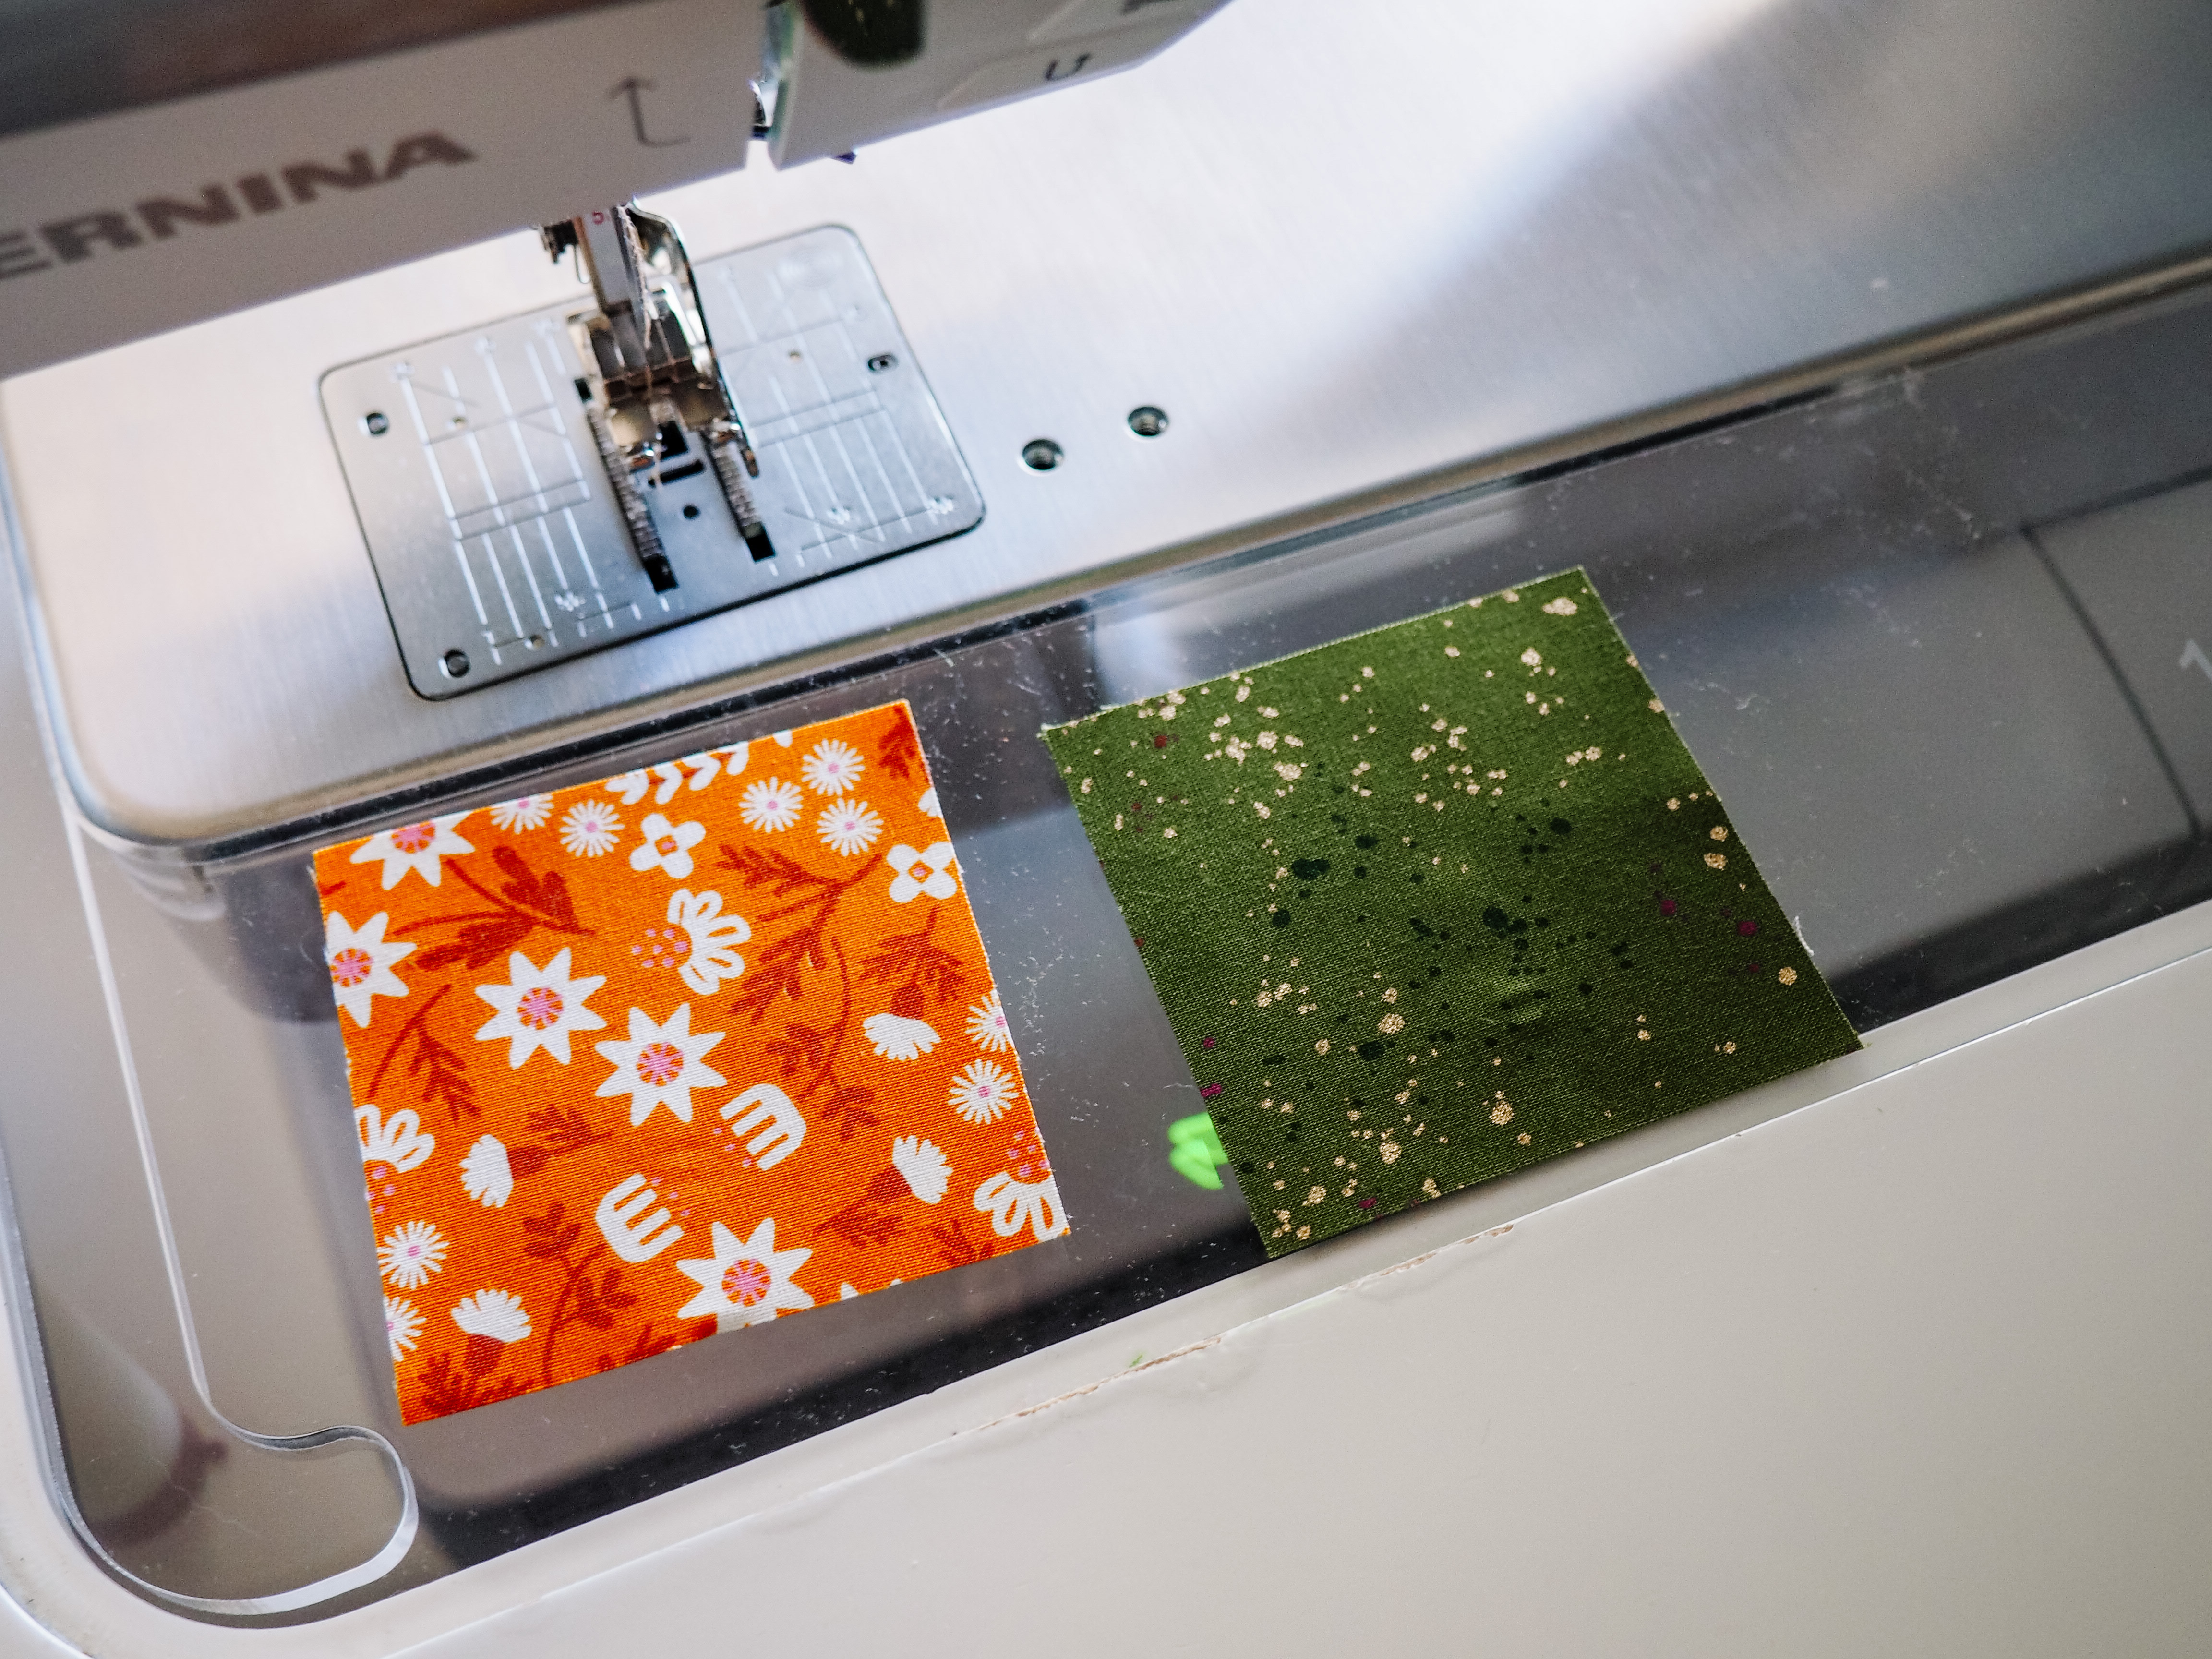
- Sew a 1/4″ seam along the right side, ending with the needle down. Do not cut
- Leaving the first pair of fabrics under your presser foot, with the needle down, place the square from the middle right position face down on top of the middle square. The fabrics should be right side together, with the middle square on the bottom
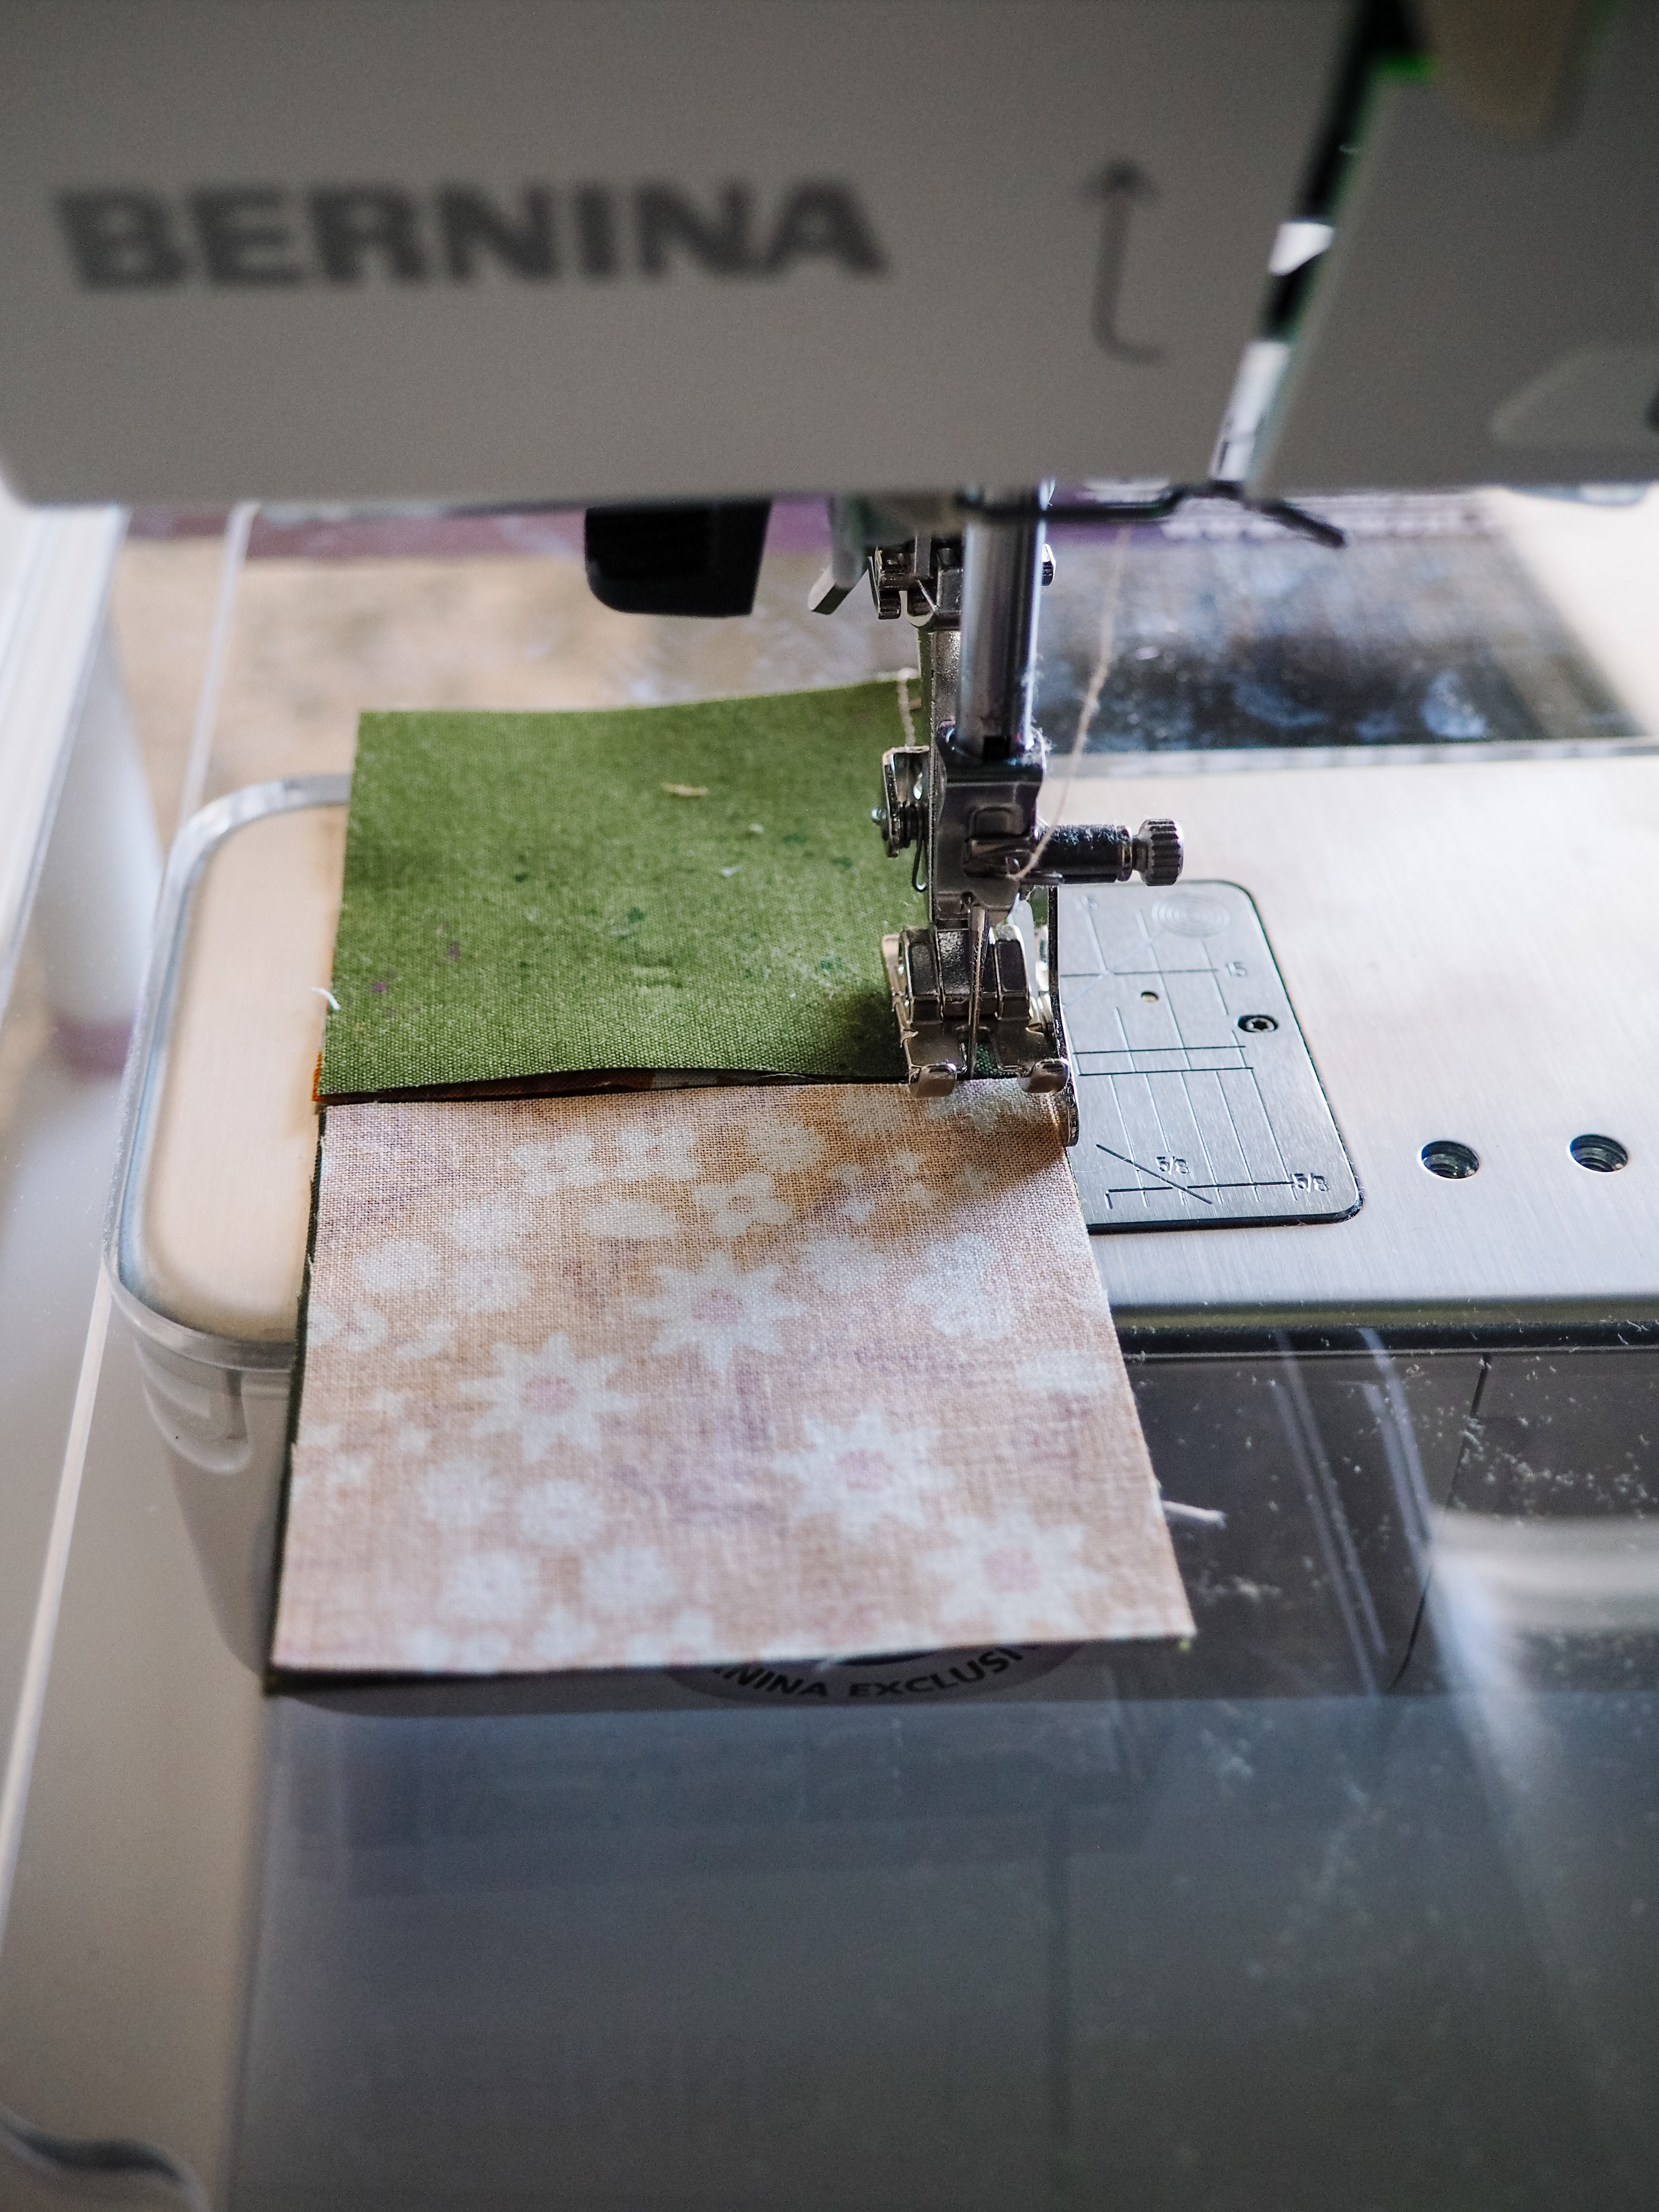
- Place the second pair right up to, but not overlapping the first pair that is still under the needle. Sew a 1/4″ seam along the right side, ending with the needle down. Do not cut
- Leaving the second pair of fabrics under the presser foot, with the needle down, place the square from the bottom right position face down on top of the bottom middle square. The fabrics should be right side together, with the middle square on the bottom
- Place the third pair right up to, but not overlapping the second pair that is still under the needle. Sew a 1/4″ seam along the right side. Cut the thread
You should now have three rows of squares, two squares across. The rows should be connected at the seams, with the middle squares on the left side. Do not cut the seams just yet.
With the fabric face up, rotate the three rows of squares so that the middle fabric is now on the left side. Rotate the three remaining squares so that the one on the bottom is now on the top and vice versa. The layout that you created in step one will now be upside down.
Repeat steps 2-7 to attach the remaining column of squares. Do not cut the seams that are still connected.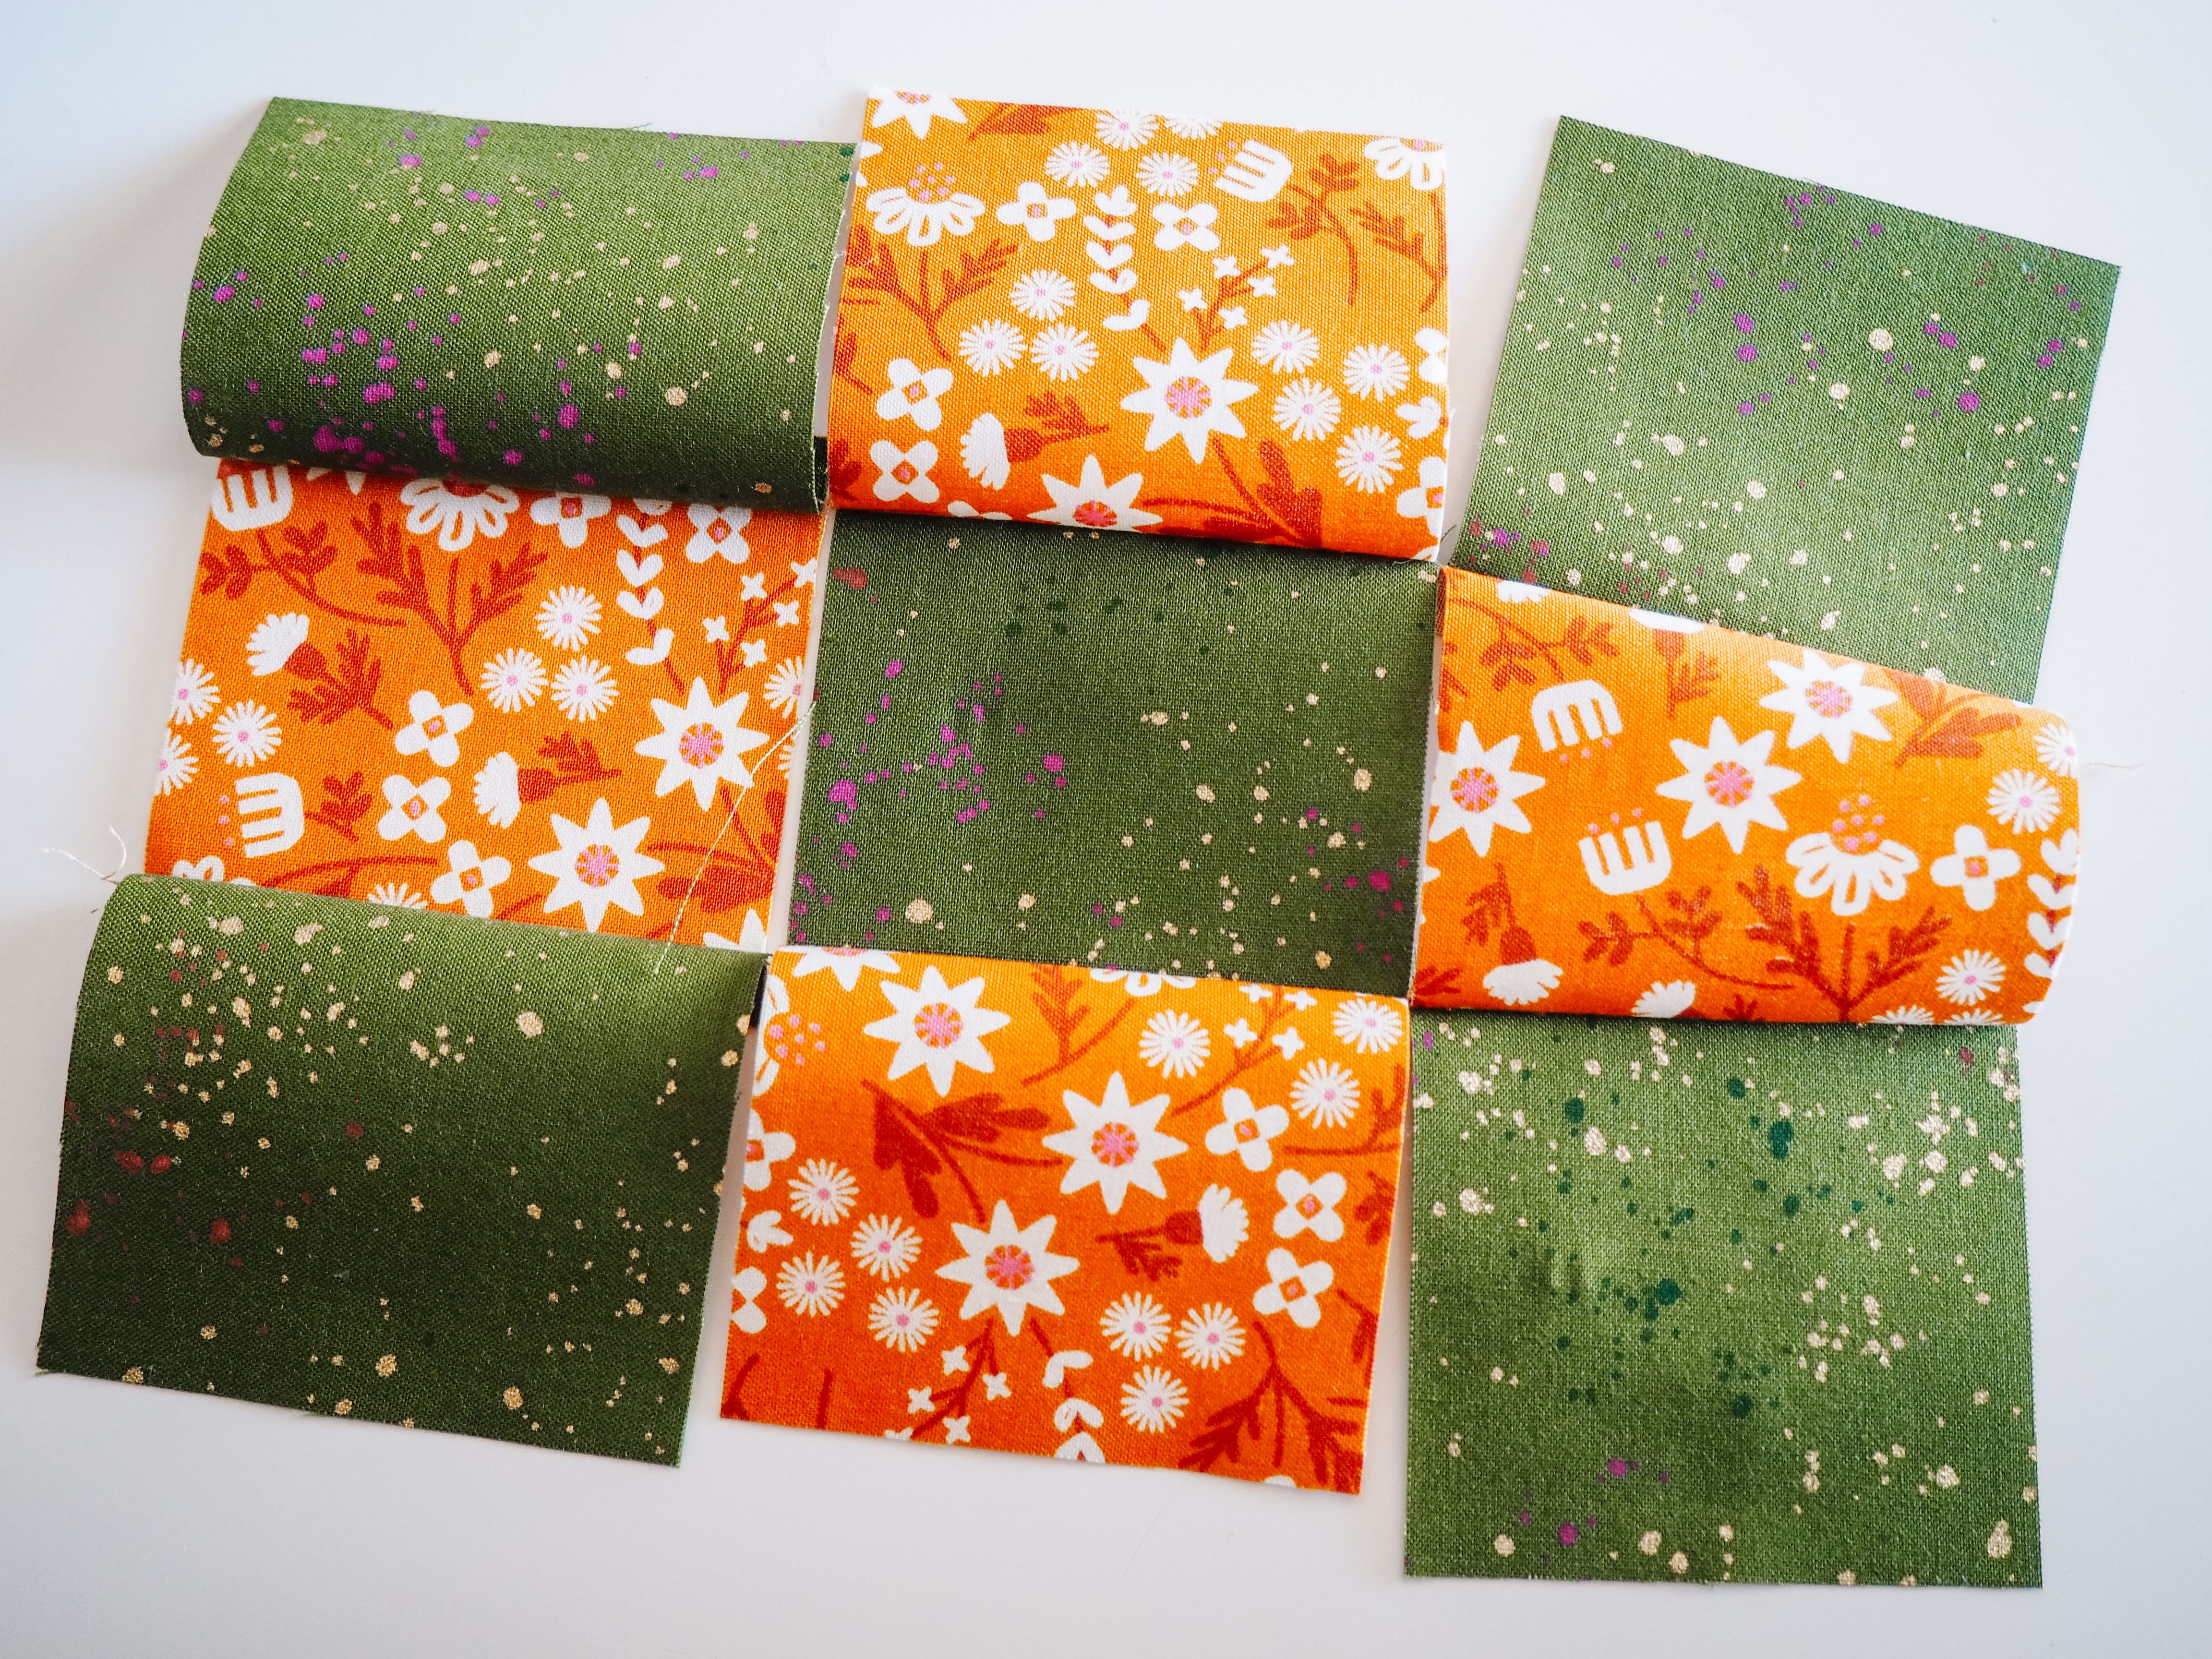
You should now have three rows of three squares, connected by the uncut threads at each of the seams. Place this face down, with the unsewn seams horizontal. Using either your iron, seam roller, or finger, press the seams on the top row to the right. Press the seams on the middle row to the left. Press the seams on the bottom row to the right.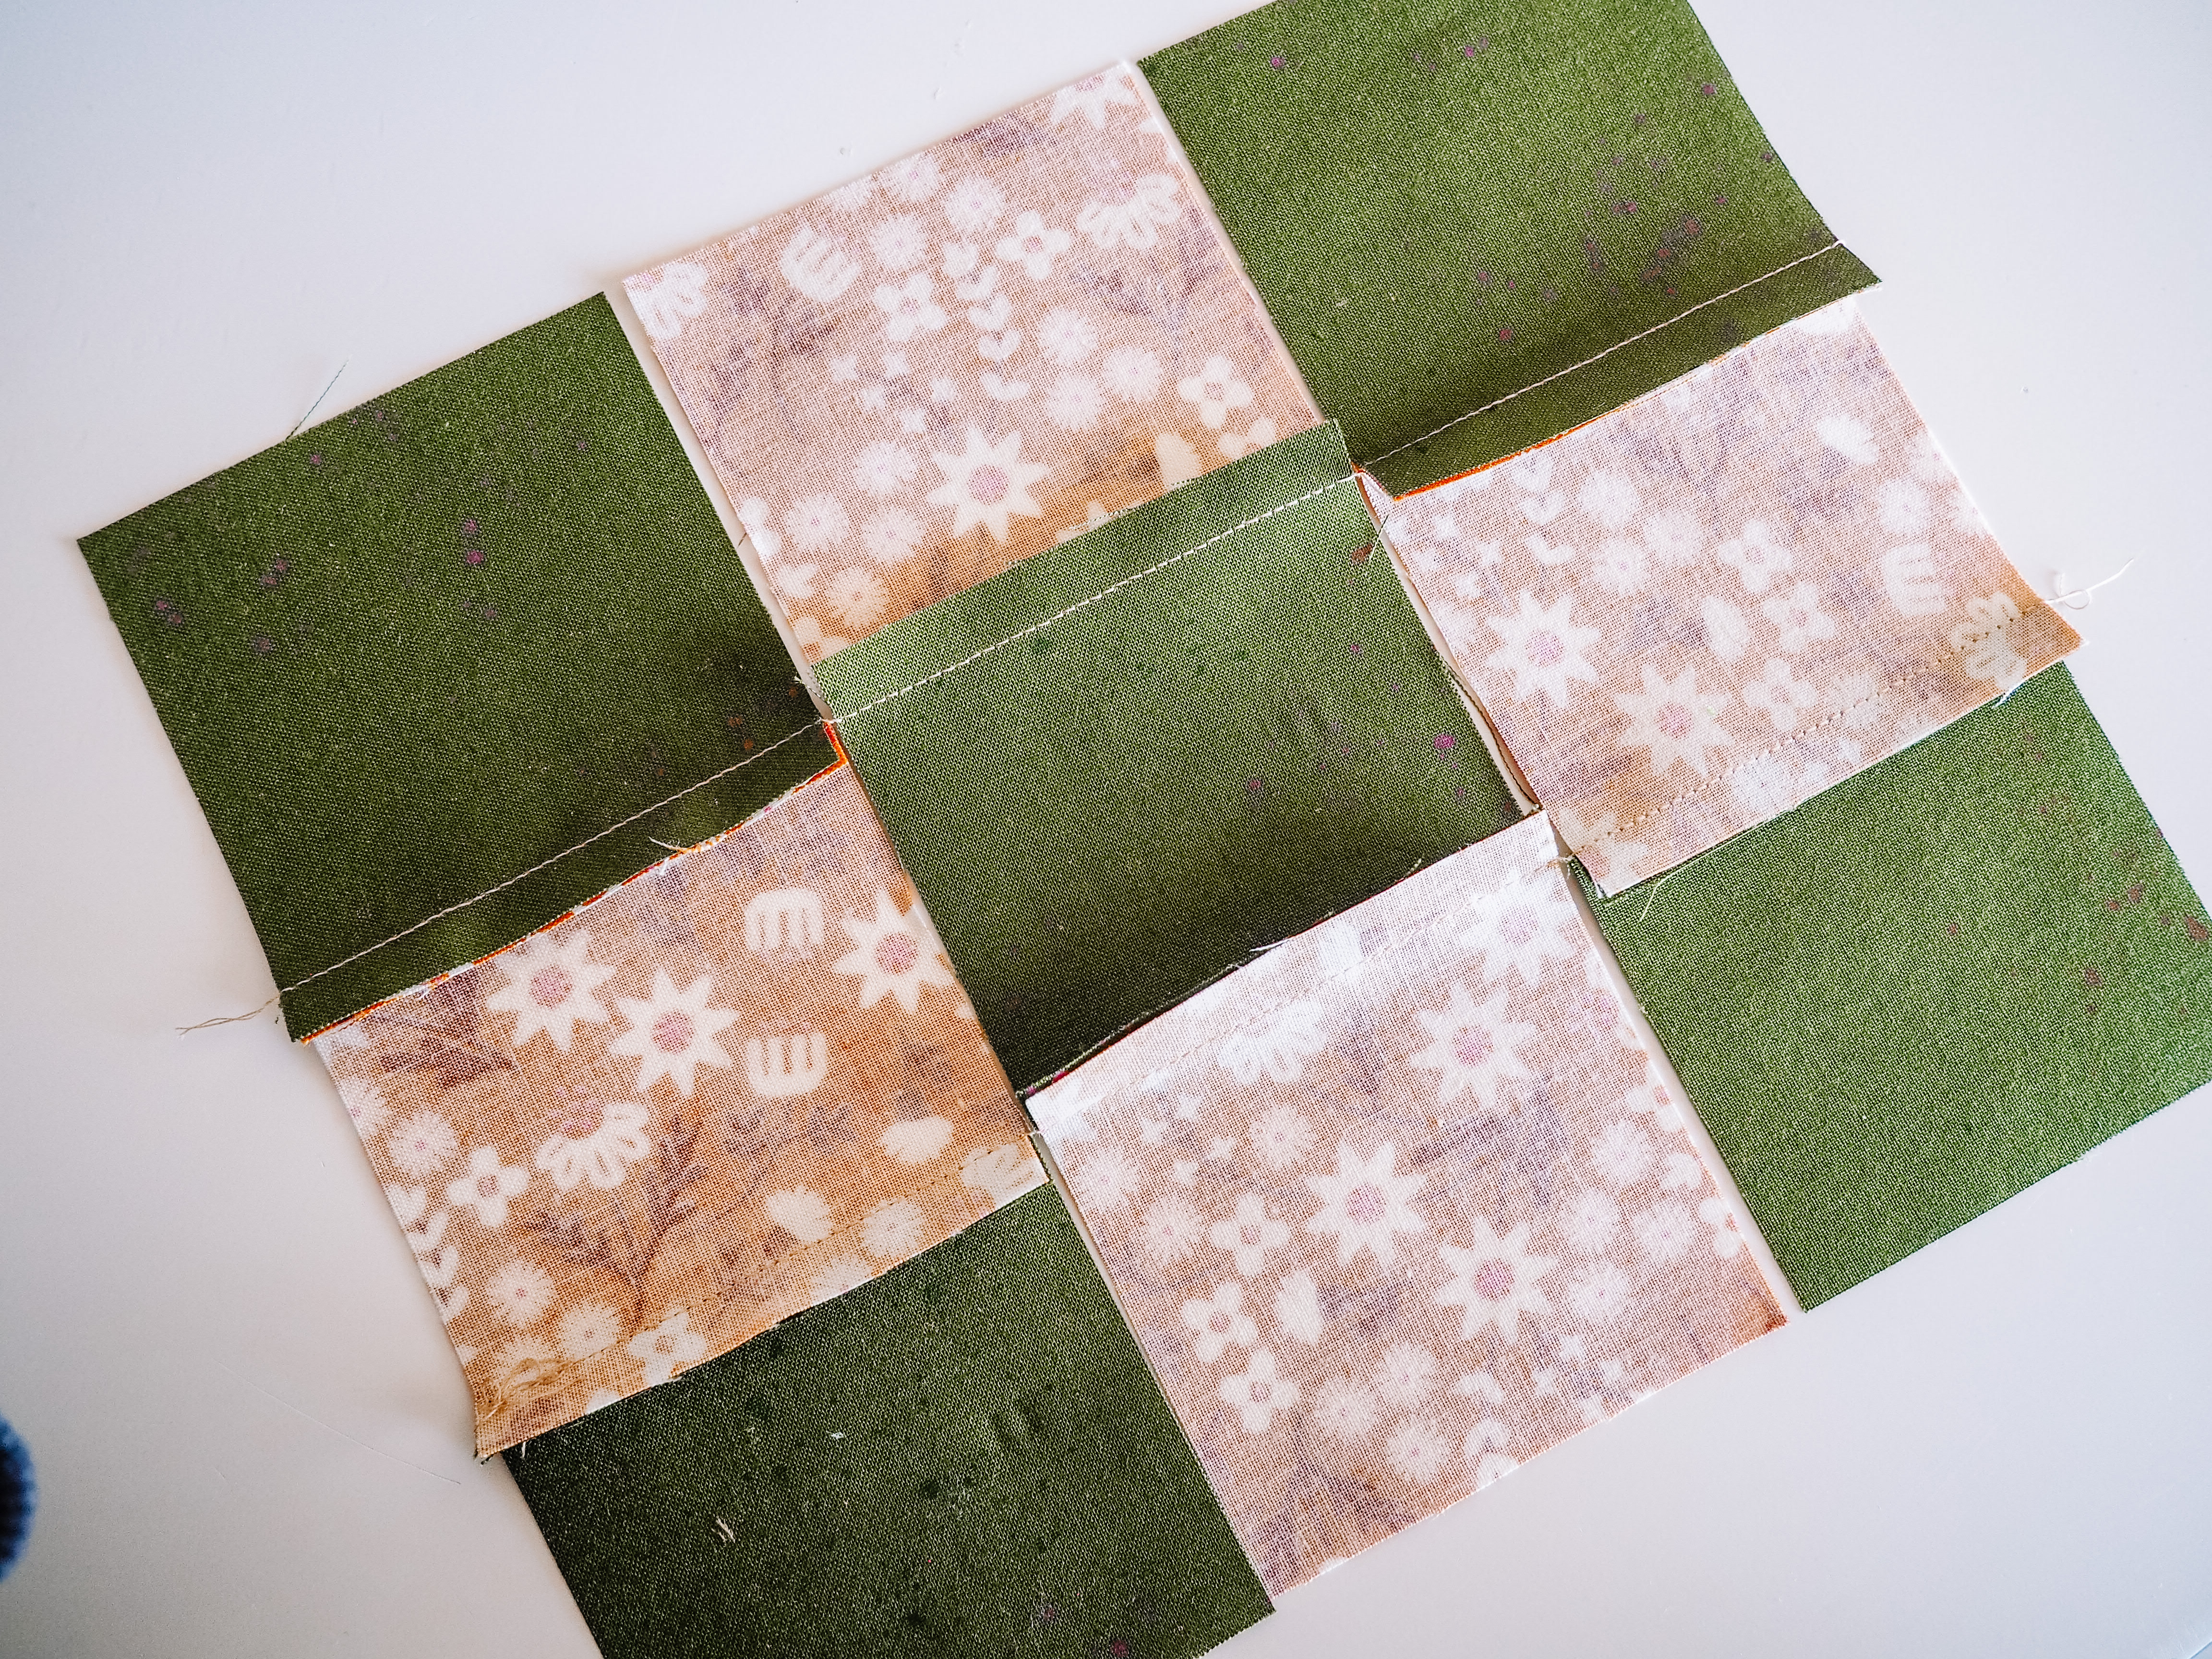
Turn the block so it is right side up and the unsewn seams are vertical. Fold over the right column so it is face down on the middle column. Ensure the seams align by matching up the pressed edges, nesting them together. Pin if desired. Sew 1/4″ seam along the right edge, cut the thread when done. Repeat with the final seam.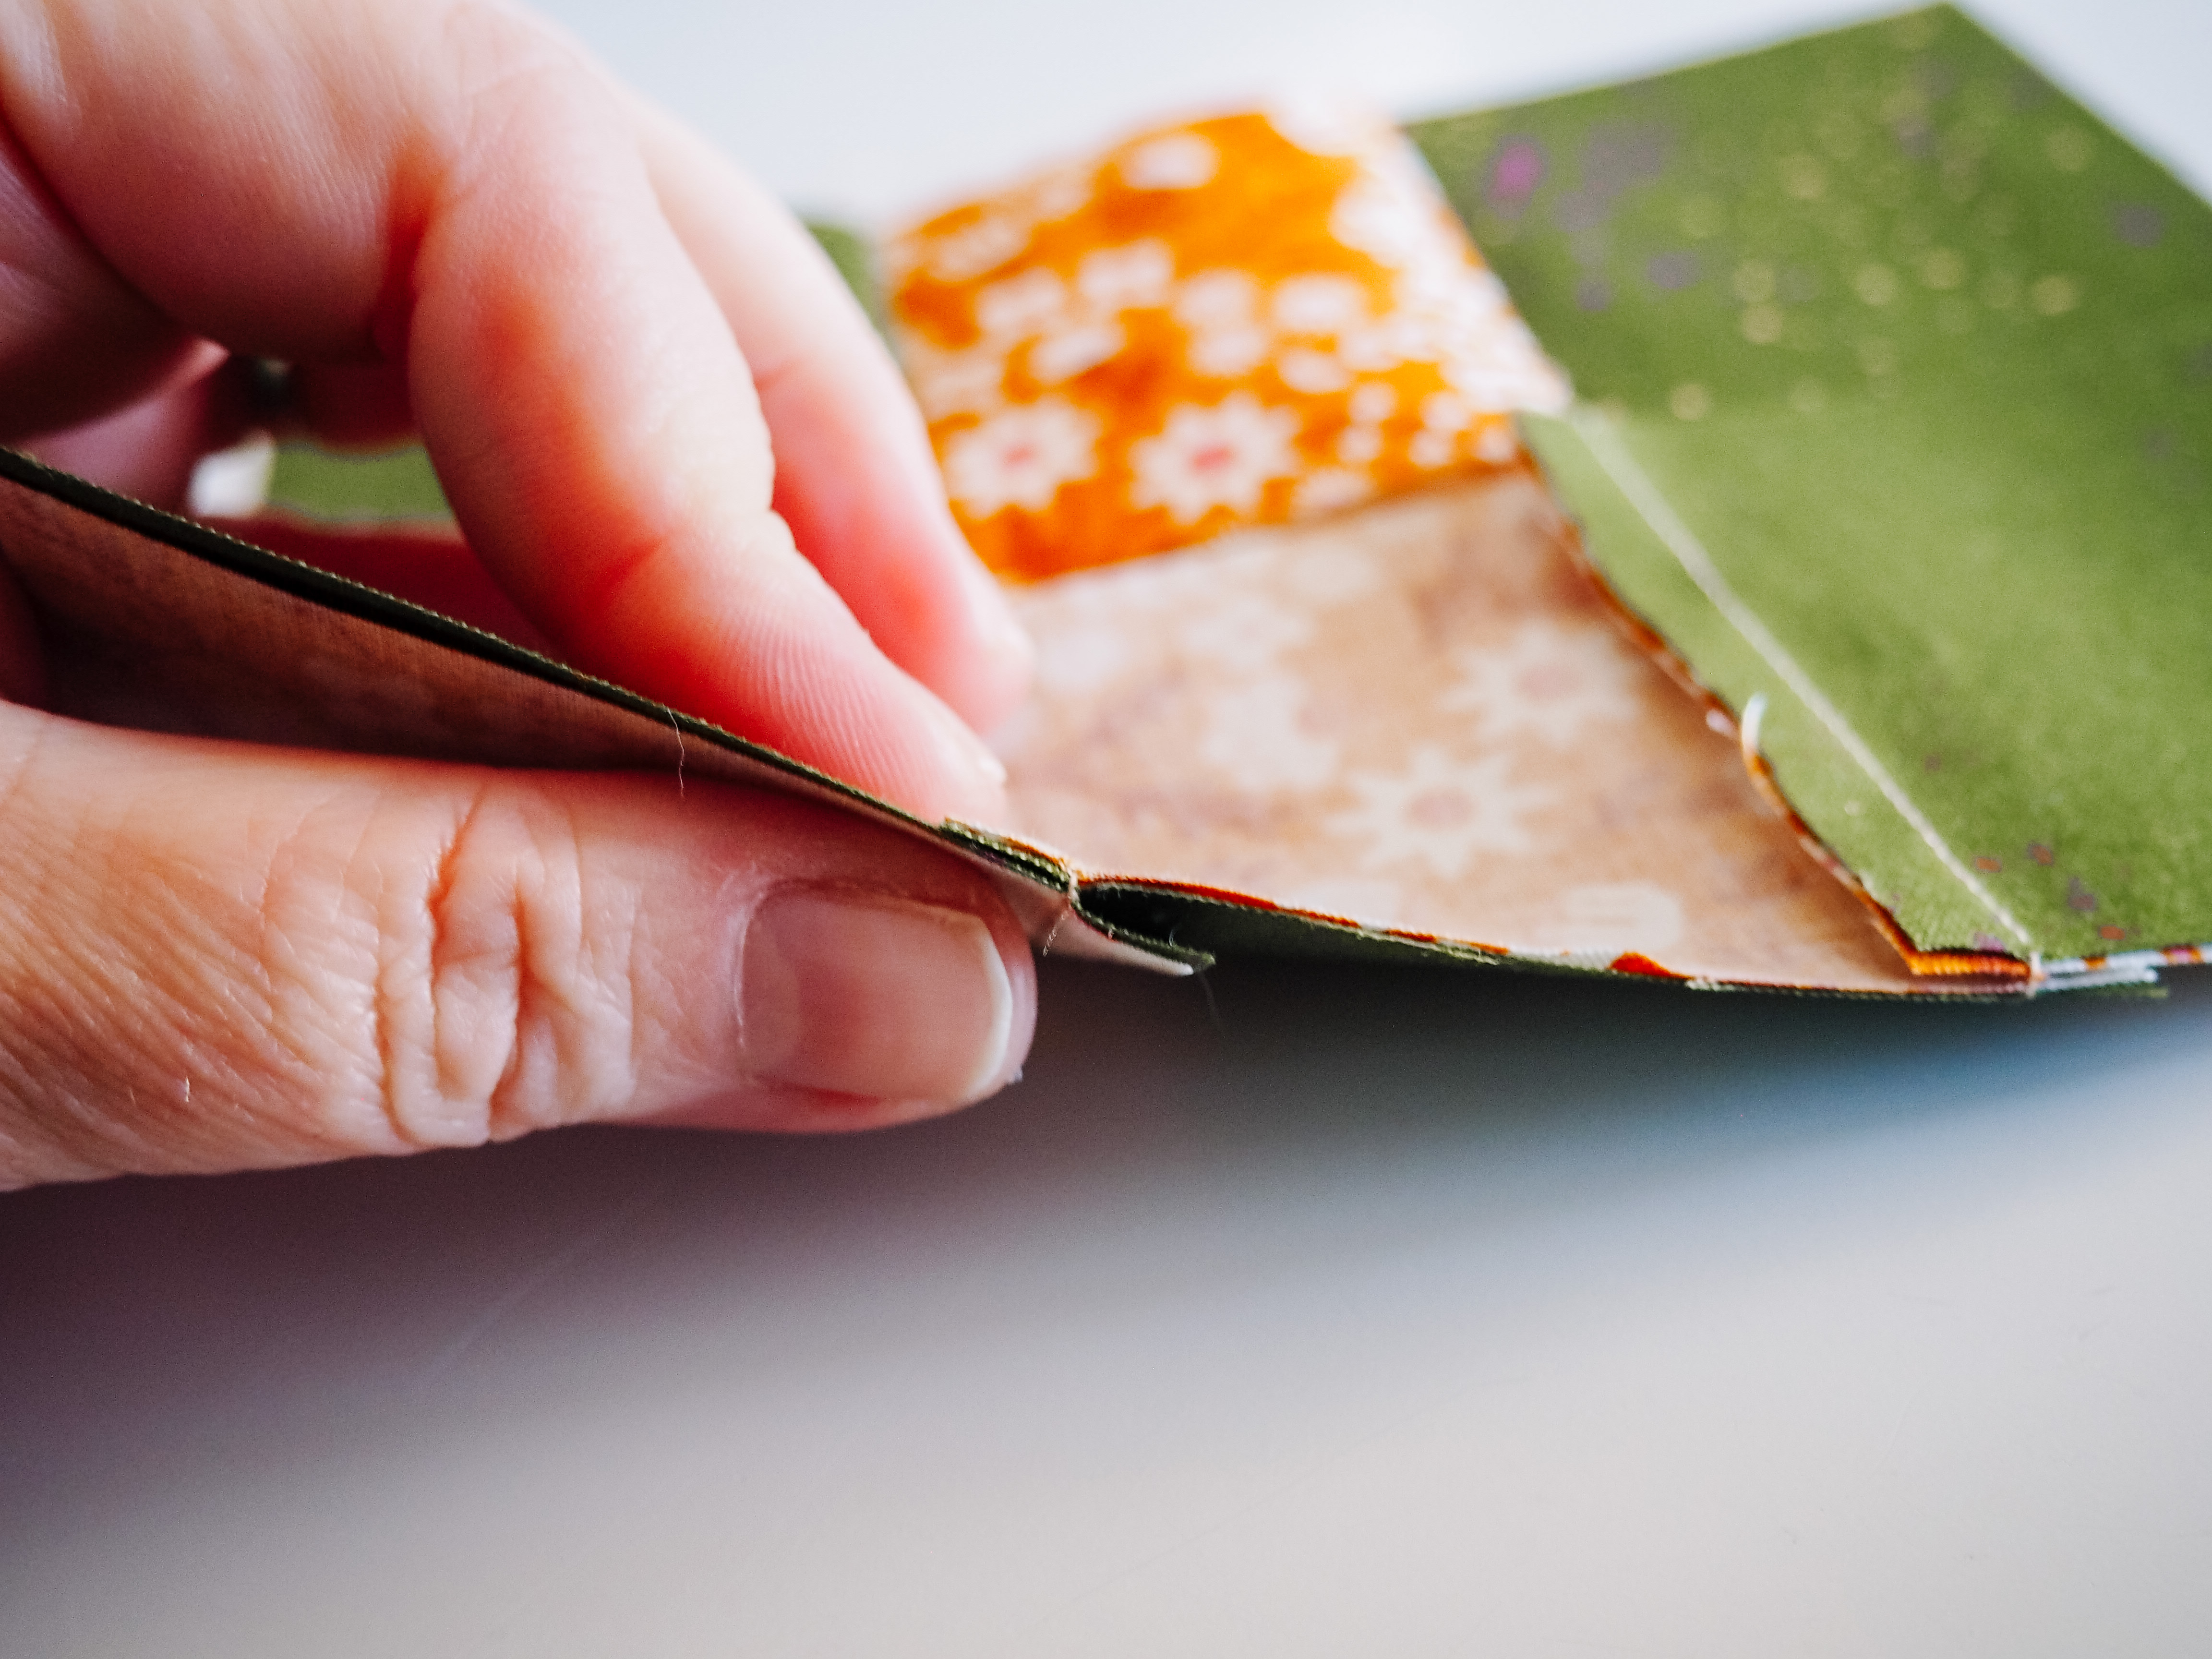
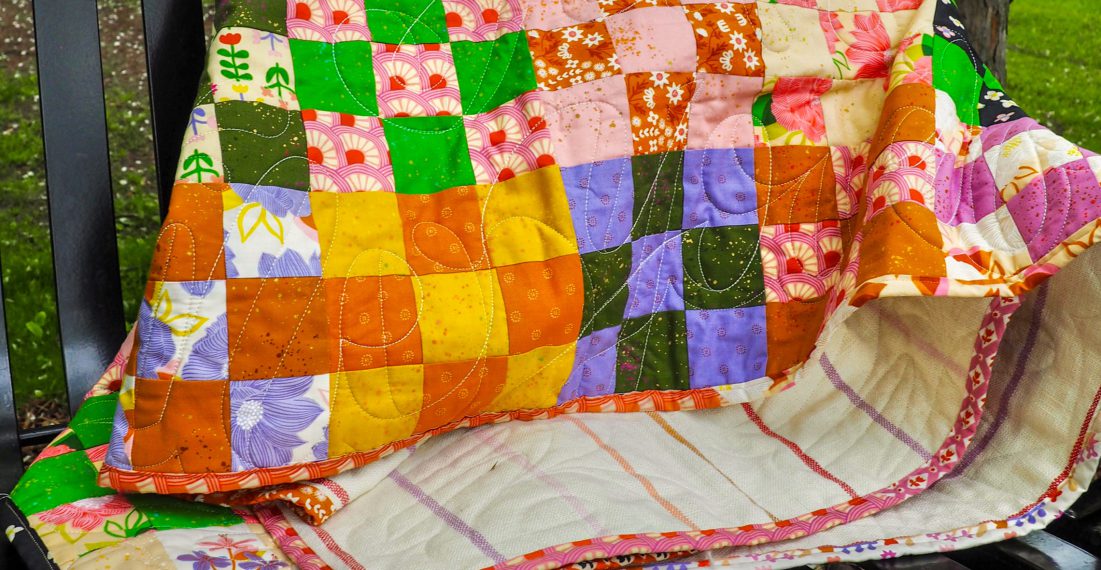
Press the two longer seams as desired. Your final block should be 6.5″ square (unfinished).
Repeat for the remaining fabric sets, for a total of 144 blocks (72 of block 1 and 72 of block 2).
Determining the Layout
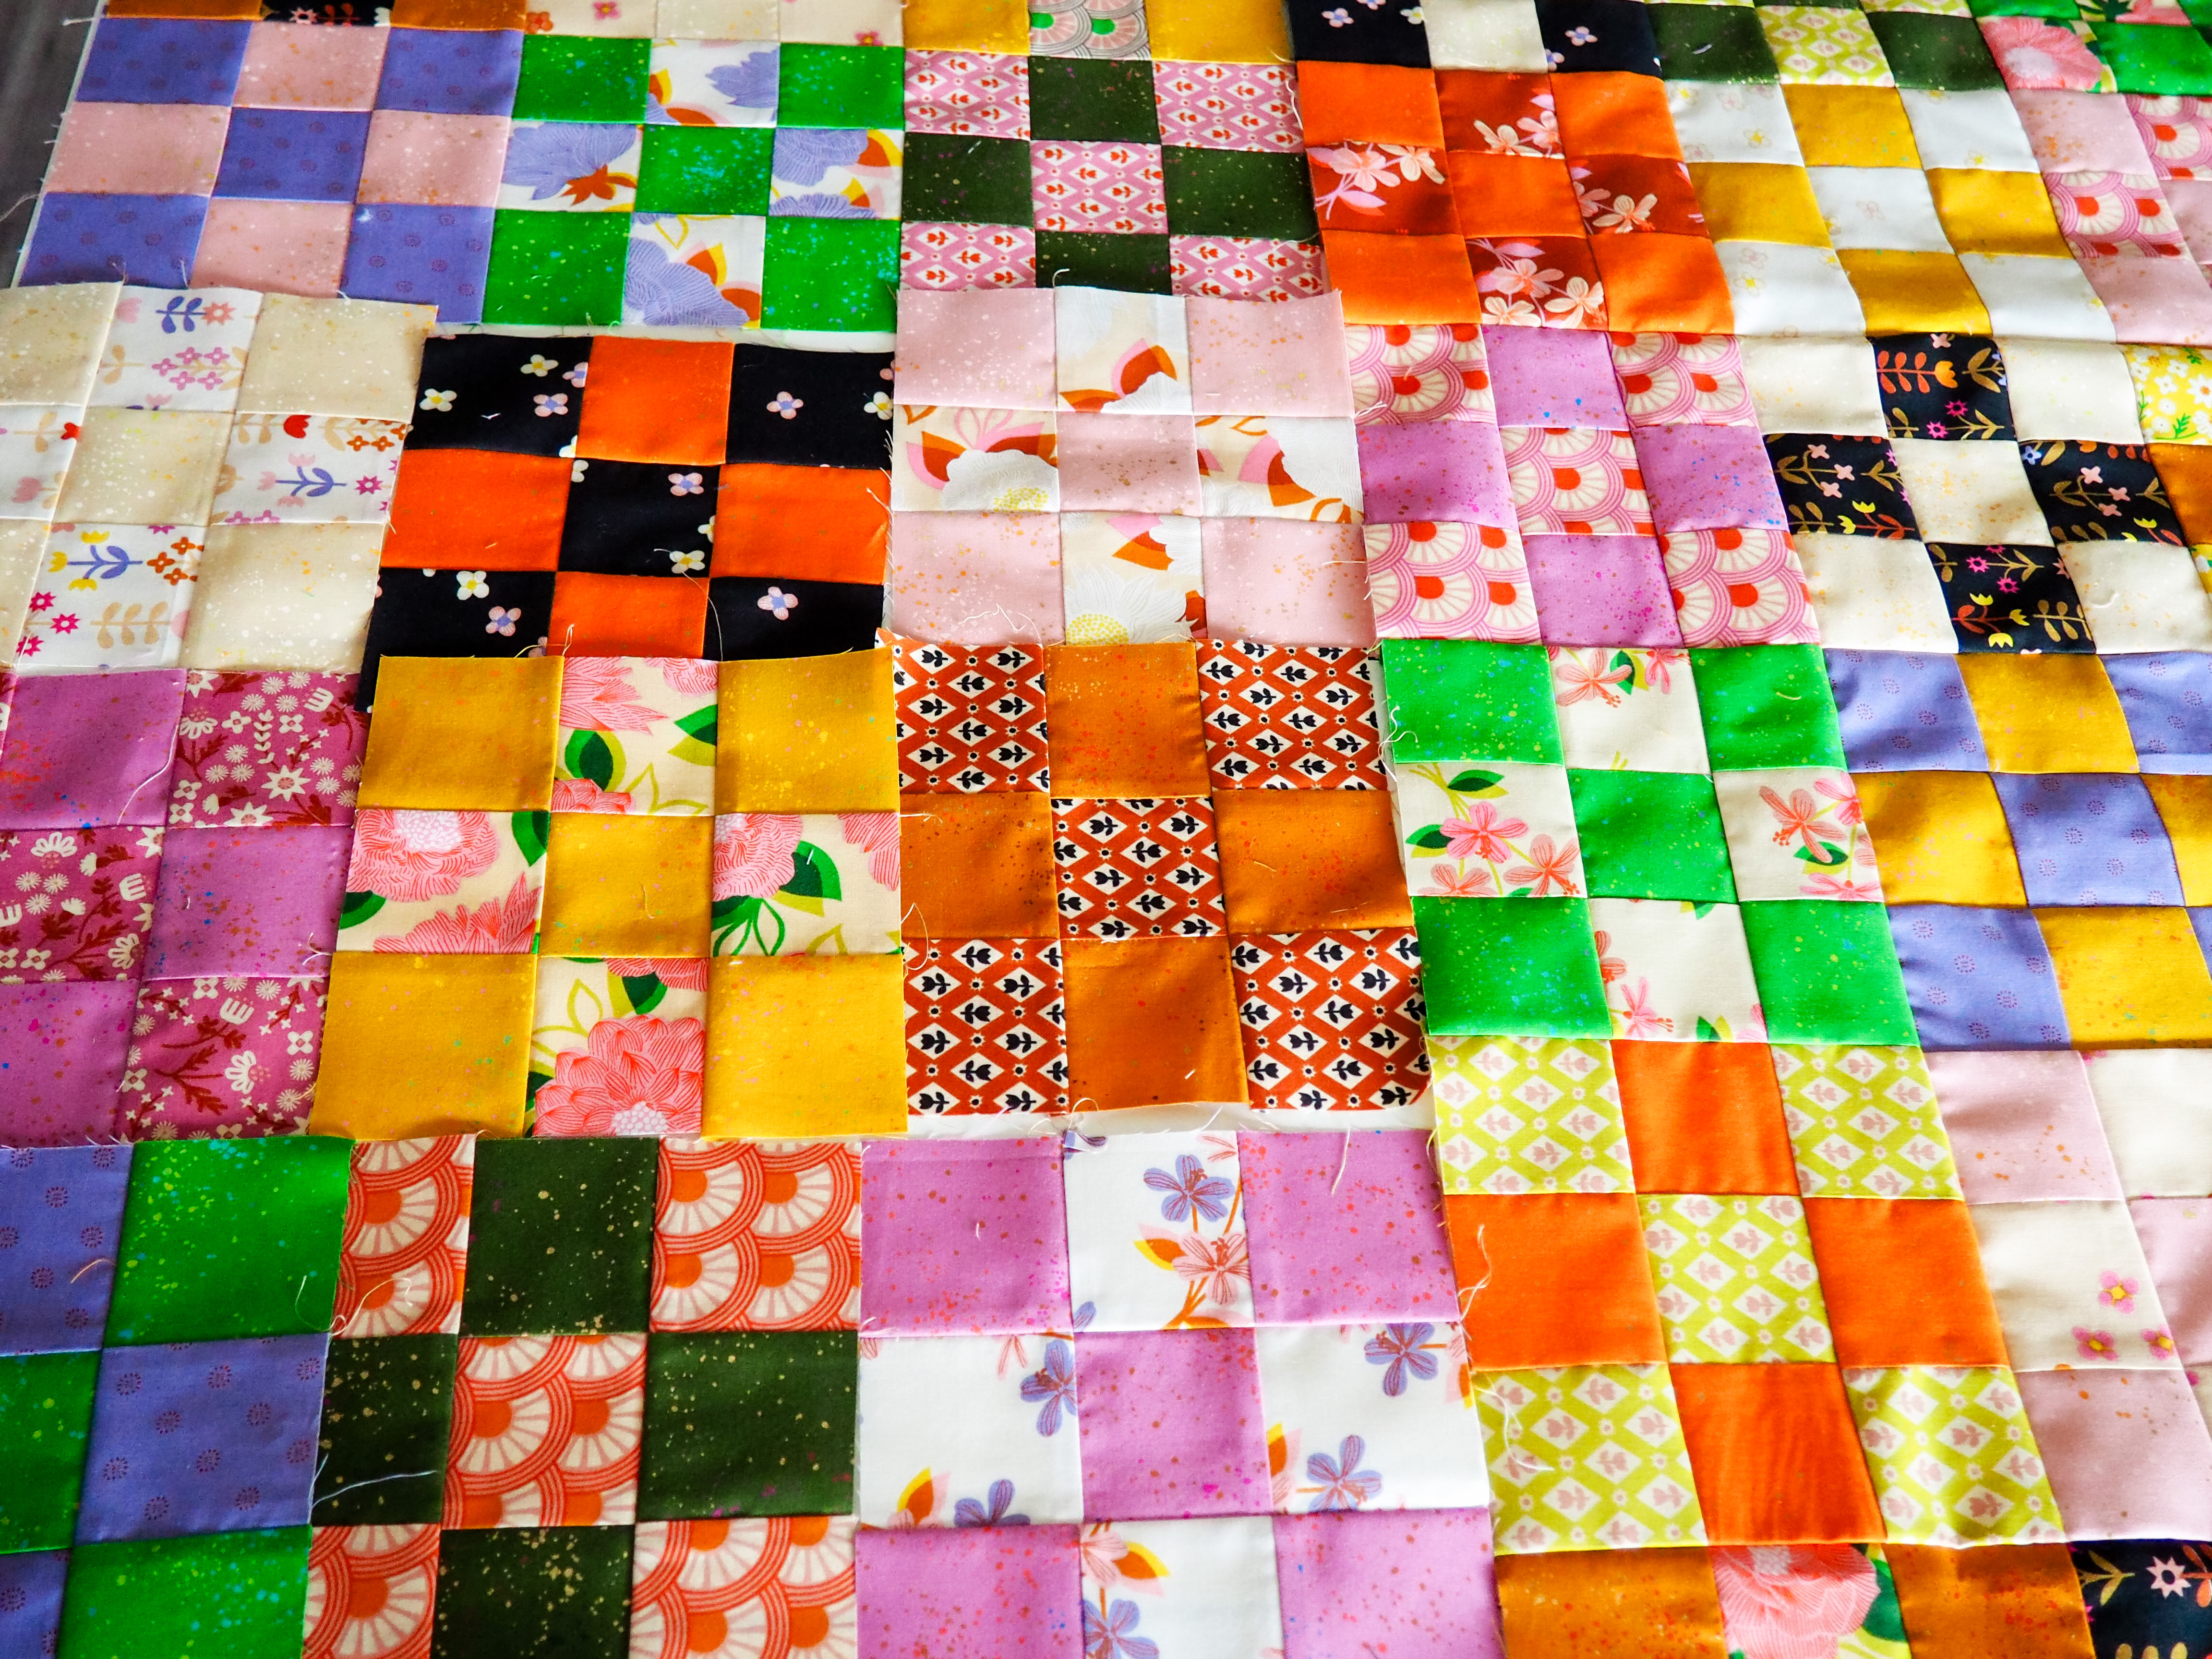
We should have 144 total blocks, each measuring 6.5″ unfinished. Half of those should be block 1, and the other half should be block 2.
For the next step of the quilt, we are going to make Block 3. Each block 3 consists of (9) smaller blocks (block 1 and block 2), 4 of one block and 5 from another. These can be arranged in two ways:
- Block 3A: The top left square is a block 1. This block requires (5) block 1 squares and (4) block 2 squares
- Block 3B: The top left square is a block 2. This block requires (5) block 2 squares and (4) block 1 squares
When planning the layout for block 3, there are a couple of things that will create that organized but scrappy look:
- Each block 1/2 should have a unique main fabric so that there are no repeats
- We cut a total of 8 different background fabrics. Each block 3 will have one of each background fabric, plus one repeat background fabric.
- The position that each background fabric is in should vary. This means that your first background fabric may be in the top right position for the first block 3, the middle for the second block 3, the bottom left position for the third block 3, etc. There will certainly be repeats but you’ll want to try to vary it as much as possible.
You should have 16 total block sets, (8) block 3A and (8) block 3b.
Once you have your block 3 combos ready, lay them out in the same 3×3 format as you did in step one above, alternating the block 1 and block 2 squares.
Sew the blocks together using the same techniques as in steps 1-7 above.
Final Construction Steps
You should now have 16 total blocks, (8) 3A and (8) 3B.
- Lay those blocks out, four across and four down, alternating between 3A and 3B
- Sew the rows together using a 1/4″ seam
- Alternate pressing direction on each row
- Sew the four rows together and press as desired
Finishing the Nine-Patch Picnic Quilt
Congratulations! The hardest part is over. All that’s left is to layer your quilt top with batting and backing fabric and quilt. My sample was quilted on a BERNINA Q 24 with Q-matic by Amanda Baldwin of Hither and Yon Quilting, using an edge-to-edge design from Karlee Porter Design.
Next Steps
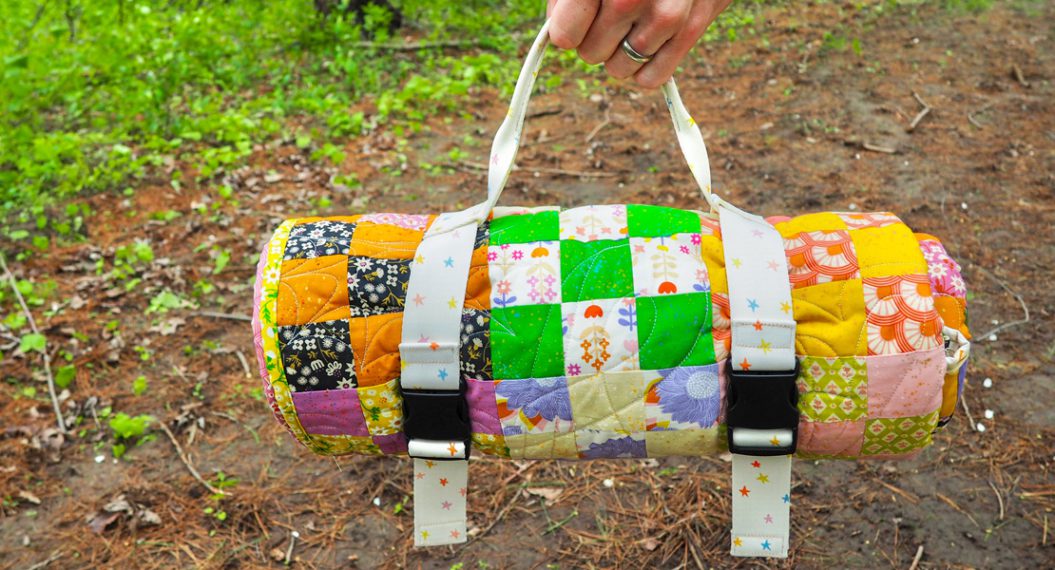
I’m really excited to share a couple of extras in my next post. I’ll show you how I made a convenient carrying strap for my quilt and give you some inspiration to use those extra squares to line your favorite picnic basket
I cannot wait to see these finished picnic quilts. If you’re sewing along, be sure to tag me on socials @aandcowi or with the hashtag #aandcowi so I can cheer you on!