Quilting with QuiltMotion
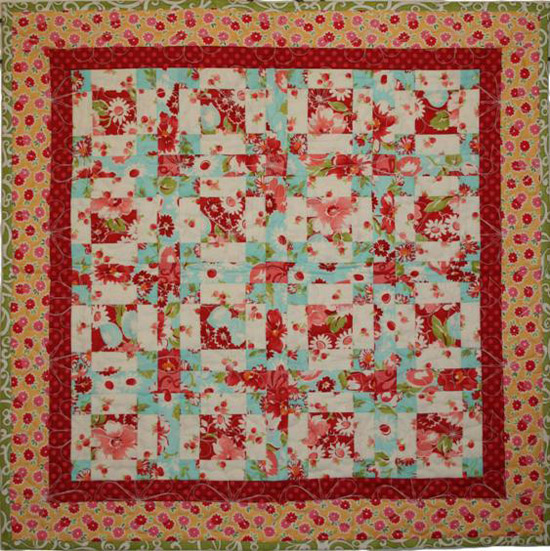
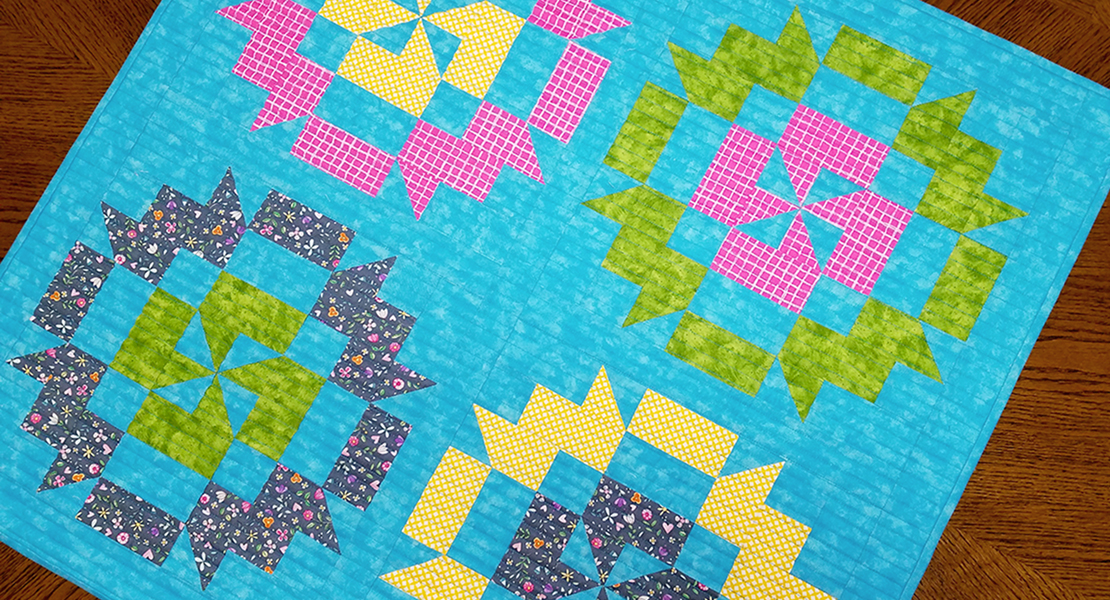
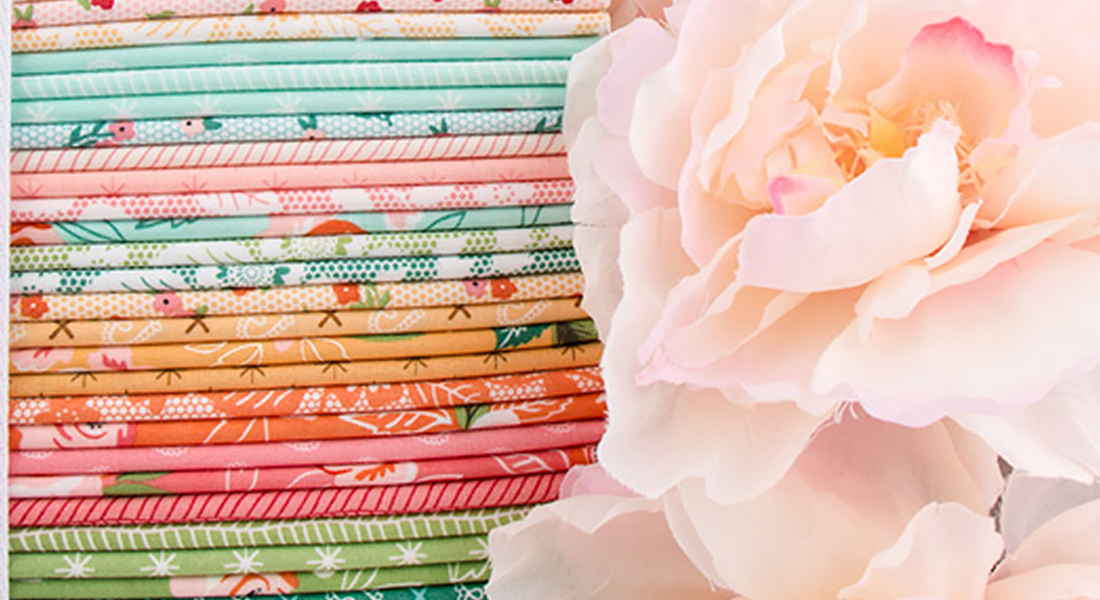
One thing I learned from the quilt I created and blogged about in March was: when making a miniature size quilt, it is important to use fabric that has small printed patterns. The fabrics I selected had what I would consider medium size patterns, and the quilt blocks are not easy to see. The joys of a new quilter!
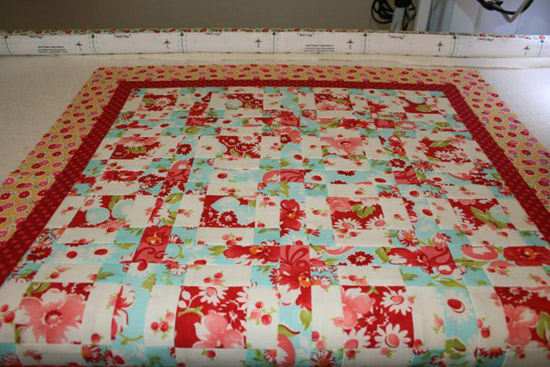
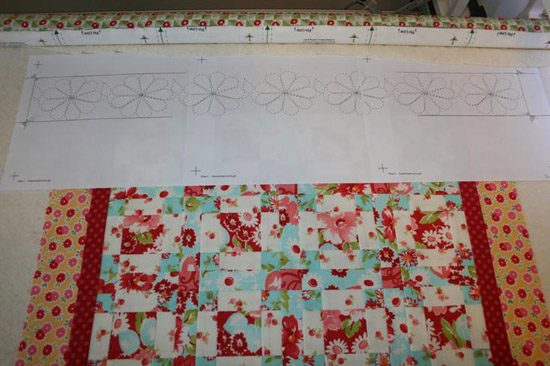
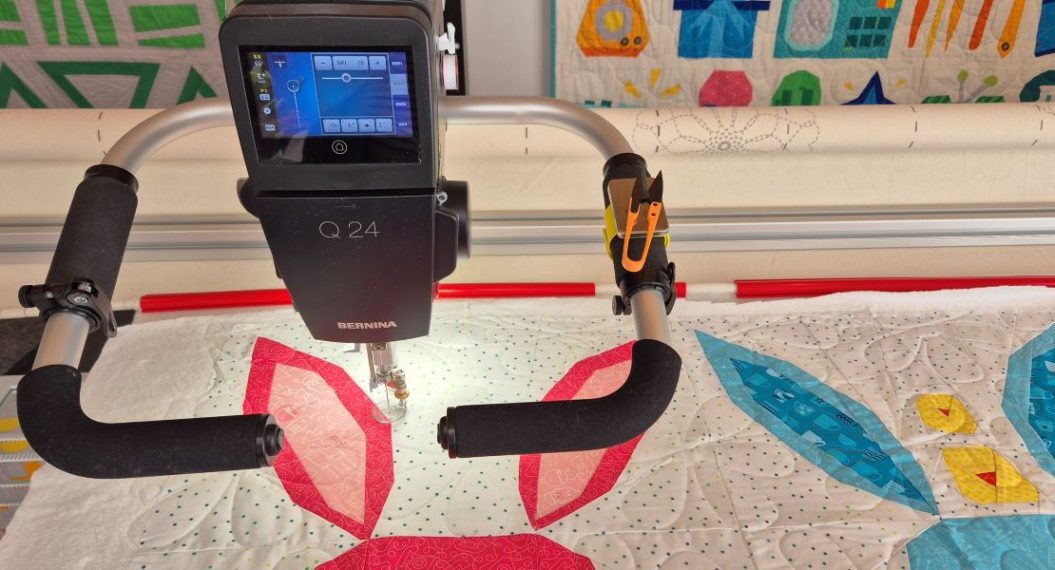
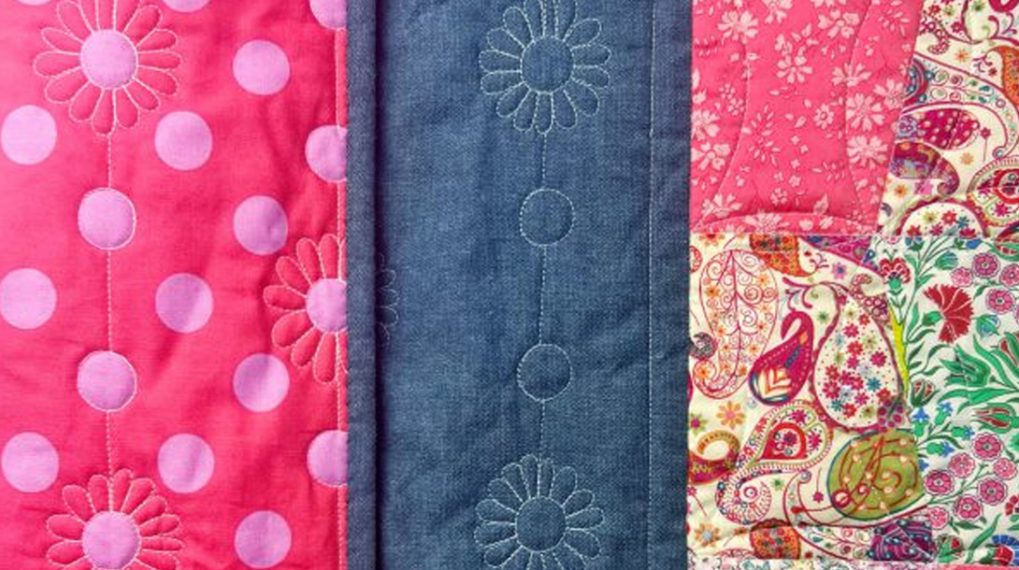
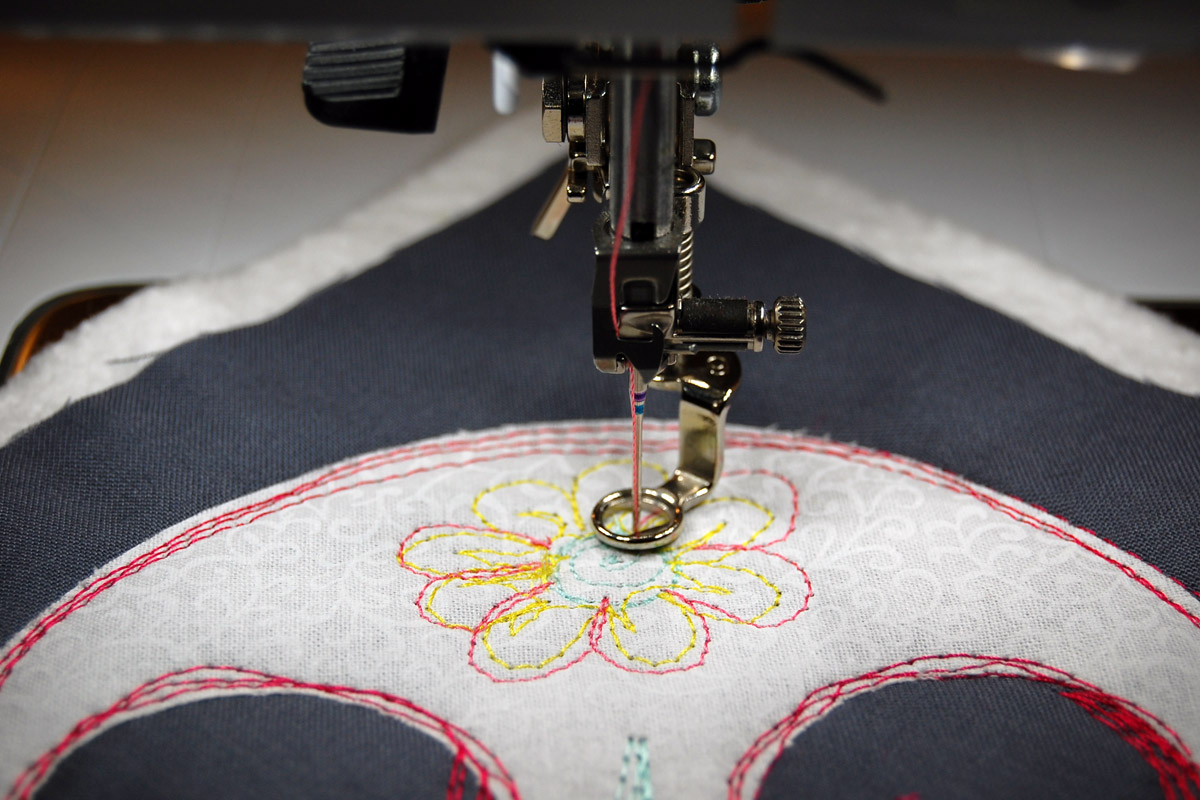
However, I did realize how easy it is to complete my quilt using QuiltMotion. I selected a daisy pantograph pattern from the QuiltMotion for BERNINA software since my fabric had daisies and set it up for a pantograph for the size of my quilt. After the pattern was designed, I printed out the pantograph to make it easier for placement. Then all I had to do was load the quilt to the quilt frame and begin quilting. Since the finished quilt is only approximately 23” square, the quilting was completed in no time at all.
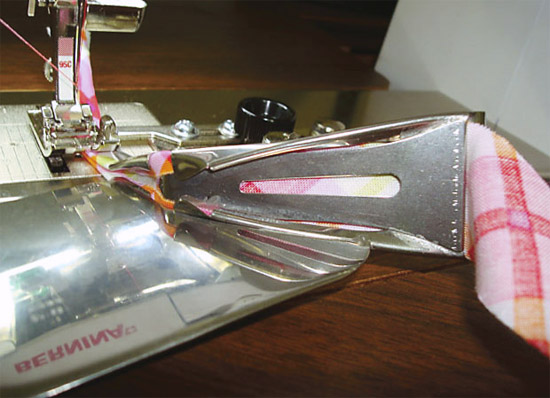
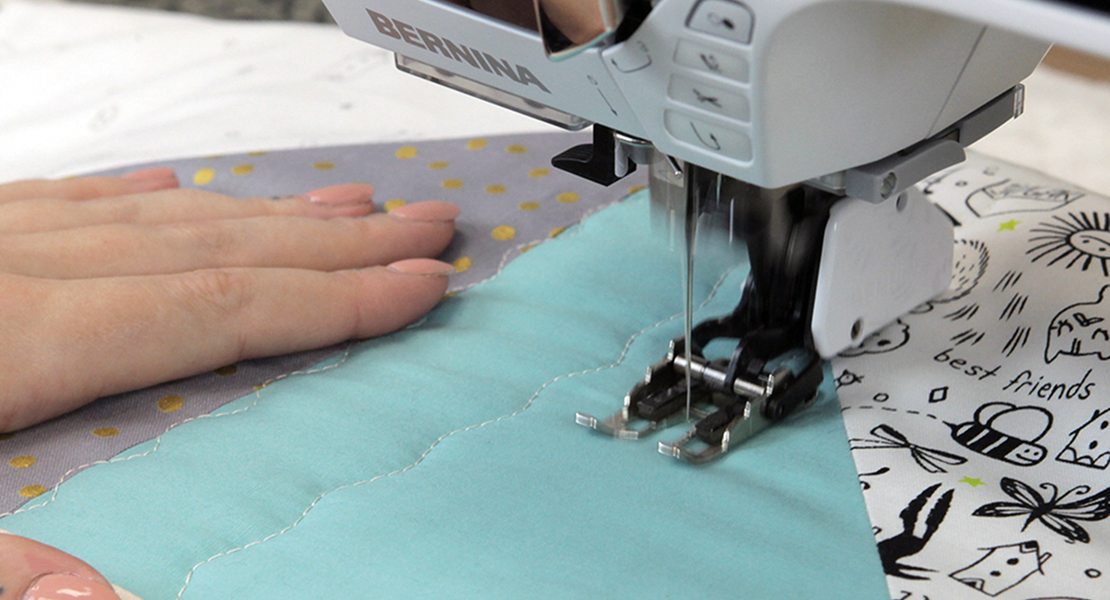
Once the quilting was completed, all that was left was the binding. I absolutely LOVE BERNINA’s new Binder Attachment #88! The arm that the bias binding is loaded into swings away from the machine making it so much easier to load. But, the best part of that feature is that I can swing the arm out and easily miter the corner of the quilt. I like the look of rounded corners, but I much prefer to finish my quilts with mitered corners.
If you haven’t seen the Binder Attachment #88 in action, it is a must to ask for a demo at your local BERNINA shop. There are three different sizes to choose from: 28 mm; 32 mm; or 38 mm. I used the 38 mm binder to have a binding that is approximately 7/16” wide.
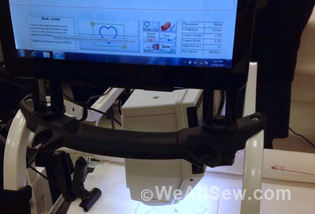
Also, while you are at your BERNINA shop, ask for a demo of the new add-on to QuiltMotion for BERNINA. It is called Quilter’s Creative Touch. This add-on is a computer tablet that is placed on the quilt frame and connected to the machine. It replaces the need for a laptop and can be removed from the quilt frame to use when designing your own quilting motifs. It has taken machine quilting to a whole new level for me.
I’m looking forward to planning my next quilt project!
