A Modern Heirloom Wall Quilt by Bernadette Day
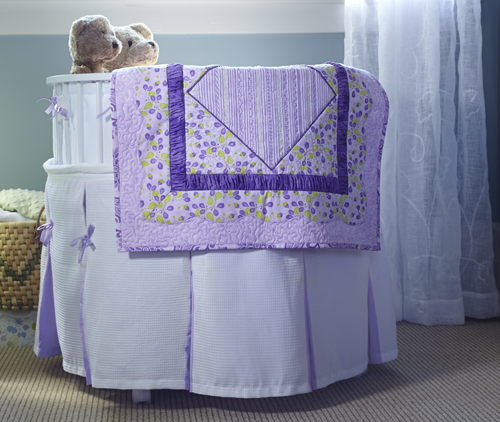
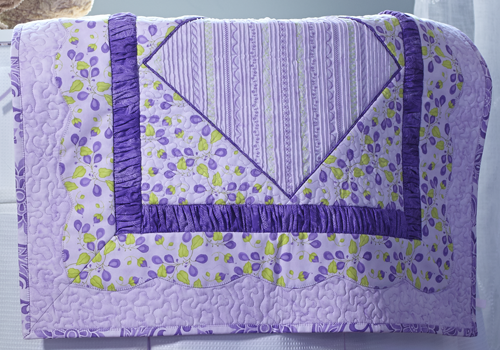
Use some of the most popular heirloom sewing techniques for this beautiful project. The center features twin-needle pintucks, wing-needle stitching, and decorative stitches. Ruched mini-piping, free-motion quilting, puffed border, and a scalloped appliqué border finish off this delightful creation!
This project is one of many featured in the BERNINA 2013 Holiday Look Book. Visit your local BERNINA store for more information.
Fabric Requirements
• 1-1/8 yard of solid fabric for the center square and outer border
• 1 yard of fabric for the mini-piping and backing
• 7/8 yard of floral print
• 1/3 yard of fabric for puffed border
• 3/8 yard of fabric for binding
• 1/3 yard of fusible fleece
• 2 yards of 2mm-diameter filler cord for piping
Supplies
• Stitch & Ditch Stabilizer by ThreadPro
• Wash-away thread
• Spray starch
• Rotary cutter, mat and ruler
• 12½”-square ruler
• Cotton thread for piecing
• 2 spools of the same color for decorative stitching
• Size 2.5/80 Twin Needle
• Size 100 or 120 Wing Needle
• 75/11 Sharp Needle
• Wash-away or erasable fabric-marking pen
• Basic all-purpose sewing foot (BERNINA Reverse Pattern Foot #1)
• Embroidery foot (BERNINA Clear Embroidery Foot #39 or Open Embroidery Foot #20)
• Pintuck foot (BERNINA Clear Decorative Stitch and Pintuck Foot #46C)
• Quarter-inch foot (BERNINA Patchwork Foot #37 or Patchwork Foot with Guide #57)
• Your favorite free-motion foot (BERNINA Stitch Regulator or Freehand Quilting Foot #29)
• Mini-piping foot (BERNINA Clear Applique Foot #23)
• Gathering foot (BERNINA Gathering Foot #16)
Pintucked Center Panel
• Cut a 13-1/2″ square; starch and press. With a wash-away or erasable fabric-marking pen, draw a line diagonally from corner to corner. Draw a line 1/4″ away on each side of this line for a total of three lines.
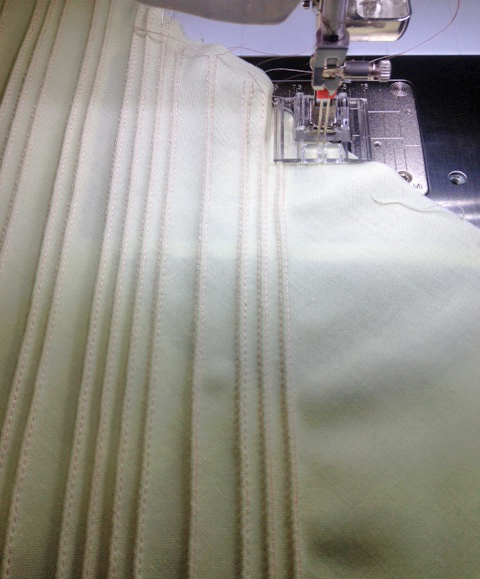
• Insert the 2.5 Twin needle and attach the decorative pintuck foot. Stitch pintucks on the first and third lines only (Wing needle stitching will go on the center line later). Continue stitching pintucks across the fabric, leaving spaces for wing needle and decorative stitches in between.
Tip: For best results when pintucking, you may choose to increase your machines upper tension slightly.
Tip: Always begin stitching from top to bottom of square to prevent distortion.
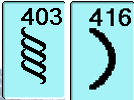
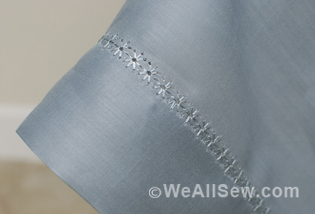
• Once the pintucks are complete, change to a Wing needle for the decorative stitching in between. Use a strip of Stitch & Ditch lightweight tear-away stabilizer under the fabric to support the decorative stitches. Use stitches similar to those shown below.
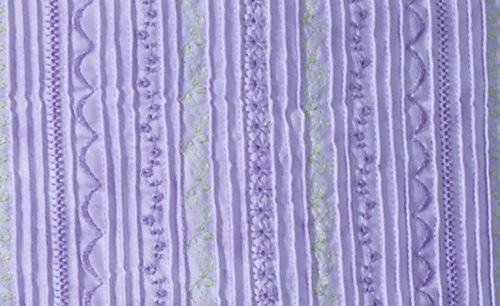
• Next, insert the 75/11 Sharp needle and stitch decorative stitches such as those shown below in the remaining areas.
• Trim the center block to 10-1/2″ square.
Ruched Mini-Piping
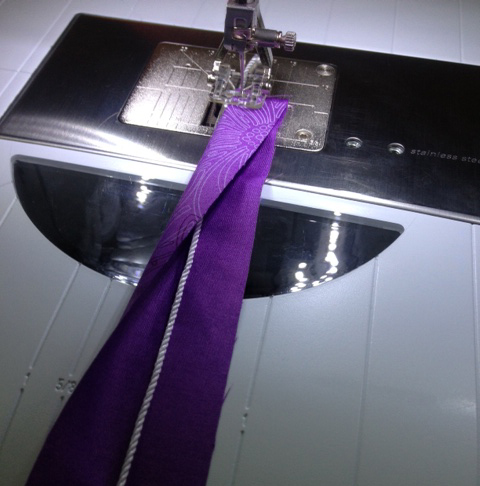
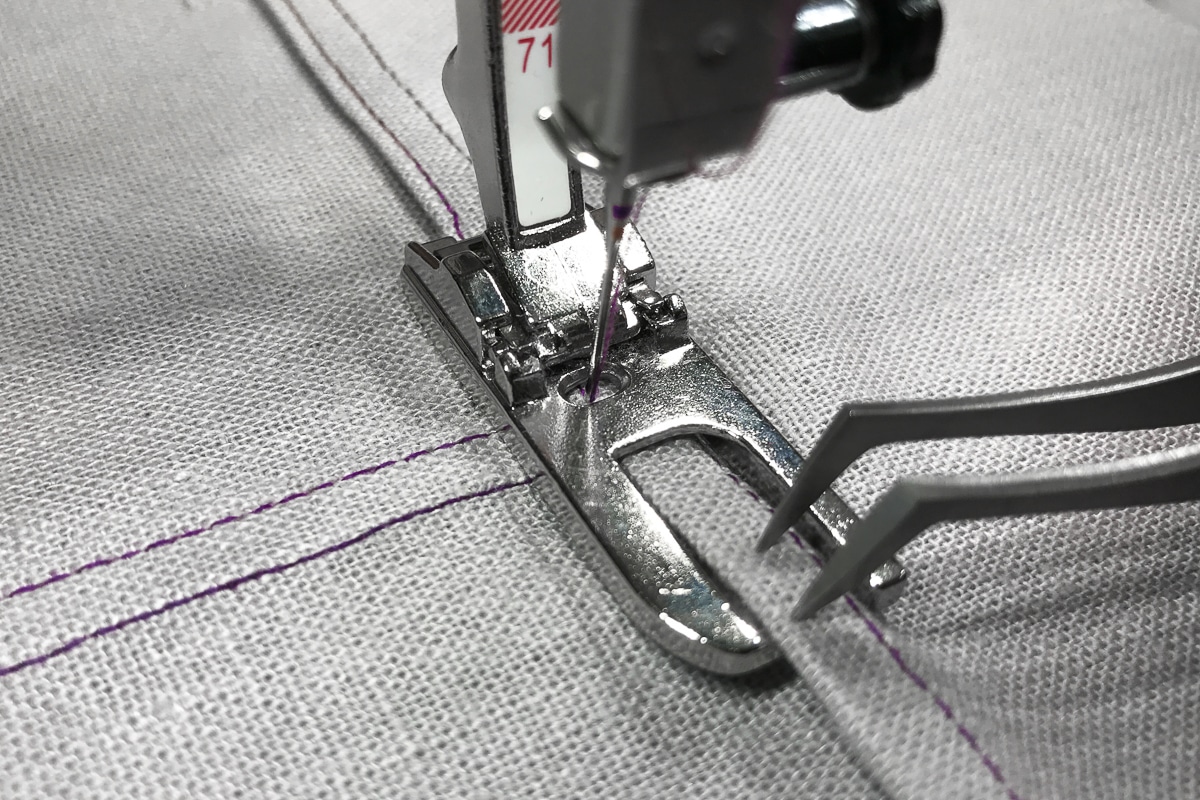
• Cut four 1″-wide strips. Center the 2mm filler cord on the wrong side of each strip. Fold the strip in half, enclosing the cord. Using the mini-piping foot, stitch alongside the cord leaving about 1/8″ between the cord and the stitching.
• Secure one end of the cord to the fabric by stitching across the end. Pull the fabric along the filler cord to gather the fabric towards the stitched end. (Sort of like putting a curtain on a curtain rod.) Repeat with the three other strips.
Quilted Setting Triangles
• Cut two 10″ squares and back them with fusible fleece. Quilt each square using your favorite free-motion foot. When quilting is complete, trim the squares to 9/12″ and cut each square once from corner to corner. You will have a total of four triangles.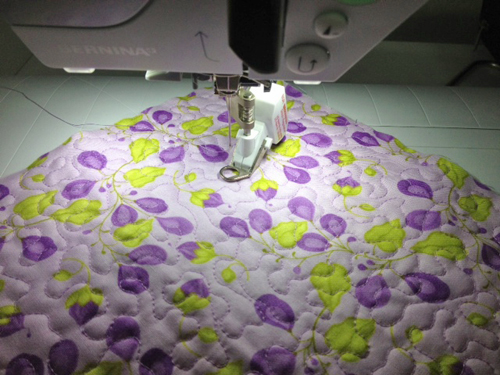
Puffed Inner Border
• Cut four 2-1/2″-wide strips. Using the gathering foot, stitch along both long sides of each strip using a 3/8″-wide seam allowance.
Tip: For more gathering, increase the stitch length.
Scalloped Outer Border
• Cut four 5-1/2″-wide x width of fabric strips fro the border background.
• Cut four 4″-wide x width of fabric strips for the scallops.
• Download the scallop template.
modern_heirloom_baby_quilt_scallop_pattern_121814.pdf
• Using the template, draw scallops on the WRONG SIDE of TWO of the 4″-wide strips.
• Place a marked scallop stitch right sides together with an unmarked scallop strip. Stitch along the drawn line using a short straight stitch (length = 1.8 mm) and wash-away thread in the bobbin only. Trim the seam allowances to 1/4″-wide, clip the curves, and turn right side out.
• Place the scalloped unit on and ironing board and spray it with starch until damp. Flip and repeat so that both sides are damp. Using a pressing cloth over fabric, press the strip using a iron (no steam) until the unit is completely dry on both sides. The wash-away thread should now be dissolved and the two pieces will pull apart. Each unit will make two scalloped border pieces with the raw edges already turned under!
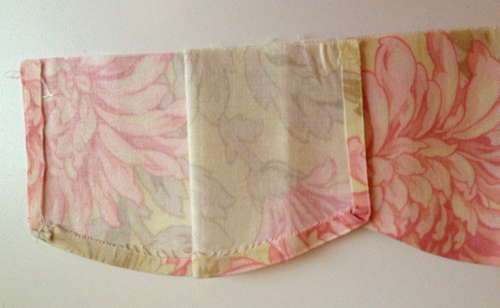
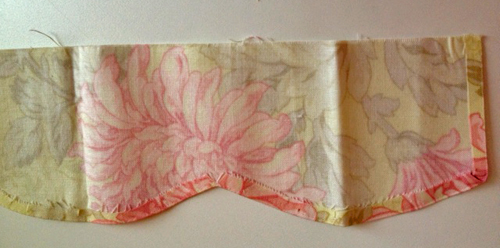
• Attach each scalloped piece to a 5-1/2″-wide border strip using your favorite appliqué stitch and appliqué or open embroidery foot.
Putting It All Together
• Stitch the ruched mini-piping to each side of the center square, being careful not to stretch the center out of shape.
• Using a quarter-inch foot, stitch the quilted setting triangles to the top and bottom of the center square, matching the centers. Stitch the remaining setting triangles to the sides of the center square. Trim the center unit so it is square.
• Add a puffed inner border strip to each side of the panel using a 1/2″-wide seam allowance.
• Add the scalloped outer border, mitering the corners, using a 1/2″-wide seam allowance.
• Layer the backing, batting, and pieced top; quilt and bind as desired.
What you might also like
5 comments on “A Modern Heirloom Wall Quilt by Bernadette Day”
-
-
What a stunning quilt! Wonderful way to have fun with all the stitches on a sewing machine.
-
I started sewing this quilt this weekednd. I am making it for a new grand-niece. I had never used a twin needle or experimented much with my fancy stitches. So that was fun. But the next step is a bit confusing. You are supposed to make four strips 1″ wide but how long? LOF? And then how do you attach it to the center piece? Do you baste the open ends first and then sew or attach or do you use the end that is closed with the string?
-
Hi plhooyer1, yes, the 1″ strips are to be cut the width of the fabric. I’m not sure how the strips are attached into the quilt, let me see if I can find out for you!
-
That would be great. A few more pictures how to attach the piping and the puffed inner border would be great.
-
-
Leave a Reply
You must be logged in to post a comment.

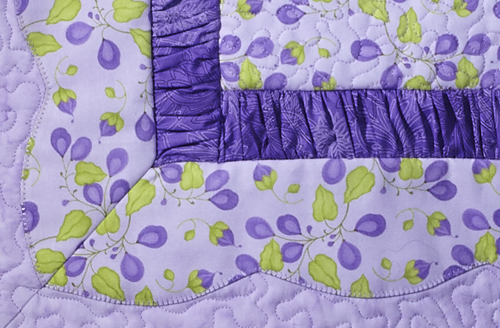





Love the idea. Too bad about the poor mitering showing at the gathered border in the second-to-last photo. If mitering the gathered border is difficult, suggest using the high-contrast color elsewhere in the quilt so that if there are problems with the miter it won’t be so glaringly obvious.