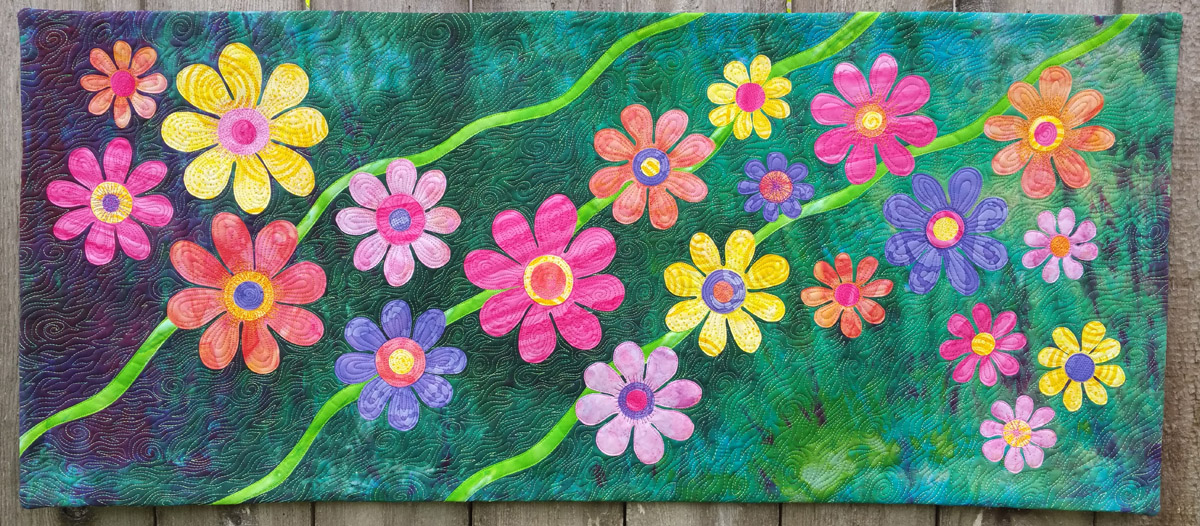
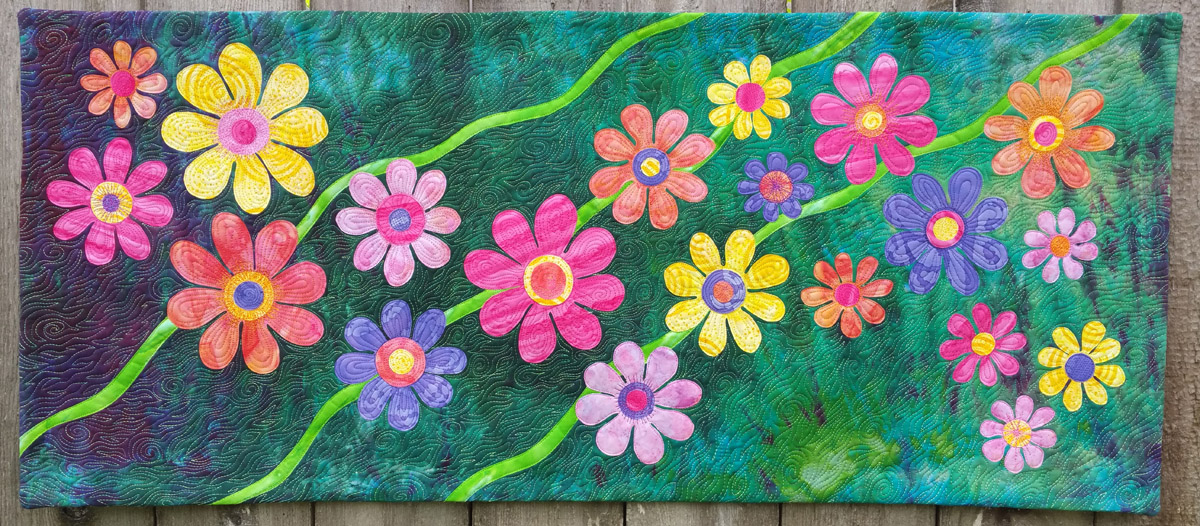
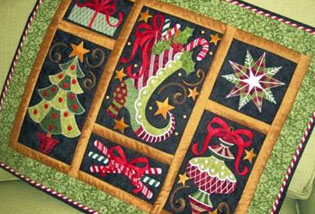
Summer Spot Wallhanging
As our seasons change from winter, to spring, to summer, one of the greatest joys is feeling and seeing the warmer temperatures arriving. Spring gives us all its bright buds of popping color to enjoy! Join BERNINA, Ambassador Heidi Lund, and create a cheerfully bright colored fused raw edge appliqué wallhanging.
Materials to Make a Summer Spot Wallhanging
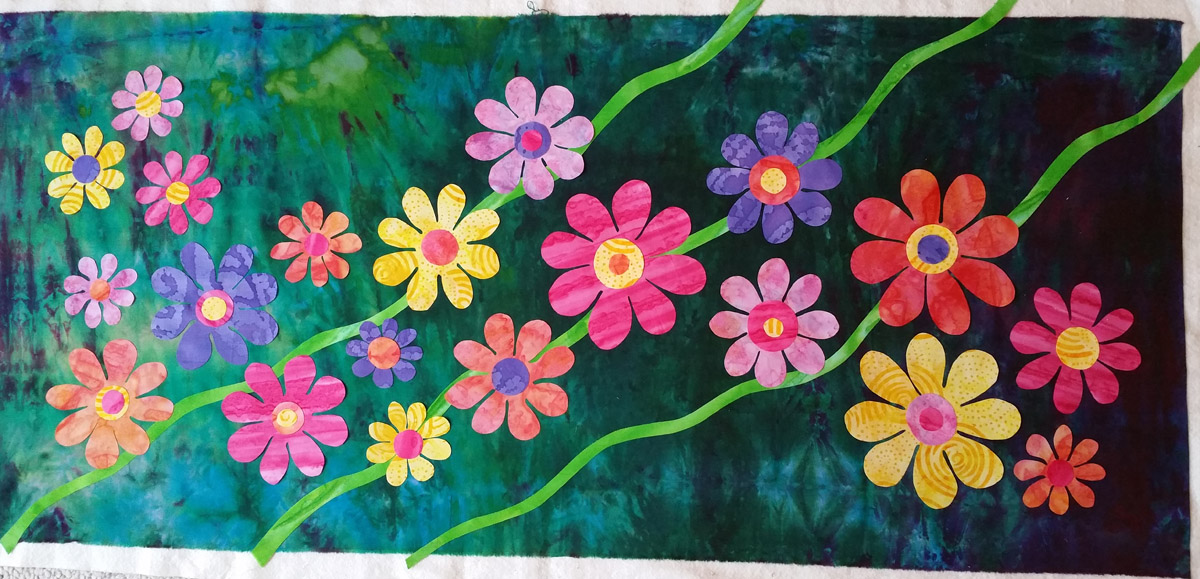
The size of this wallhanging will be determined by your preference. This sample is 17″ x 40″
- Background fabric (I used one of my cotton hand dyed fabrics)
- 3-4 Cotton Batiks in bright colors for the flowers shapes and centers
- Backing fabric
- Warm & Natural Cotton Batting
- Rayon thread in various colors
- Steam a Seam II or other brand of double sided fusible web
- 90/14 Embroidery or Topstitch sewing machine needle
- 18mm Rotary Cutter
- KK2000 Temporary Spray
- Sharpie permanent marker
- Large rotary cutting mat
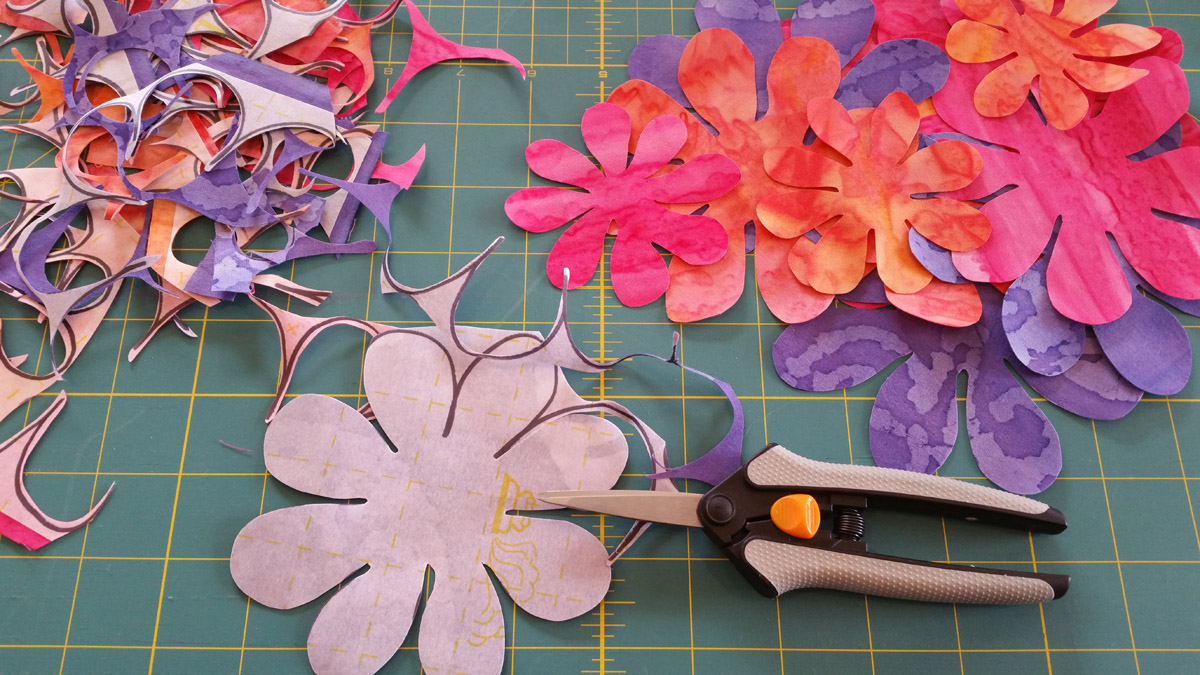
- Spring action scissors for ease of cutting
- Sewing machine (I use a BERNINA 770 QE)
- Download the Summer Spot Flower Template here

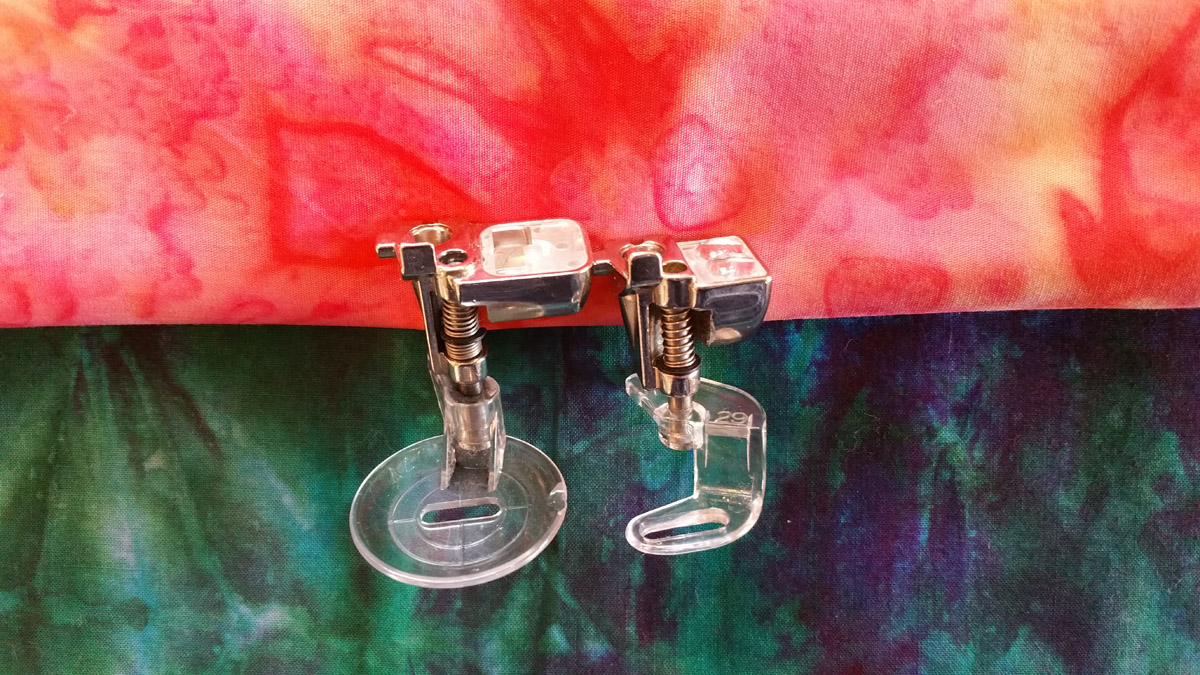
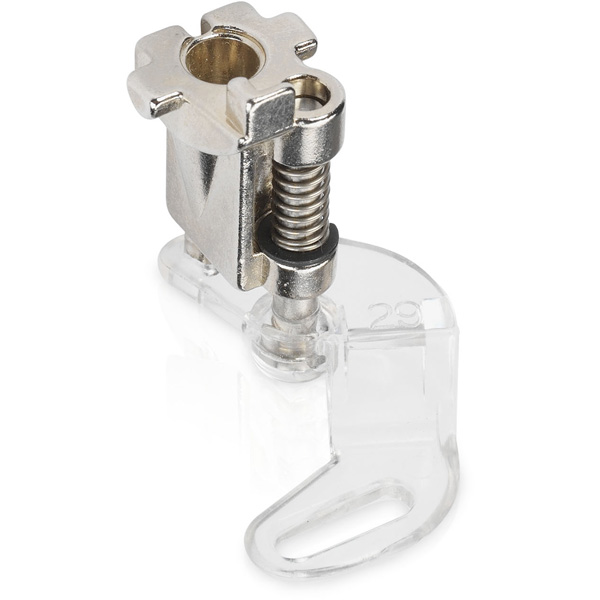
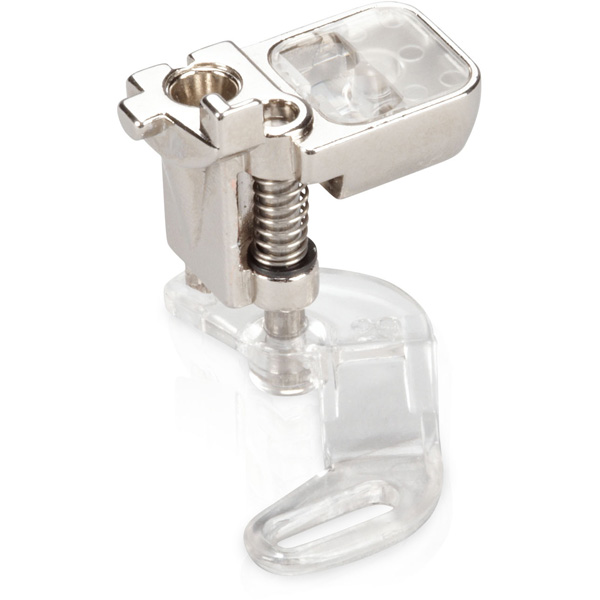
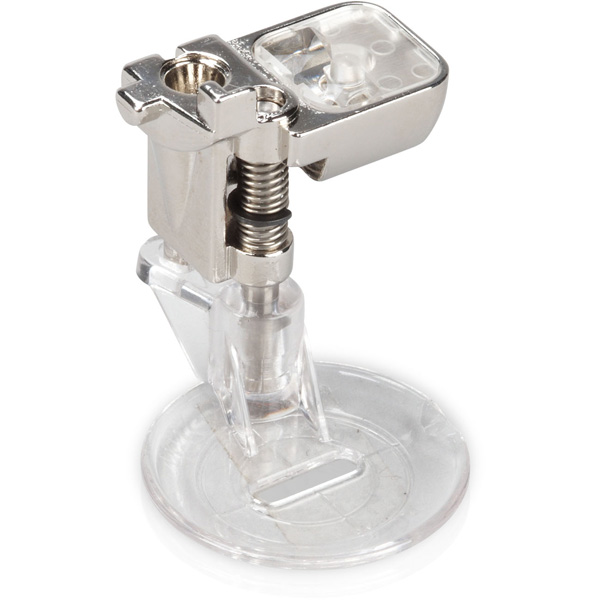
BERNINA Quilting foot #29/#29C or Echo-quilting foot #44.
Start by picking a fabric for your background that is solid enough to feature your freemotion machine quilting. Assemble your quilt sandwich using KK2000 temporary spray to hold the layers together. I determined the size of the wallhanging that I wanted to make and cut my backing, batting and background fabric all the same size. Set aside.
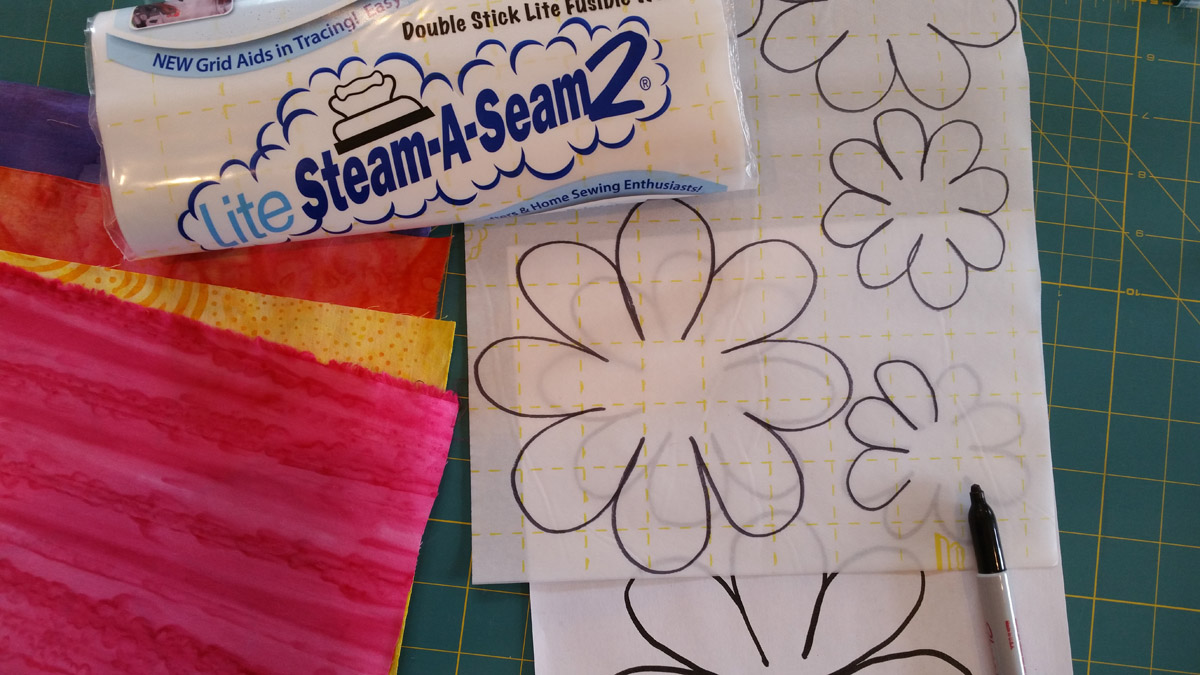
Pick 3 or 4 brightly colored batiks to use as your flowers. You only need about a 9″ x 12″ square of each color.
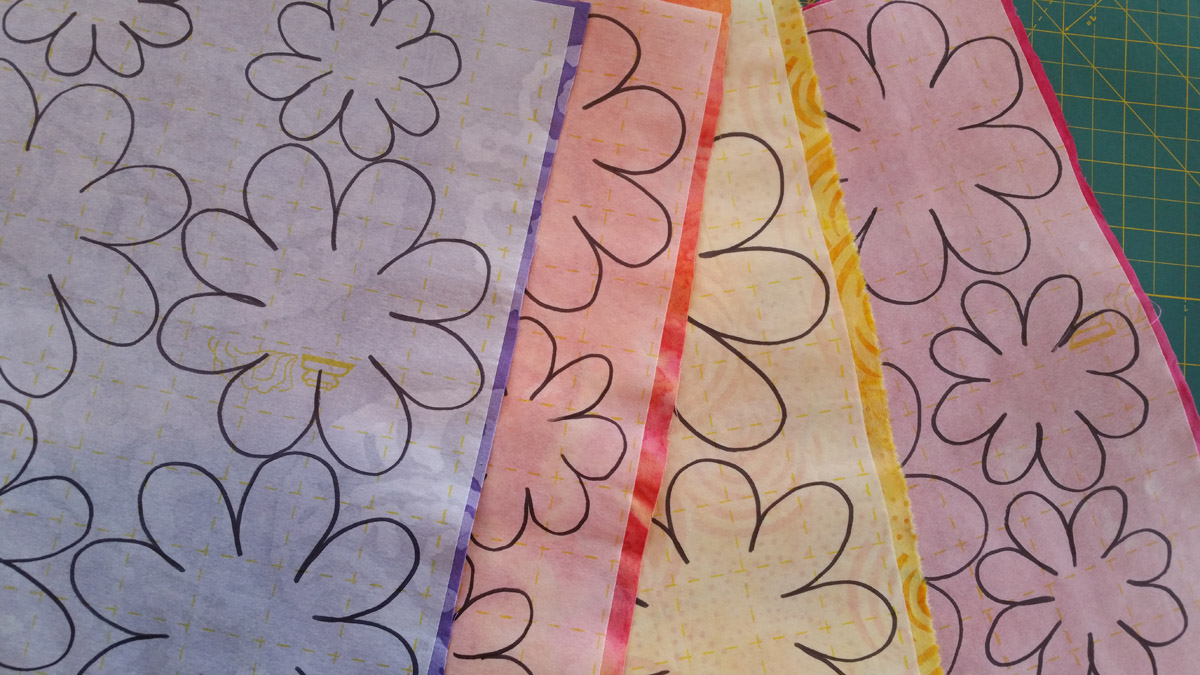
Trace your flower shapes onto the sheets of Steam a Seam II using a Sharpie permanent marker. You can fit 1 large, 2 medium and 2 small flowers onto each sheet of fusible or choose to do several of one size in a particular color.
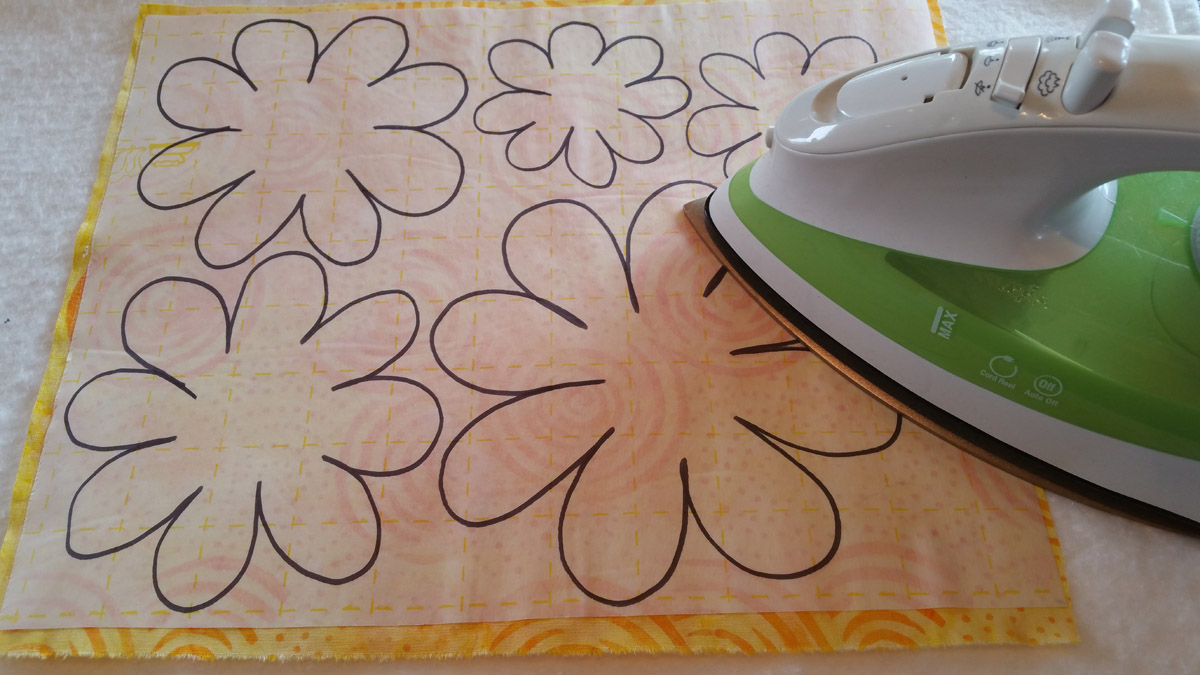
Remove the paper backing from one blank side of the fusible web and fuse onto the backside of your batik fabric rectangles. Use a with a medium hot iron without steam.
You need to have approximately 18-20 flower shapes.
Once the fused fabric has cooled, cut out the flower shapes. Set aside.
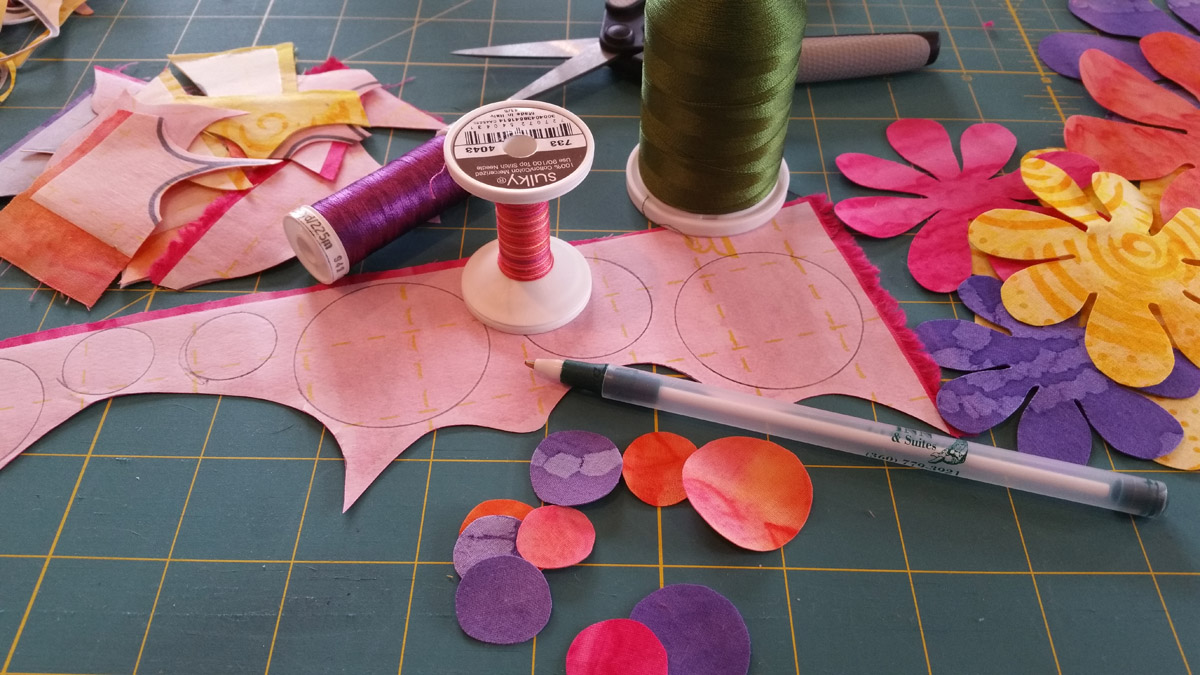
Take the larger fused scraps from cutting out your flowers, and using some spools of thread as your template, trace the spool circles and cut out. These will be the centers of your flowers. Set aside.
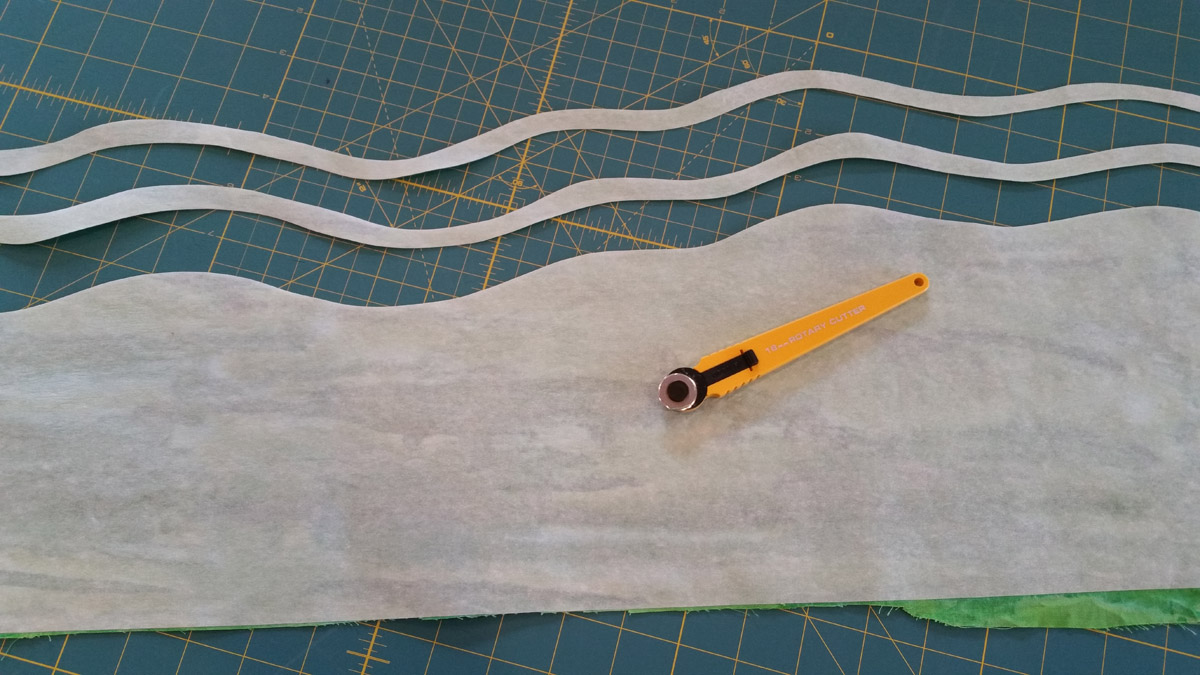
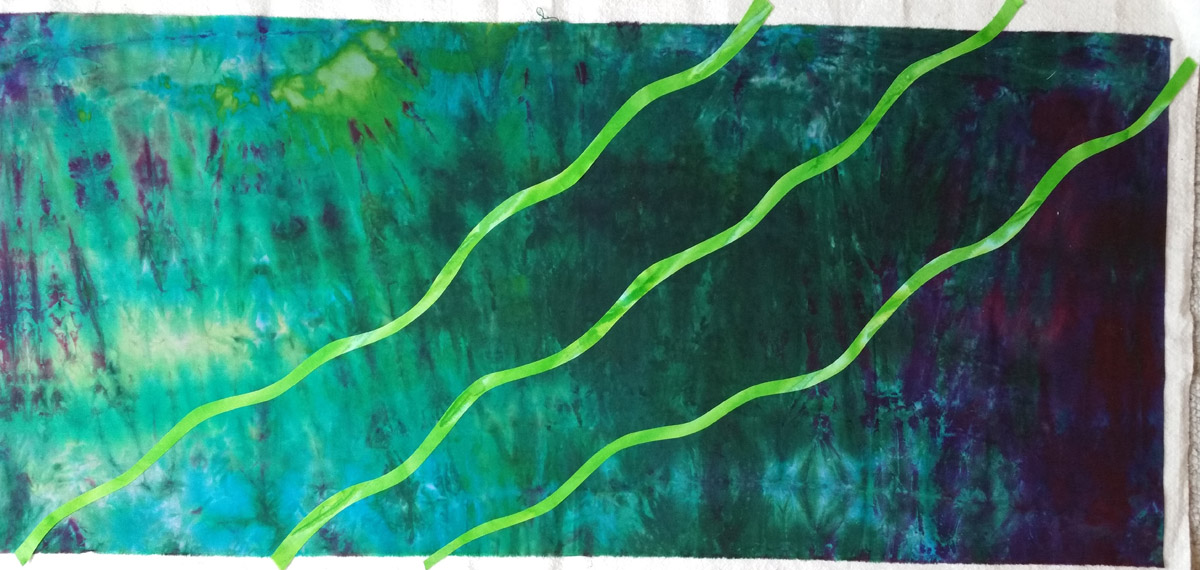
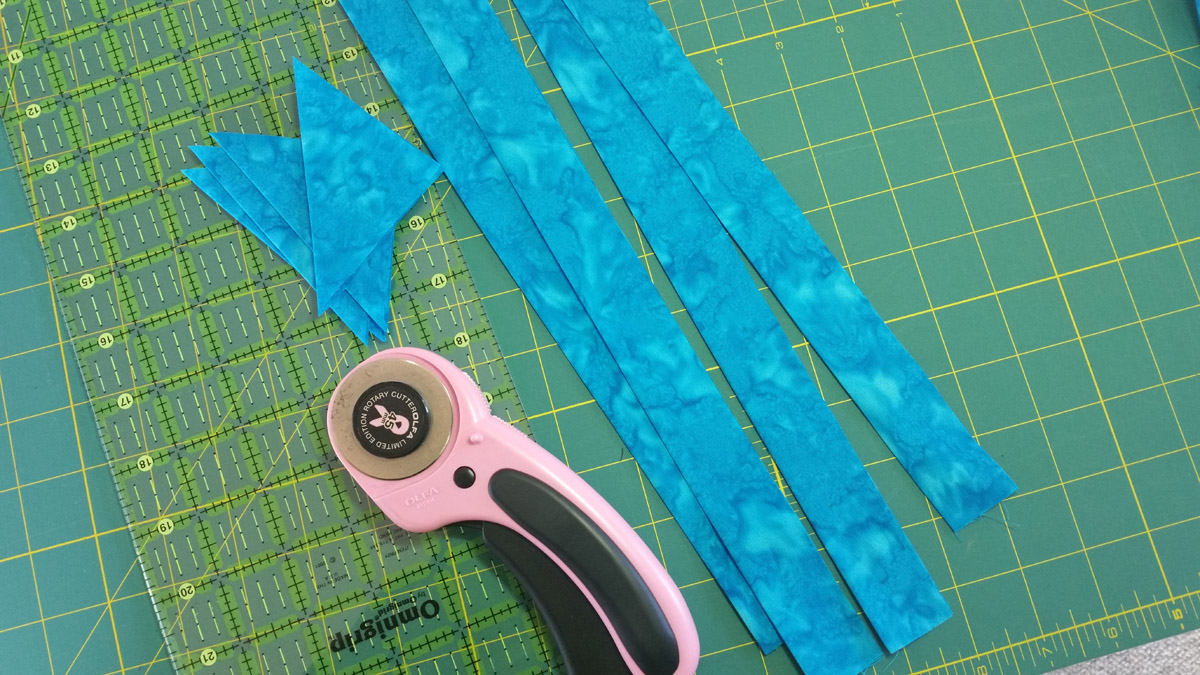
Take some more fusible web and cover about 6″ of a 40″ length of fabric. Using the 18mm rotary cutter and a large cutting mat, cut yourself some long curvy strips of green to represent the stems of flowers. I chose to cut 3, but could have even added more.
Lay out your stem strips in an arrangement on the background that you like. Pull of the paper backing off of the fusible and lay your stems in place. Since the fusible is tacky, it will stay in place until you iron it.
Next, arrange the flowers in a wave or ribbon like pattern across your background. Once you have a design that you like, pull the paper off the back on each flower and press into place.
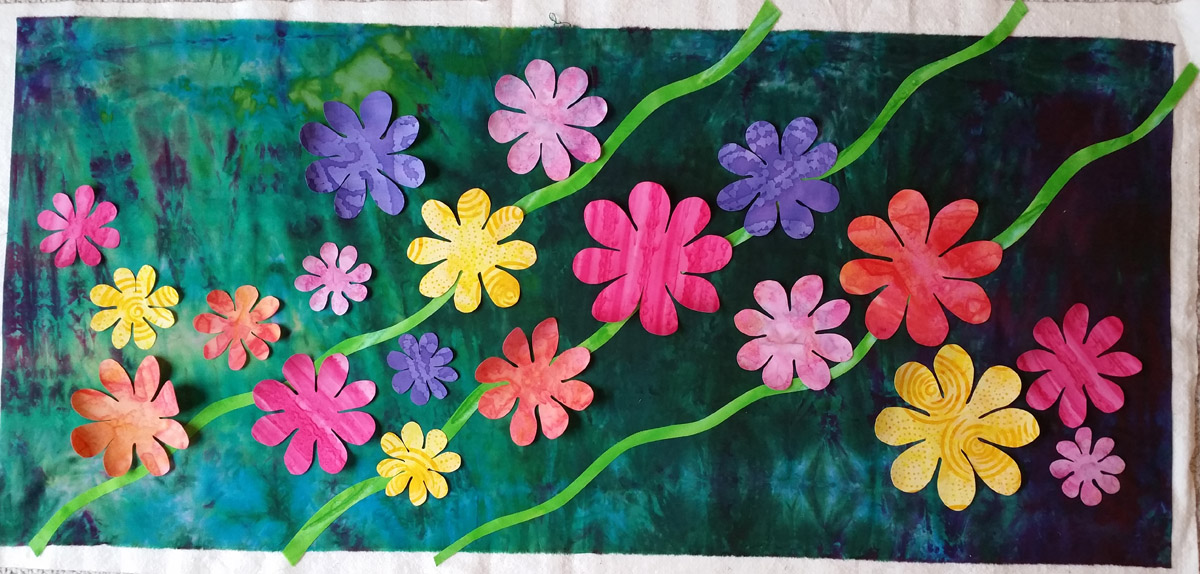
Add the flower centers, and don’t be afraid to double them up on top of each other.
When you are happy with your design, fuse into place using a hot iron without steam.
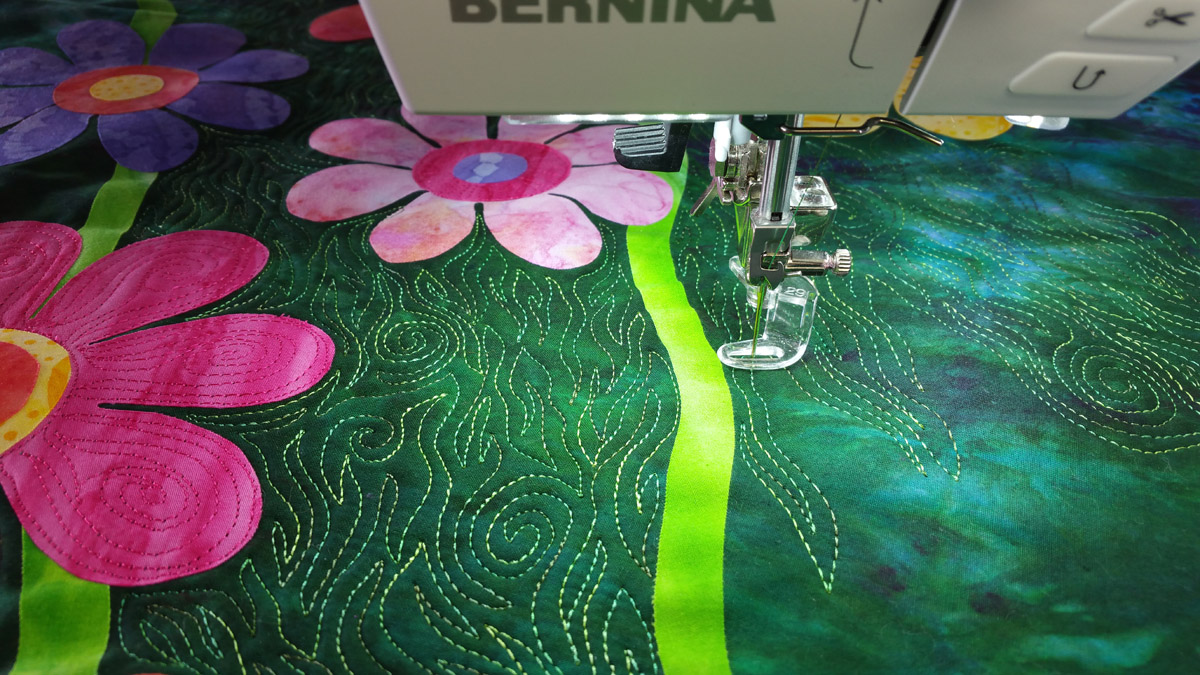
It is now time to sew. Make sure your machine is cleaned and well oiled. Set your machine up for free-motion. Drop your feed dogs and attach your BERNINA #29 quilting foot or another free motion foot of your choosing.
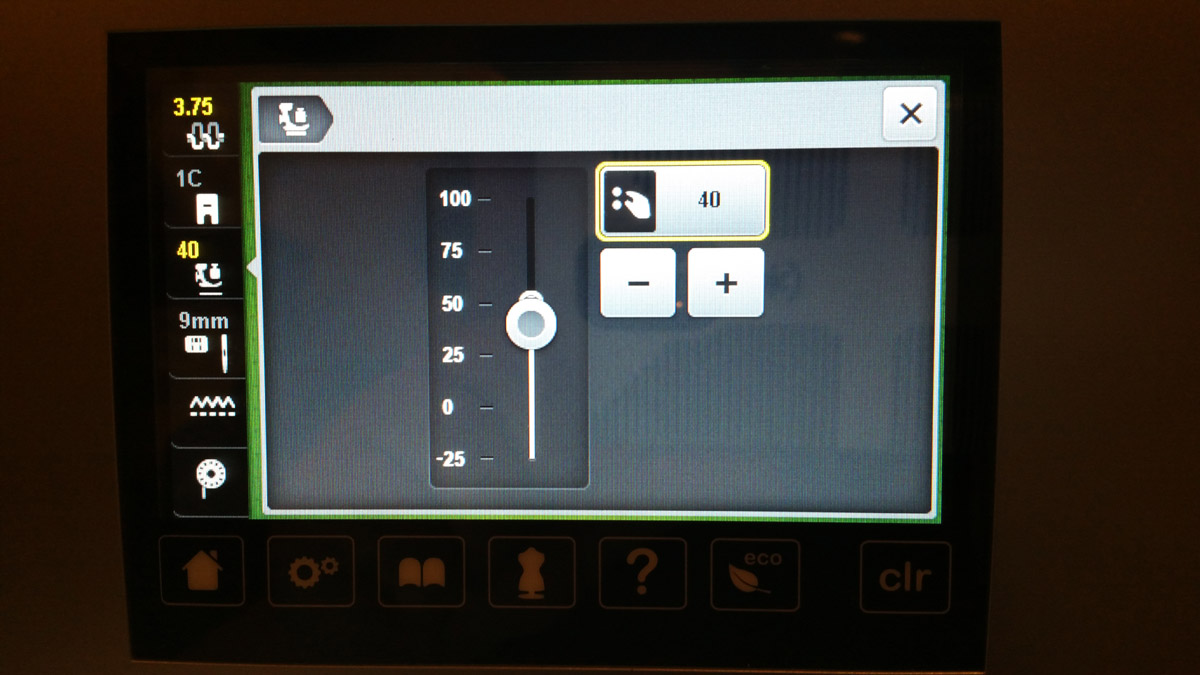
Load your machine with a 90/14 Embroidery needle and Rayon thread. You can coordinate your thread with the color of your flowers or use a contrasting thread to make your stitches pop. I pre-load a couple of extra bobbins with the rayon thread that matches the top thread. I also lower my top tension a bit so that as I am using freemotion, I don’t pull the bottom thread to the top of my quilt. On my 770QE, I lower the tension to 3.75 and I lower my pressure foot pressure to 4.0.
Freemotion stitch each flower or stem using a sewing speed that you are comfortable with. You can even use your BSR if you are so inclined. Listen to how your machine sounds as you are stitching. As you are sewing, if your machine seams to sound louder after time or the needle is “popping” as it goes in and out of the layers of fused fabric, you may need to clean your needle with an alcohol pad or even replace it.
While freemotion quilting your piece, you may want to stop and start to change thread colors. I always bring my threads to the top and hold onto them before starting to stitch. This keeps them from bird nesting on the backside of all the layers.
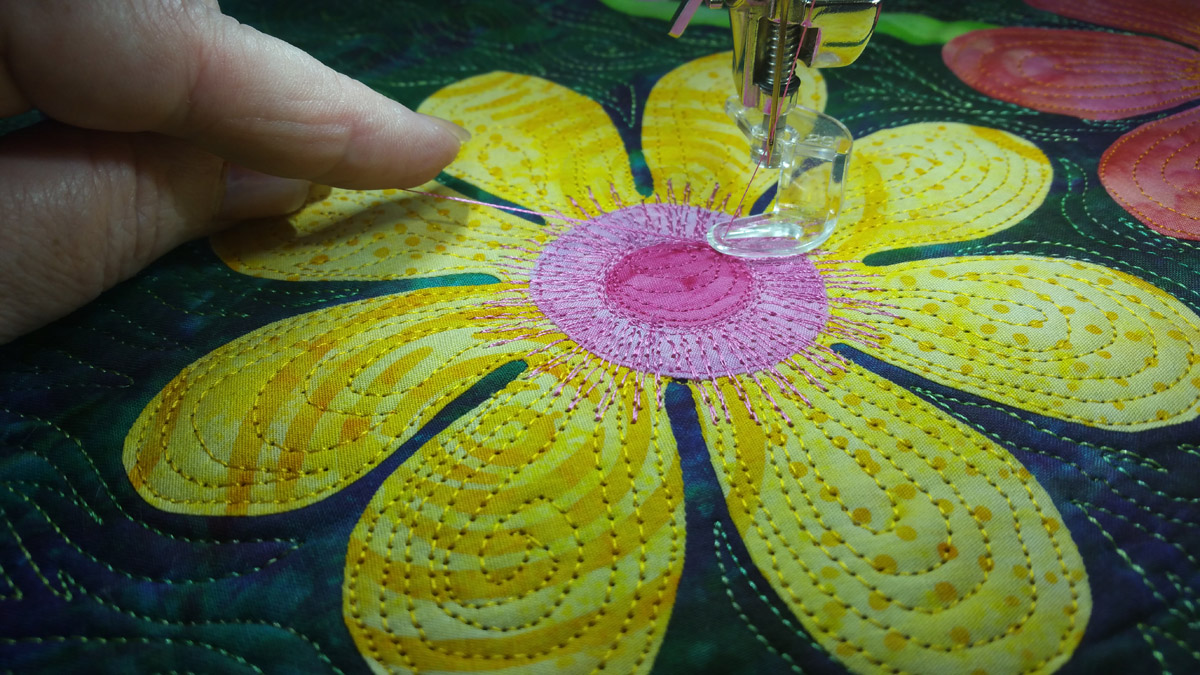
Here is another photo to show change in thread color and some freemotion straight stitching in a back and forth motion to give more detail to the flower center and add another dimension.

Once all your flowers are stitched in place, you will want to sew your background down. I recommend the same freemotion techniques that you have been using all along.
When you are done with all your free motion, take your quilt to the ironing board and press really well. Next, take your quilt to your cutting surface and using your rotary cutter and mat, trim up the edges to your desired size.
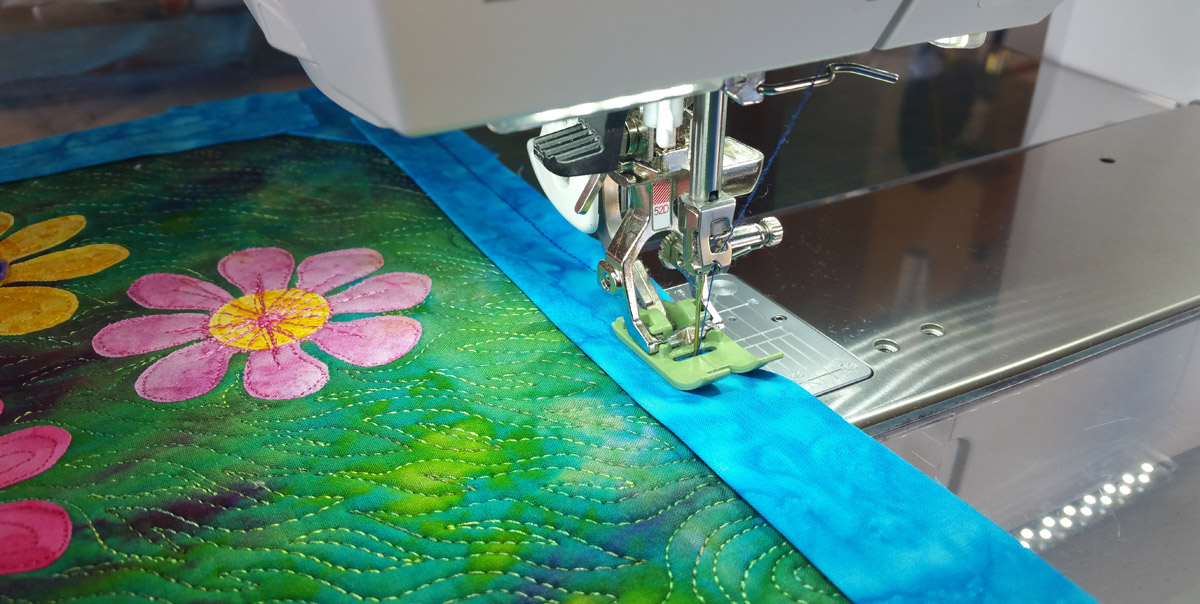
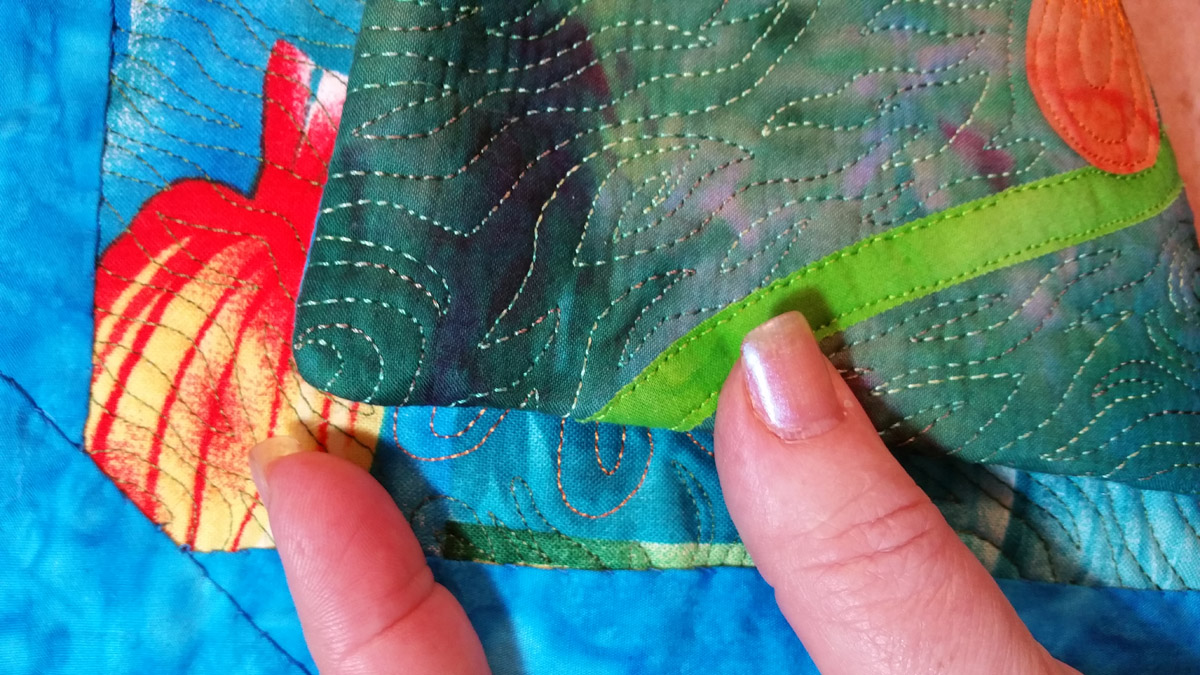
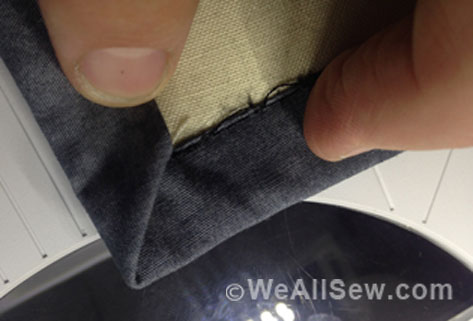
The next step of this project is to decide how you are going to finish this wallhanging. I chose to use Robbi Eklow’s facing method that she shared in a previous We All Sew blog post. I modified it for a smaller quilt by cutting my facing strips 2 ¼” wide and the corner pieces are 3″ squares.
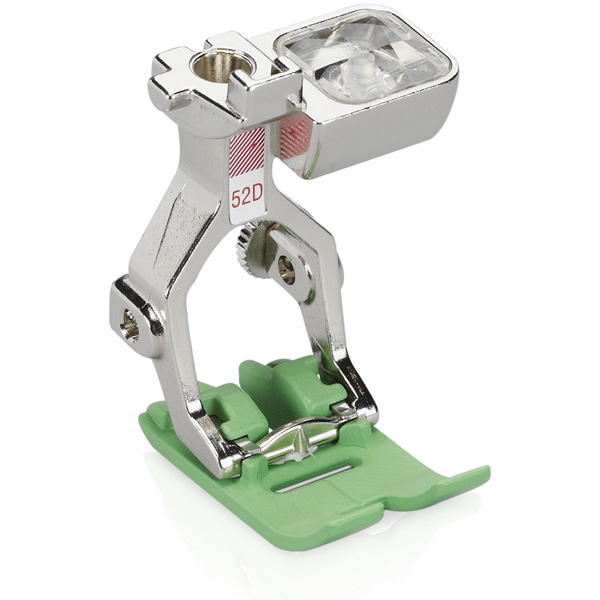
Stitch your facing into place using BERNINA Zigzag foot #52D which has a non-stick sole and glide along. Remember to engage your dual feed feature.
Press your facing from the front to the back and pin or clip into place for hand stitching.
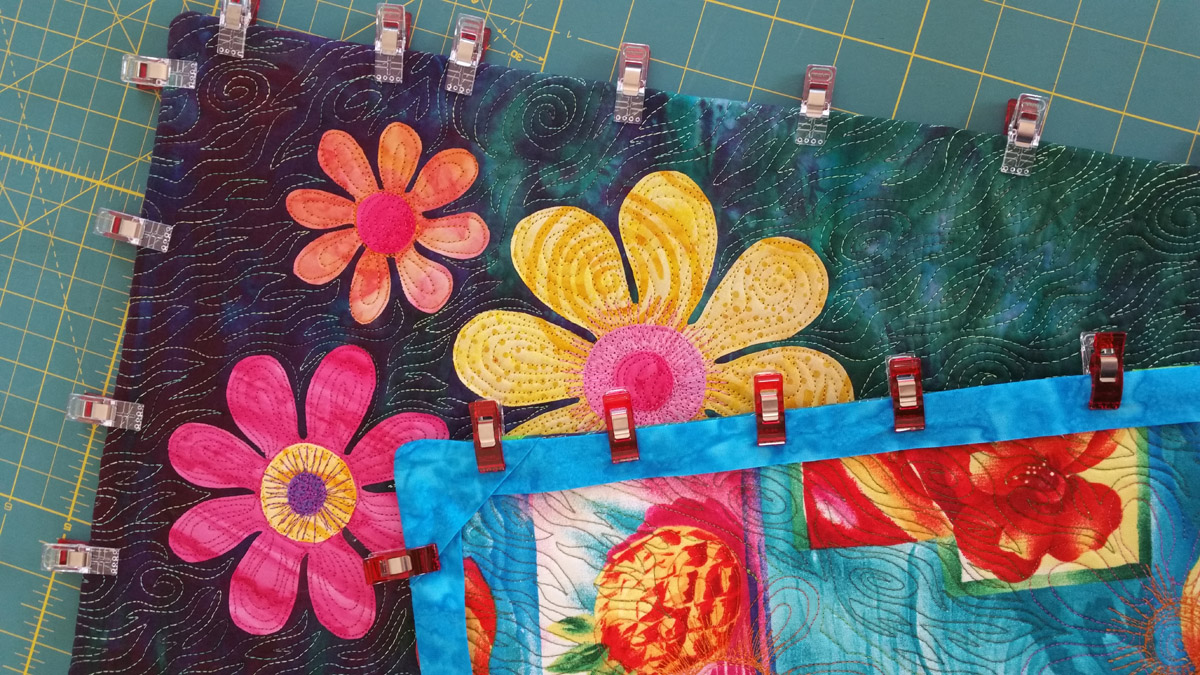
I do really love this facing method. It gives a nice crisp edge and wonderful corners.
Add a hanging sleeve and now you are ready to hang your “Floral Color Spot” wallhanging. I hope this project brightens up your home or office as we look forward to more spring and summer colors.


I love this wall hanging. I just wished I could print off the photos and the instructions.