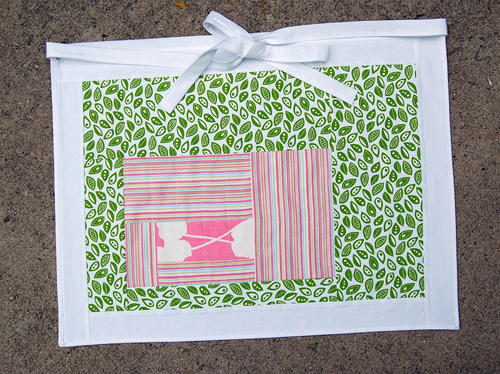
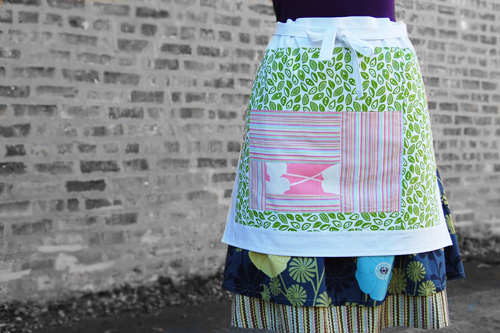
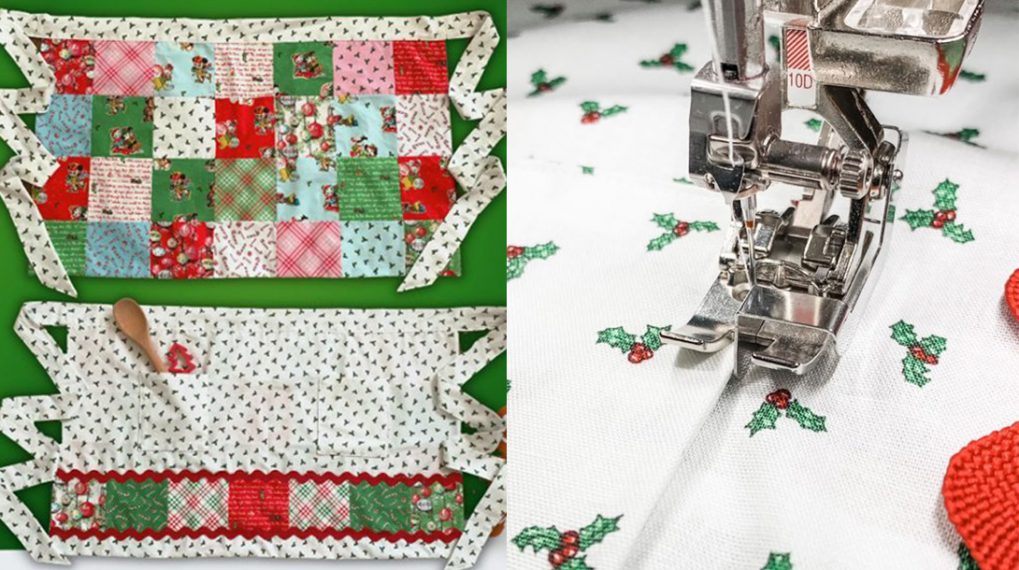
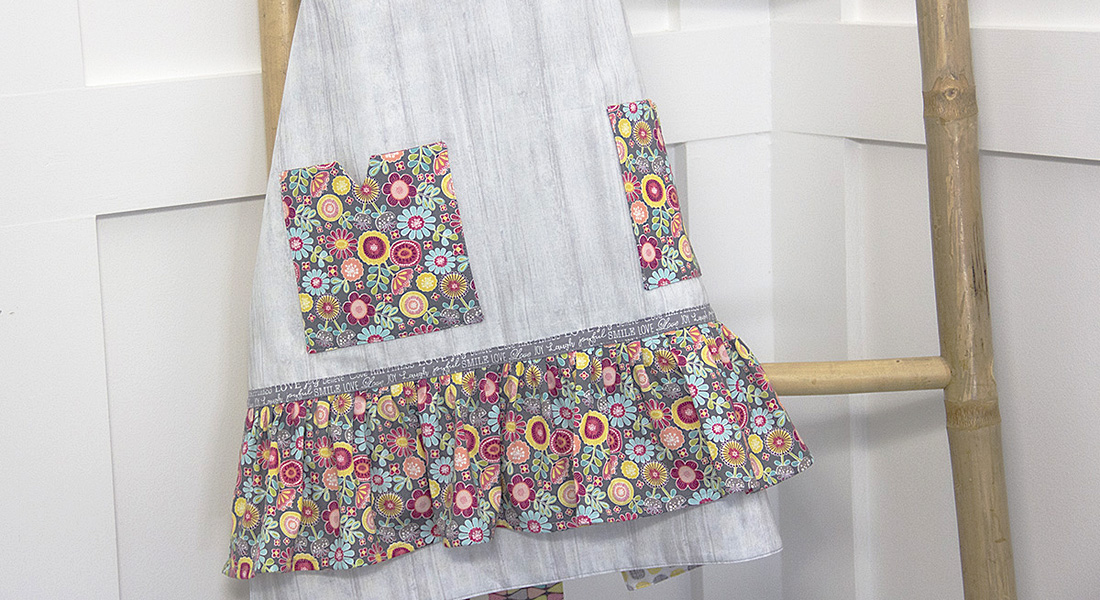
DIY Log Cabin Patchwork Café Apron
Stay clean and dry in the kitchen with a stylish patchwork café apron, pieced with a modern log cabin design.
Tools
Sewing machine
Quarter-inch foot (such as BERNINA Patchwork Foot #37 or Patchwork Foot with Guide #57), optional
Walking foot (such as BERNINA Walking Foot #50), optional
Sharp or Microtex needle size 75/11 or 80/12
Rotary cutter, clear gridded ruler, and cutting mat
Scissors or thread snips
Fabric safe marking pencil
Pins (flat head or flower pins; quilters or glass head pins)
Ironing board/iron
Materials
All-purpose sewing thread
Large scraps or fat quarters of 100% cotton woven fabric for patchwork
1 yard of 100% cotton woven solid color (white) fabric for apron
Step 1) Cut the pieces for the patchwork and apron.
From the 1 yard of 100% cotton solid color (white), cut the following pieces:
- Two 2” x WOF (width of the fabric from selvage to selvage) strips for binding
- Two 2¼” x WOF strips for finishing the patchwork
- Two 2½” x WOF strips for the apron ties/band
- One 25″ x 18″ rectangle of fabric for the apron backing
For the log cabin patchwork pieces, cut the following with a rotary cutter and gridded ruler:
A = center piece, light color
- Cut one 6½” x 3” rectangle
B/C/D/E = the first course, medium color
- B – cut one 6½” x 2” strip
- C – cut one 2½” x 4½” strip
- D – cut 8½” x 4½” rectangle
- E – cut 5½” x 8 ½” rectangle
F/G/H/I = the second course, dark color
- F – cut one 13½” x 2” strip
- G – cut one 3” x 10” rectangle
- H – cut one 16” x 5½” rectangle
- I – cut one 6” x 15” rectangle

Step 2) Sew the patchwork.
All seams are stitched with a ¼” seam allowance. Use a ¼” foot like BERNINA Patchwork Foot #37 or Patchwork Foot with Guide#57 to ensure consistent and precise seams.
Patchwork pieces are assembled in the order shown in the diagram; piece A is sewn to piece B, then piece C is added next, then piece D, and so forth.

Stitch first course piece B to center piece A, placing right sides together.

Press seam allowances away from the center block.

Continuing to attach pieces as shown in the diagram above, stitch piece C to the patchwork block next, placing right sides together. Again, press seam allowances out from the center piece.

Continue until you are finished with the first course of pieces around the center block.

Next, as shown in diagram above, stitch piece F to the block, placing right sides together. Continue pressing all seams away from the center block.

Continue until you are finished with the last course of pieces around the center block.

Take one long 2¼” x WOF strip and stitch it to the bottom edge of the block, right sides together, extending the leading edge about ½” beyond the edge of the patchwork rectangle.

After stitching, press the seam allowances out toward the edge.

Place the patchwork block right side up on the cutting mat. Using a rotary cutter and ruler, cut off the extra ends of the white strip even with the edges of the patchwork block.

Use the piece of 2¼” strip left over from the last step. Stitch the strip to the left side of the apron patchwork block, just as in the steps above. Again, press after stitching, place right side up, and cut off the extra ends. Use the second 2½” x WOF strip to continue stitching around the patchwork block, first on the top side and then along the right side to finish the apron body.
Press the block well from the front and set aside.

Step 3) Complete the apron body.
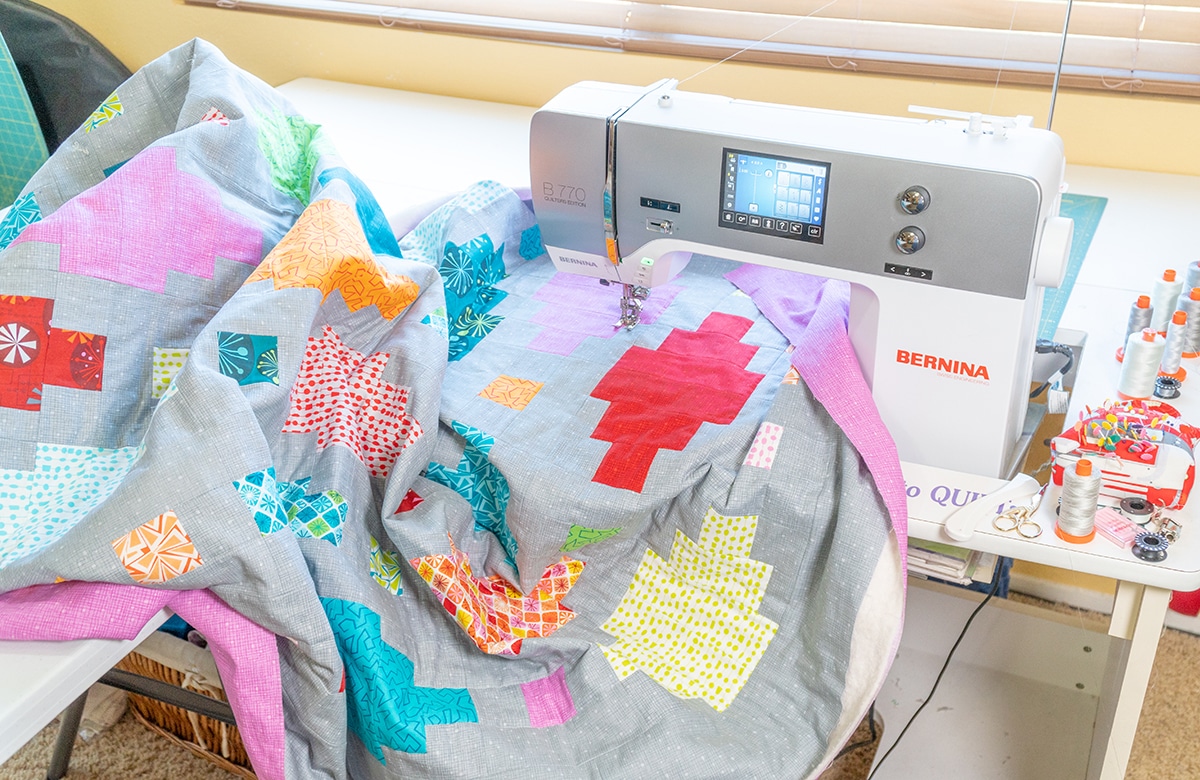
Adding the backing to the apron will keep the patchwork from fraying and unraveling while you are wearing or washing the apron. If your sewing machine has the Dual-feed feature, use it to help keep the two layers from slipping while stitching in the next steps. You can also use a walking foot to help the layers from slipping. I stitched my apron with straight lines, but you can really use any stitch design or pattern you wish – like stitching with zigzags across the patchwork, or any other stitch design that will hold the layers together. Just make sure to keep your stitched lines at least 1½” apart.
Use a smooth tabletop or other flat surface for the next steps. Layer the 25” x 18” piece of solid fabric face down and place the finished patchwork block face up on top.

Smooth out the layers, making sure they stay as even as possible at the edges. Use flat-head pins spaced about 3″-5″ apart to hold the layers together; they will hold the layers together as you stitch.

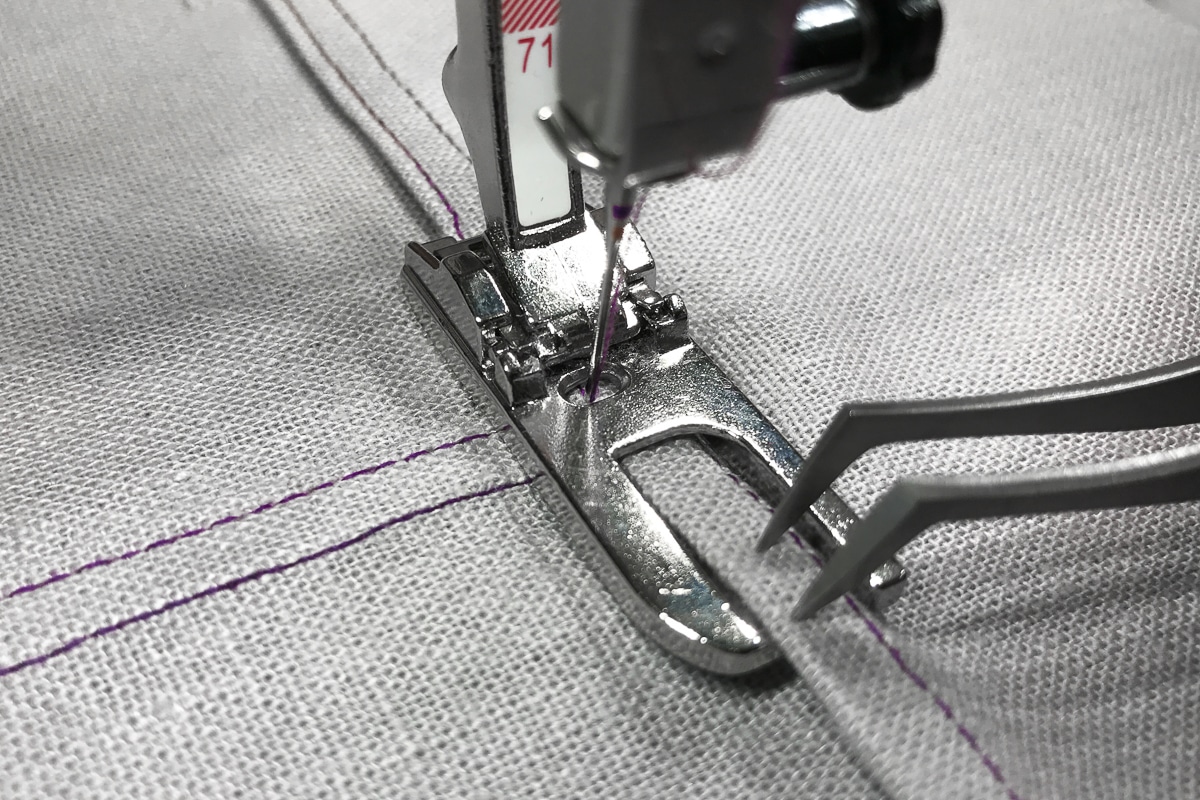
I used a ruler and wash-away fabric marking pencil to draw even, straight lines spaced 1½” apart vertically across the apron body. You can do the same, or make any stitching design you’d like. Take your first line if stitching in the middle of the apron panel, and continue stitching out to each end from there. Be sure to remove pins as you sew to avoid stitching into a pin.

Continue stitching out from the center, always sewing in the same direction from the top of the apron panel to the bottom. When finished stitching the layers together, set the apron panel aside.

Step 4) Add the binding.
Take the two 2” x WOF strips of solid-colored fabric for the binding. Cut off the selvage edge from one end of each strip. Overlap the two cut ends at a right angle and pin.

Stitch across the overlapping ends, from one corner to the other as pictured, back-stitching at the beginning and end of the seam.

Cut the seam to ¼” past the stitching to create a ¼” seam allowance. Press the seam allowances open.

Fold the strip in half the long way, with the seam allowance to the inside of the strip; press.

The binding will finish the raw edges along the two sides and bottom of the apron panel; make sure you do not sew the binding along the top edge of the apron. Starting at the top side edge of the apron panel, stitch the binding to the edge of the apron, matching raw edges together. Stitch with a ¼” seam allowance, stopping ¼” away from the corner.

To form mitered edge, stop sewing ¼” away from the corner, take a few backstitches, and then remove the apron from the machine. Flip the free end of the binding strip to the right, forming a 45° angle.

Carefully flip the free end of the binding strip back over to the left, matching up the raw edges with the bottom apron panel edges, forming a fold along the right side; pin in place.

Sew along the next edge, beginning the stitching ¼” down from the corner. Continue stitching around the bottom and the next side, following the instructions above for stitching the next mitered corner. When stitching is complete, press the binding over, away from the apron.

Trim off the extra binding at the top edges of the apron. Flip the apron over, patchwork side down, and fold the binding to the back over the unfinished edge. Press well.

Pin the binding in place from the front of the apron panel. Notice that the binding overlaps slightly more on the back than the front. Binding must fold over and cover the stitching line on the back. Use your fingers to hold the binding in place while pinning from the front.

To make the mitered corners at the lower edge of the apron, first fold one side of the corner sharply over.

Pin the folded edge from the front to hold it in place, and then fold the other side of the corner over sharply.

Pin the folded corner from the front to hold in place (photo viewed from front of apron). Repeat with other corner.

Stitch from the front side of the apron to secure the binding, close to the edge and just to the right of the binding seam. Look at the back of the apron occasionally to make sure the stitches are catching the edge of the binding. After stitching the binding, set the apron body aside.

Step 5) Add the apron band/ties.
Stitch the two remaining 2½” x WOF strips together to form one long strip as shown above for the binding.
Press the short ends of the band/ties over ½” to the wrong side.

Next, turn under ¼” along both long edges of the apron band/ties; press.
Find the center of the apron body by folding it in half and marking with a pin along the top raw edge. Find the center of the apron band/ties by folding in half the long way and marking with a pin. Match the centers at the top raw edge of the apron, right sides together, opening up one folded ¼” edge of the apron band/tie to pin along the apron body.

Stitch the apron band/ties to the apron body with a ¼” seam, backstitching at the beginning and end, removing pins as you sew.

With the apron face down on the ironing board, fold the apron band/ties over to the back of the apron, making sure that the folded-over edge just covers the line of stitching holding the band/ties to the front. Press well.

Pin binding from the front. Continue to pin the folded over ties together beyond the sides of the apron, matching up the folded edges as you go.

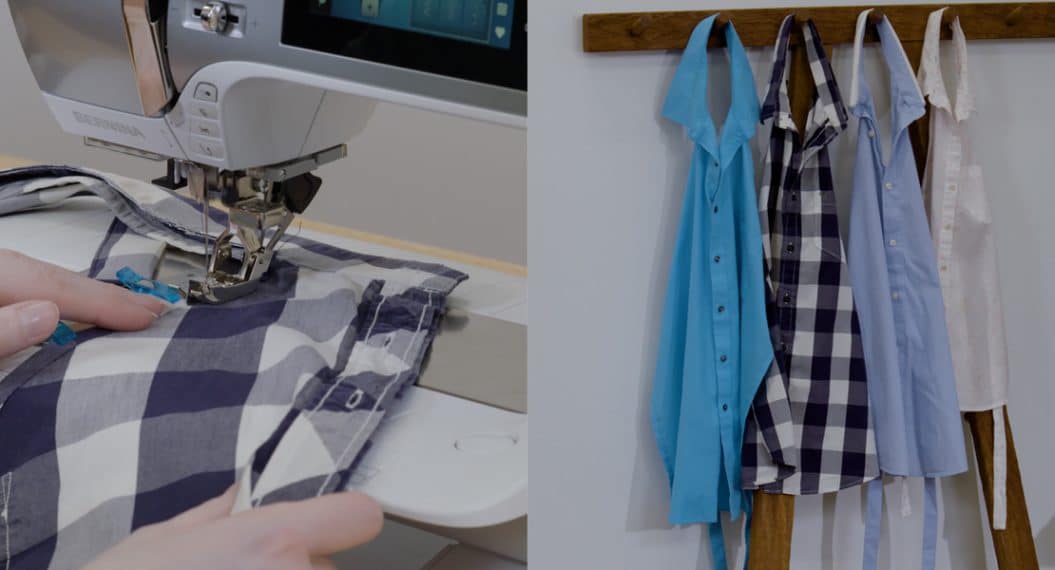
Begin stitching at one end of the ties, stitching close to the pinned edge, removing pins as you sew.

Continue stitching all the way across the apron body and through to the other end of the tie.

Remove apron from the machine, cut all stray threads, and press well.


4 comments on “DIY Log Cabin Patchwork Café Apron”