Easy Warming Pet Bed
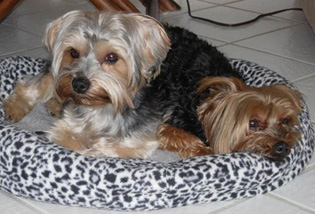
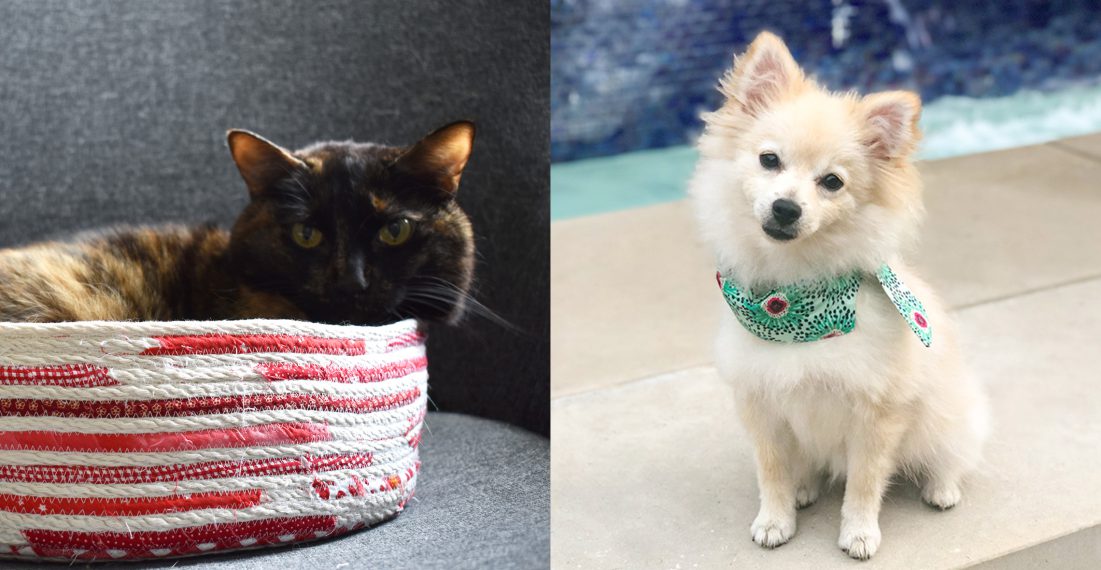
We were about to travel and our two dogs were going to be staying outdoors. They have dog houses, but I thought this would be a nice way to keep them a little warmer. Our old girl Lily is 16, and she loves a warm cozy spot to lay down.
Nasa developed “space” blankets with a shiny metallic surface to reflect the body’s own infrared radiation back to the body, minimizing heat loss. My dogs wouldn’t be wrapped in the blankets, but I figure reflecting body heat back instead of it dispersing into the ground would be a good thing.
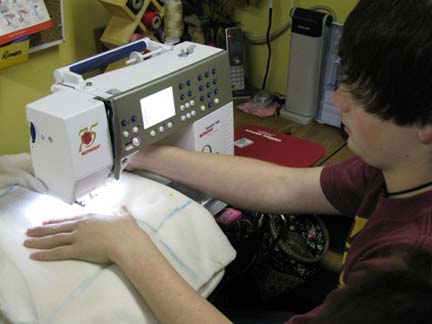
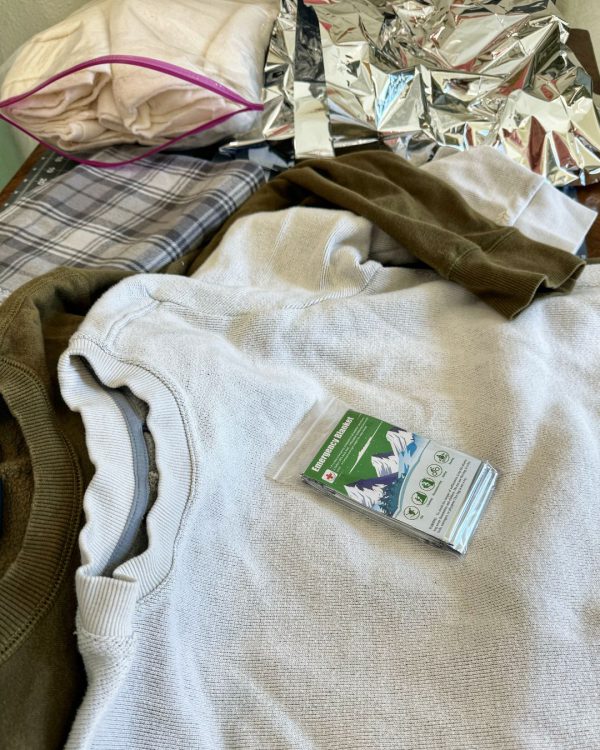
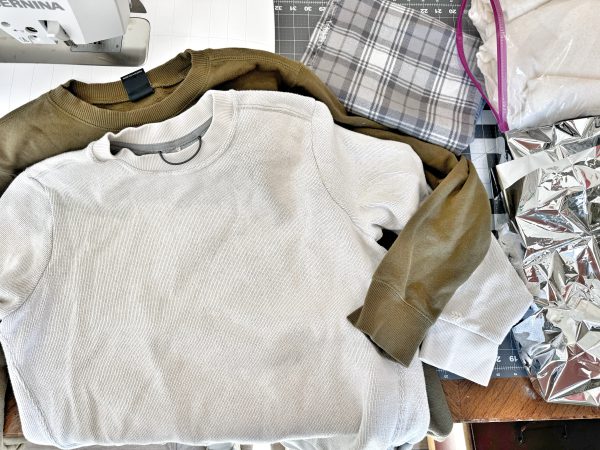
Just as I was wondering about using emergency blankets, my son was cleaning out his closet. From his castoffs, I chose two thick shirts, both sweatshirt-like with rounded necks, to make the beds. Keep in mind that this is a good time to use up those odd thread colors you don’t typically utilize. Your dogs won’t mind that you used up an old neon pink bobbin!
This is a super easy and quick project! Plus, it’s a win/win. Recycling a shirt is sustainable, and you’ll feel better knowing your pet is just a little warmer.
Supplies to Make an Easy Warming Pet Bed
- Emergency blanket
- Caution: this is plastic like and a choking hazard!
- Repurposed sweatshirt, blanket, flannel, or towel
- Batting scraps, enough to layer over top and bottom of the foil
- Thread
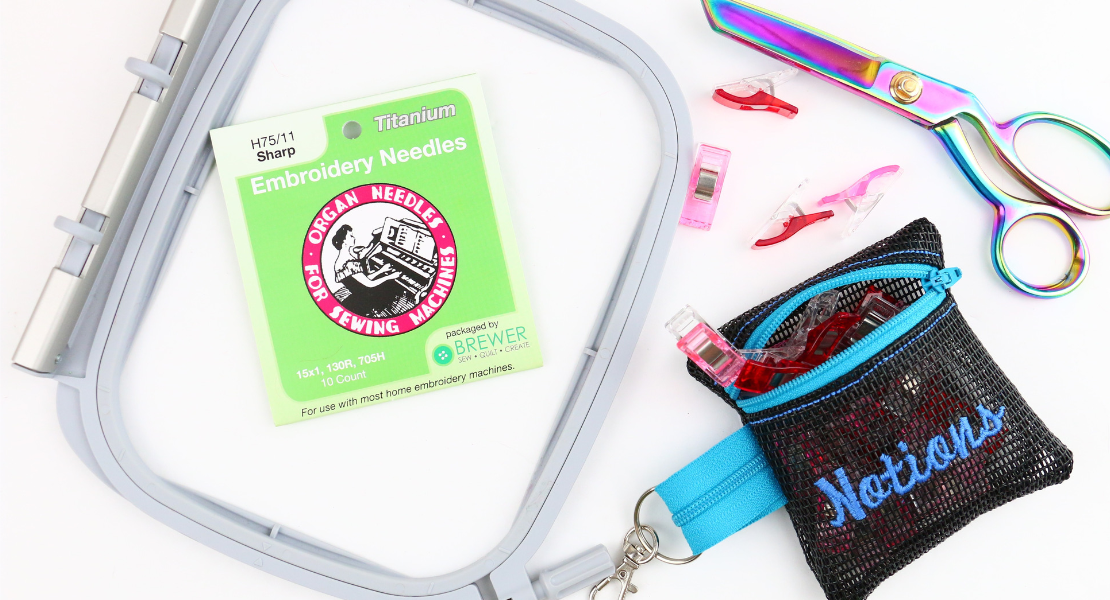
- Heavy duty needles
- Scissors
- Sewing machine (I used my BERNINA 770 QE PLUS)
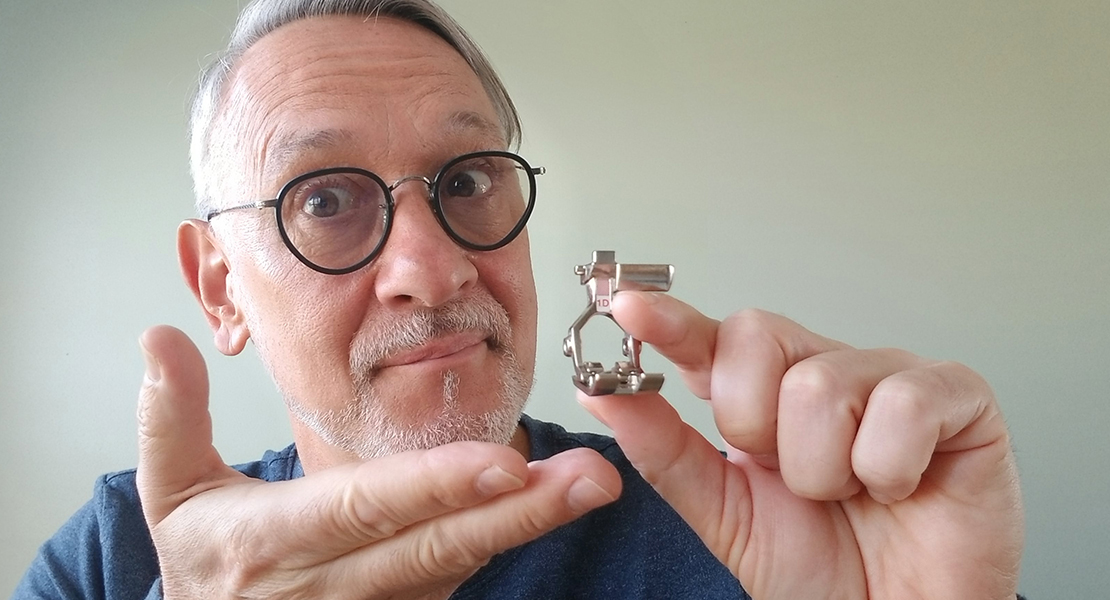
- Three-Sole Walking Foot with Seam Guide#50
I ordered a six pack of mylar emergency blankets. The extra ones can go in our cars’ emergency kits. When they arrived, my son and I took turns wrapping up in a blanket, and we both agreed that very quickly our arms felt warmer. It was a fast and noticeable difference.
Caveat: If your pet would tear apart a toy that makes crinkly rounds, I would proceed with caution. The emergency blanket is plastic and crinkly, like a deflated mylar balloon.
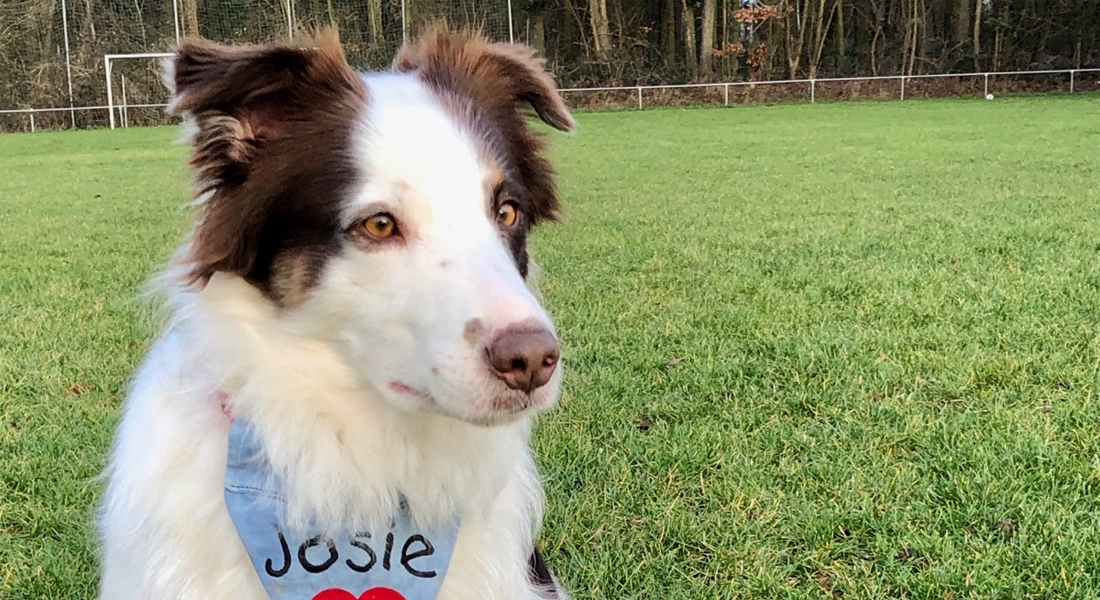
My red border collie will rip apart any toy with a squeaker. I thought we were safe with just the possibility of a crinkly sound, and sure enough, the bed has lasted a month with no interest on her part in tearing it up. However, pet parents of heavy chewers, this is something you would not want your dogs to chew and potentially ingest, so I recommend making this bed for another fur baby in your life if you would like to create one.
Sewing Machine Set Up
- Walking foot
- Medium long stitch length
If you feel like your machine would need a heavy duty needle, switch to a sturdier needle, like one for denim. Set up as you would for quilting.
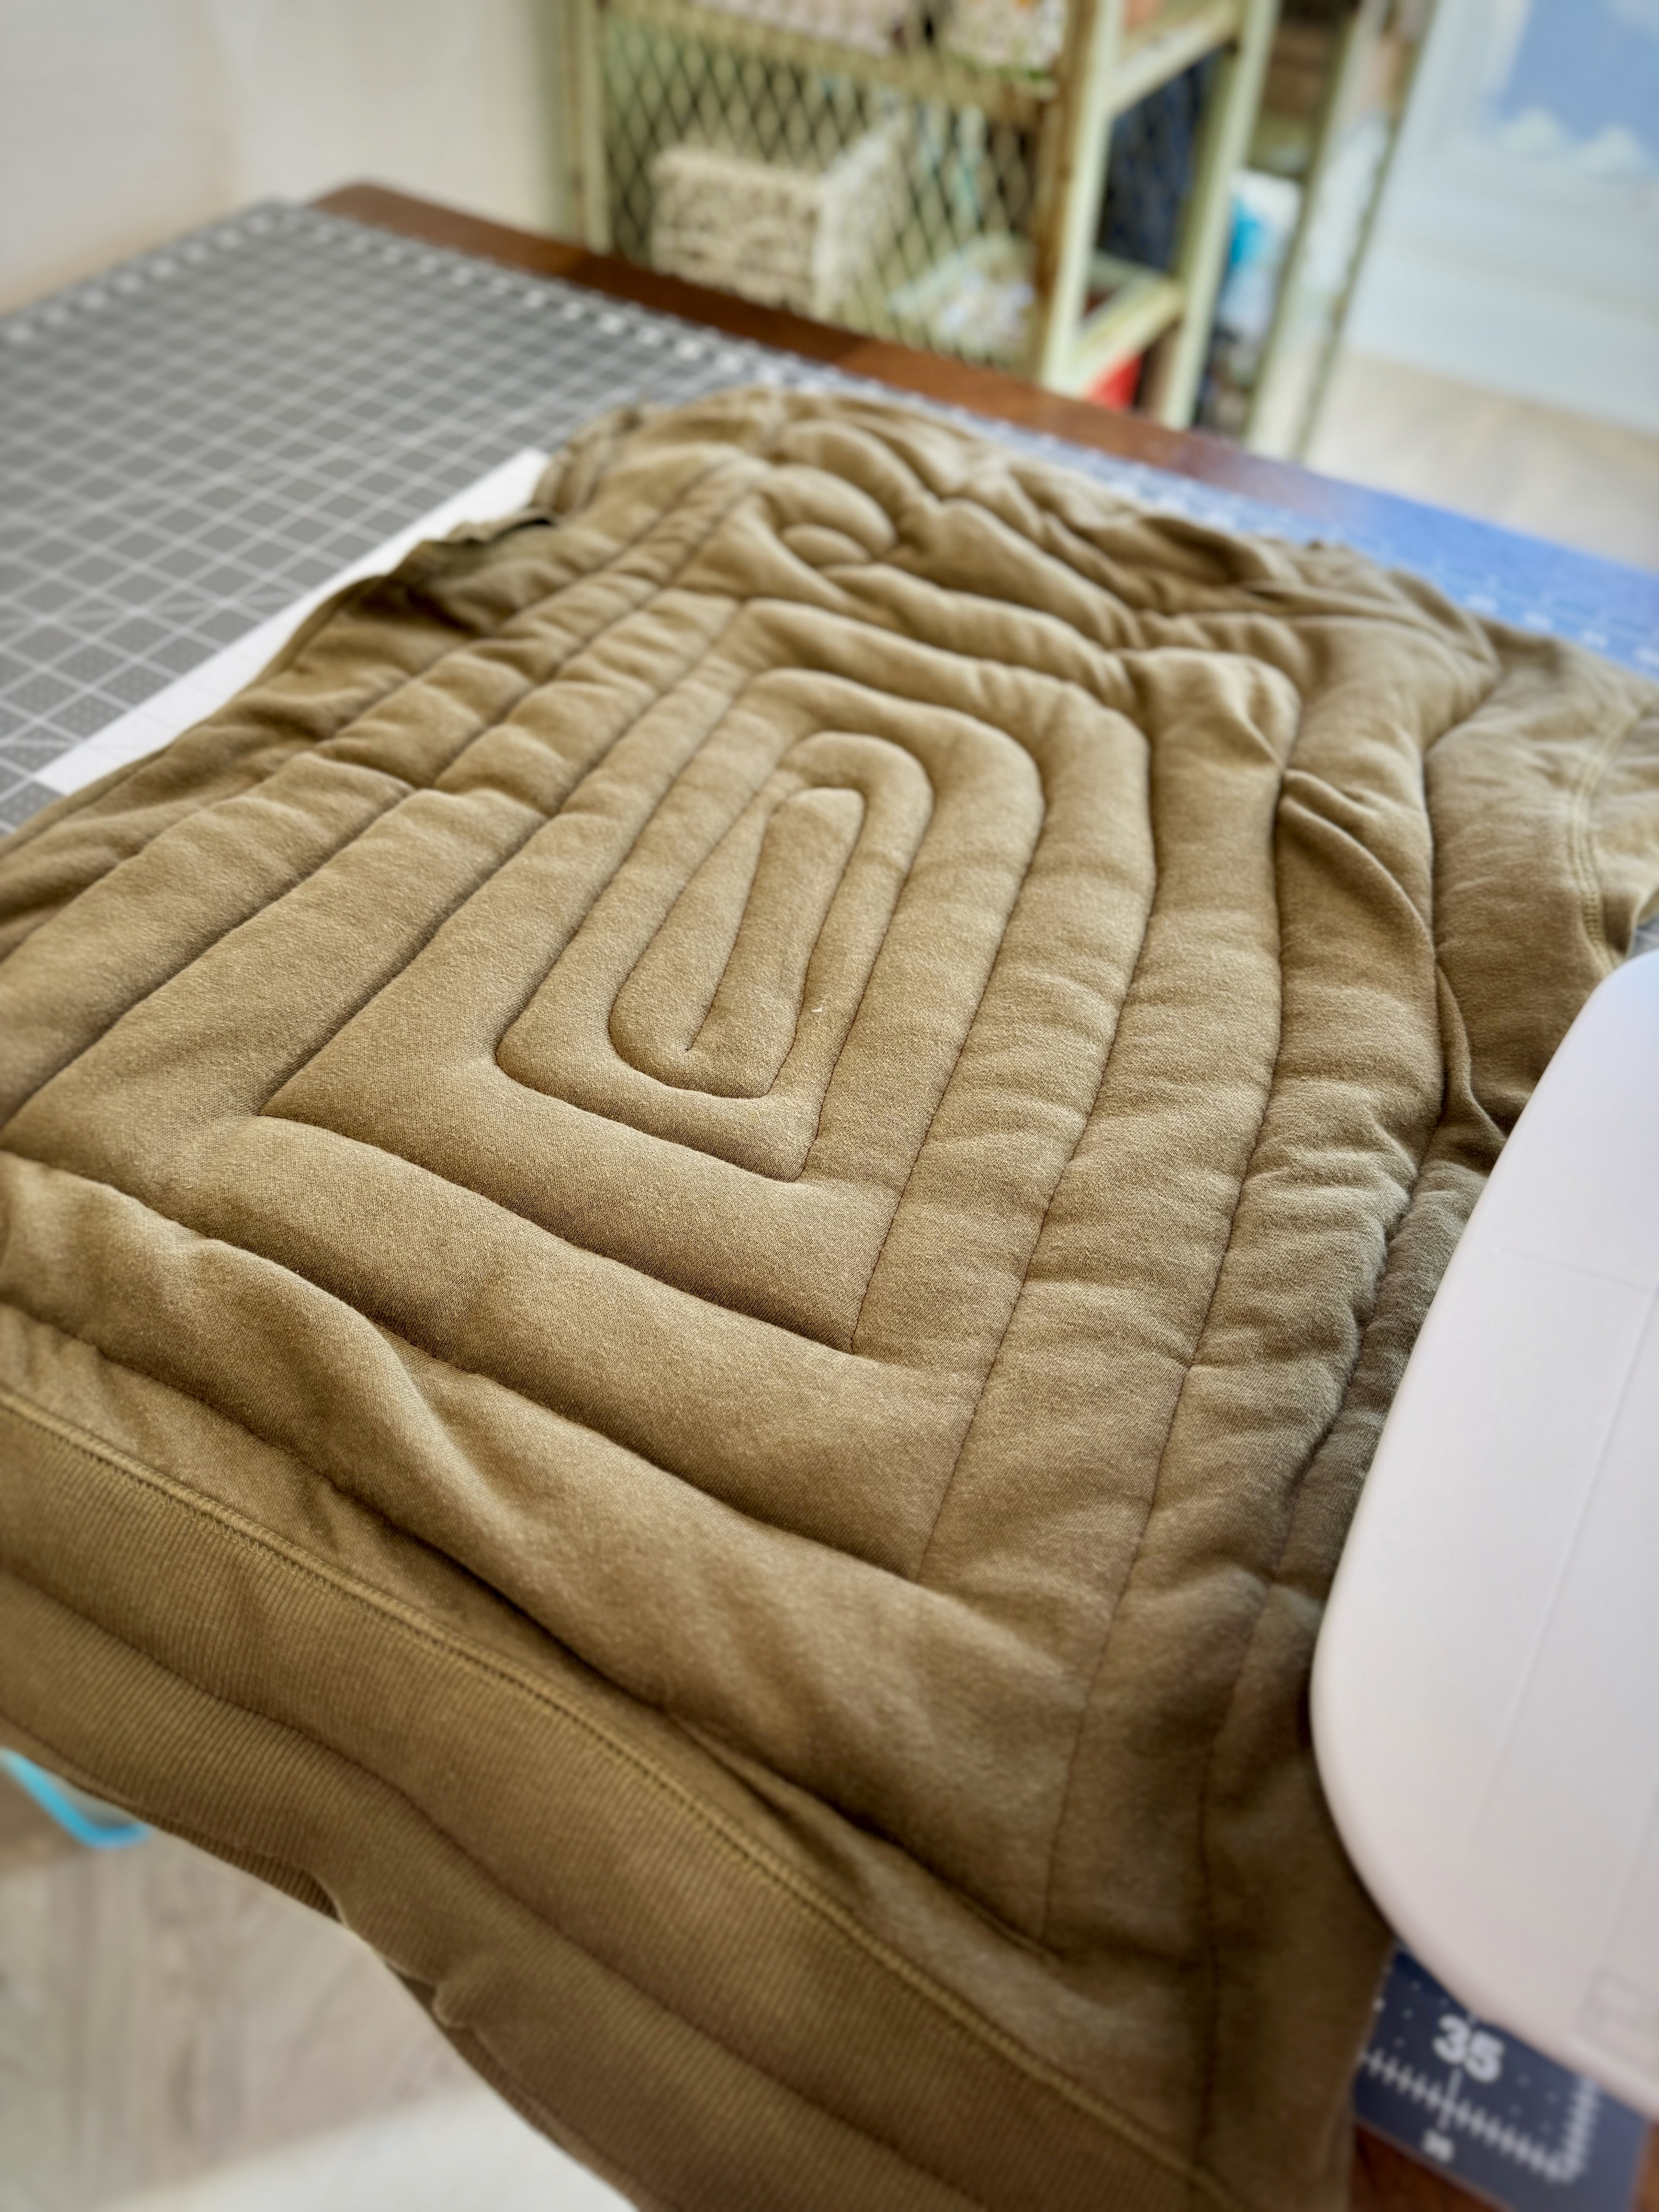
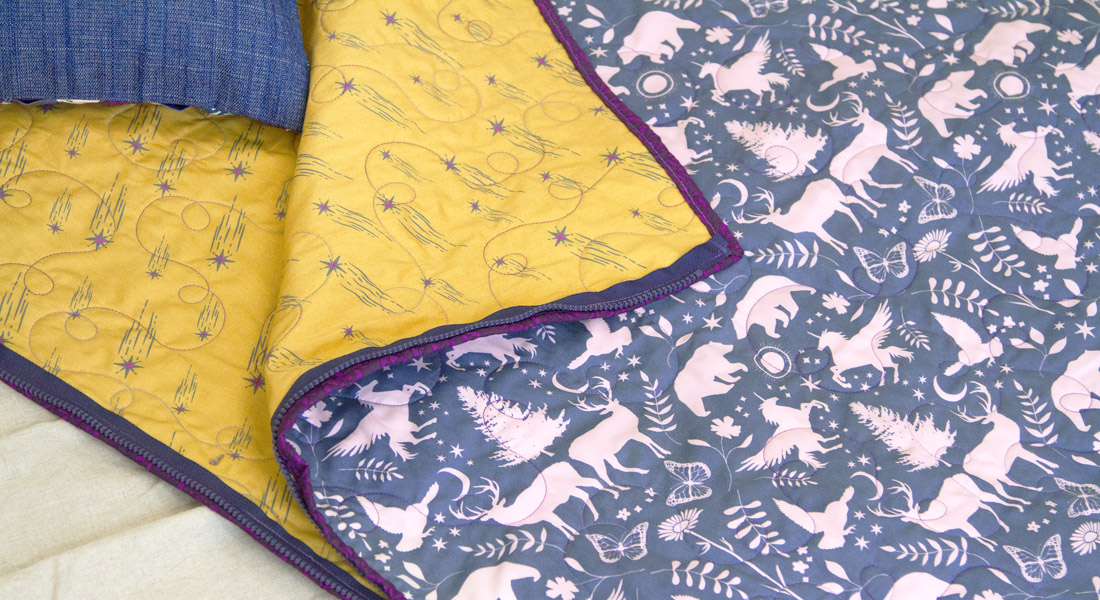
This pet bed was destined for the inside of a dog house, so I didn’t concern myself with aesthetics. I just made a large spiral to secure the batting and emergency blanket so I can wash the bed.
Of course you can adapt this to make a perfect pillow for your pet prince/princess. In this case, take your time and sew it fancy if you want! After you make the outside pretty, the inside is just batting/emergency blanket/batting.
Steps to Make the Easy Warming Pet Bed
Step 1. Cut the Sleeves
To make the bed, you will need the body of the shirt to act like a pillowcase. Cut off the sleeves to make a rectangular shape, and then sew the openings for the sleeves and neck of the shirt closed.
Tip: If you don’t have a sweatshirt, any fabric you can make into the size pet bed you need will work. Fold over an old beach towel or use a throw that’s seen better days. Sew 3 sides closed, then stuff with the sandwich as described below.
Step 2. Cut the Blanket and Layer
Cut a piece of the foil blanket to fit inside the shirt opening. Then, layer batting on the front and back of the foil blanket. I wanted to cover the blanket with batting on both sides to help reduce the crinkly sound.
From here, place the sandwich you creating with the batting and foil blank inside of your shirt “pillowcase.”
Step 3. Close Up the “Pillowcase”
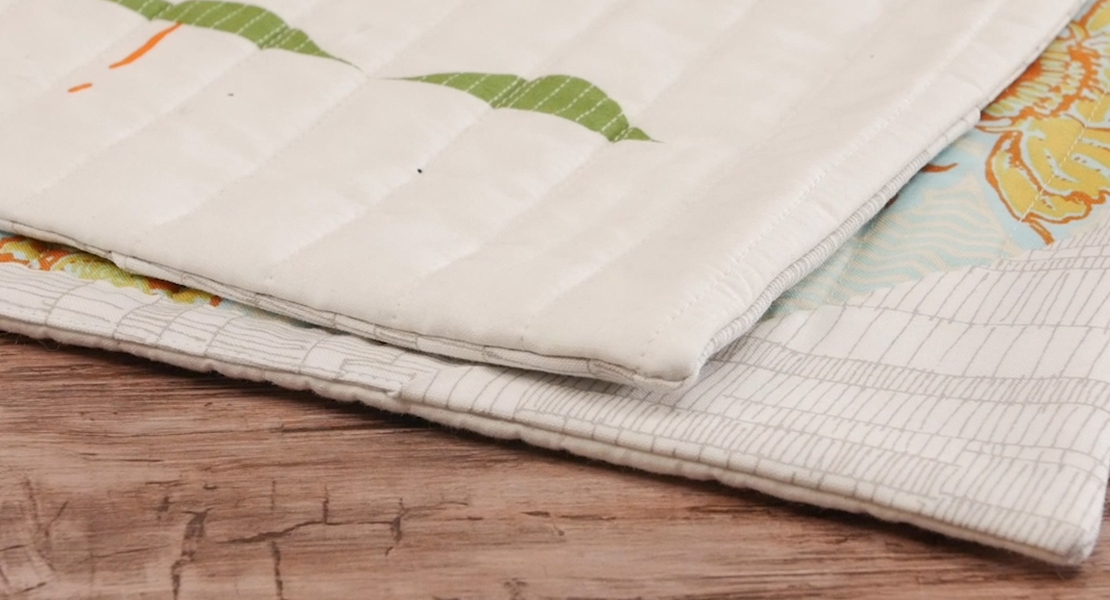
Sew across the waist of the shirt to close it up, and continue to sew around the outside of the shirt to secure the sandwich inside.
Continue stitching and spiral the stitching inward toward the center of the bed.
With the spiral method, you’re able to continuously sew. For this, I kept my stitching roughly 2 inches apart, securing the foil blanket.
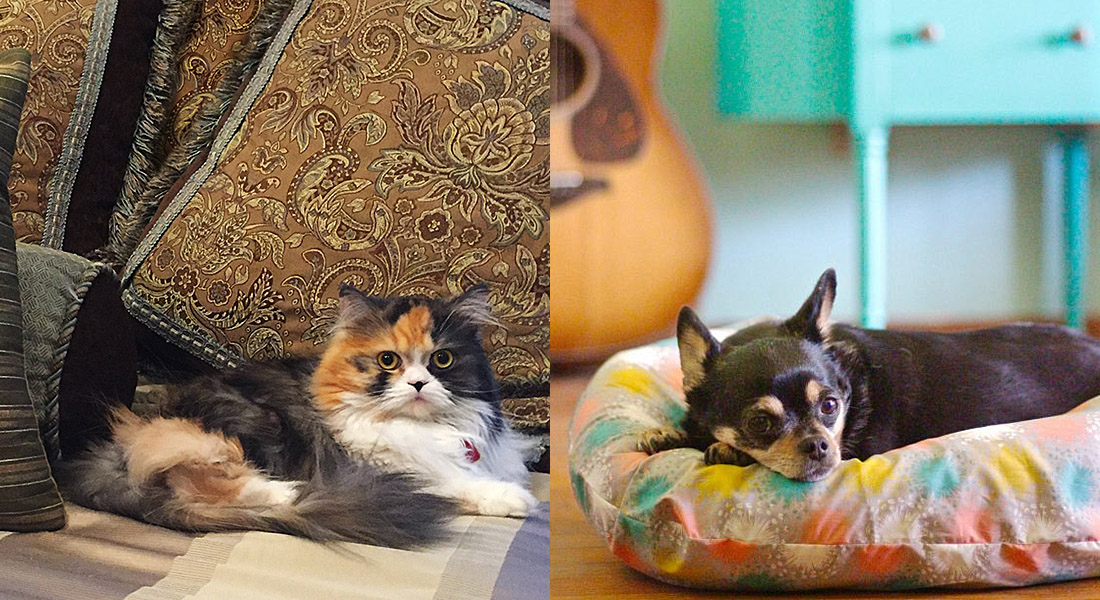
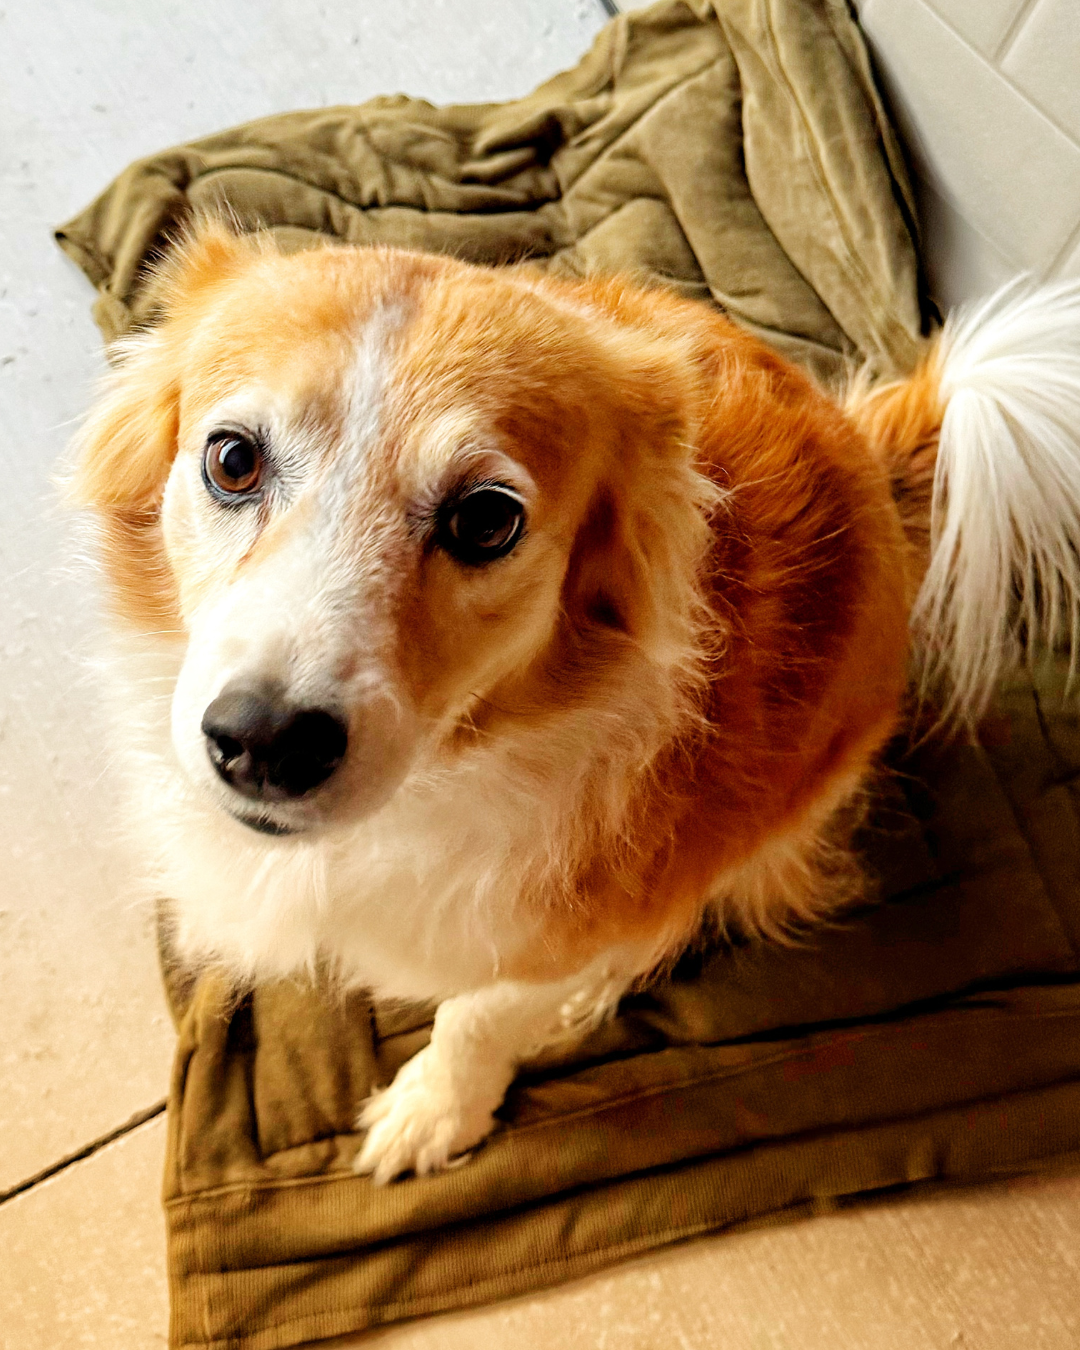
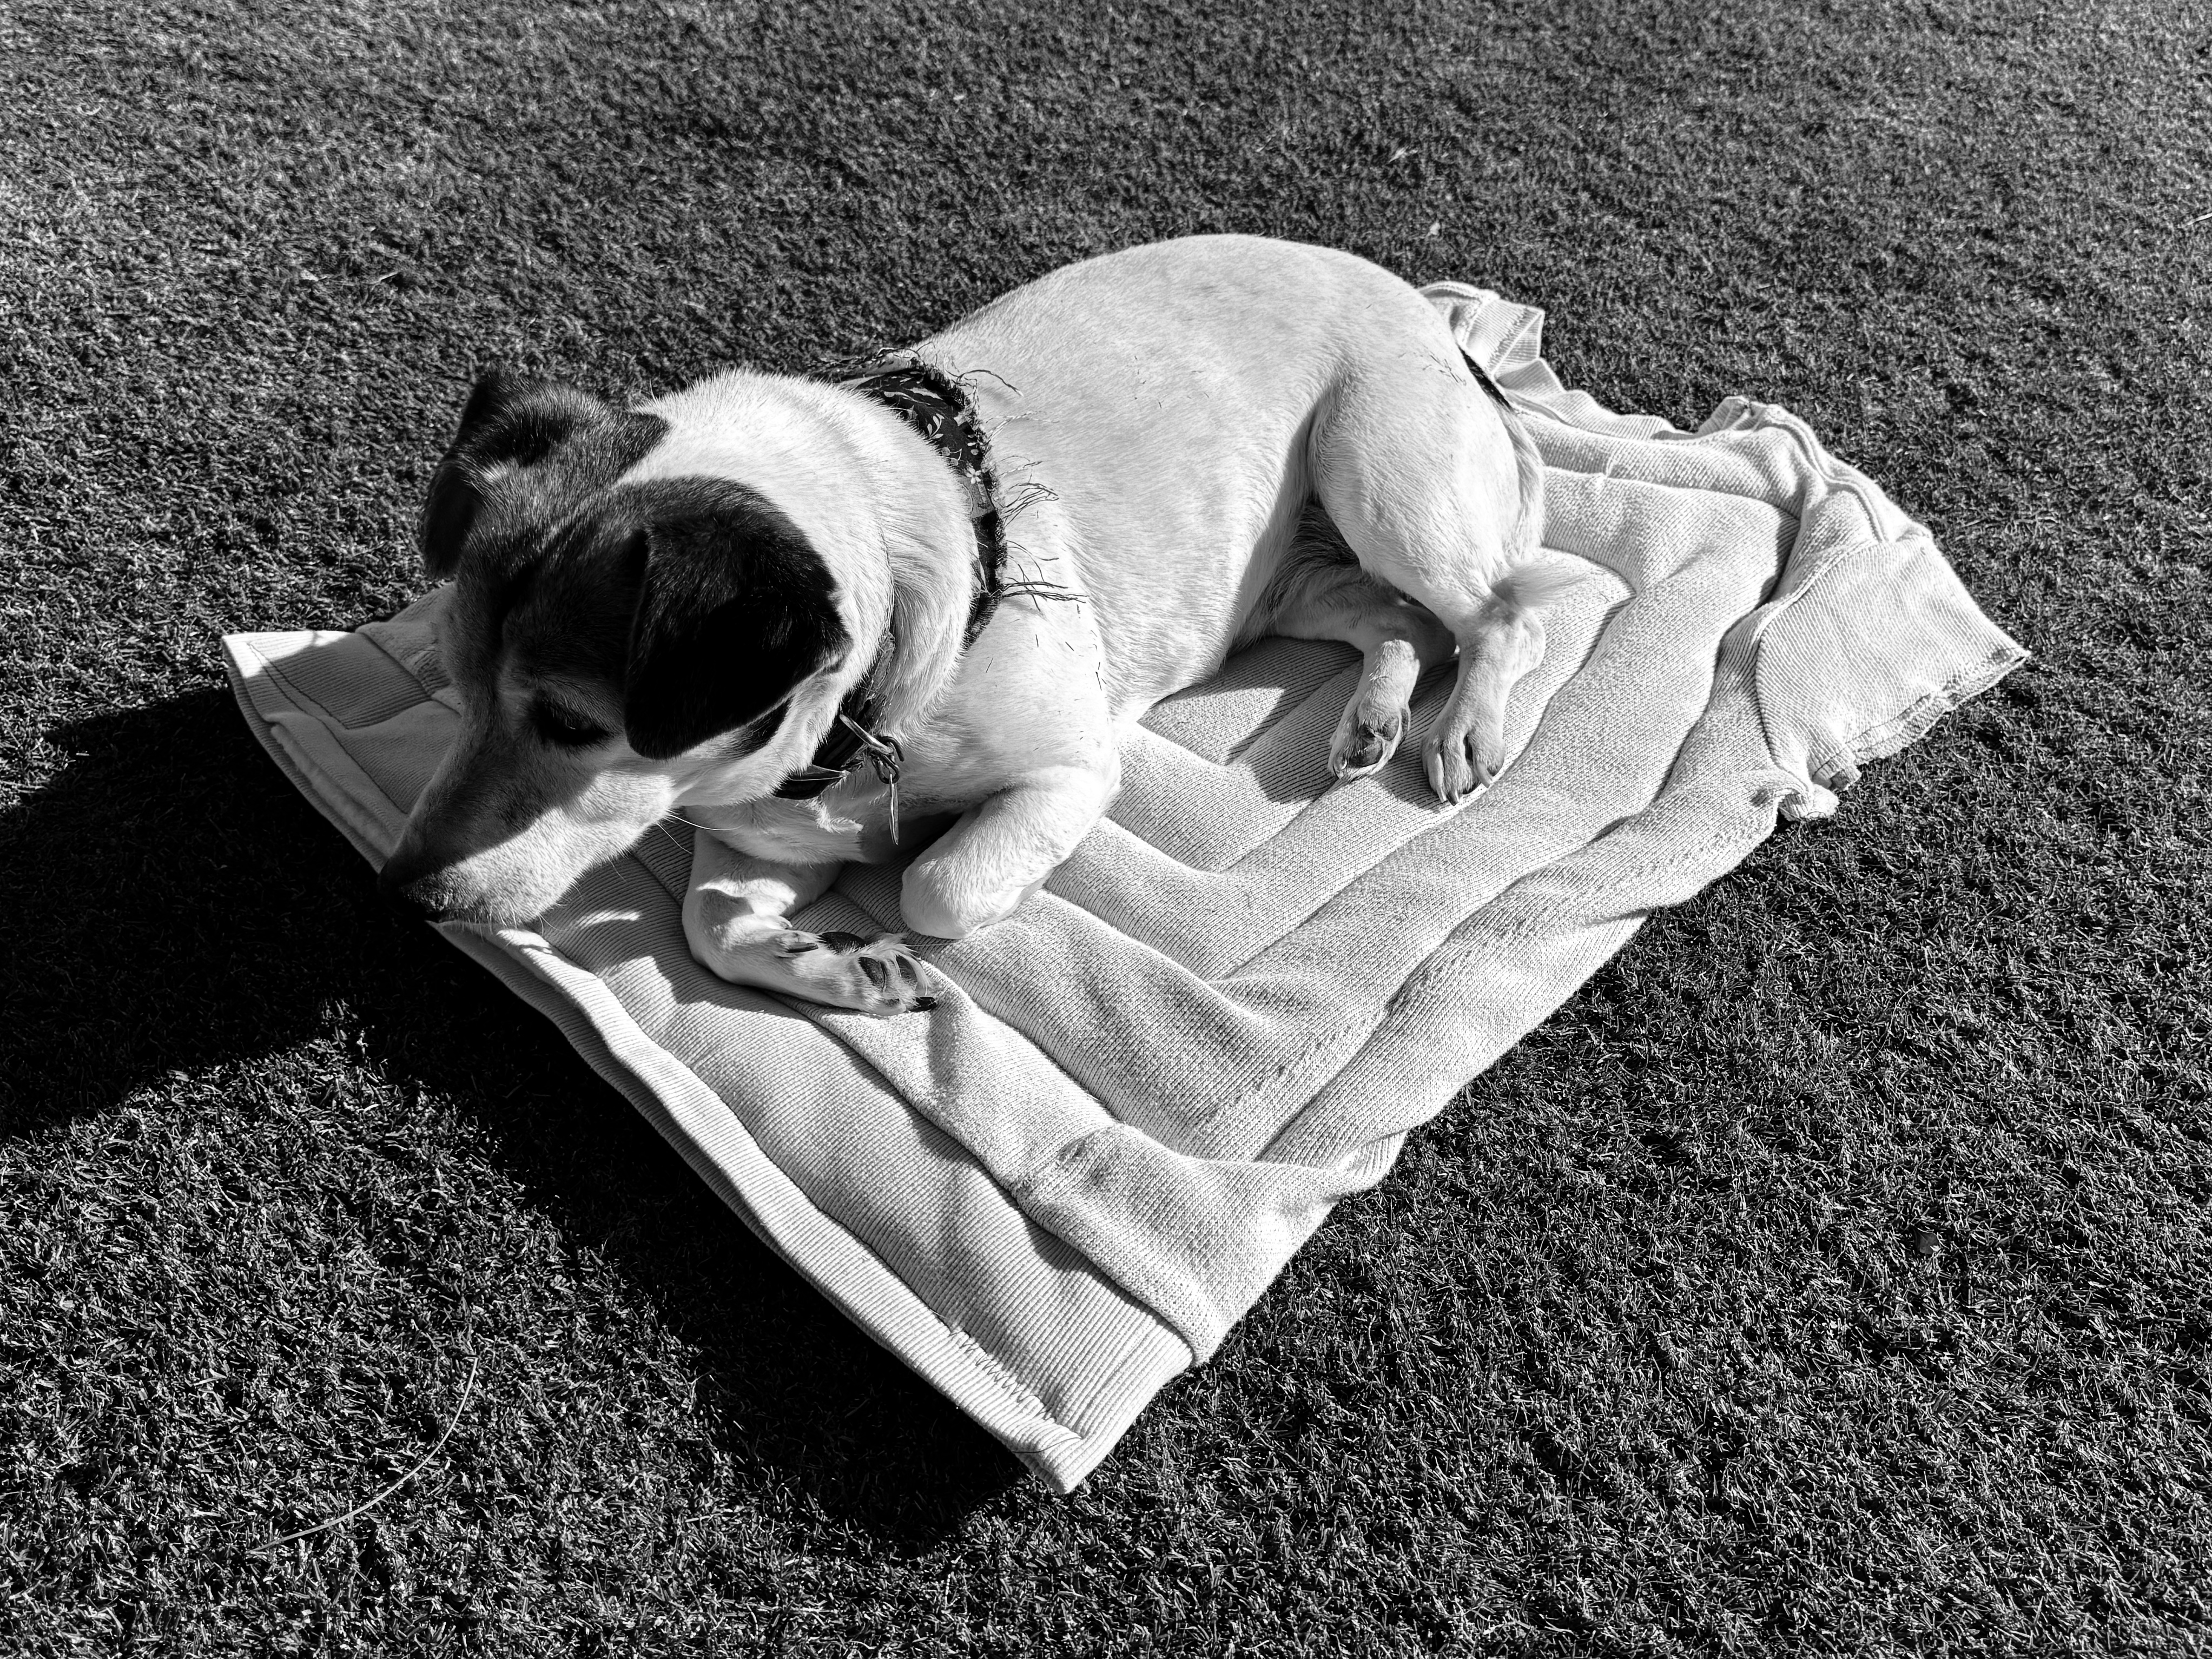
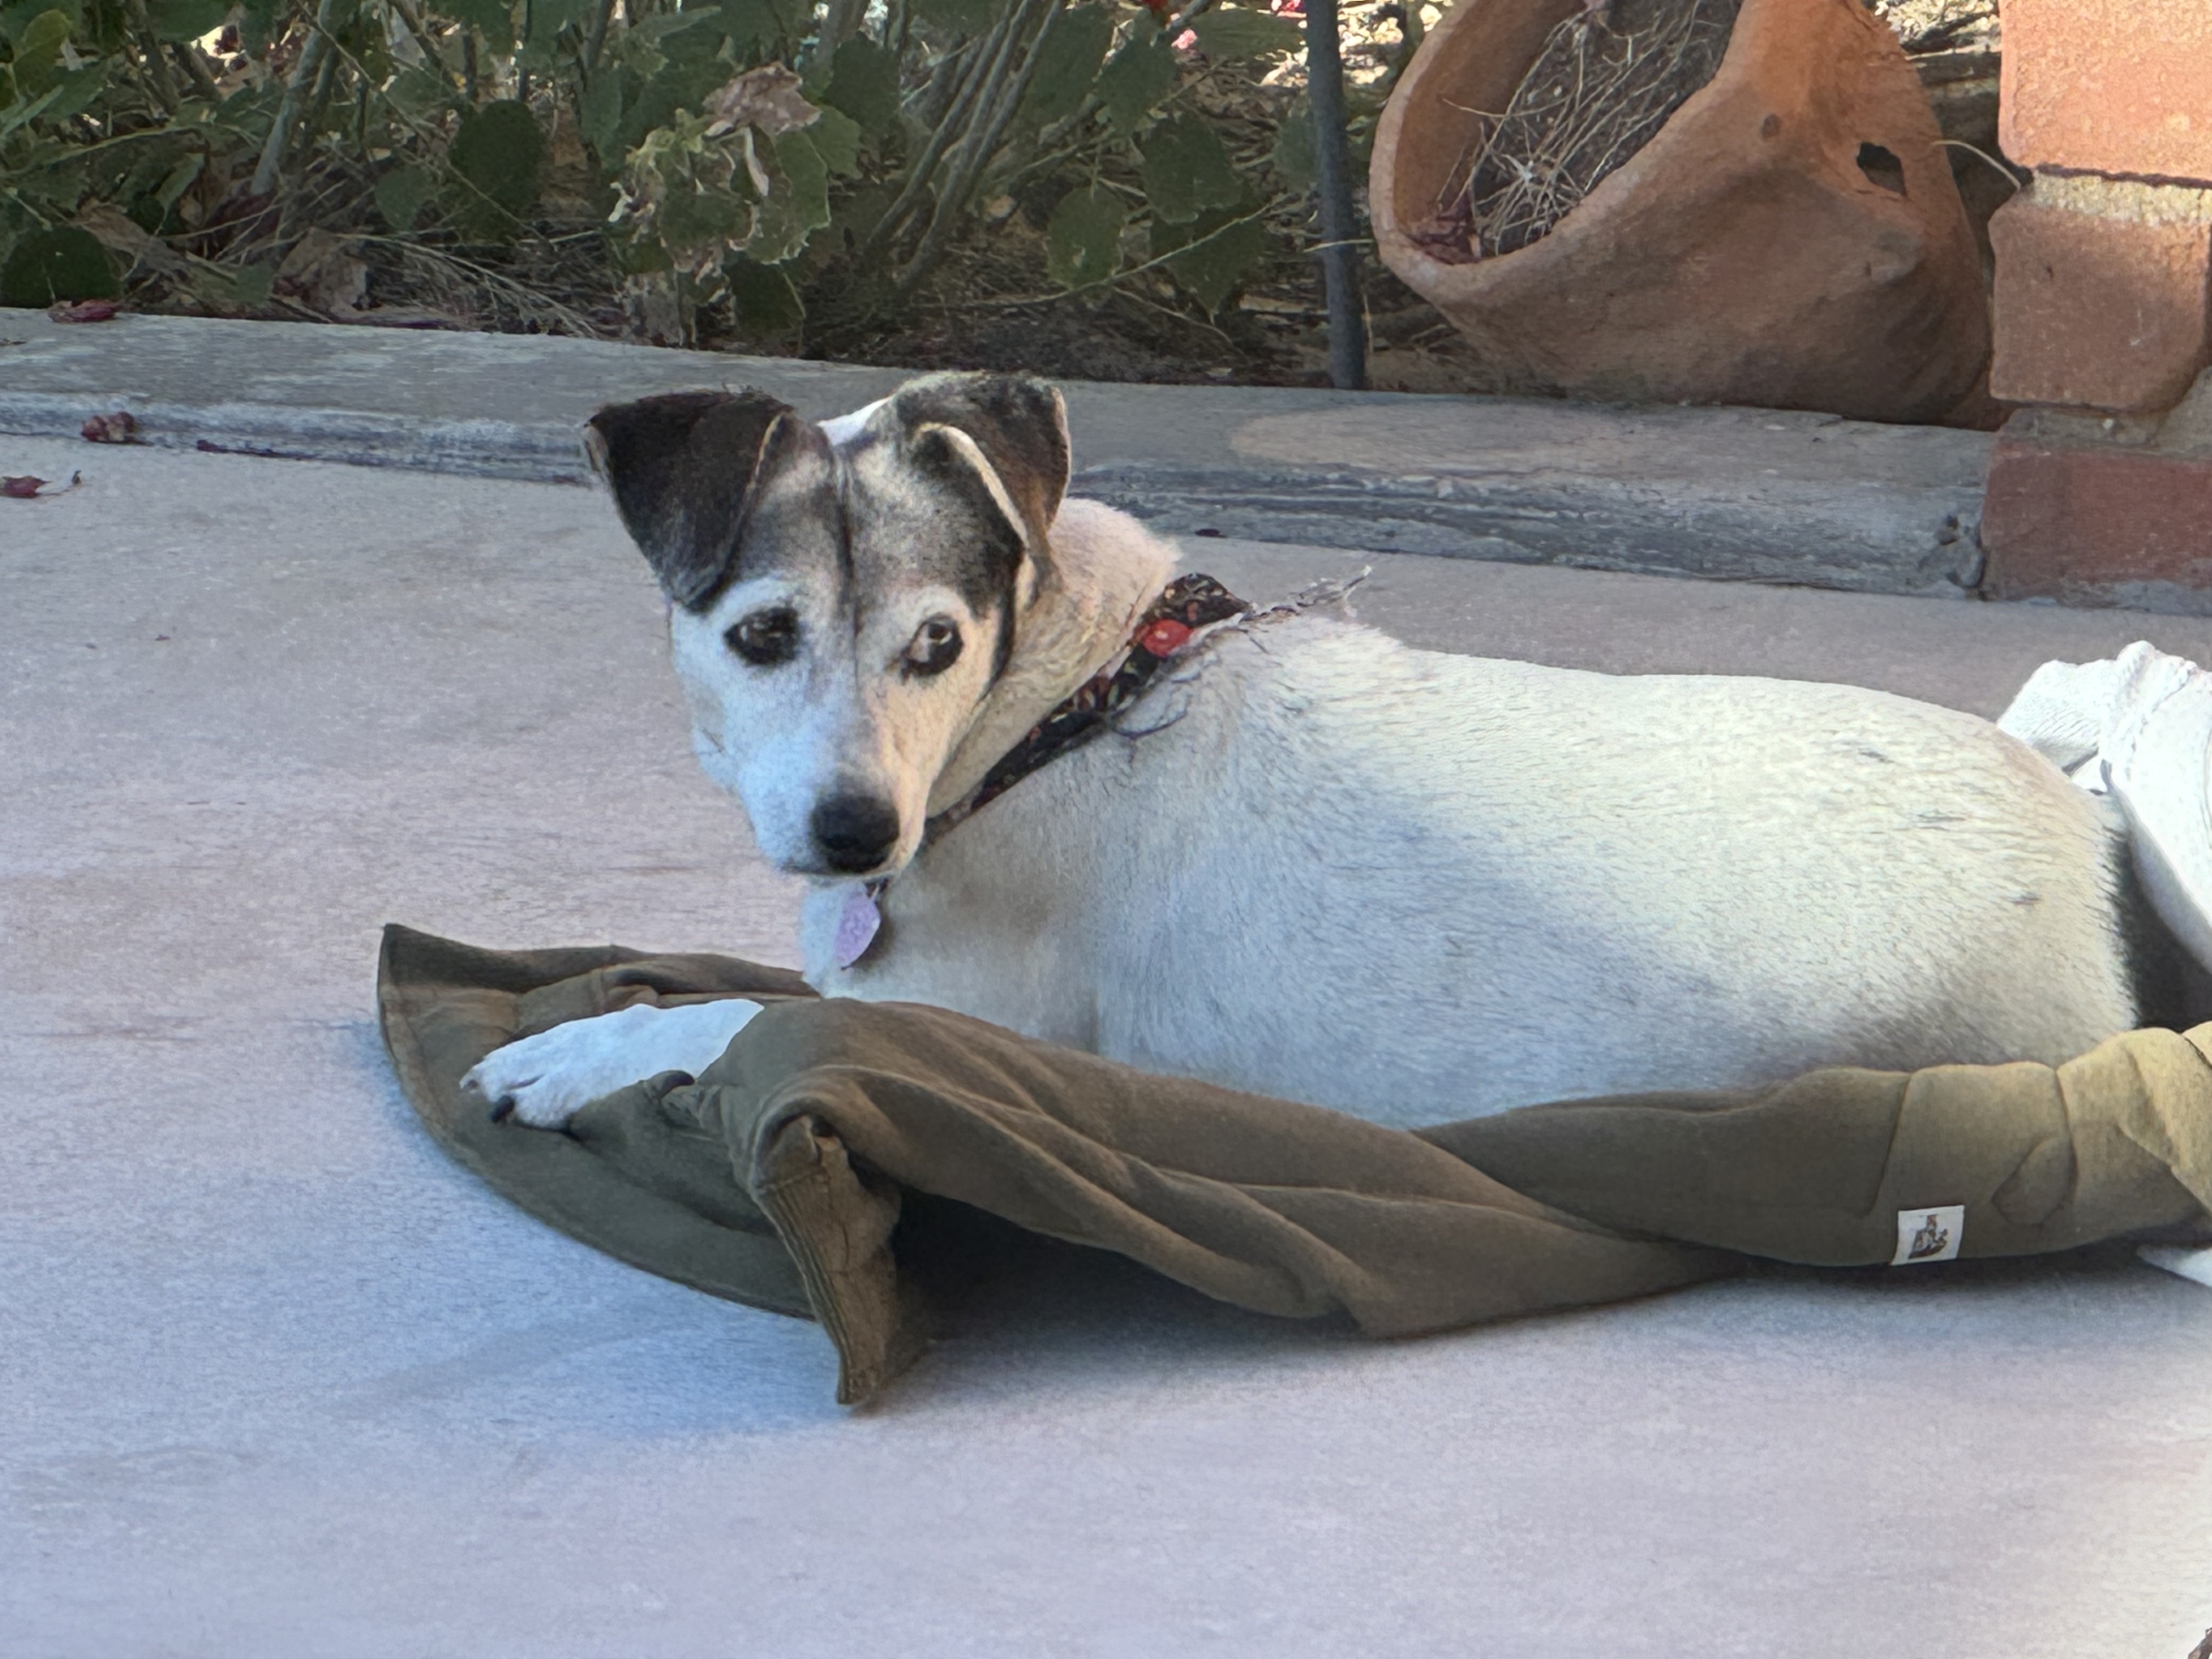
Step 4. Show Off Your Fur Baby
With this easy project, you could probably have your fur baby posing for a picture on their new bed in 30 minutes! Be sure to share your makes with your fur babies on social media!
Thanks for reading! See more at happyquiltypeople.com
Holly