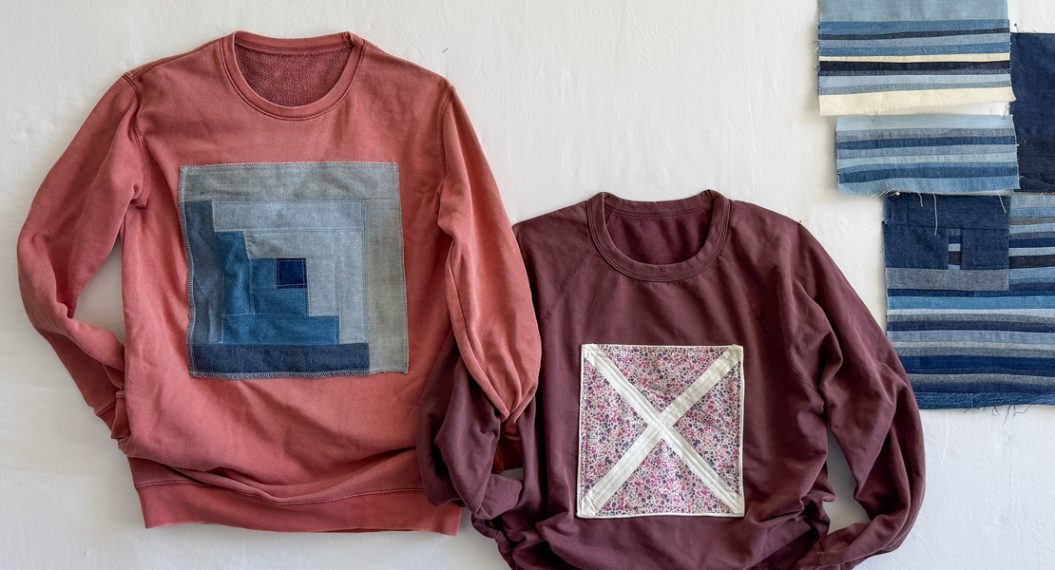
How to Upcycle Napkins with the BERNINA Hemstitch Attachment #47
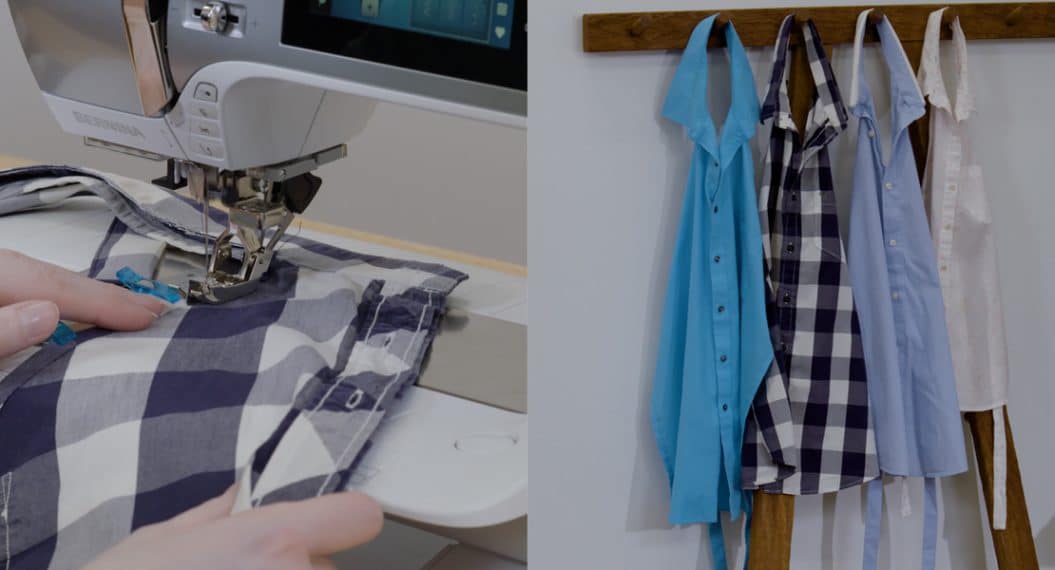
I have a collection of linen napkins — some sewn by my grandmother and some I’ve found thrifting over the years. Even though the napkins are in good condition, I rarely use them. They’re small in size and too few of the same color. Today, I’m upcycling these napkins with pretty fabric, colorful thread, and the BERNINA Spanish Hemstitch Attachment #47. This will not only lengthen them, but customize them to a season or occasion. Also, I can unify different colored napkins by adding the same fabric to them. Let me show you how easy it is!
Materials for Upcycling Napkins
- BERNINA 790 PLUS
- Reverse Pattern Foot #1D
- Open Embroidery Foot #20C
- Spanish Hemstitch Attachment #47
- Napkins
- Coordinating fabric
- BERNINA Microtex #80 and Topstitch #90 or 100
- Mettler Silk-Finish Cotton 50 thread
- Sulky 12 wt. Cotton thread or Wonderfil Spagetti thread
- OESD Point and Press Tool
- Mary Ellen’s Best Press or Flatter Smoothing Spray
Prep Banding and Napkins
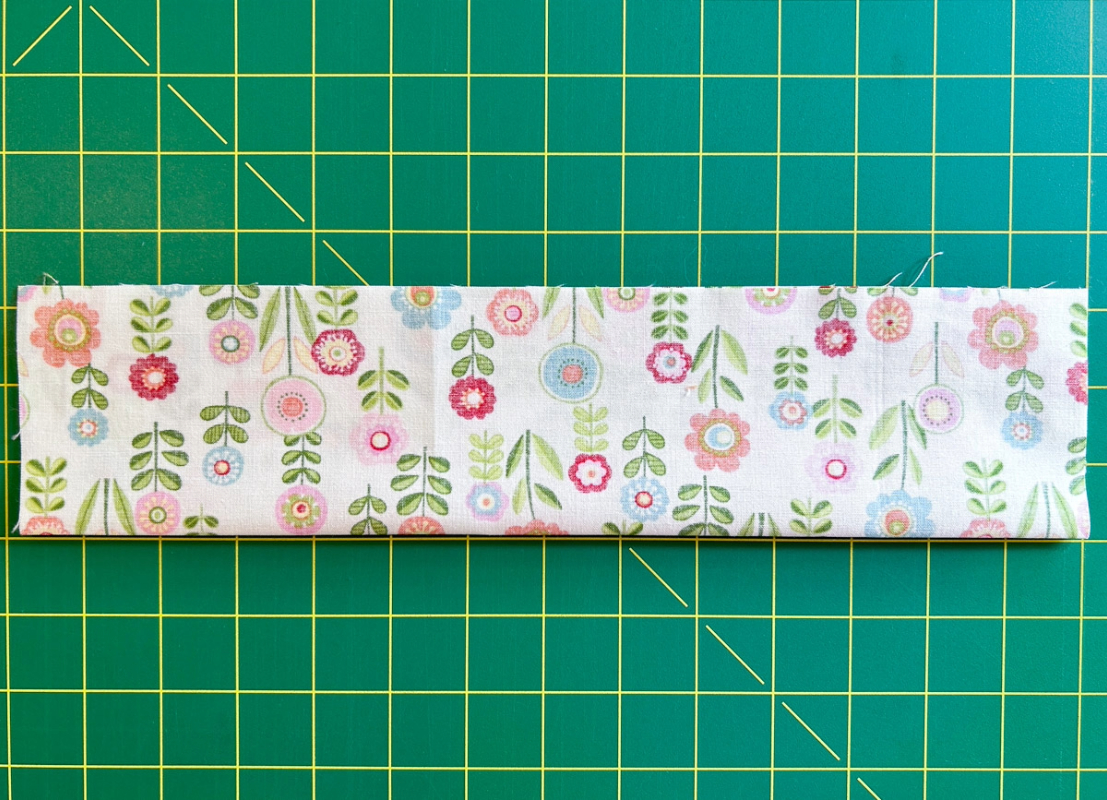
Cut fabric 6” x width of napkin plus 3/4”. Do this for each napkin.

Fold band in half lengthwise, wrong sides out. Lightly press. Pin if desired.
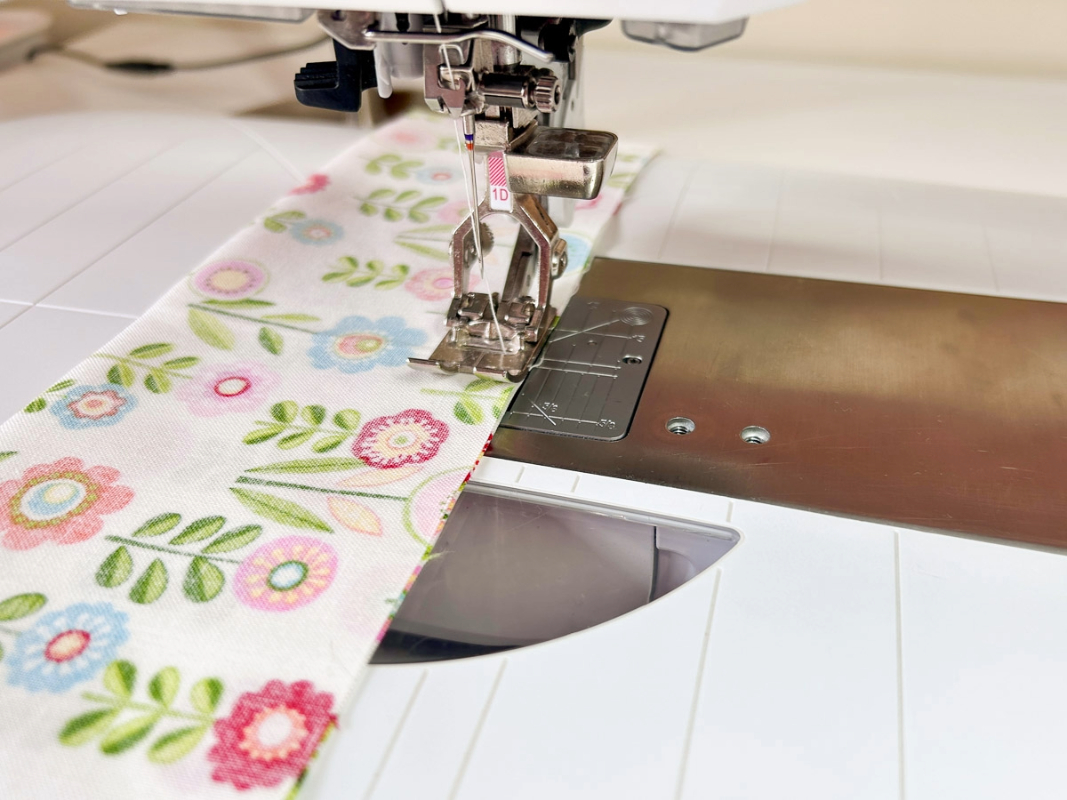
Attach Reverse Pattern Foot #1D. Thread machine with Mettler Silk-Finish Cotton 50. Place fabric edge along the 3/8” mark on the stitch plate. Sew, leaving 3” open in the middle to turn right side out.
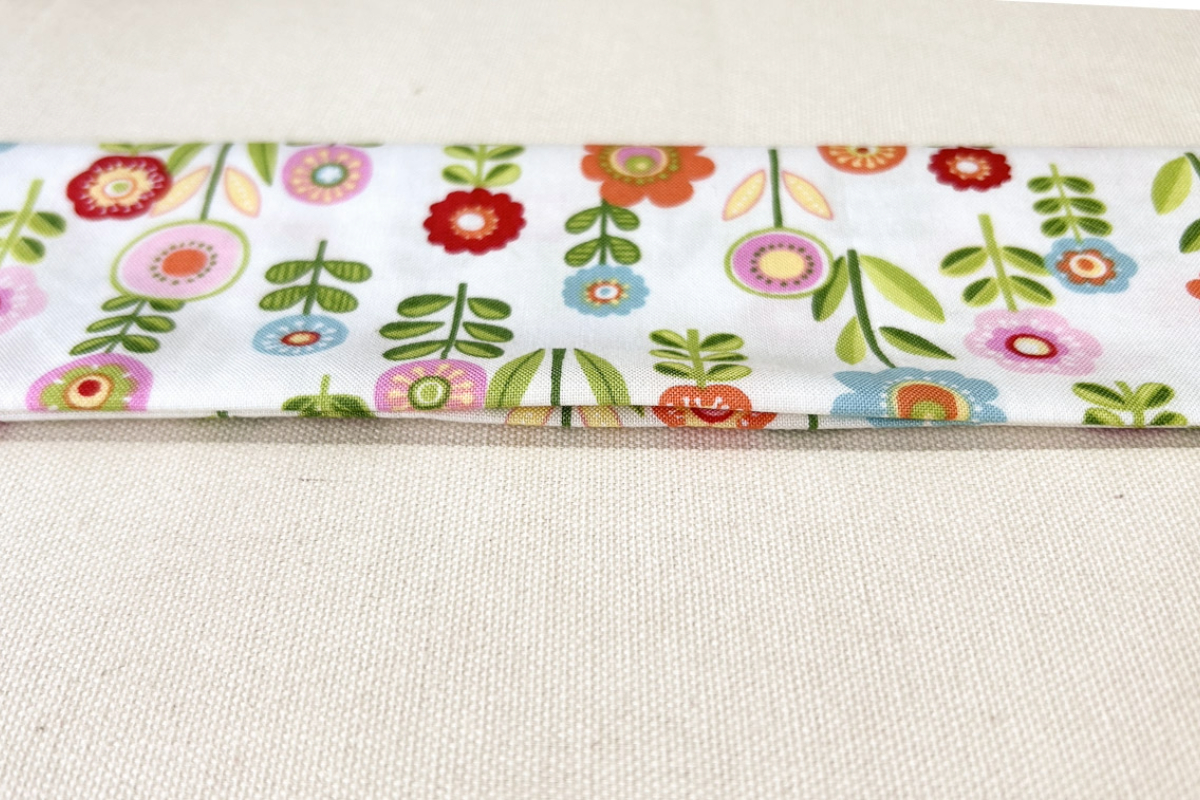
Clip corners and turn right side out. Using the OESD tool, push out corners. Press flat, aligning the open seam with the stitched seam.
The linen napkins I’m using have some stretch. I sprayed a heavy starch to help stabilize the fabric. Decide if you need to do the same.
Spanish Hemstitch Attachment
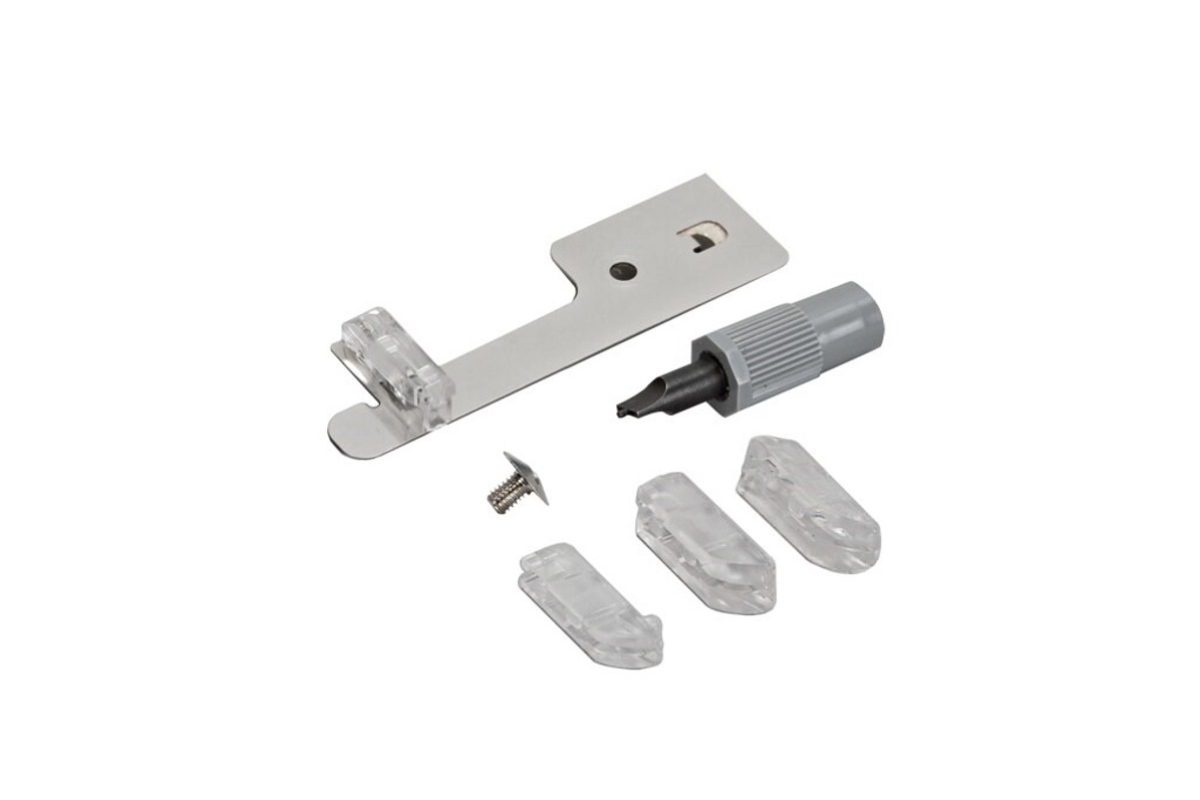
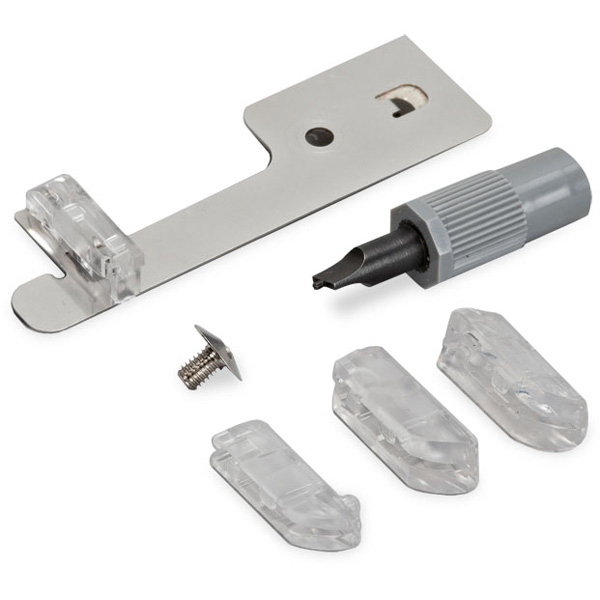
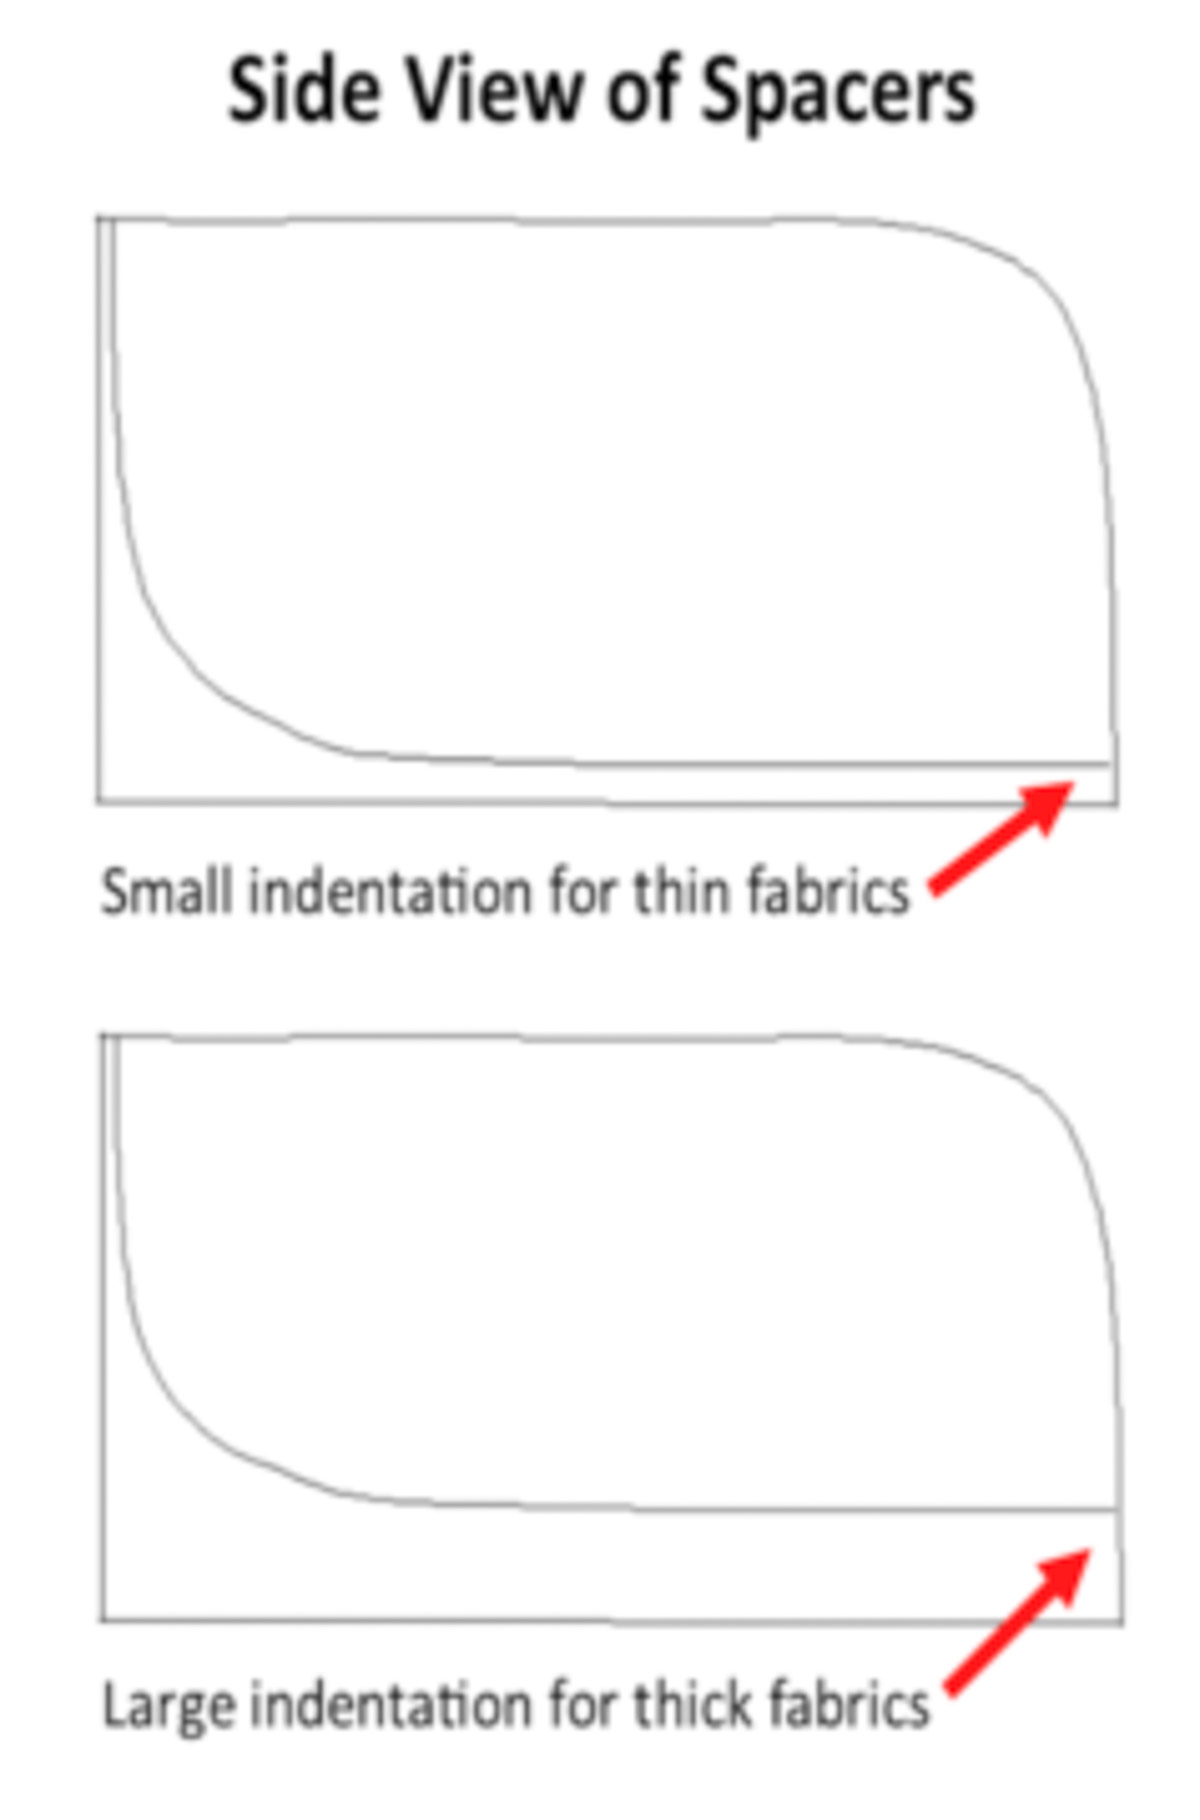
Let’s take a look at Spanish Hemstitch Attachment #47. The package includes a fastening plate with a screw, a screwdriver, and four spacers. The two larger spacers are for 9 mm machines only; the two smaller spacers can be used on 5.5 mm and 9 mm machines. Each pair has one spacer for thinner fabric and one spacer for thicker fabric. Open Embroidery Foot #20 and #20C work with the attachment.
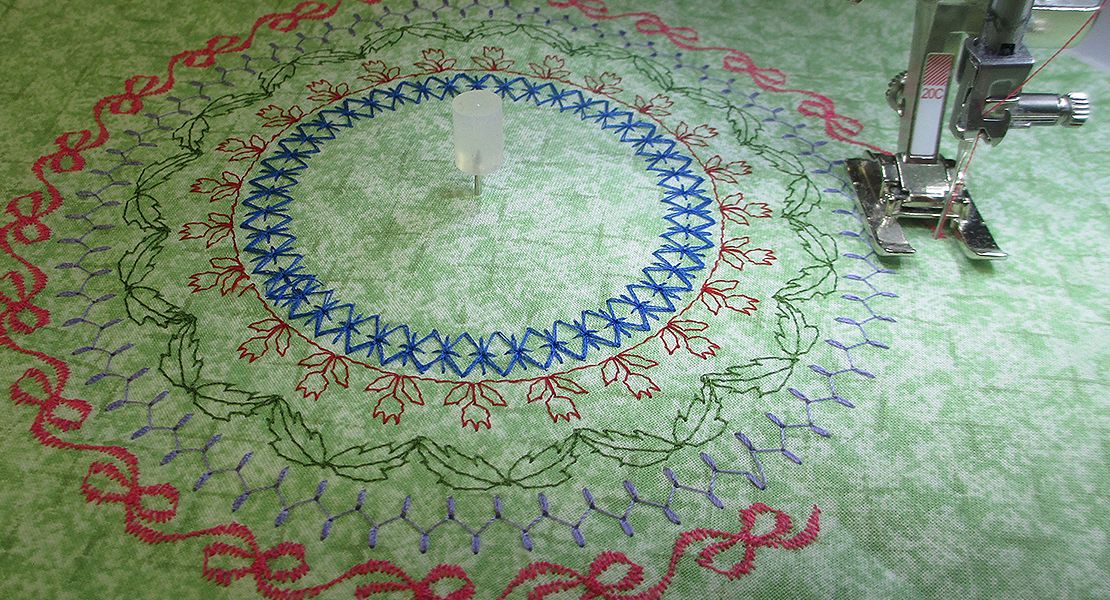
Playing with Stitches
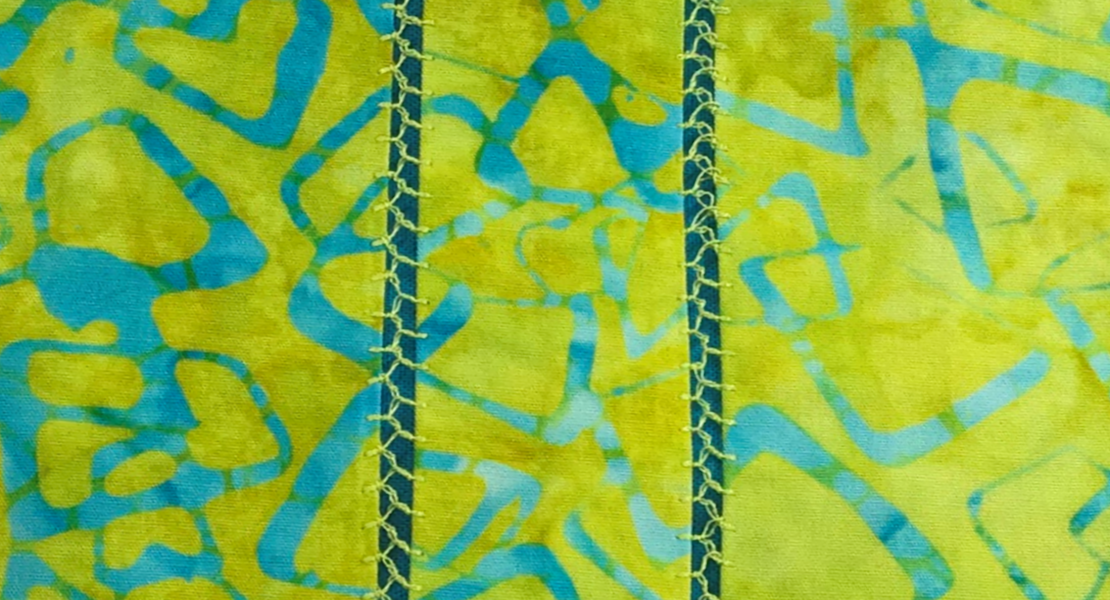
With this attachment, the needle points need to land in the fabric edges on either side of the spacers. For this reason, many of the decorative stitches will not work. Also, remember there’s an open space in the middle with nothing to support stitches. I like to use decorative stitches #702, 709, and 725. Whichever stitches you decide to use, adjust the stitch width to the width of the spacer.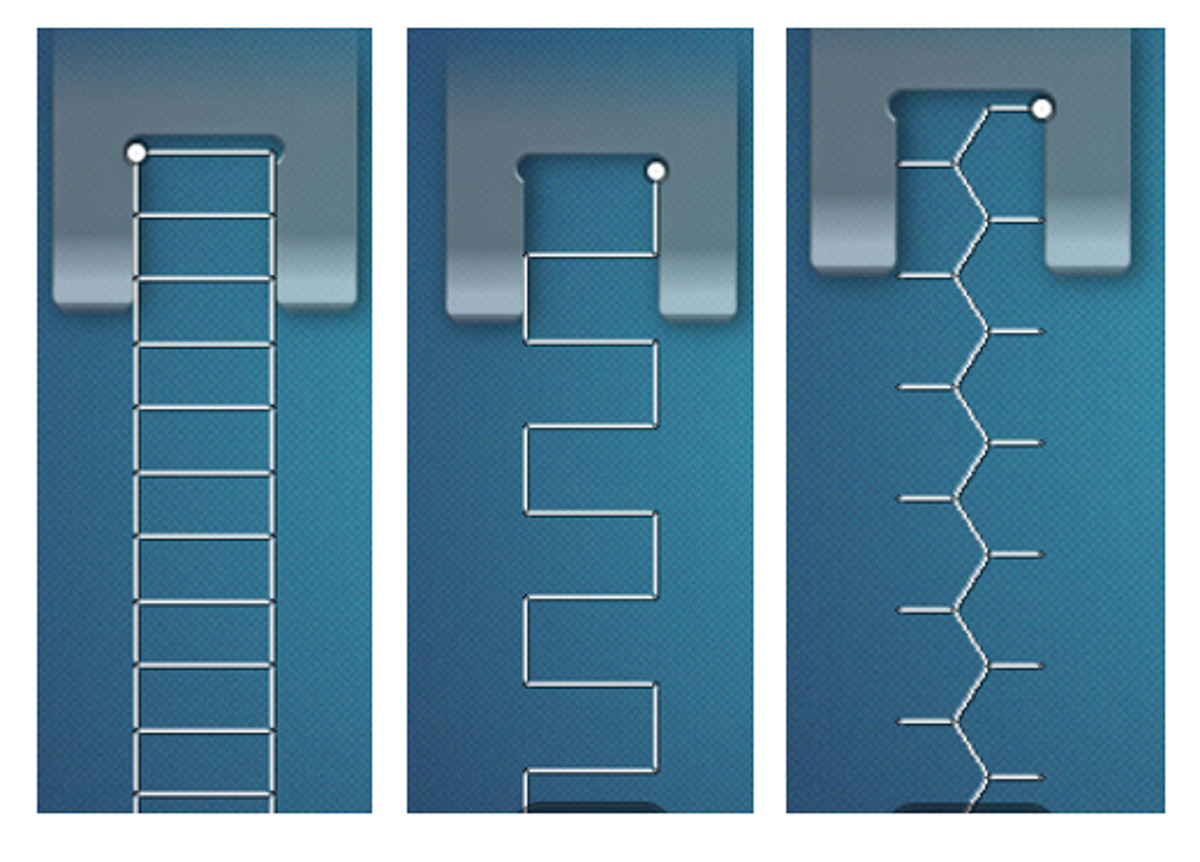
Edit Stitch Pattern
Select Stitch #709. Increase Stitch Width to 9 mm and Stitch Length to 11.9 mm. Tap Stitch Designer.
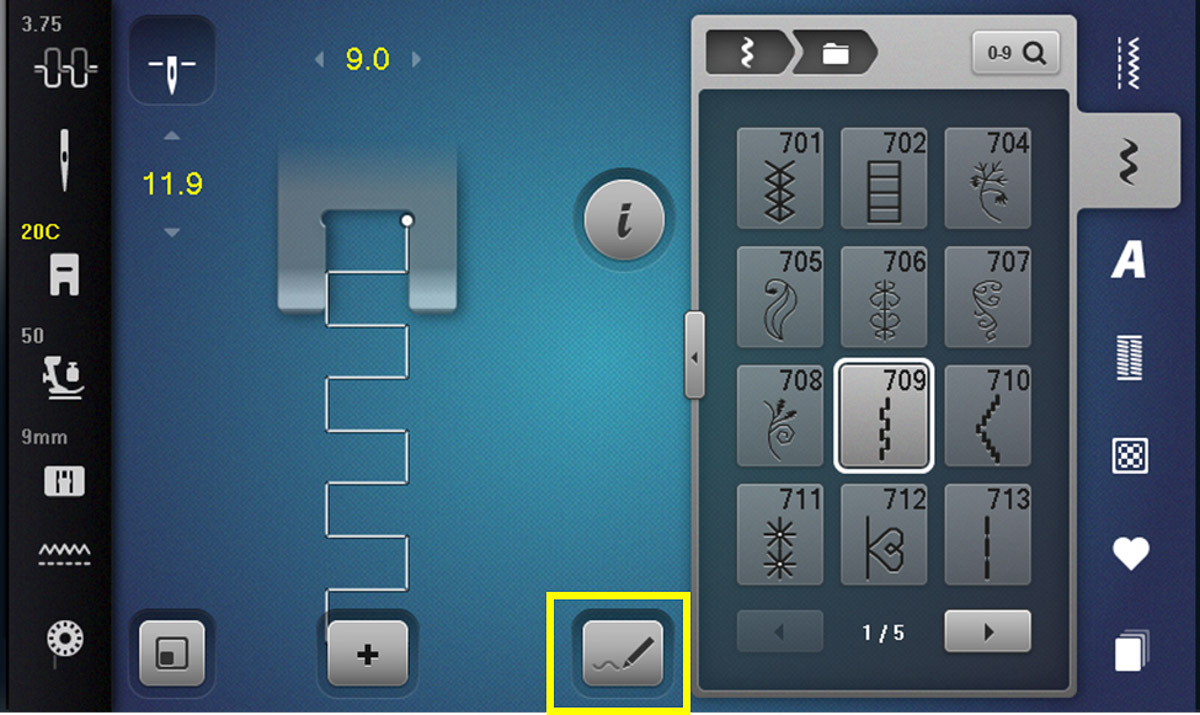
Tap the Stitch Run icon to watch the stitch pattern on screen. Notice how many times the stitch goes back and forth at the vertical stitches. It’s not just a triple stitch — it’s a triple stitch x 2, or a sextuple stitch!
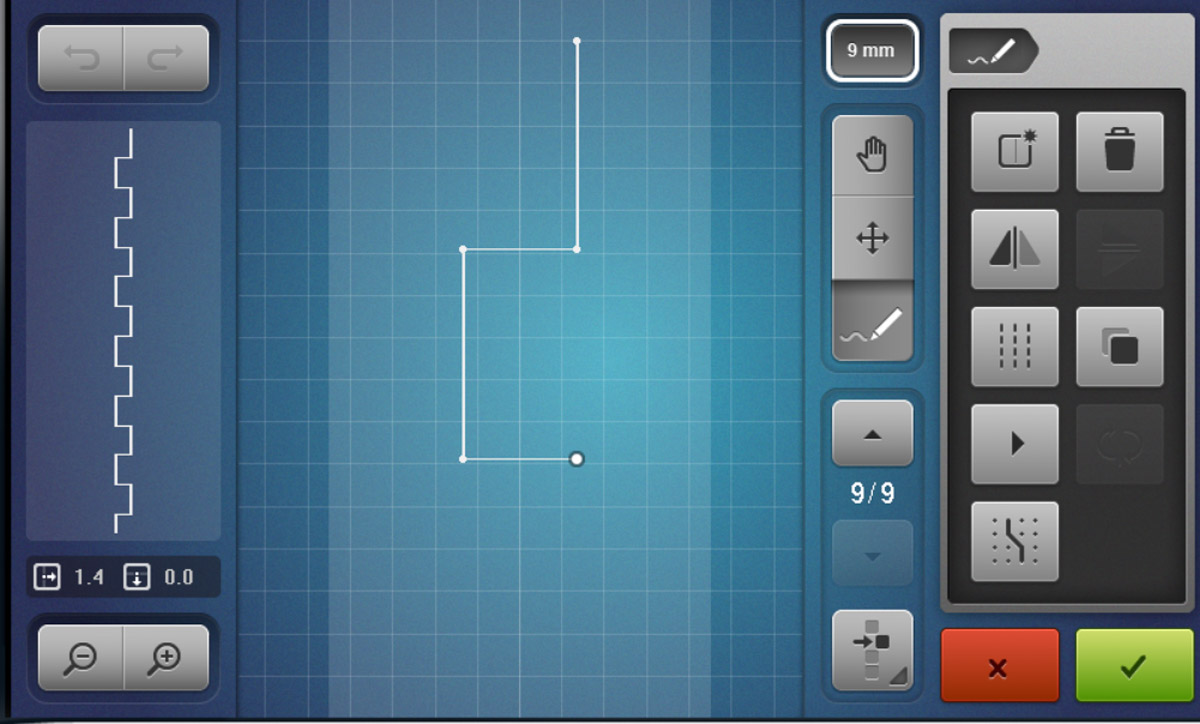
We’re using thick thread, so let’s change the vertical stitches to triple stitches (not sextuples). Tap the Selecting All Points icon.
![]()
Tap the Triple Stitch icon two times. Tap the Stitch Run icon to watch the pattern on screen. Are the vertical stitches triple stitches and the horizontal stitches single stitches?
![]()
Stitch Out
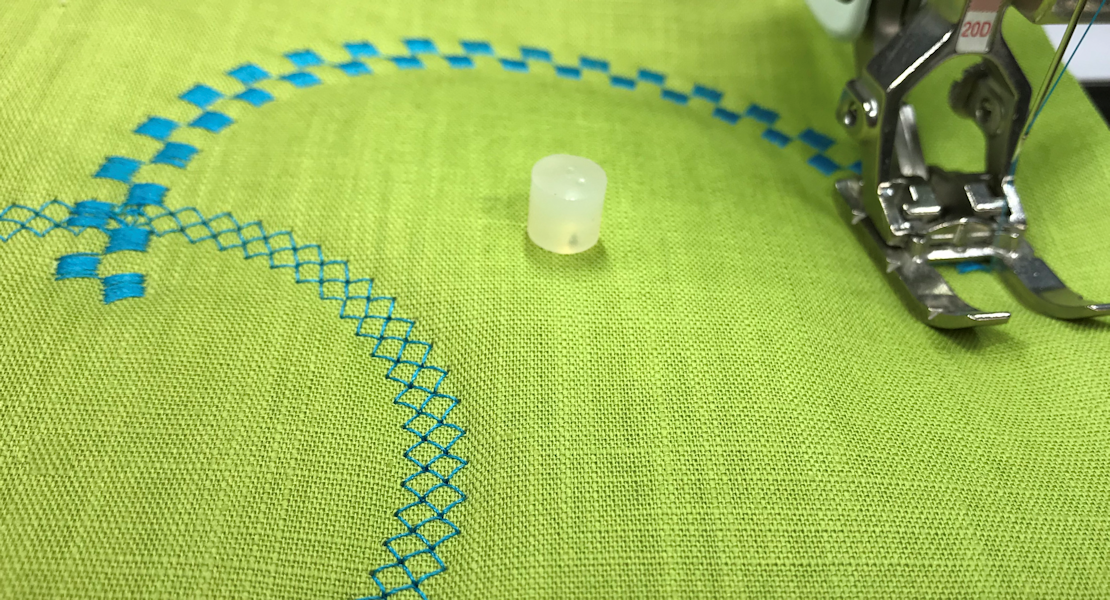
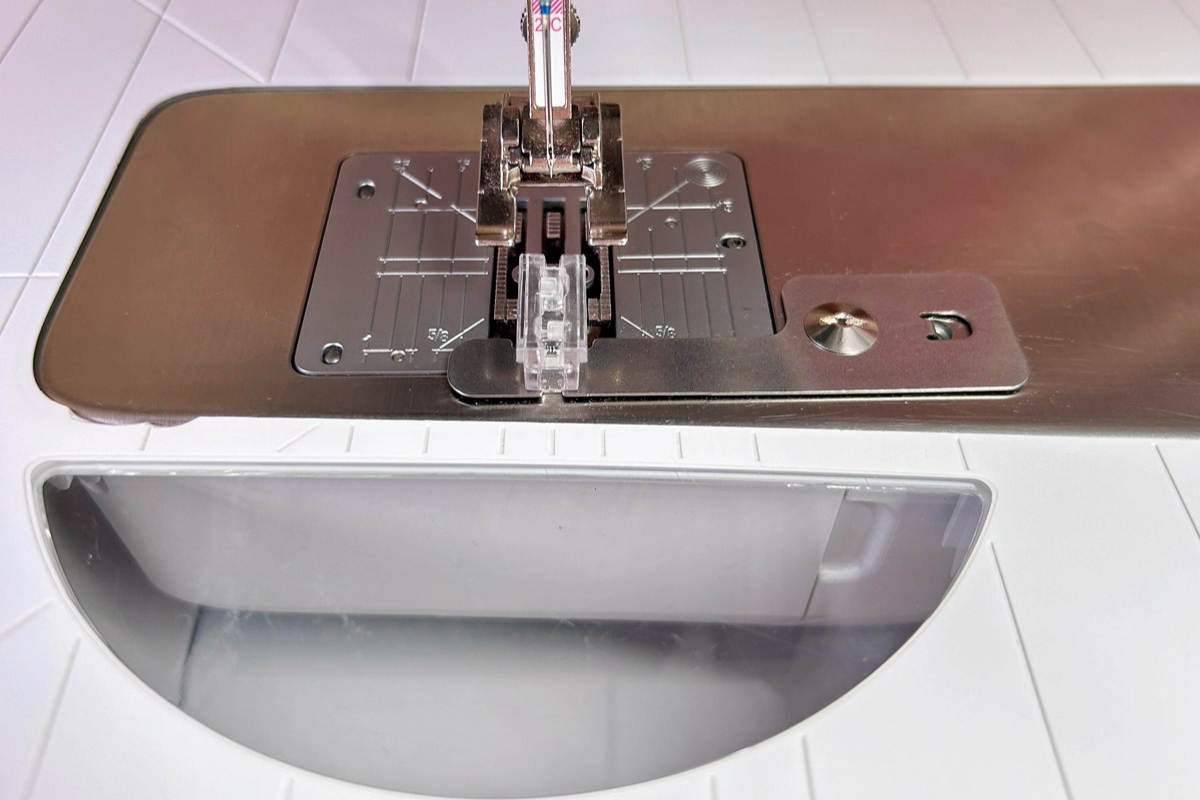
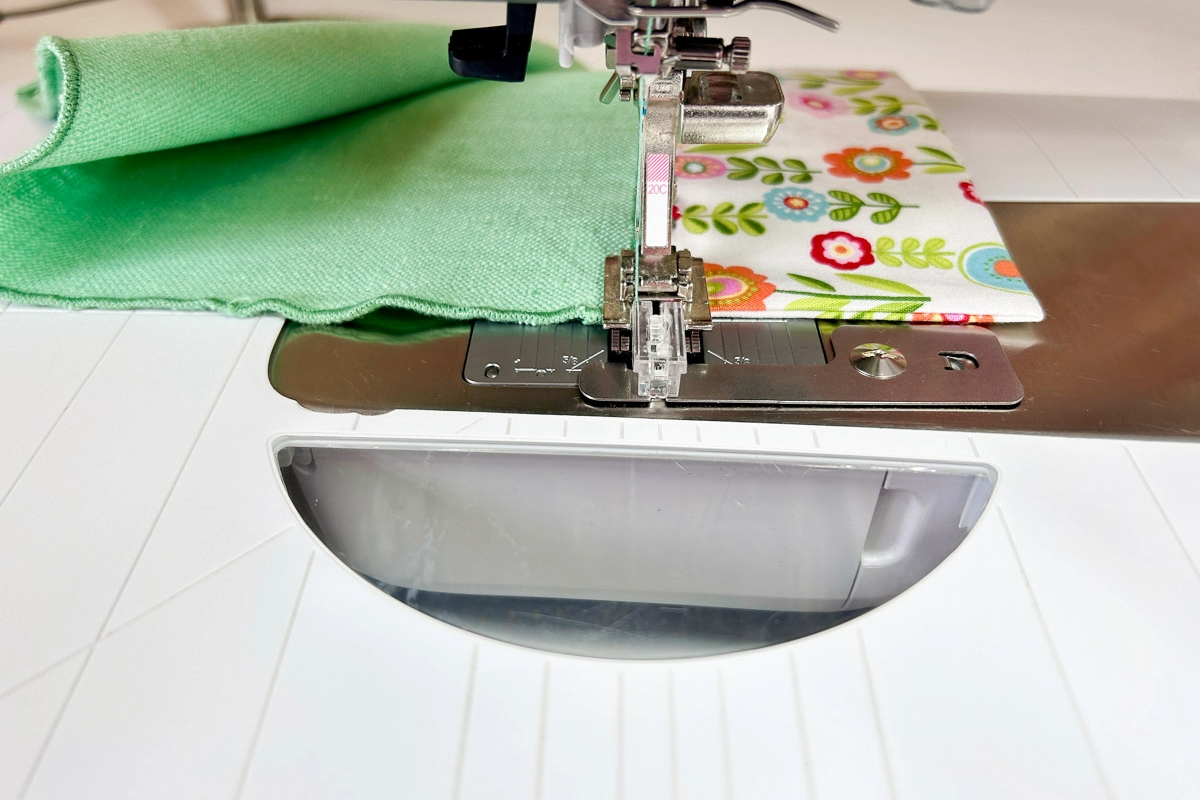
Attach the Open Embroidery Foot #20C to your machine. Attach the 9 mm spacer to the Spanish Hemstitch fastening plate and secure to the bed of the machine. Lower the foot to check placement.
Place the fabric band on a flat surface with the open seam at the top. Next, place the napkin above the band. See how the stitch will enclose the seam at the same time? Align the edges and place a pin about 3” from the right side.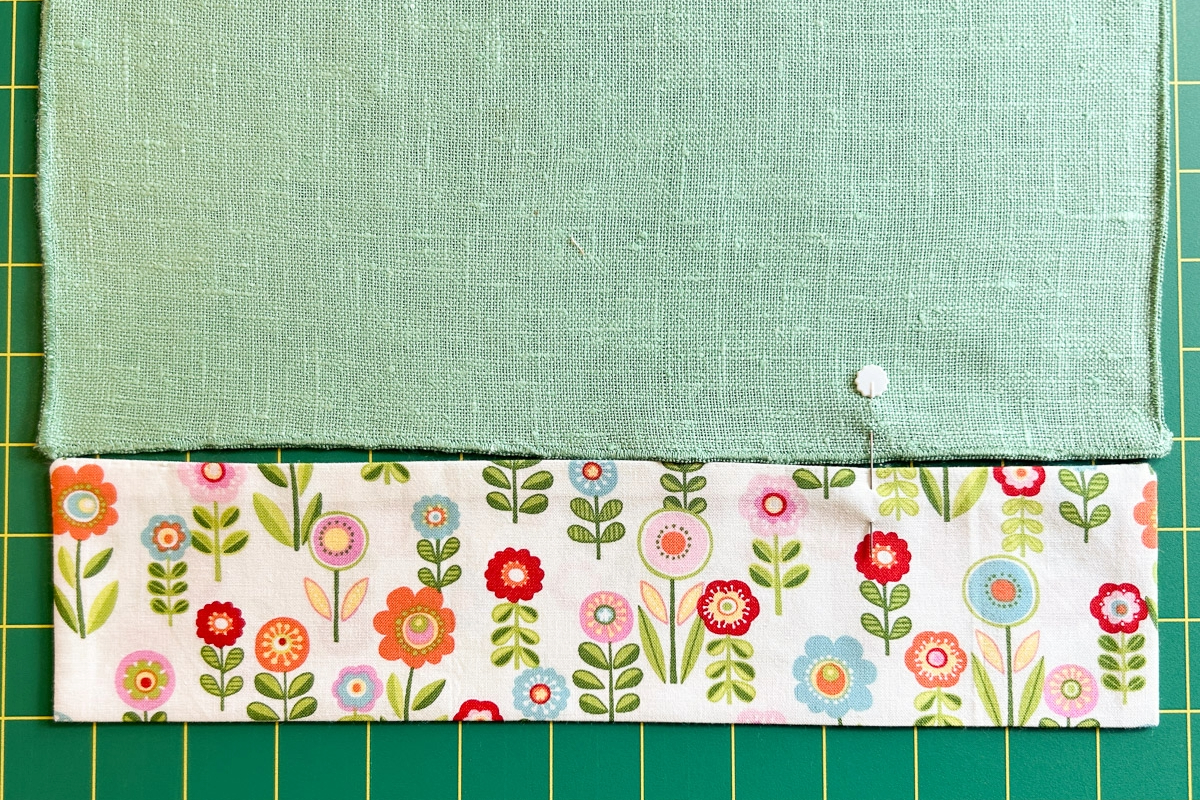
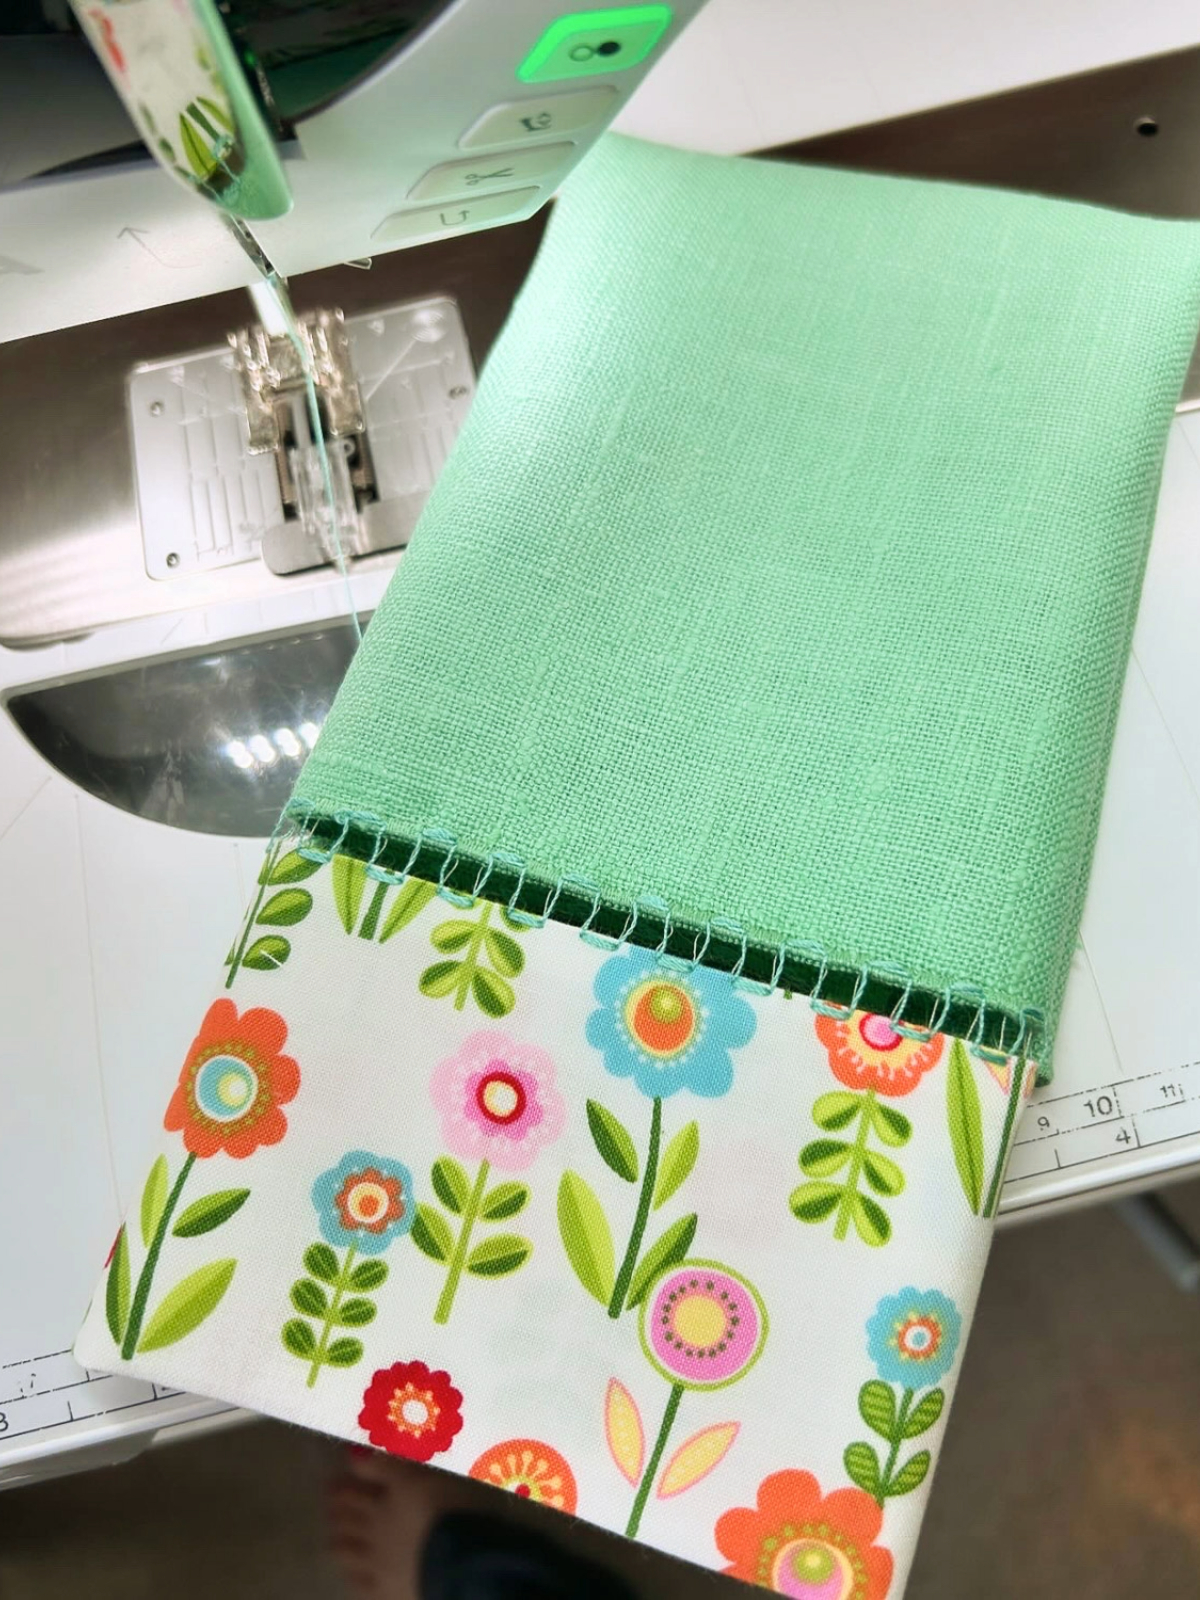
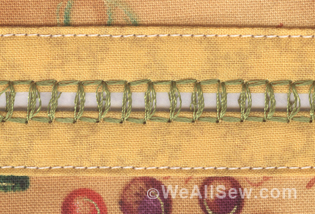
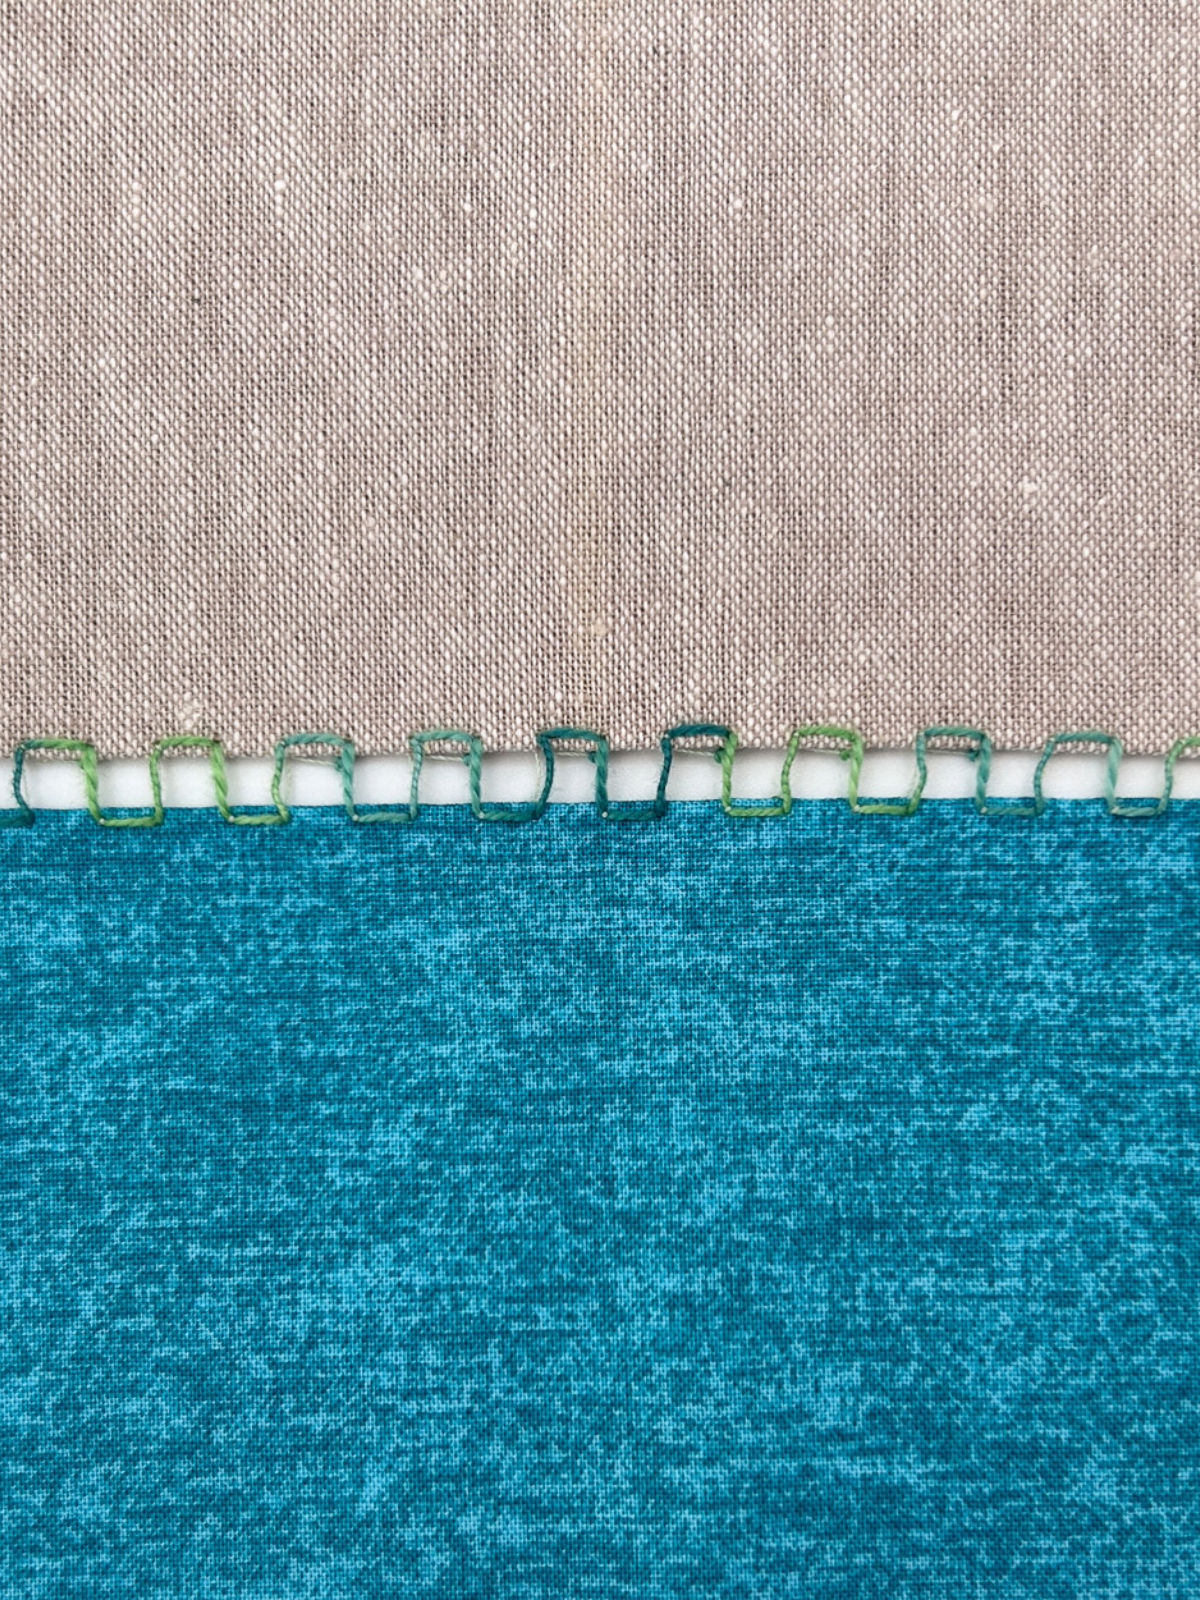
At the machine, place the napkin to the left of the spacer and the fabric band to the right. The pin keeps everything aligned during the initial placement. This is a good time to use your Free Hand System too. Hold the upper thread and start sewing. No need to secure stitches at the beginning — the stitch pattern starts with a triple stitch.
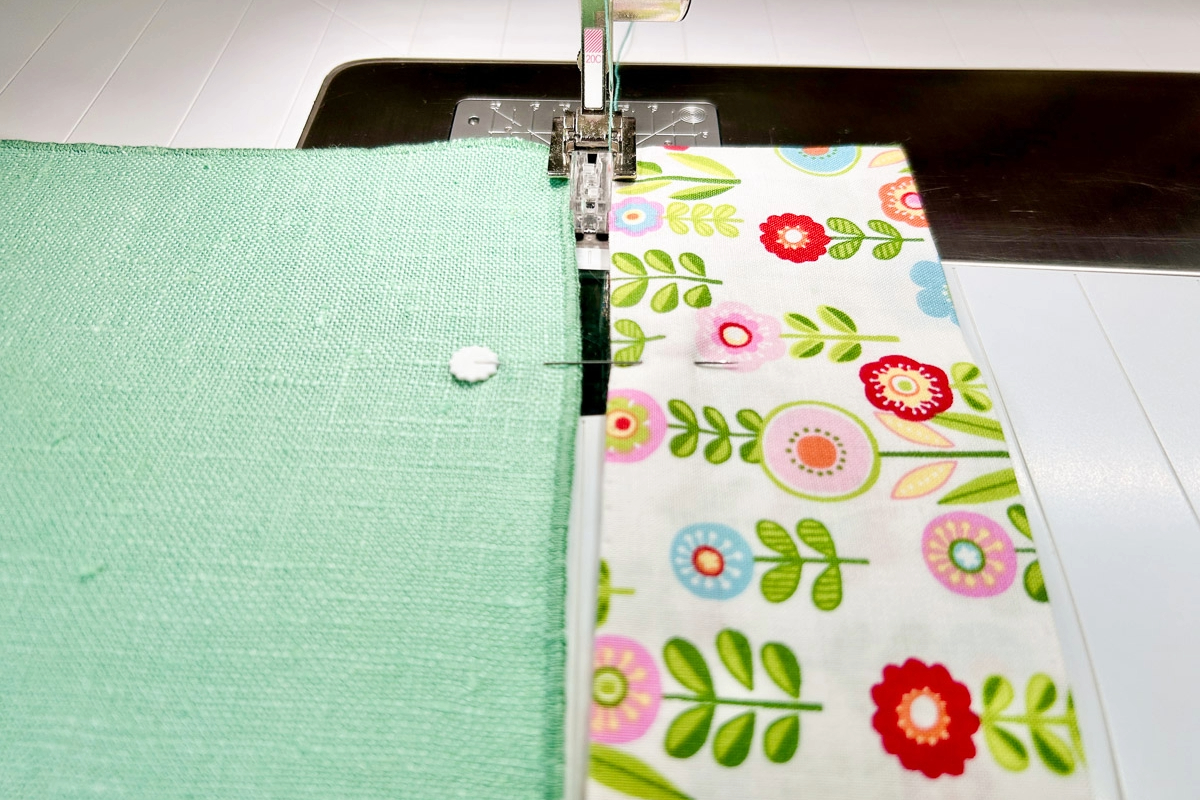
Continue to stitch slowly, making sure the needle lands in the fabric on both sides. When you get to the end, secure the stitches using your preferred method. I like to tap the Secure Button. For this project, I programmed the Secure Button to stitch four securing stitches in place.
Pro tip: If you find the ends aren’t aligning, the napkin is most likely stretching. Use a heavy spray starch on the stretchy fabric. Also, lower the Presser Foot Pressure. I lowered mine to 30.
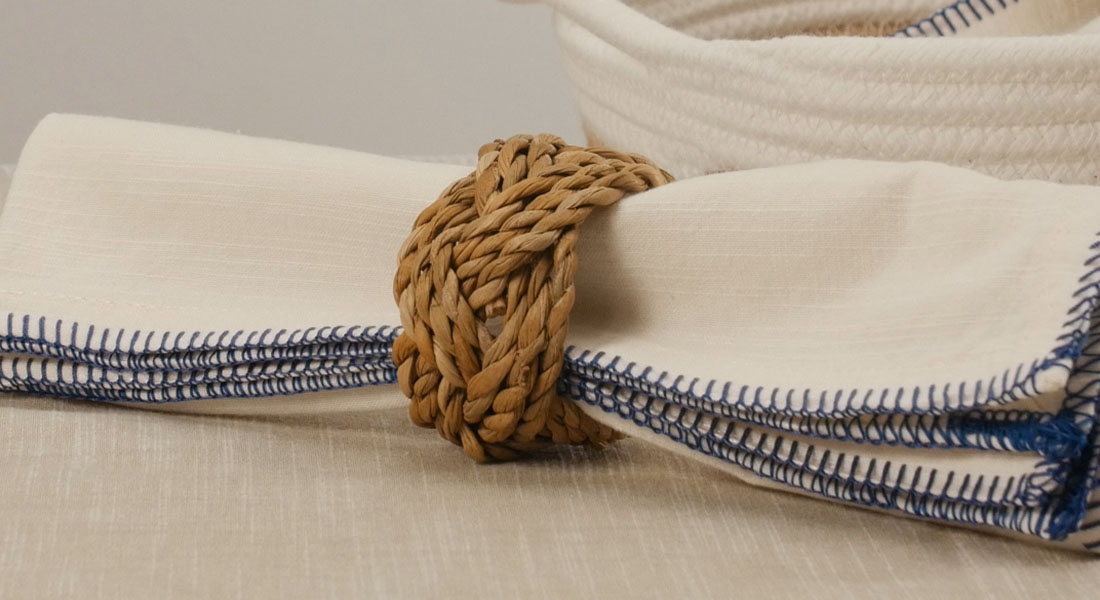
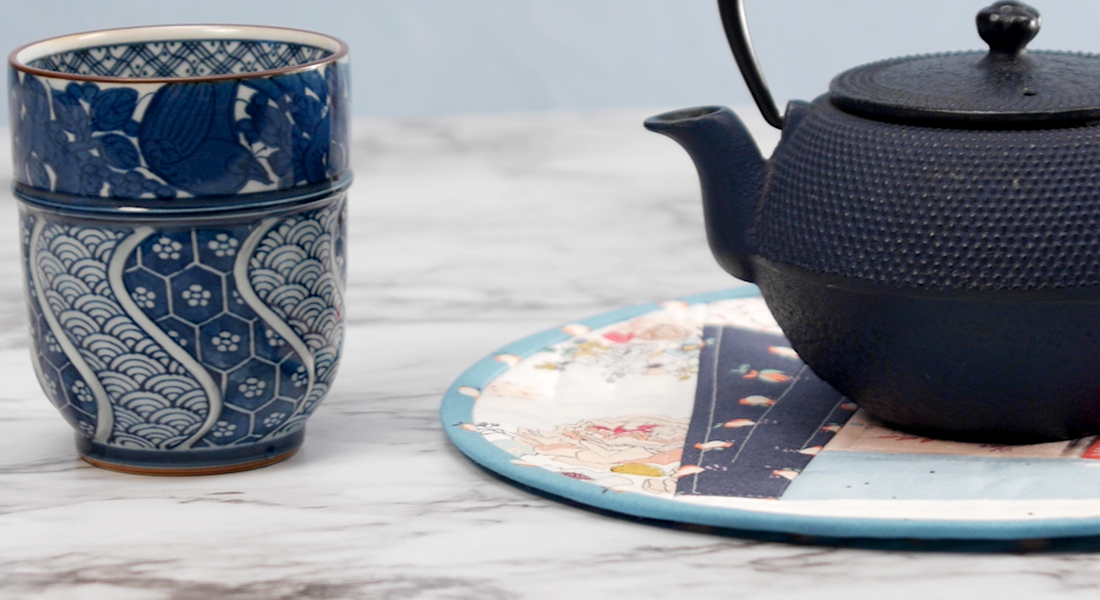
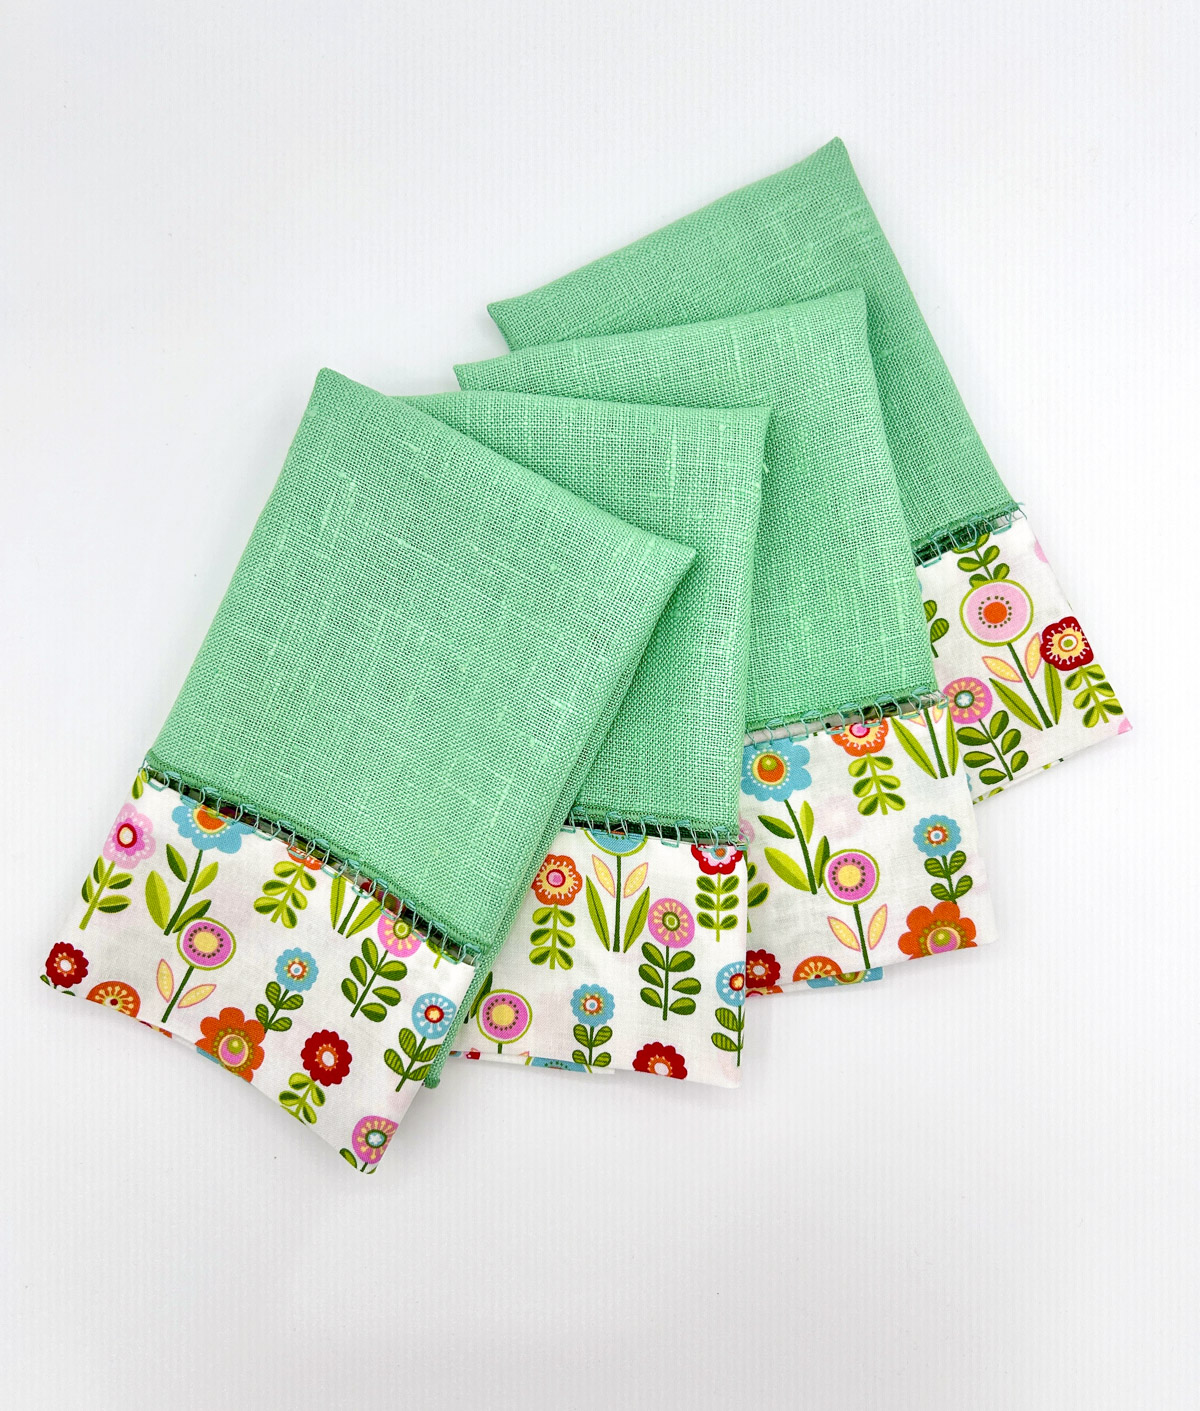
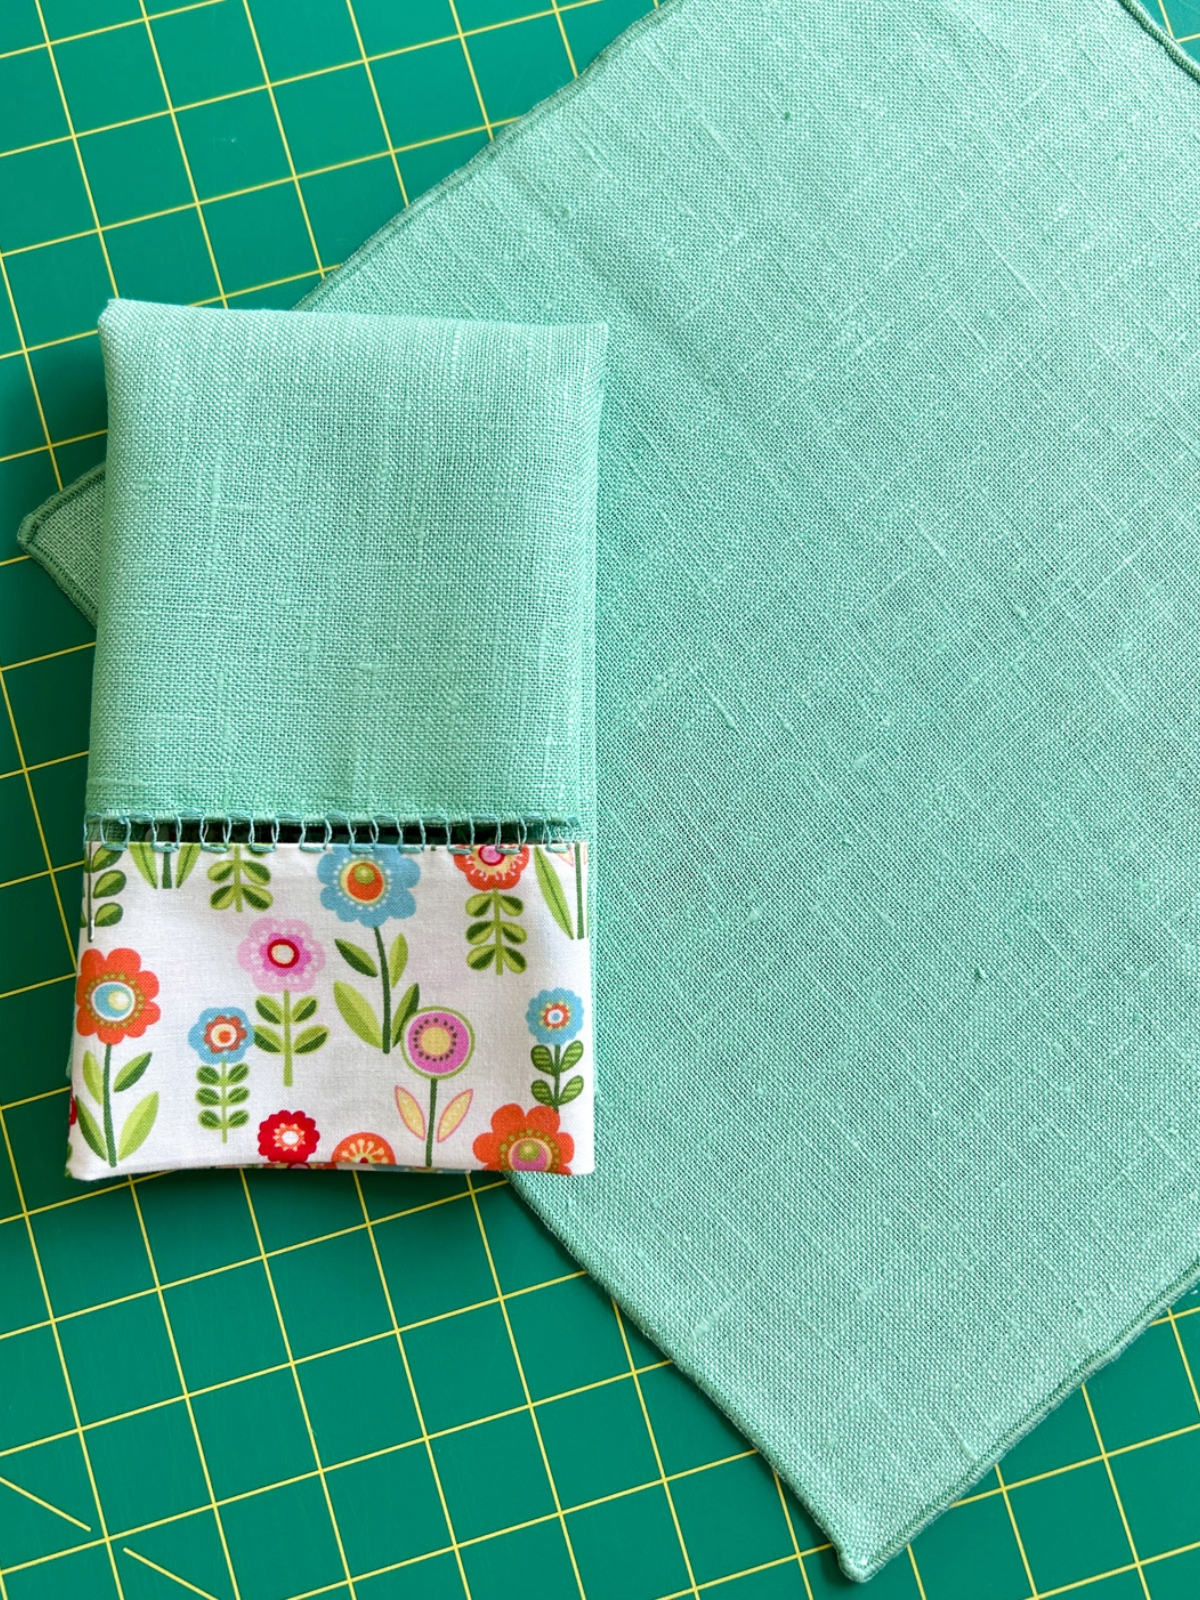
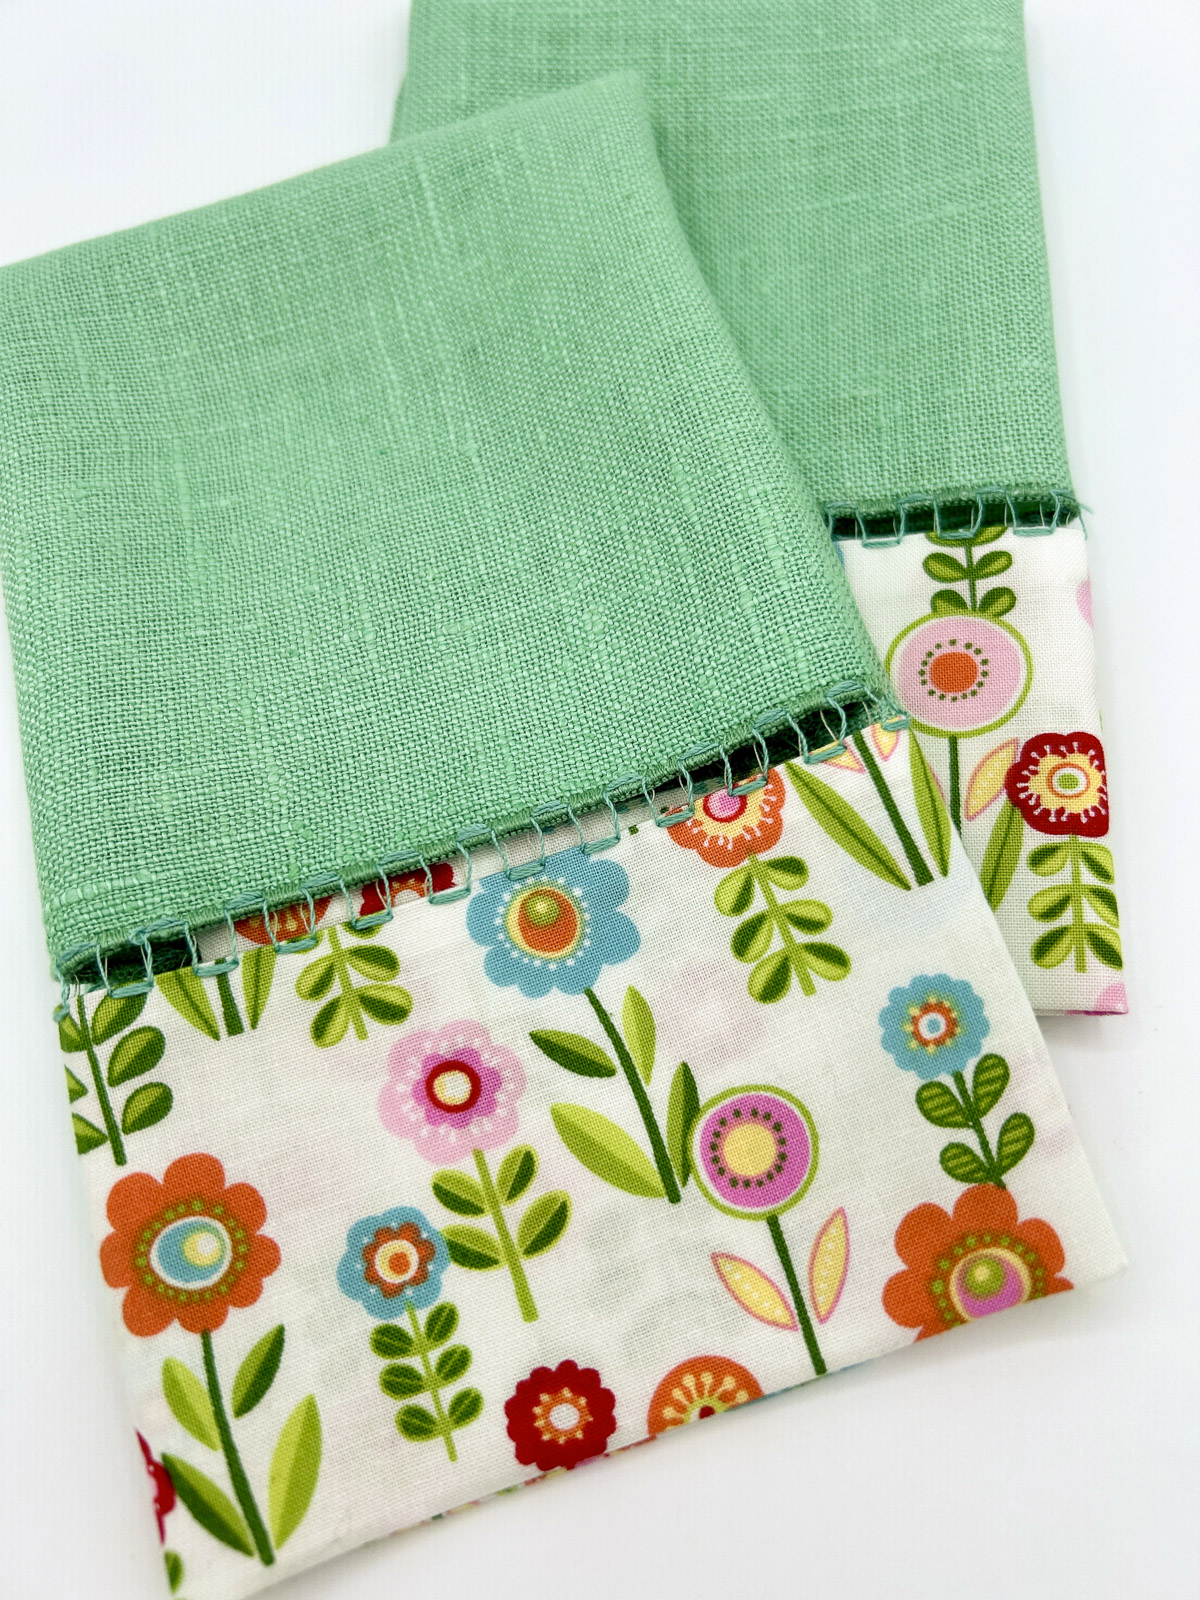
For a beautiful finish, spray your upcycled napkin with Best Press or Flatter Smoothing Spray. Press the fabric and threads flat and enjoy the lovely results!
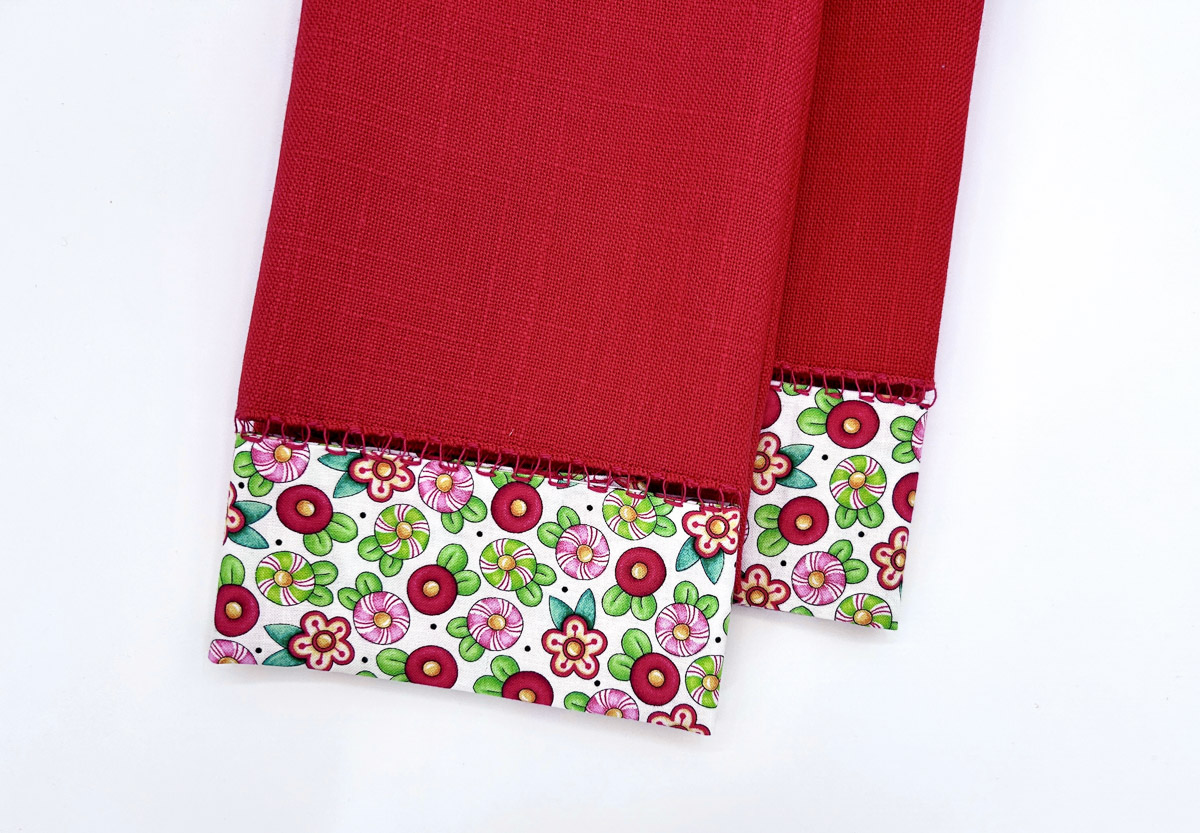
Here are red napkins with a new look.
Options
- Use the 5 mm spacer with Open Embroidery Foot #20 on the 9 mm machines. The space between the napkin and the fabric will be smaller.
- Insert a narrow cord, such as perle cotton, into the spacer to add color and texture. Check out the Big Book of Feet for this technique.
- Weave a narrow ribbon through the open stitch.
- Use an 8 weight thread. Here, I used Sue Spargo Eleganza #8 with a BERNINA Topstitch 100 needle. Also, I edited the stitch in Stitch Designer to a single stitch.
I have so many more ideas for the Spanish Hemstitch Attachment and I bet you will too once you start playing! My next project is adding a fabric band to my small decorative garden flags! There’s nothing to it but to do it!