How to Use the Adapter Set for Free-Arm Embroidery: FREE Video Tutorial
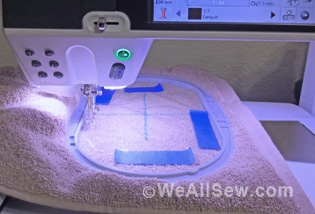
If you’ve ever embroidered a t-shirt, you know how important it is to make sure the back of the shirt stays out of the way and doesn’t get caught in the stitching. So you hoop the shirt, then pull and stretch the rest of the shirt so it’s all bunched up around the outside of the hoop. This is awkward but not too difficult with large shirts, but what about a little baby onesie? It would be so much more convenient to use the free-arm, wouldn’t it? But with the embroidery module attached to your machine, the free-arm isn’t accessible 🙁 But wait! The free-arm adapter comes to the rescue, making it possible to insert a spacer between the module and the machine. Now you’re ready for embroidery on onesies, t-shirts, and other sorts of tubular items. Here’s a short video demonstration showing how to use the free-arm adapter for embroidery on a t-shirt:
- Projects
- fashion, shirts
- Techniques
- embroidery
What you might also like
2 comments on “How to Use the Adapter Set for Free-Arm Embroidery: FREE Video Tutorial”
-
-
It only works with the S size embroidery module. You don’t need it for the L size module, to access the free arm.
Leave a Reply Cancel reply
You must be logged in to post a comment.







Can this adapter — whether for small, oval, or medium hoops — be used on an 830? Thanx.