Matting Quilts as Art: A Creative Way to Display Small Quilts
In an effort to be more sustainable, last year I started looking for ways to use my scrap fabric and scrap batting. I decided to make some smaller micro quilts and mat them. I truly believe quilts are art and should be shown as such more often, and this technique is a great way to showcase your artwork. This technique would also work for embroidery if you have an embroidery attachment with your domestic sewing machine.
This project makes a great gift to complement a quilt if you’re giving one as a gift, as a matching piece of artwork. For example, if giving a baby quilt, you could also gift a small matted quilt for the parents and child to have as a keepsake, as the quilt is loved and used.
Materials Needed To Mat a Quilt
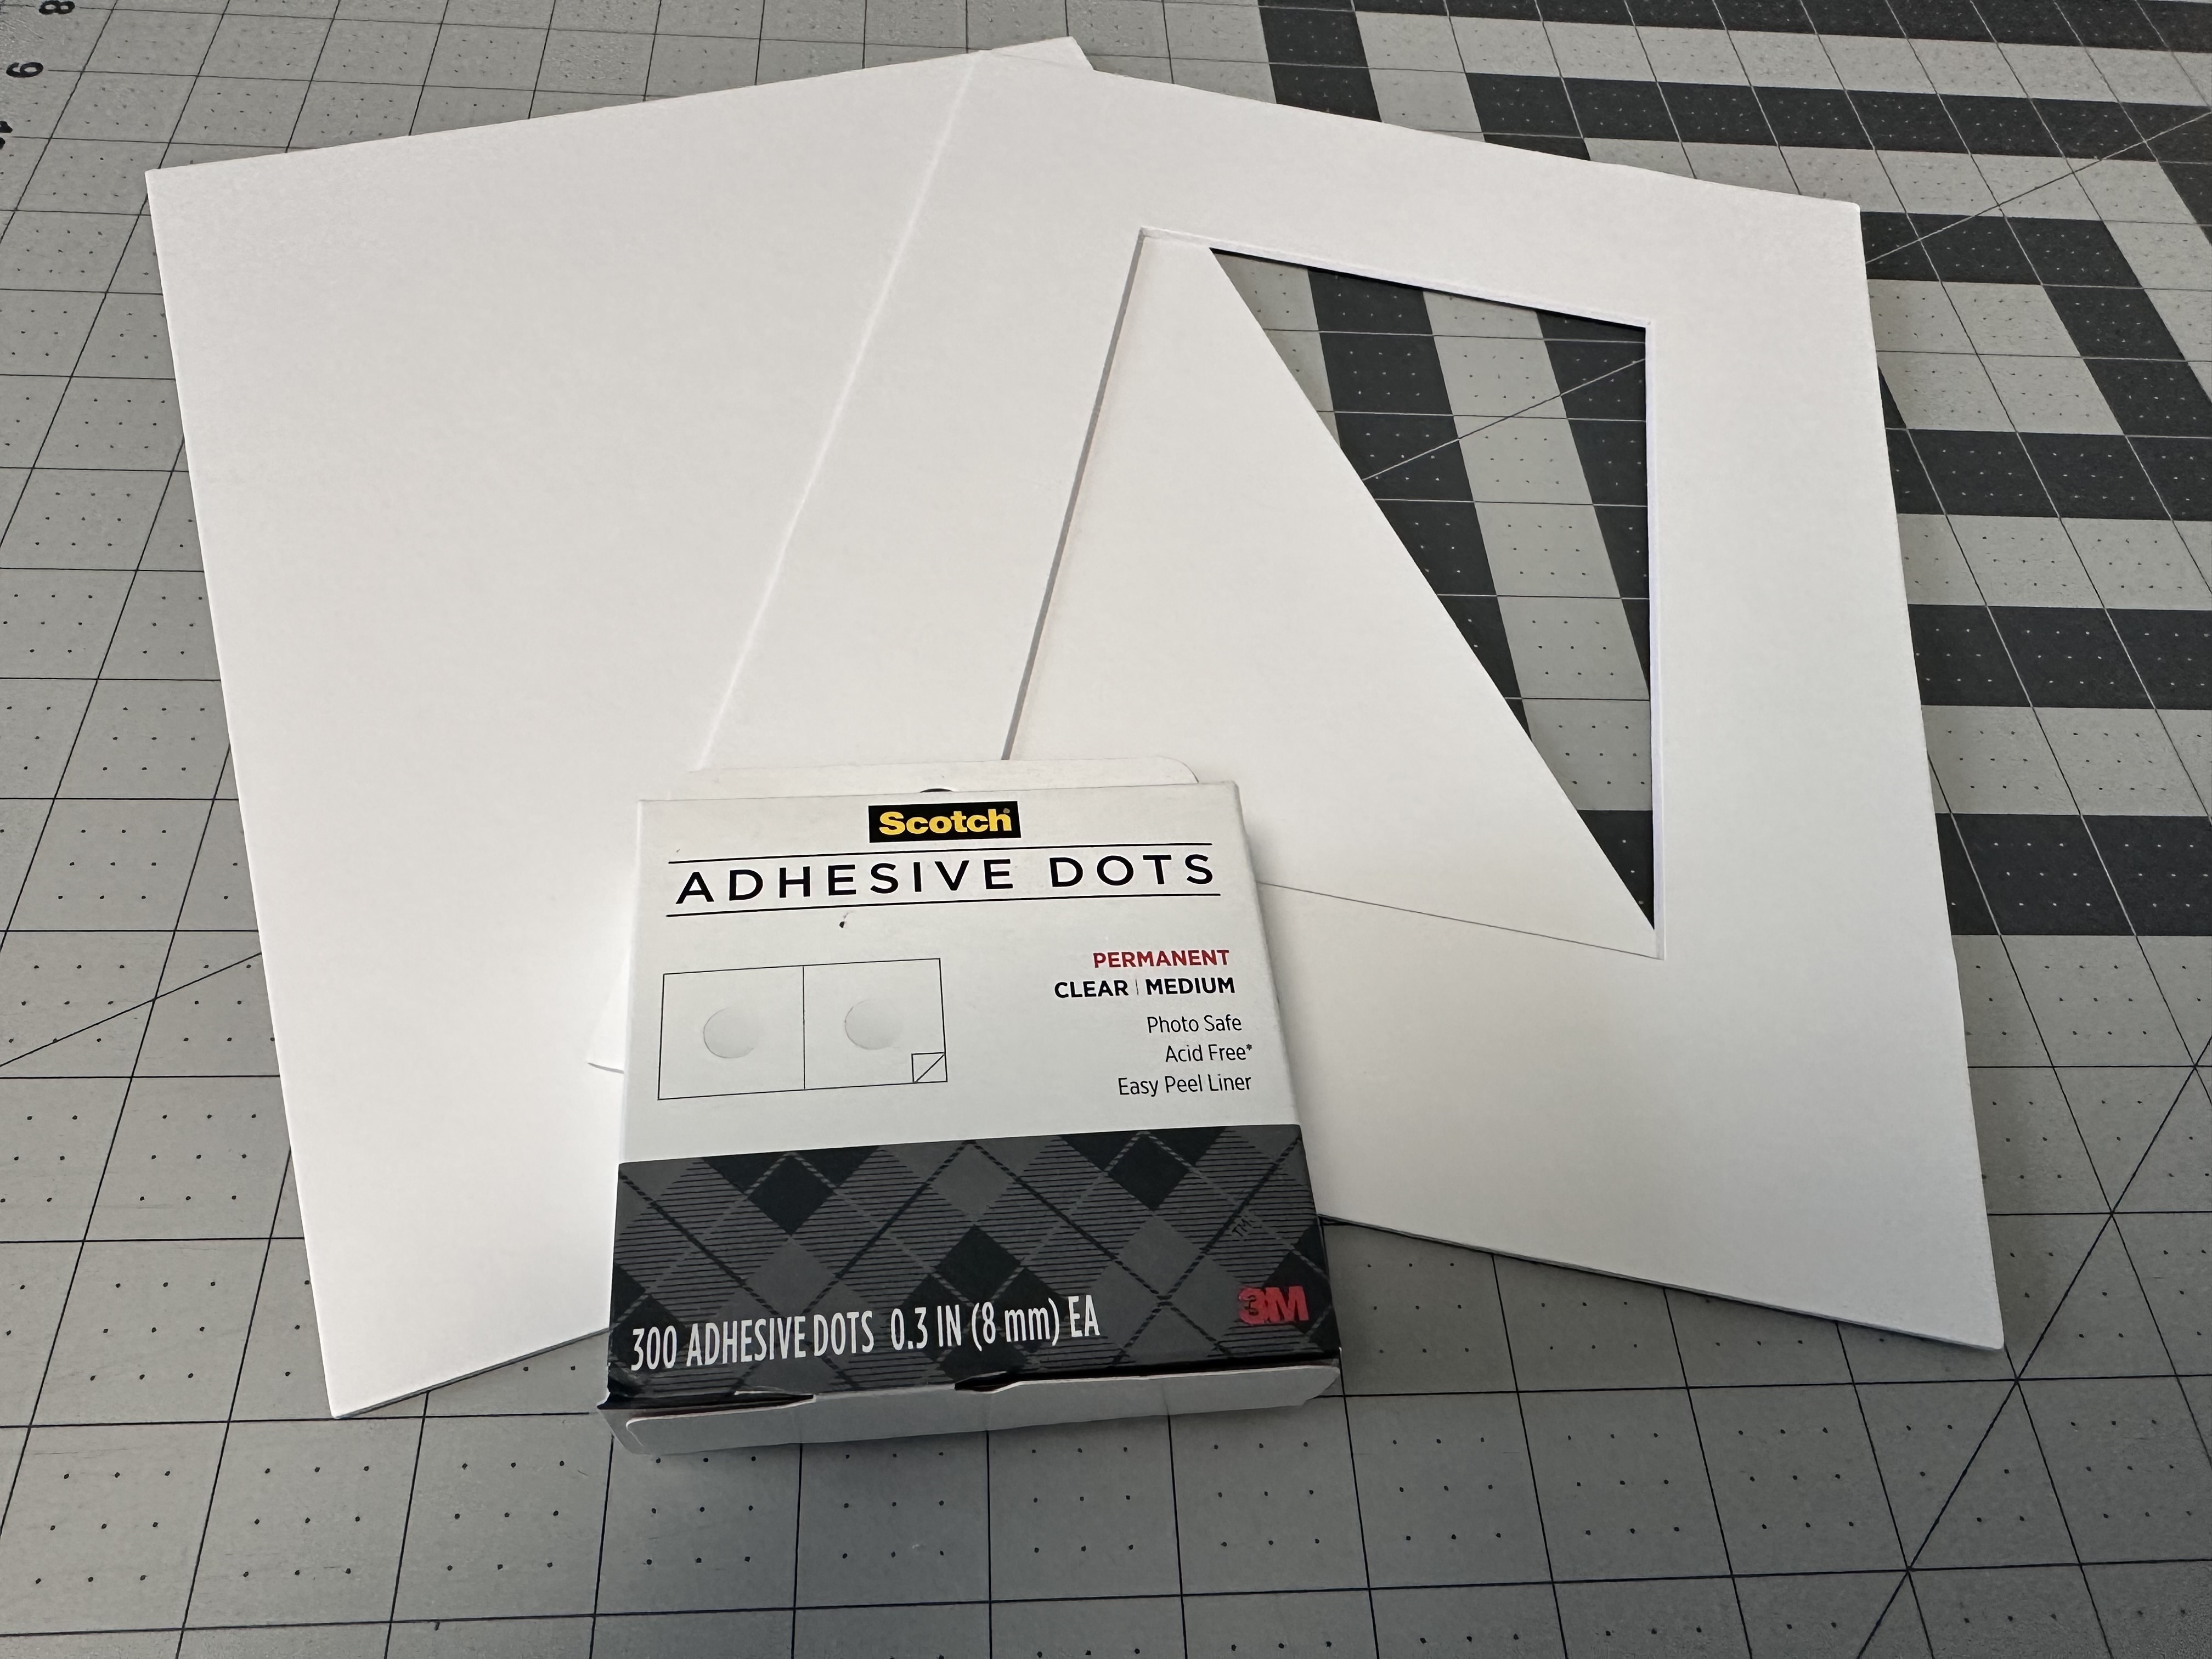
- 5” x 7” Bevel Cut Mat Board (or another size to fit your art)
- 5” x 7” Uncut Mat Board (If using another bevel cut board, use the same size uncut mat board)
- Photo-safe adhesive dots
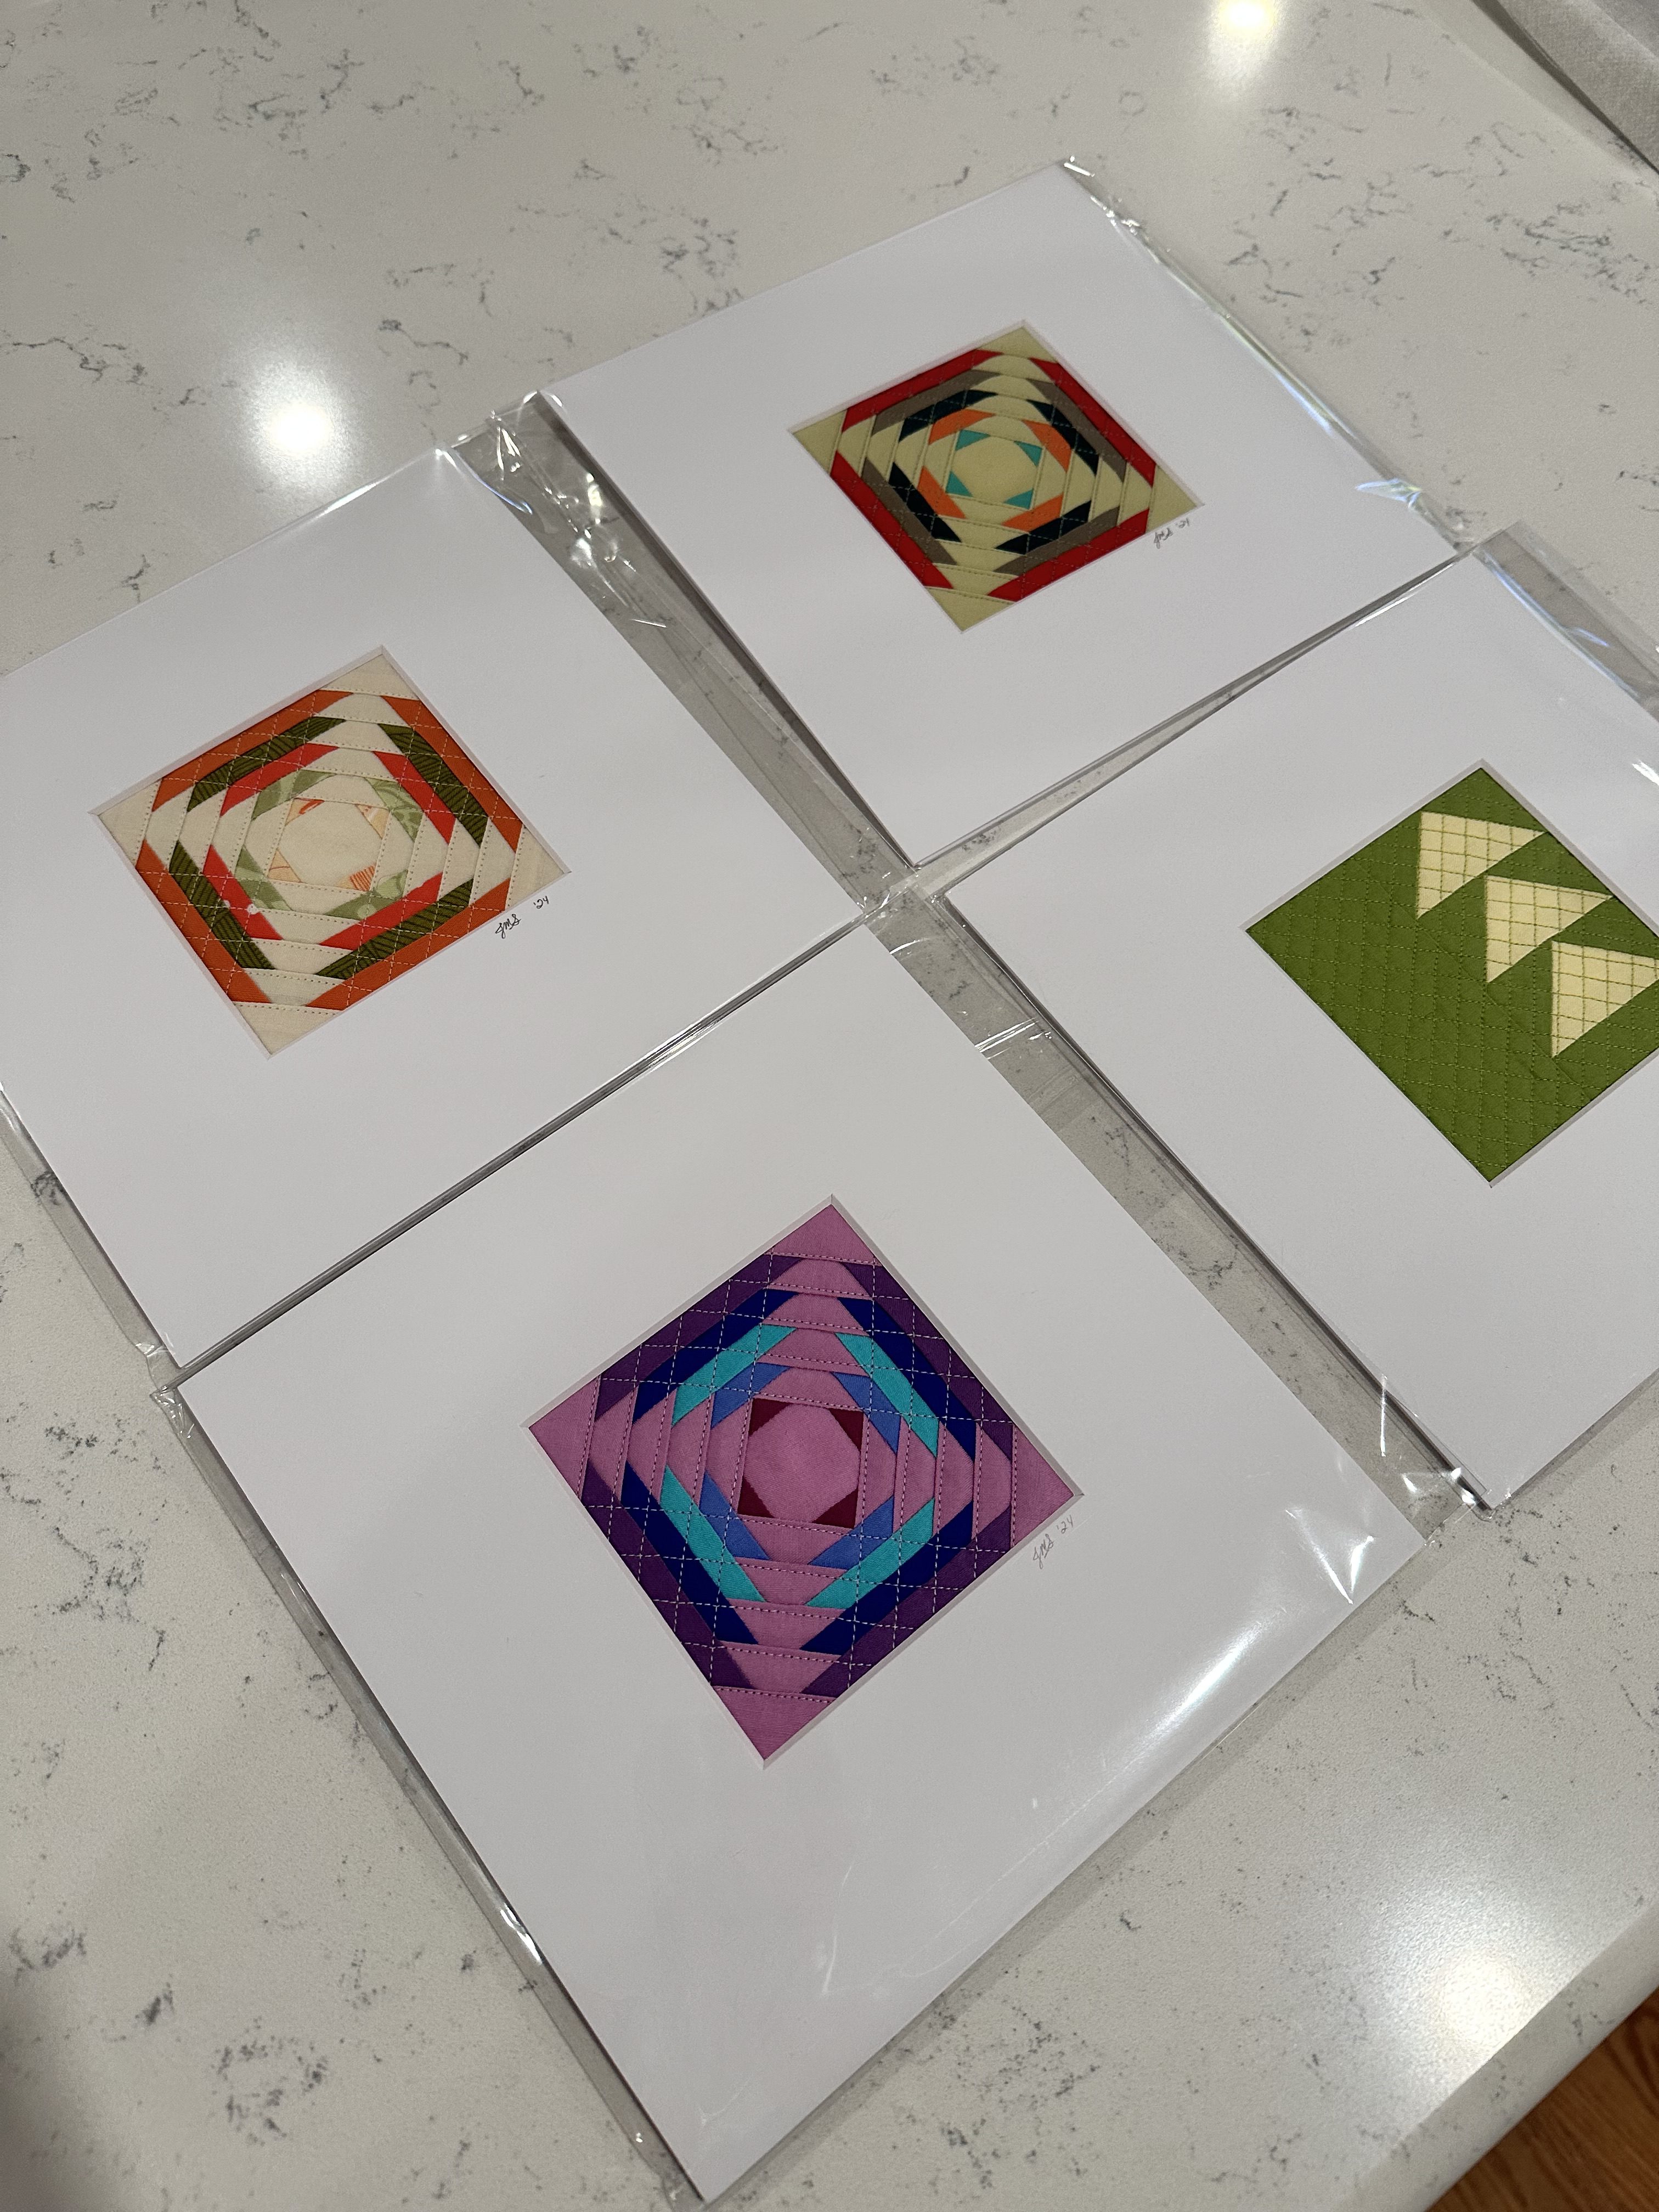
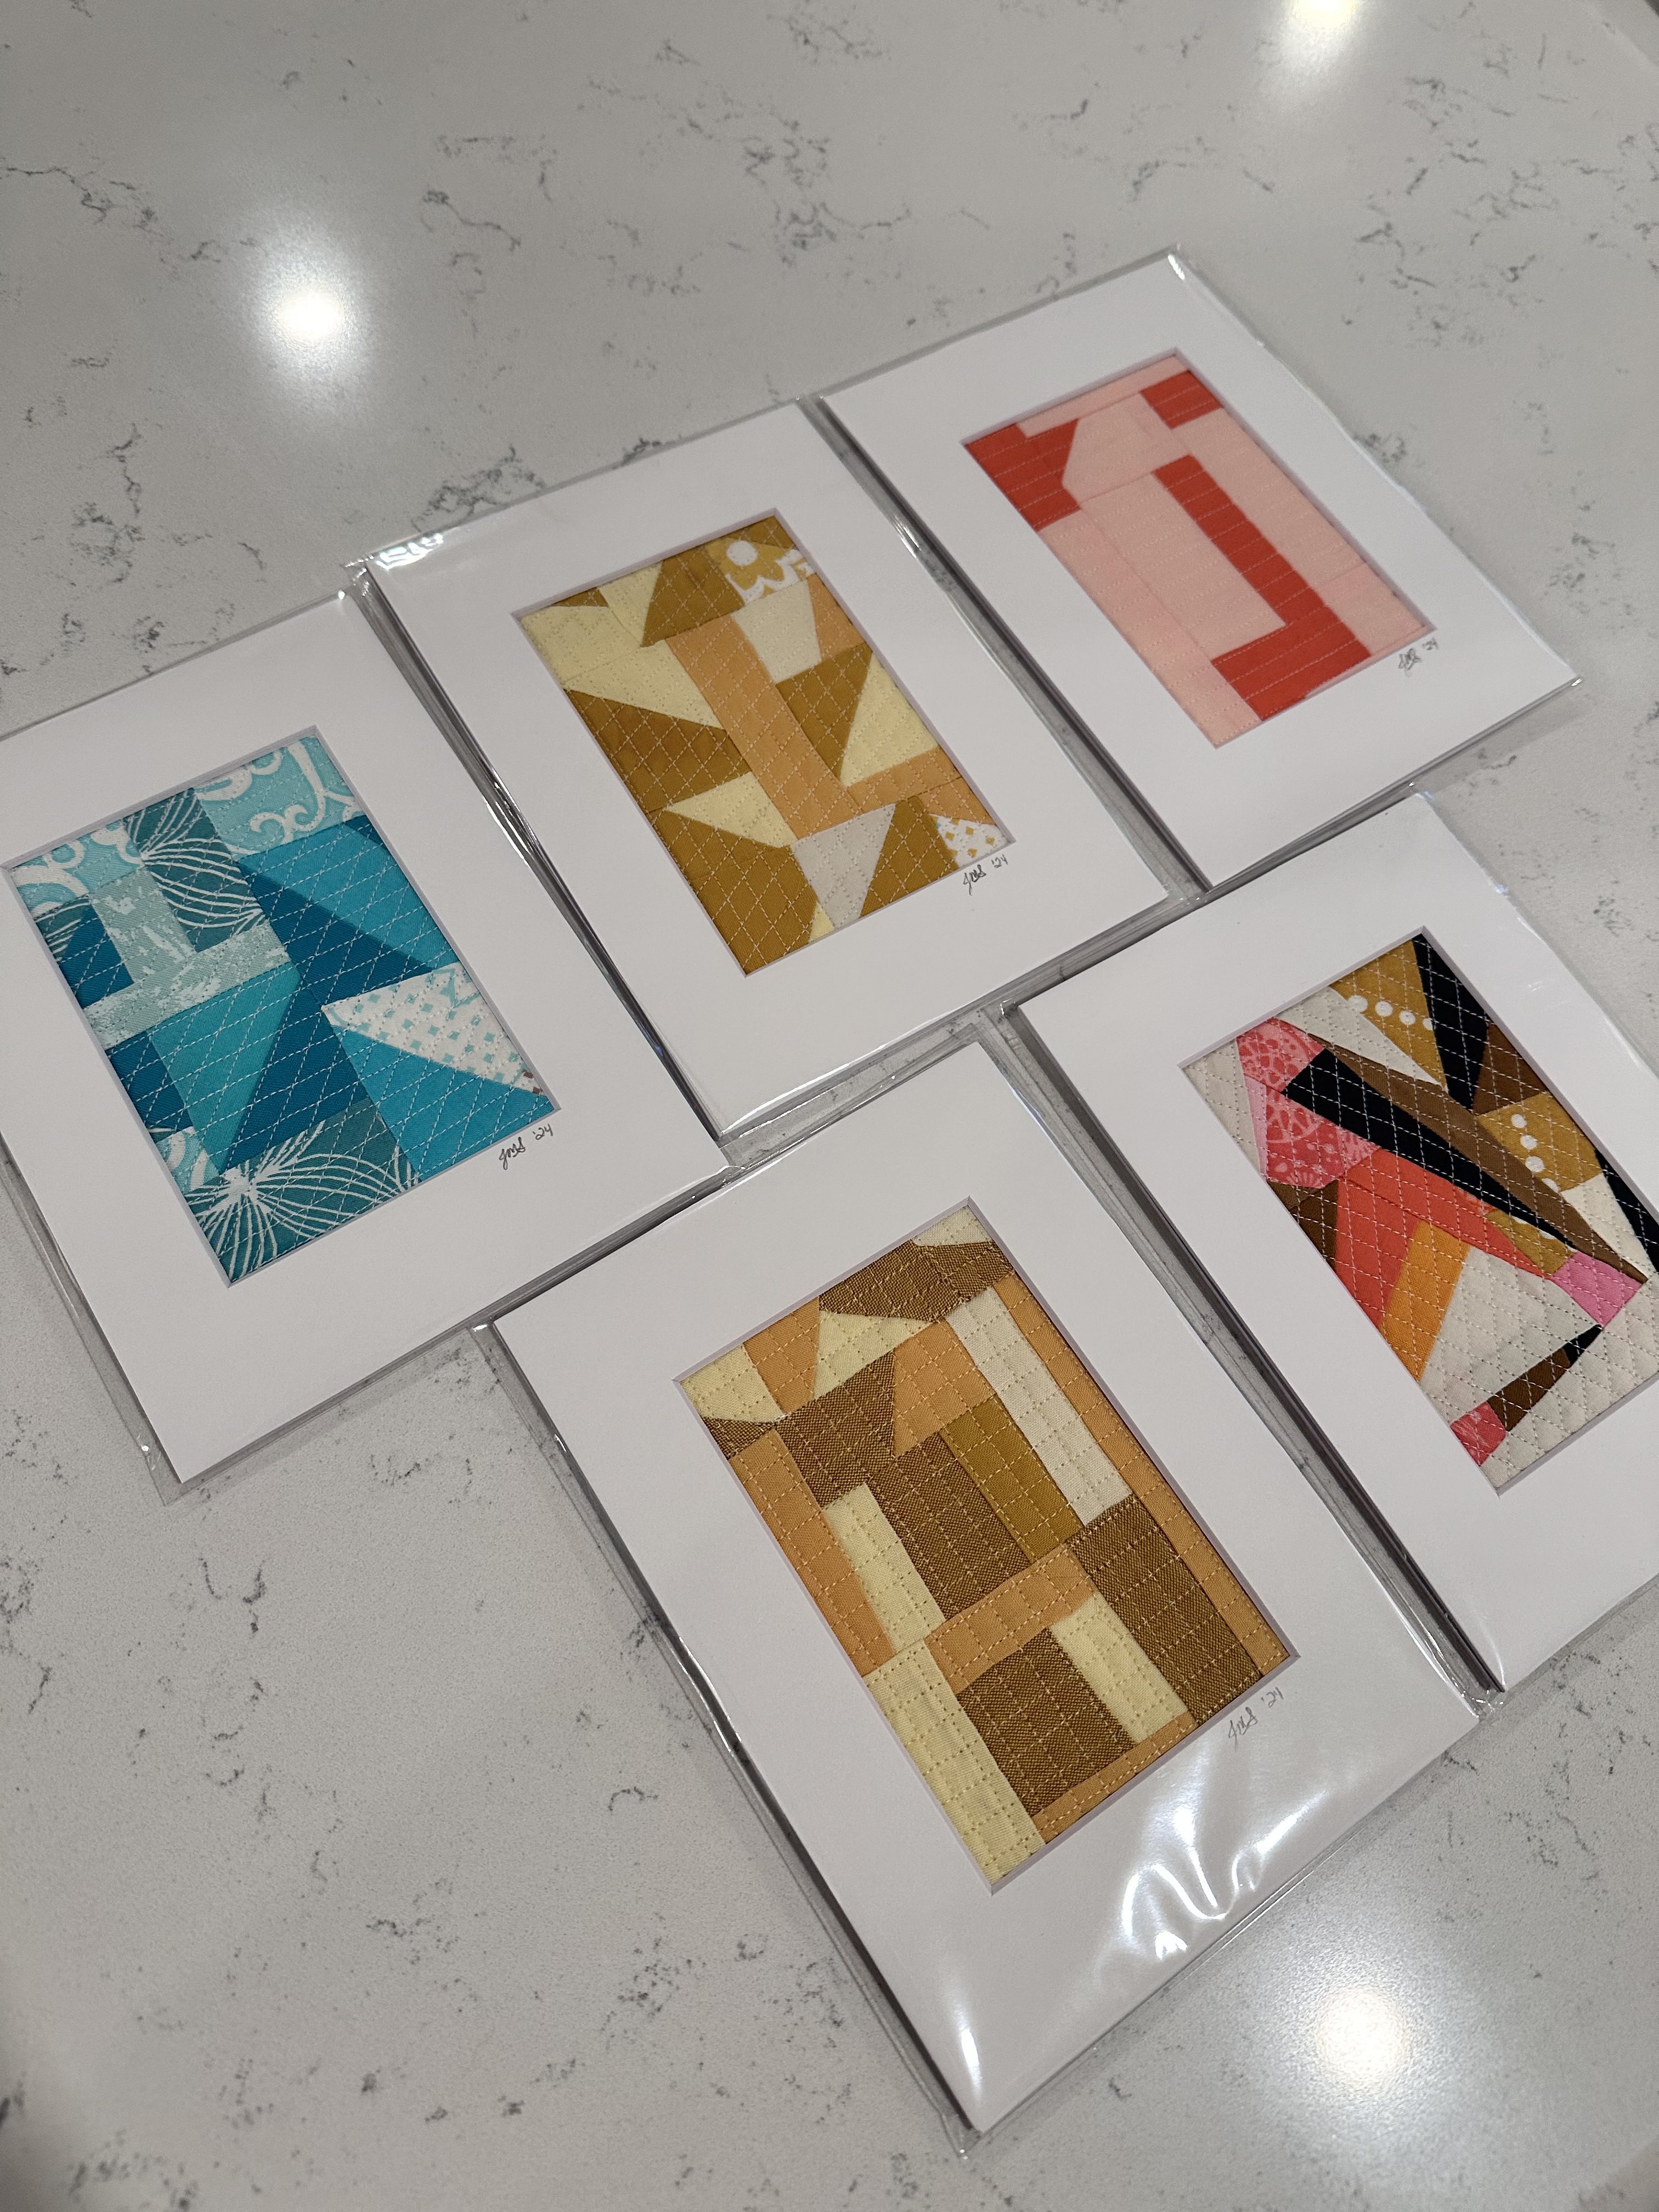
- Quilted art approximately 3.5” x 5” finished with about ½” of wiggle room on every side (this might vary by the size of the cut in the mat)
- (optional) Acid-Free Crystal Clear Sleeve Storage Bags for Photo Prints (bag size 5 2/8” x 7 2/16” works for a 5” x 7” mat)
Creating Your Quilt to Mat
First, I’ll start by stating that you actually don’t need to quilt your design to mat it. You could simply use a quilt block. But I, personally, really like the look of a quilted piece to add depth and dimension.
Below are some options you can consider when looking to mat a quilt:
Option 1
If you have some leftover scraps from a quilt, piece them together, quilt them up, and mat them to have a matching piece of artwork to go with your quilt. This makes a perfect gift to go along with your quilt.
Option 2
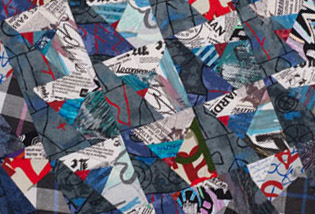
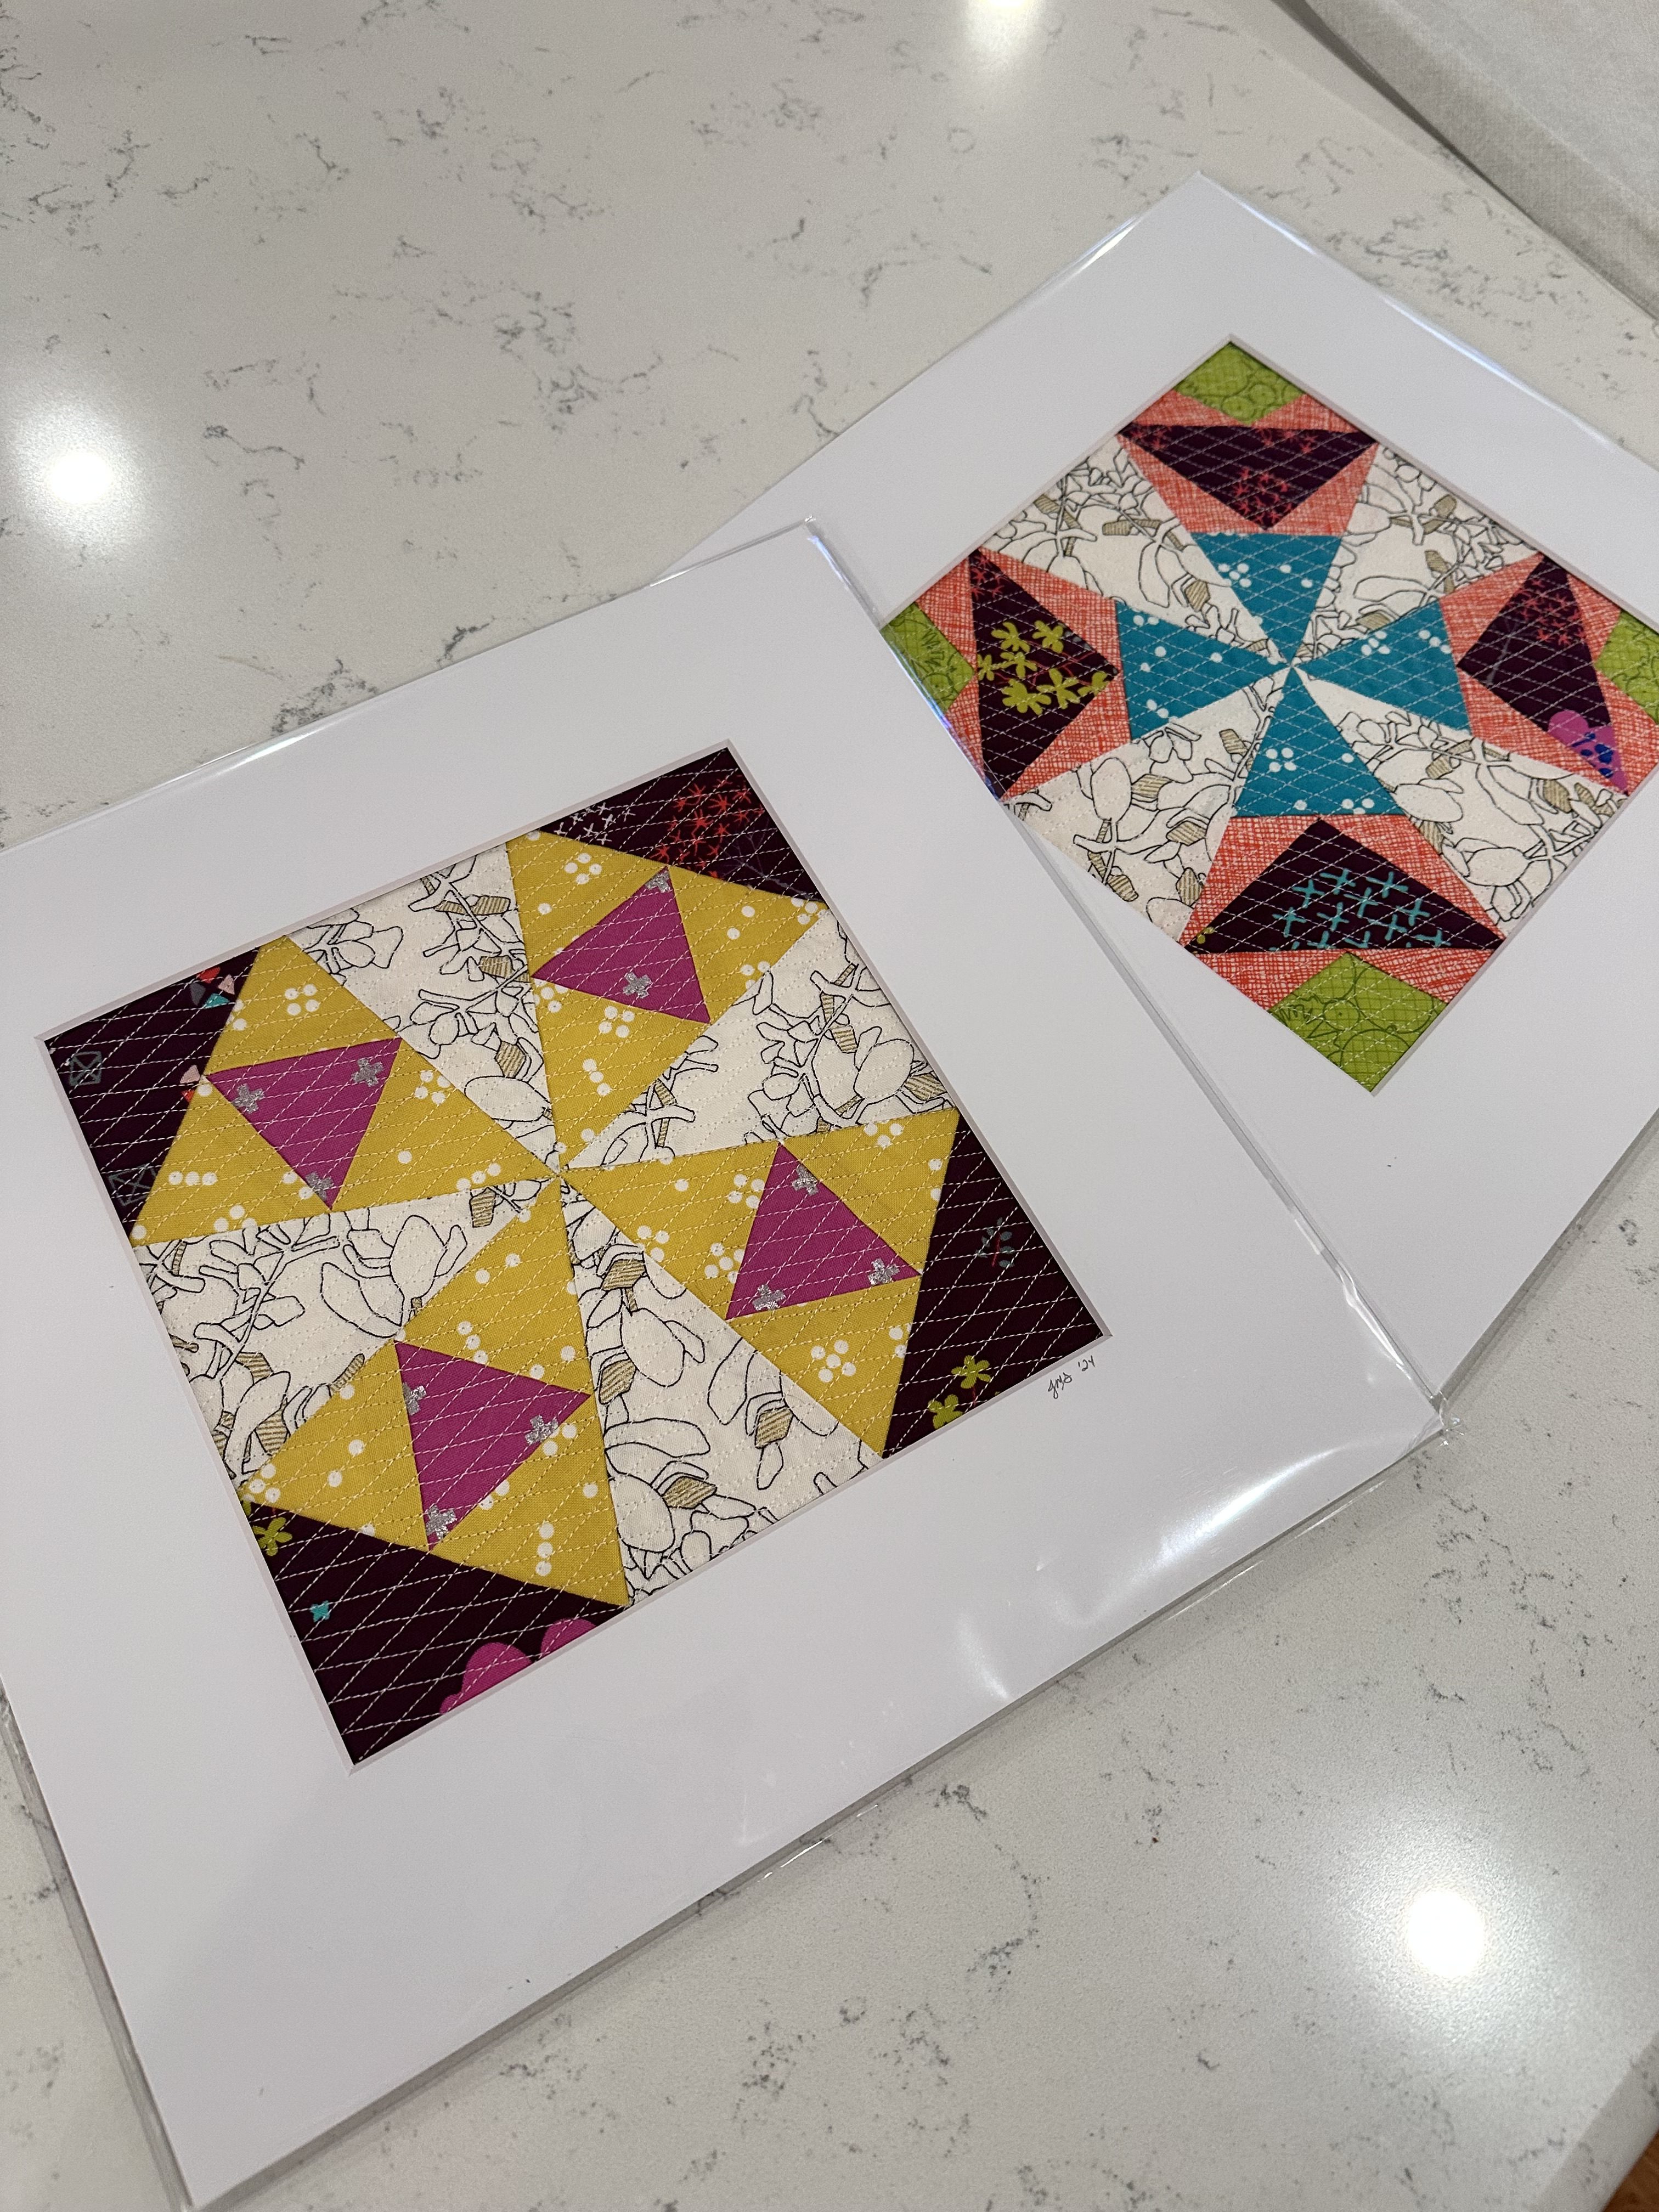
Quilt up an old quilt block and frame it. I did this when I had a few blocks that somehow finished at the wrong size. I enjoyed offsetting some of the blocks or angling them to make a more artistic feel as well.
Option 3
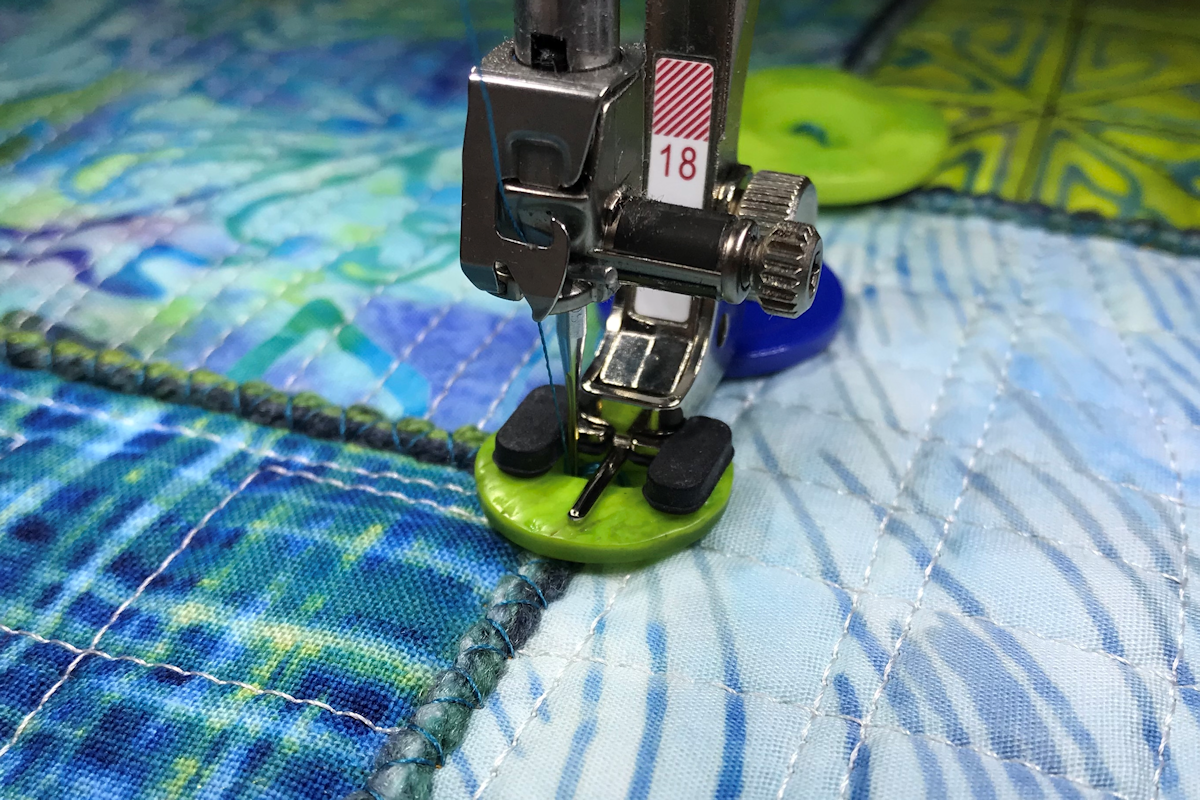
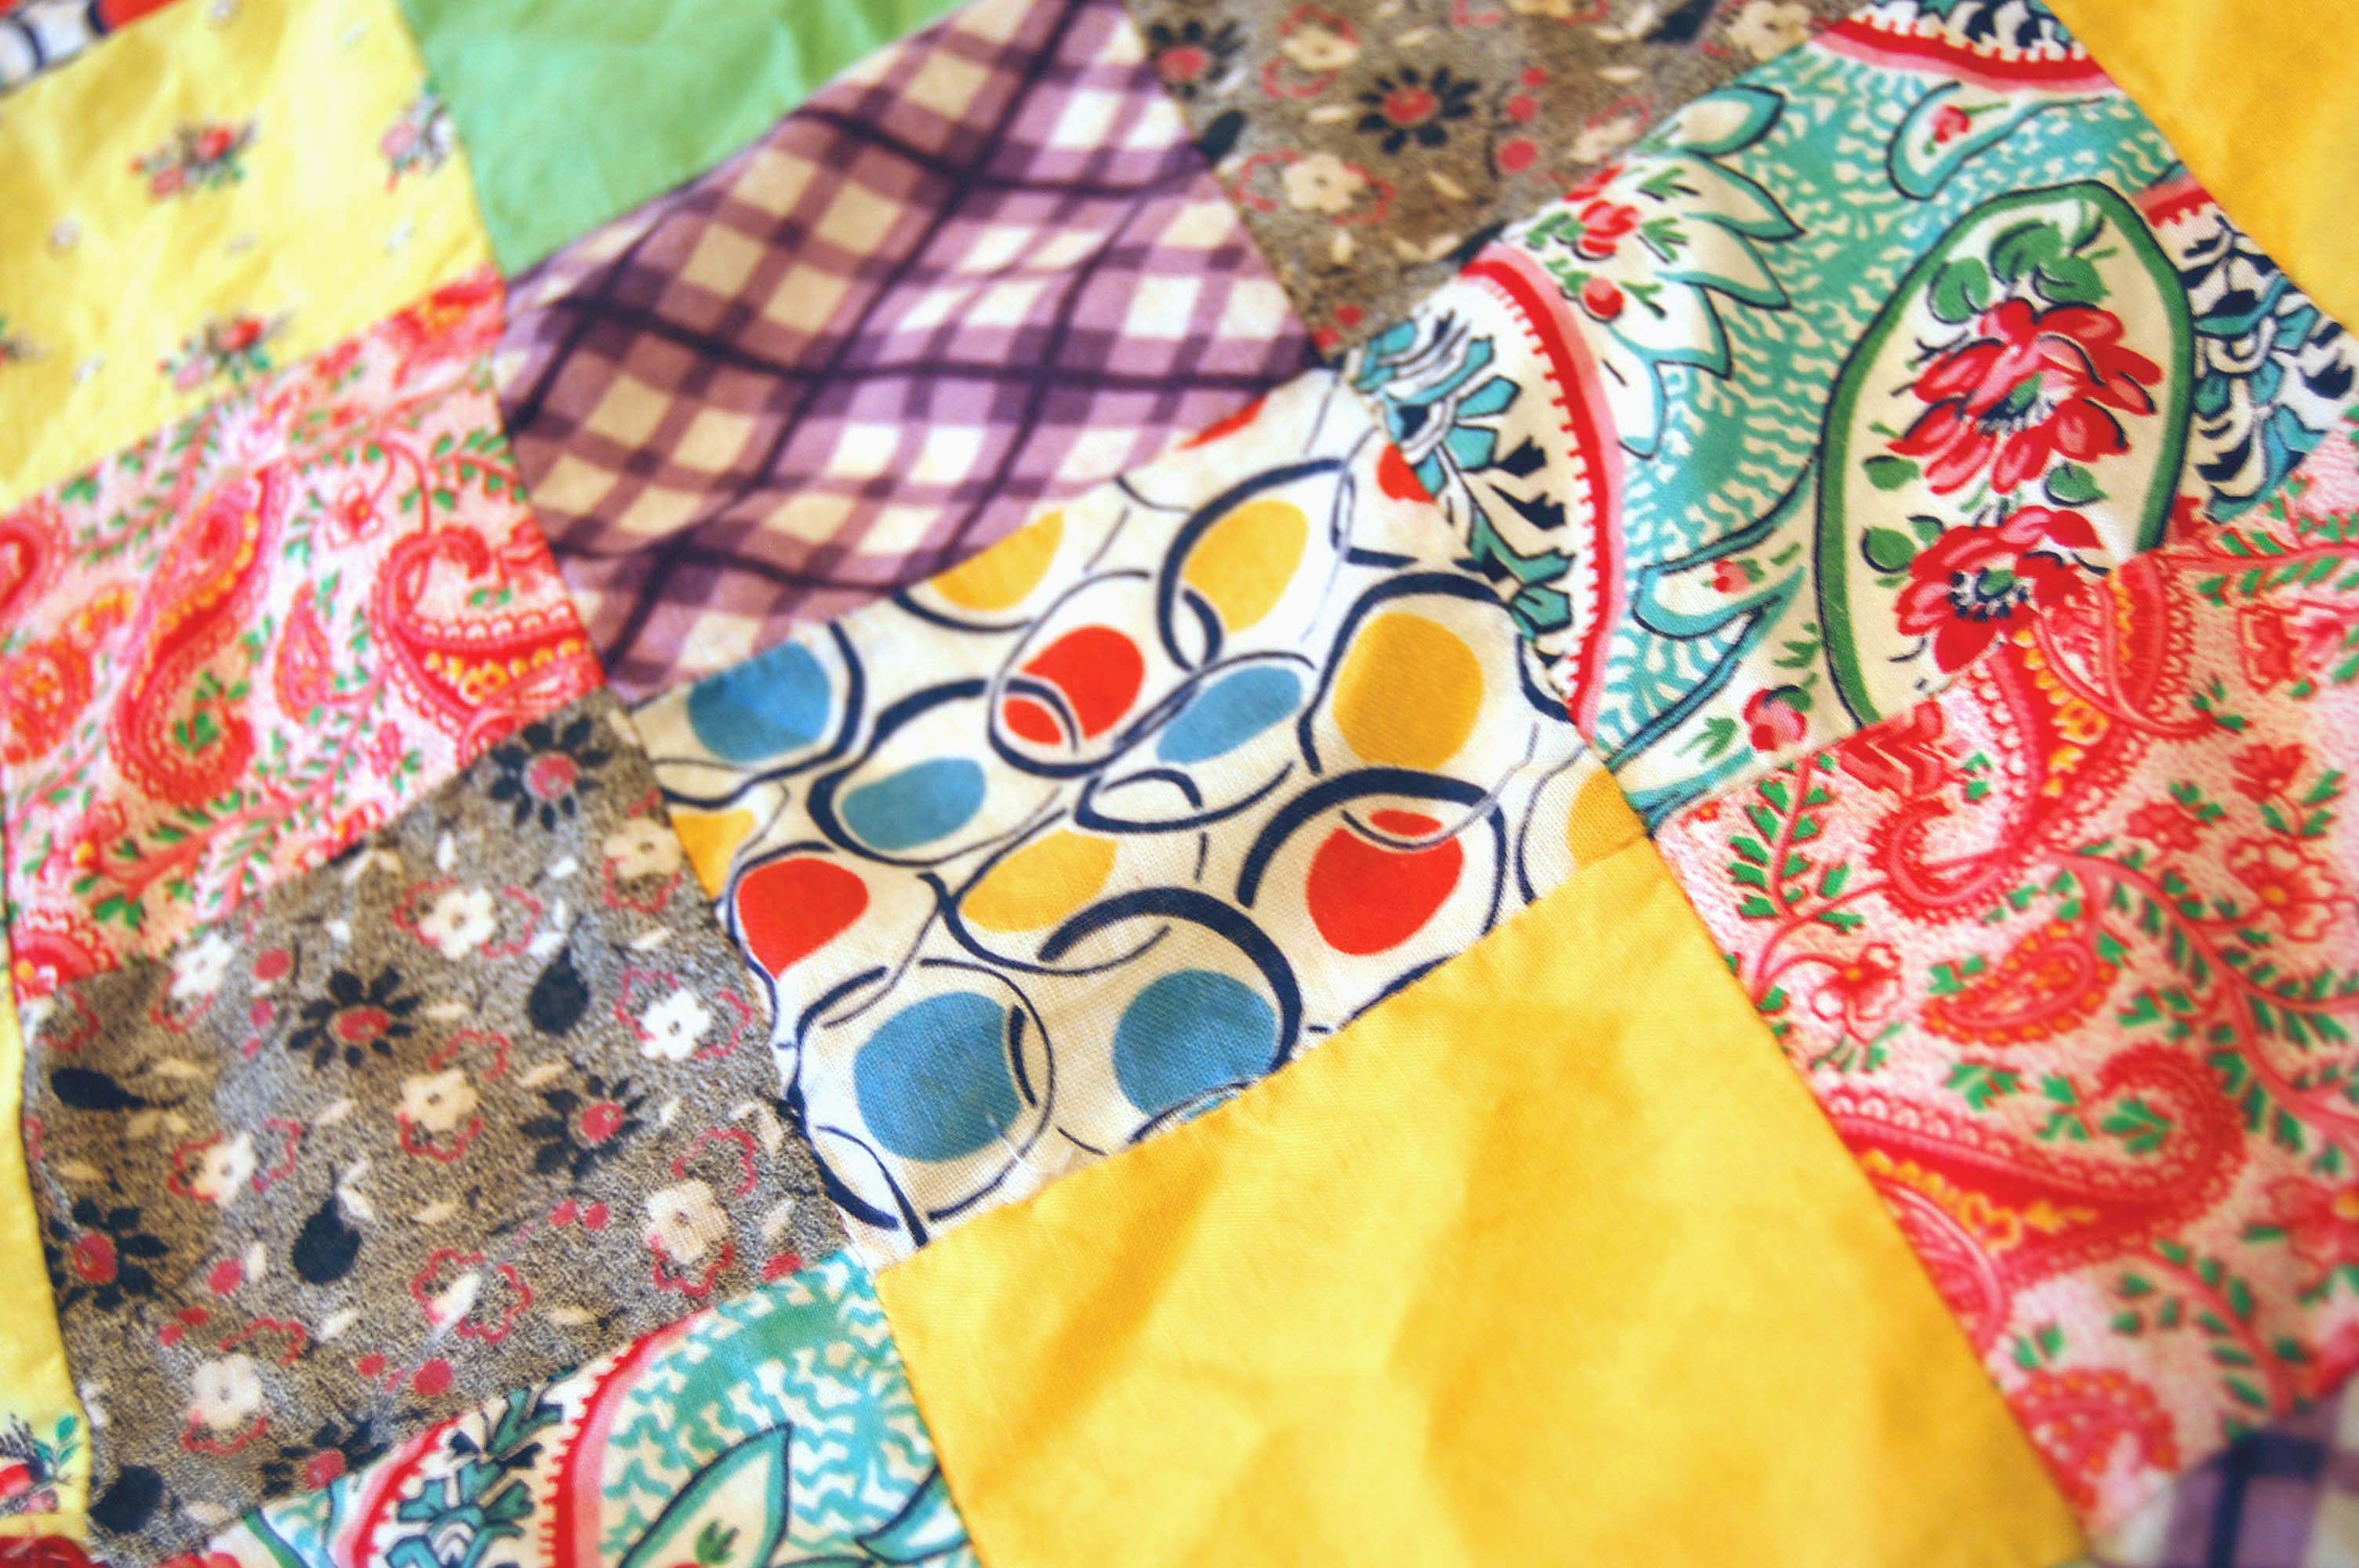
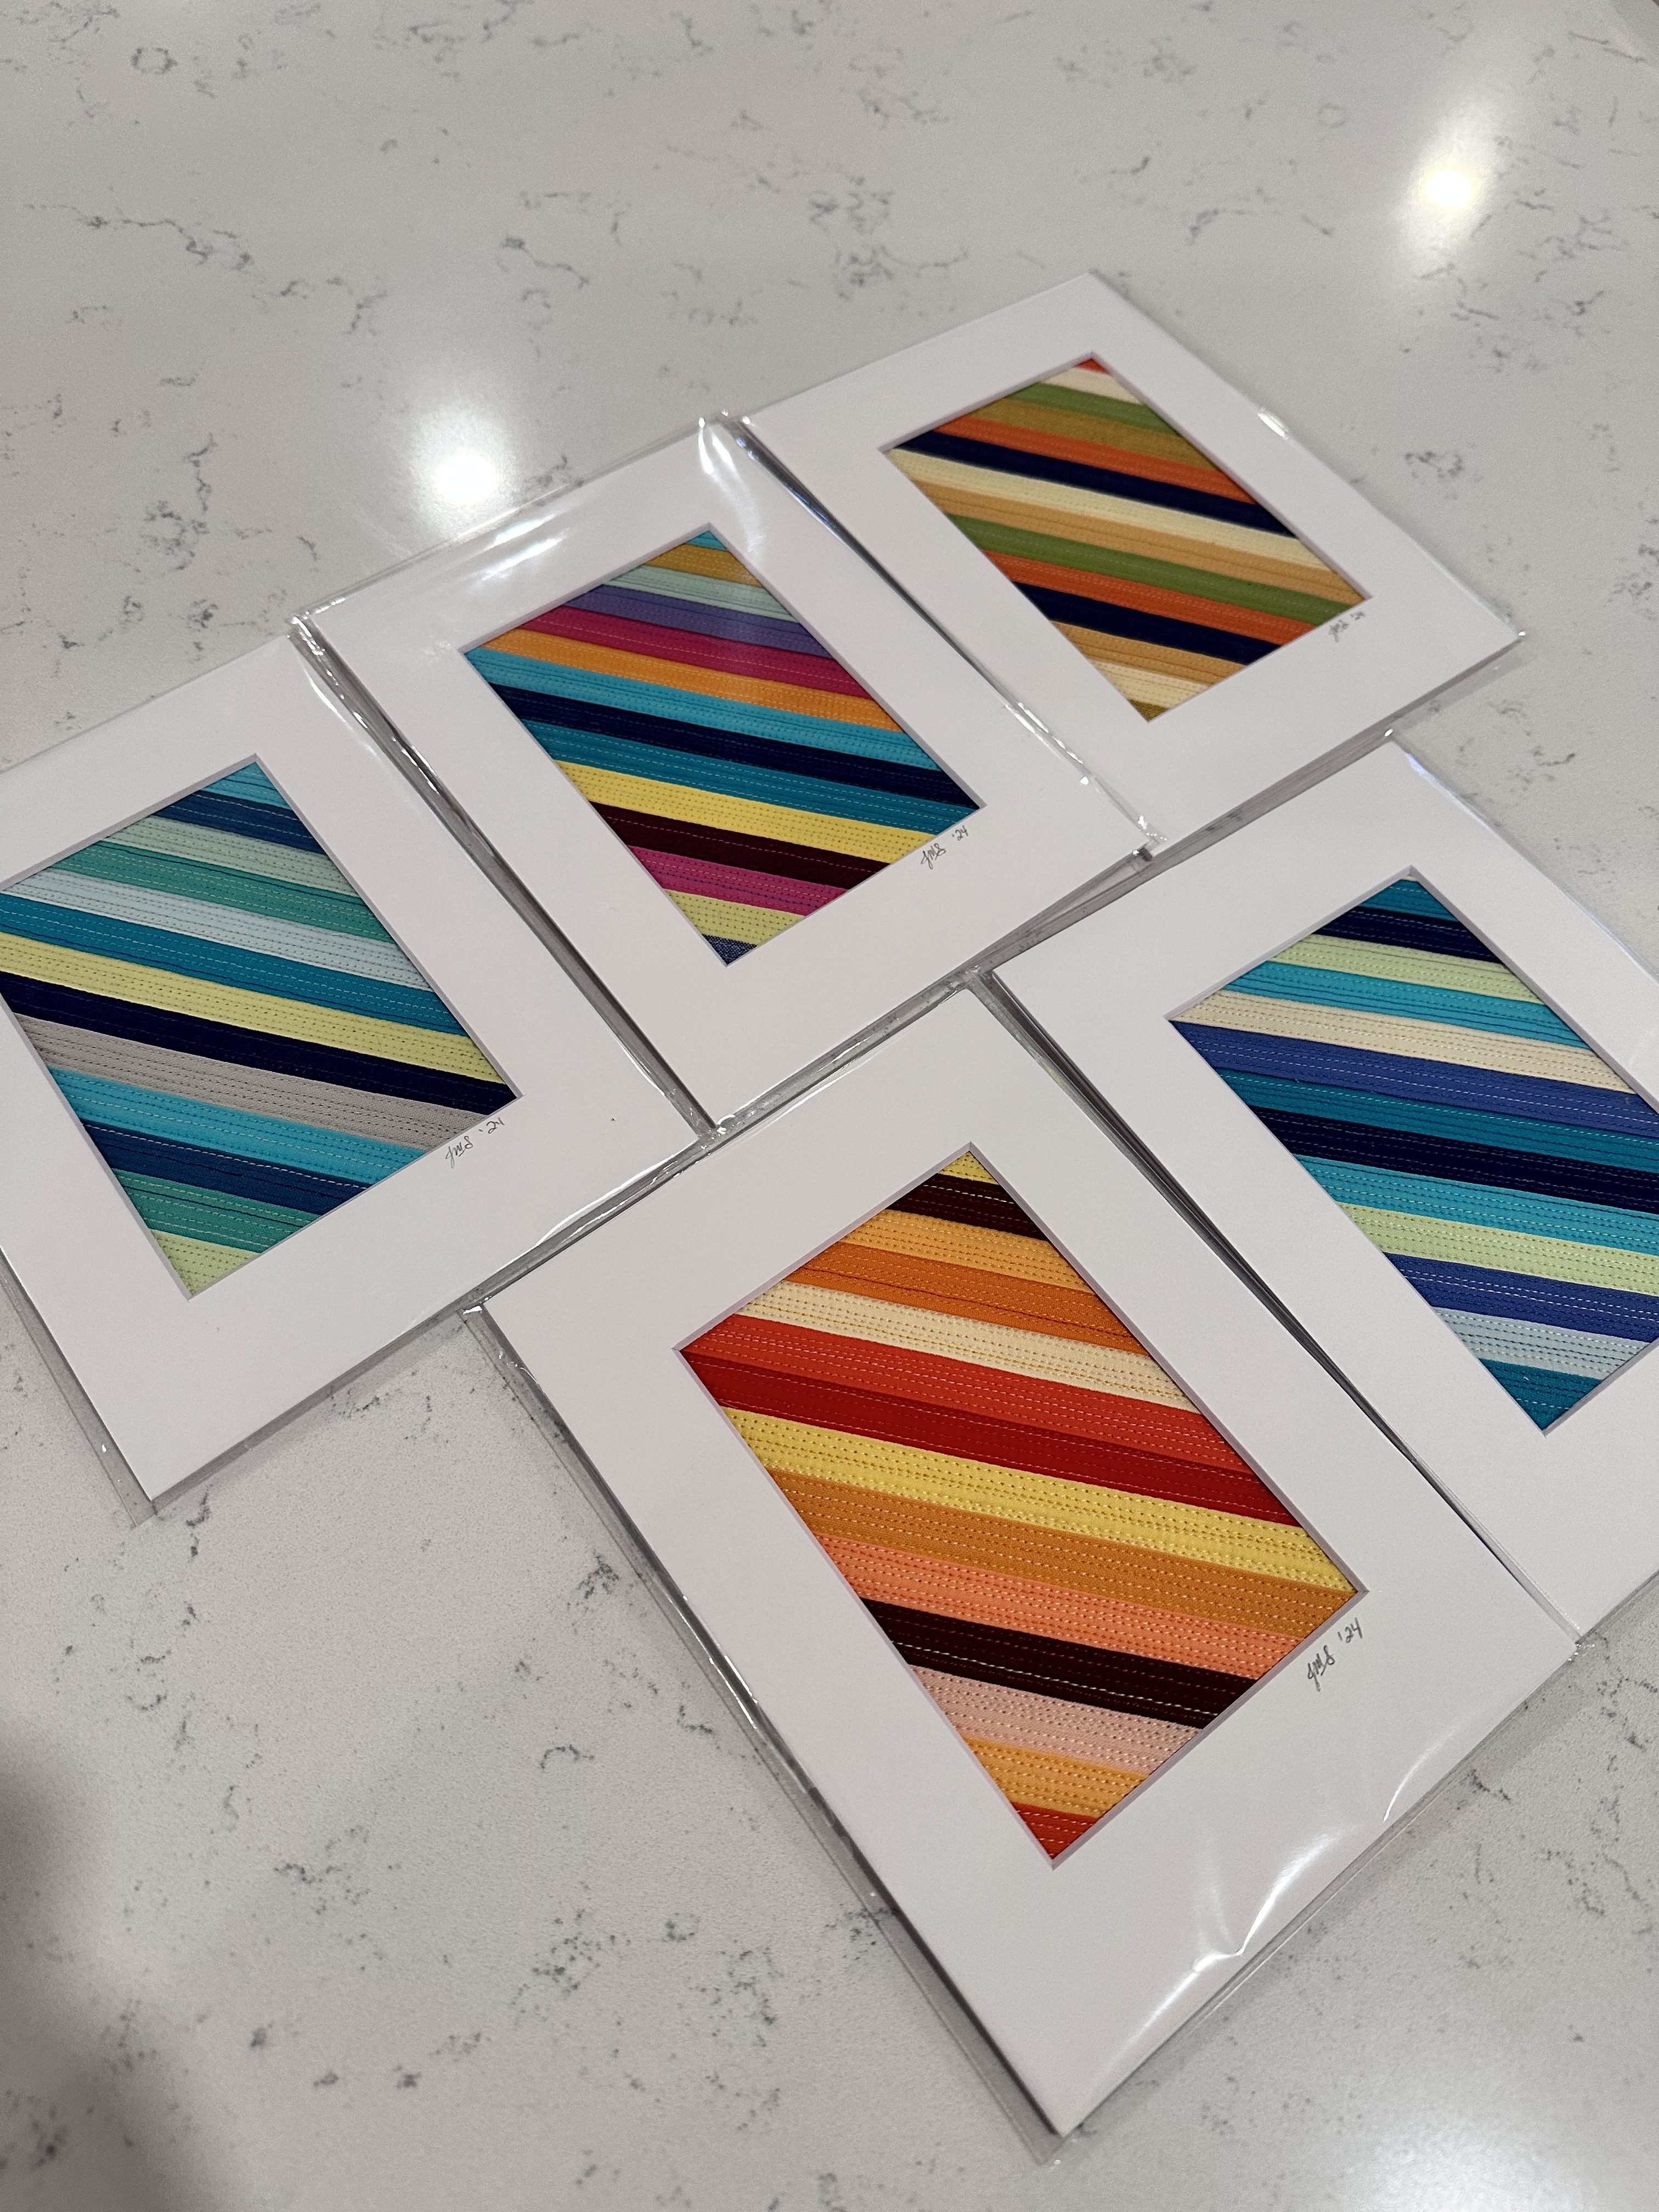
Use up some scraps to make your own mini-quilt. I sewed a number of strips together horizontally or on the diagonal and just used a bunch of thread colors to quilt up these pieces. I used them as leader and enders for machine quilting using different thread colors and ended up with multiple finished projects as a result.
Option 4
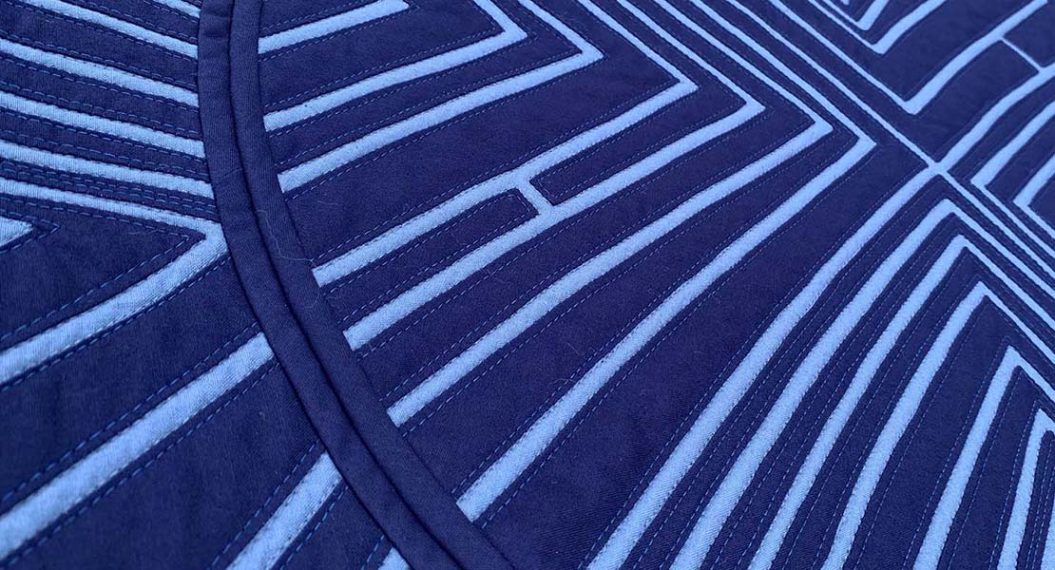
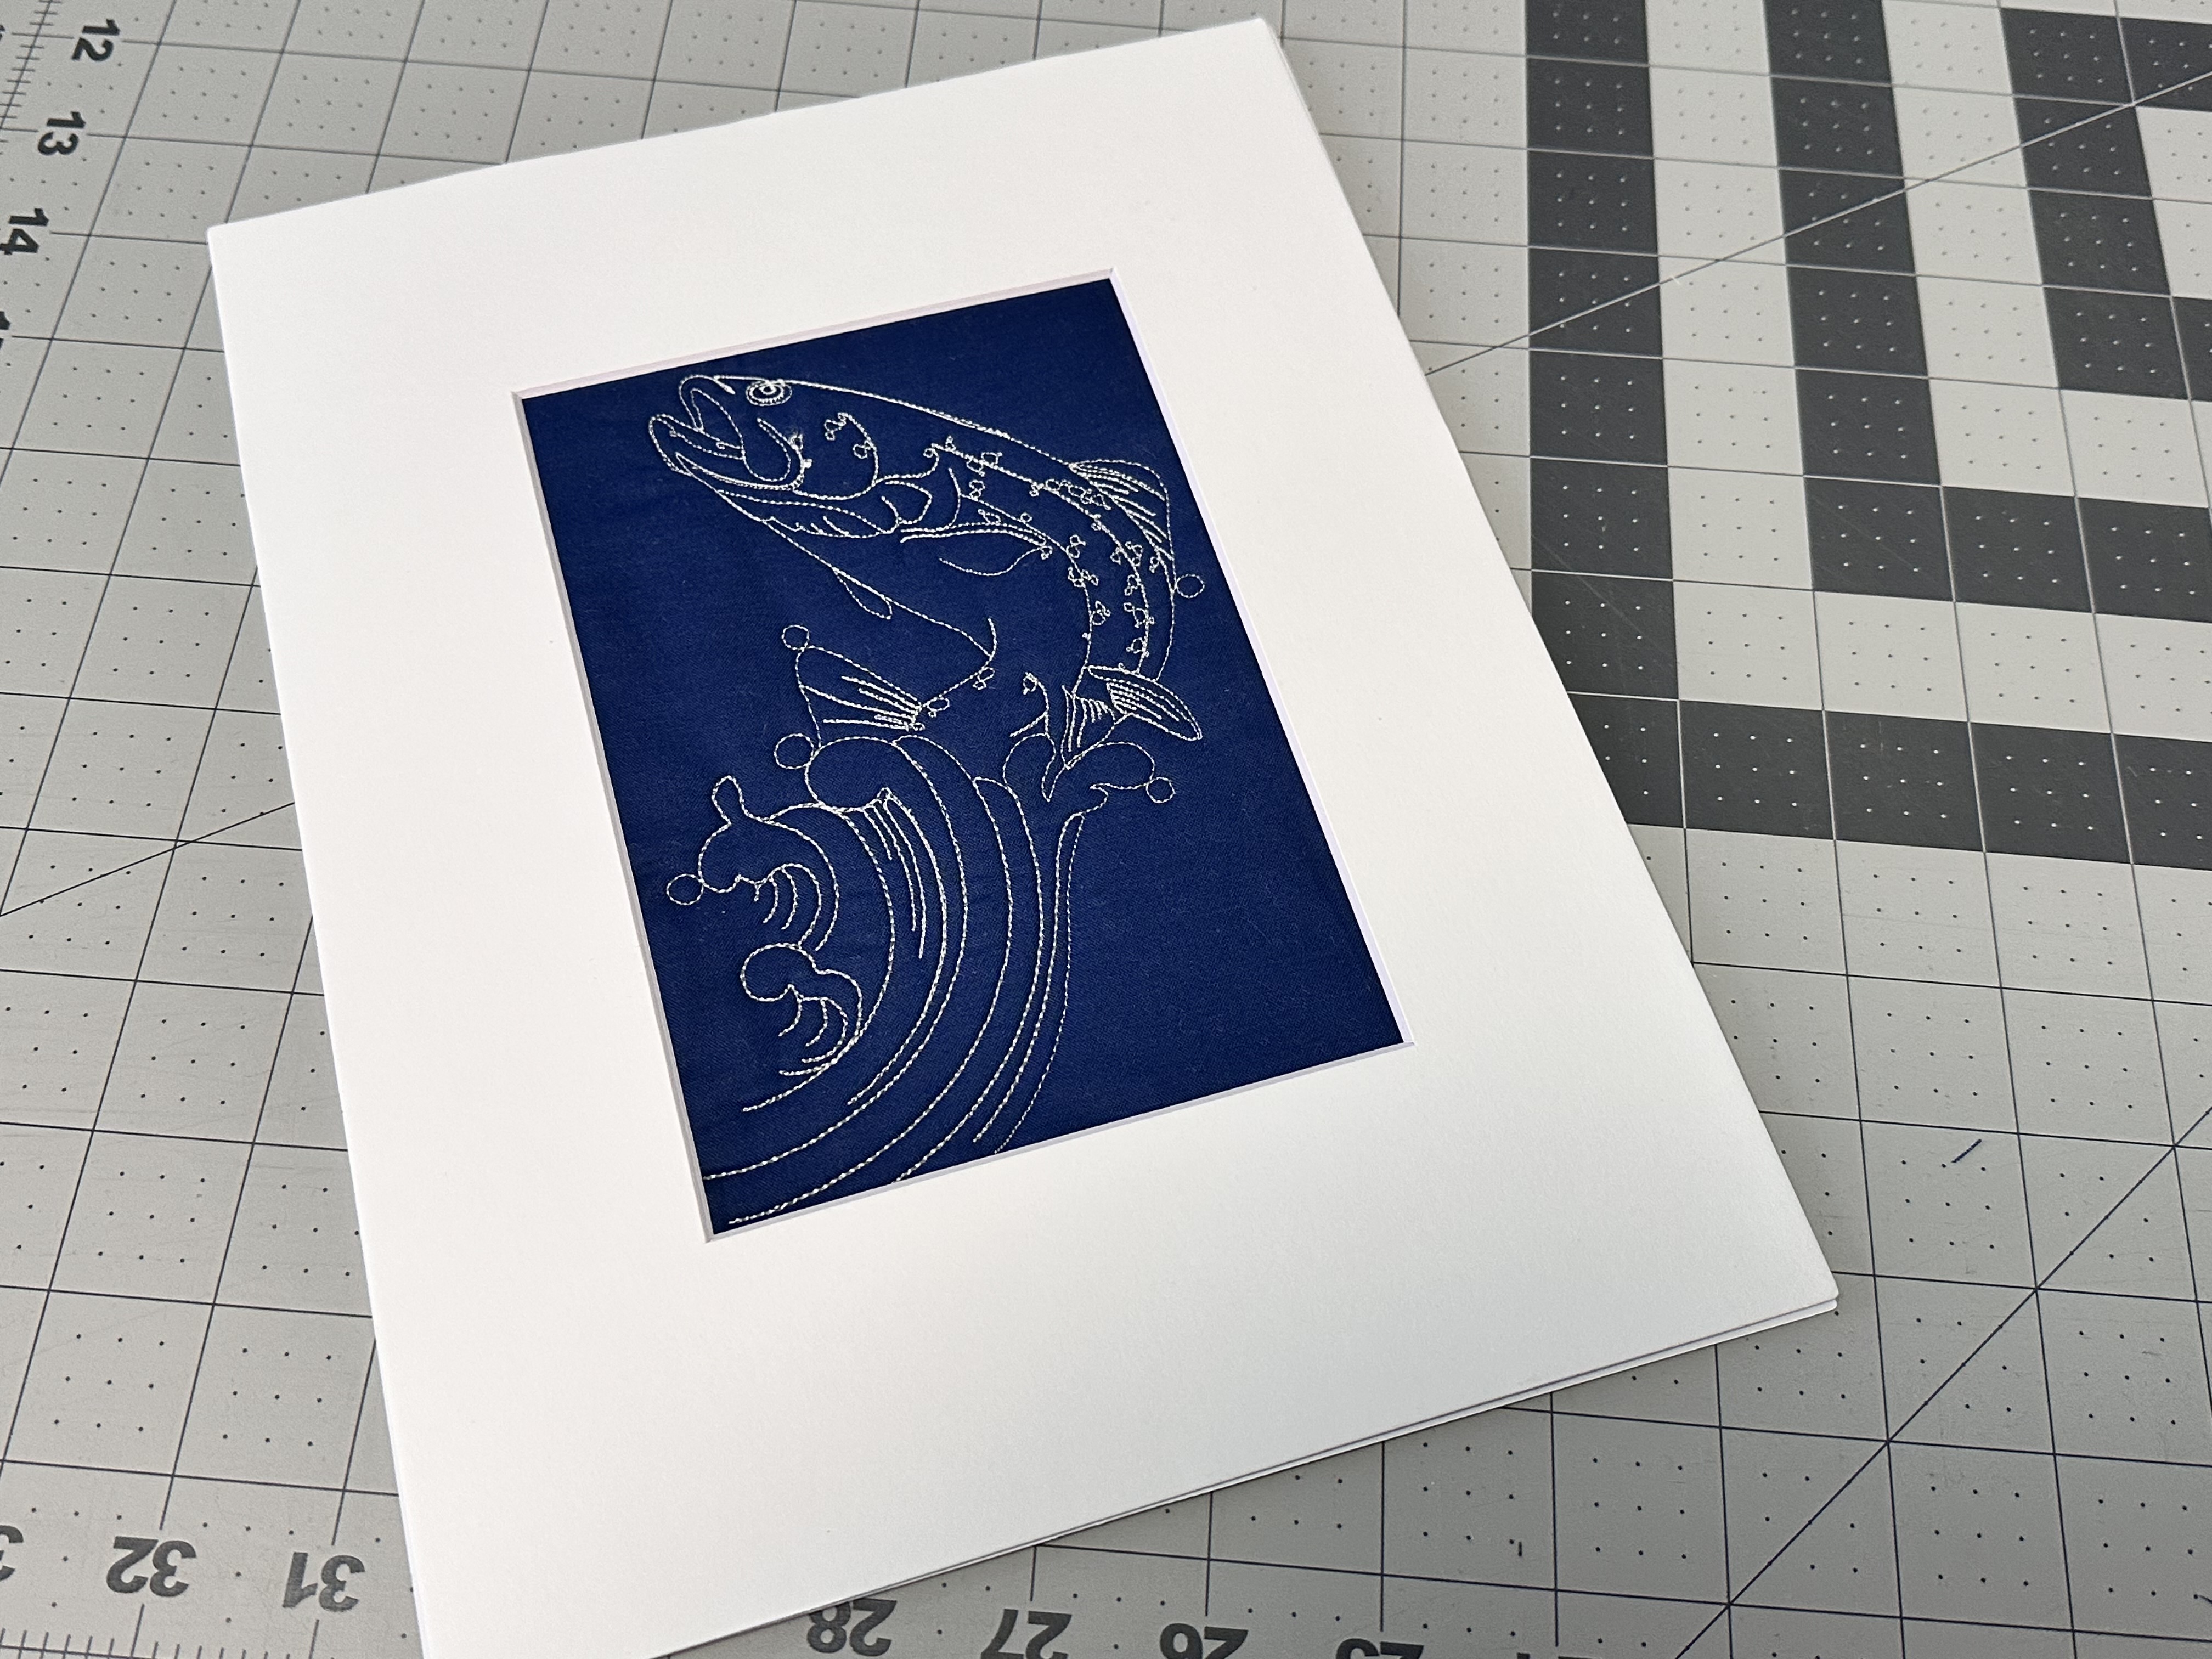
On a solid or blender fabric, quilt or embroider a design in contrasting thread to help make it pop. This really comes across as a fun piece of art and can be a great way to test thread colors against fabrics to see what works well for a larger quilt. I’ll show you how to mat this in today’s blog.
And of course, there are many other options that you can pursue, but these are just some of the ones I’ve experimented with so far.
Matting Your Quilt
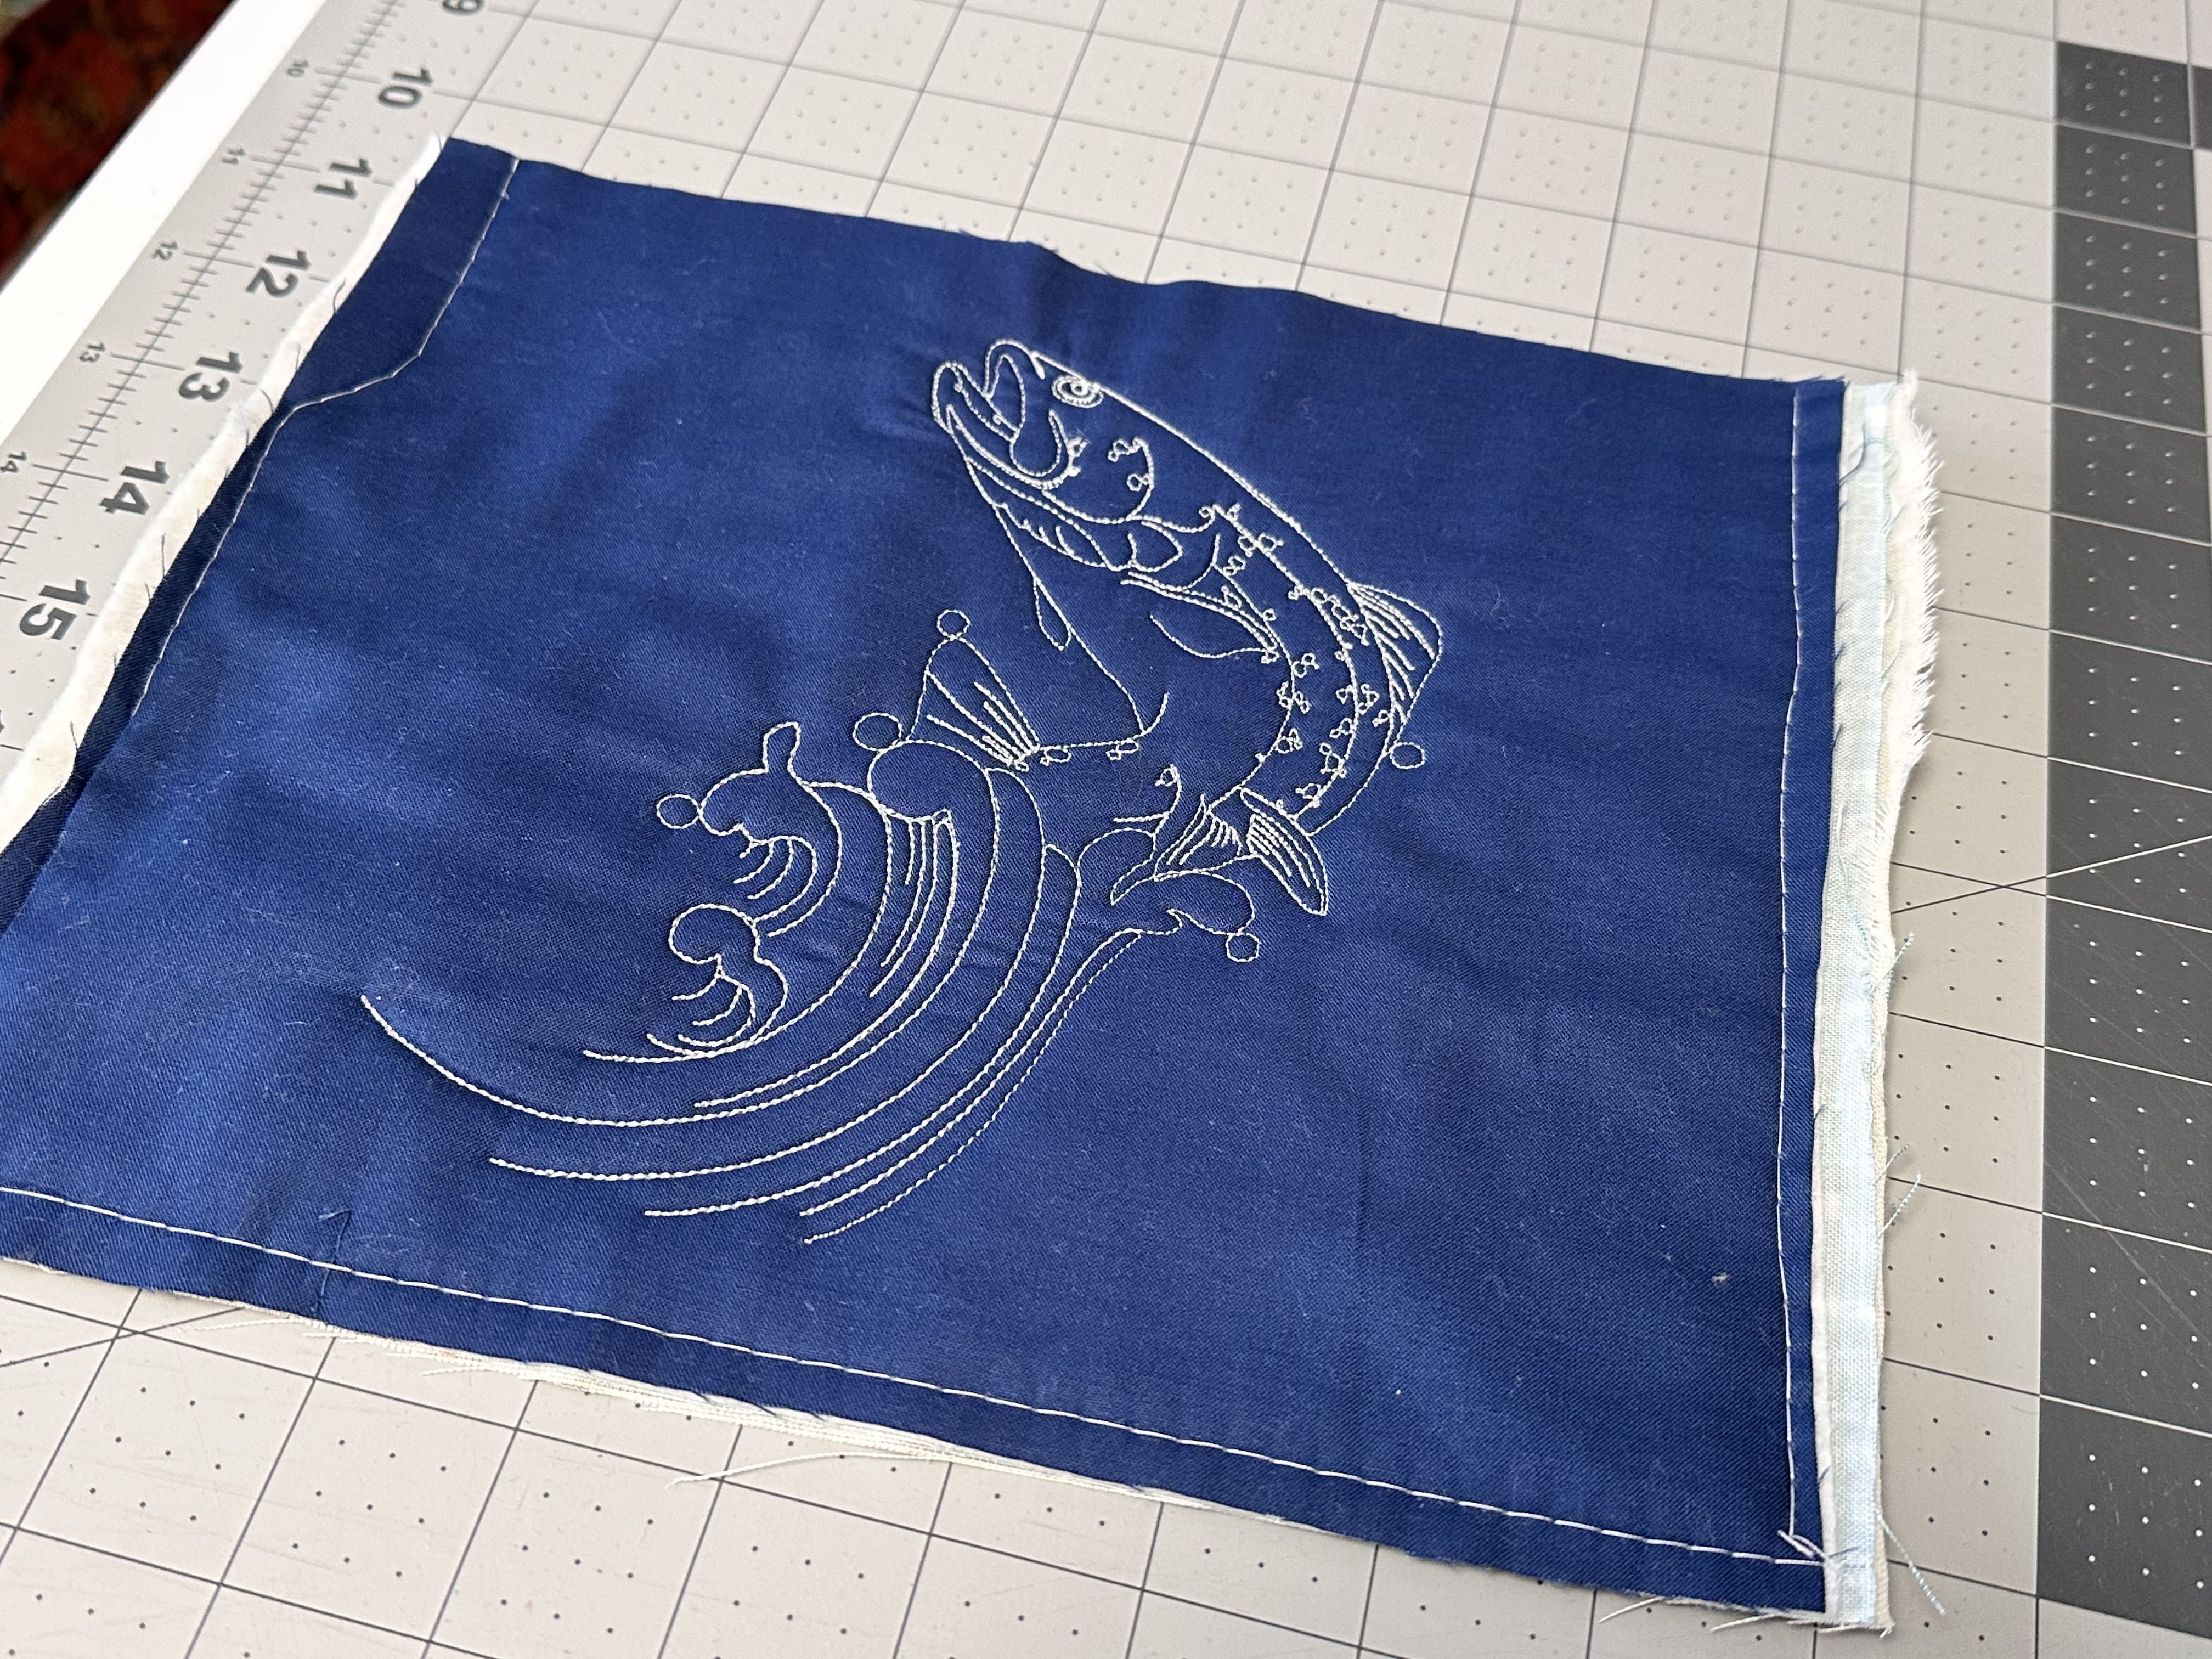
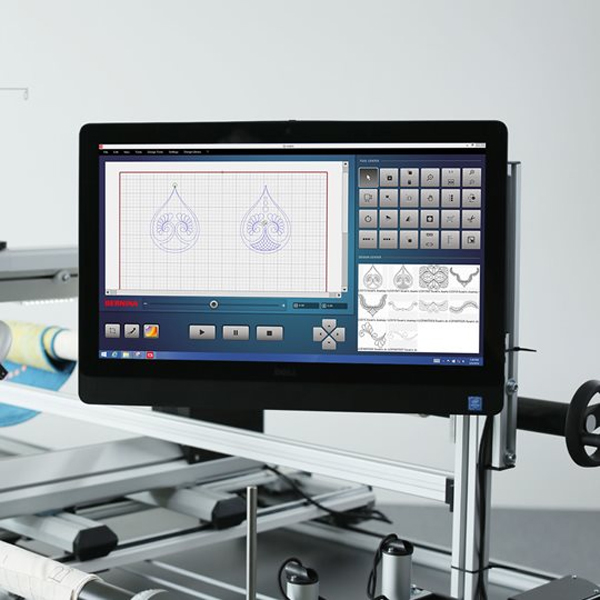
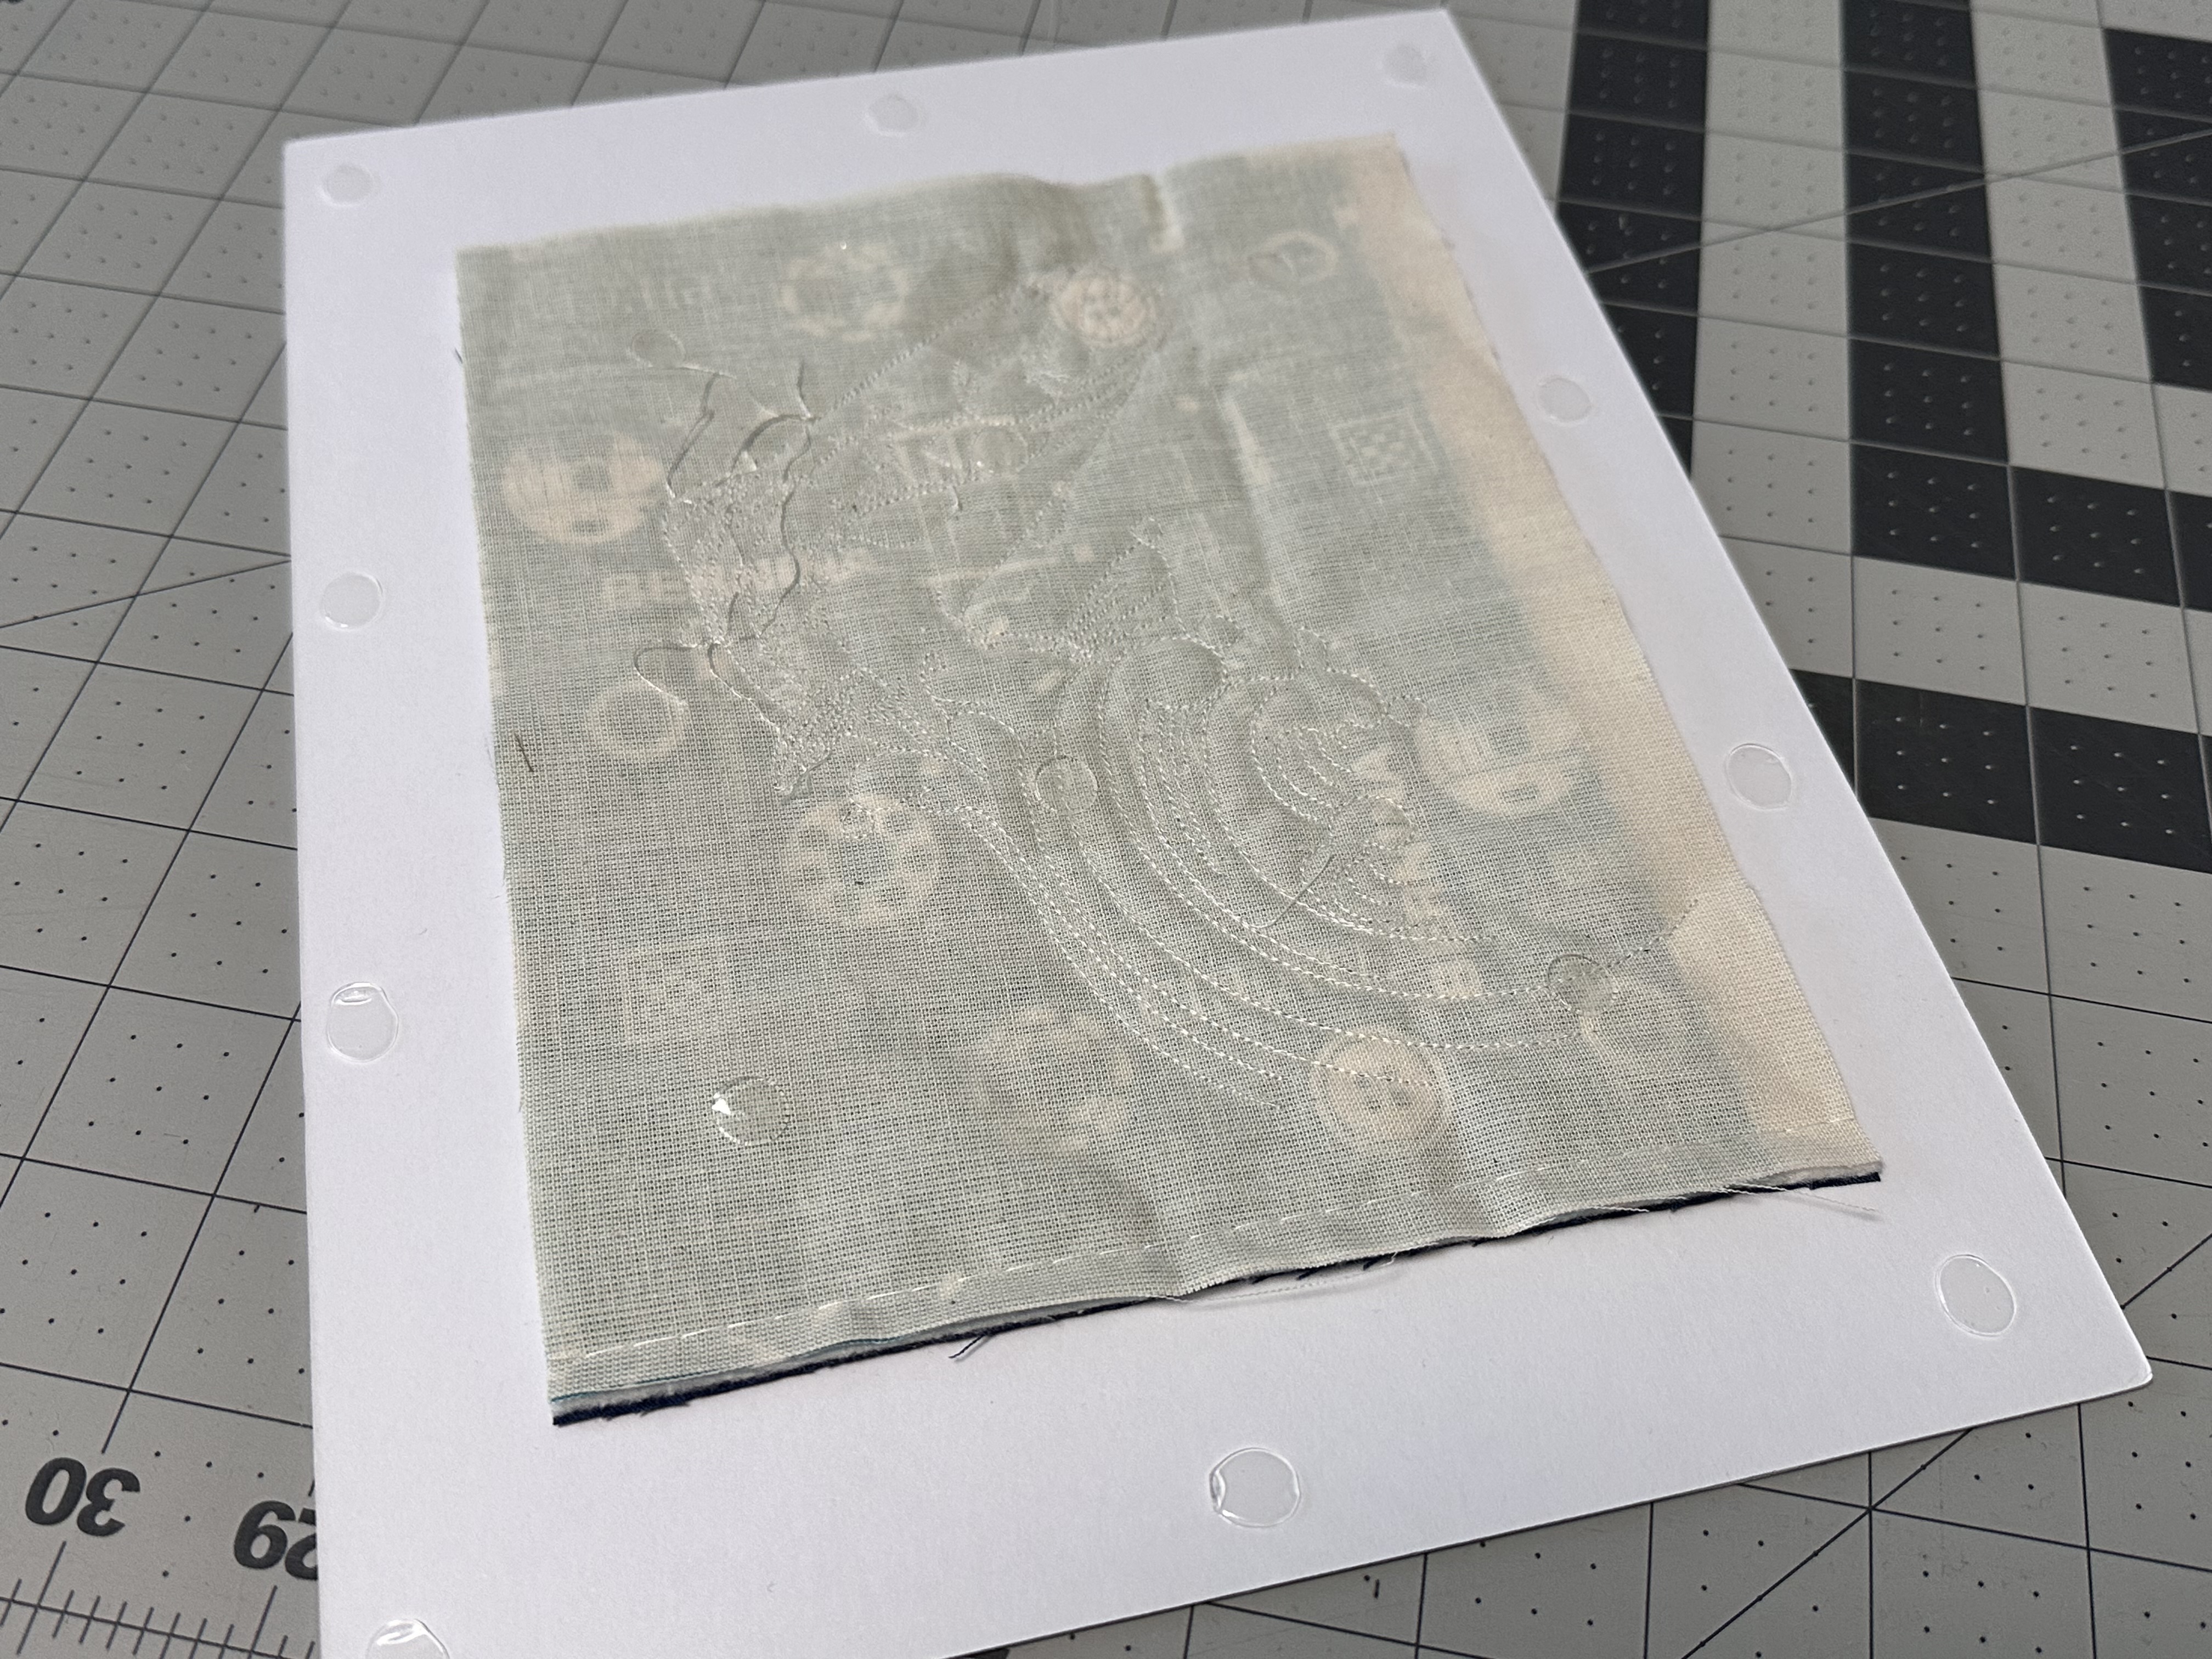
Grab something quilted you’d like to frame. In this example, I quilted up this fish on the side of a quilt I was quilting to test tension and practice on my Q-matic. It ended up being the perfect thing to frame, so don’t toss those practice pieces, folks!
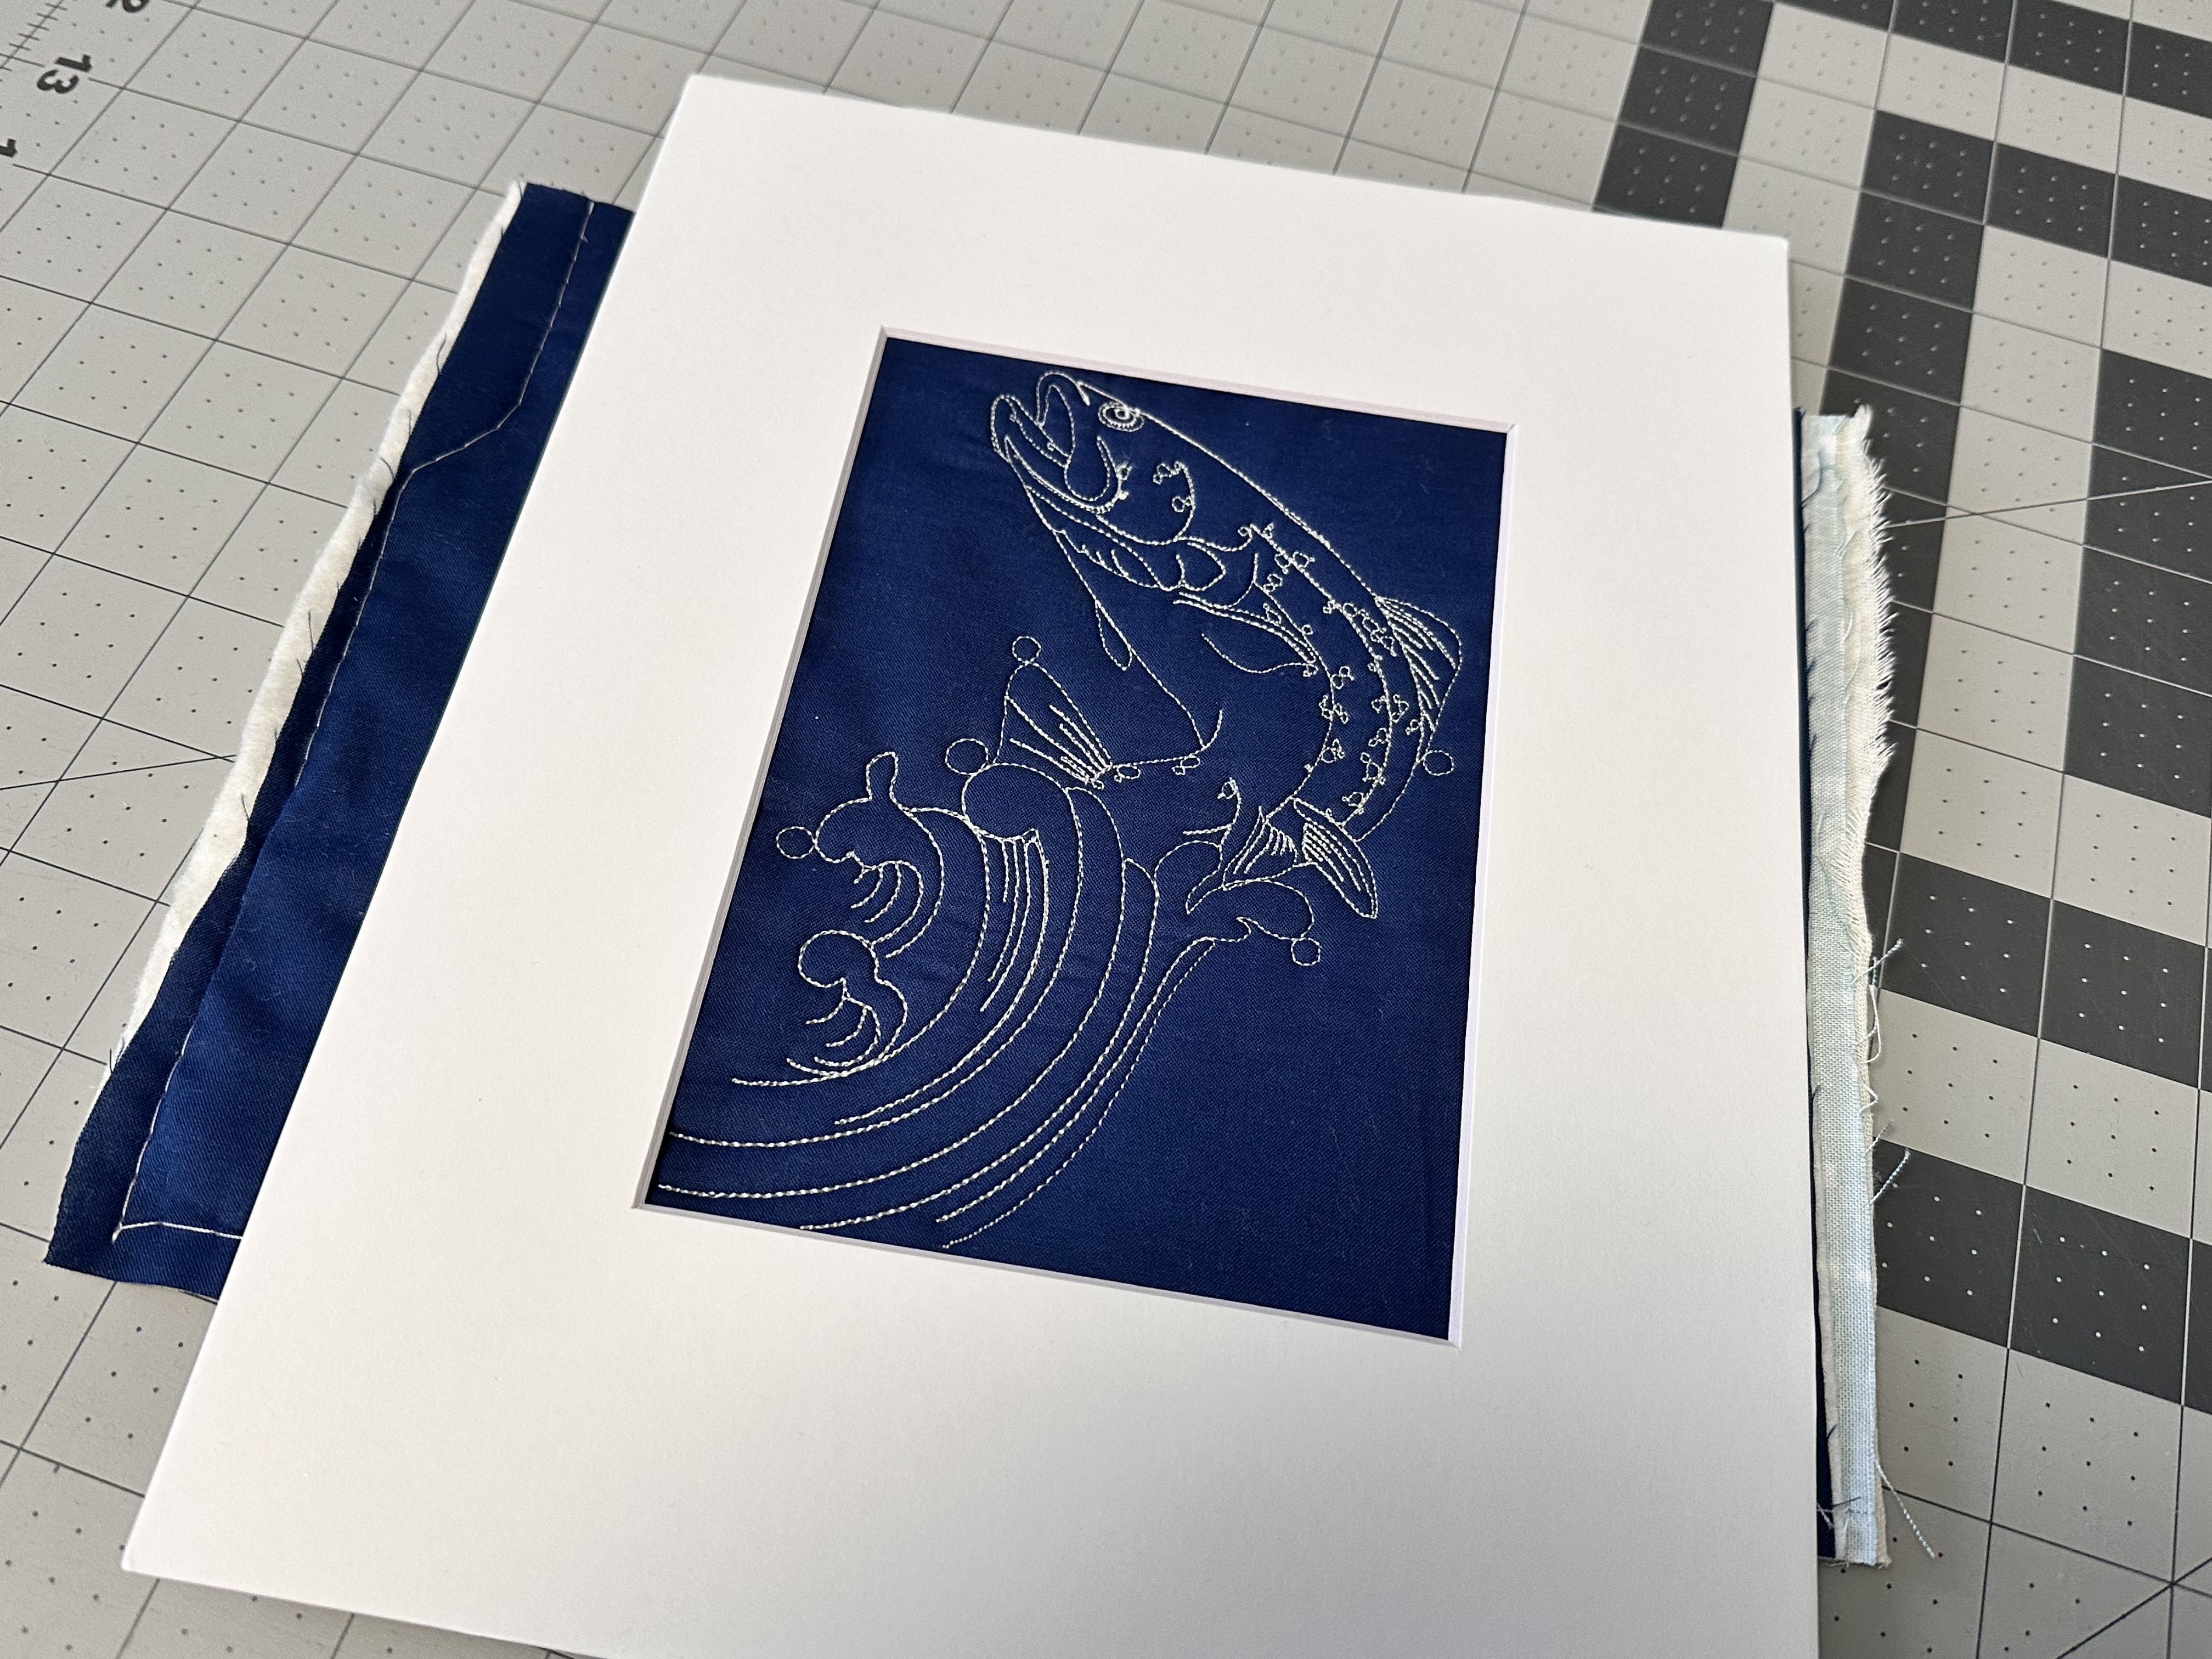
First, use your bevel cut mat to figure out what part of the design you want featured in the finished product.
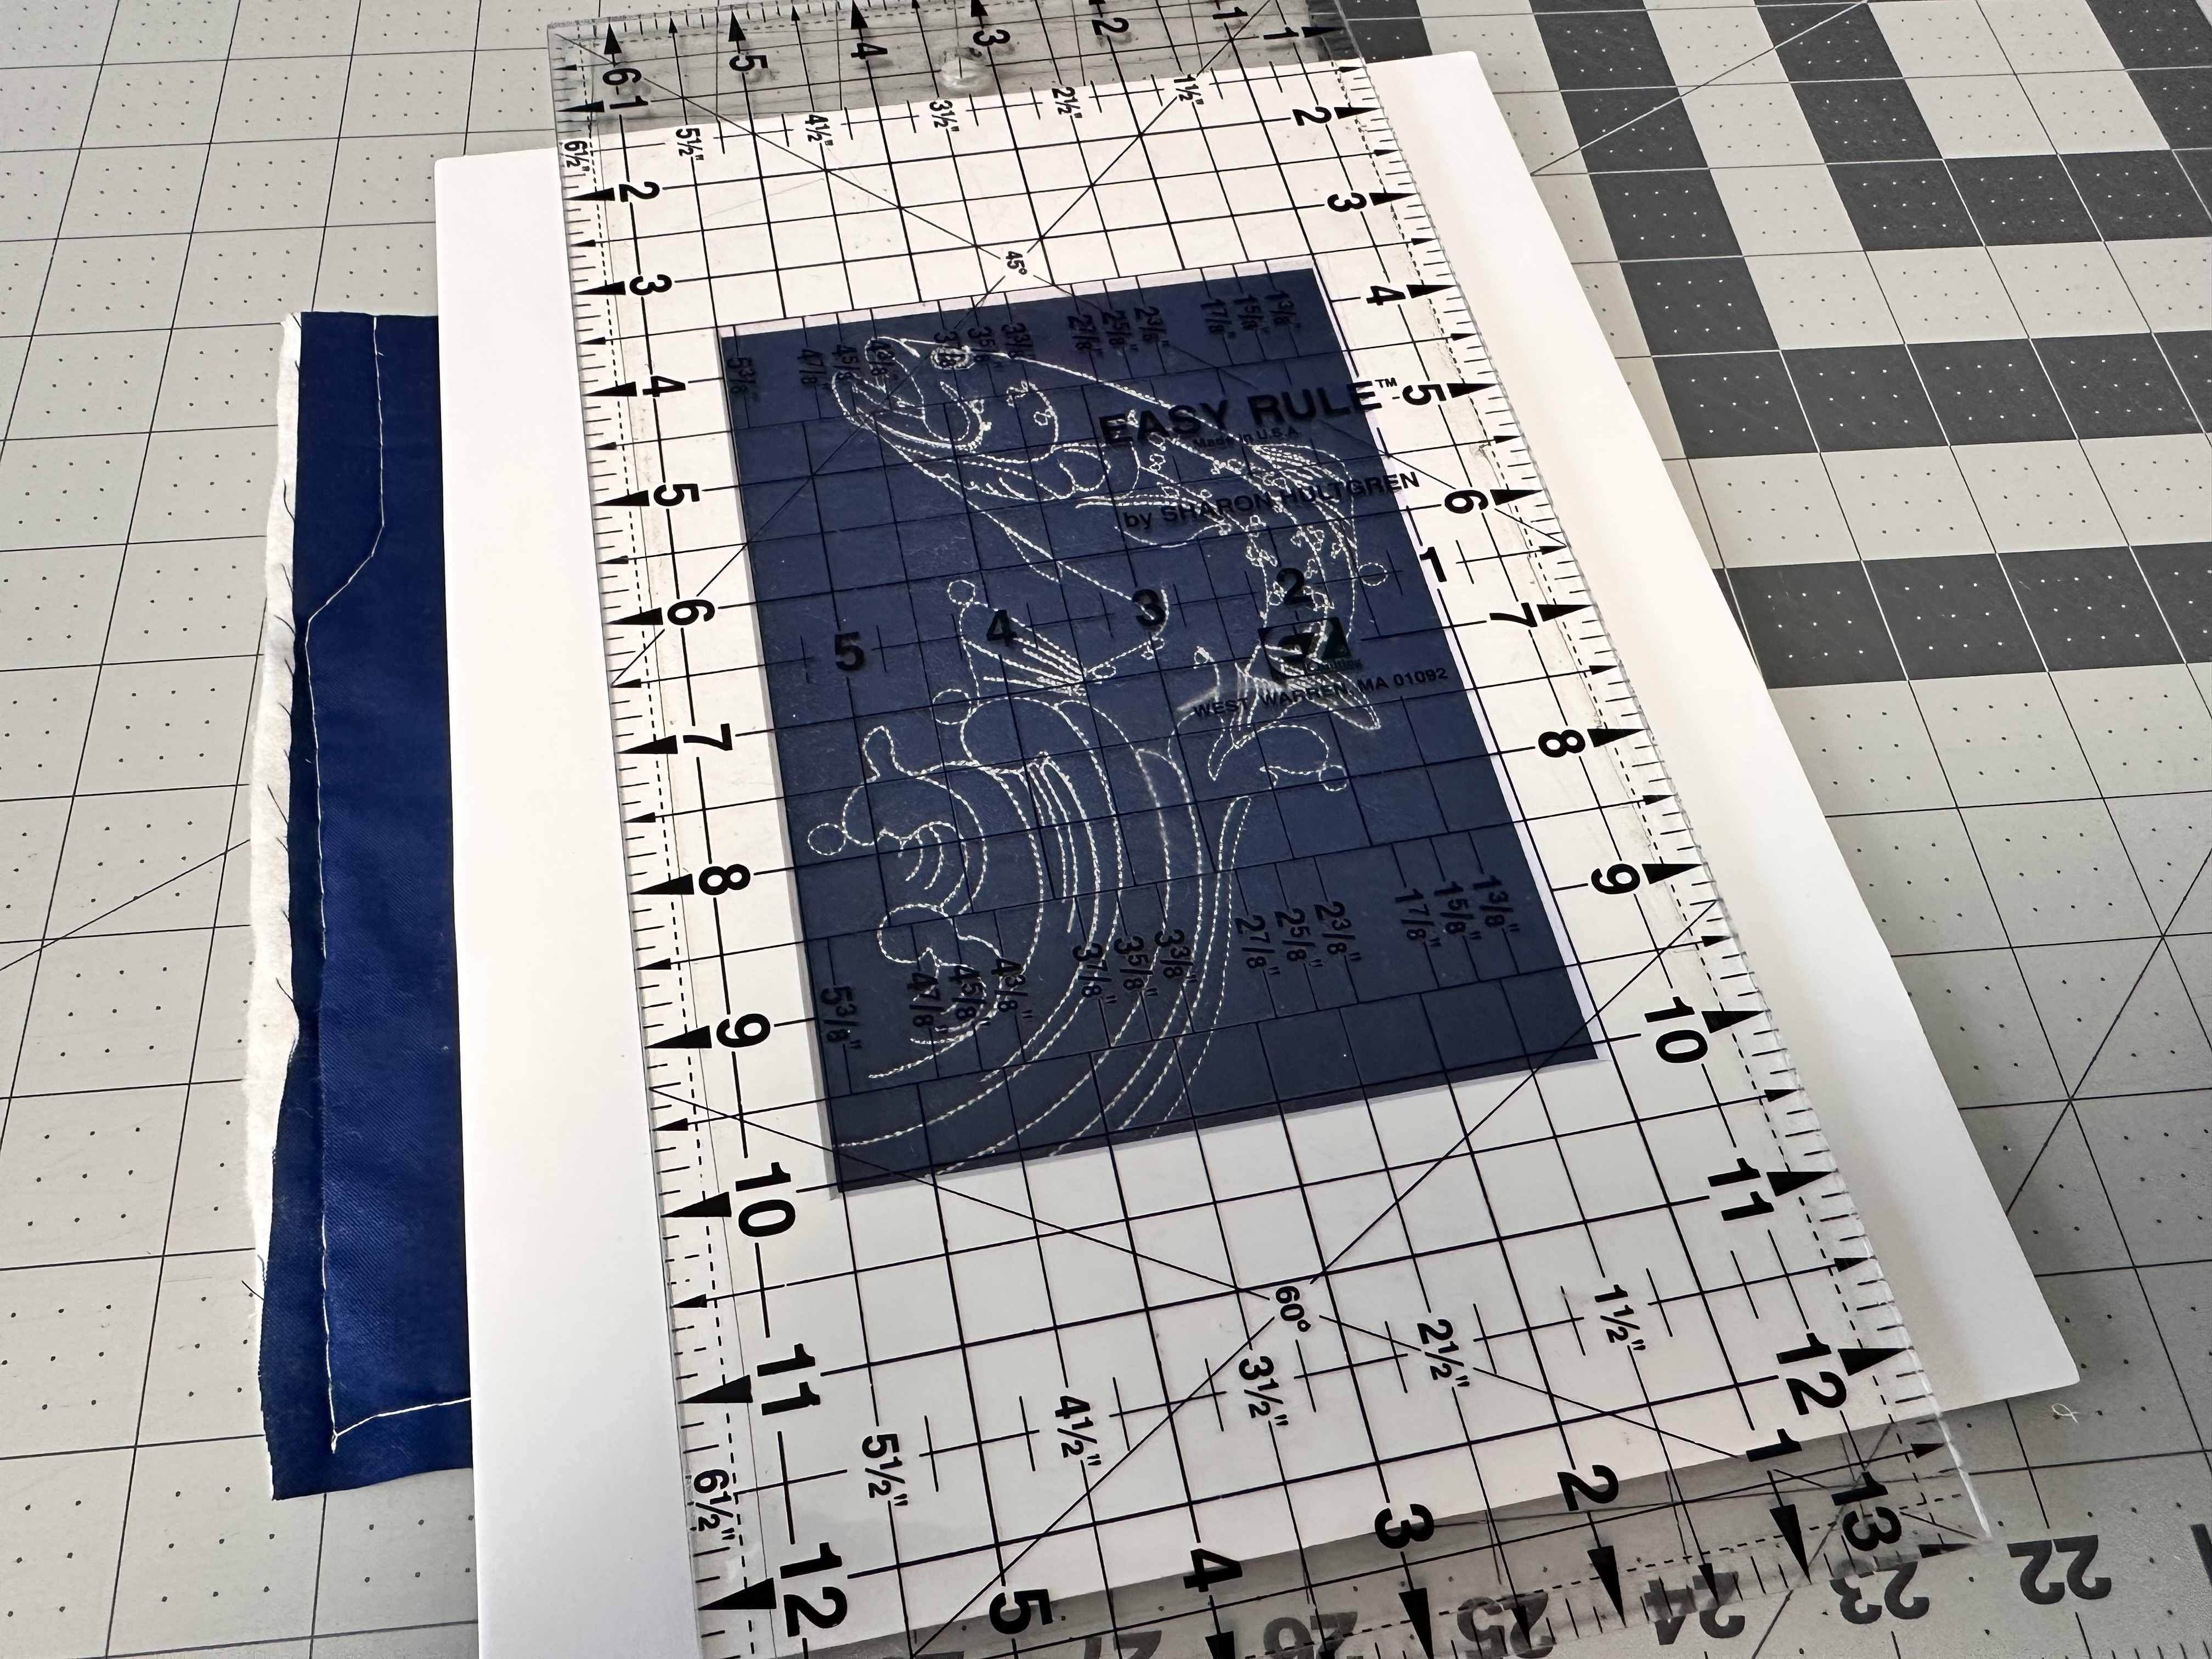
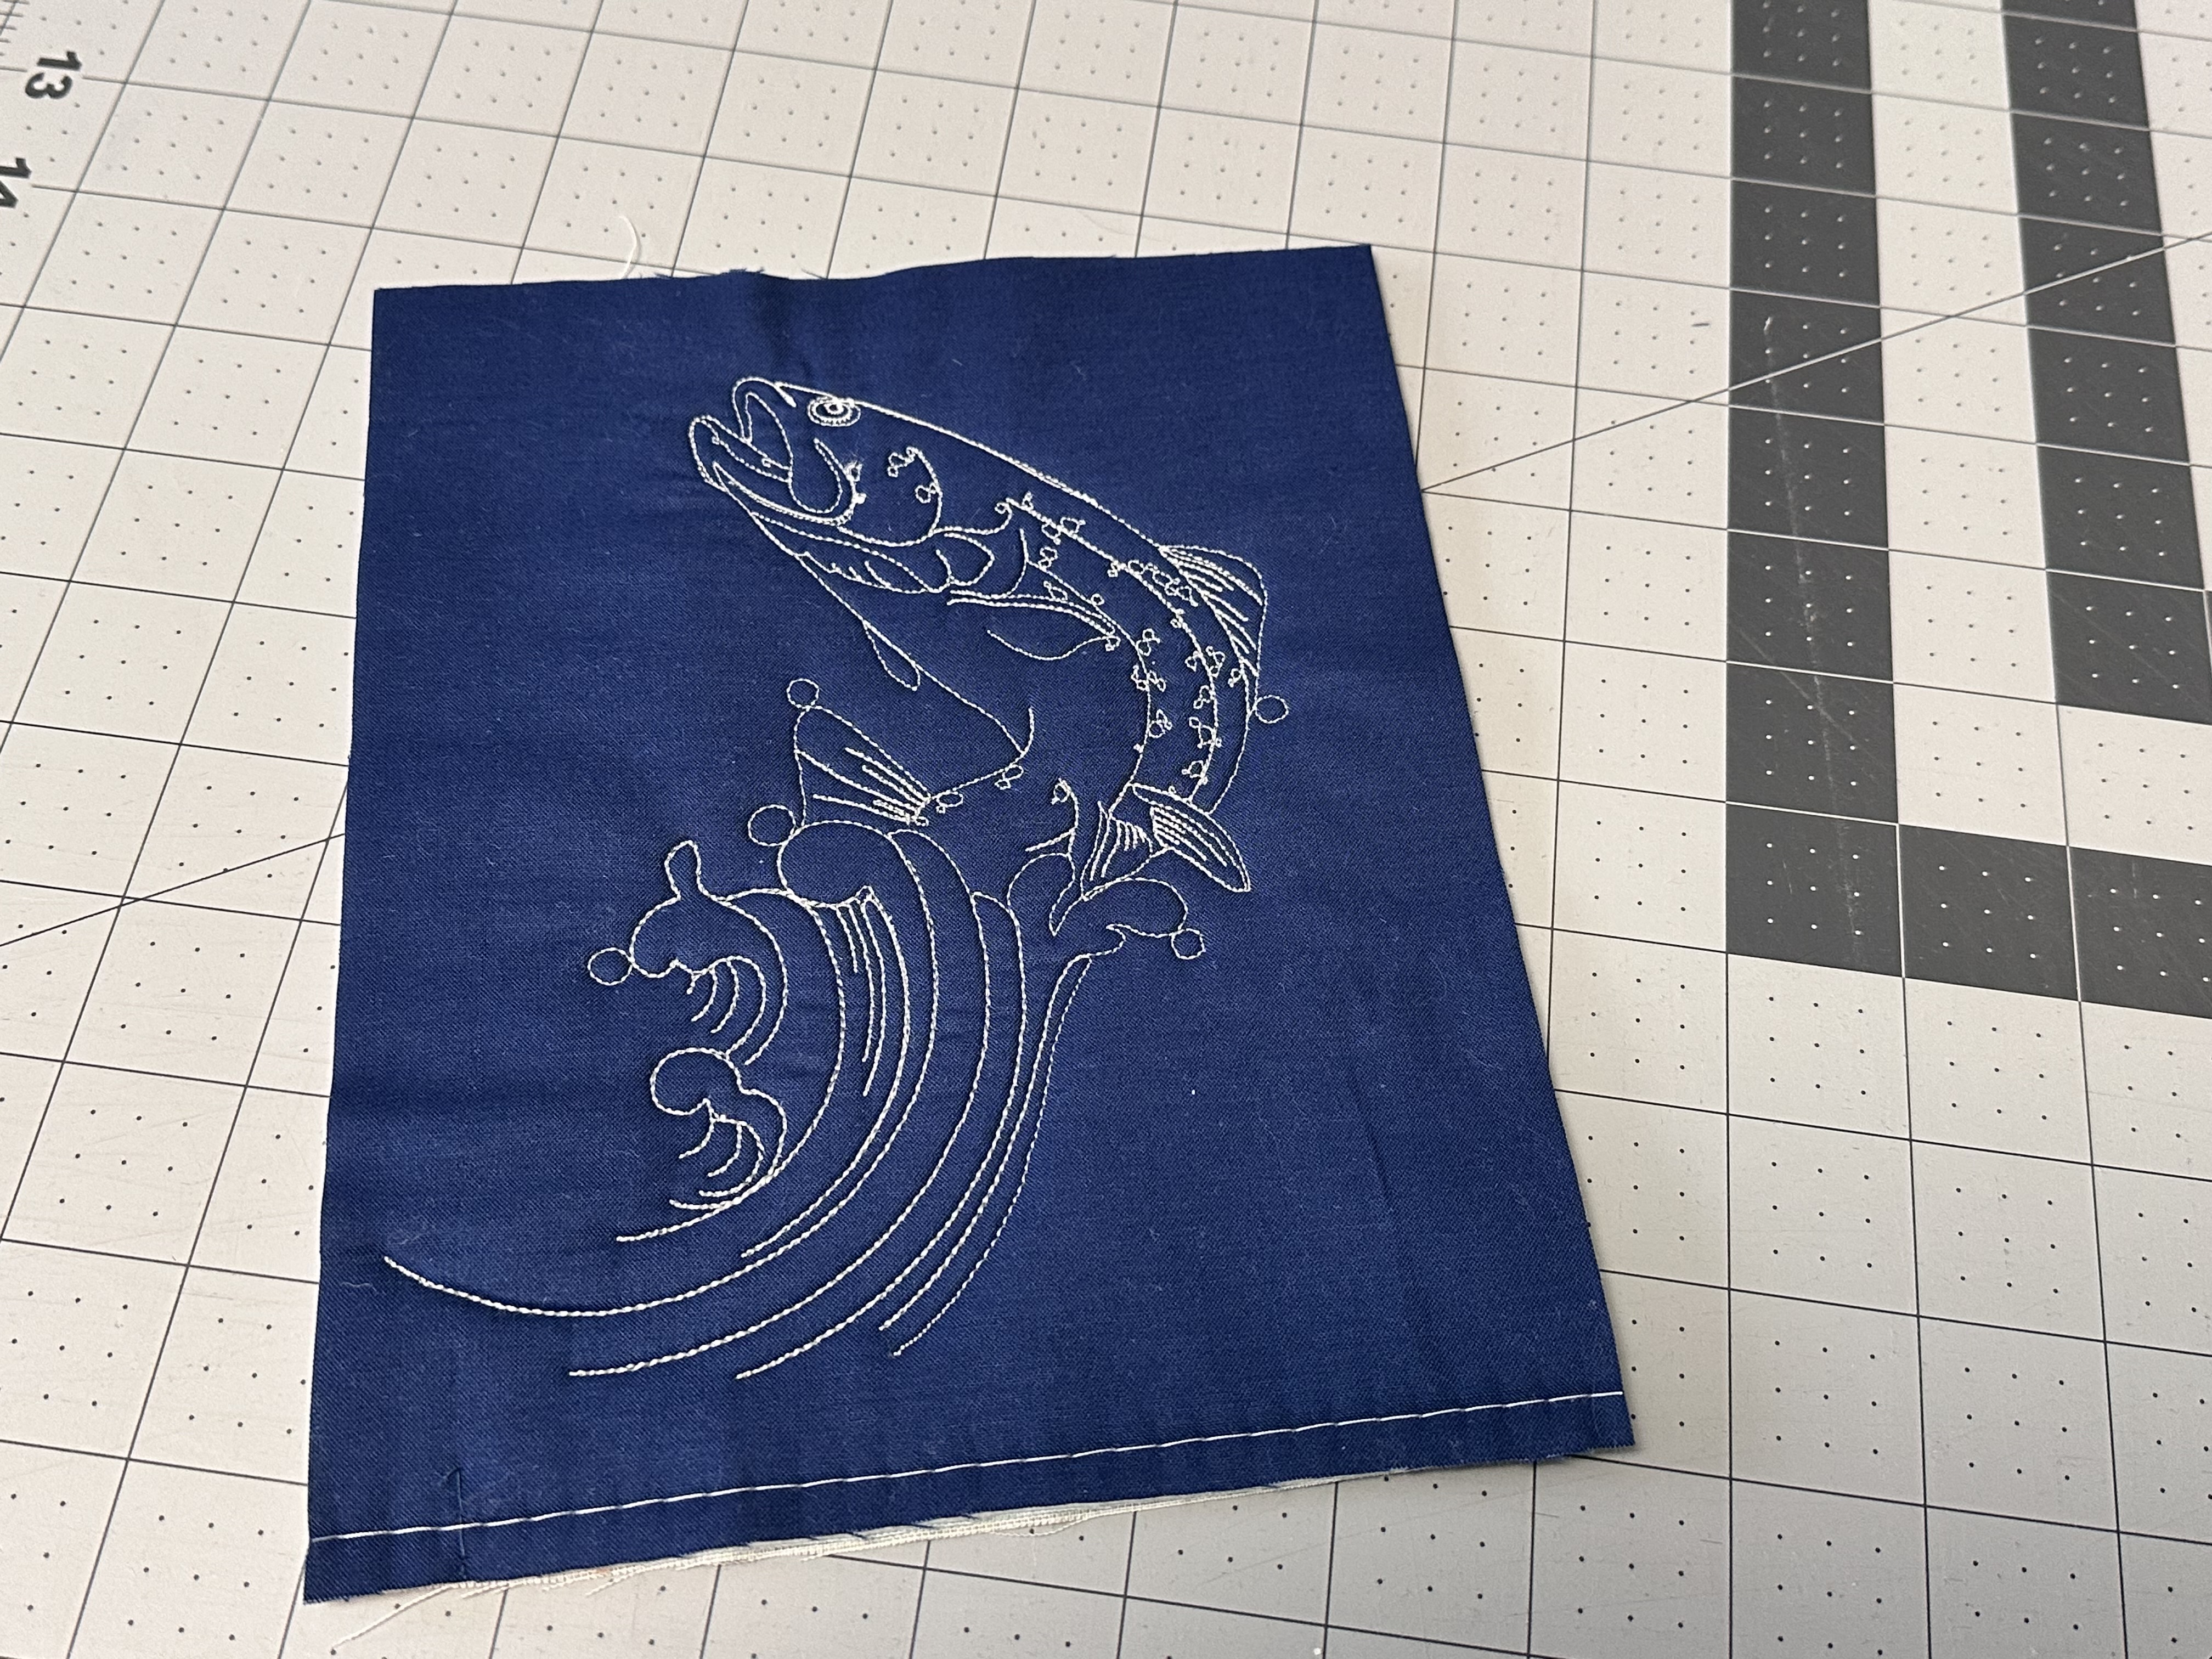
Once you have your location locked, trim down your quilt to about half an inch beyond the opening. I like to lay my ruler on top of the mat to do this and position it about an inch or so (depending on your mat) away from the bevel and then slide my mat out to make the cut.
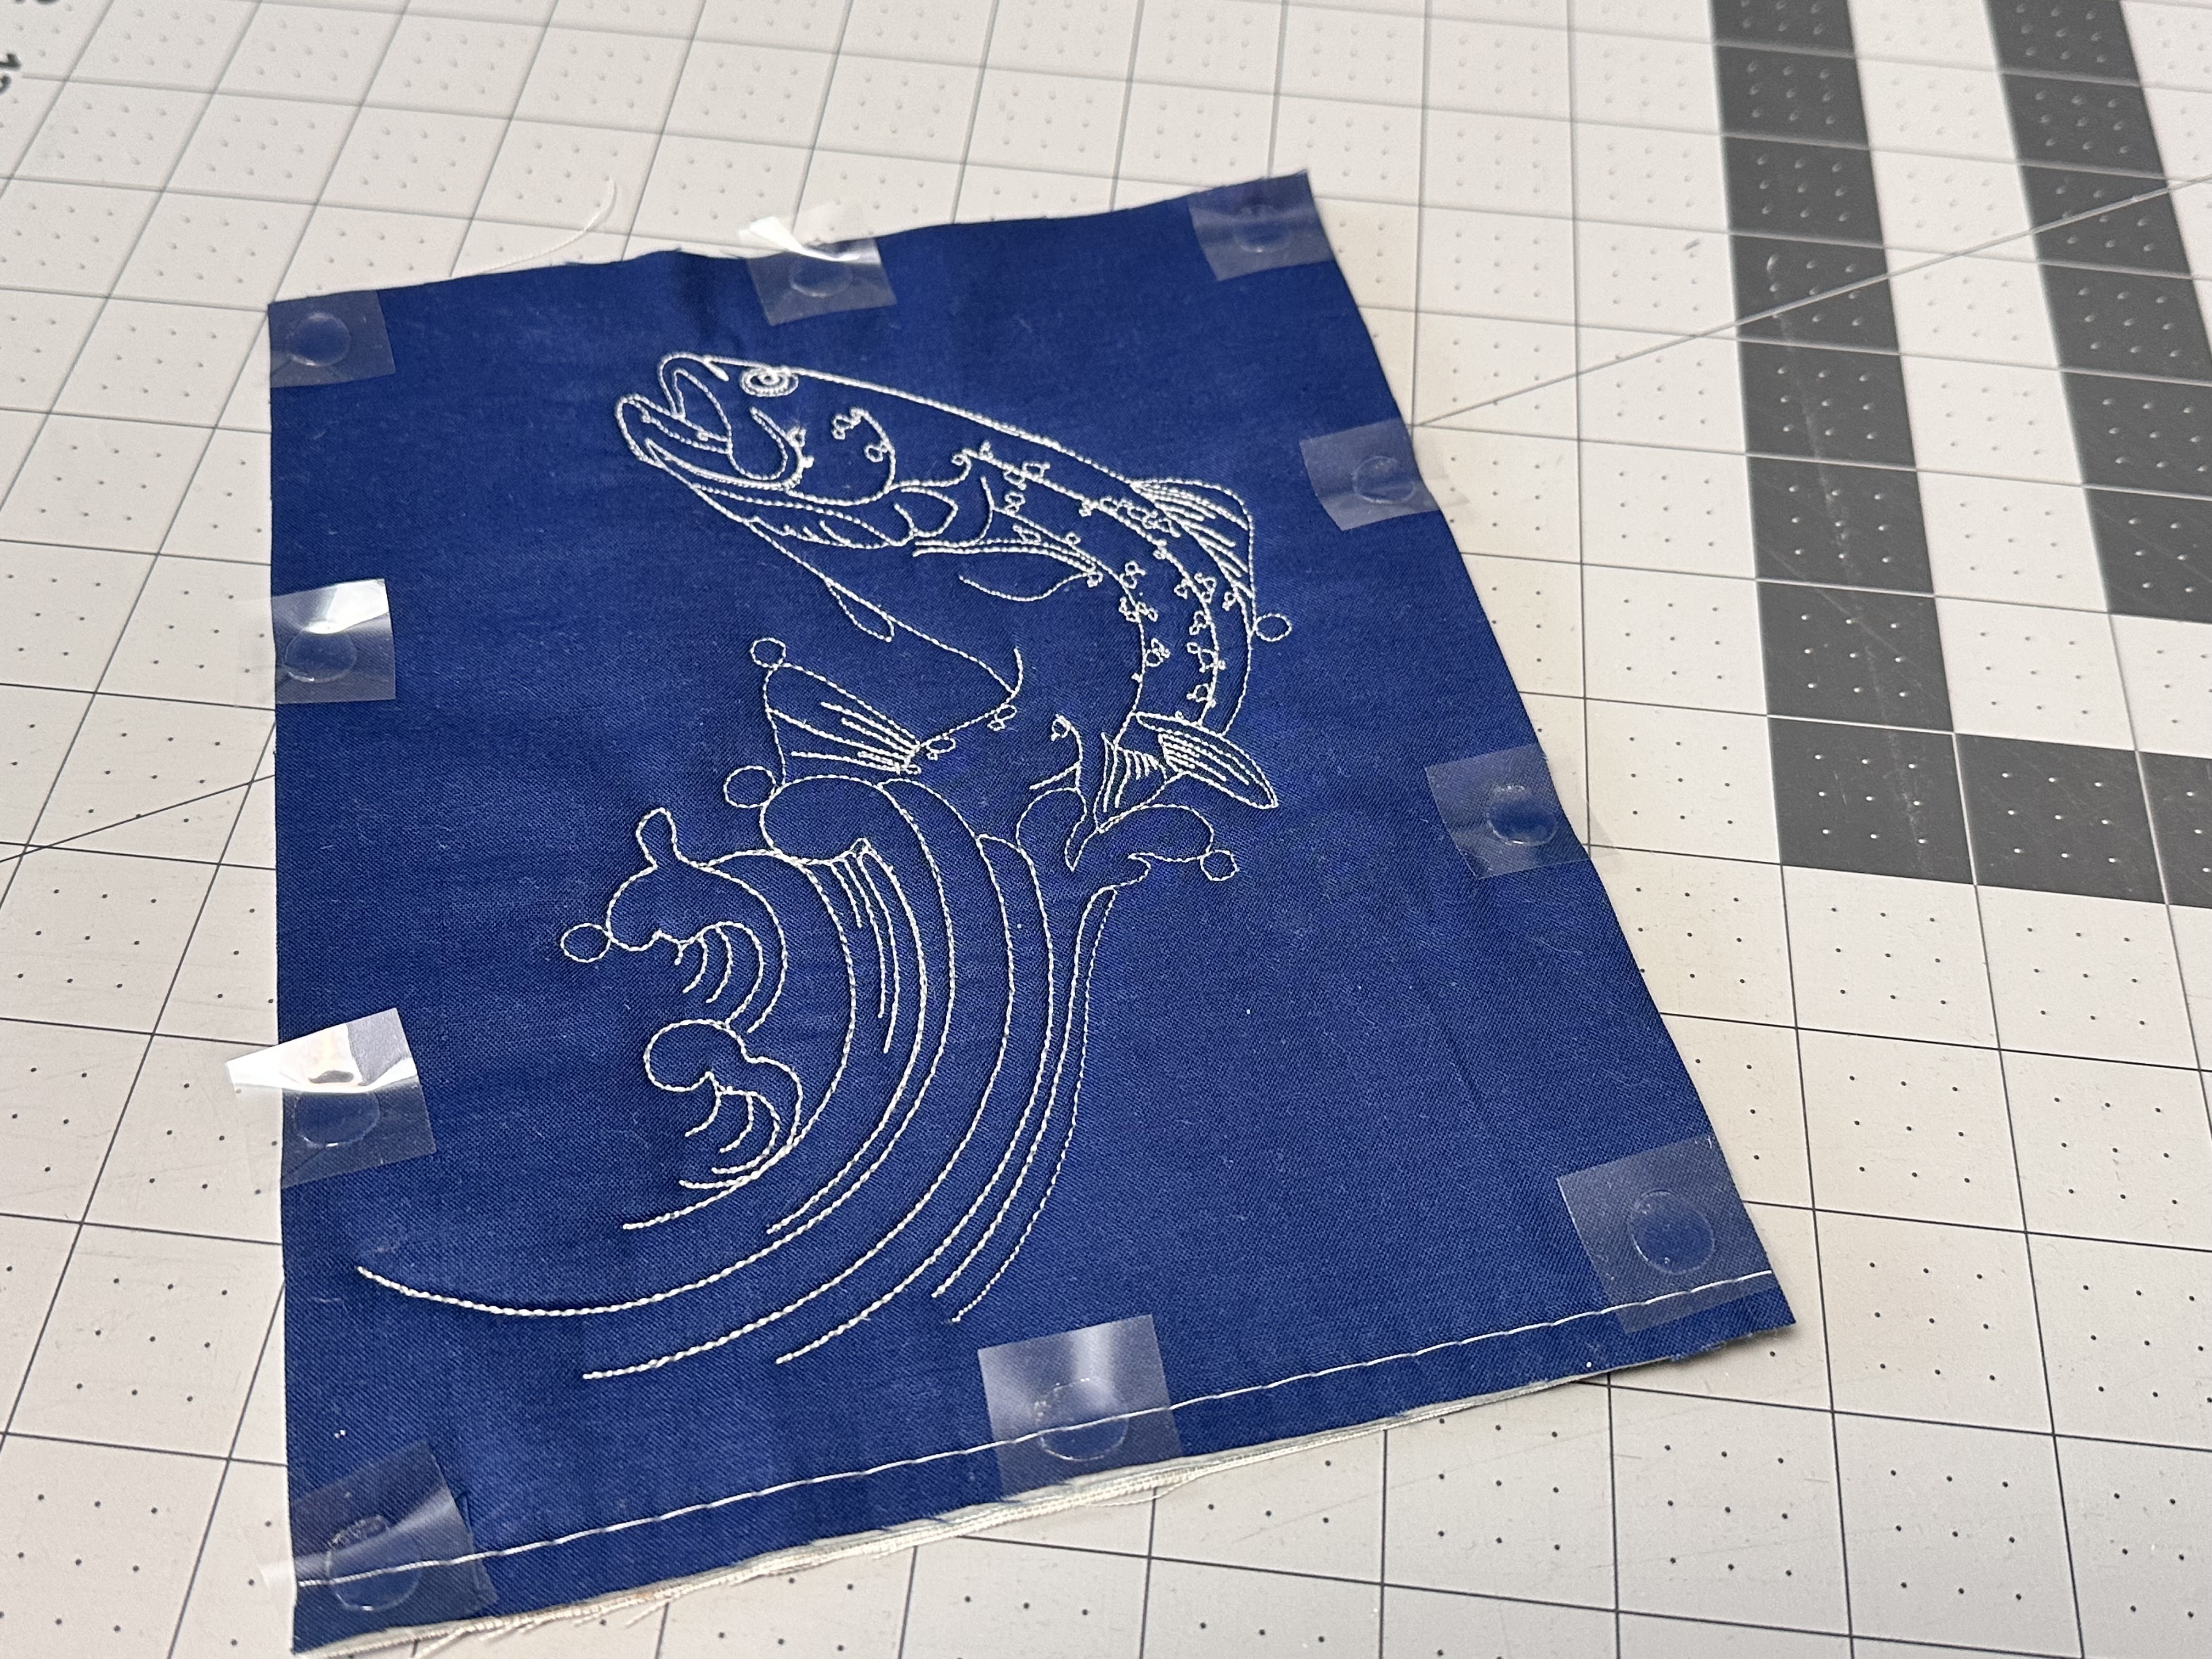
Place your acid-free dots in the corners and along the edges of the front of the quilt, and gently place the bevel cut mat on top of the quilt and press down. The dots I use have a thin plastic film on top that I need to remove before putting the beveled mat on top.
Place a number of acid-free dots on the back of the quilt and carefully add the uncut mat to the back of the quilt.
That’s it! You’re ready to put your matted quilt in a frame and hang or gift your piece of art. I have placed unframed matted quilt art in acid-free sleeves and displayed those for sale at craft fairs, and would make a great guild project to sell quilt art at quilt shows to raise money for guilds as well.
What would you mat up and frame using this technique? Let me know in the comments!