A Spectacle Quilt Pattern for Project Linus
Hello from Faith over at Fresh Lemons Quilts! This week I am really excited to share a new, simple, beginner friendly quilt pattern that also just happens to support a cause close to my heart. Quilters are generous people. Why do many of us make quilts? To gift them to others—as a thank you perhaps, sometimes for a celebration, or at times to comfort those hurting. One wonderful organization that gives comfort to children is Project Linus.
When I first began quilting, one of the first charity organizations I heard about was Project Linus. I’ve pictured children in the hospital receiving these quilts and blankets, and been happy to know that as a quilter, I’ve done something to help them. But recently my family was on the other side—the receiving side of a Project Linus blanket.
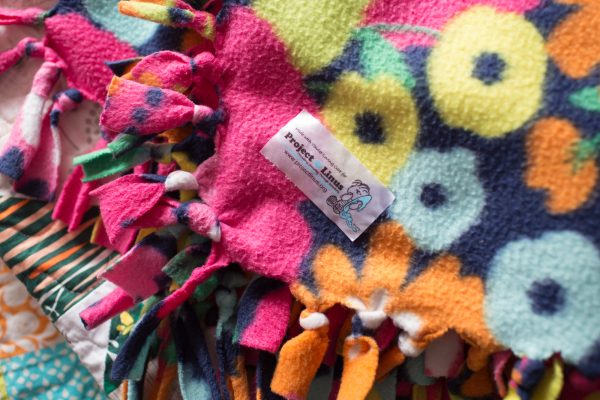
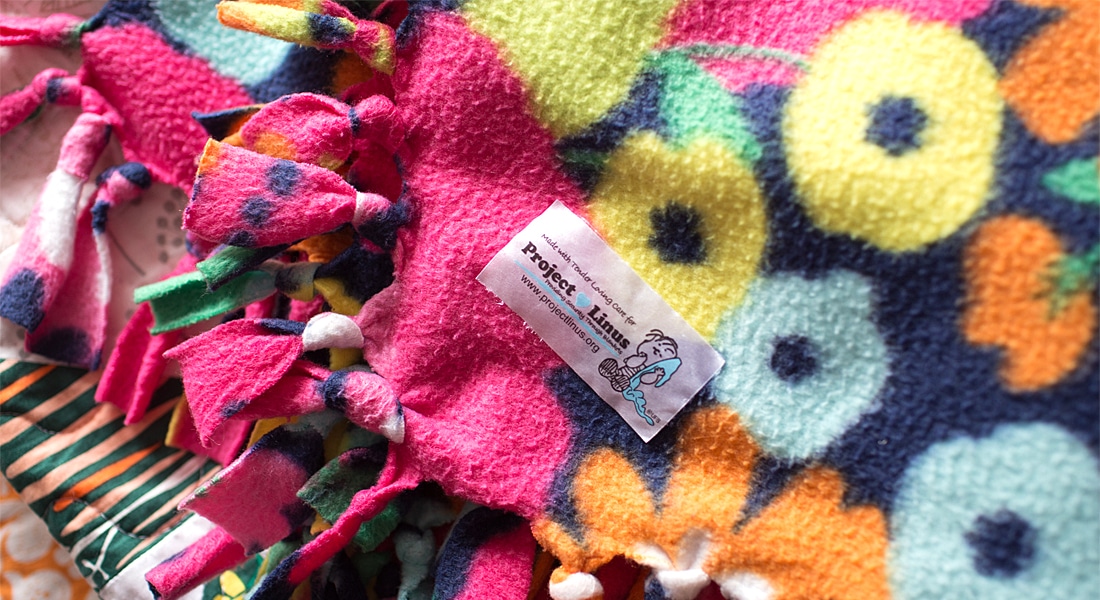
As one of my children was in the hospital undergoing testing, she was very scared and upset. We were getting her settled and before I knew it, the nurse pulled out a fleece blanket. It happened to be navy and pink, the colors of her bedroom. And it had a Project Linus tag on it. For her in that moment, this magical blanket created an instant calming effect. For me in that moment, it was an emotional realization that Project Linus makes an enormous difference for each child that receives a gift of a blanket or quilt—from you!
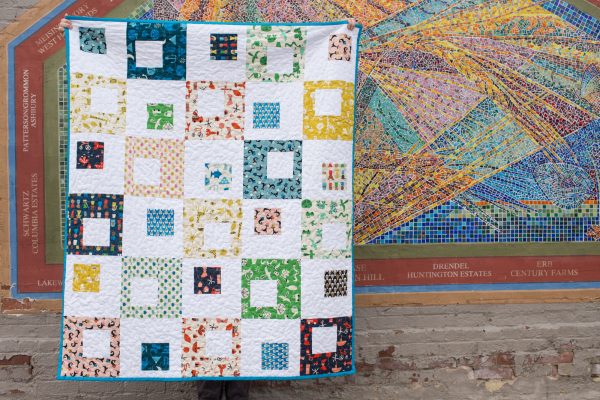
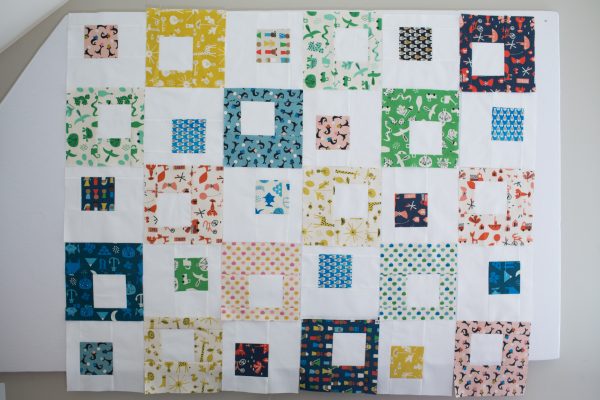
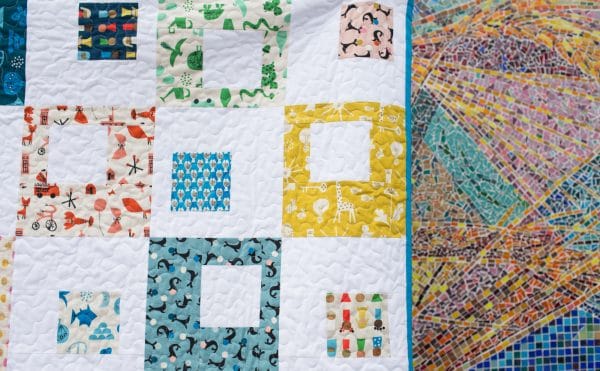
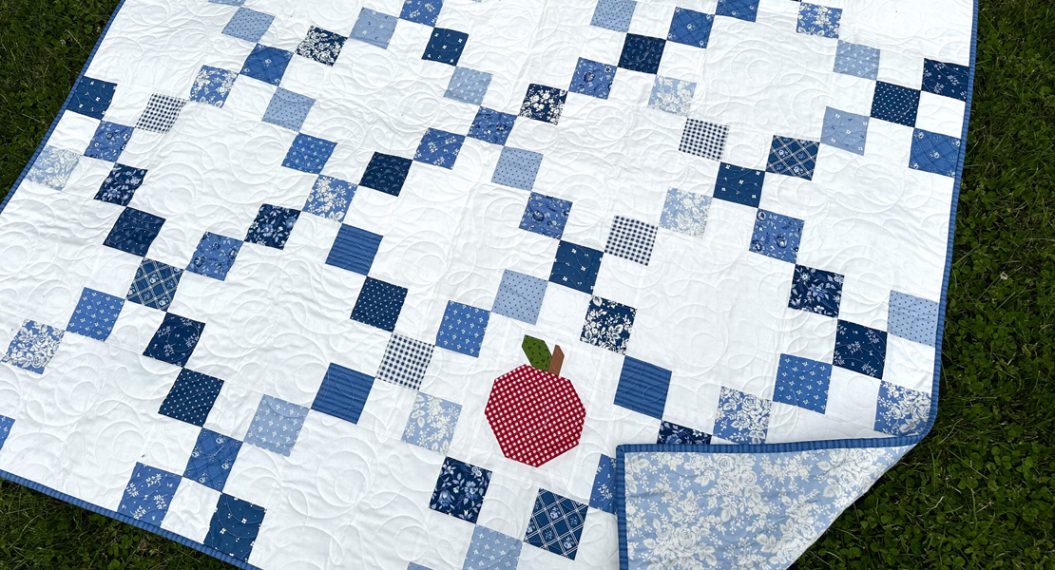
Today, I am happy to share a quilt pattern that I hope you will use to make a quilt for your local chapter of Project Linus, another charity close to your heart, or someone you love who needs comfort. The Spectacle Quilt consists of only one quilt block pattern, but it is rotated and alternates fabric placement to give the illusion of several different block designs.
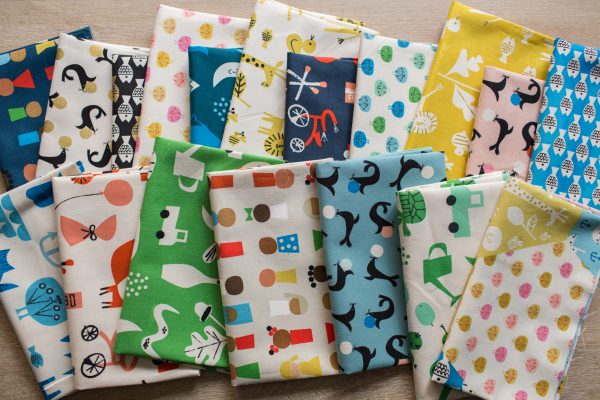
For my quilt, I used Spectacle fabric by illustrator Christian Robinson for Cotton + Steel. I love this fabric because of the playful nature of the amazing illustrations as well as the gender neutral and diverse designs.
Let’s get started!
Materials to Make a Spectacle Quilt
Finished Size: 50″ x 60″
Block Size: 10″ x 10″ Finished
Number of Blocks: 30
The Spectacle Quilt is a mix of prints and a solid. The center squares are sized to be charm pack friendly. If you want to only use a charm pack for prints, simply use those for the center of all your blocks, and a solid for the border. The quilt turns out just as cute!
Today’s pattern will cover the version seen on the above left.
Background:
1-2/3 yards of White fabric
Prints:
1-2/3 yards of print fabric
OR
(5) 1/3 yard cuts (each 12” x 42” cut will be enough fabric for 6 blocks)*
OR
(8) Fat Quarters (each 18″ x 21″ Fat Quarter will be enough fabric for 4 blocks)*
* I used a larger fat quarter bundle for a scrappier look of blocks. I plan on making more quilts with the unused fabric from my bundle.
Quilt Backing, Binding and Batting:
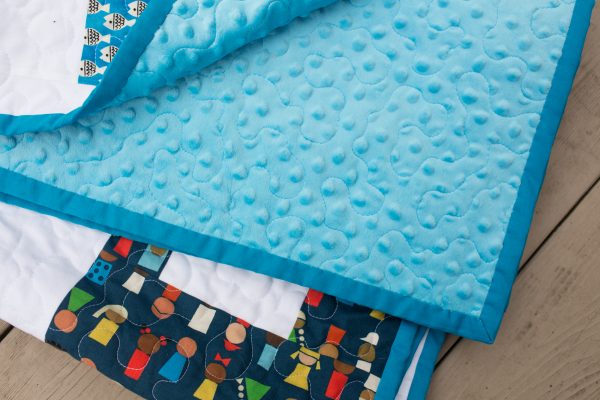
3 yards of 42” wide Backing Fabric ** – OR – 2 yards of 57” wide Minky Fabric
54” x 66” Piece of Batting
1/2 yard Binding Fabric (optional) **
** If using 42” wide backing fabric, there will be enough left over fabric from the quilt backing for your binding. Alternatively, you may purchase different fabric for your binding.
Cutting Instructions to Make a Spectacle Quilt
From White (Background/Solid) Fabric:
Cut (15) 5″ x 5″ squares (Block B)
Cut (15) 2-1/2″ x 5″ rectangles (Block A)
Cut (15) 4″ x 5″ rectangles (Block A)
Cut (15) 2″ x 10-1/2″ rectangles (Block A)
Cut (15) 4-1/2″ x 10-1/2″ rectangles (Block A)
From Prints:
Cut (15) 5″ x 5″ squares (Block A)
Cut (15) sets from each fabric (one set per block):
- (1) 2-1/2″ x 5″ rectangle (Block B)
- (1) 4″ x 5″ rectangle (Block B)
- (1) 2″ x 10-1/2″ rectangle (Block B)
- (1) 4-1/2″ x 10-1/2″ rectangle (Block B)
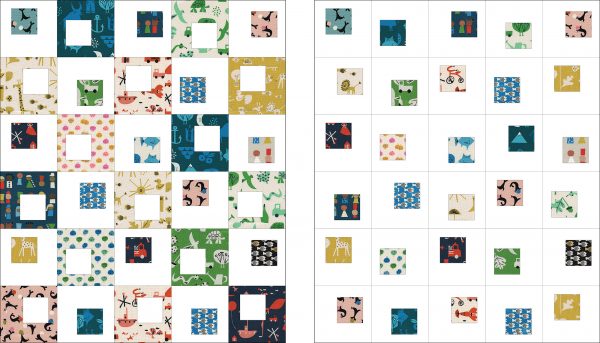
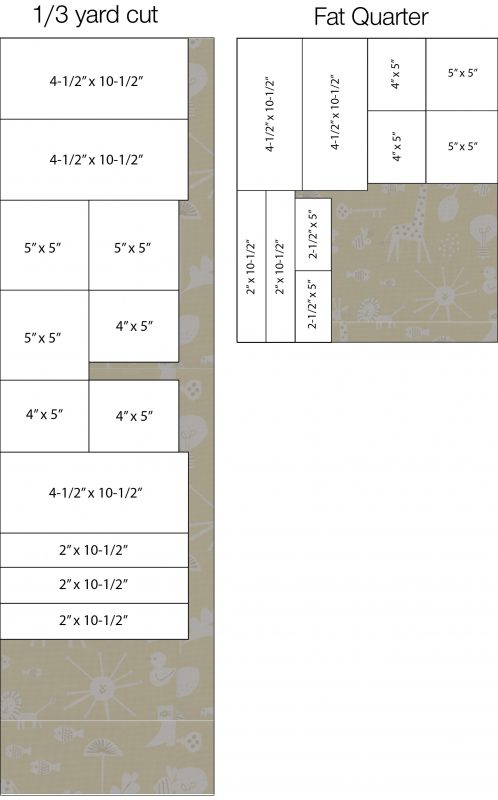
If you decide to use 1/3 yard cuts or fat quarters for your quilt, I thought I’d share some cutting layout diagrams so you can get the most out of your fabric. The 1/3 yard diagram on the left below shows how to cut enough prints for those portions of 3 Block A’s and 3 Block B’s. The fat quarter diagram shows how to cut enough prints for 2 Block A’s and 2 Block B’s.
Instructions to Make Quilt Block A
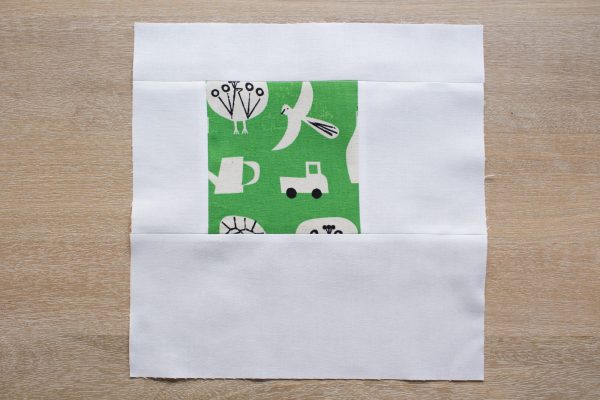
First, let’s make all the blocks with the white background and print center.
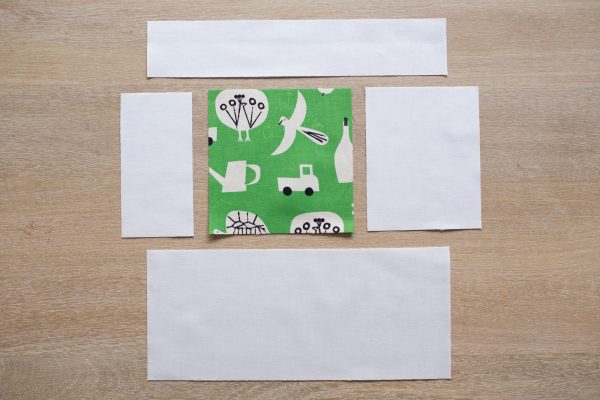
Step 1: Select (1) print 5″ x 5″ square, (1) white 2-1/2″ x 5″ rectangle, (1) white 4″ x 5″ rectangle, (1) white 2″ x 10-1/2″ rectangle, and (1) white 4-1/2″ x 10-1/2″ rectangle.
Step 2: Lay out your fabric as shown.
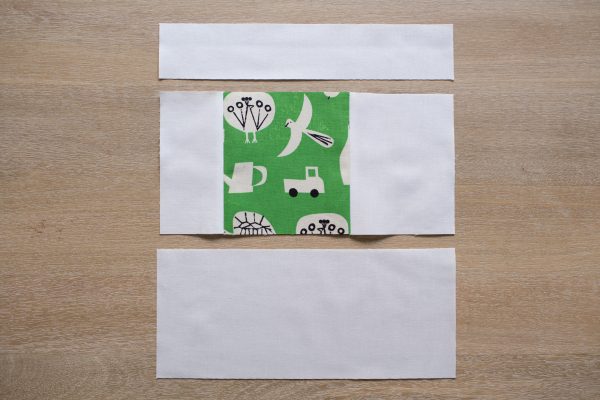
Step 3: Stitch the white 2-1/2″ x 5″ rectangle and white 4″ x 5″ rectangle to the left and right of the center print square, as shown. Press your seams as desired.
Step 4: Stitch the white 2″ x 10-1/2″ rectangle and white 4-1/2″ x 10-1/2″ rectangle to the top and bottom of your block, as shown. Press your seams as desired.
Step 5: Repeat Steps 1 – 4 to create (15) 10-1/2″ x 10-1/2″ white/print quilt blocks.
Instructions to Make Quilt Block B
Now let’s make the blocks with the white centers and print background.
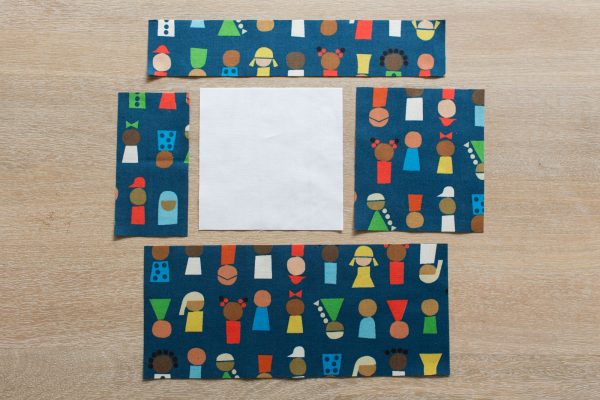
Step 6: Select (1) white 5″ x 5″ square, (1) set of matching prints : (1) 2-1/2″ x 5″ rectangle, (1) 4″ x 5″ rectangle, (1) 2″ x 10-1/2″ rectangle, and (1) 4-1/2″ x 10-1/2″ rectangle.
Step 7: Lay out your fabric as shown.
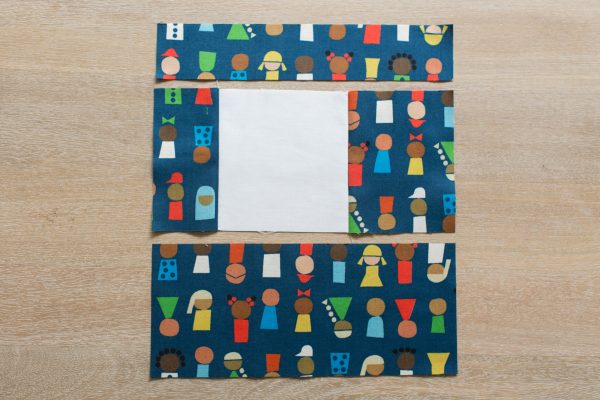
Step 8: Stitch the print 2-1/2″ x 5″ rectangle and print 4″ x 5″ rectangle to the left and right of the center white square, as shown. Press your seams as desired.
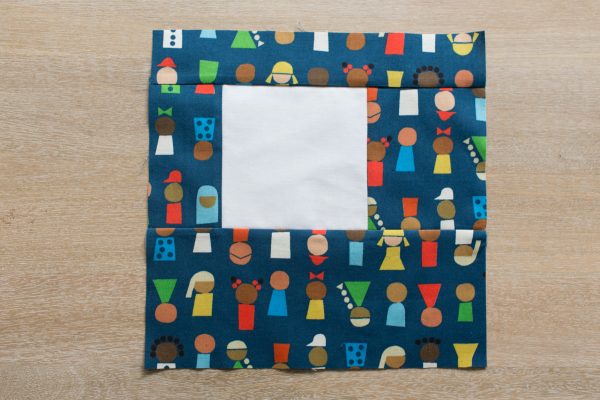
Step 9: Stitch the print 2″ x 10-1/2″ rectangle and print 4-1/2″ x 10-1/2″ rectangle to the top and bottom of your block, as shown. Press your seams as desired.
Step 10: Repeat Steps 5 – 9 to create (15) 10-1/2″ x 10-1/2″ print/white quilt blocks.
Instructions to Assemble the Quilt Top
Step 1: Collect your (30) finished quilt blocks. Alternating block fabric choices and rotating blocks as desired, lay out your quilt. This quilt has 5 blocks across and 6 blocks down. I had to lay my quilt out sideways to fit on my design wall.
Step 2: Stitch your blocks together into rows. Press your seams in alternating directions as the previous row.
Step 3: Stitch your rows together to form your finished quilt top.
Backing, Quilting and Finishing the Quilt
Step 1: Collect the backing, batting, and binding supplies.
Step 2: If using 42″ wide backing fabric, cut your 3 yards of backing fabric in half, resulting in (2) pieces of fabric 42″ x 54″. Stitch fabric together along the 42″ side, resulting in a backing that measures 83-1/2″ x 54″. Trim backing to 66″ x 54″. Reserve the 17-1/2″ x 54″ section for binding.
If using 57″ wide Minky fabric for your backing, there is no need to alter your cut of fabric.
Step 3: Collect your quilt top, batting, and quilt backing. Baste your quilt. Please see my How to Pin Baste a Quilt for a tutorial.
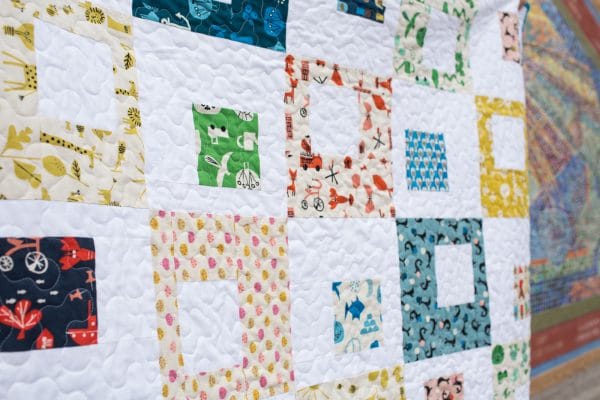
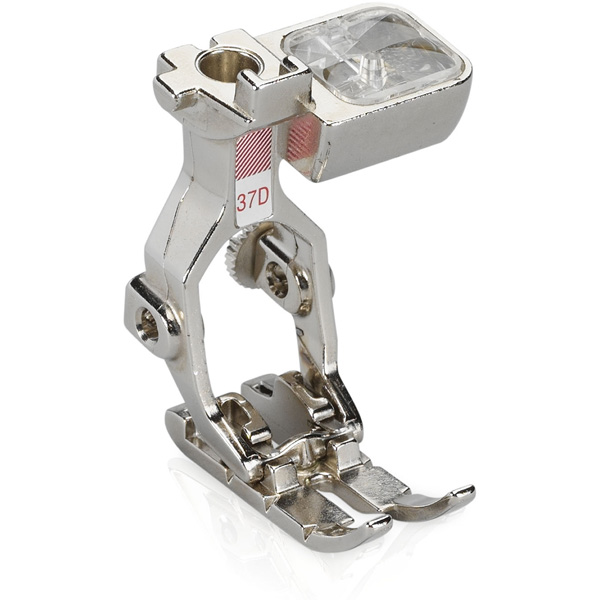
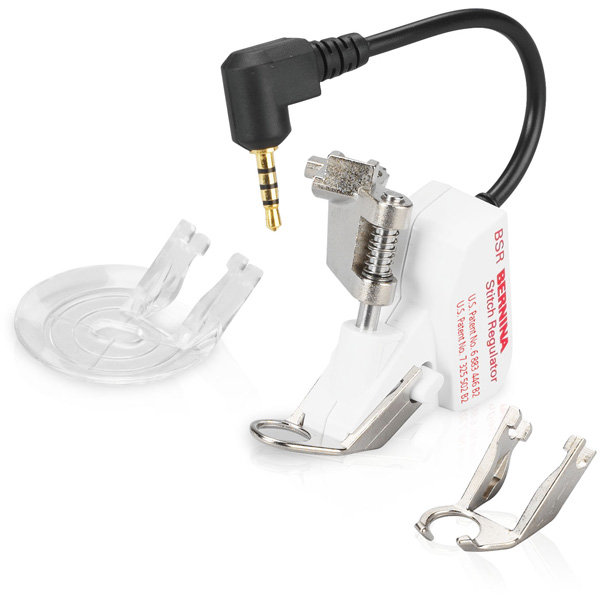
Step 4: Quilt your quilt. I quilted mine in a meandering design using my BERNINA 770QE’s BSR foot.
Step 5: If you are using your backing scrap fabric for your binding, Cut (5) strips measuring 2-1/2” x 54” from your backing scraps.
If you are using different binding yardage, cut (6) 2-1/2″ x 42″ (WOF = width of fabric) strips from your binding fabric. Bind your quilt. If you are new to quilt binding, see my tutorial for complete directions.
What you might also like
9 comments on “A Spectacle Quilt Pattern for Project Linus”
-
-
…and then arrange the 5 x 5s in a different way somehow at the bottom.
-
Sorry…insomniac here. I just looked at your Fat eighth layout, and you’ve mislabeled the 4 x 5 rectangles and 2 1/2 x 5s. You switched them with each other. Maybe edit so people don’t get confused.
-
It is not a fat eighth. It is 1/3 yard with of fabric. Just sayin’
-
-
-
Would like to print this pattern. Is it possible?
-
Our WeAllSew blog content is posted in an open format. If you wish to print the post, you can easily print the tutorials directly from your screen. If you attempt to print directly from the screen a pdf will be generated for your convenience. Please give it a try.
Thank you for reading WeAllSew!
-
-
Faith, this is a delightful quilt and perfect for Project Linus! Your instructions and illustrations are so thorough and easy to follow. It’s very obvious that it comes from the heart. Thank you!
-
The 3/ fat quarter layout on Facebook is actually 20″ wide. I see the layout above that gets 2 per fat quarter but I did finally redo a layout that truly does get 3/FQ IF the FQ is a full 21.5″ long or if a regular 1/4 yd is 42.5″ wide. I have a diagram drawn out on EQ7 but don’t know how to add it to this. I did put it in a comment on the shared Facebook link but don’t know if others can get to one shared on my friend’s page. PM me with an email address if you would like a screen shot of the layout I came up with.
-
Faith, I sew for Project Linus, too. TY so much for the testimony. I sent it to my PL coordinator to share the free pattern and how much the quilt meant to you and your daughter. Love thke pattern. Love the heart warming testimony. Hope all is well with your family.
Leave a Reply
You must be logged in to post a comment.


Your layout for the FQ diagram won’t work. The 5x5s should be switched with the 4 x 5s. Otherwise, you will need a piece more like 19″ along one side.