Recycled Jeans Purse Tutorial, Part 2
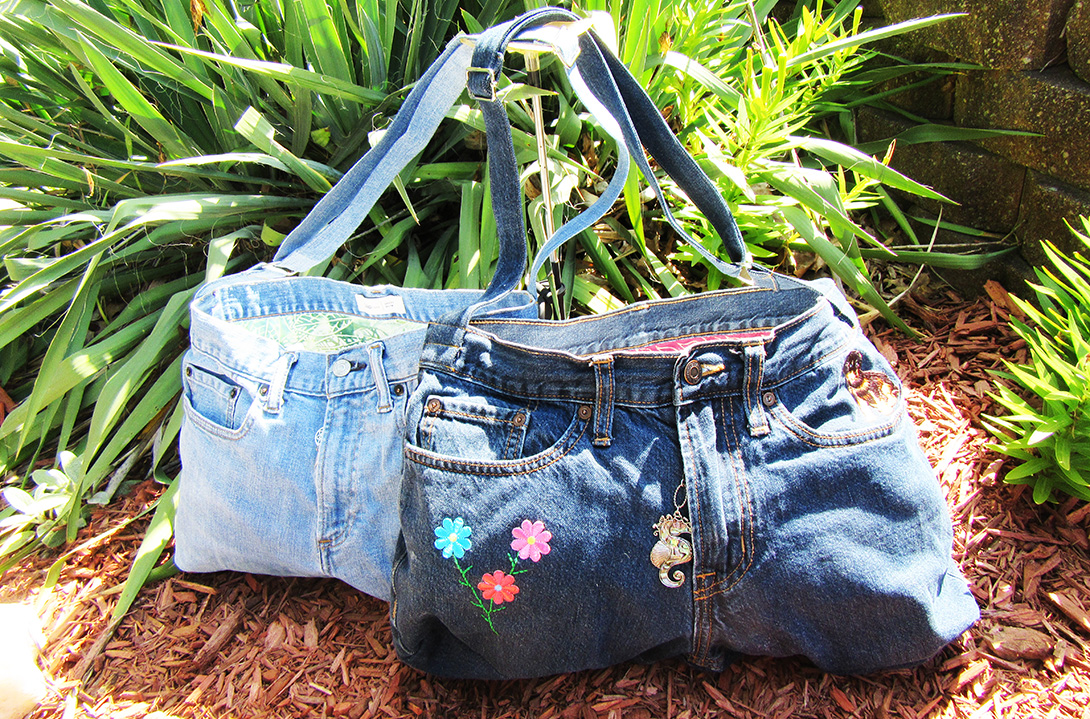
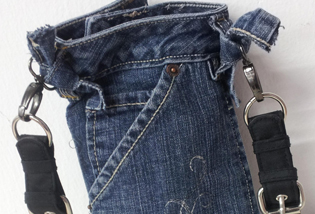
Finished up your Recycled Jeans Purse and want to take it up a notch? Part two of this tutorial will show you how to take your purse to the next level by adding a little something extra. This section will cover how to add a lining, extra pockets, and even some bling!
Materials To Enhance Your Recycled Jeans Purse
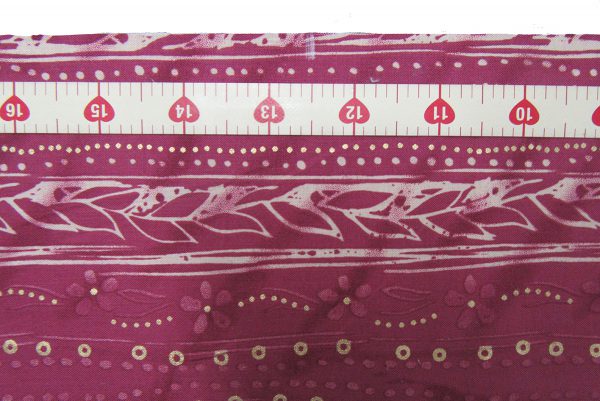
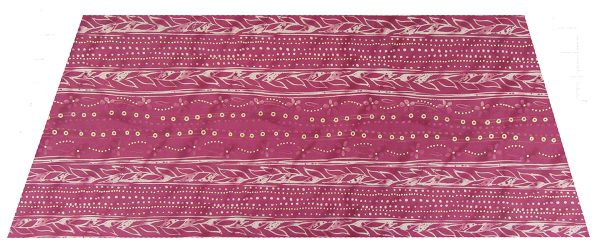
¾ Yard Cotton Fabric for Lining
Left Over Jean Cuff from Part One
Iron On Appliques or Heat Set Crystals (Optional)
Embroidery Thread (Optional)
Zipper Pull (Optional)
Step 1:
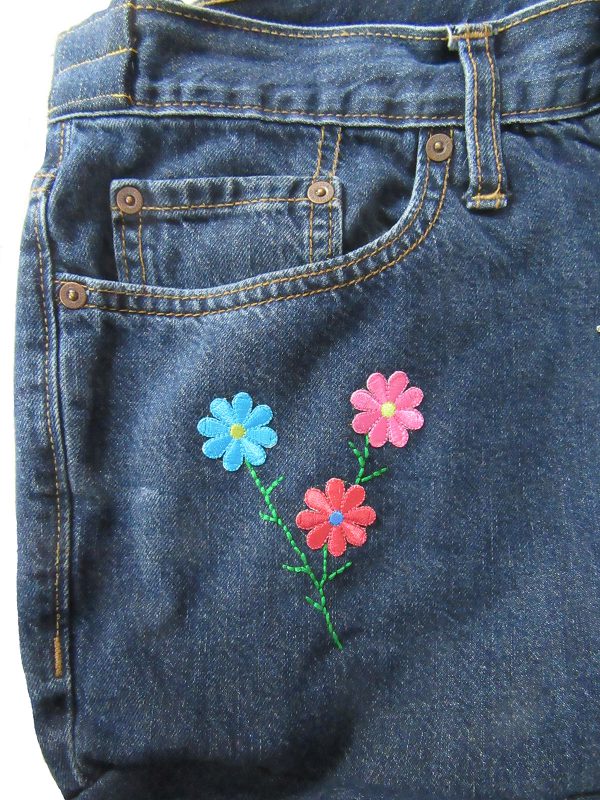
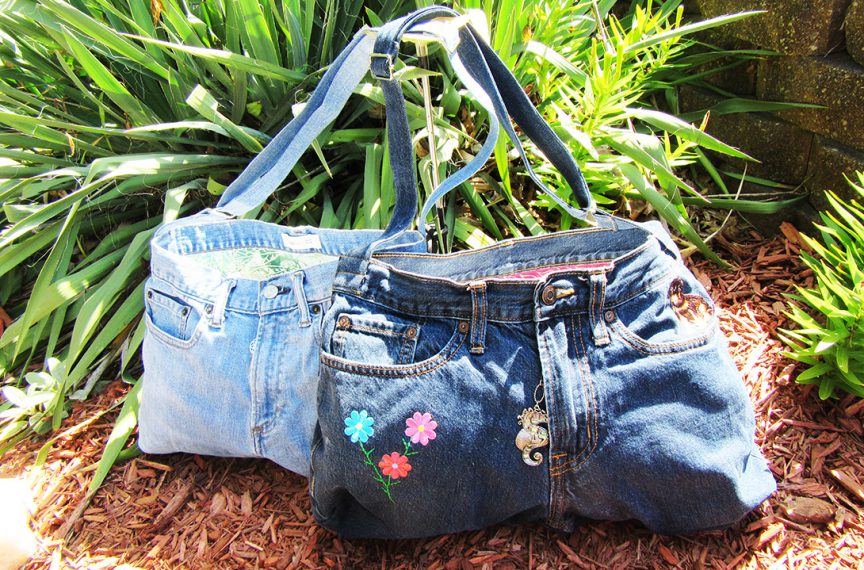
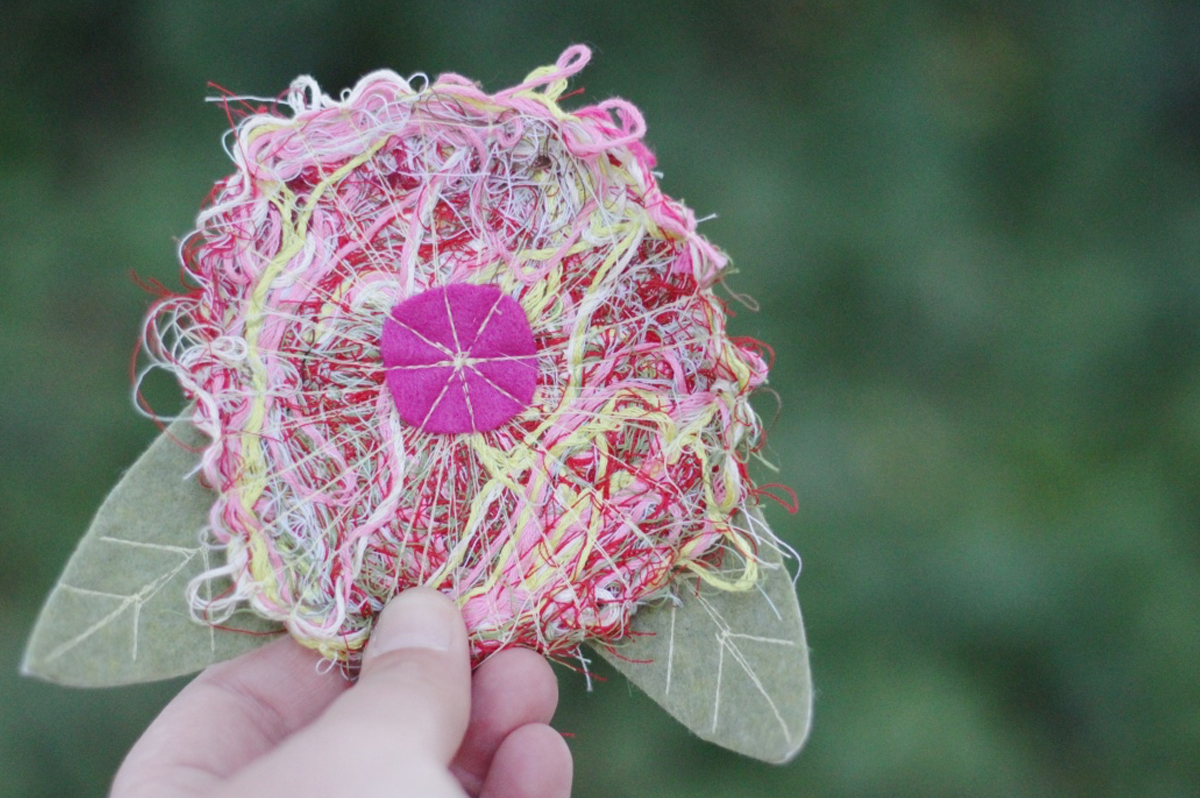
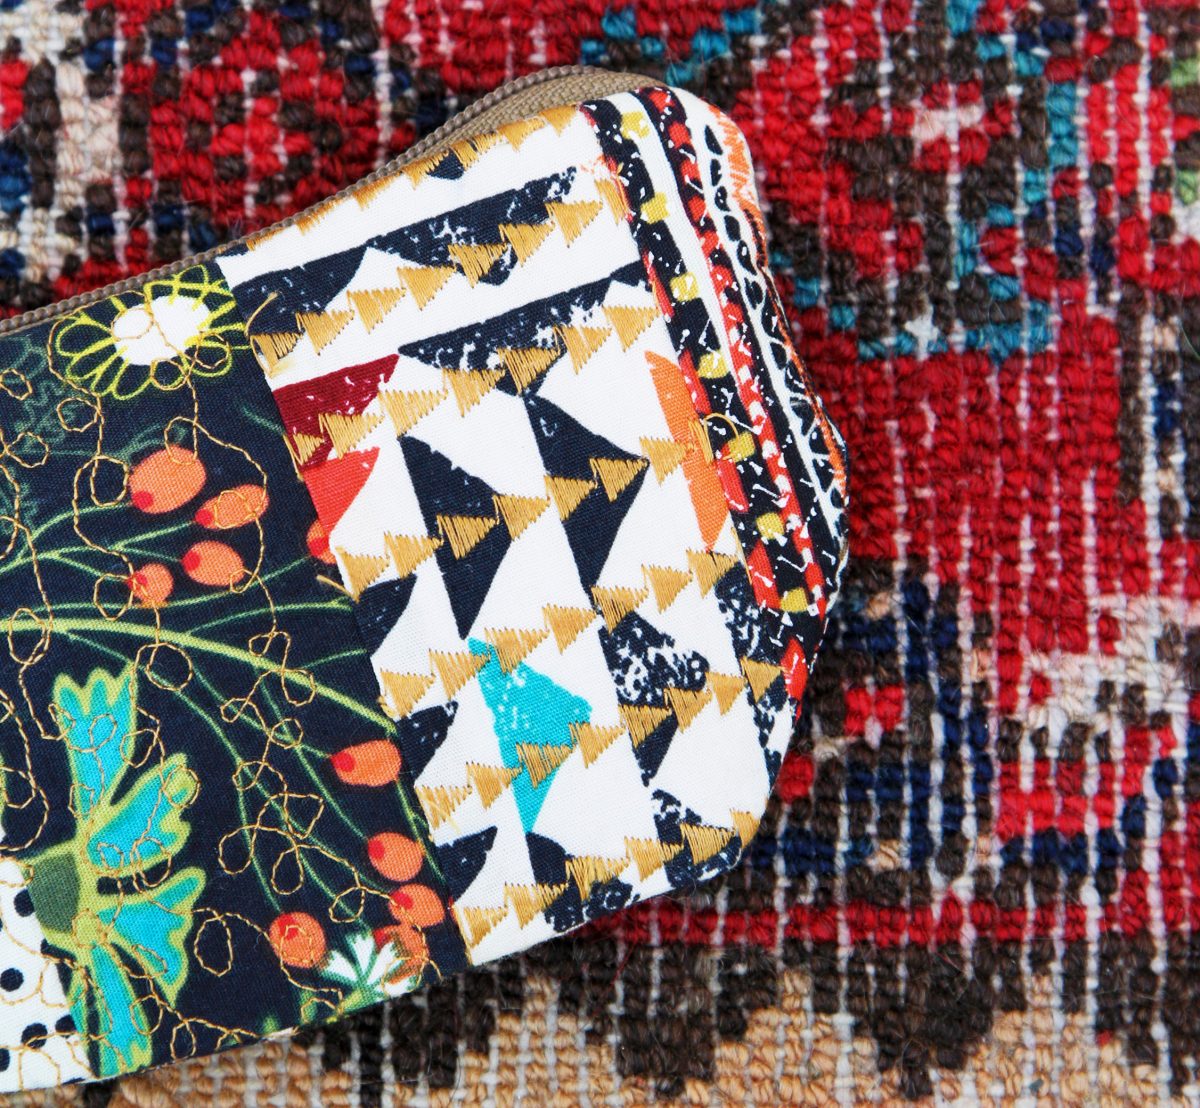
This is when you will add your bling. I added several iron on floral appliques and then hand embroidered a running stitch to make leaves and stems. If you have an embroidery machine, you could do this entirely by machine. This would also be a great time to try out all the cool decorative stitches that come with your machine. You can also add hot fix crystals, shisha mirrors, buttons….. the only limit is your imagination. (I strategically placed mine to cover paint stains I had gotten on my old jeans.) You could also use fabric paint to add a little something extra to your bag.
Step 2: Zipper Pocket (Optional)
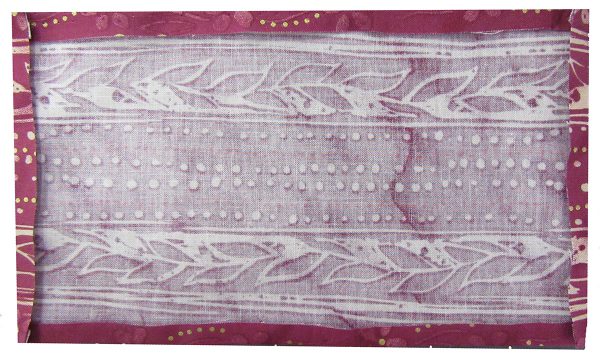
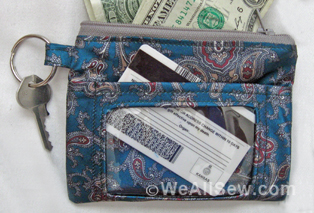
Cut a piece 4 ½ inches by 8 inches from your lining fabric. Fold over side and top/bottom edges ¼ inch wrong sides together and press.
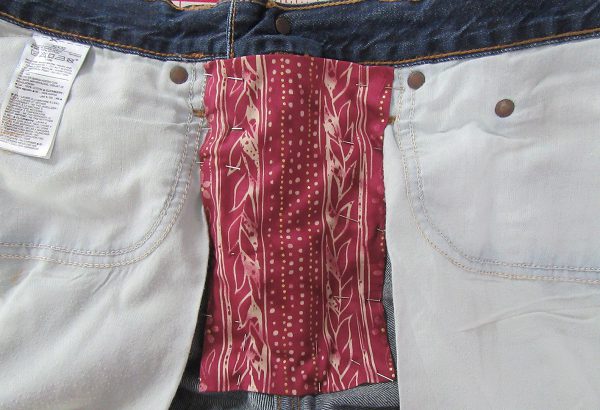
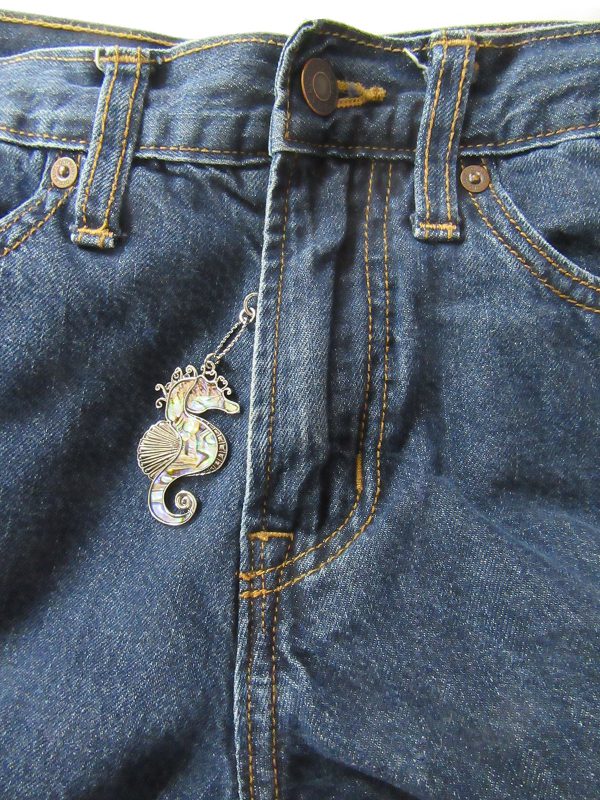
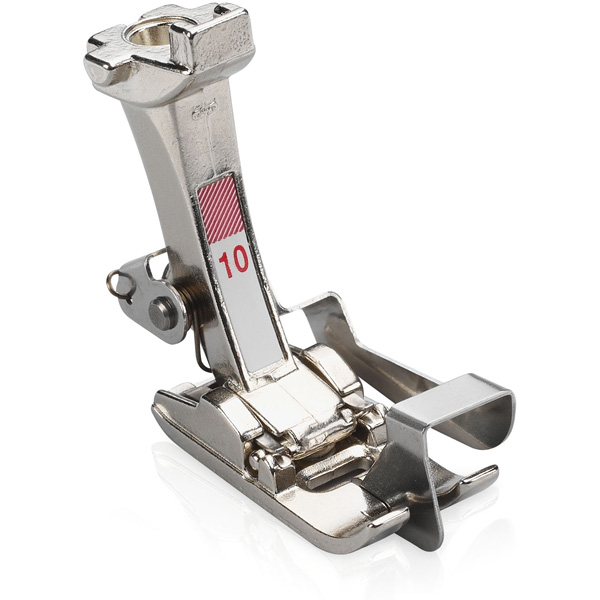
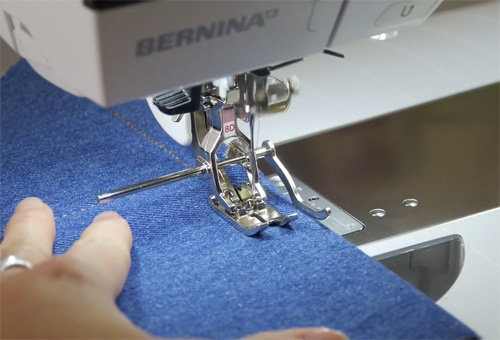
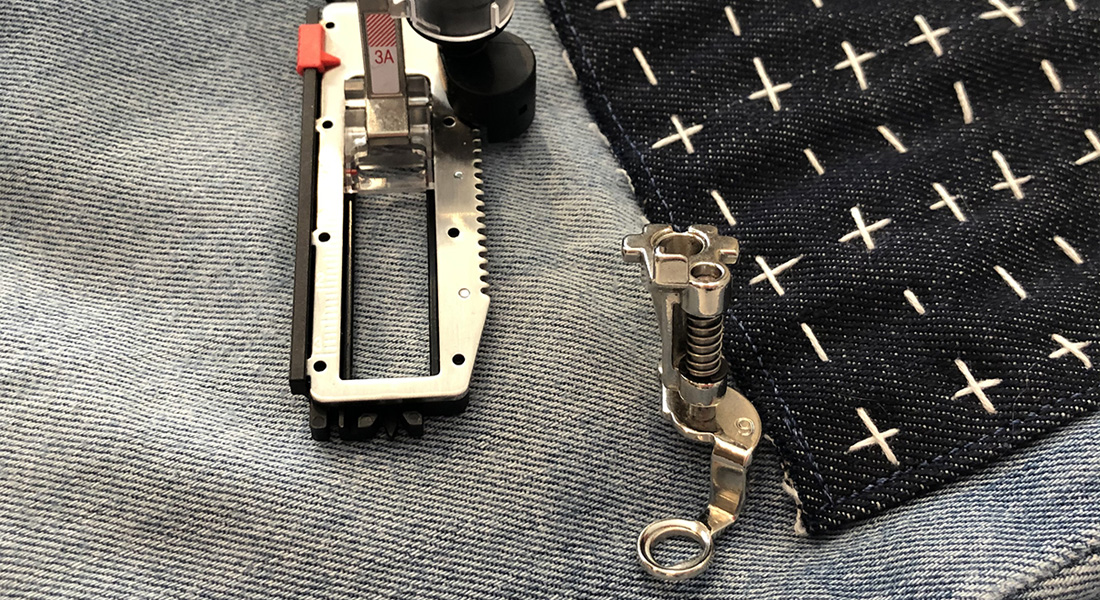
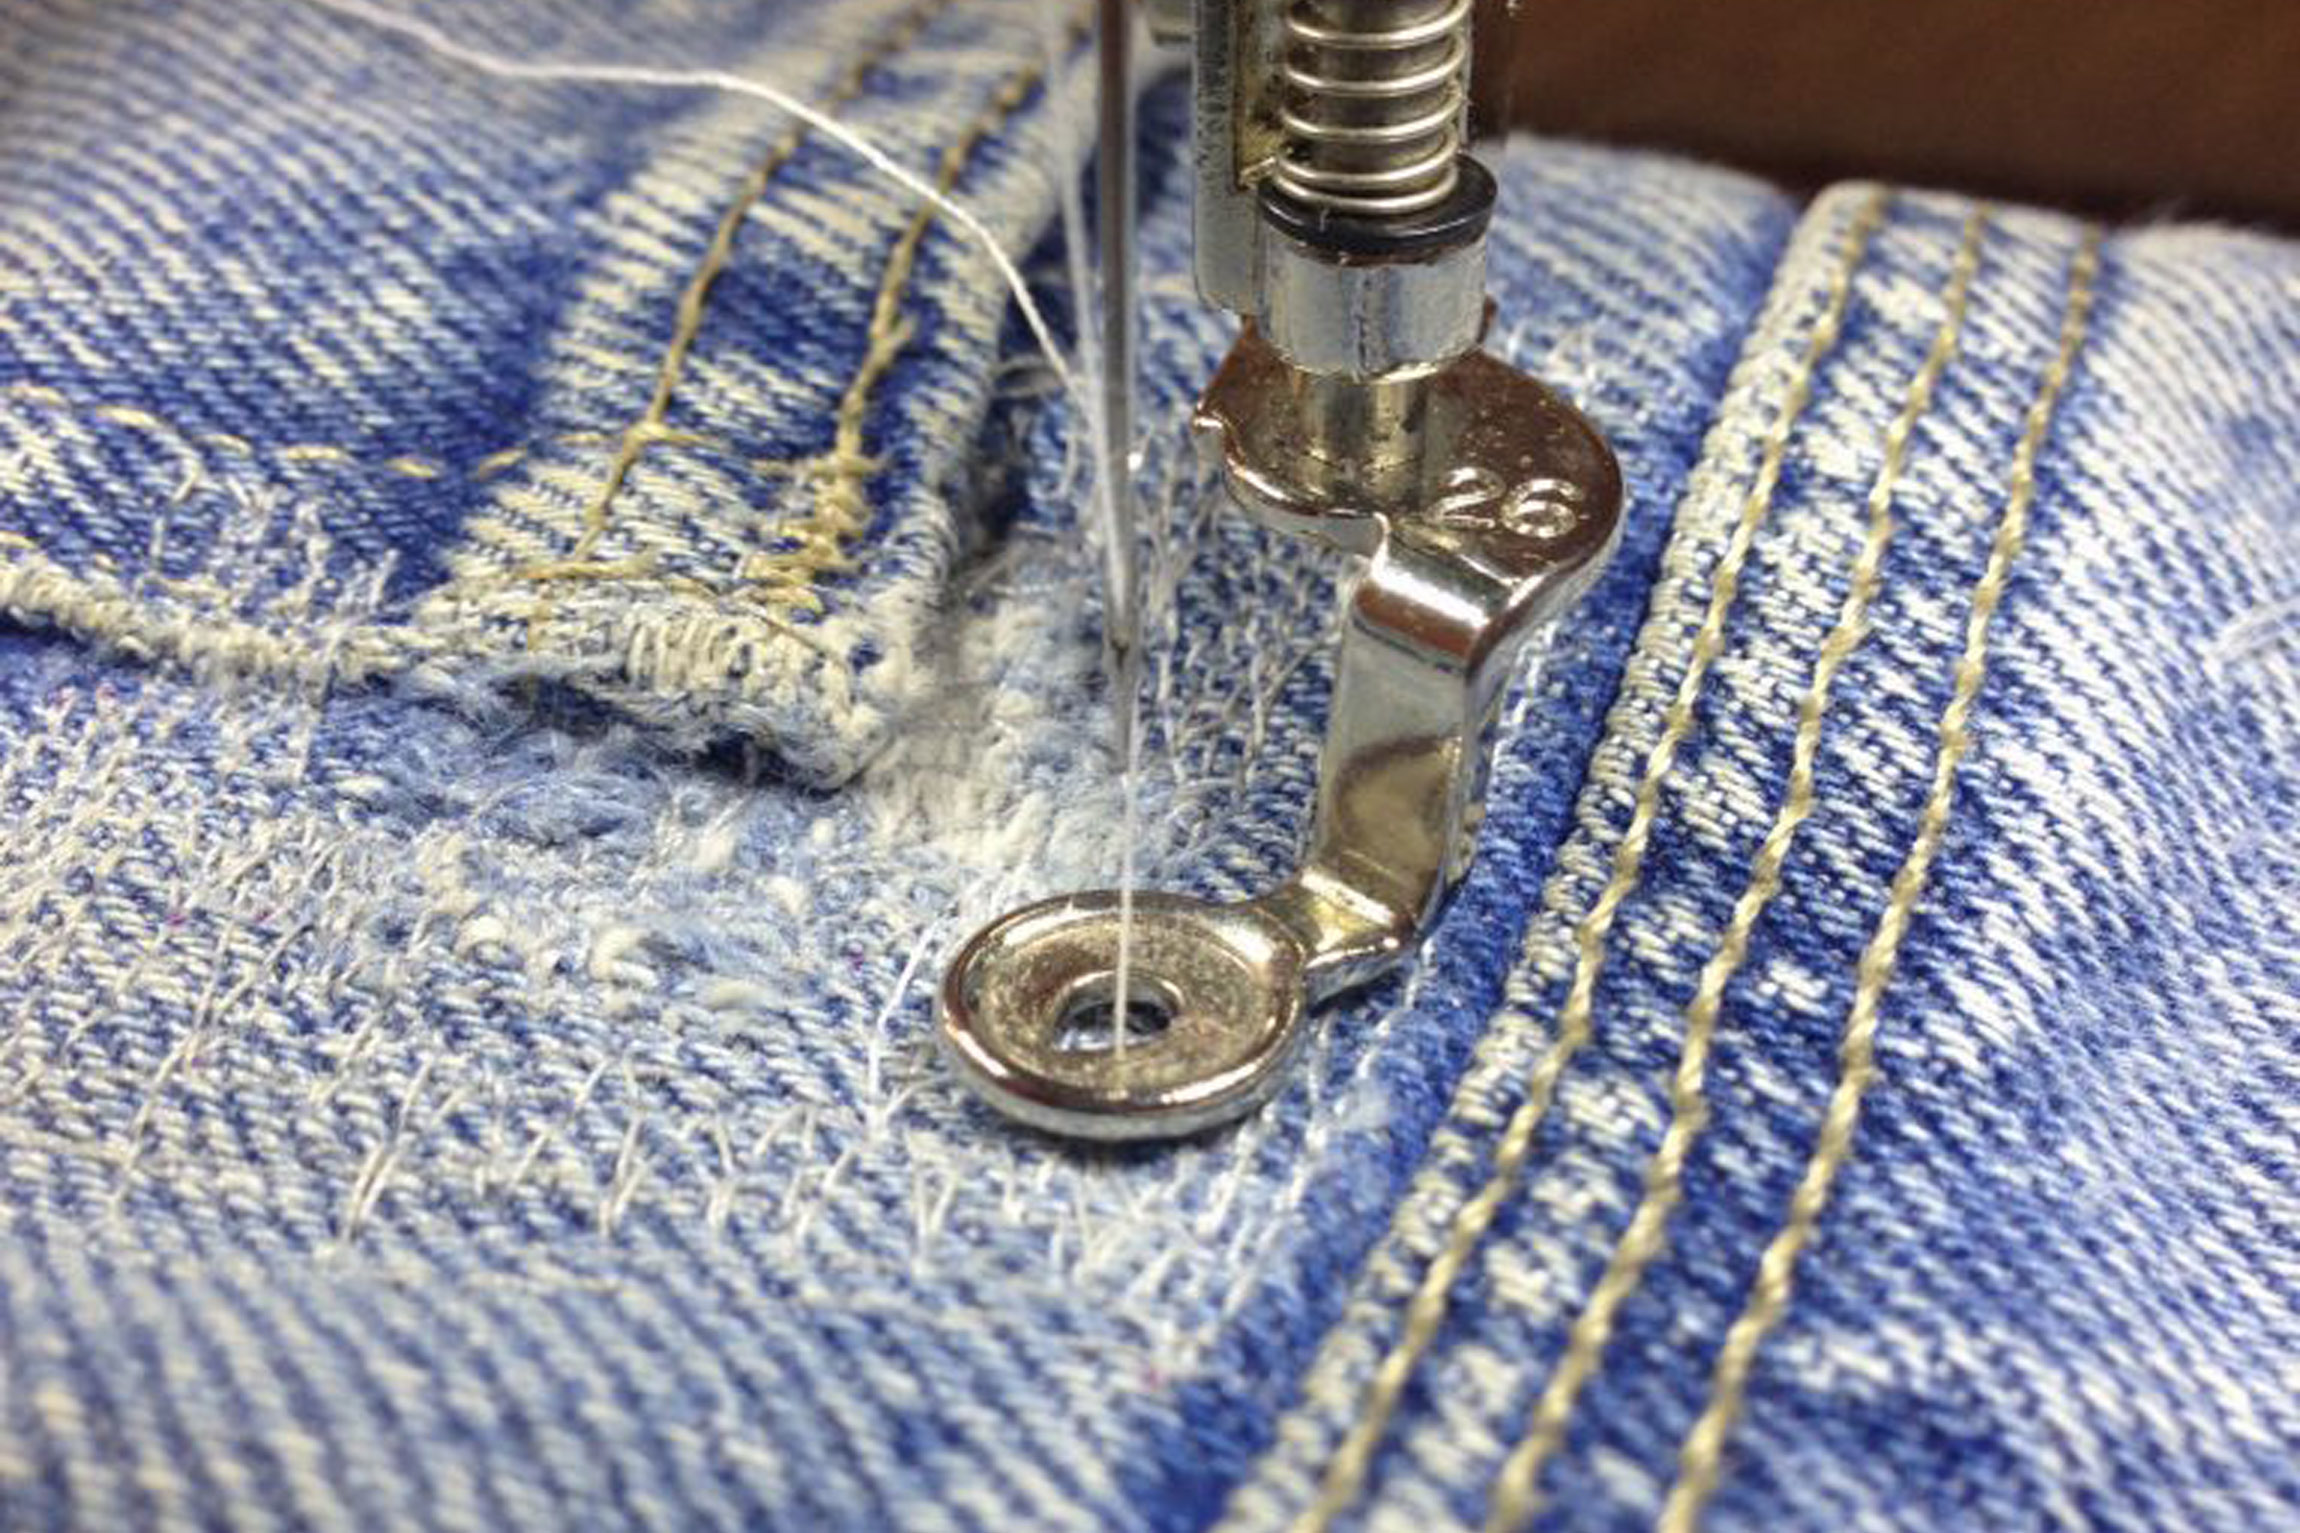
Position this piece over your zipper. Piece may need to be slightly off center to fit between front pockets. Pin in place and sew sides and bottom using BERNINA EDGESTITCH FOOT close to turned edges. Do not sew top edge!
Step 3:
Cutting out the lining:
Because the waist of your jeans is smaller than the “hip” measurement you will need to taper the lining to fit the bag. For this, you will need the bottom of the bag measurement taken in step 2 of the first part of this tutorial. Next, measure the waist band circumference the same way you measured the bottom of the bag in Part 1, Step 2.
Take the bottom of the bag measurement and divide by two and then add 1 ¼ inches for the seam allowance. This will determine the width you need to cut your lining fabric. Next, measure from the bottom of the waist band on your jeans purse to the seam joining the body of the purse to the bottom section you attached in Part 1, Step 3, add 1 inch to this measurement. This will determine the height of your lining fabric. For example, the circumference of the bottom of your jeans measured 48 inches and the distance from the waistband to the seam allowance was 10 inches. (48/2+1.25=25.25 wide; 10+1=11 high) You would cut your rectangle 25.25 inches by 11 inches.
Find and mark the center of one long side of your rectangle.
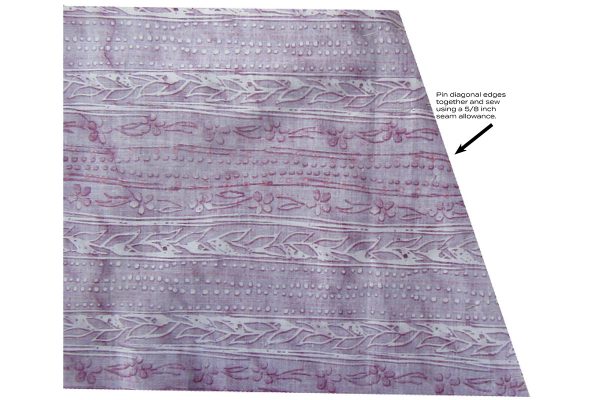
Take the measurement of the circumference of the waist band and divide by four. Start at the center mark and measure out this distance from the center on both sides. (Example: circumference of waist band is 32 inches, 32/4=8. Measure out 8 inches from center mark) Draw a line between the top outside mark and the bottom corner. Repeat on the opposite side.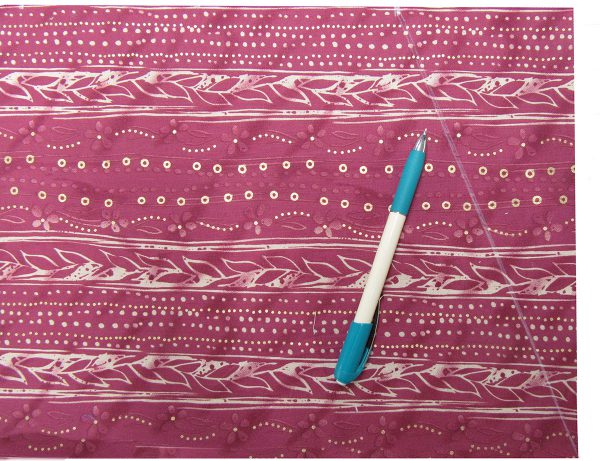
Step 4:
To determine the size of the bottom of your lining, take the bottom of the bag measurement you determined above divide by 2 and then subtract 2. For example, the bottom of your jeans measured 48 inches around, 48/2-2=22. This is the length of your bottom lining. Cut a strip 5 inches wide by whatever Length you determined. Using the example above your strip would be 22 inches by 5 inches. Fold this strip in half bring short edges together and then fold in half again bringing long edges together. Mark a gently rounded corner on the corner edge that DOES NOT have any folds, trim along marked line.
Step 5:
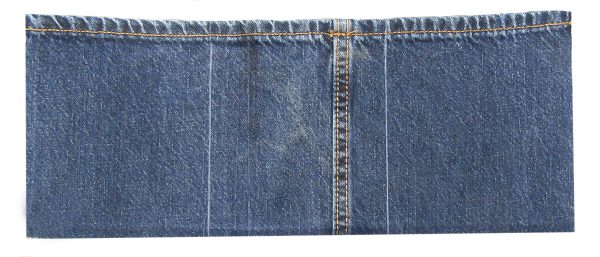
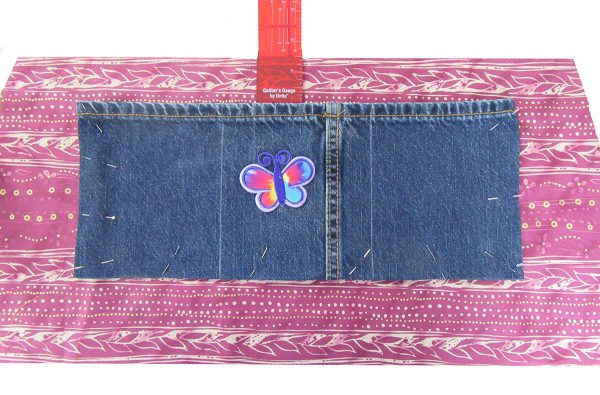
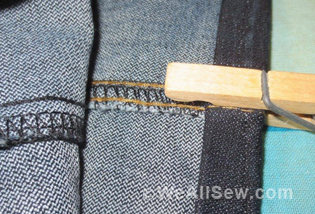
Cut the left-over cuff from the bottom of one of the legs of the jeans from part 1 into a strip 16 inches by 6 ½ inches. DO NOT cut off the finished hem of the jeans. Mark a vertical line starting at the prefinished cuff approximately 5 inches in from either side.
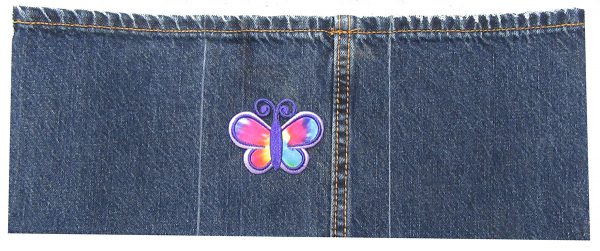
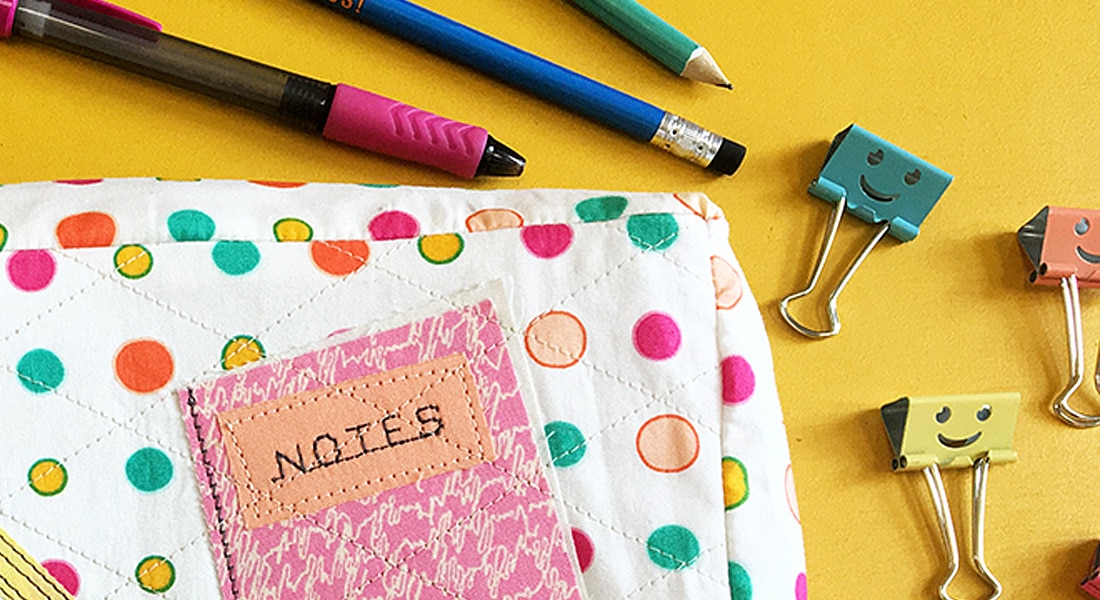
If you want to add bling to the inner pocket, add it now. I used an iron applique. I recommend sewing these down in addition to ironing, to ensure they don’t come loose.
Fold under the side and bottom raw edge ¼ inch.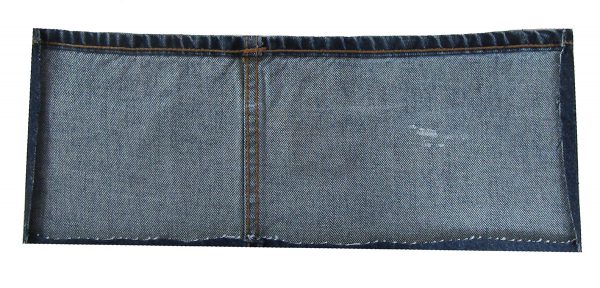
Measure down approximately 1 ½ inches and pin pocket to right side of one lining side section.
Using your BERNINA EDGE STITCH FOOT sew along sides and bottom edge using contrasting thread. Next sewn down each vertical line that you marked above. This will create three separate pockets.
Step 6:
Pin diagonal sides of lining right sides together and sew using a 5/8-inch seam allowance. Press seam open.
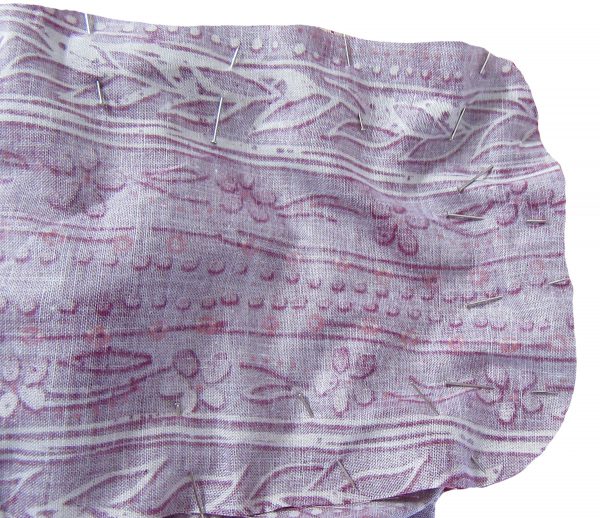
Find center of each bottom side section and mark with a pin. Find center of both long sides of lining bottom cut in step 3 and mark with a pin. Line up side pin and bottom pin on each side and pin lining bottom to lining sides right sides together. Gently easing lining sides around curved corners of bottom piece.
Step 7:
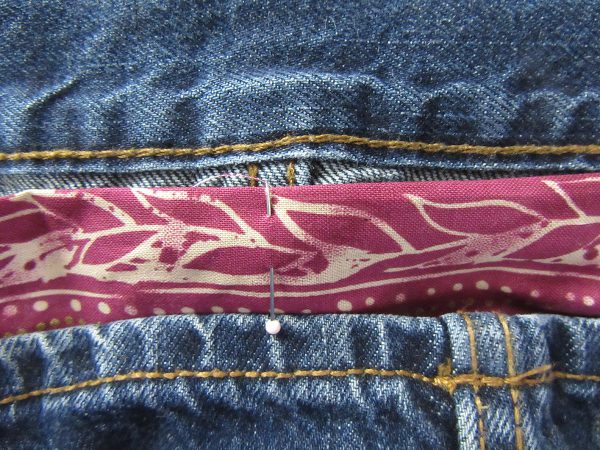
Fold under upper edge of lining ¼ inch wrong sides together and press.
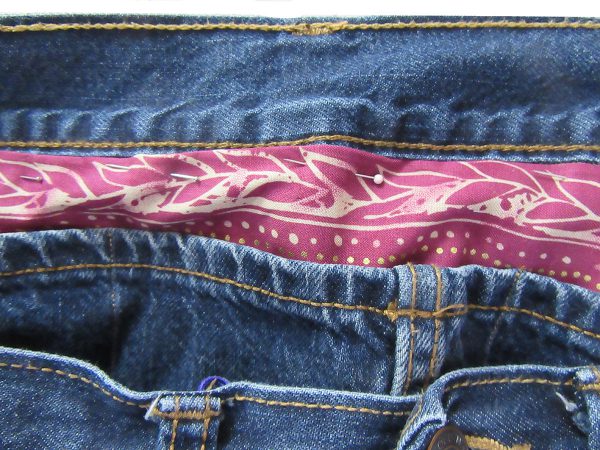
Find the center of the lining side that has the pocket and mark with a pin. Line this pin up with center back seam of jeans on jean purse and pin just even with the waist band.
Continue pining lining to jeans keep turned under edge even with the bottom of the waist band. Make sure to catch top of zipper pocket when pinning.
Hand stitch lining to jean purse.
Step 8: (Optional)
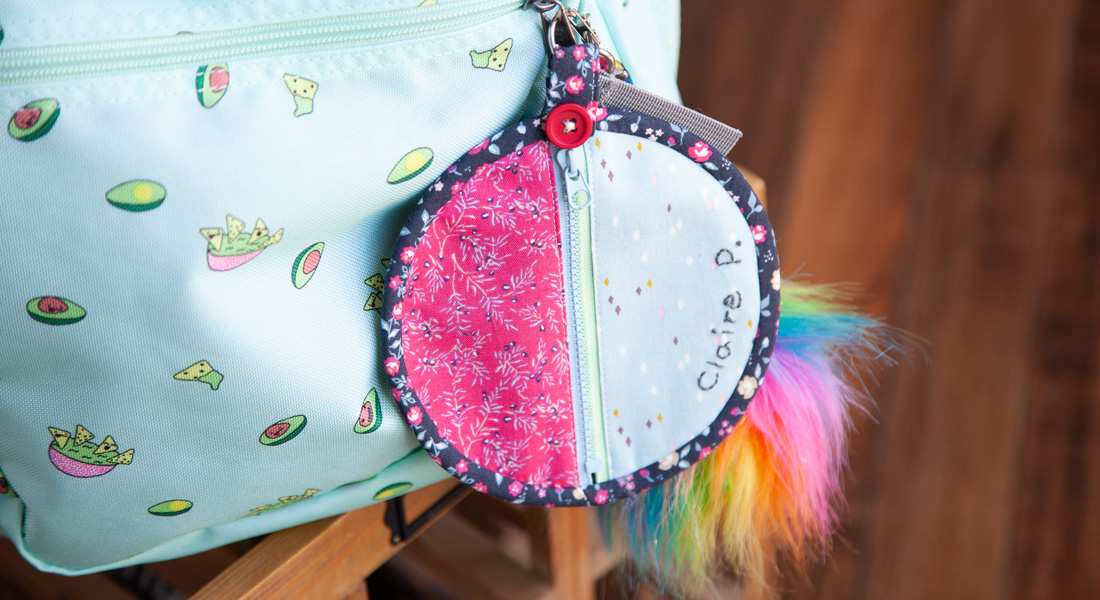
Attach zipper pull to zipper.
Your purse is now ready to wear and show off to all your friends. Congratulations on a job well done! I’d love to see pictures of your finished purse and embellishments in the comments.
