Sparkle Rolled Hem Napkins
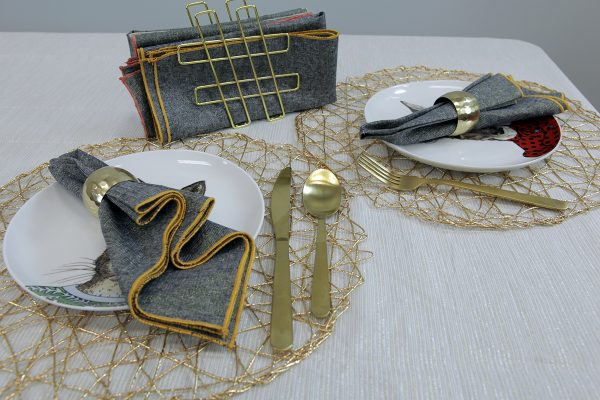
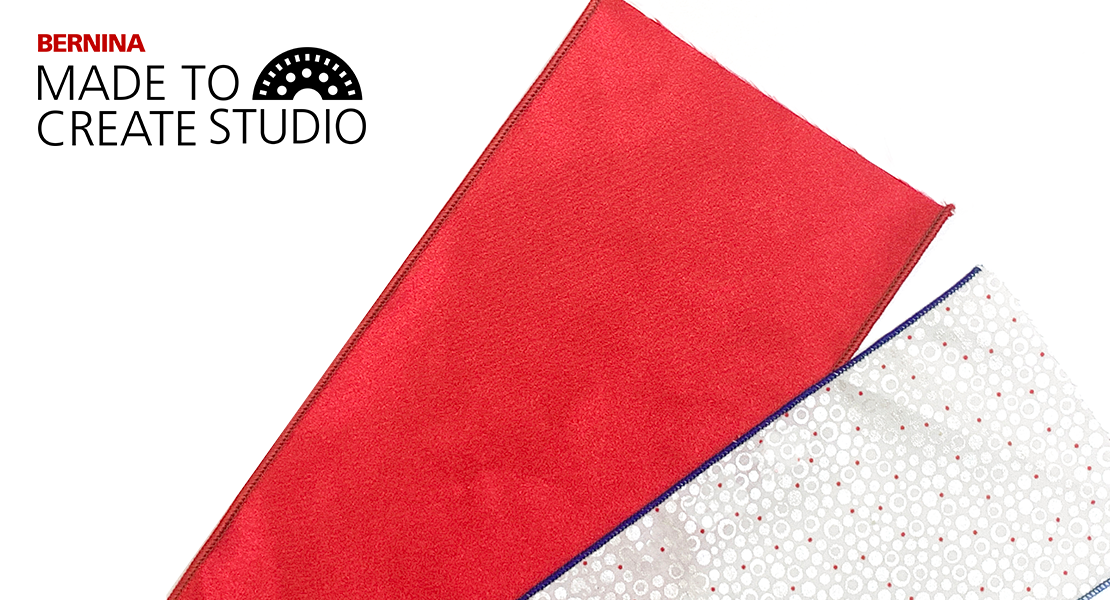
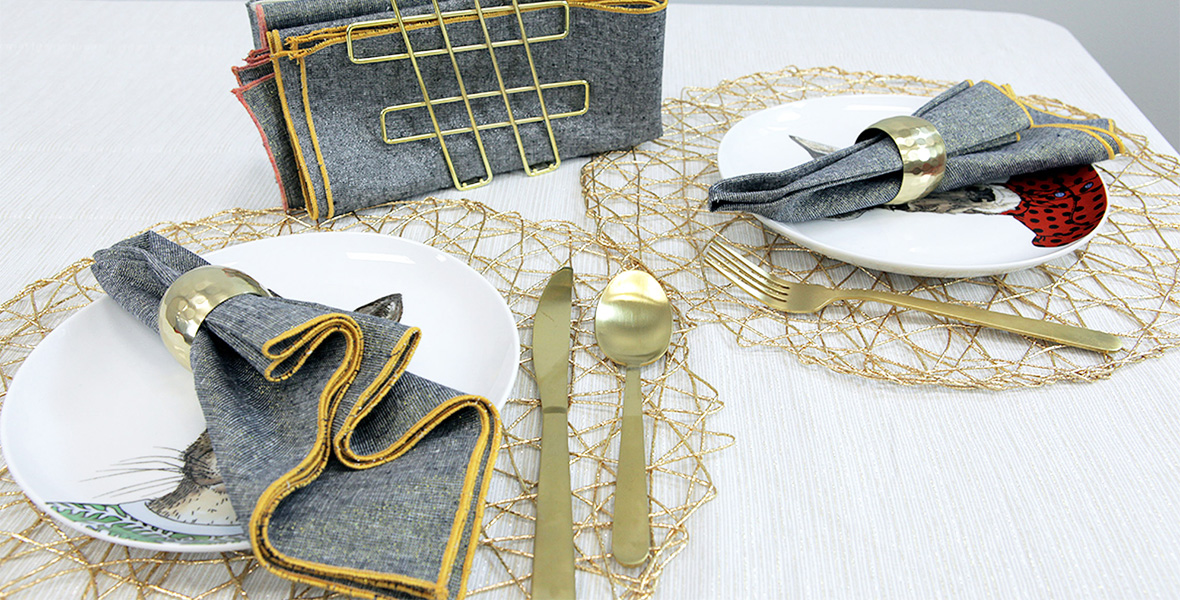
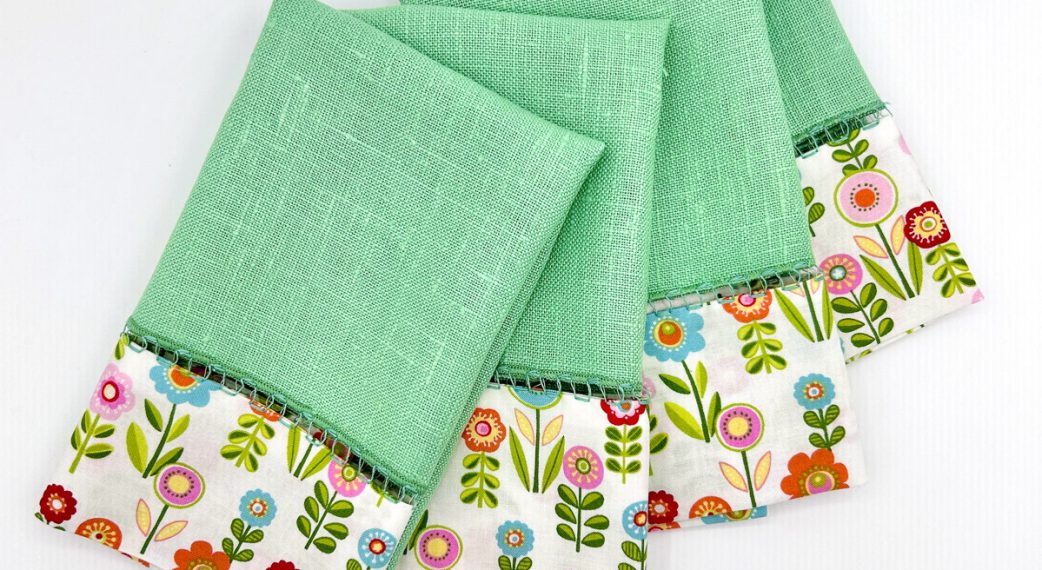
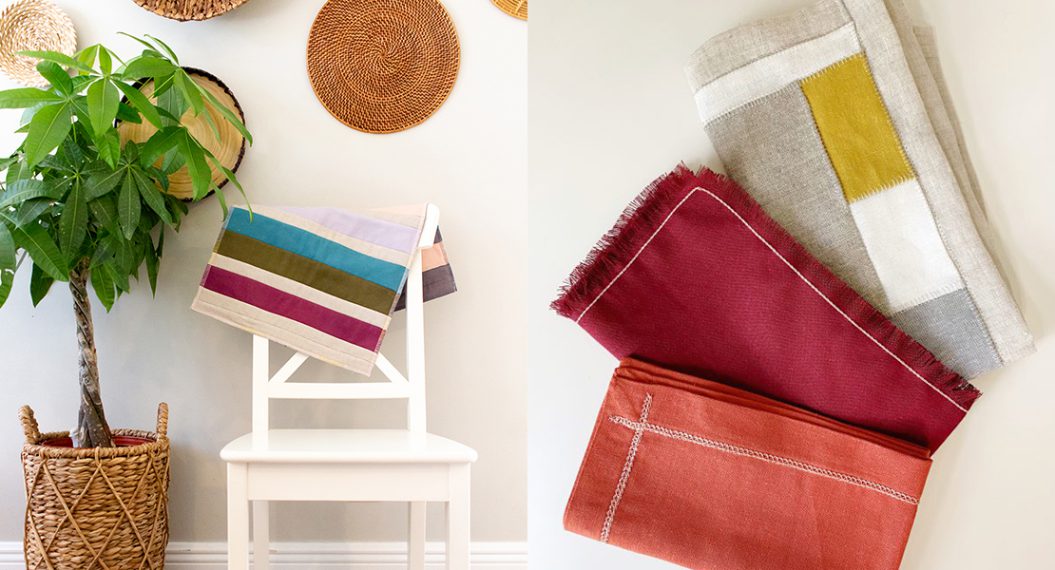
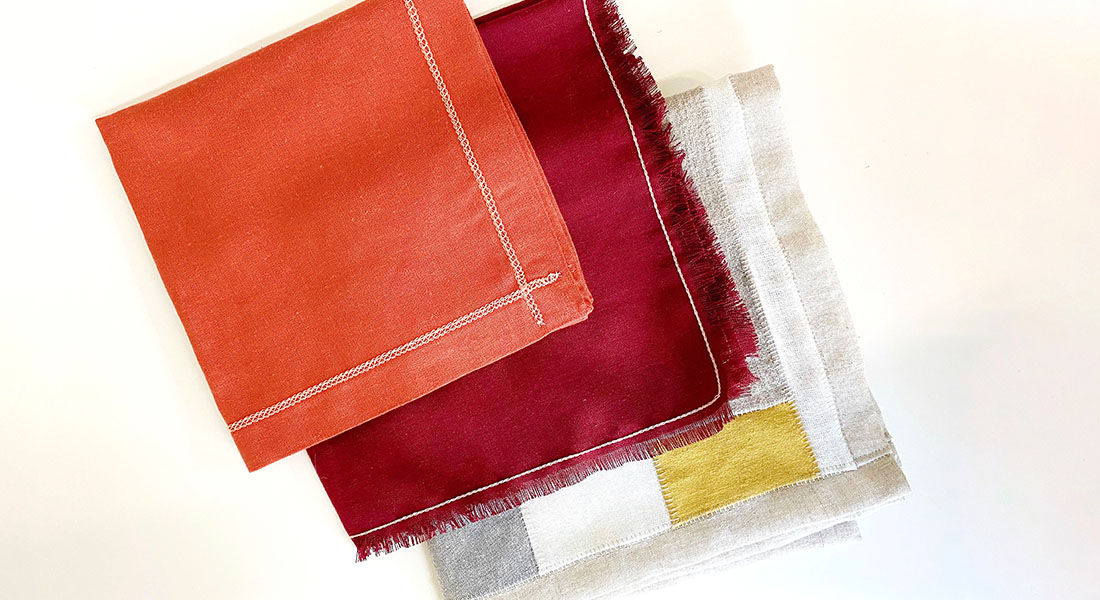
Add a little sparkle to your holiday table setting by making your own fast, rolled hem napkins. This is a simple way to use your favorite fabrics and try out some decorative threads. The possibilities are as limitless as your fabric and thread supply!
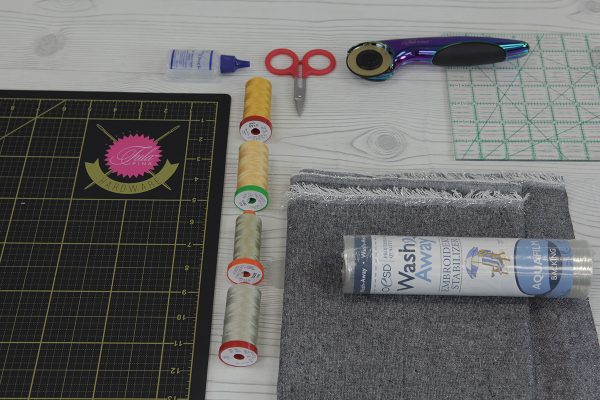
Materials to Make Sparkle Napkins
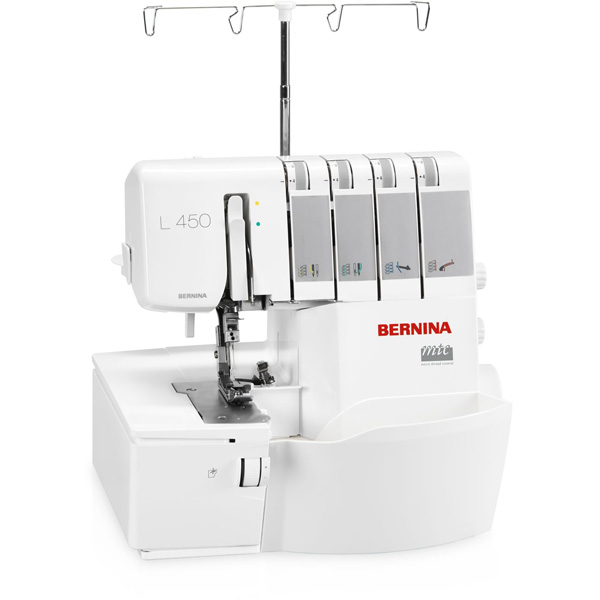
- BERNINA L 450
- fabric (1 yard)
- decorative thread (1 spool)
- Seracor thread (1 spool)
- Aquafilm Backing stabilizer
- snips
- fray check
- looper coverter
- rotary cutter
- cutting mat
- 6 x 24 ruler
- iron
How to Sew Sparkle Rolled Hem Napkins
Step 1: Cut out fabric
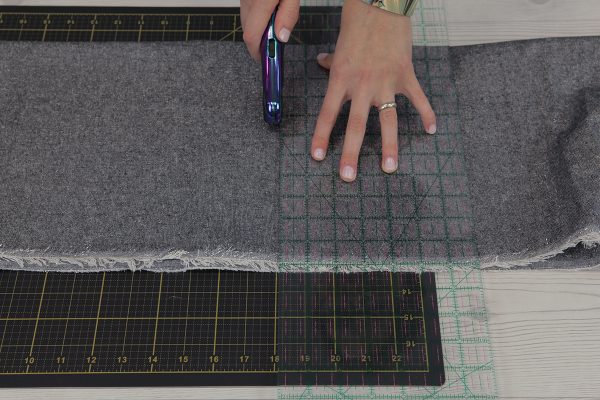
Select a fabric that is pretty on both sides and then determine the size of napkin that you would like to make. (Standard Napkin Sizes: 18″- lunch, 22″- dinner)
Use a rotary cutter and ruler to cut the fabric into the desired size squares. I made 18 inch square napkins and was able to get four from one yard of fabric.
Step 2: Set-up BERNINA L 450
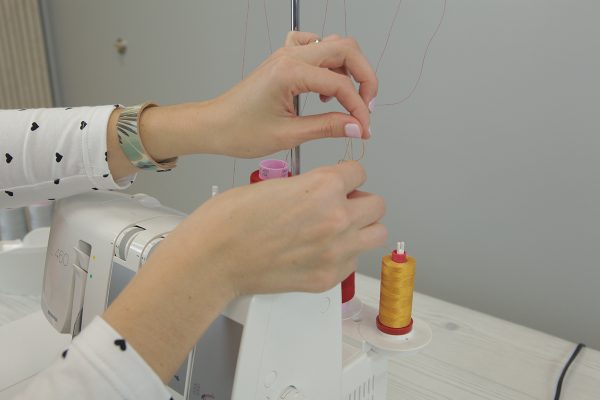
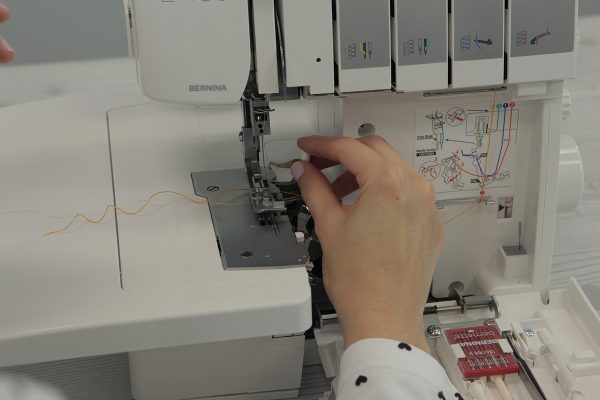
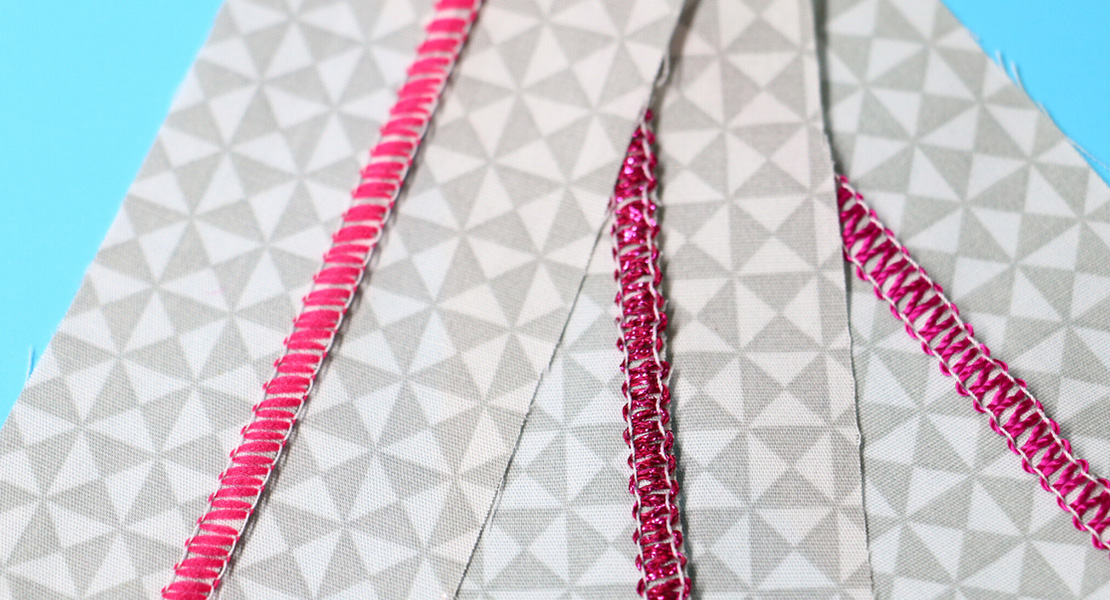
Set up the Overlocker for a 2-thread rolled hem. Thread the lower looper with decorative thread and the right needle with regular thread.
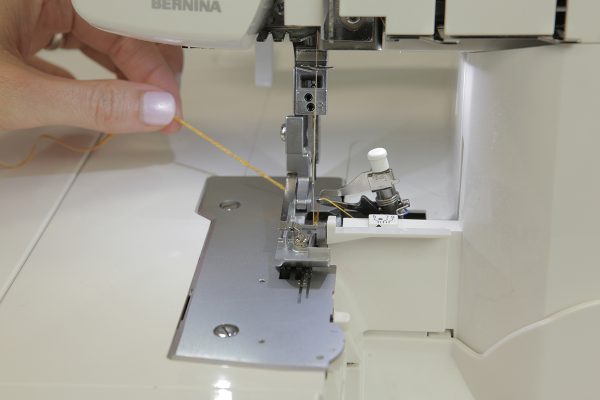
If your machine is already threaded, an easy way to change the thread is by tying the new thread onto the old thread and gently pulling the thread through the machine. Raise the presser foot before you do this to ensure that the tension disks are open and the thread will pull through easily. Another option, if your tension disks do not release when raising the presser foot, is to take the tensions down to zero.
Install the looper converter
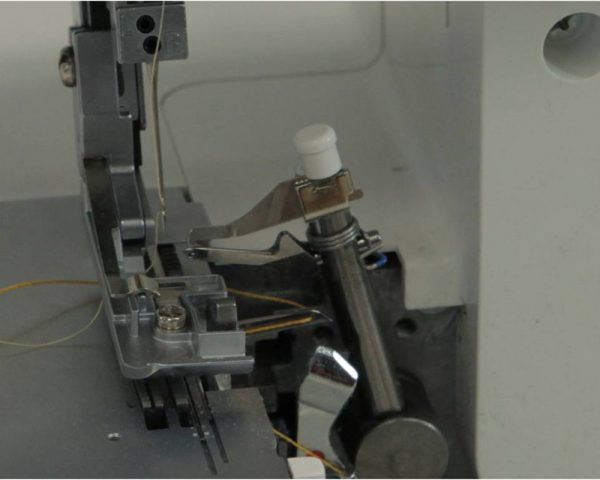
The looper converter is the attachment that blocks the upper looper from functioning in the formation of two thread stitch set-ups. On the new BERNINA L 450 and L 460, this piece can be found in the looper cover storage area.
To install on the BERNINA L 450, simply slide the converter into the top of the upper looper (looks like folded metal). Then you need to ensure that the converter seats securely into the eye of the upper looper. You should be able to press it slightly to the back and it will feel tight and secure when into the looper eye. This is important because if it is not properly installed it could fall out mid-stitch and potentially damage your machine. For more details, watch our YouTube video here.
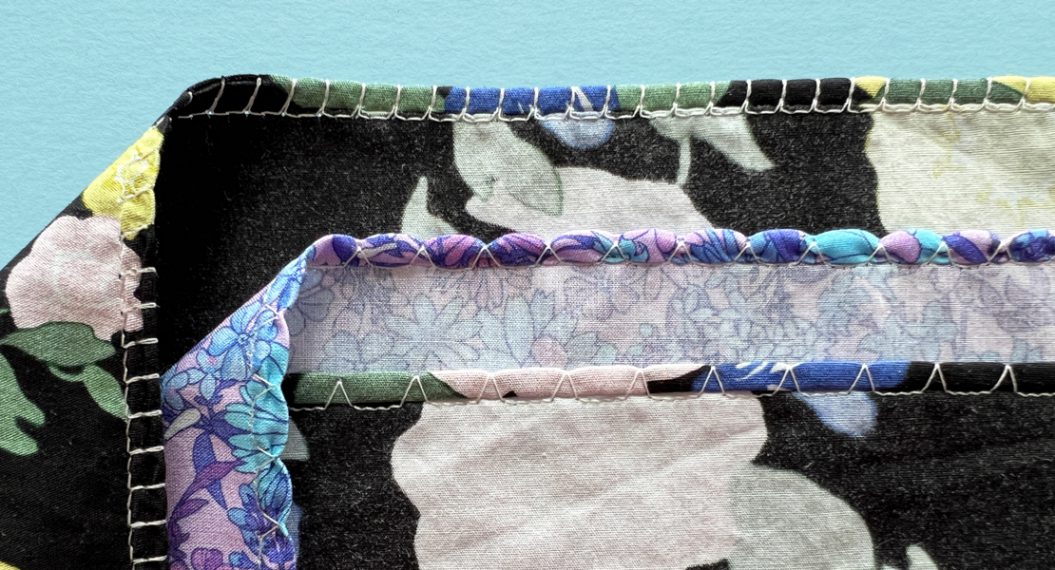
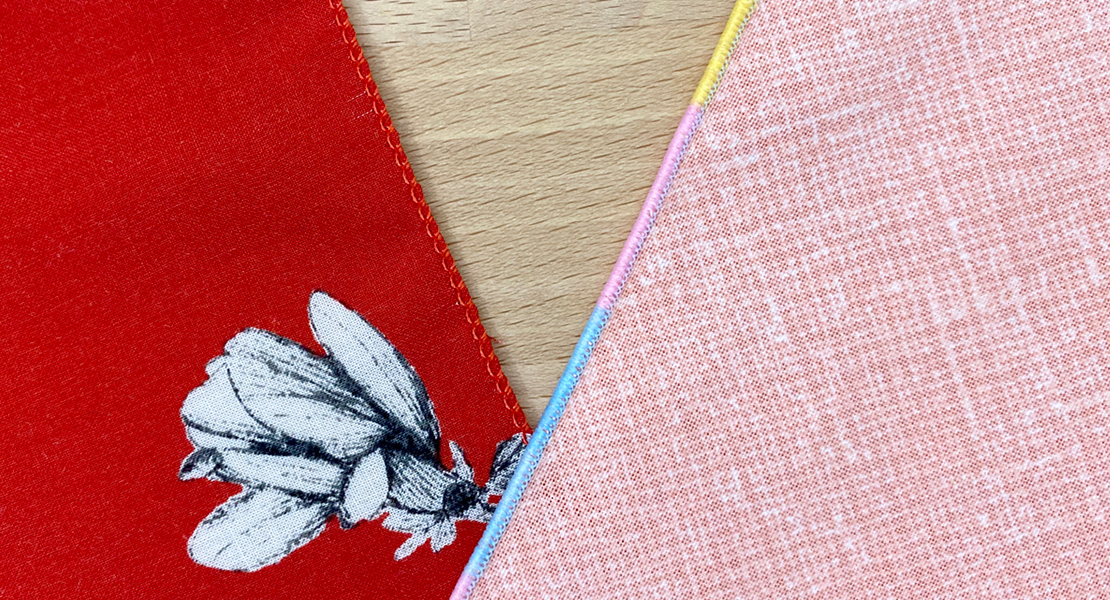
Check your machine to see if a 2-thread rolled hem stitch is an option. If not, a 3-thread rolled hem will also work. I prefer the 2-thread rolled hem for this project because it uses less thread and works great with thicker decorative threads on the edge.
Settings for the BERNINA L 450:
Set the rolled hem lever by pulling tab back.
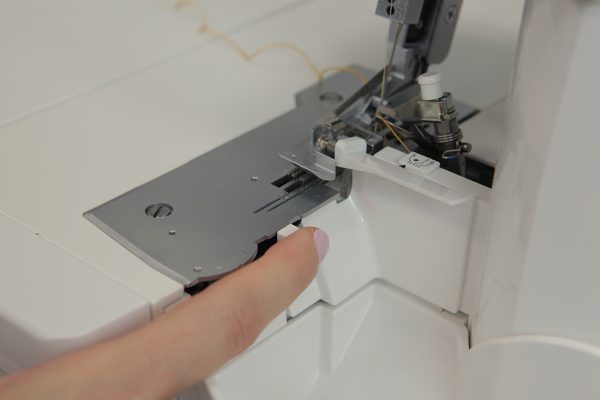
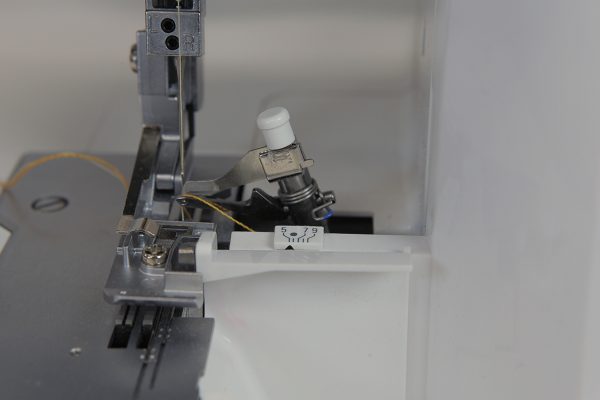
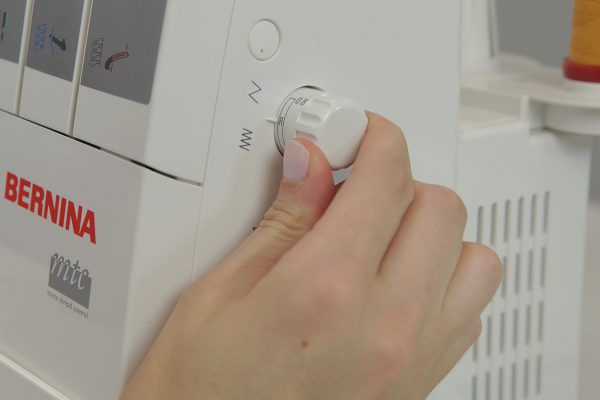
Change the cutting width to smallest size (5). The dial is on the front of the machine, the indicator is by the presser foot.
Select a stitch length suitable for rolled hem (R).
Sew a thread chain to ensure that the stitch is forming and then test the stitch on some scrap fabric to perfect your settings. The stitch length setting will change the look of your stitch the most and will vary depending on your decorative thread.
Once you have perfected the look of the stitch, you are ready to begin your napkin factory production line.
Step 3: Stabilize the edge
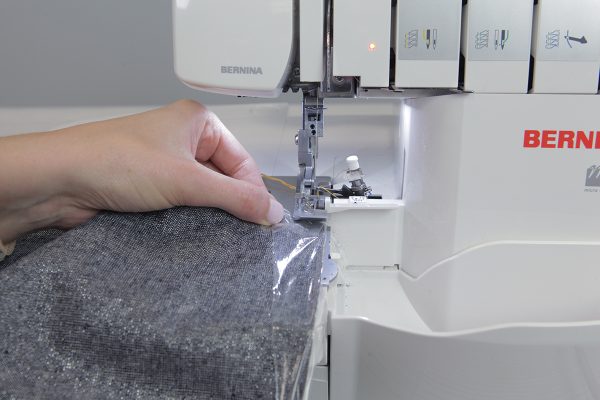
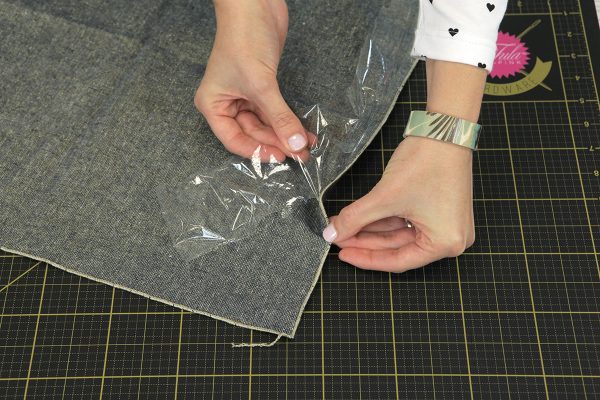
I used Robert Kaufman Essex Yarn Dyed Metallic fabric for my sparkle napkins. Although this is a beautiful textile, the cut edges fray easily. In order to keep my napkin edges as tidy as possible, I used a water soluble stabilizer on the edge while sewing. This stabilizer is OESD Aquafilm Backing. I simply cut a piece long enough to cover the edge. Then I fold it over the edge before I put the fabric under the presser foot. Repeat this process for every edge.
If you watched the video, you may have wondered if I was using plastic wrap on my project. No, but this stabilizer will easily pull away from the stitches and any that is left will dissolve and wash away with warm water.
Step 4: Roll hem!
A rolled hem is a very satisfying thing to sew, however, because this stitch length is so short be prepared that it will seem like the machine is going slower than normal (standard overlock stitches move much faster). The trickiest part of this will be starting at the fabric edge, as the rolled hem can easily fall of the fabric edge. Practice makes perfect. And remember you can always start a new edge.
Tip: make sure to always trim off some of the fabric to get a cleaner edge (approximately ¼”). Be careful to put the fabric through the machine straight, no pulling off to the side. Begin the stitch with a thread chain then gently pull the thread chain while adding the fabric under the presser foot, this will help ensure that the finished edge does not fall off the fabric at the beginning.
I prefer to make rolled hem napkins as a complete set, for me this was four napkins. Begin by sewing one side of the napkin, chain sewing between all four napkins. Then sew the opposite edge, again chain sewing between the four napkins. You will have fabric squares floating between the stitched edges.
At this point I will take my napkin fabric chain and sew the perpendicular edges, one napkin at a time. The blade on the overlocker will separate the napkins. Hold onto the chained thread tails to help ensure that the edges move into the machine at a nice square angle and that the stitch penetrates the fabric.
I am often asked how to turn a corner cleanly on an overlocker. This can be done with practice and patience, but I have found that I prefer the consistency and look I get when I finish the edges by sewing opposite sides as described above.
Step 5: Finish the ends
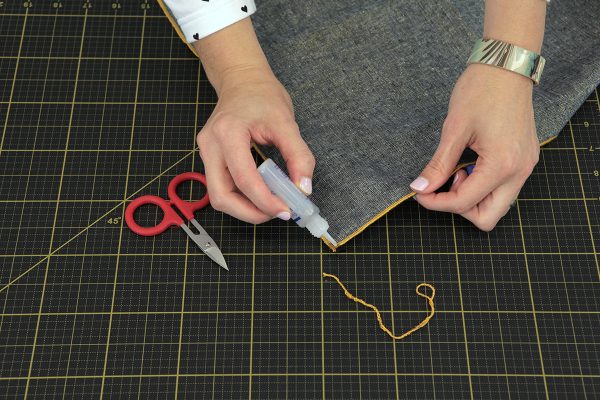
Trim the thread chains at the corners and add a drop of fray check to keep the ends from raveling. And that’s it!
Now, go prepare your meal, gather your friends, and set the table with a little personal sparkle!
What you might also like
3 comments on “Sparkle Rolled Hem Napkins”
-
-
Thanks sew much for the tutorial. Great tip! Just wondering. Any instructions on how to make the round place mats? The table setting is really pretty!
-
Thanks for your comment. The placecmats are from Target.
-
Leave a Reply
You must be logged in to post a comment.




Lovely job! Thanks for sharing. I appreciate the tip of using the water soluble stabilizer and also how nice your corners look. I will try them again….my corners look bunched…but your are ” sew” nice! Thanks again!