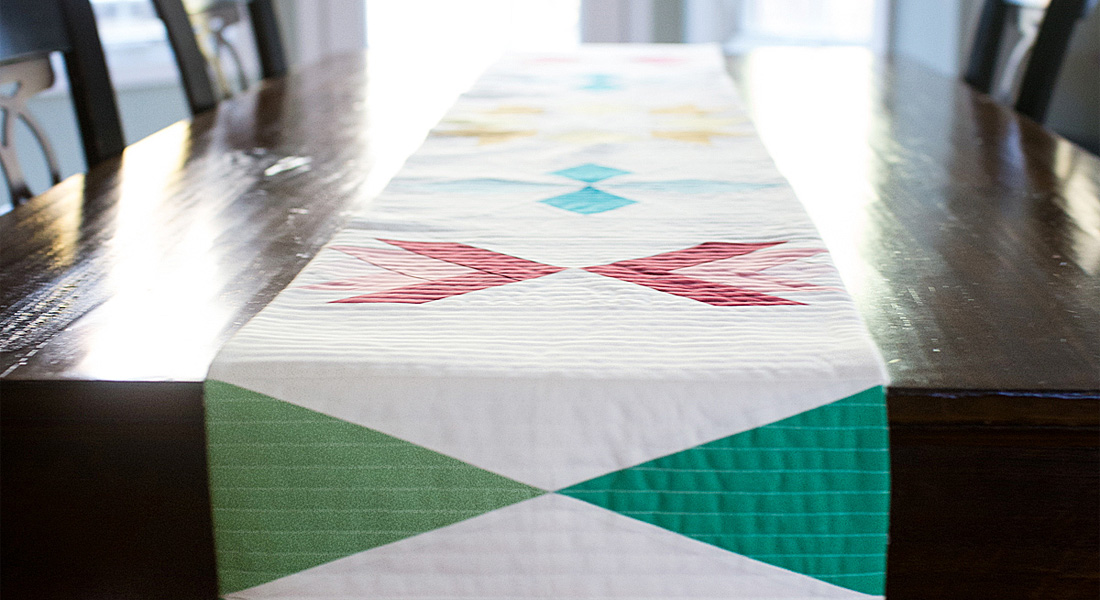
Sugarplum Table Runner Quilt-along—Week 2
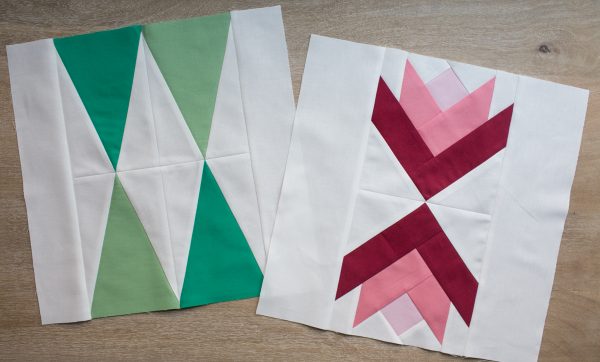
Welcome to Week 2 of the Sugarplum Table Runner Quilt-along. Last week, we talked about the fabric requirements for this project, as well as the cutting instructions. I hope you all have your fabric on hand and ready. Today we are going to make (2) Modern Pine Trees quilt blocks and (2) Poinsettia Flowers quilt blocks. Let’s get started!
Sugarplum Table Runner Quilt-Along—Week 2
Finished Size: 12″ x 84″
Block Size: 12″ x 12″ Finished
Number of Blocks: 7
Instructions to Make the Modern Pine Trees Quilt Blocks
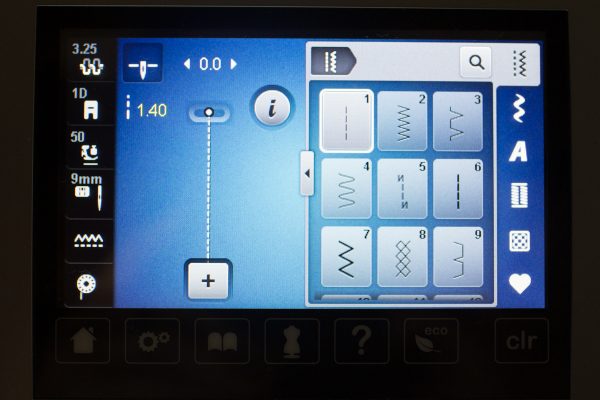
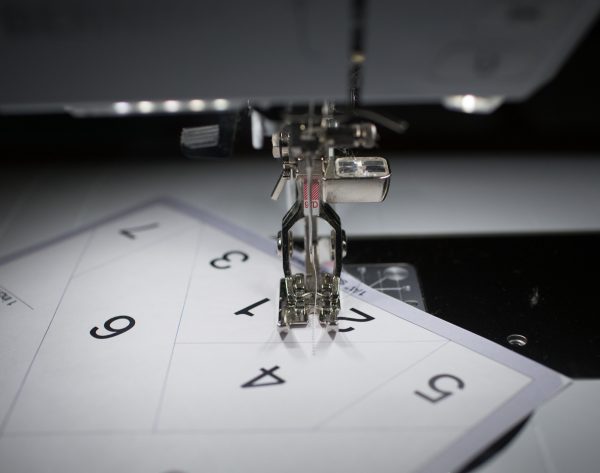
The Modern Pine Trees quilt block is Foundation Paper Pieced. Reduce your stitch length so that the paper template will perforate easily when you are finished. I used 1.4 stitch length on my BERNINA 770 QE.
Collect the fabric you cut for the Modern Pine Trees quilt blocks in Week 1, as well as the 8 copies of Modern Pine Trees Template, printed at “100%” or “Actual Size”. Be sure to check the scaling ruler on the template to ensure it printed correctly.
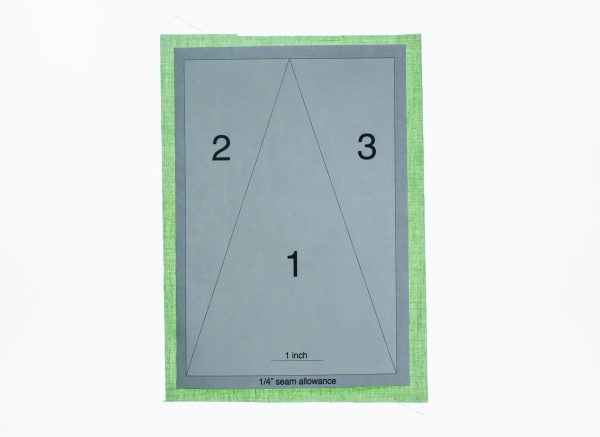
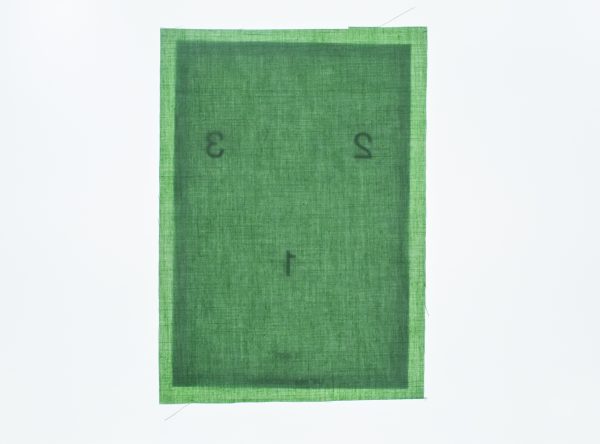
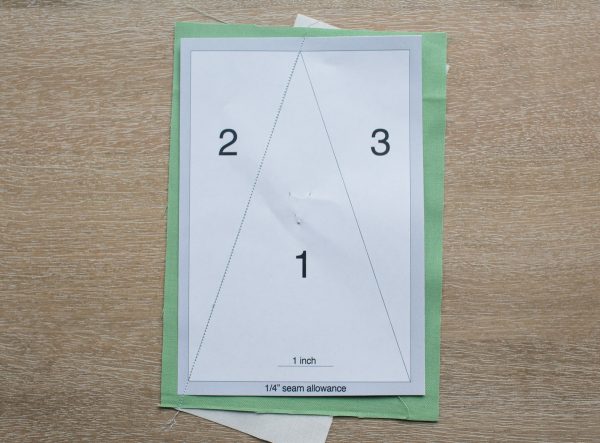
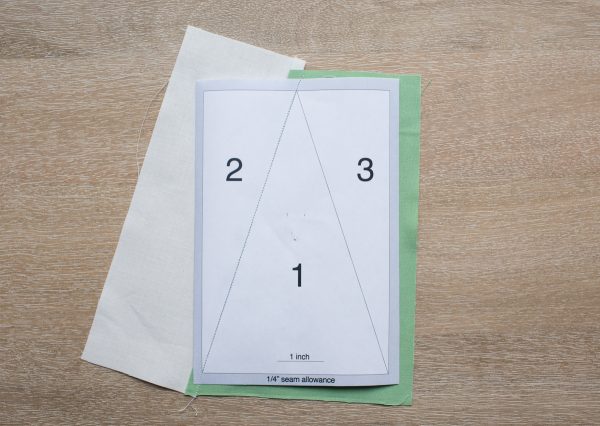
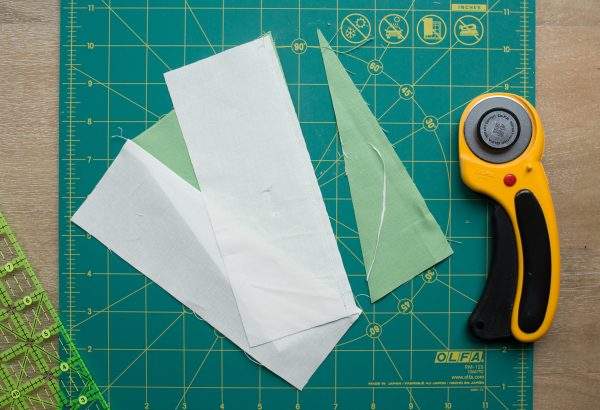
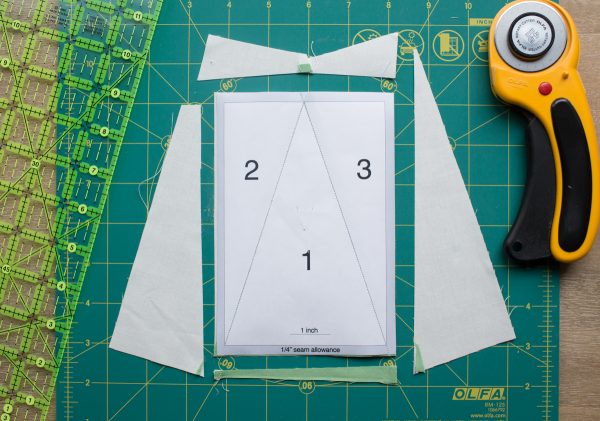
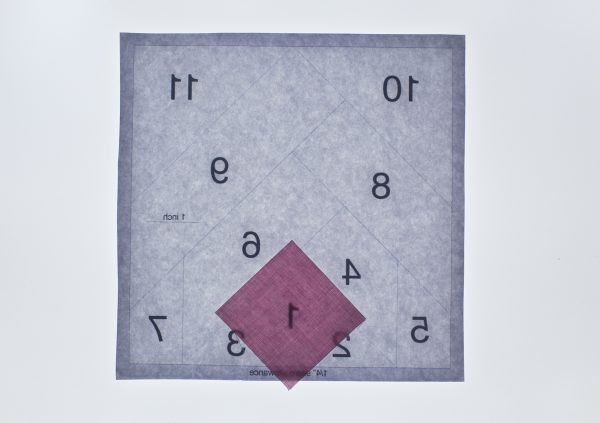
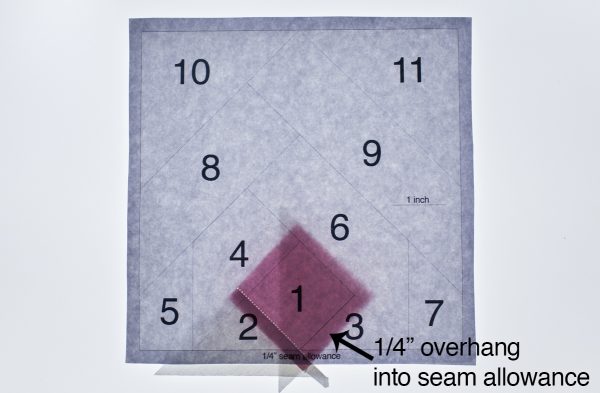
Step 1: Select (1) 5″ x 7″ Kona Asparagus rectangle (Template Piece 1) and place it right side out on the back of your template, making sure to cover the entire area of Template Space 1. Pin or glue stick into place.
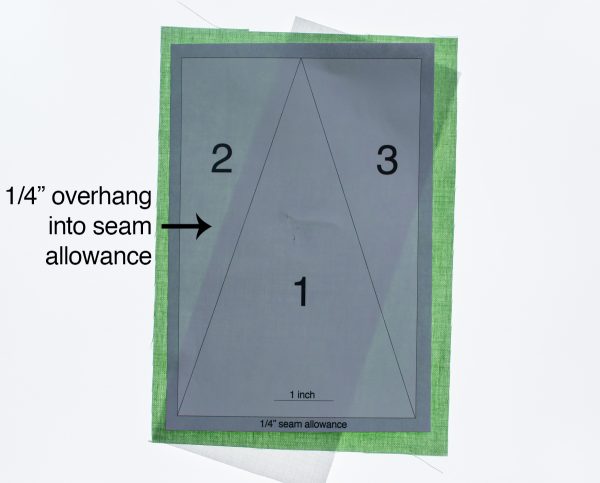
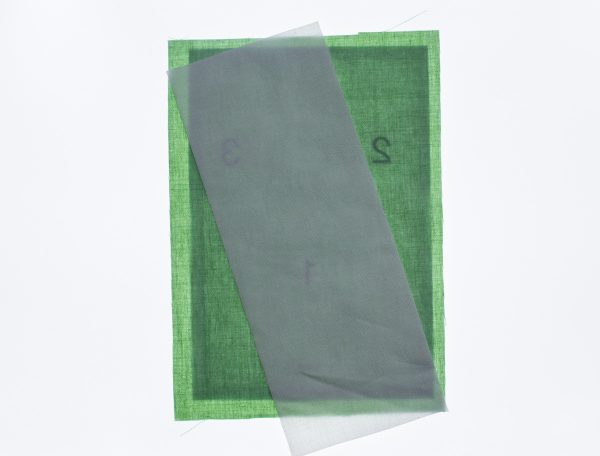
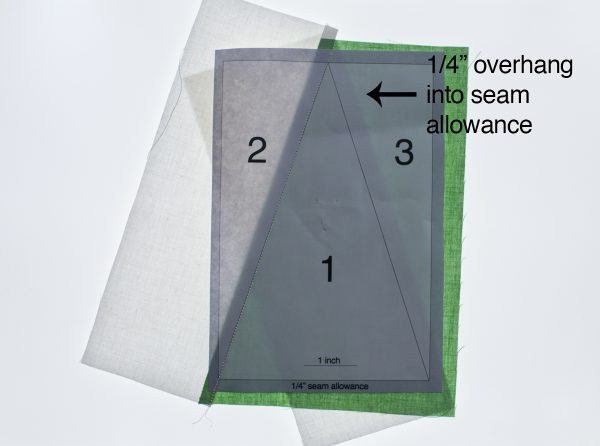
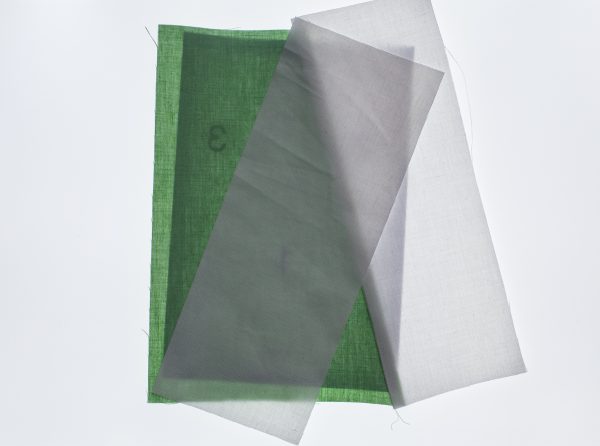
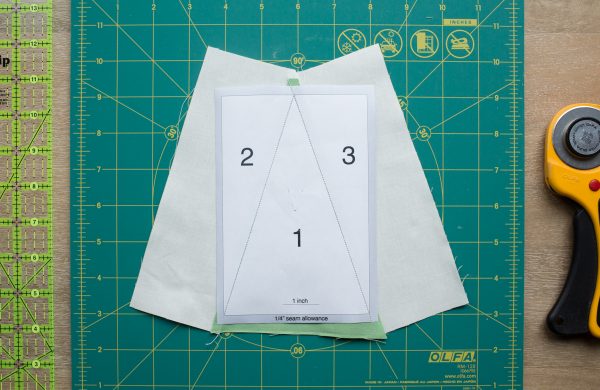
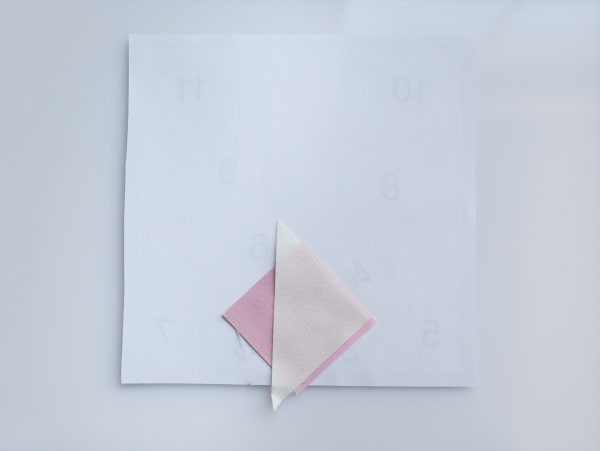
Step 2: Select (1) 3″ x 7-1/2″ White rectangle (Template Piece 2). Place it right sides together to Template Piece 1, which you pinned into place in Step 1. Hold your template up to the light and make sure at least 1/4″ of the white fabric overlaps into Template Space 2. This will probably feel backwards and wrong the first few times you do it—don’t worry! Pin or hold into place.
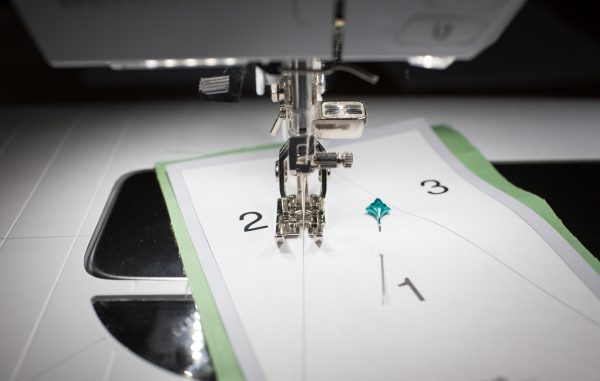
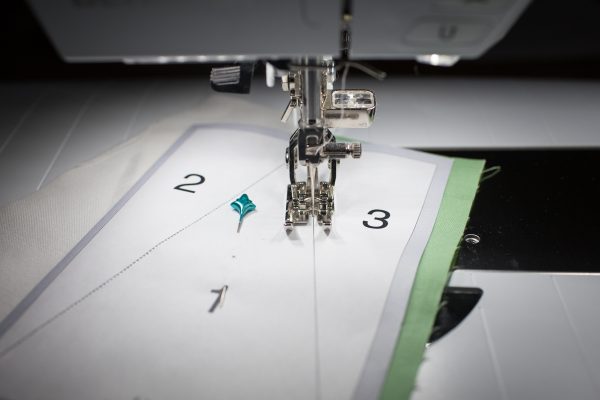
Step 3: Sew along the seam line on the template between Template Pieces 1 and 2. Be sure to sew a bit into the seam allowance. You may also backstitch at the beginning and end.
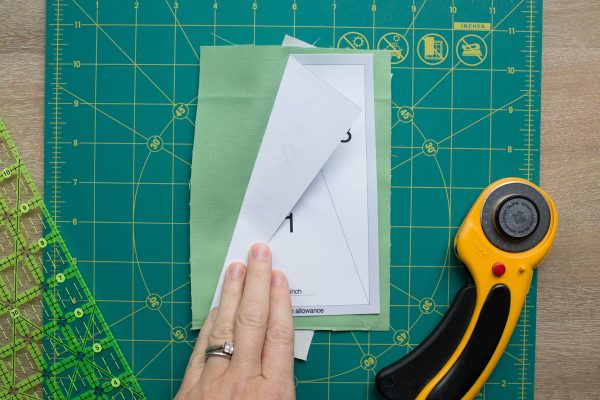
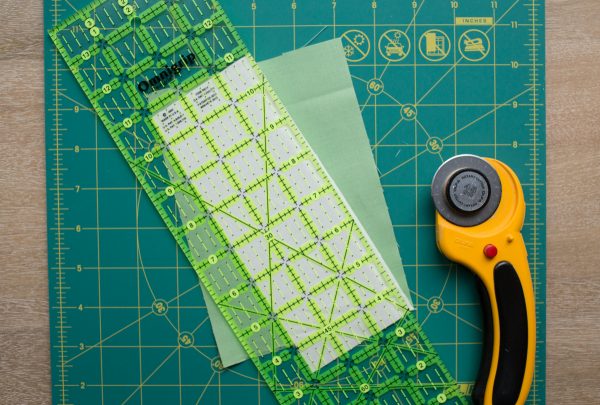
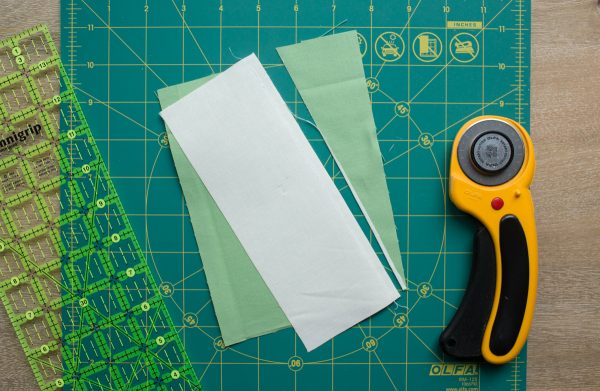
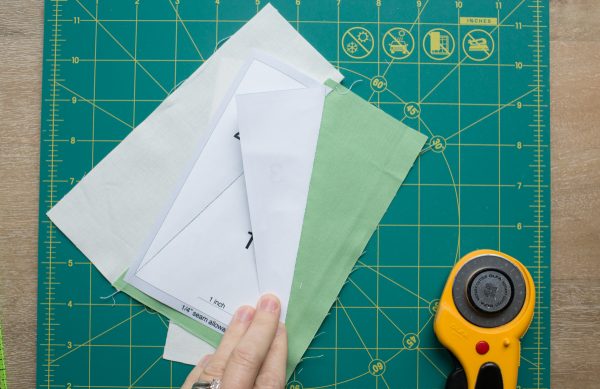
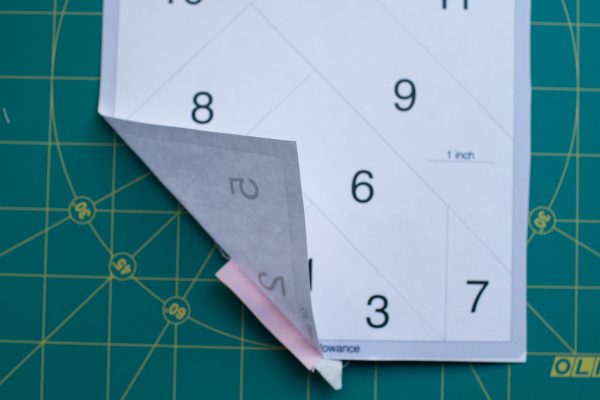
Step 4: Trim your seam allowance to 1/4″. I do this by folding the paper away on the stitched line, and using my quilting ruler to measure 1/4″ away from the stitched line.
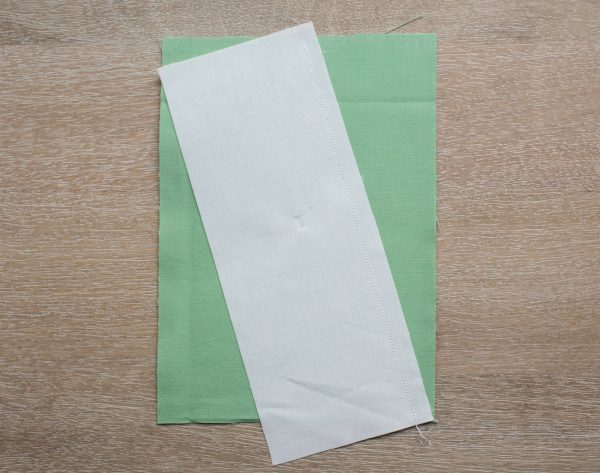
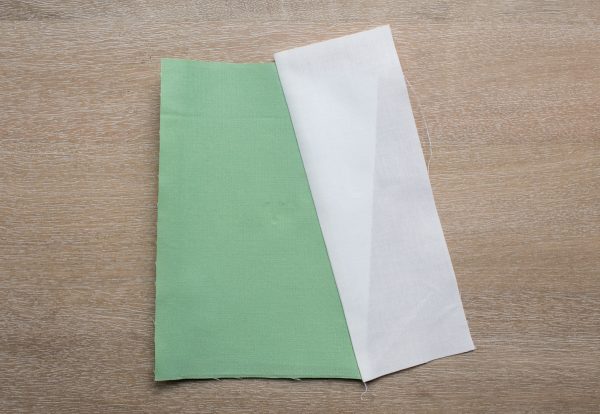
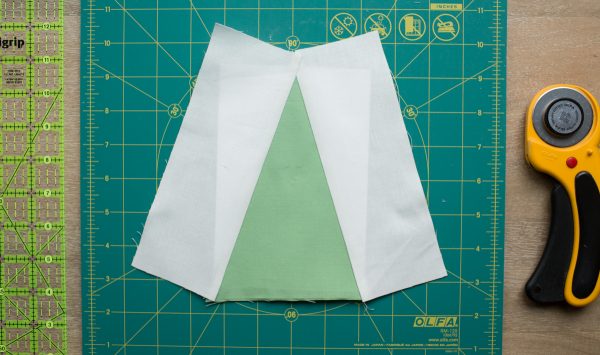
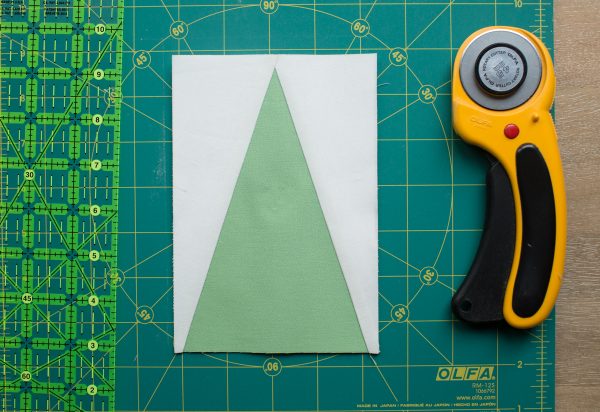
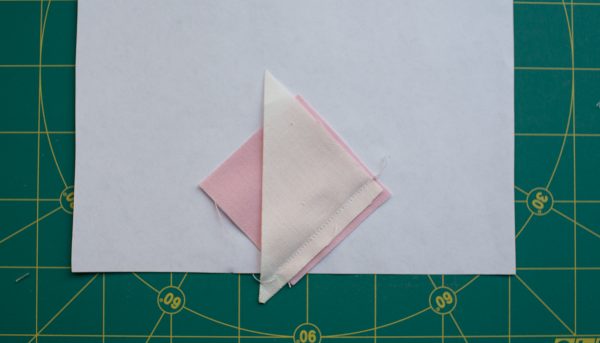
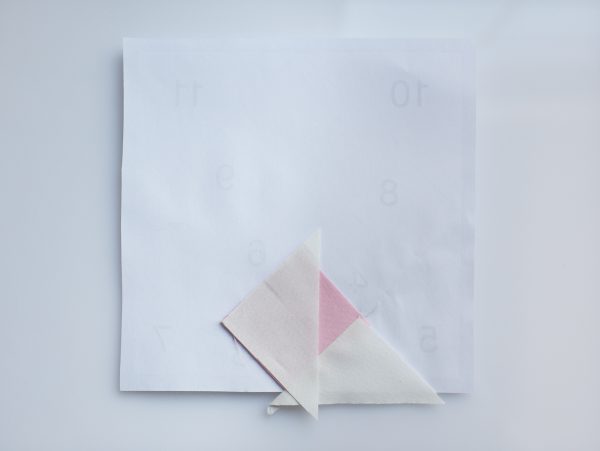
Step 5: Your block should now look as shown below.
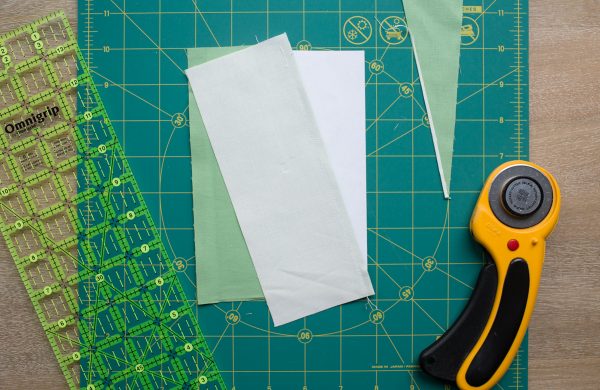
Press your fabric.
Step 6: Select your fabric cut for Template Piece 3. Place it right side together to Template Piece 1. Just like in Step 2, hold your template up to the light and make sure at least 1/4″ of the fabric overlaps into Template Space 1. Pin or hold into place.
Step 7: Sew along the seam line on the template, once again remembering to sew a bit into the seam allowance.
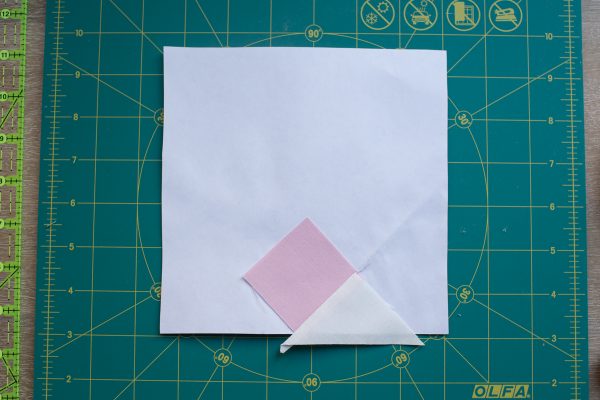
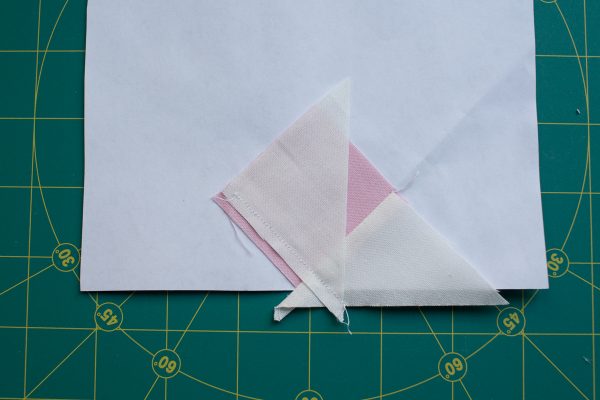
Step 8: Fold back your template as shown, trim the seam allowance, and press your fabric.
Your block should look something like below.
Step 9: Flip your block so the printer paper is face up.
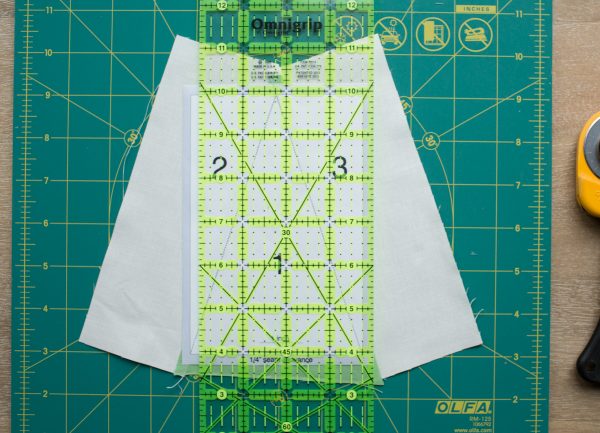
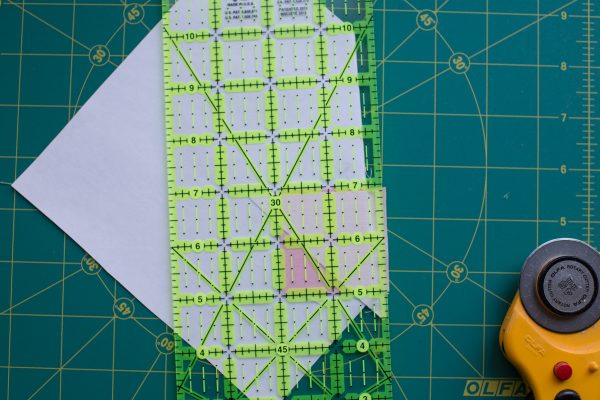
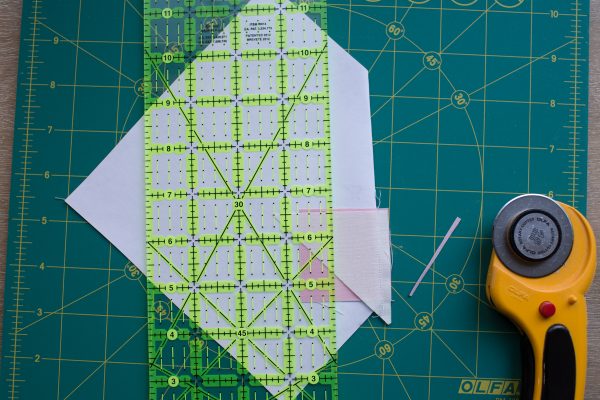
Step 10: Using a quilting ruler and rotary cutter, trim your blocks to the 1/4″ seam allowance. This seam allowance is included on your printed template, however I still like to measure 1/4″ away from the block line to ensure accuracy. (When cutting out paper piecing templates, it can be easy to accidentally cut away some of the printed seam allowance guide.)
Step 11: Repeat Steps 1 to 10 and piece (7) additional Modern Trees quilt block units for a total of (8) Modern Trees quilt block units. At this point, I like to remove my paper before sewing my units together. This is a personal preference. Optionally, you may remove your paper after assembling the block.
** If you’ve removed your paper, change your stitch length back to standard piecing size. **
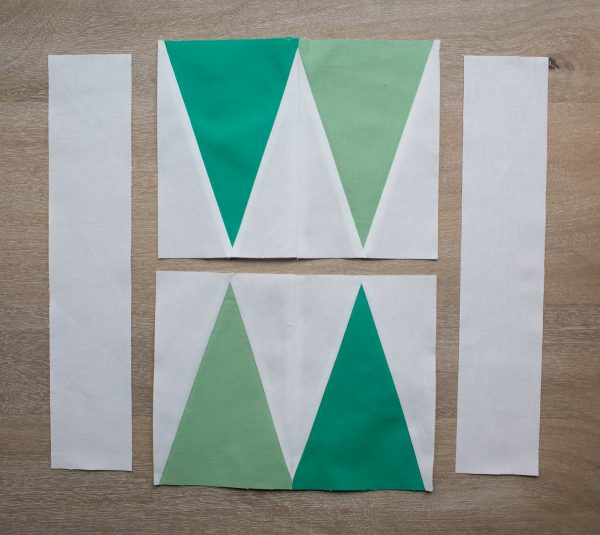
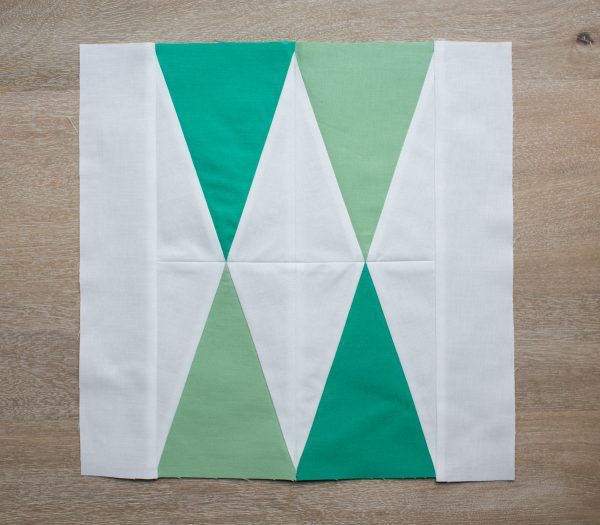
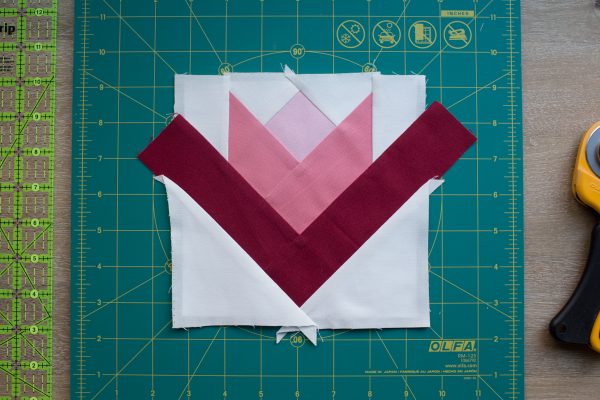
Step 12: Select (2) Kona Asparagus Modern Pine Tree units, (2) Kona Kale Modern Pine Tree Units, and (2) 2-1/2″ x 12-1/2″ white rectangles. Lay out your fabric as shown.
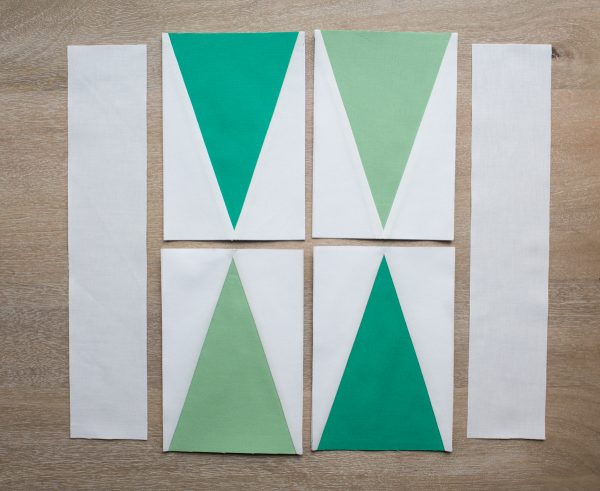
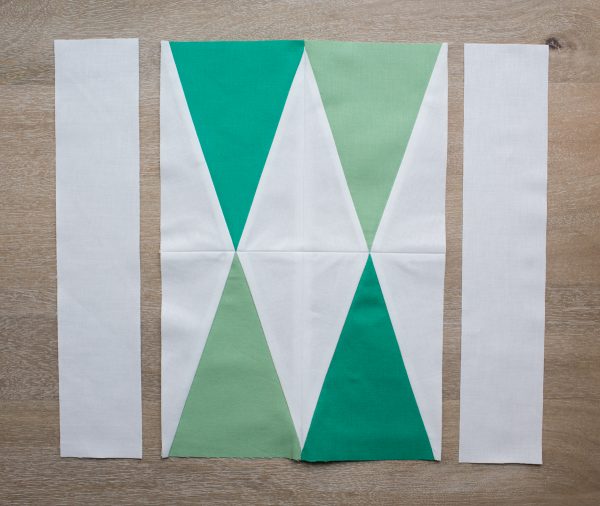
Step 13: Stitch your top Modern Pine Tree units together. Press your seams open. Stitch your bottom Modern Pine Tree units together. Press your seams open. Stitch your top and bottom Modern Pine Tree row units together. Press your seams open.
Step 14: Stitch your 2-1/2″ x 12-1/2″ white rectangles to the sides of your Modern Pine Trees component. Press your seams.
Step 15: Repeat steps 12 to 14 to make an additional Modern Pine Trees quilt block for a total of (2) Modern Pine Trees quilt blocks.
Instructions to Make the Poinsettia Flowers Quilt Blocks
The Poinsettia Flowers quilt block is Foundation Paper Pieced. Reduce your stitch length so that the paper template will perforate easily when you are finished. I used 1.4 stitch length on my BERNINA 770 QE.
Collect the fabric you cut for the Poinsettia Flowers quilt blocks in Week 1, as well as the 4 copies of Poinsettia Flowers Template, printed at “100%” or “Actual Size”. Be sure to check the scaling ruler on the template to ensure it printed correctly.
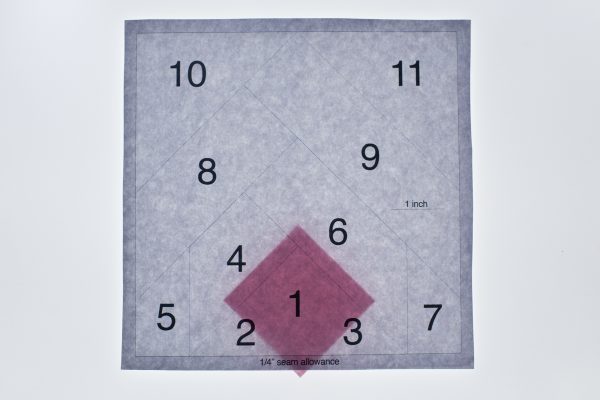
Step 1: Select (1) 2″ x 2″ Kona Peony square (Template Piece 1) and place it right side out on the back of your template, making sure to cover the entire area of Template Space 1. Pin or glue stick into place.
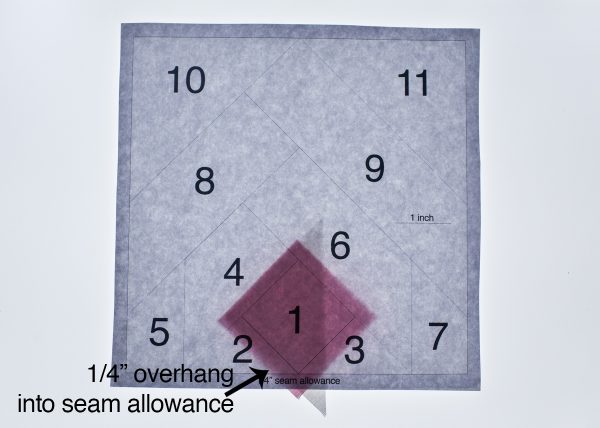
Step 2: Select (1) 2-1/2″ x 2-1/2″ White HST (Template Piece 2). Place it right sides together to Template Piece 1, which you pinned into place in Step 1. Hold your template up to the light and make sure at least 1/4″ of the white fabric overlaps into Template Space 2. Pin or hold into place.
Step 3: Sew along the seam line on the template between Template Pieces 1 and 2. Be sure to sew a bit into the seam allowance. You may also backstitch at the beginning and end. Remove your pins.
Step 4: Trim your seam allowance to 1/4″. I do this by folding the paper away on the stitched line, and using my quilting ruler to measure 1/4″ away from the stitched line.
Step 5: Press your fabric open.
Step 6: Select your fabric cut for Template Piece 3. Place it right side together to Template Piece 1. Just like in Step 2, hold your template up to the light and make sure at least 1/4″ of the fabric overlaps into Template Space 1. Pin or hold into place.
Step 7: Sew along the seam line on the template, once again remembering to sew a bit into the seam allowance.
Step 8: Trim the seam allowance and press your fabric open.
Step 9: Repeat this process for Template Pieces 4 through 11.
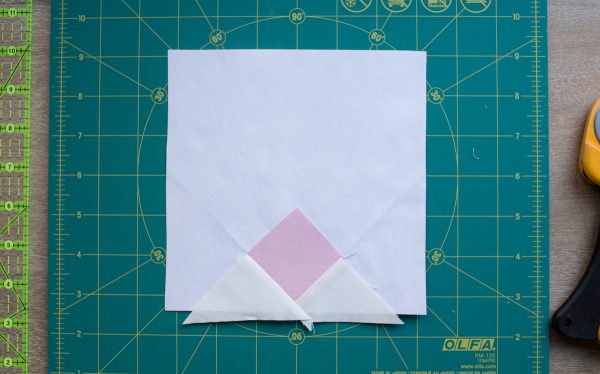
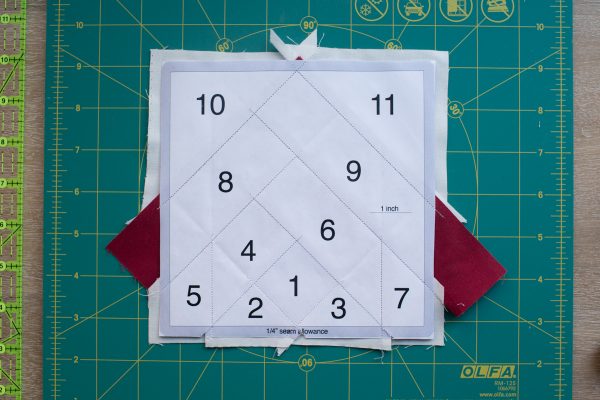
Step 10: Once you have pieced and pressed all your Template Pieces, your block should look something like below.
Flip your block so the printer paper is face up.
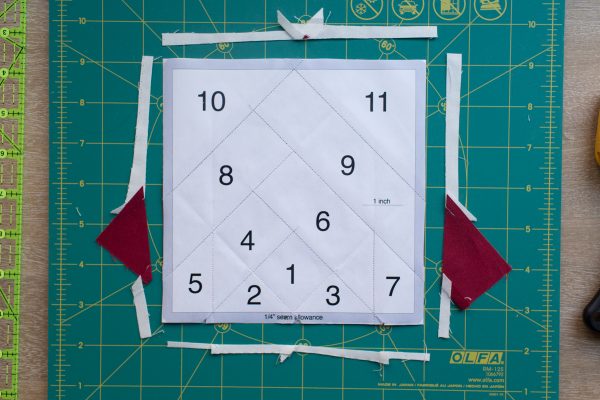
Step 11: Using a quilting ruler and rotary cutter, trim your blocks to the 1/4″ seam allowance. This seam allowance is included on your printed template, however I still like to measure 1/4″ away from the block line to ensure accuracy. (When cutting out paper piecing templates, it can be easy to accidentally cut away some of the printed seam allowance guide.)
Step 12: Repeat steps 1 to 11 and piece (3) additional Poinsettia Flowers quilt block units for a total of (4) Poinsettia Flowers quilt block units. At this point, I like to remove my paper before sewing my units together. This is a personal preference. Optionally, you may remove your paper after assembling the block.
** If you’ve removed your paper, change your stitch length back to standard piecing size. **
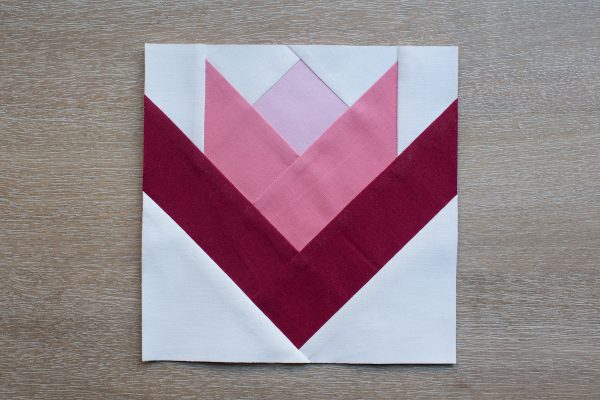
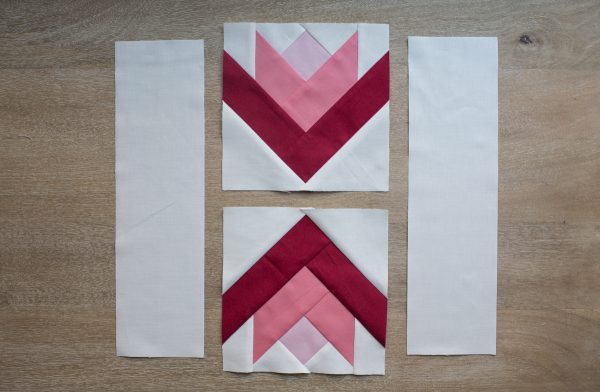
Step 13: Select (2) Poinsettia Flowers quilt block units and (2) 3-1/2″ x 12-1/2″ white rectangles. Lay out your fabric as shown.
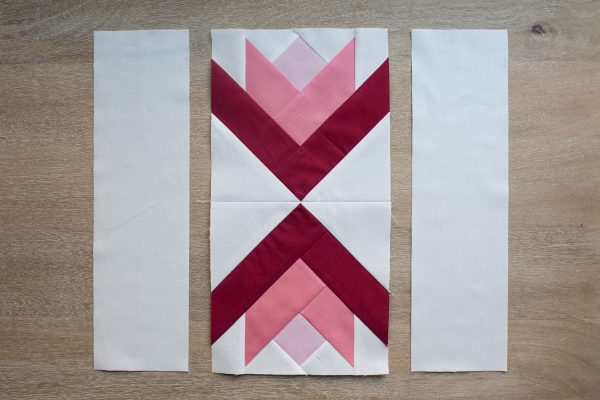
Step 14: Stitch your (2) Poinsettia Flowers quilt block units together. Press your seams open.
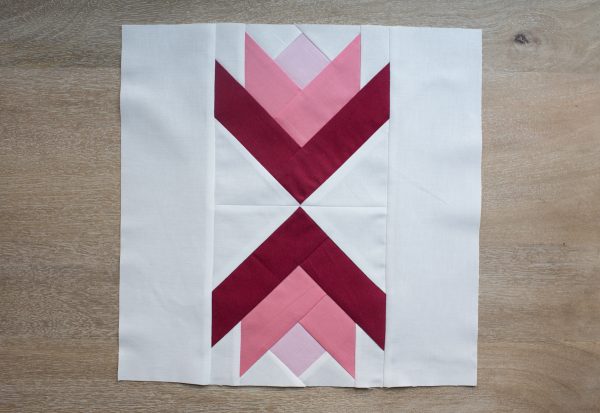
Step 15: Stitch your 3-1/2″ x 12-1/2″ white rectangles to the sides of your Poinsettia Flowers component. Press your seams open.
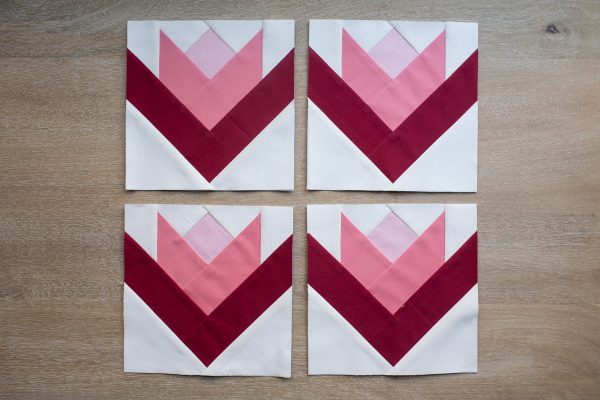
Step 16: Repeat steps 13 to 15 to make an additional Poinsettia Flowers quilt block for a total of (2) Poinsettia Flowers quilt blocks.
Thank you to all who stitched along with me today! Stop by next week as we continue foundation paper piecing with our Snowflakes quilt blocks, and then traditionally piece the Golden Star quilt block centerpiece.
What you might also like
3 comments on “Sugarplum Table Runner Quilt-along—Week 2”
-
-
Hi Roberta,
You can find links to all the templates, as well as the fabric requirements and cutting instructions, in the Week 1 post here – https://weallsew.com/sugarplum-table-runner-quilt-along-week-1/
-
-
It would be helpful if you could make each section every week easy to print. This would be great to add to our patterns for future use. Thanks.
Leave a Reply
You must be logged in to post a comment.





Where are the templates? TIA