Summer Pillow Sewing Project for Kids
Hello friends! My name is Melissa Mortenson and most days you can find me upstairs in my sewing room working on projects for my blog, the Polka Dot Chair. I have a 14-year-old daughter who has caught the sewing bug, and I’ve begun trying to design a few projects for her to work on to help improve her sewing skills.
Since it’s summer, we’ve been searching for projects for the kids to do to fill up the days, it’s so easy to just let them lay on the couch and watch TV. Since she’s taken a shine to sewing I thought that a summer sewing project was in order.
This sewing project is specifically designed for kids & teens to practice their pressing, cutting, straight stitching & pivoting skills. Anyone who’s a sewist will know that all of those things are important to master before moving on to more involved sewing projects.
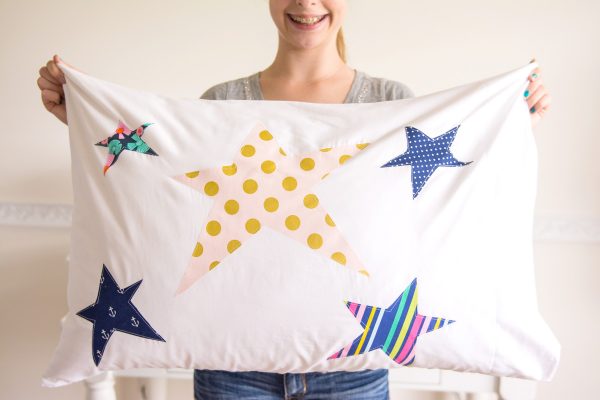
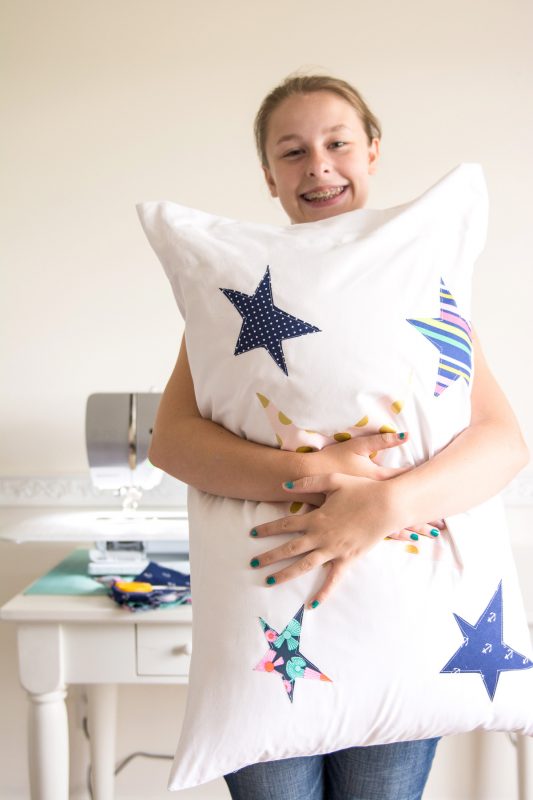
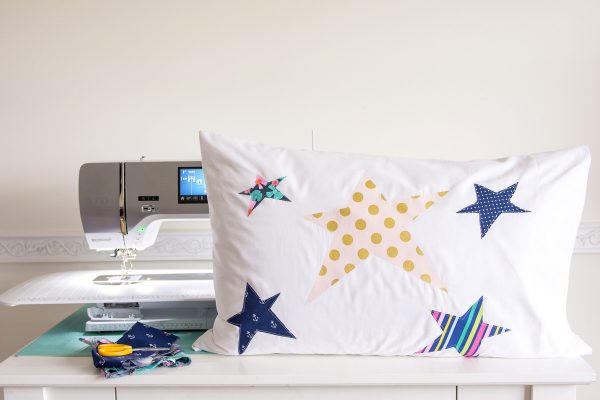
I got an idea to teach my daughter how to add some appliqué shapes to a pre-made pillowcase. I let her design the appliqués and pick out the fabrics (a great scrap buster), she did all of the work herself! (I may start recruiting her for blog projects now *wink*).
If you’ve got a beginning sewist that would love to make a project like this, here’s how we did it.
Materials for the summer project for kids :
- Piece of paper backed fusible webbing the size of a pillowcase
- Purchased Pillowcase (you can also use an older one you’ve got at home)
- Scraps of Fabric
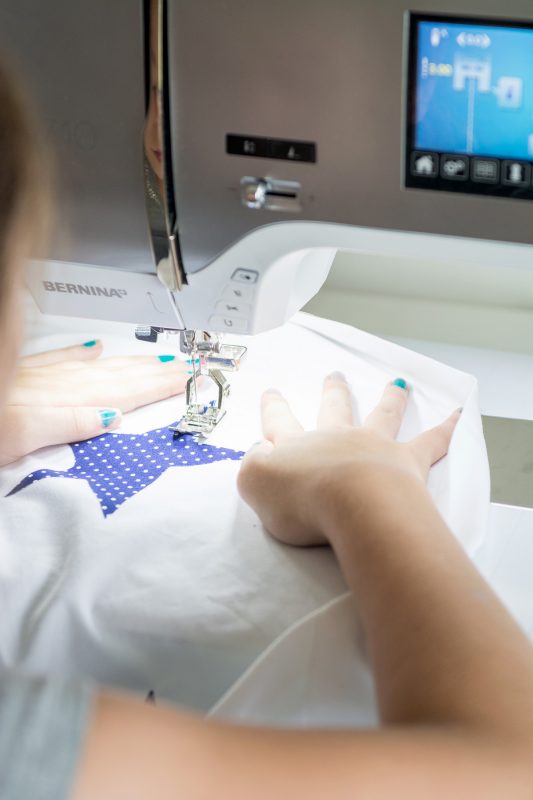
- Sewing Machine, I sew on a BERNINA 710
- Scissors
- Iron
Step one:
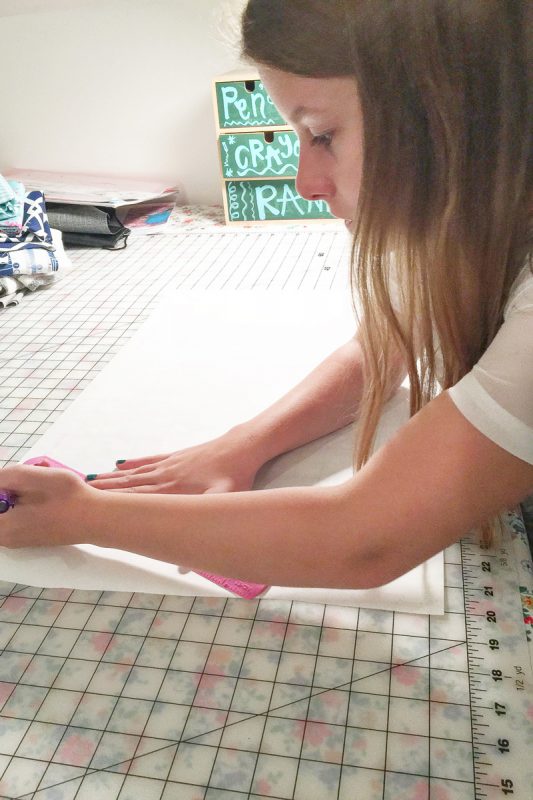
Cut a piece of paper backed fusible webbing to about the same size as the pillowcase (minus the hem of the pillowcase). Cutting it close to the size of the pillowcase will help the kids get an idea of how many appliqués they need to fill the space.
Step two:
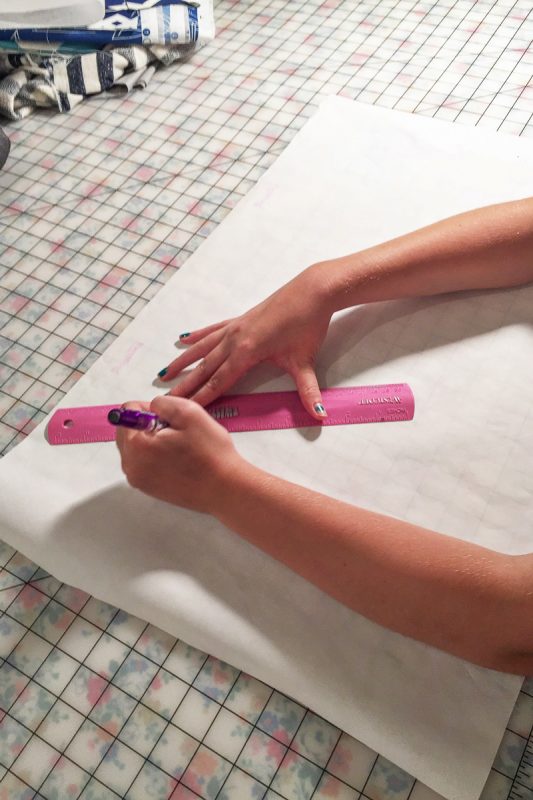
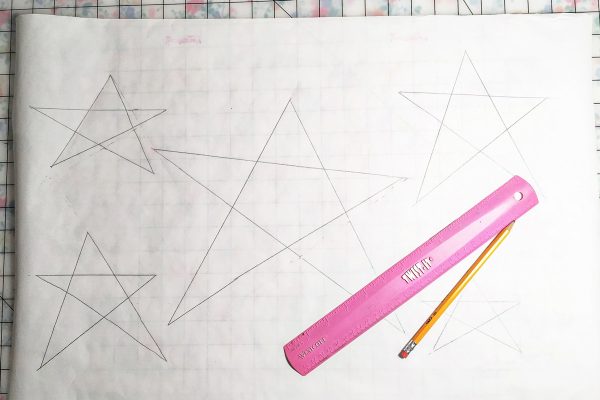
Let the kids design the appliqué shapes! They can trace objects from around the house or draw something that they like. Just encourage them to use at least a few straight lines and to keep the images big and not too intricate.
My daughter chose to make stars.
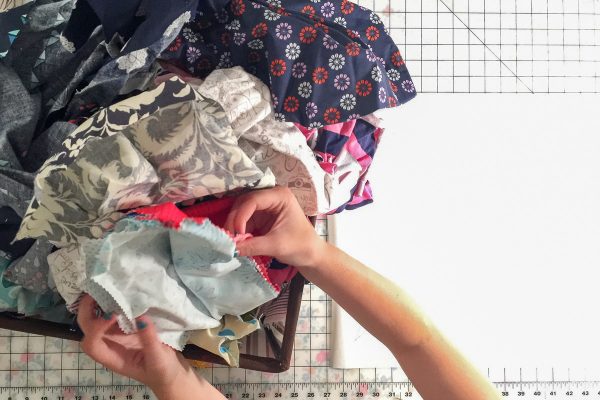
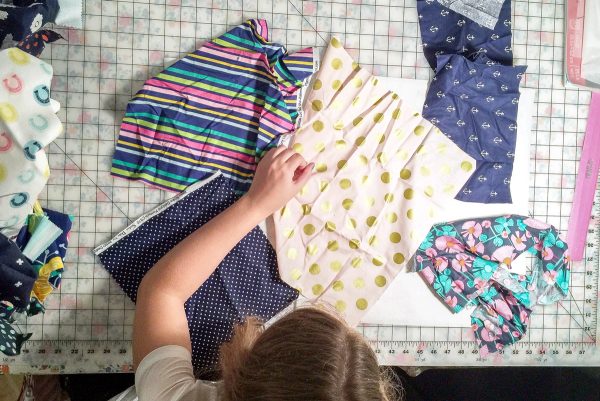
I let my daughter go through my scrap basket to find fabrics that she would like for her project.
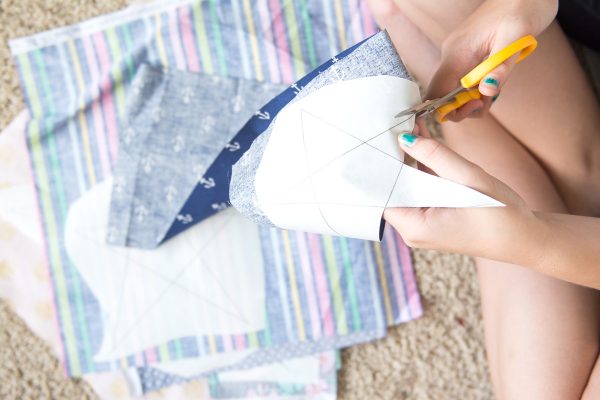
After you’ve picked out the fabrics you want to use, press them so that there are no wrinkles. Next cut out loosely around the shapes.
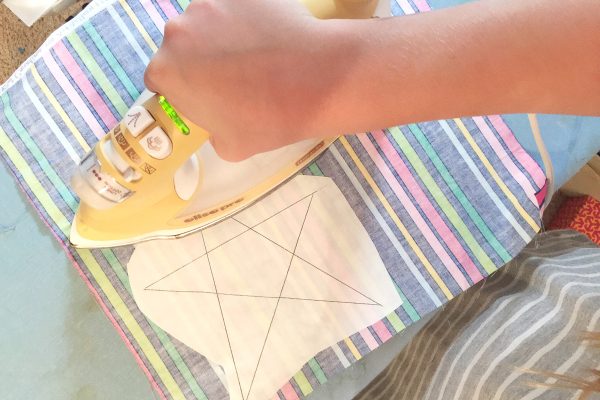
Then press the fusbile side of the shapes to the wrong side of the fabric. Cut out the shapes and set aside.
Next unpick the side and long seam of the pillowcase. Press the pillowcase so that there are no wrinkles. Arrange the cut out appliqué shapes on the front of the pillowcase in a design that you like. Then peel off the paper backing from the shapes and press onto the pillowcase.
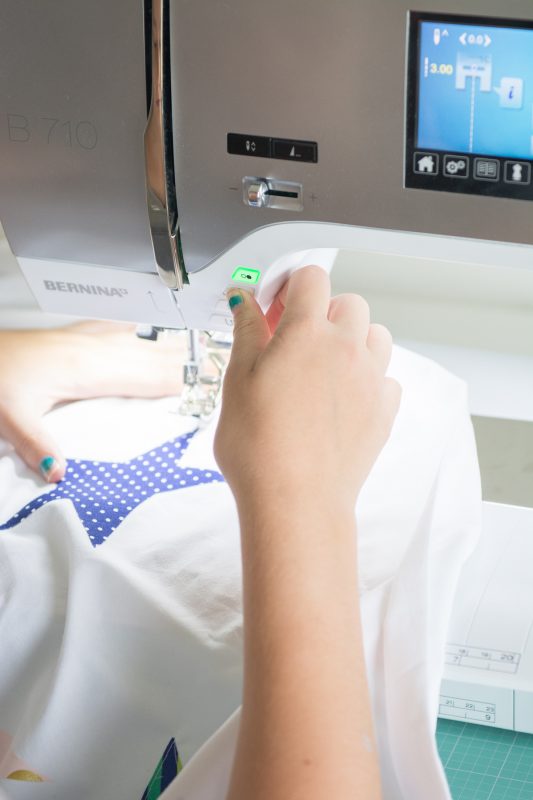
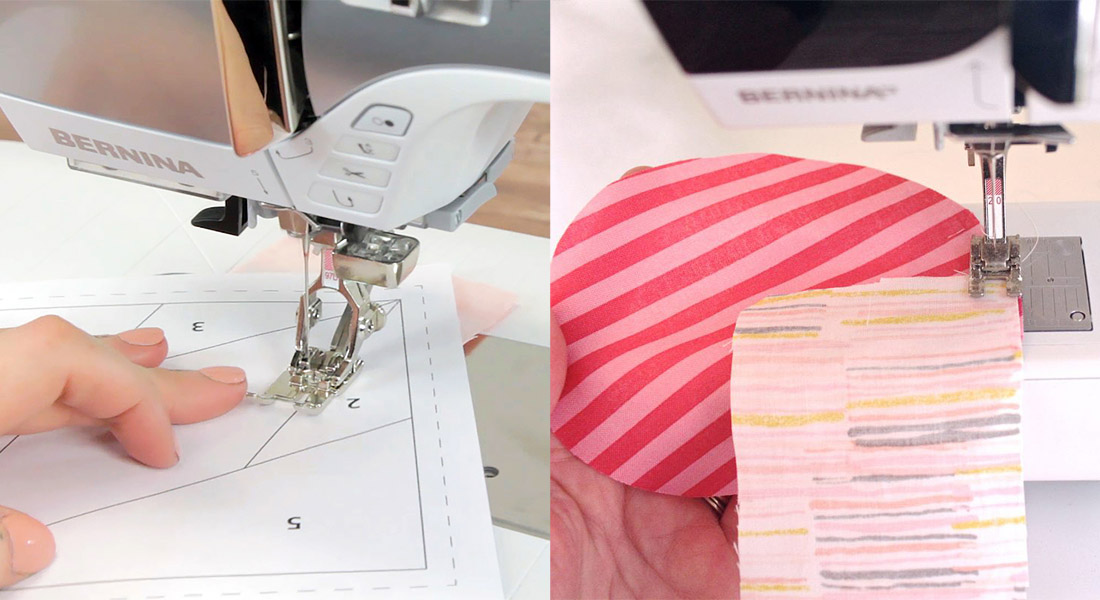
Using a straight stitch and a stitch length of 3, stitch around the edges of the shapes. When you get to a point, put the needle down, lift the presser foot and pivot. Put the presser foot back down and continue to sew. If you’re stitching around curves you’ll need to pivot a few times.
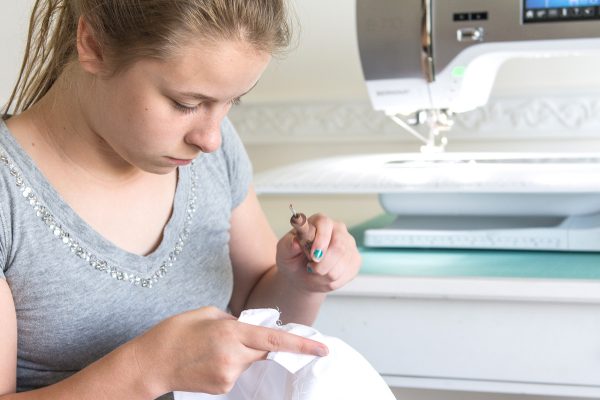
When you’re done sewing around all of the shapes, clip any strings that are left and stitch the pillowcase back together again.
What you might also like
One comment on “Summer Pillow Sewing Project for Kids”
Leave a Reply
You must be logged in to post a comment.







Very good project for any beginning sewer.