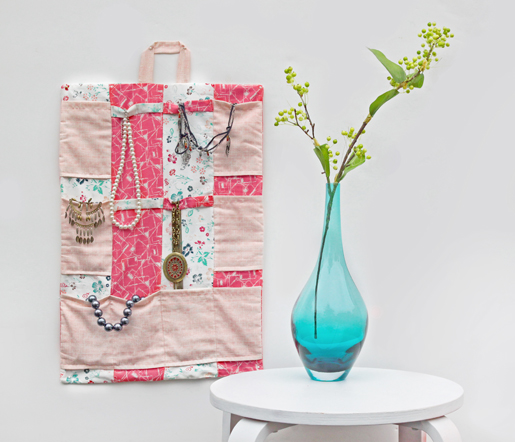
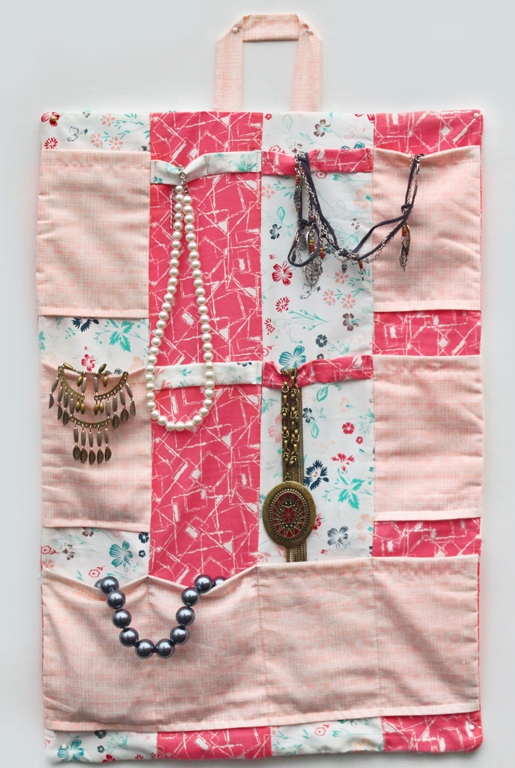
DIY Roll-up Travel Jewelry Case
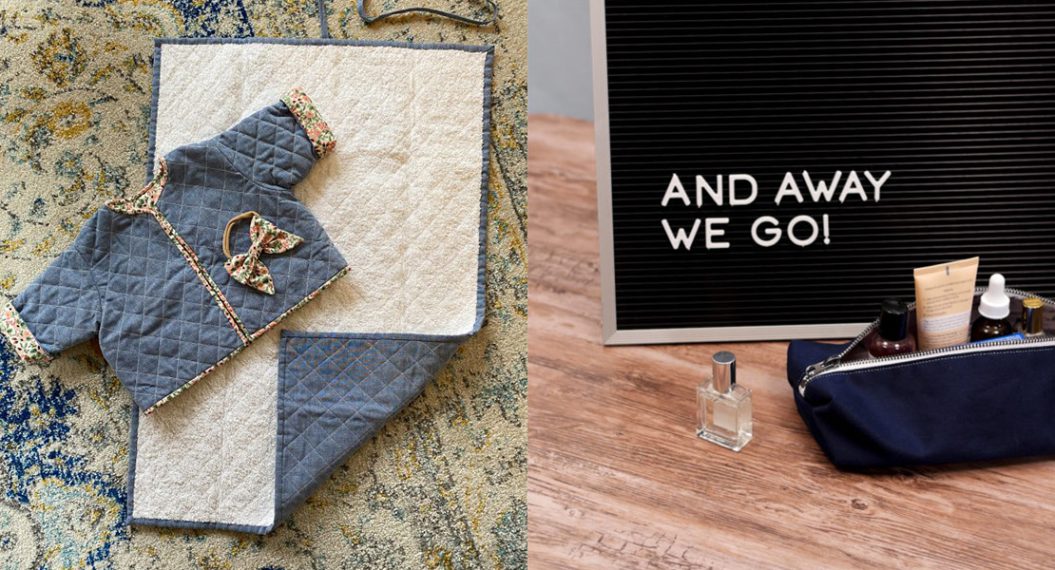
Whether you’re packing a week’s worth of outfits into a carry-on bag or squeezing luggage for an entire family into the trunk of a car, space is at a premium when traveling during the holidays. This charming jewelry roll-up fits easily into a corner of your bag and doubles as a hanging display case when you reach your final destination. Pockets and straps provide plenty of places to secure your baubles and beads.
 Supplies
- Fabric (Nouvelle Fabric Collection by Pat Bravo)
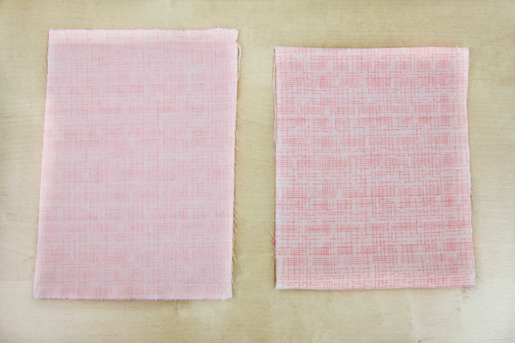
- 3/8 yard of Fabric A (small floral print; Ditsy Radiance)
- 3/8 yard of Fabric B (dark pink print; New Look Coral)
- 1/2 yard of Fabric C (light pink print; Rethread Rose Peach)
- Aurifil thread
- #2311 for sewing
- #2437 for topstitching
- Quilting Interfacing Fleece (Fusible Thermolam Plus)
- Iron and ironing board/surface
- Point turner
- Hand sewing needle
- Pencil
- Universal needles, size 80/12
- All-purpose presser foot (BERNINA Reverse Pattern Foot #1/1C/1D)
Step 1) Prepare the fabric.
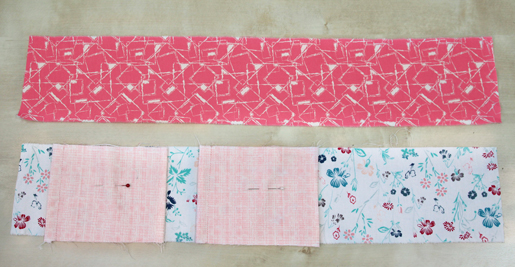
Cut from Fabric A
- Two 7-7/8” squares
- One 2-1/2” x 14-1/2” strip
- Two 4” x 20-1/2” strips
- Two 2” x 4-1/2” strips
Cut from Fabric B
- Two 7-7/8” squares
- One 1-1/2” x 26” strip
- Two 4” x 20-1/2” strips
- Two 2” x 4-1/2” strips
Cut from Fabric C
- Two 2-1/2” x 14-1/2” strips
- One 2” x 8” strip
- Eight 5-1/2” x 4” rectangles
- Two 5-1/2” x 14-1/2” strips
Cut from fusible web
- One 14-1/2” x 20-1/2” rectangle
Cut all 7-7/8” squares in half diagonally to make four half-square triangles of Fabric A and four of Fabric B.

Step 2) Piece the outside of the roll-up.
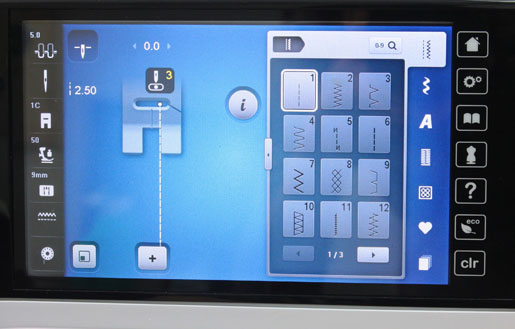
Thread your sewing machine with AURIFIL thread #2311.
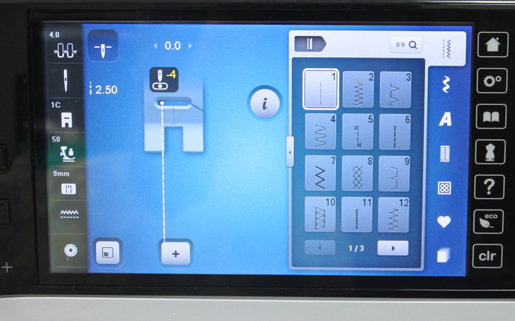
Select a straight stitch #1 and set the needle 3 steps to the right by pressing the right arrow button to the right of your screen three times.
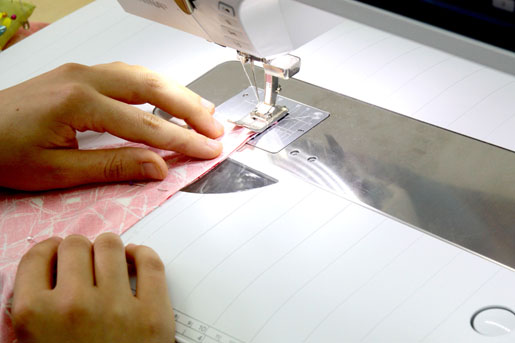
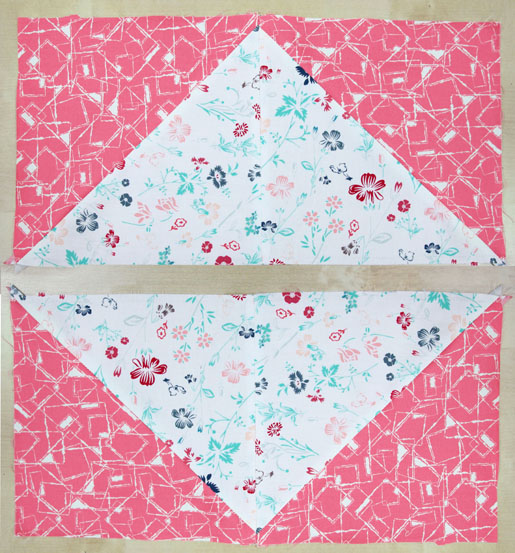
Place one Fabric A half-square triangle right sides together with one Fabric B half-square triangle. Stitch along the long edge, aligning the fabric to be sewn with the edge of the presser foot. Press seam allowances open.
Repeat for the remaining half-square triangles.
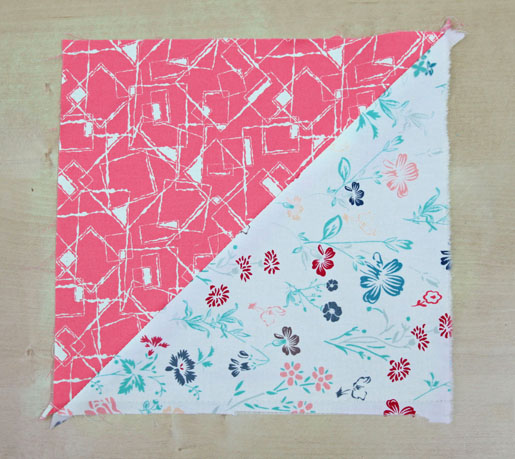
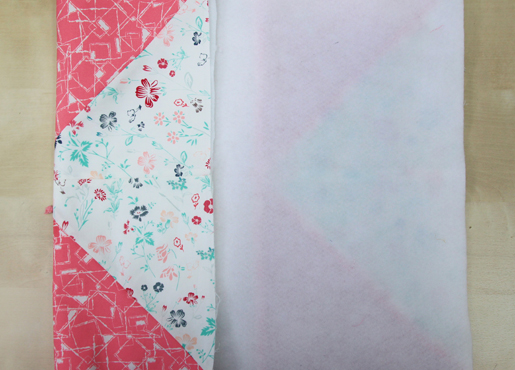
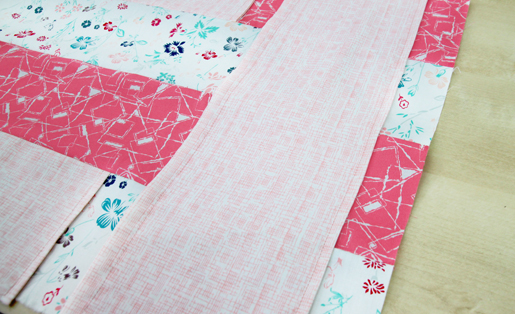
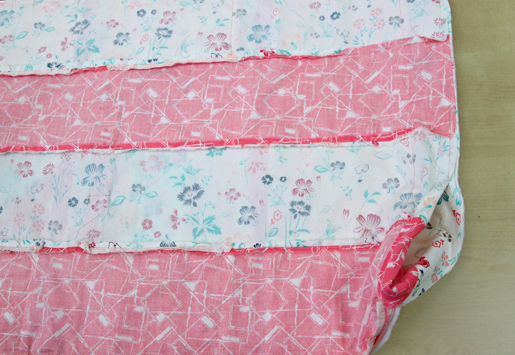
Sew two of these squares together as shown in the photo below. Repeat with the two remaining squares. Press seam allowances open. Set these pieces aside.
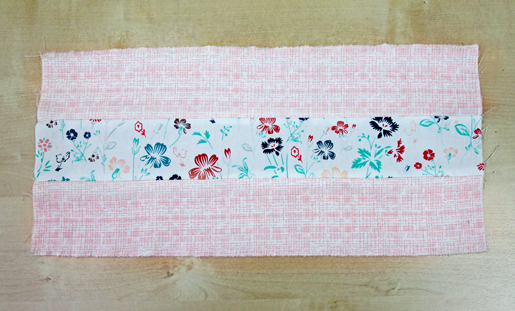
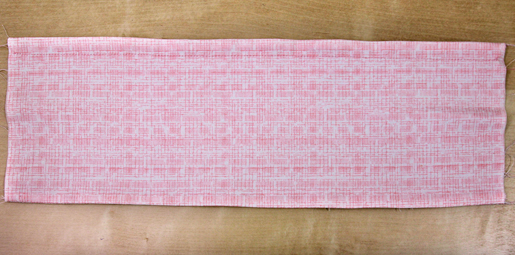
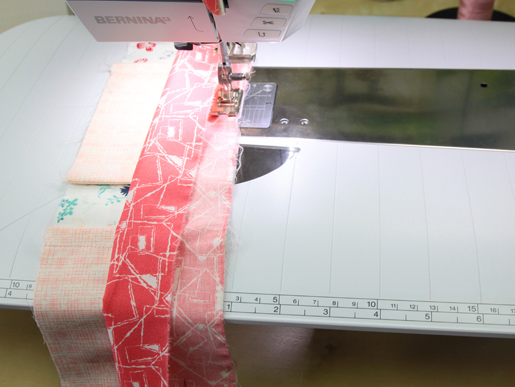
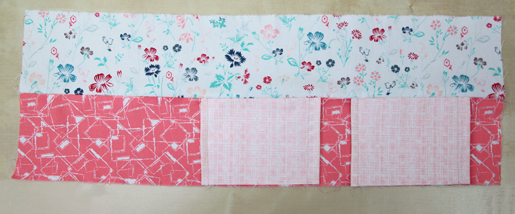
Sew a 2-1/2” x 14-1/2” strip of Fabric C to a 2-1/2” x 14-1/2” strip of Fabric A, then sew a second 2-1/2” x 14-1/2” strip of Fabric C to the other side of the Fabric A strip. Press seam allowances open
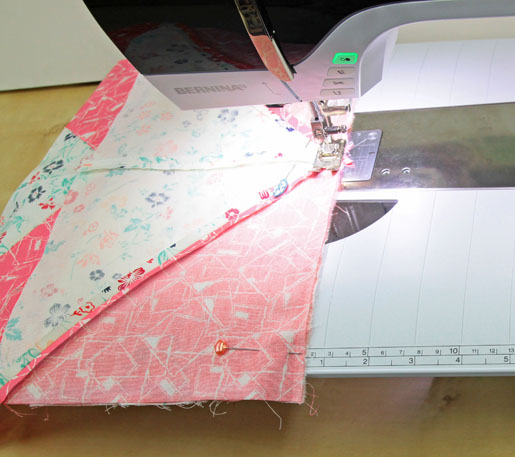
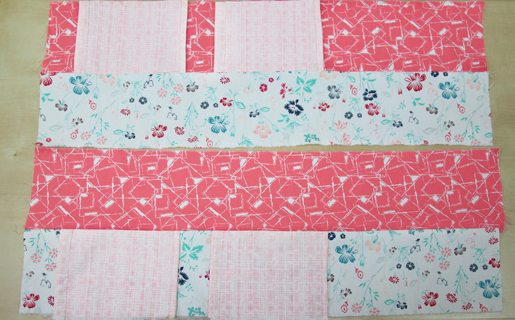
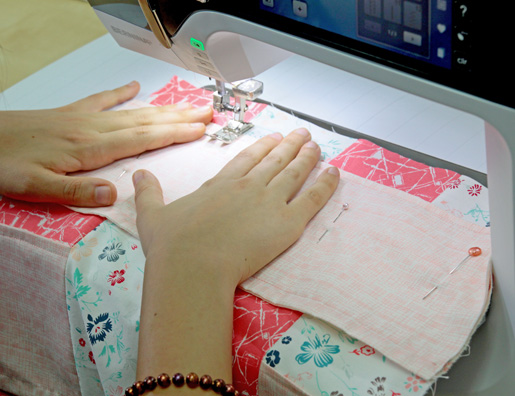
Lay out and stitch these pieces together as shown below.
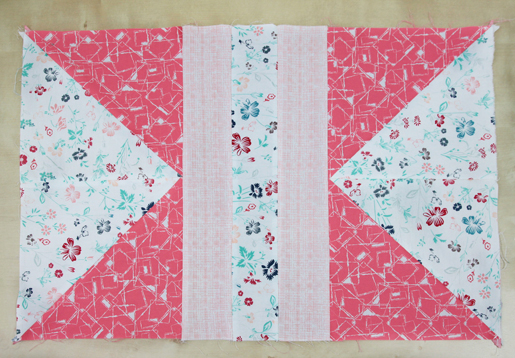
Fuse the FUSIBLE FLEECE to the back of the pieced rectangle following the manufacturer’s instructions.
Step 3) Stitch the loop and tie.
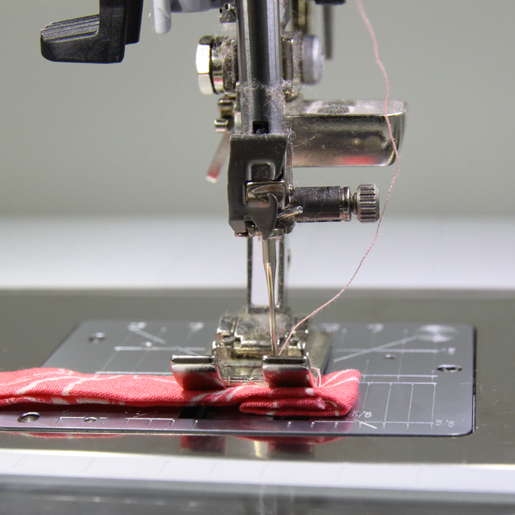
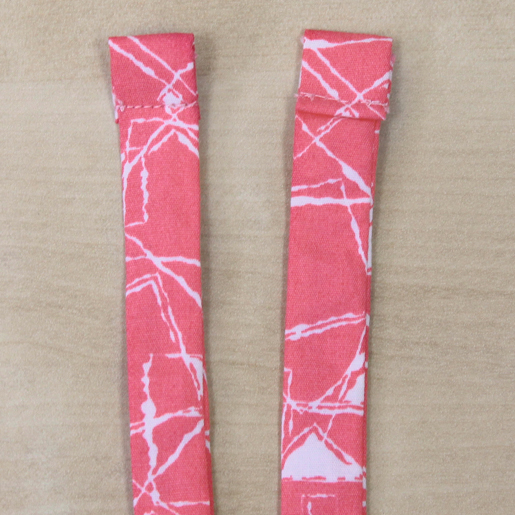
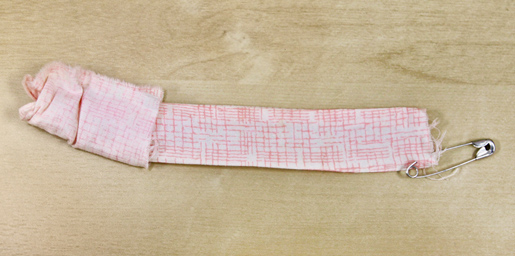
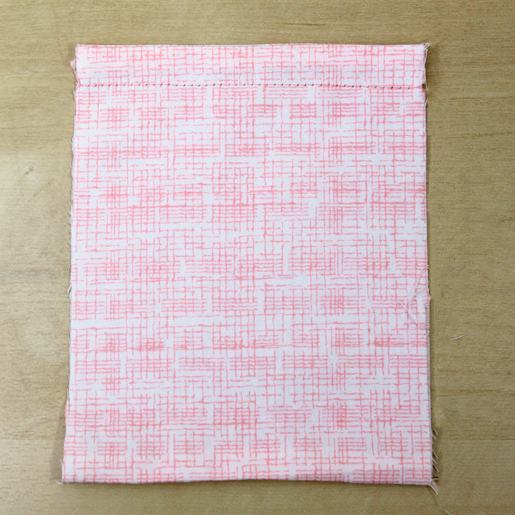
Take the 1-1/2” x 26” strip of Fabric B and fold it in half, right sides together. Stitch the long edge of the strip. Attach a safety pin to one end and use it to turn the strip right side out.
To finish the raw edges of the tie, fold one end under 1/2” and then another 1/2″. Topstitch to secure it in place, sewing as close to the inner folded edge as possible. Repeat for the other end of the tie. (Note: Aurifil #2437 was used for topstitching.)
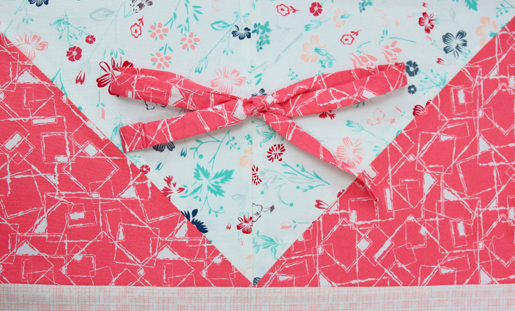
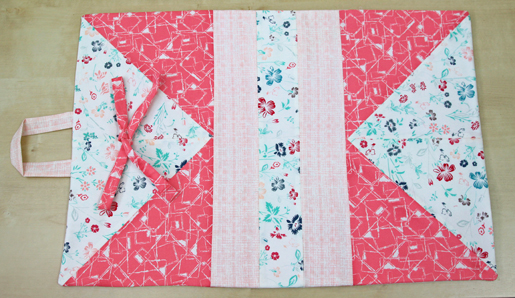
Fold the tie in half to find the center, then pin the middle of the top middle seam, 3” down. Be sure to position the strap vertically. Stitch the tie down on the center mark.
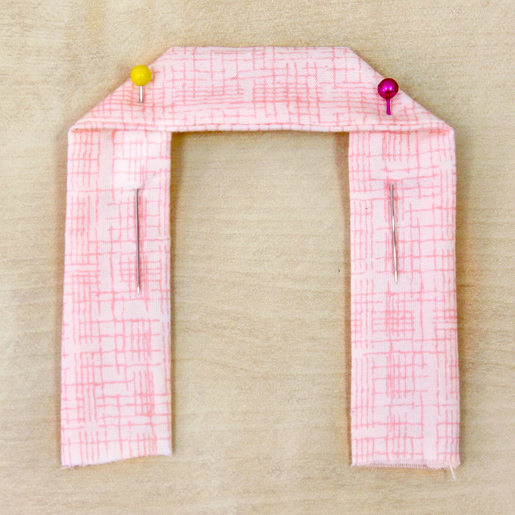
Make the hanging loop from the 2” x 8” strip of Fabric C, by folding it in half lengthwise, seaming the long edge, and turning it right side out.
Fold the strip as shown below; press.
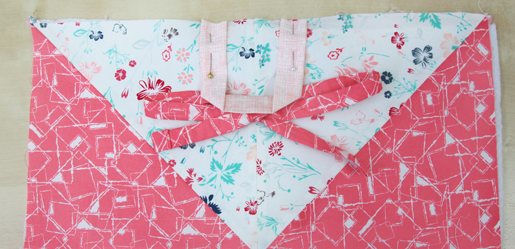
Pin the loop to the upper front edge of the jewelry case, placing each end 5-1/2” from the corresponding outside edge. Be sure to pin the loop facing down as shown in the photo below.
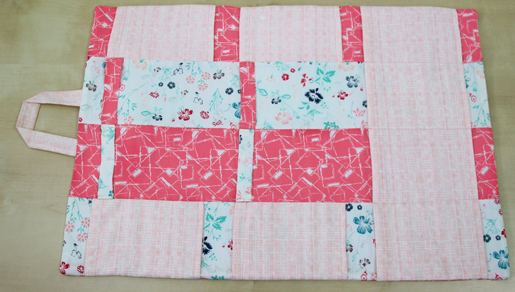
Step 4) Make the pockets.
Place two 5-1/2” x 4” rectangles of Fabric C right sides together; sew the short edges together. Turn right side out and press seam allowances flat.
Repeat this step three more times to make a total of four pockets. Topstitch one of the short sides of each pocket with AURIFIL #2437.
Change the needle position, moving it four steps to the left of center using the left arrow button.
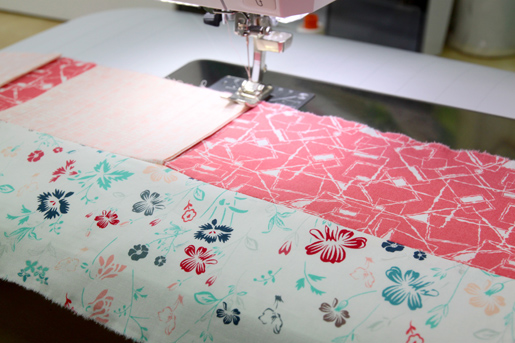
Place two 5-1/2” x 14-1/2” strips of Fabric C right sides together; stitch together along both long edges.
Turn right side out and press flat.
Topstitch one of the longer sides with AURIFIL #2437 thread.
Place one 5-1/2” x 4” pocket of Fabric C on one 4” x 20-1/2” strip of Fabric A, positioning it 1-1/2” down from the top EDGE.
Place the next 5-1/2” x 4” pocket of 1-1/4” from the edge of the pocket above it. When placing pockets, make sure the topstitching is on the upper edges, not the lower edge.
Place a 4” x 20” strip of Fabric B right sides together on top of this unit. Stitch together along WHICH EDGE(S). Press seam allowances open.
Repeat the above steps, reversing the colors of the strips and positioning the first pocket 1-1/2” from the right edges instead of the left.
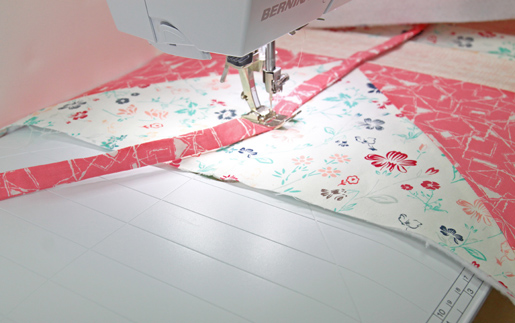
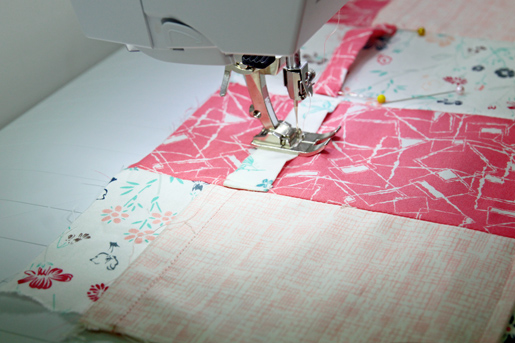
Position these two pieces as shown in the photo below; place right sides together and stitch. Press seam allowances open.
Move the needle one step to the right, to position -3.
Place the 5-1/2” x 14-1/2” pocket strip 1-1/4” away from the second pocket. Topstitch the lower edge of the pocket in place.
On the long pocket strip, mark three straight lines following the seam lines.
Move the needle to center position (0). Stitch along the drawn lines, aligning the center mark on the presser foot with the drawn lines. Begin at the upper edge of each line and sew straight down to the button, backstitching at the beginning and end to secure the stitching. When finished you will have four individual pockets.

Move the needle three steps to the left of center (to -3).
Topstitch the lower edge of each 5-1/2” x 4” pocket, beginning at the seam and stitching to the outer edge.
Step 5) Make the jewelry loops.
Following the same process used to make the loop and tie in Step 3, make loops from two 2” x 4-1/2” strips of Fabric A and two of Fabric B. Turn each strip right side out. Fold raw ends under 1/4” and then another ¼”; press.
Place one Fabric A strips on the left seam, aligned with the top pocket; the other end should reach the center seam. Pin in place.
Place the other Fabric A strip on the left seam as well, aligned with the top of the second pocket. Pin in place.
Repeat, placing the Fabric B strips on the right seam and aligning them with the tops of the pockets. Pin in place.
Once all the loops are pinned in place, sew close to the edges of each strip to secure them in place.

Mark the center of each strip with a vertical line. Straight stitch from the top of the bottom of each strip, backstitching to secure the stitching.
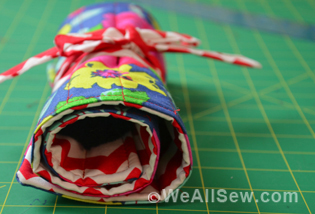
Step 6) Complete the jewelry roll-up.
Place the inside and outside panels of the jewelry case right sides together, making sure the hanging loop is tucked inside between the layers. Sew all the way around the rectangle, leaving a 5”-side opening in the middle of the lower edge for turning.
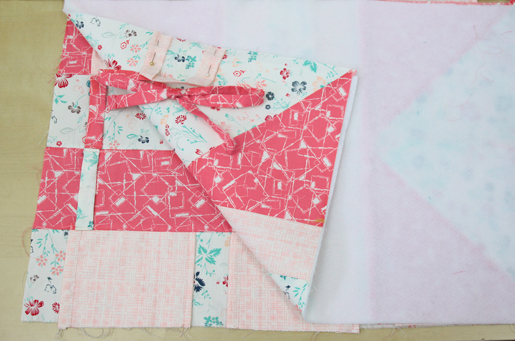
Flip the case right-side-out through the 5” opening.
Use a point turner or your fingers to push out the edges of the case. Press flat.
Stitch the opening closed by hand.
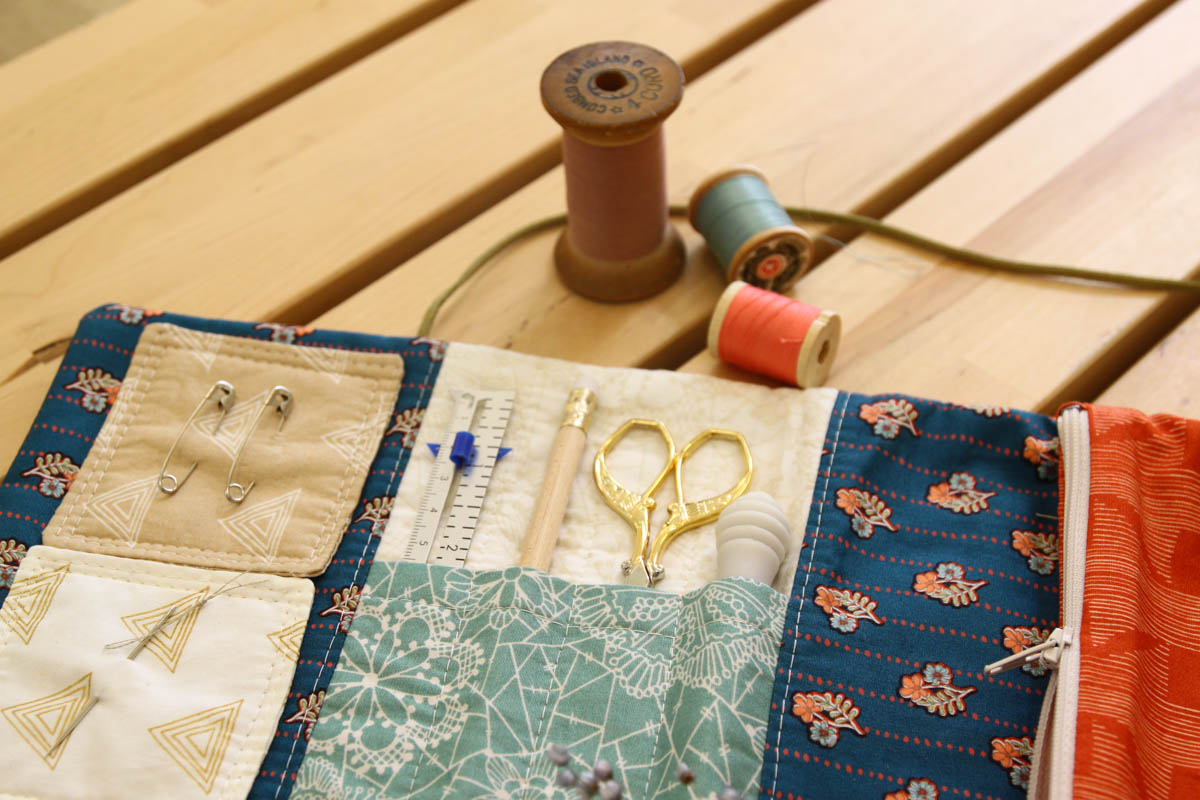
Have fun storing and displaying all your beautiful jewelry pieces!


What you might also like


2 comments on “DIY Roll-up Travel Jewelry Case”
-
-
We’re hoping to have a PRINT feature in the near future. Meanwhile – select Print Preview instead of Print, and you can select which pages you want to print, omitting the unnecessary ones. Or – and this is what I do – copy and paste the instructions into a Word.DOC, then adjust the text and photos as desired, save, and print. With this method I can make the photos I don’t need quite small, and enlarge the ones I want to see in great detail. I also adjust the margins and text size to conserve paper and ink. Jo
-
Leave a Reply
You must be logged in to post a comment.

Please provide a print friendly version. I wanted to make this, but in order to print the instructions I have to print 34 pages! Many of these pages have nothing to do with the instructions, but are all the sidebars and so on. So I’m going to skip it altogether. And i’m not at all happy. In fact, I’m angry. That’s really short-sighted of you, if you want people to actually make the things for which you post instructions.