How to Make a Bias Tape Throw Pillow
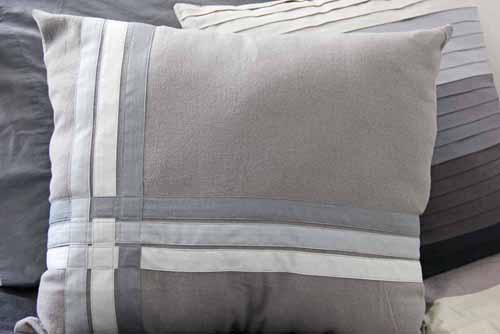
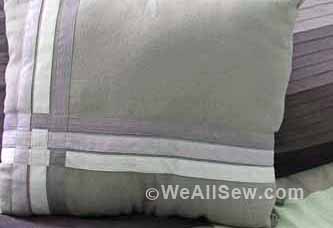
Classic lines and simple geometry add a distinctive touch to your décor. Have fun with contrasting colors or indulge your fondness for tone-on-tone subtlety. The result is a simple object with striking effect.
Supplies
- Two 18″ x 22″ rectangles of fabric for the pillow cover
- Two 2″ x 22″ strips of color A (light gray fabric)
- Two 2″ x 22″ strips of color B (medium gray fabric)
- Two 2″ x 22″ strips of color C (dark gray fabric)
- Coordinating thread
- 1″ bias tape maker or large pin
- Glue stick
- Quarter-inch foot or edgestitch foot
Step 1) Fold the fabric strips.
Because we are not doing curved edges we can use fabric strips cut on-grain instead of on the diagonal.
With a Bias Tape Maker
Follow the instructions included with the tool
Without a Bias Tape Maker
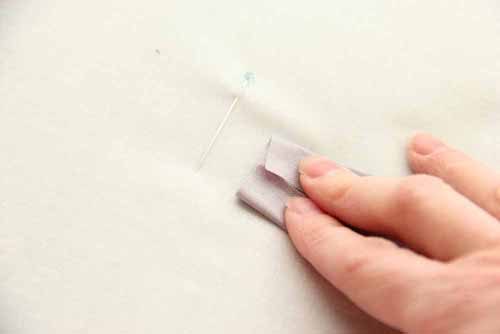
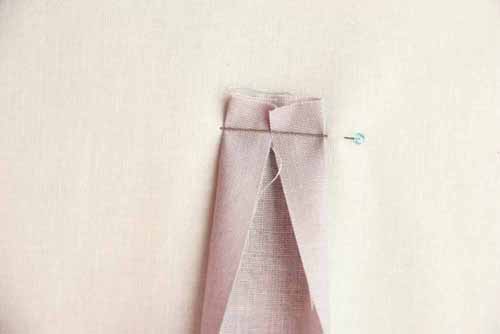
Place your ruler on your ironing board, take pin and make a 1” gap by pinning a small amount of ironing board fabric, leaving a 1” gap, and then pushing in the pin point on the other side.
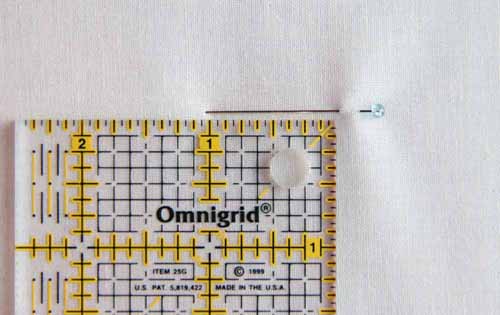
Fold in both edges of your strip of fabric and gently push the strip through the 1” gap you made under the straight pin.
Pull about 1″ of the strip under the pin. Arrange the folds and press this section of the strip.
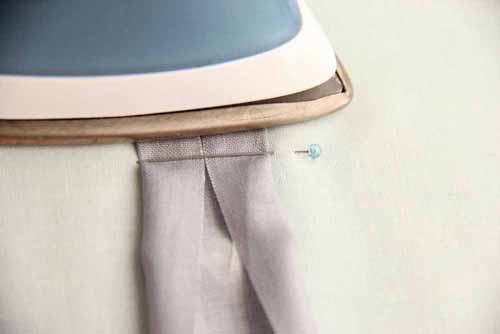
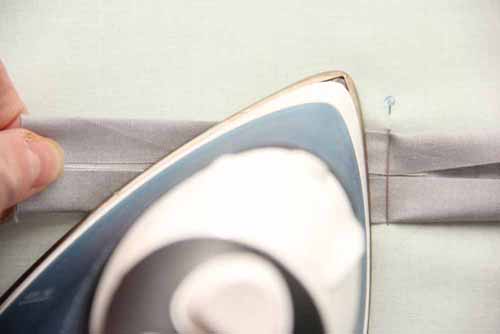
Let it cool, then pull a little more of the strip through the gap, making sure the edges stay evenly folded; press.
Slowly pull the already-pressed end of the fabric strip, all the while pressing with the iron right next to the pin as the folded strip comes through the pin.
Repeat for all six strips.
Step 2) Arrange the strips.
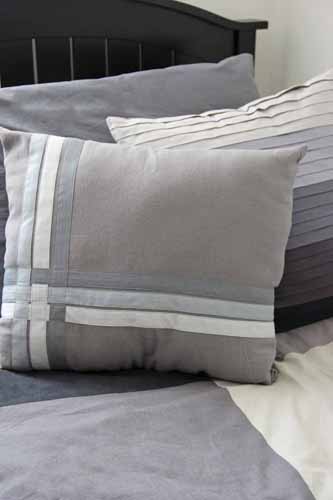
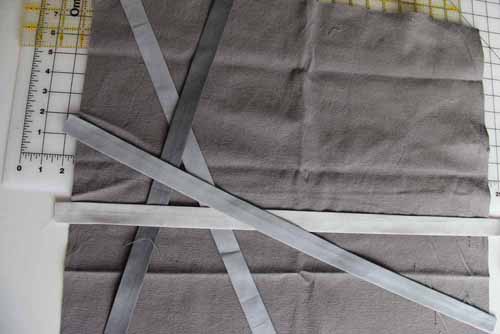
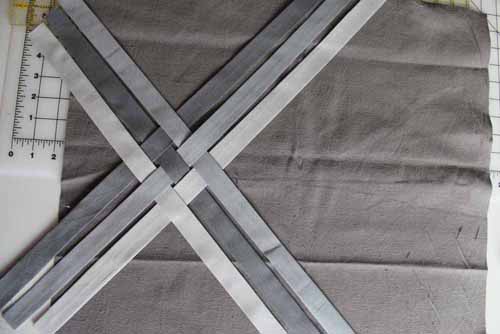
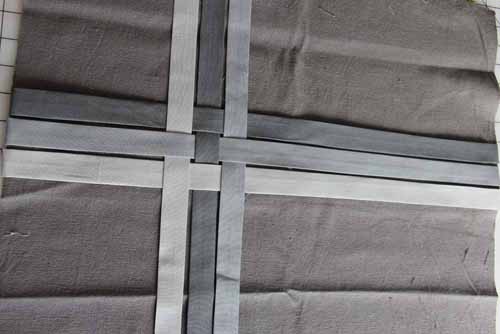
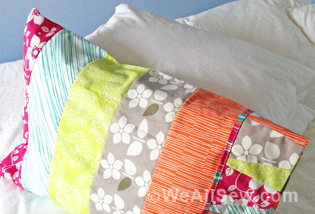
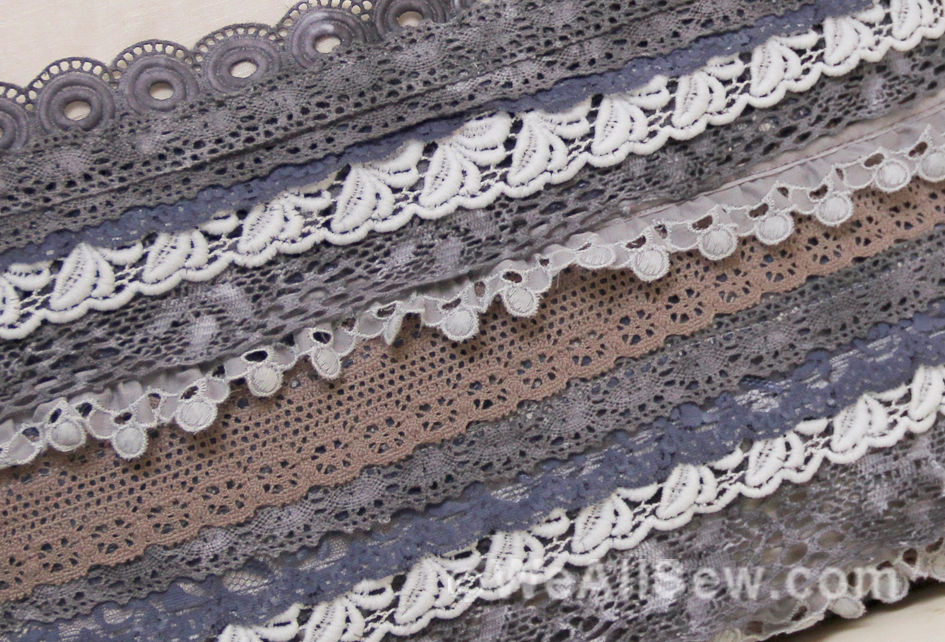
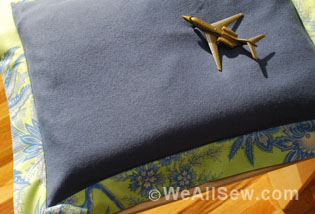
Now you get to play around to see what design you would like to make with your strips. You can do random, all vertical, all horizontal, or weave them. This last picture I show you a weave of it but I placed it at an angle, for my son’s bed I’m choosing a weave off to the side.
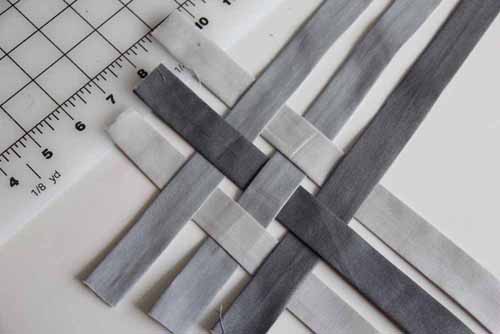
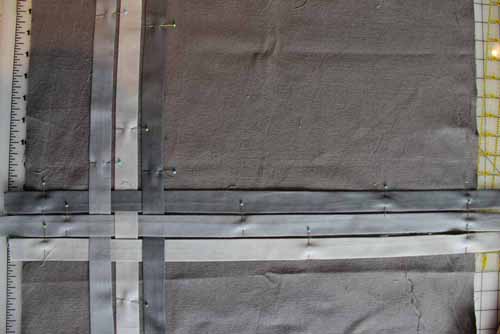
For my son’s bed I’m choosing a weave off to the side.
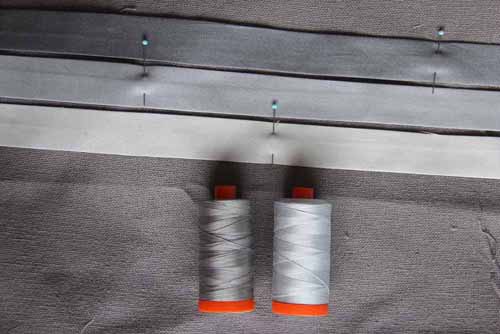
Place some glue on the back of one of your tapes.
Tip: I used a regular Elmer’s Glue Stick, but you can also buy glue sticks that are specifically made for fabric, like the one shown in the photo.
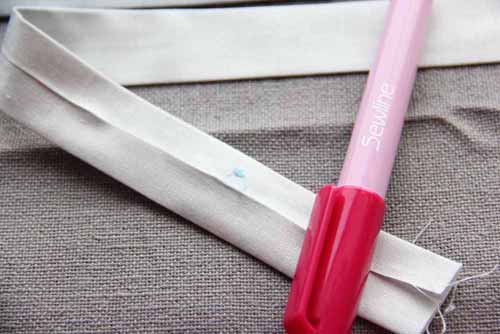
Gently place the strip – glue side down – on one of the pillow rectangles following your planned design. Repeat for each fabric strip until your entire design is laid out.
If you are doing a woven design, do not pat down the tapes until you have all the weaving done. Then pat them down to secure the them to the pillow fabric.
Tip: I wanted to make sure my tapes wouldn’t move, so I pinned them in addition to gluing them down.
Step 3) Sew the strips to the pillow top.
To topstitch my tapes I decided to match the medium fabric so it would tie in all three fabric shades.
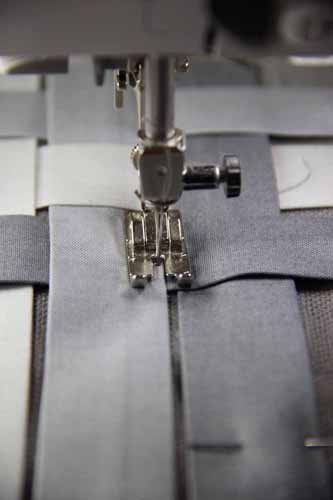
Attach the quarter-inch foot to your machine. Start topstitching by placing the edge of your tape right next to the most inside “notch” of the presser foot. Using this as your guide will give you a nice close-to-the-edge stitch. Stitch all of your tapes in place this way.
Some of your tapes will be cross over others; this is okay. If you don’t want to stitch over the join, backstitch right before the tapes overlap.
Step 4) Assemble the pillow.
Place the embellished pillow front right sides together with the second fabric rectangle. Using 1/4″-wide seam allowances, sew around all four sides, leaving an opening in the middle of one side for turning.
Turn the pillow cover right side out. Stuff with fiberfill. Stitch the opening closed by hand.
What you might also like
3 comments on “How to Make a Bias Tape Throw Pillow”
-
-
Pingback: WeAllSew « https://weallsew.com
-
Hi there,
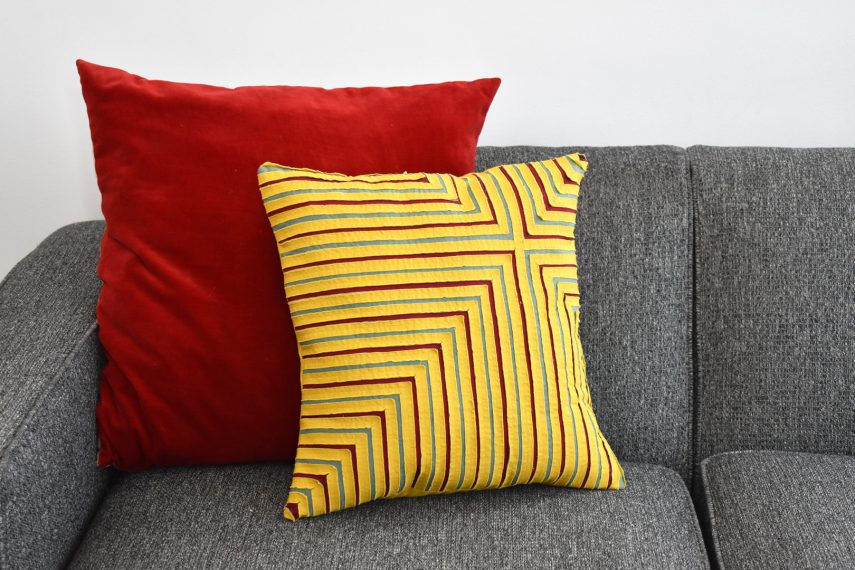
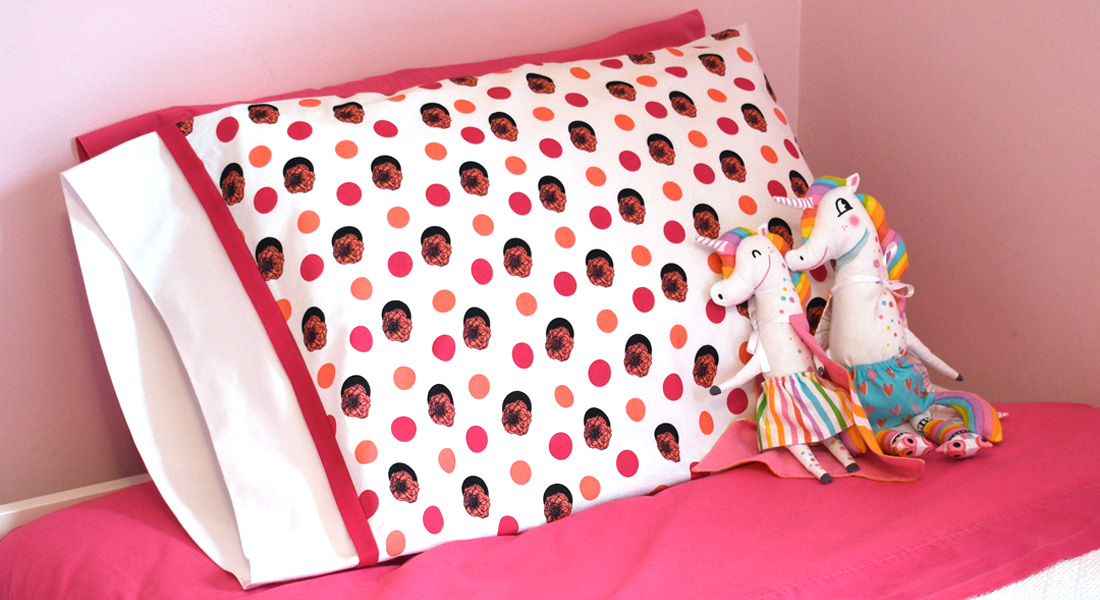
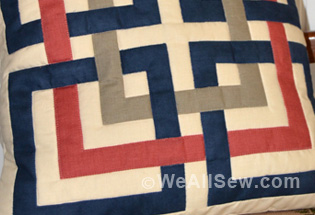
Thank you for the wonderful tutorial. I was wondering, is there is a pattern for the pillow in the background. It almost looks like an ombre bias tape design!
Thank you for providing this tut!
Amanda
Leave a Reply
You must be logged in to post a comment.


![Is that big, bold scrap of fabric staring at you? This quilt square is designed to let a large print fabric shine. This simple block is quick to make and easily stitched into a pillow. With a bit more fabric you can turn it into a placemat or table runner. The perfect project for turning fabric scraps into something bold and beautiful. Geometric Quilt Block Pillow Supplies Large scraps or fat quarters of 100% cotton quilter's fabrics: One large print One light solid or small print One medium solid or small print One dark solid or small print 1/2 yard of white cotton fabric for the pillow lining 1/2 yard of fabric for the pillow back Coordinating thread 14" square pillow form Universal or Sharp needle, size 75/11 1/4" foot (BERNINA Patchwork Foot with Guide #57) Straight stitch foot (BERNINA Straight Stitch Foot #13) Zigzag foot (BERNINA Reverse Pattern Foot #1) or overlock foot (BERNINA Overlock Foot #2) Rotary cutter and self-healing cutting mat Clear acrylic gridded ruler Download and print the Geometric Quilt Block Pillow Cutting and Piecing Diagrams: [download id="90"] Step 1) Cut the fabric pieces. Accurate cutting helps avoid crooked, puffy, or uneven seams in your quilt block. Use a self-healing mat, a clear acrylic gridded ruler, and a rotary cutter to cut the pieces for your quilt block. Rotary cutters Rotary Cutting Tips Self-healing mats come in different sizes. 24" x 36" is a good size to have, but if you don't have a dedicated sewing space or don't plan to use it often, try an 18" x 24" mat instead. Acrylic rulers also come in many shapes and sizes. A standard 6" x 24" ruler is a good start, and I've also found a 12-1/2" x 12-1/2" square ruler to come in very handy. Rotary cutters are measured by the size of the circular blade in millimeters. A 45 mm rotary cutter is perfect for making the kind of straight cuts needed for this project. Use the grid on your cutting mat to help square up fabric pieces when needed, but when measuring to cut the pieces be sure to use the gridlines on the acrylic ruler. Hold the ruler firmly on top of the fabric, and use a steady, firm, pressing motion when cutting with the rotary cutter. Cut one of each pattern piece from the corresponding fabrics (also see downloaded Cutting Diagram): Piece #1 - Light solid or small print, 4" x 3" Piece #2 - Dark solid or small print, 4" x 5" Piece #3 - Light solid or small print, 4" x 2-1/2" Piece #4 - Large print, 9-1/2" x 9-1/2" Piece #5 - Light solid or small print, 2-1/2" x 9-1/2" Piece #6 - Dark solid or small print, 14-1/2" x 2-1/2" Piece #7 - Medium solid or small print, 14-1/2" x 3-1/2" Step 2) Piece the block. Set your sewing machine for a straight stitch about 2.5 mm long. Attach a quarter-inch foot, such as BERNINA Patchwork Foot with Guide #57, to your sewing machine. The blocks will be sewn together using a 1/4"-wide seam allowance. Stitching an accurate 1/4"-wide seam will help your block come together with nice, straight seams and avoid pieces not fitting together as you sew on. Geometric Quilt Block Pillow Patchwork Piecing Tips Us a quarter-inch foot to help you keep the correct seam allowance width. The BERNINA Patchwork Foot #37 is designed specifically so that following the edge of the foot will create a 1/4"-wide seam allowance. BERNINA Patchwork Foot with Guide #57 is similar to foot #37, but adds a metal guide at the side of the foot to help you like up your fabric piece exactly at the edge of the foot. Attach a seam guide to the bed of your sewing machine along the 1/4" seam allowance mark on your stitch plate, then place the edges of your fabric pieces against the guide as you sew. Alternatively, place a piece of blue low-tack painter's tape along the 1/4" seam allowance mark on your stitch plate as a guide for your fabric. Piecing Diagram Geometric Quilt Block Pillow Start by stitching Piece #1 to Piece #2 along one 4" edge. Press the seam allowances to one side. Next, sew Piece #3 to Piece #2 along one 4" edge as shown in the diagram; press after stitching. Geometric Quilt Block Pillow Continue adding pieces to the block as shown in the diagram, pressing each seam as you go. Tip: When pressing seams, be sure to press DOWN with the iron as opposed to "ironing," or pushing the iron back and forth over the seam. Ironing (back and forth motion) can cause straight seams to go crooked. Pressing straight up and down with the iron will help your seams stay nice and straight. Press all seams again from the back of the block when finished. Geometric Quilt Block Pillow The finished block should measure 14-1/2" x 14-1/2". Geometric Quilt Block Pillow Step 3) Construct the pillow cover. Cut one 14-1/2" x 14-1/2" square of fabric for the pillow lining. Cut two 11" x 14-1/2" rectangles of fabric for the pillow back. Create a 2" hem along one edge of each 11" x 14-1/2" pillow pocket piece: Turn under 1" along one long edge; press. Turn under an additional 1"; press. Geometric Quilt Block Pillow Topstitch close to the inner edge of the folded hem with a straight stitch, using either a multi-purpose foot or a straight stitch foot. Geometric Quilt Block Pillow Layer and pin the pieces of the pillow together: Begin with the 14-1/2" square of white cotton for the lining. Add the finished patchwork block, right side up, matching all edges. Add one pocket pillow back, right side down, matching the raw edges. The finished hem will be about 5" from the other end of the pillow. Add the other pocket pillow back, right side down, on the opposite edge. The hemmed edges will overlap. Geometric Quilt Block Pillow Pin around all four edges of the pillow. Set your sewing machine for a straight stitch of 2.5 mm long. Stitch around all four sides of the pillow using a 1/2"-wide seam allowance. Trim all seam allowances to 1/4". Attach an overlock or zigzag stitch foot to your sewing machine. Set your machine for a zigzag or overlock stitch and sew over the raw edges to keep them from unraveling. Geometric Quilt Block Pillow Turn the pillow cover right side out, gently pushing each corner from the inside to turn it. Insert the 14"-square pillow form through the opening in the back of the pillow cover. If needed, use a little fiberfill to help fill out the pillow corners. Geometric Quilt Block Pillow Geometric Quilt Block Pillow](https://weallsew.com/wp-content/uploads/sites/4/2014/01/Geometric-Quilt-Block-Pillow-WeAllSew.jpg)

This is a beautiful project, useful and sophisticated. I will be stitching this project this week!