DIY Dog Bed Cover
Last year I was finally able to cross a big thing that had been on my life list for years and years. I build a backyard studio. Well…technically some guy who worked for the shed company showed up and built it for me BUT I did spiffy up the inside with paint, curtains and a pegboard for all my crafty tools. After 15 years of turning whatever free space (ie: dining room table, breakfast nook or guest room) into my crafty business office I finally had a space all to myself where instead of having to clean everything up so we could eat dinner or watch a movie all I had to do was close the door.
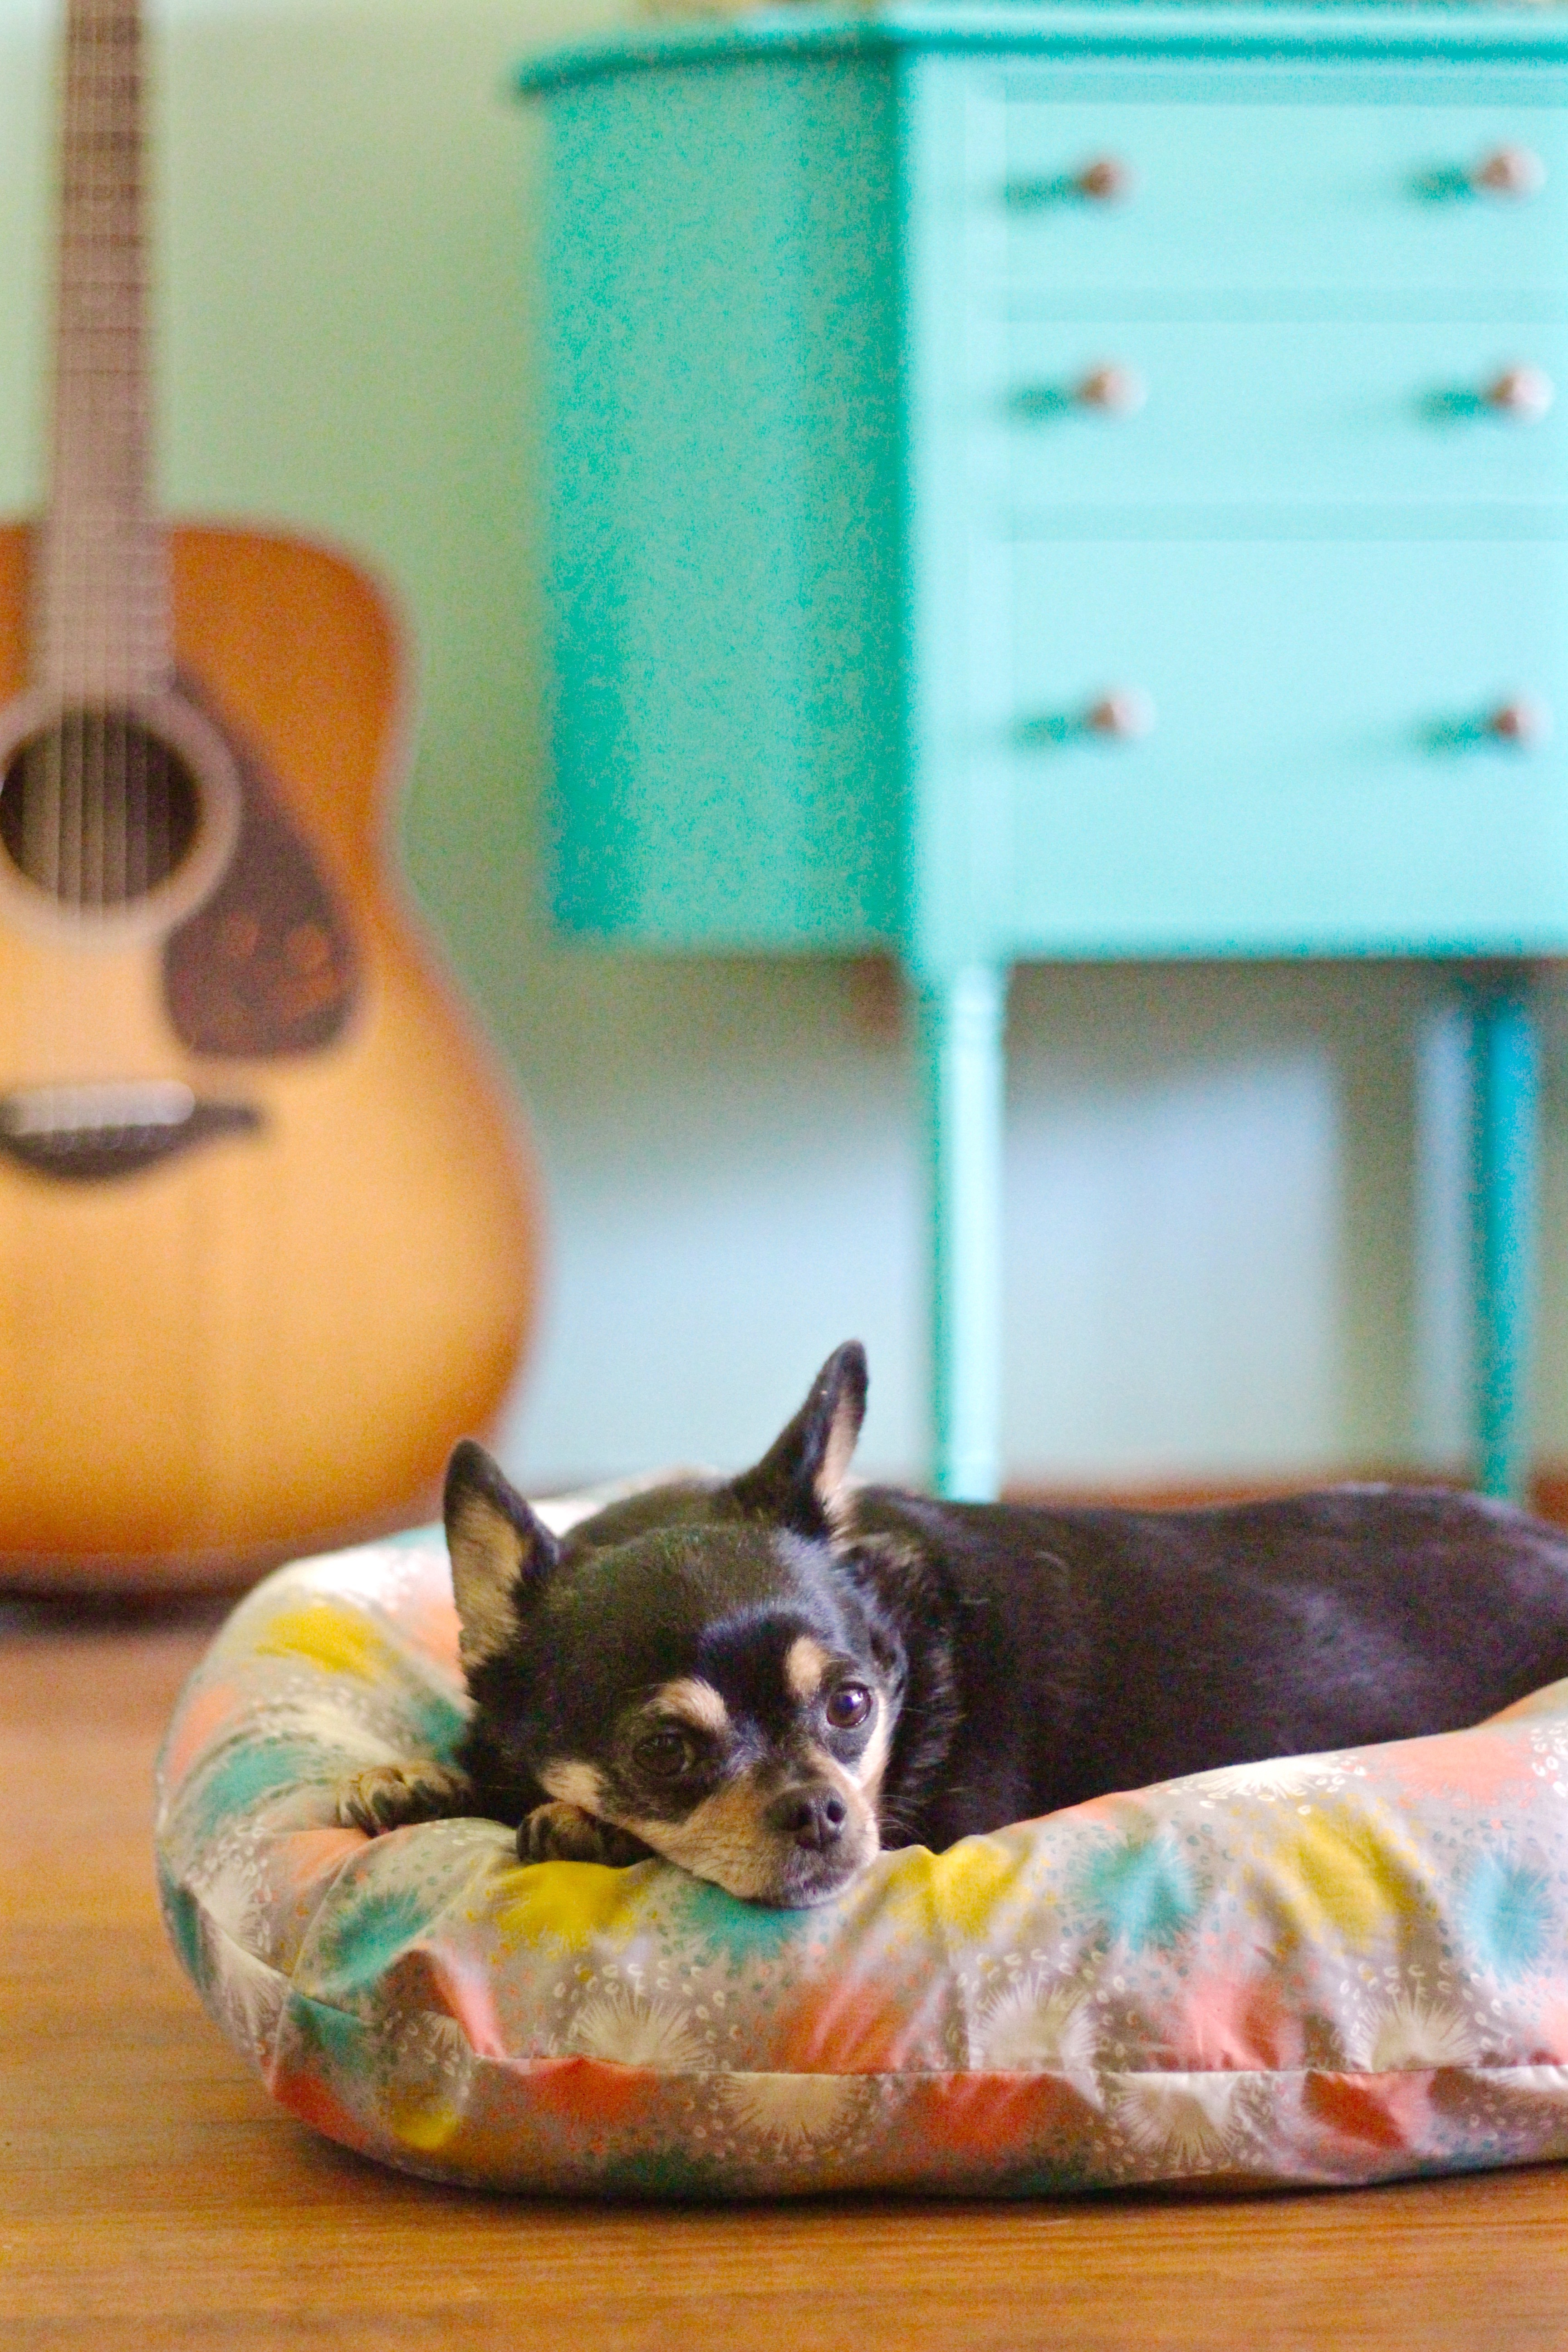
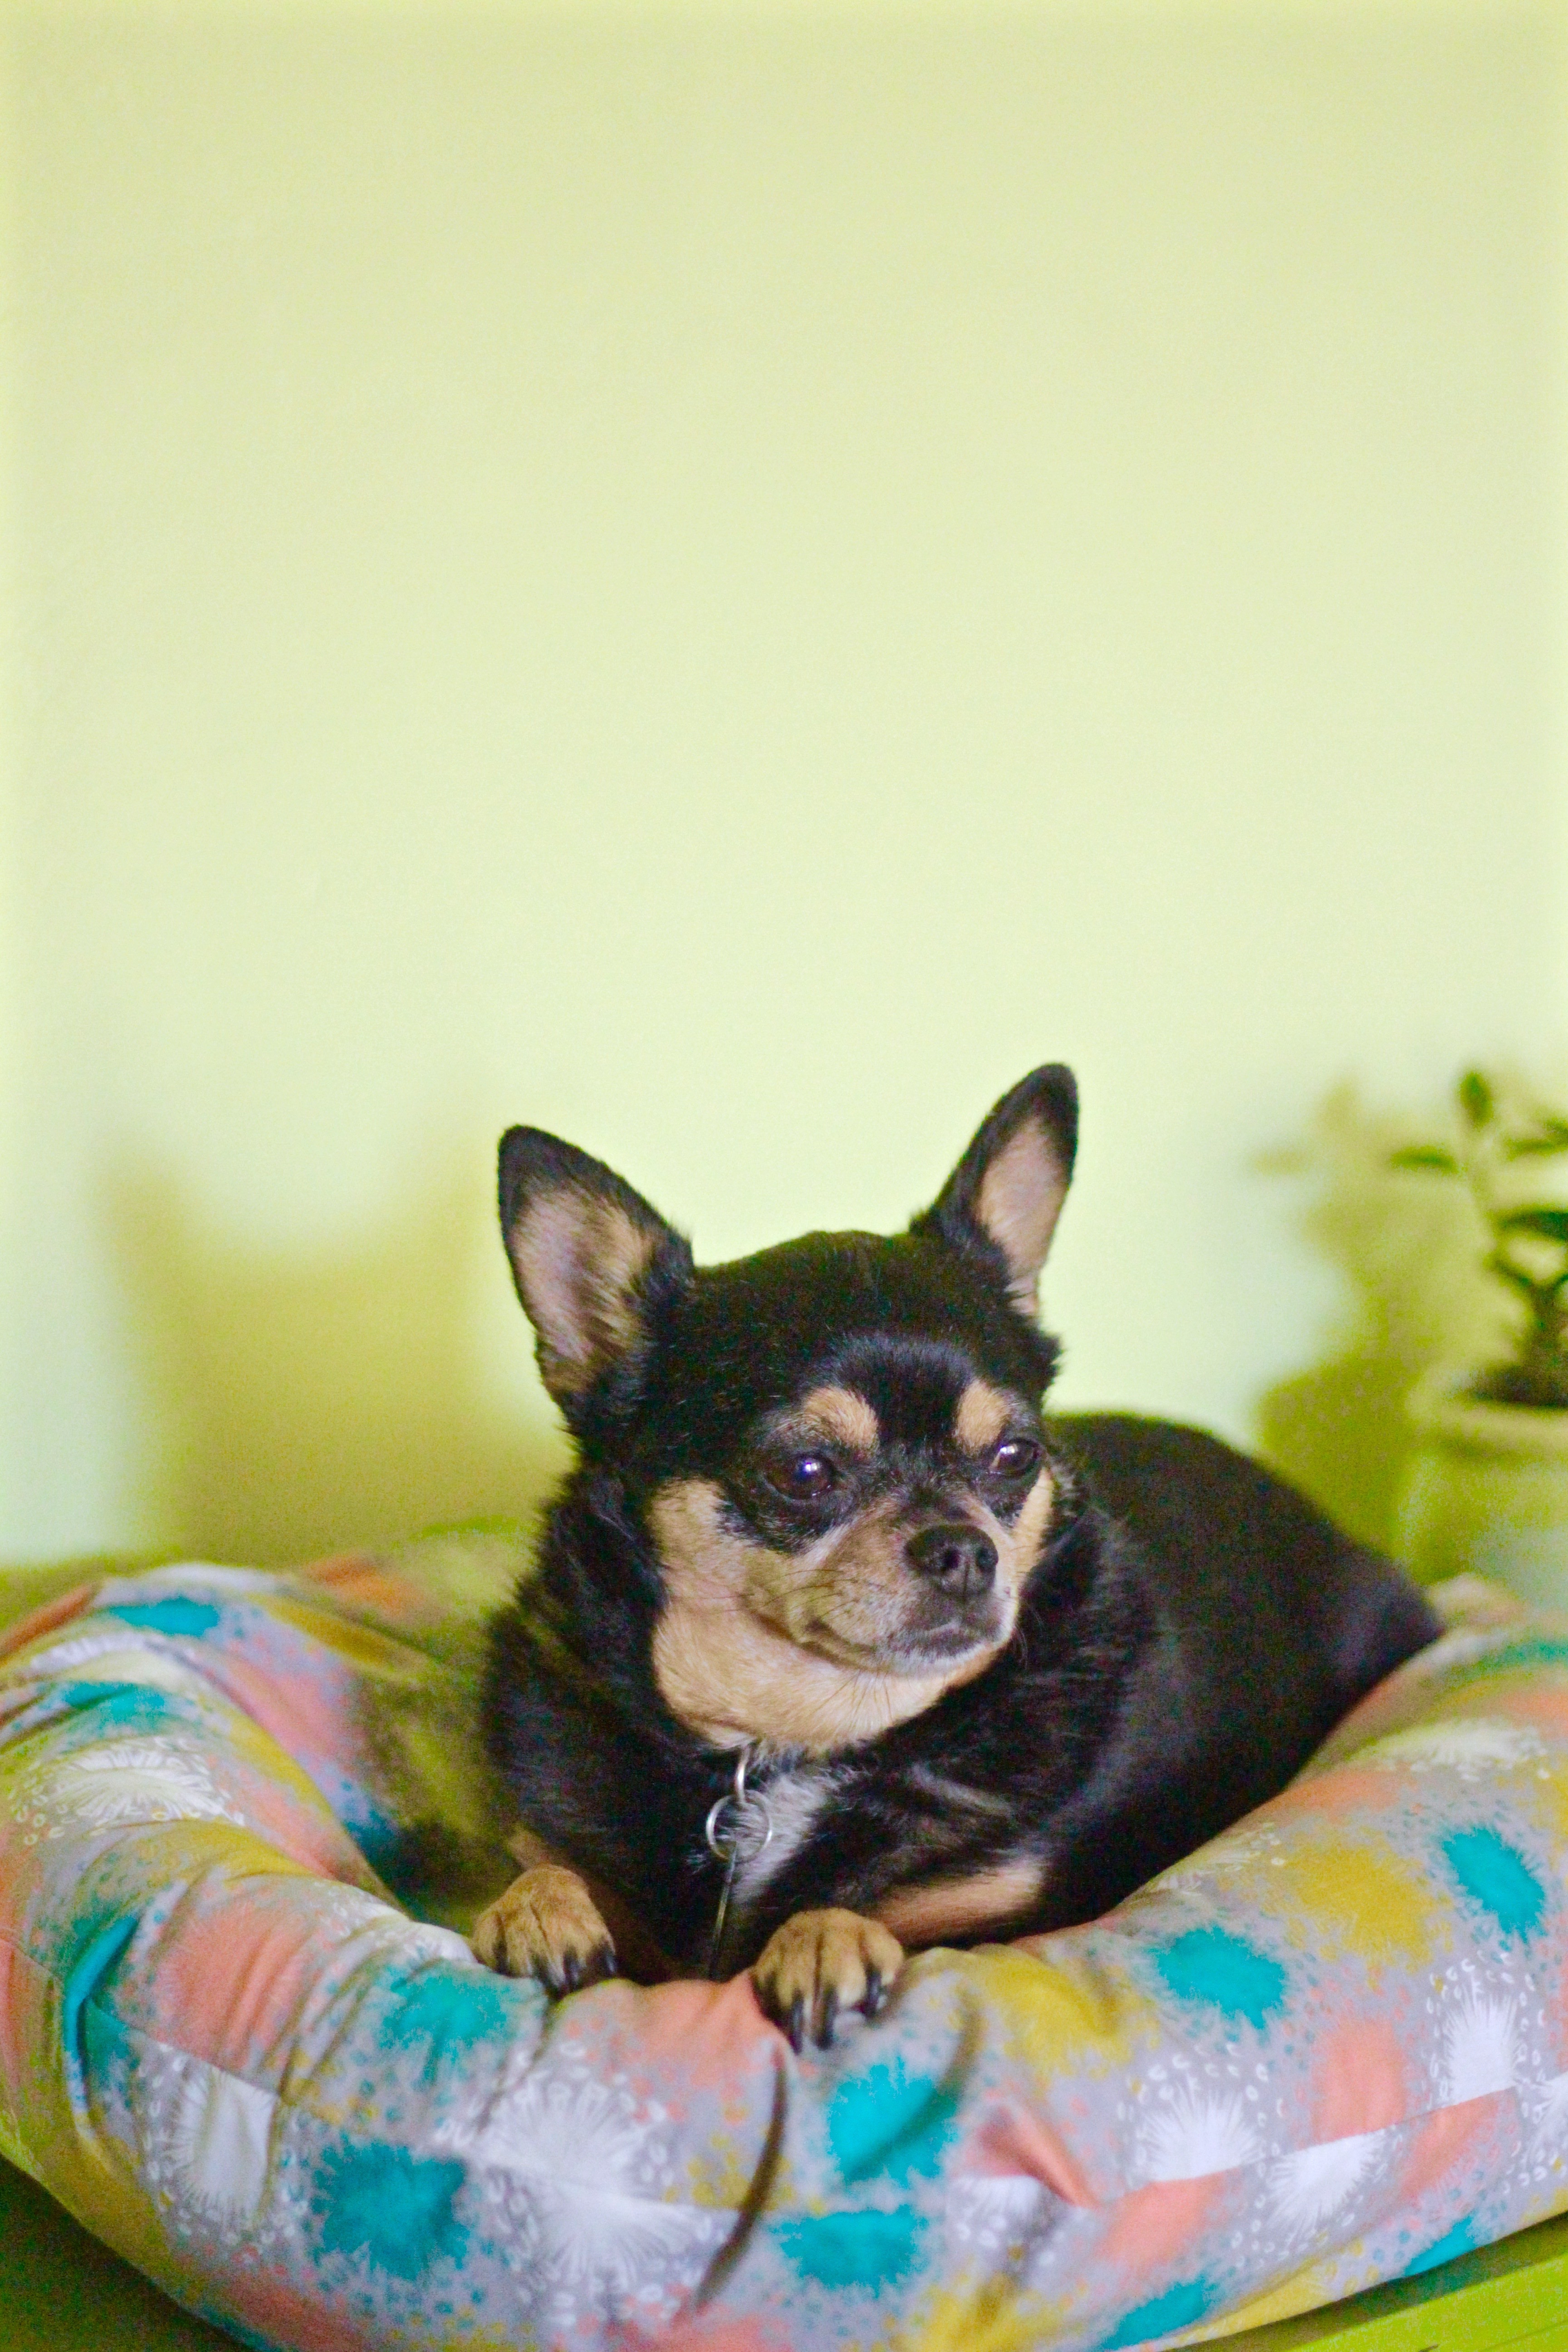
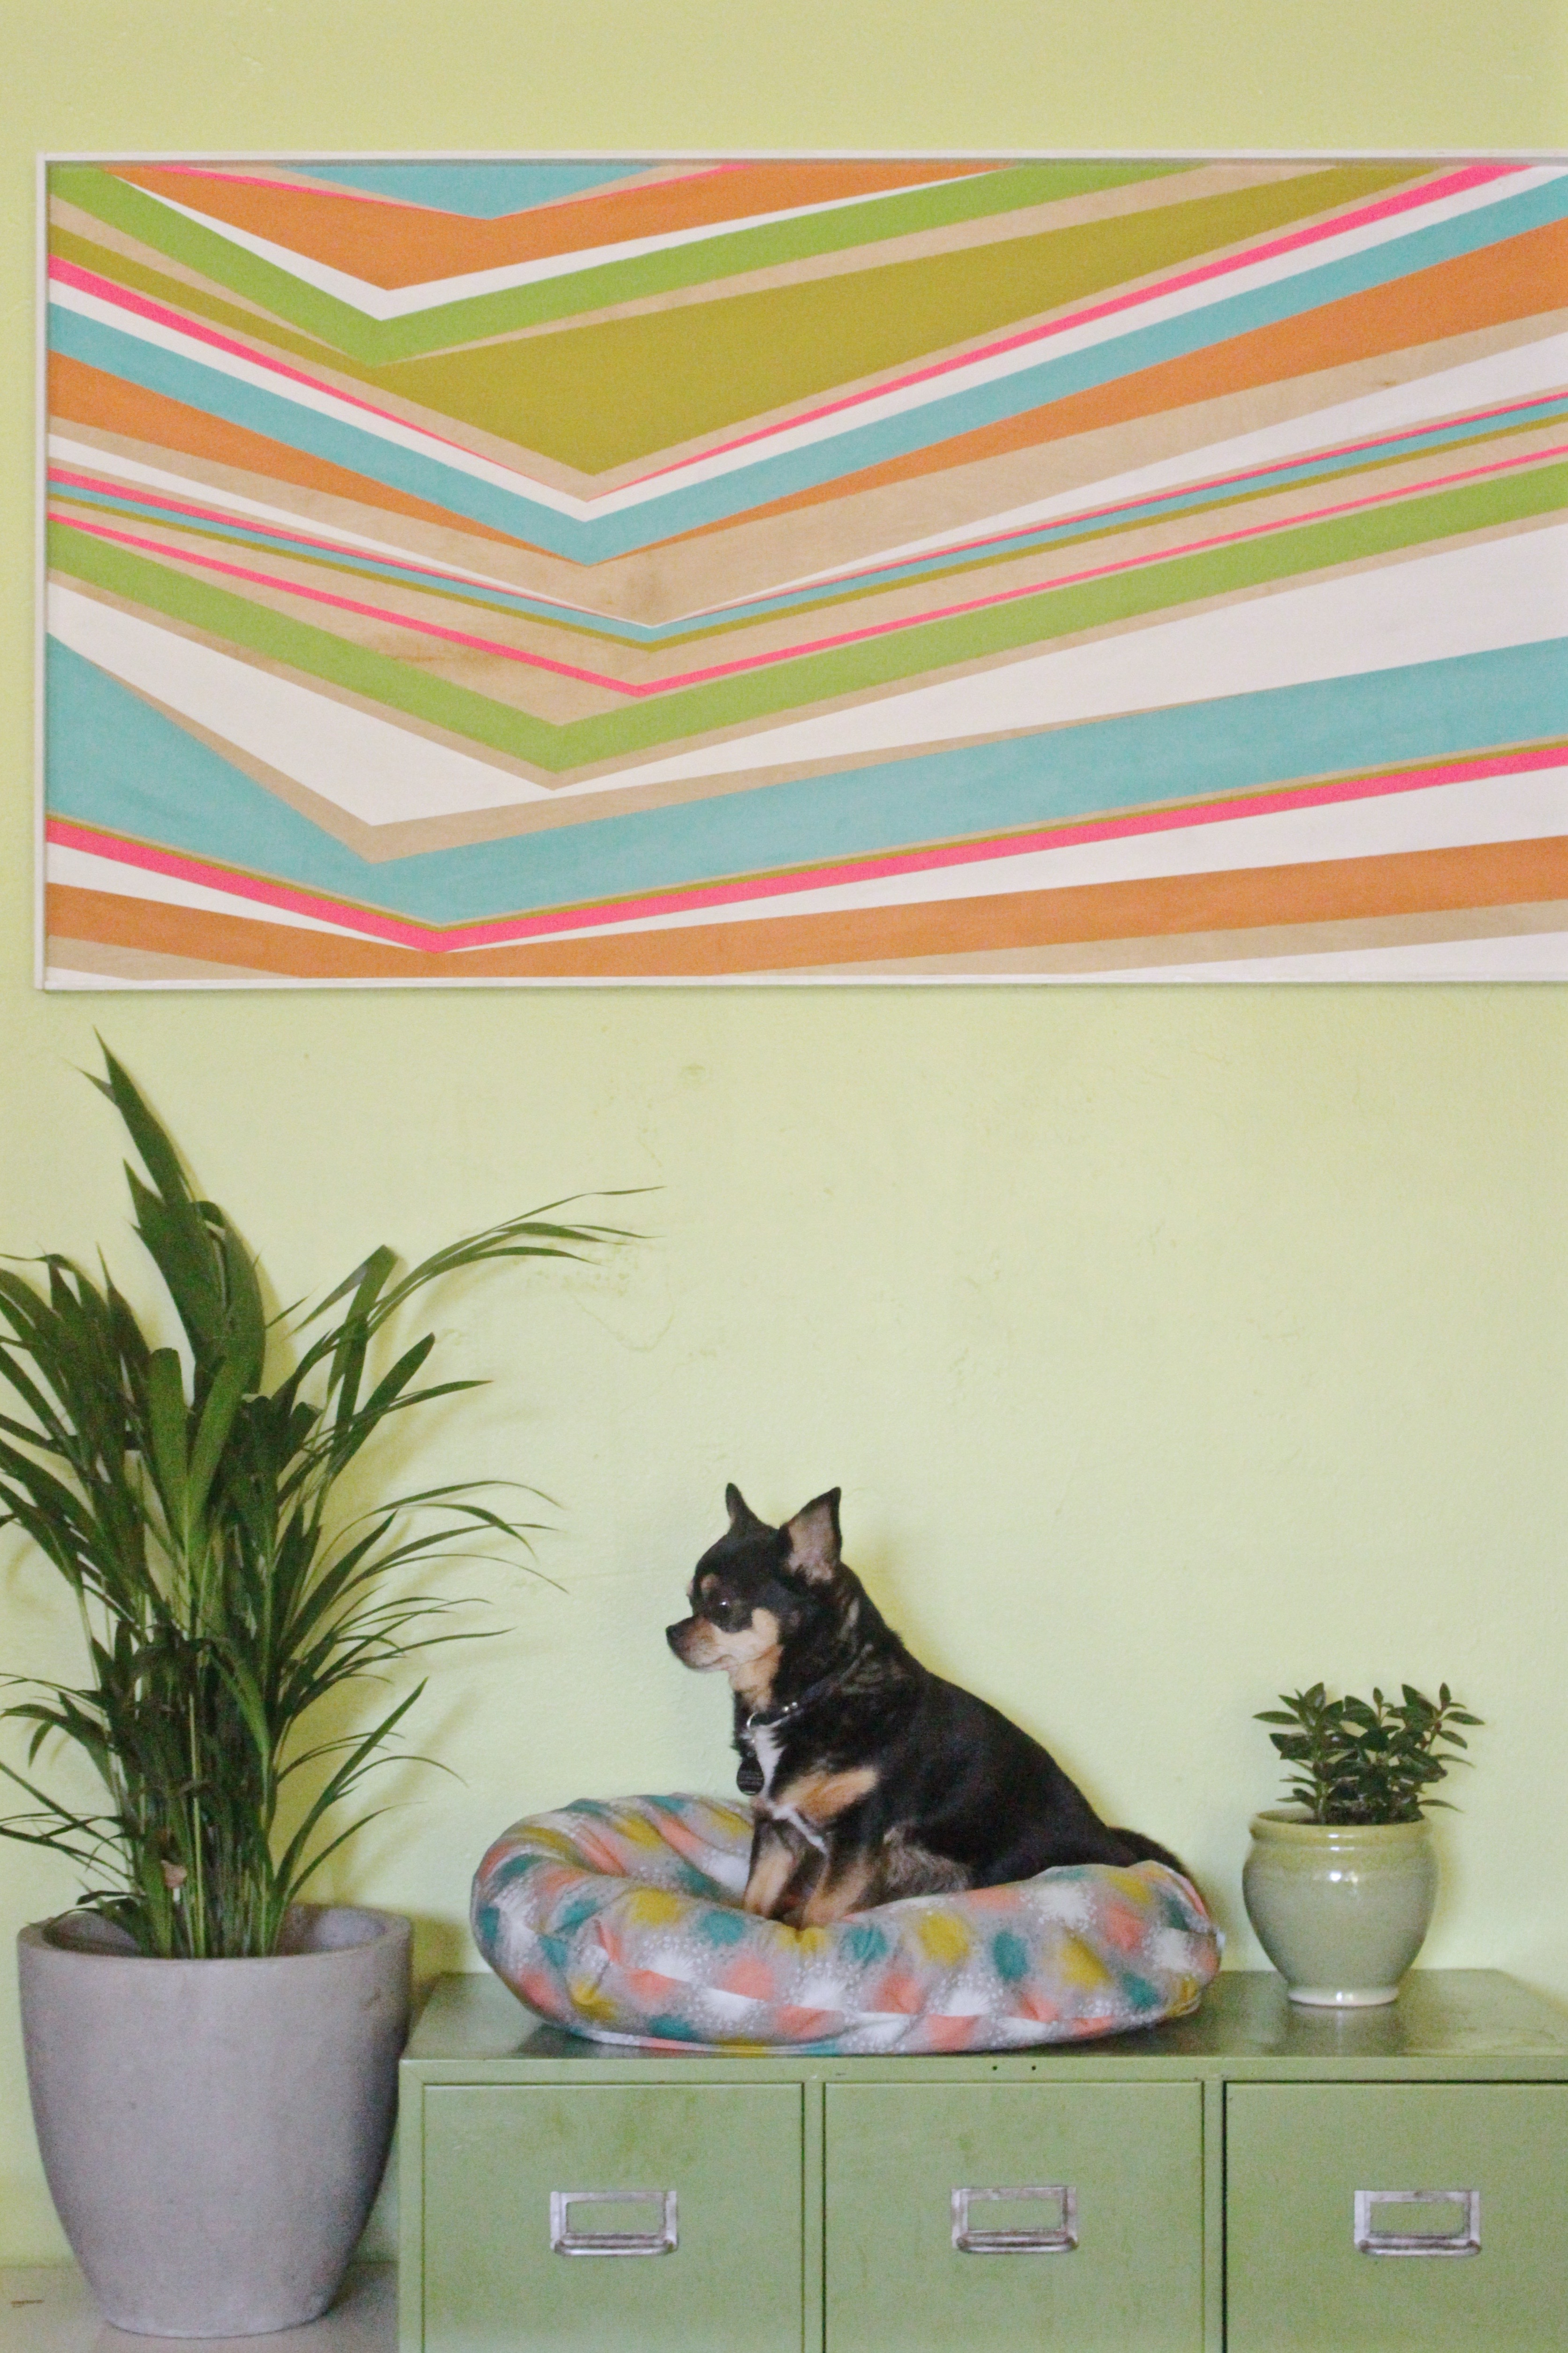
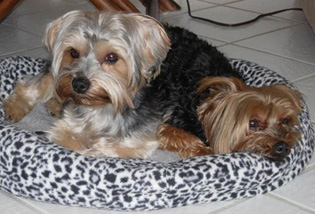
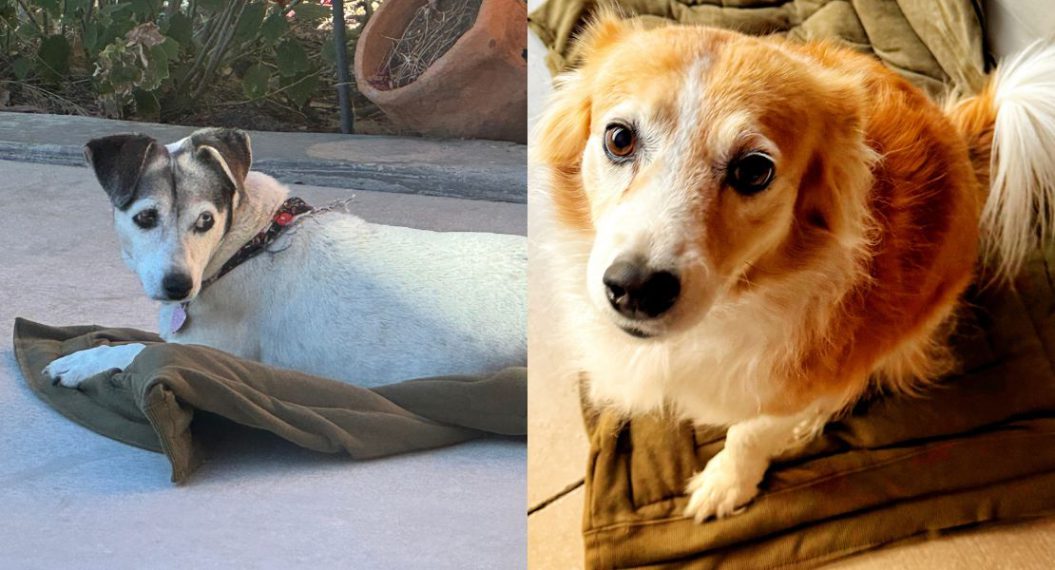
The only thing missing from my dream studio was a place for my dog Nina to hang out. I picked up a dog bed on sale at Target. It definitely did not fit my aesthetic and all the cuteness that I filled my studio with but it was cheap and I planned on making a cover for it. Sadly months and months and months went by and there my adorable dog sat on a not so adorable brown and beige dog bed. Last week I finally made time to repurpose some fabric we used in the decor at the last Craftcation Conference and created a dog bed cover. In less than an hour my dog had a cute place to hang out and keep me company in my studio. The best thing about this (other than how easy and quick it was to make) is that the cover is removable so I can wash it + Nina really seems to like it!
DIY Dog Bed Cover by Nicole Stevenson of Dear Handmade Life
Materials to make a DIY dog bed cover:
- One piece of washable fabric (See the instructions below since the size will depend on the size of the dog bed you’re creating a cover for.)
- Double fold bias tape in coordinating color to match your fabric (24″ length and ½” inch width)
- Thread
- Iron and ironing board
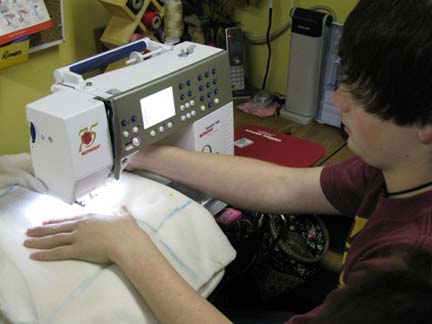
- Sewing machine (I used my Bernina B 380 machine)
- Scissors
Instructions to make a DIY dog bed cover:
Step 1:
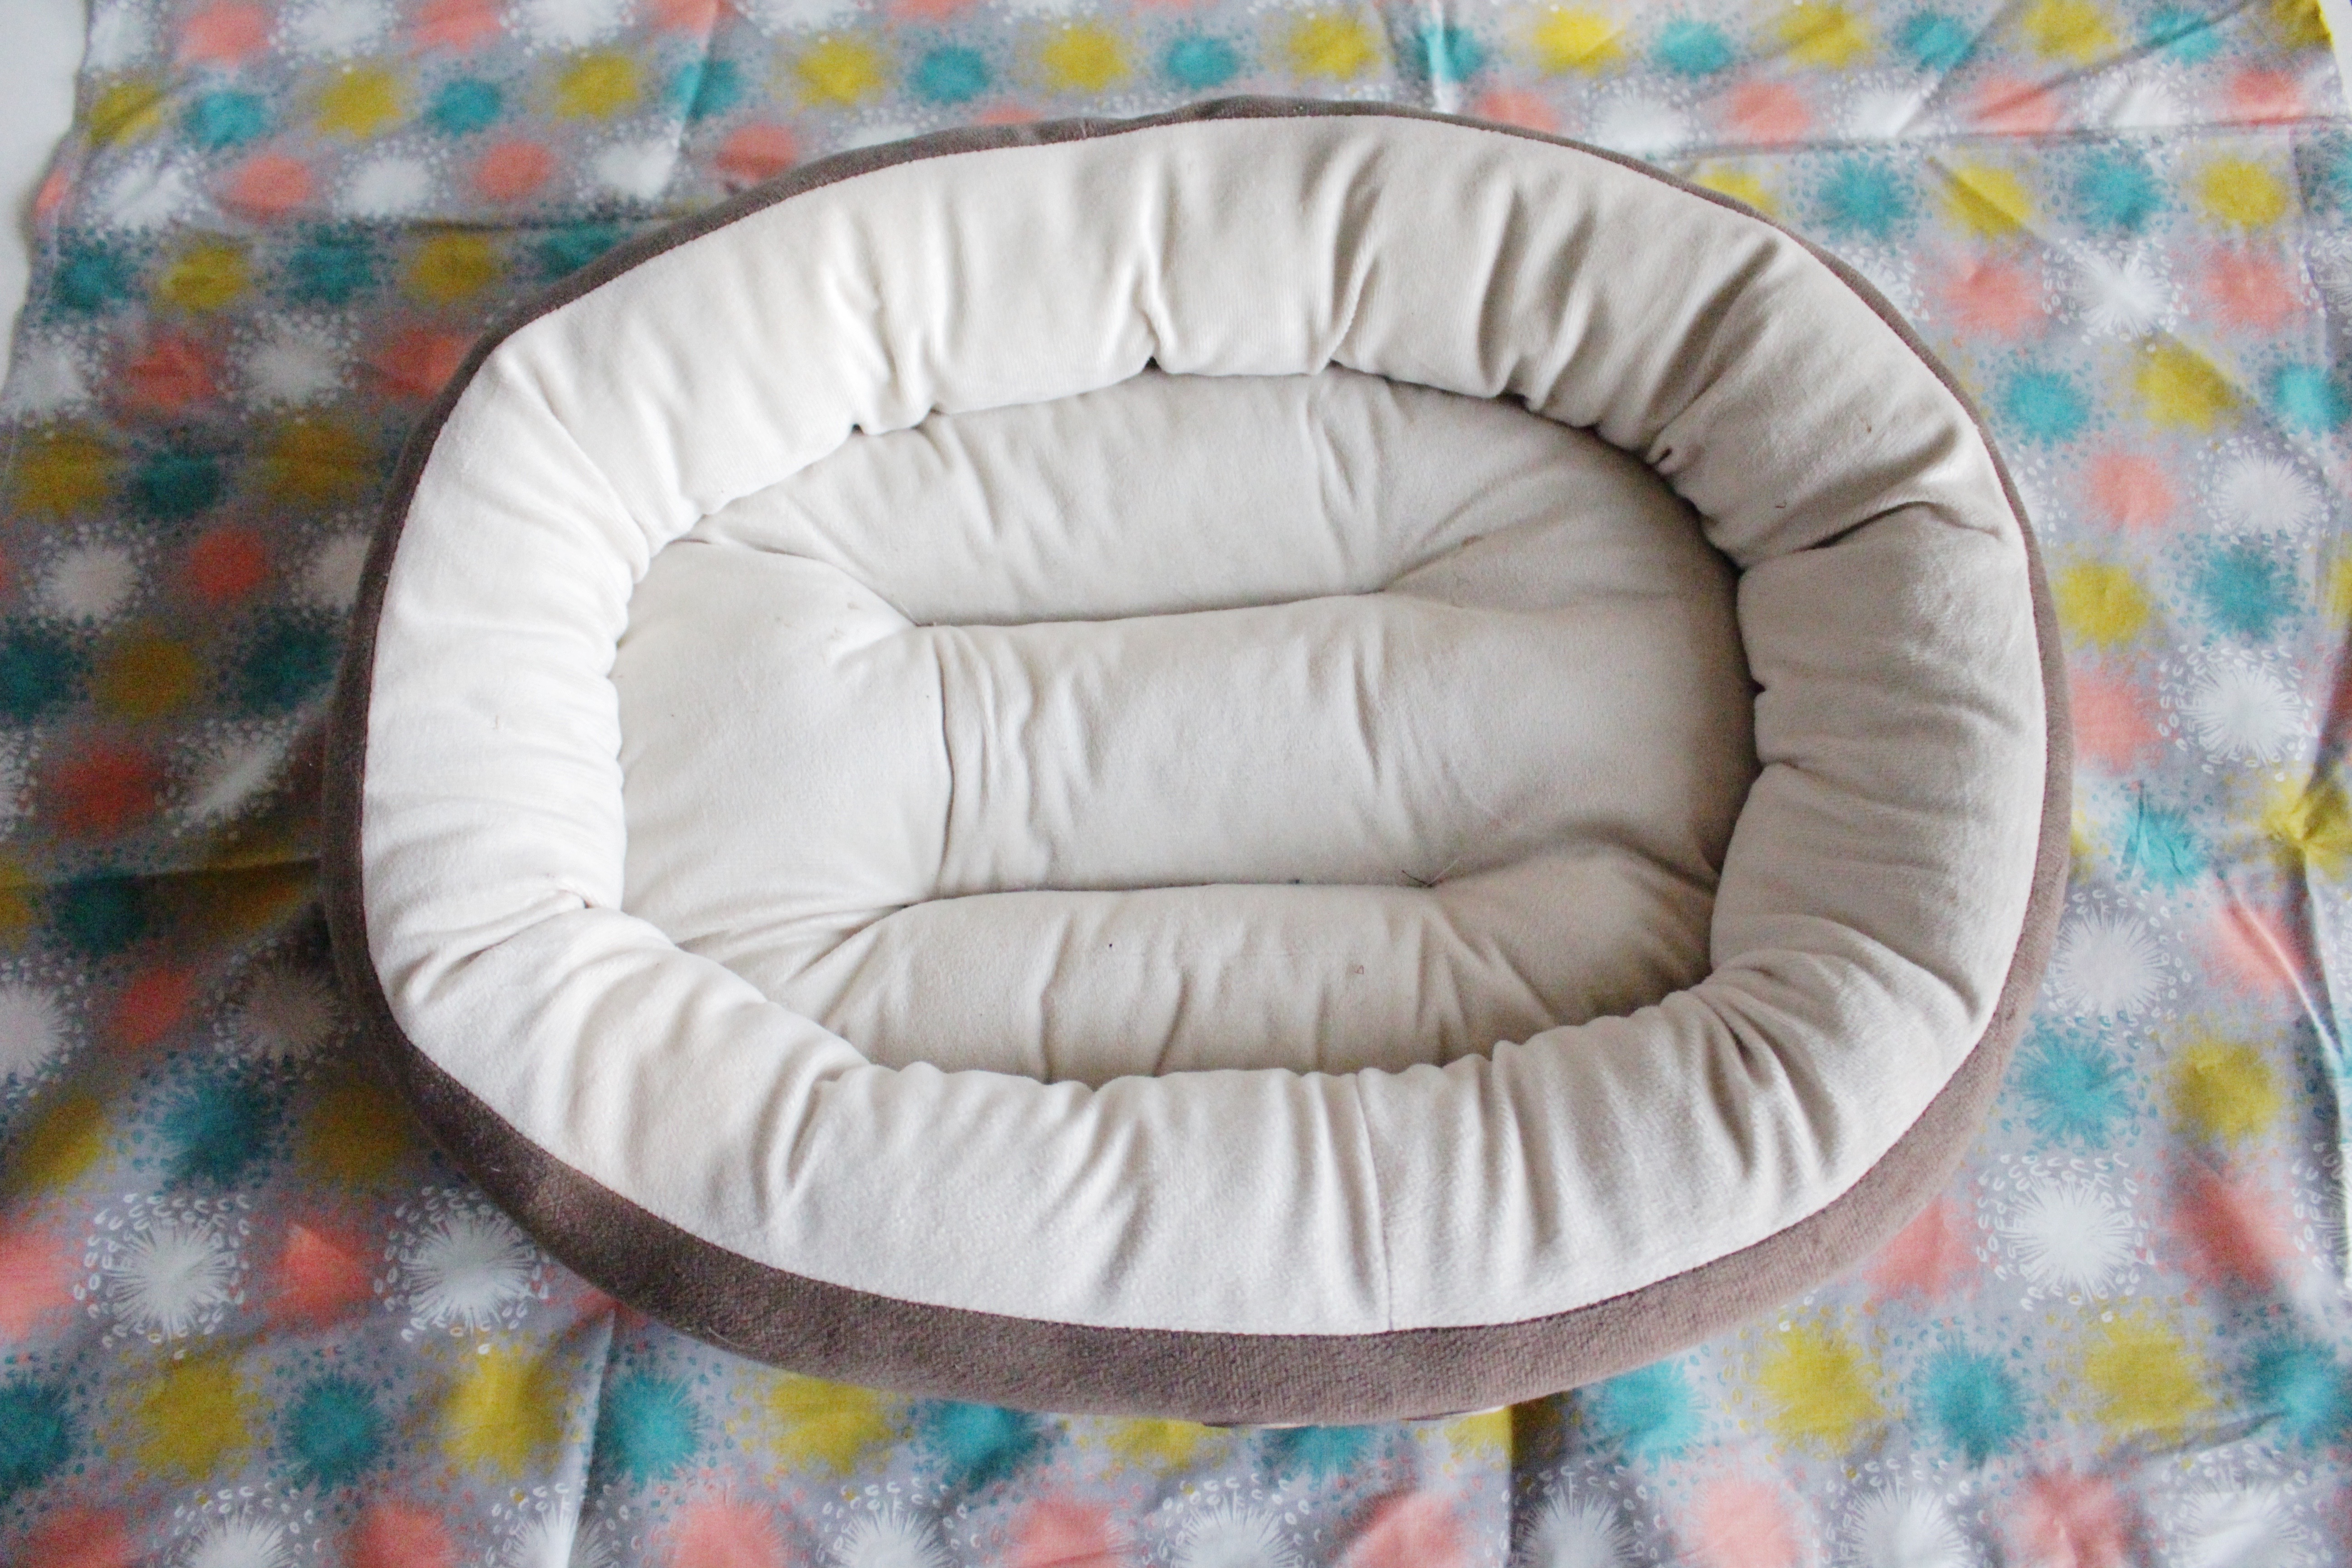
To determine how big the fabric for your cover needs to be to go over the dog bed you’ll need to measure the dog bed. The dog bed I created my cover for is 16″ wide, 21″ long and 4″ tall.
Step 2:
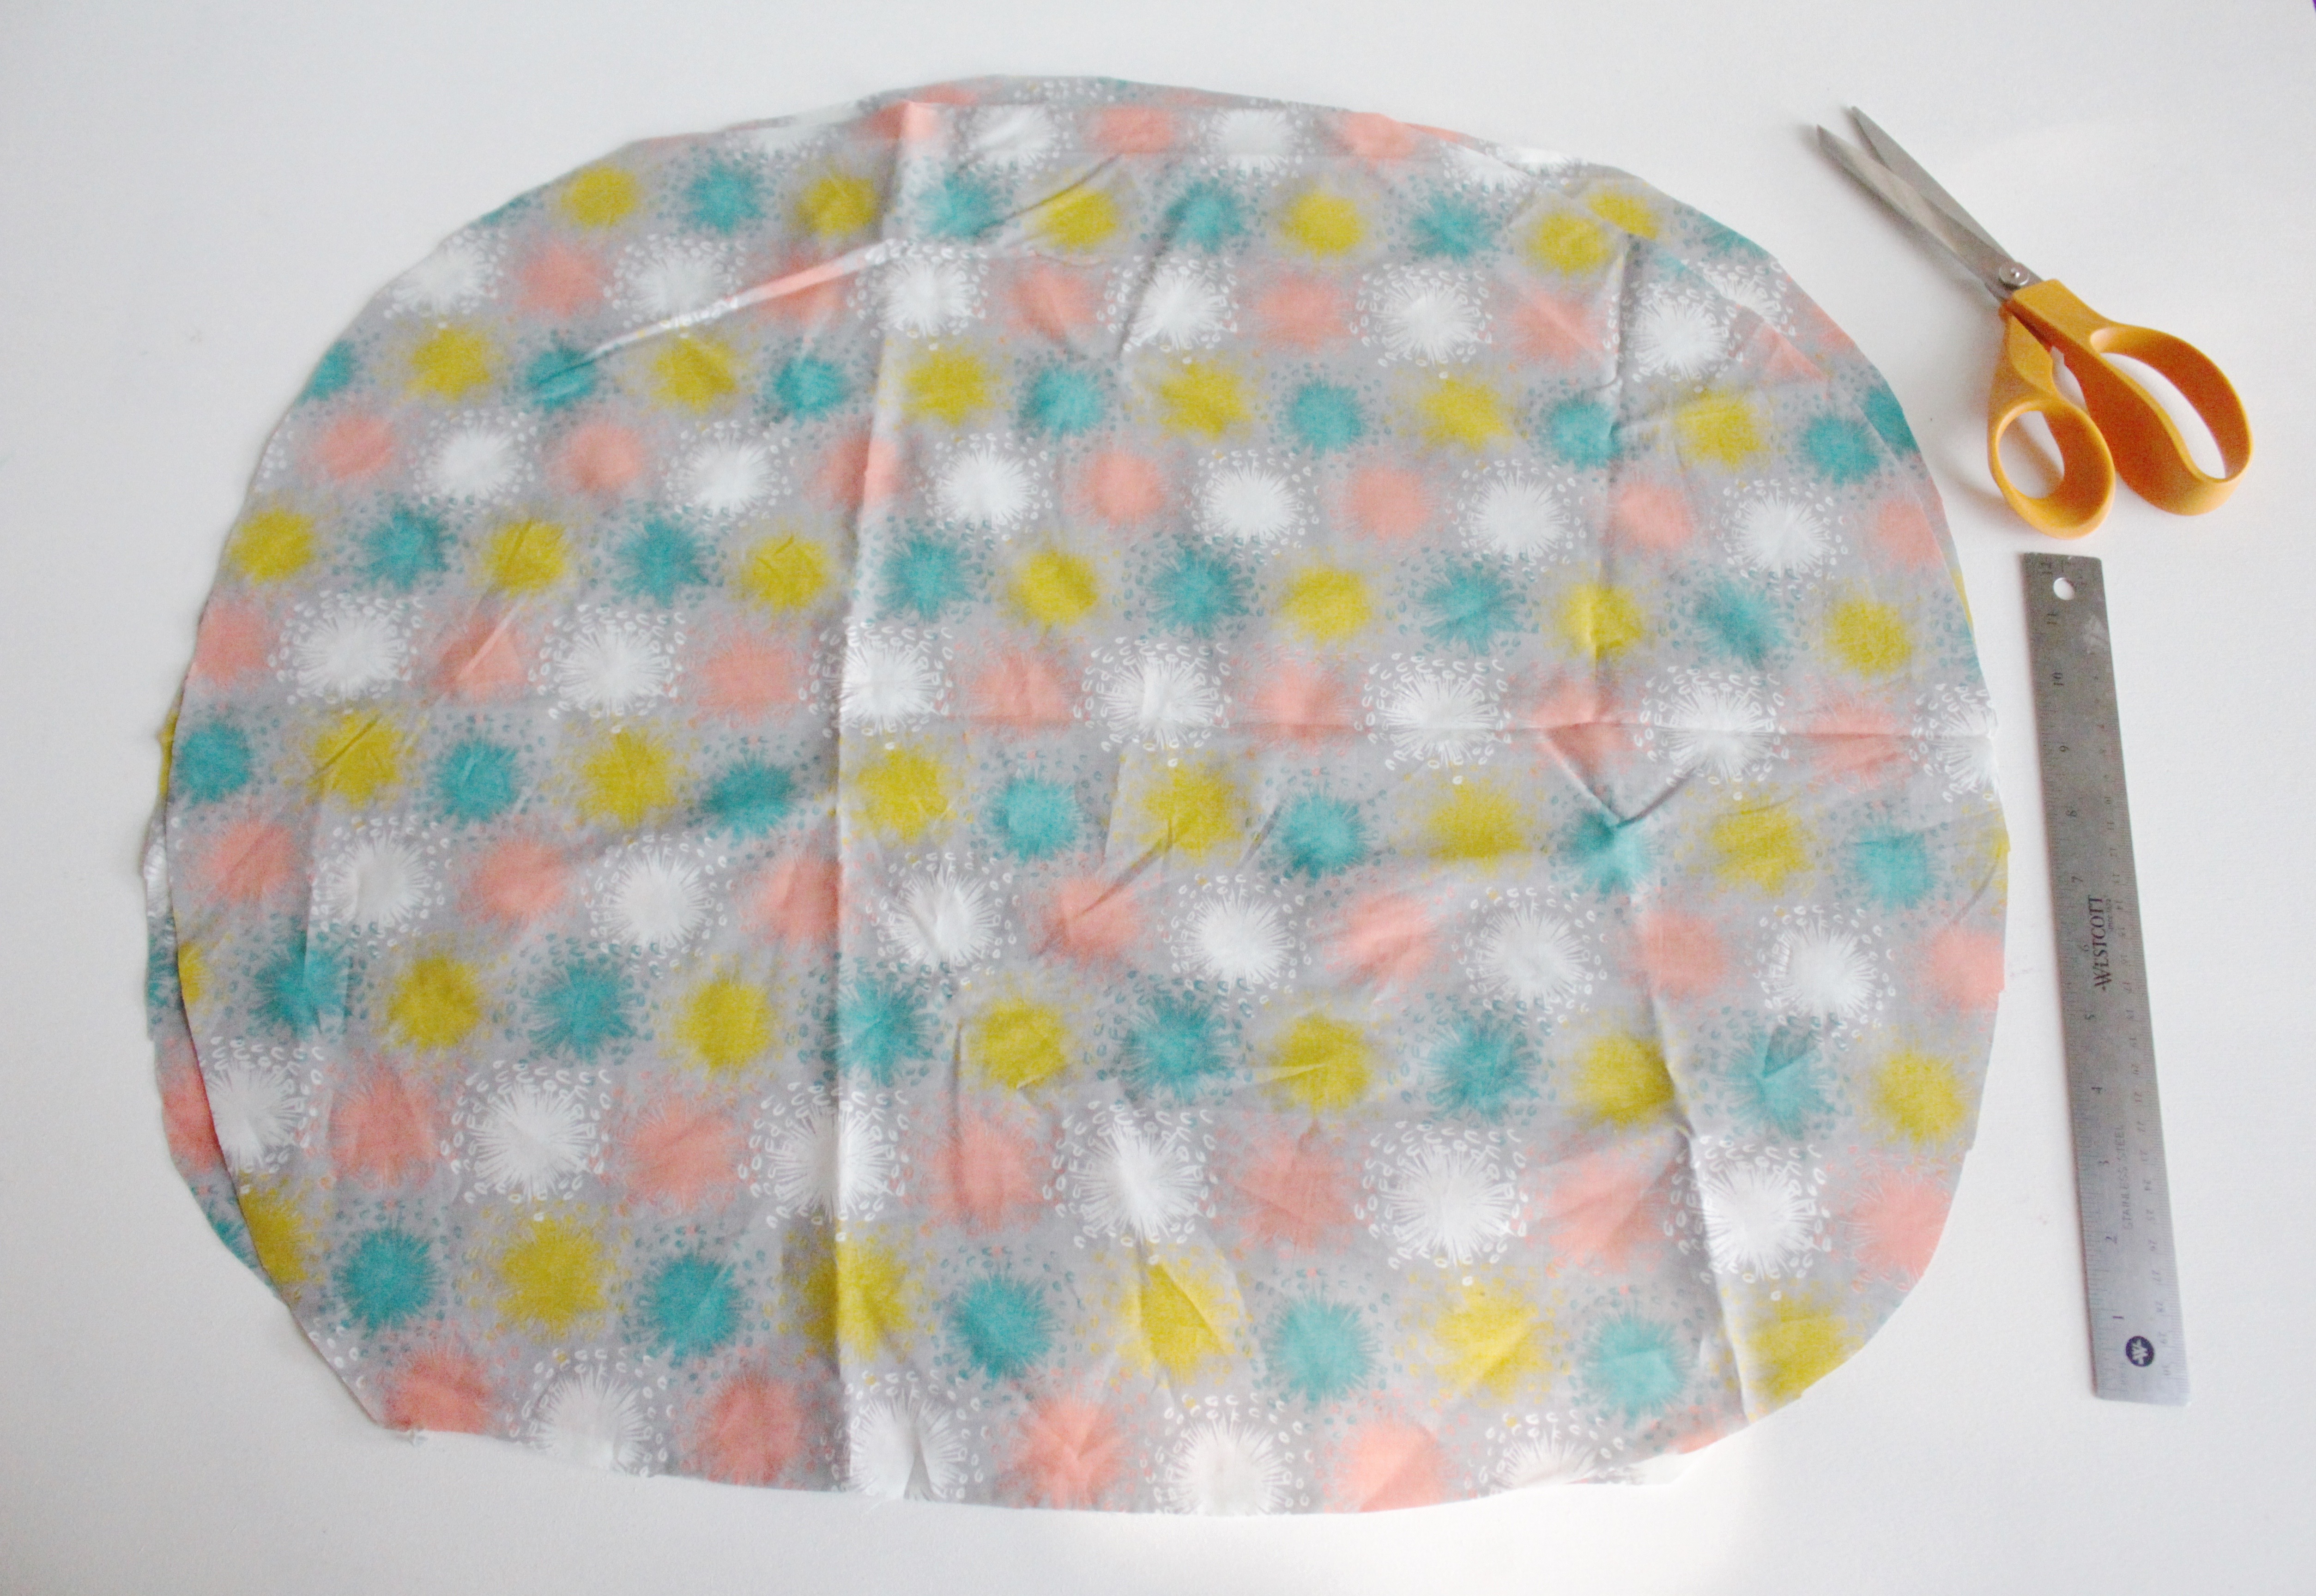
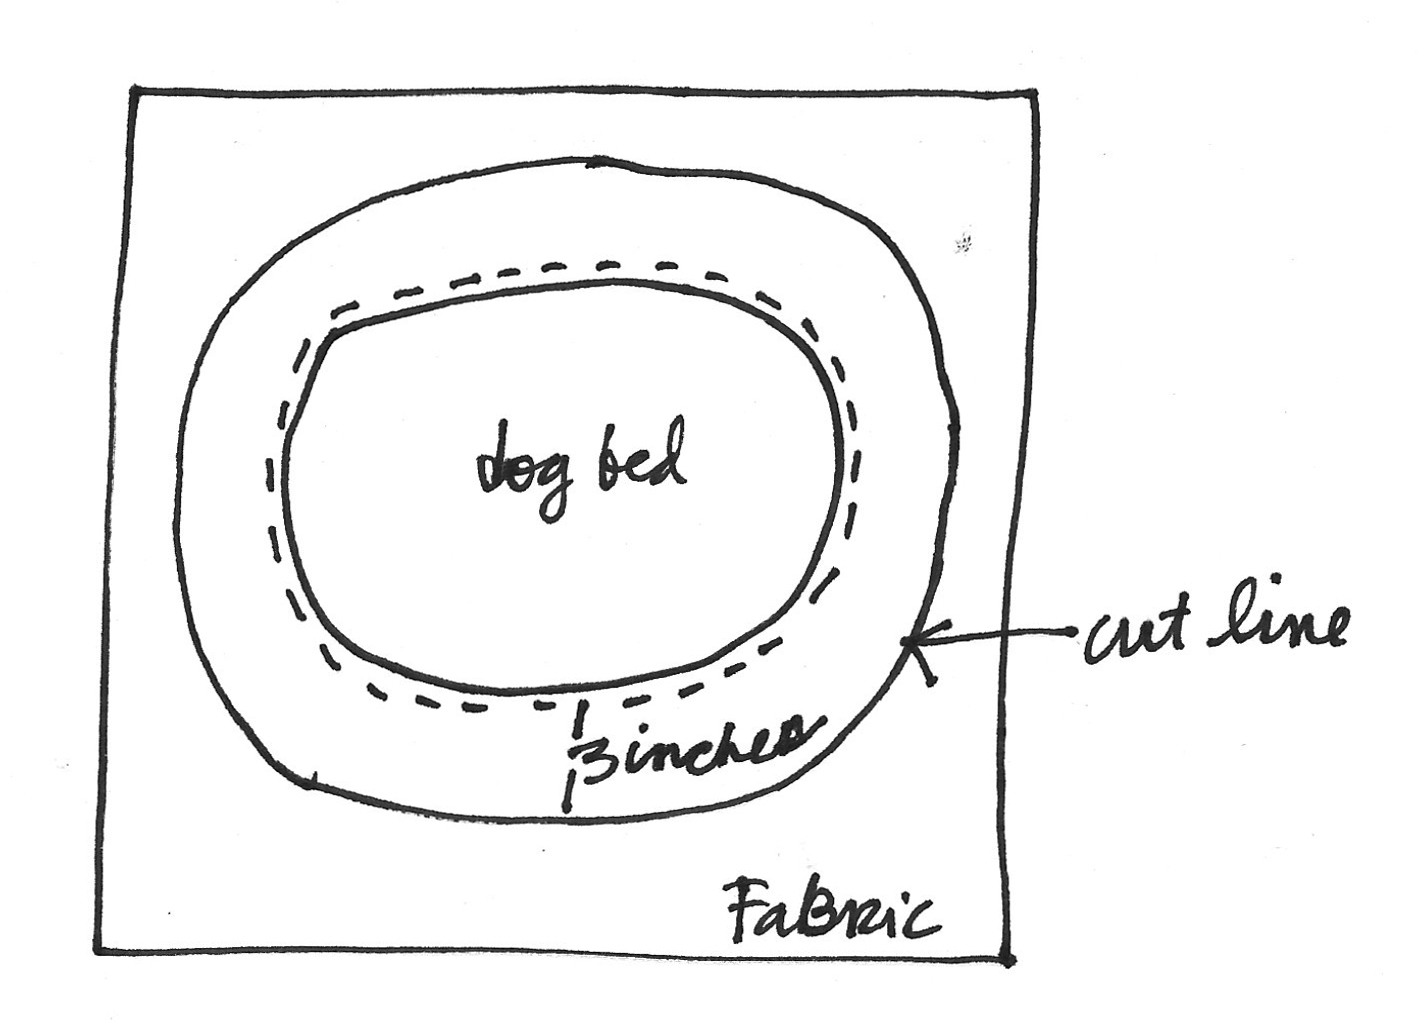
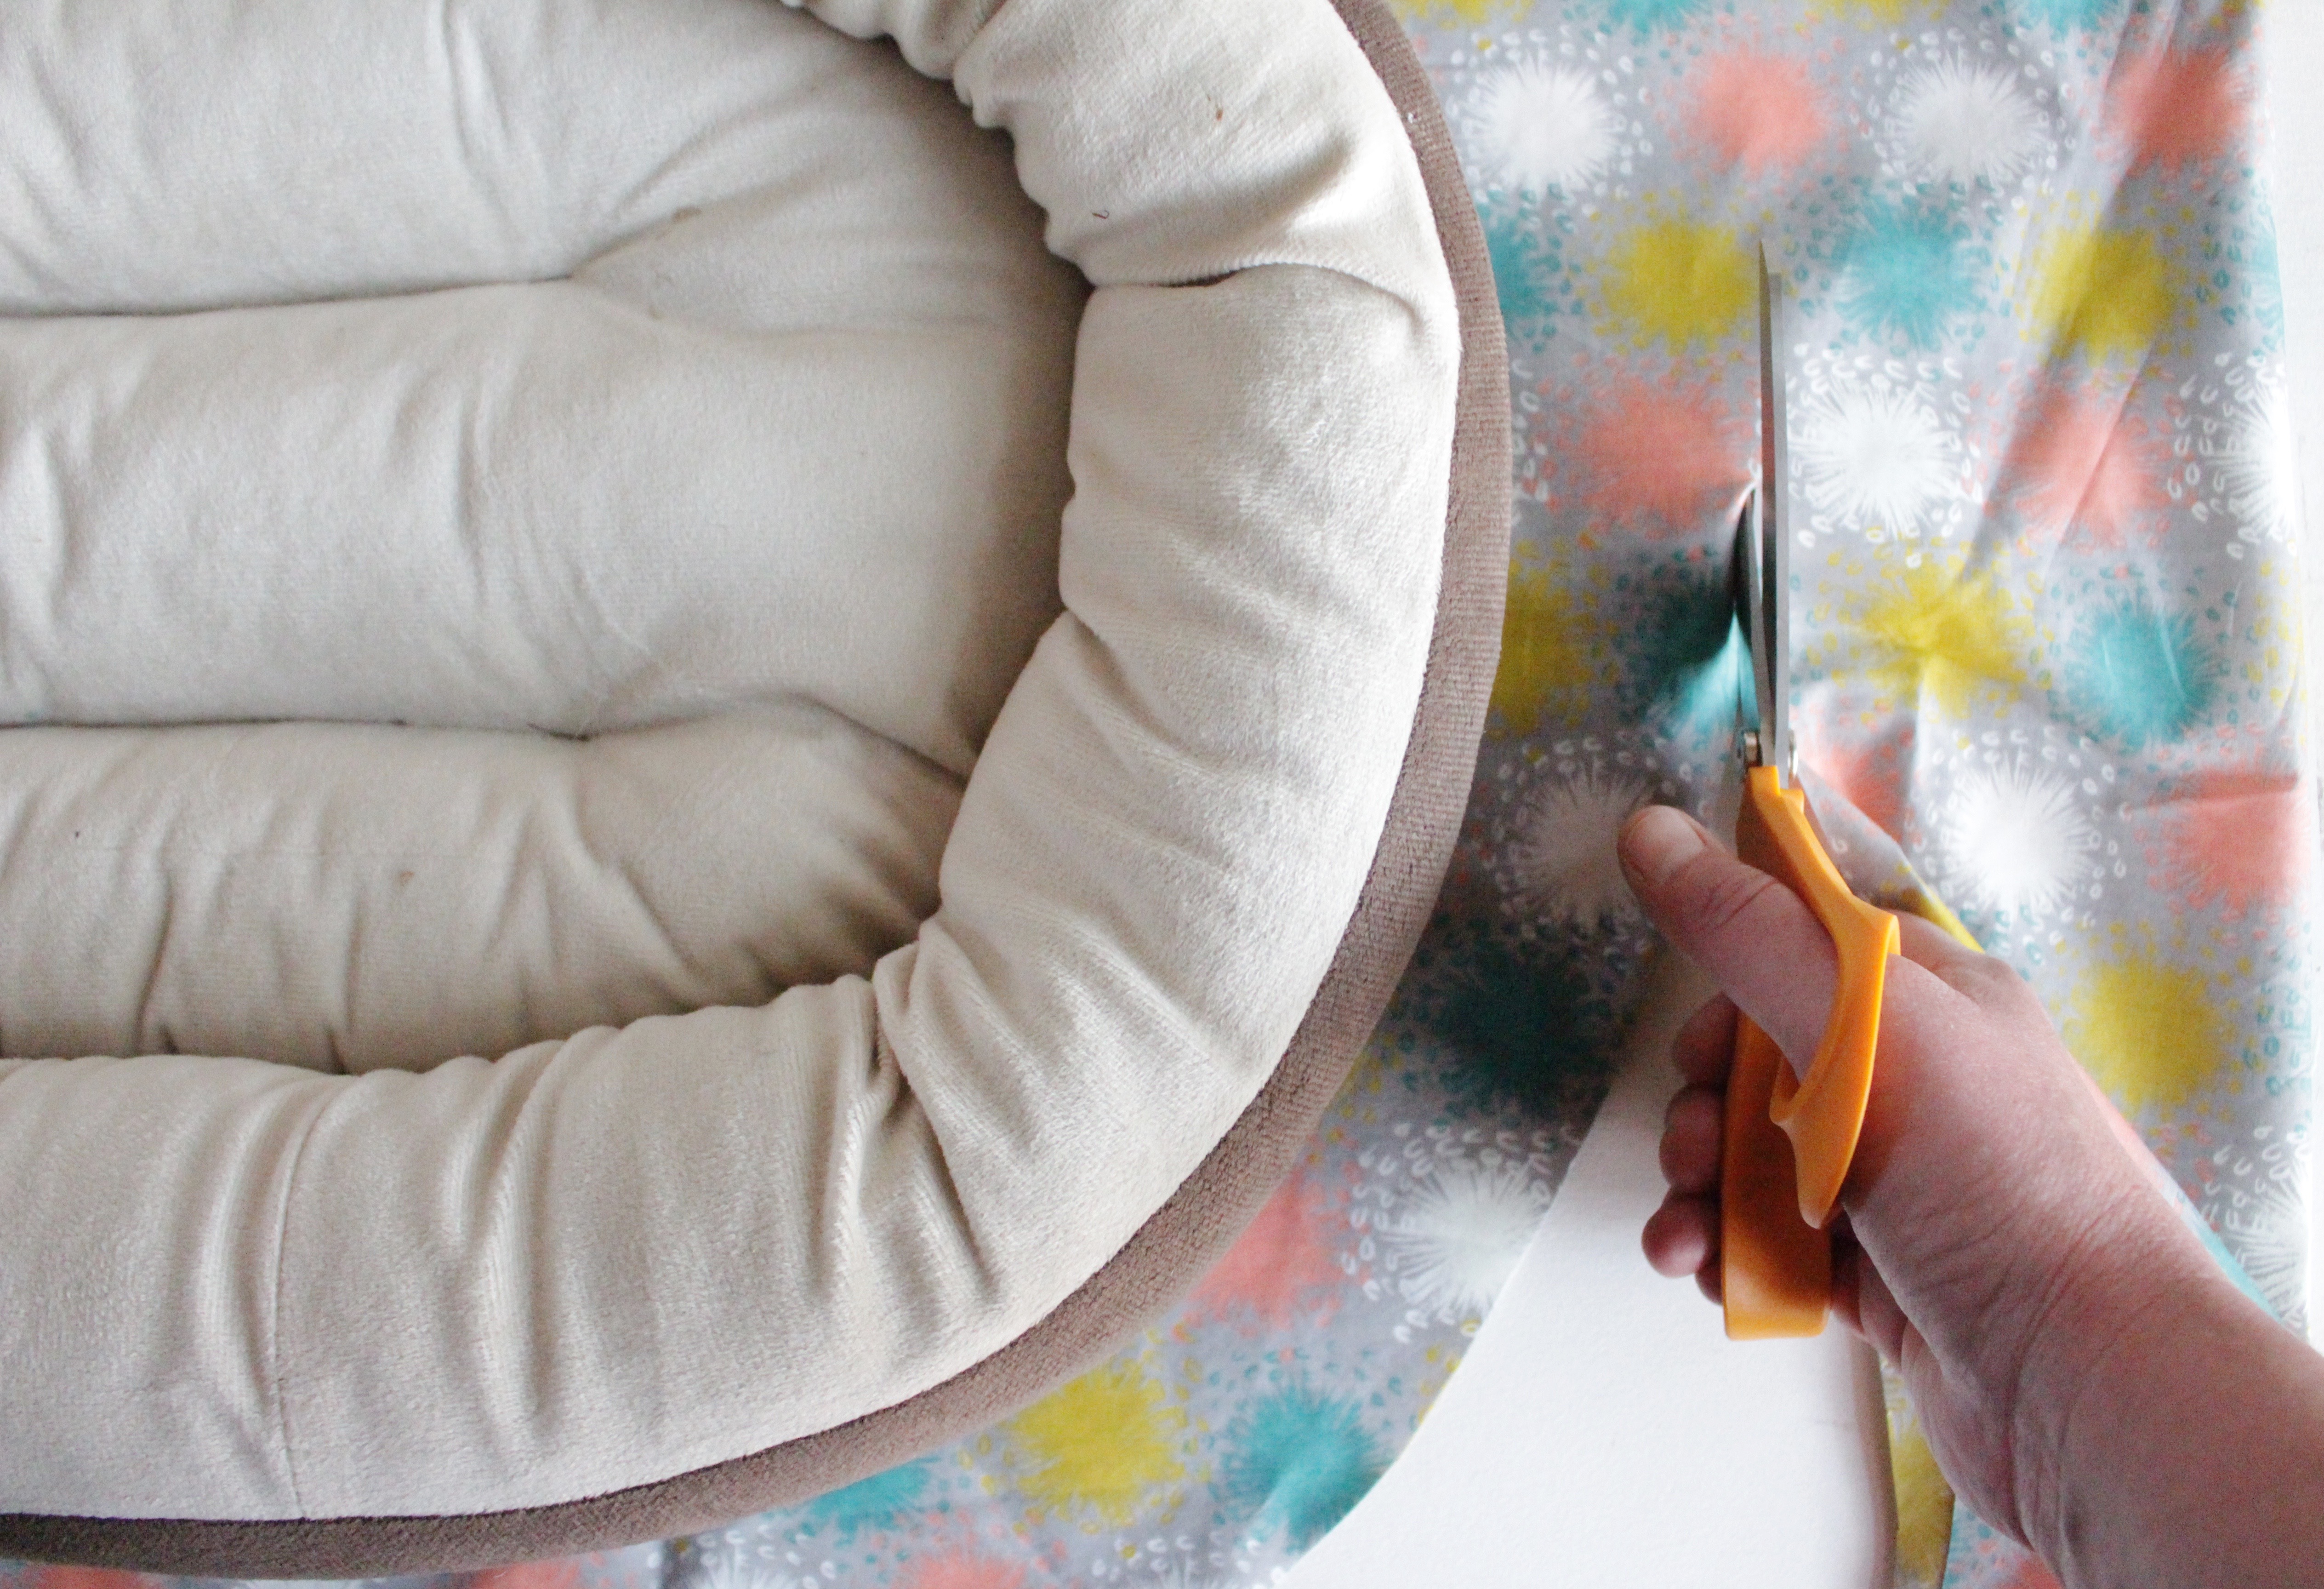
Once you have your measurements you’ll need to cut out two pieces of fabric for the cover that are larger than the bed. Fold your fabric in half with the right (printed) sides of the fabric facing in. Then set your dog bed on top of the fabric in the center. Then draw a line on the fabric around the circumference of the dog bed using a fabric pencil or chalk. Then create a second line outside of the first line on the fabric that is 3 inches larger around all sides. For example: my dog bed is 16″ wide, 21″ long and 4″ tall so my fabric circle is 22″ wide, 27″ long.
Step 3:
Cut out the fabric.
Step 4:
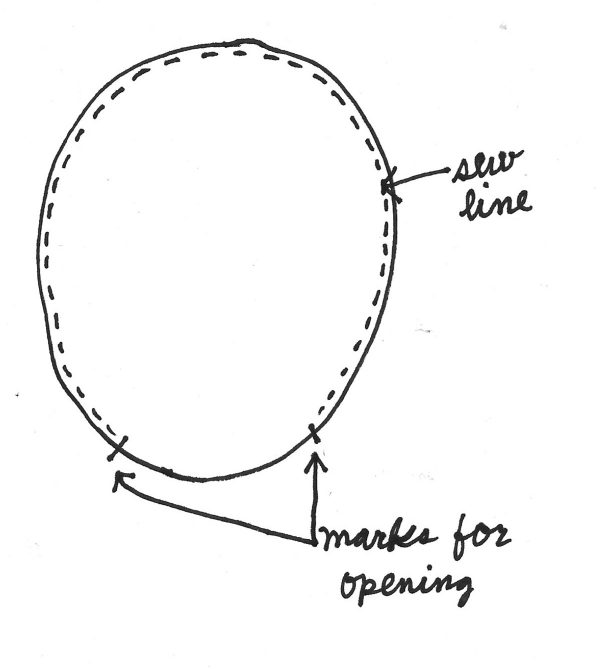
Measure and mark on one of the short sides for the opening. This will be your opening so you can place your dog bed inside your cover. Mine was 8″ inches but yours could vary depending on the size of your dog bed.
Step 5:
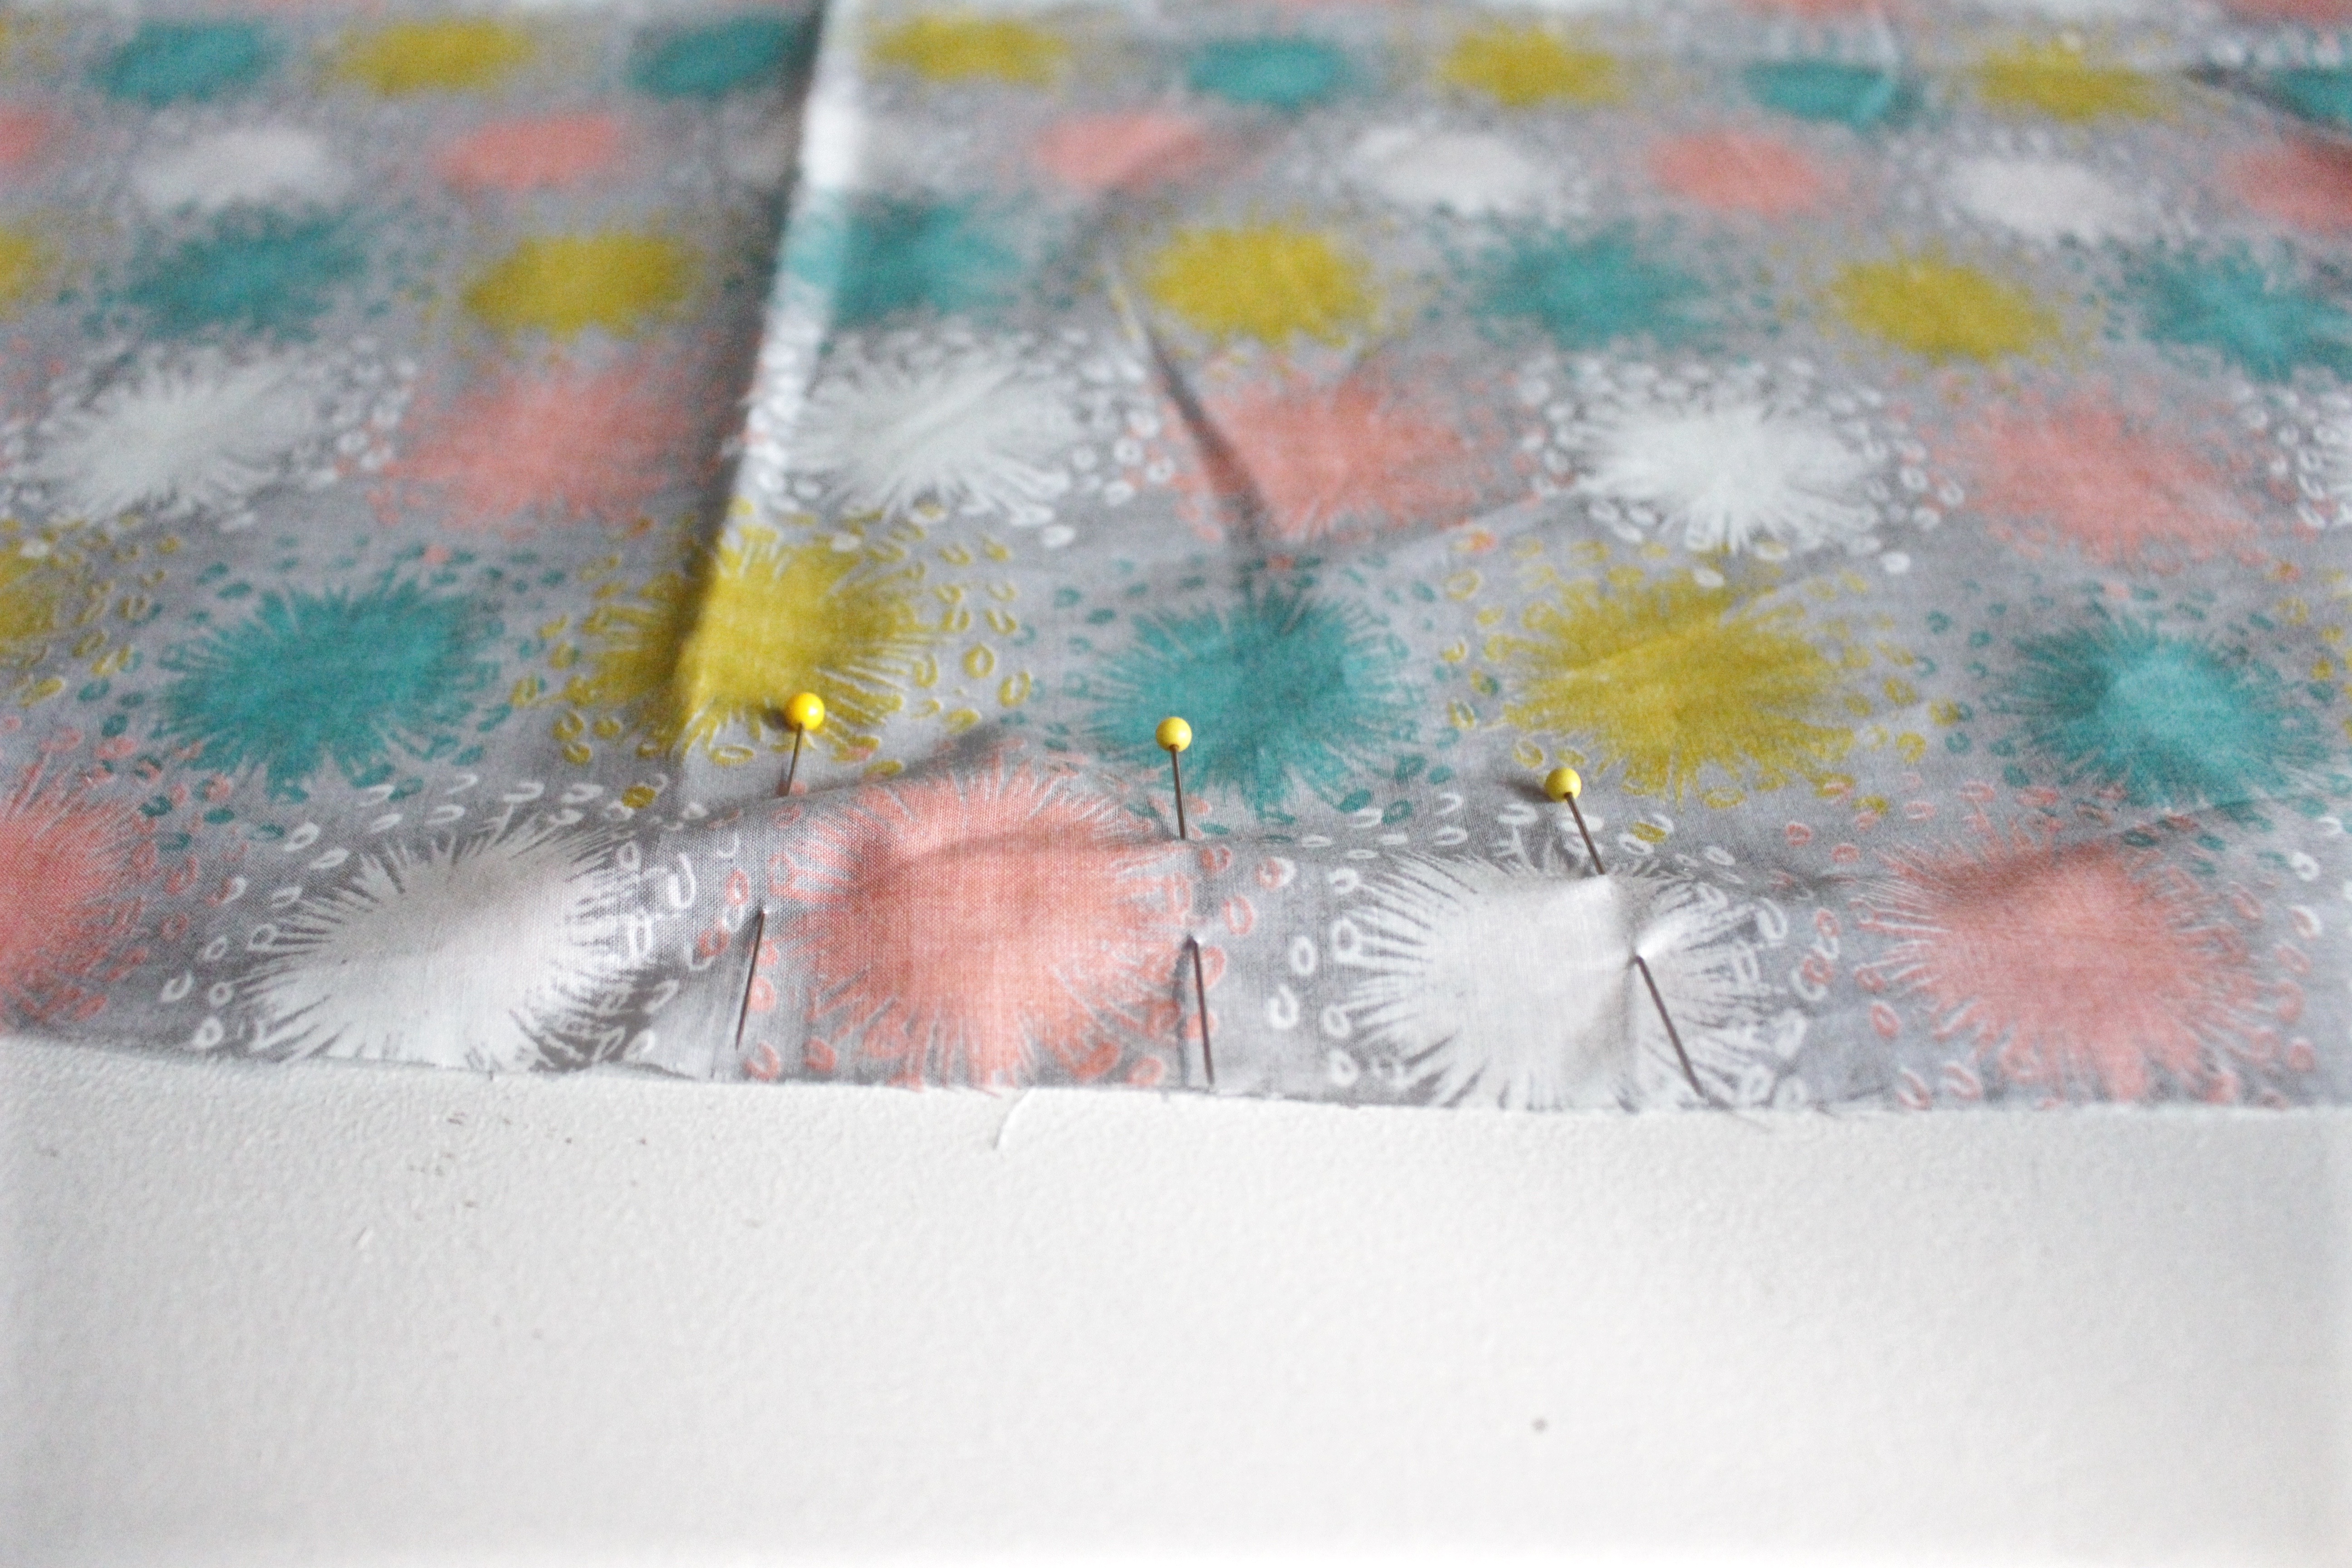
Pin around the edge of the fabric if you’d like.
Step 6:
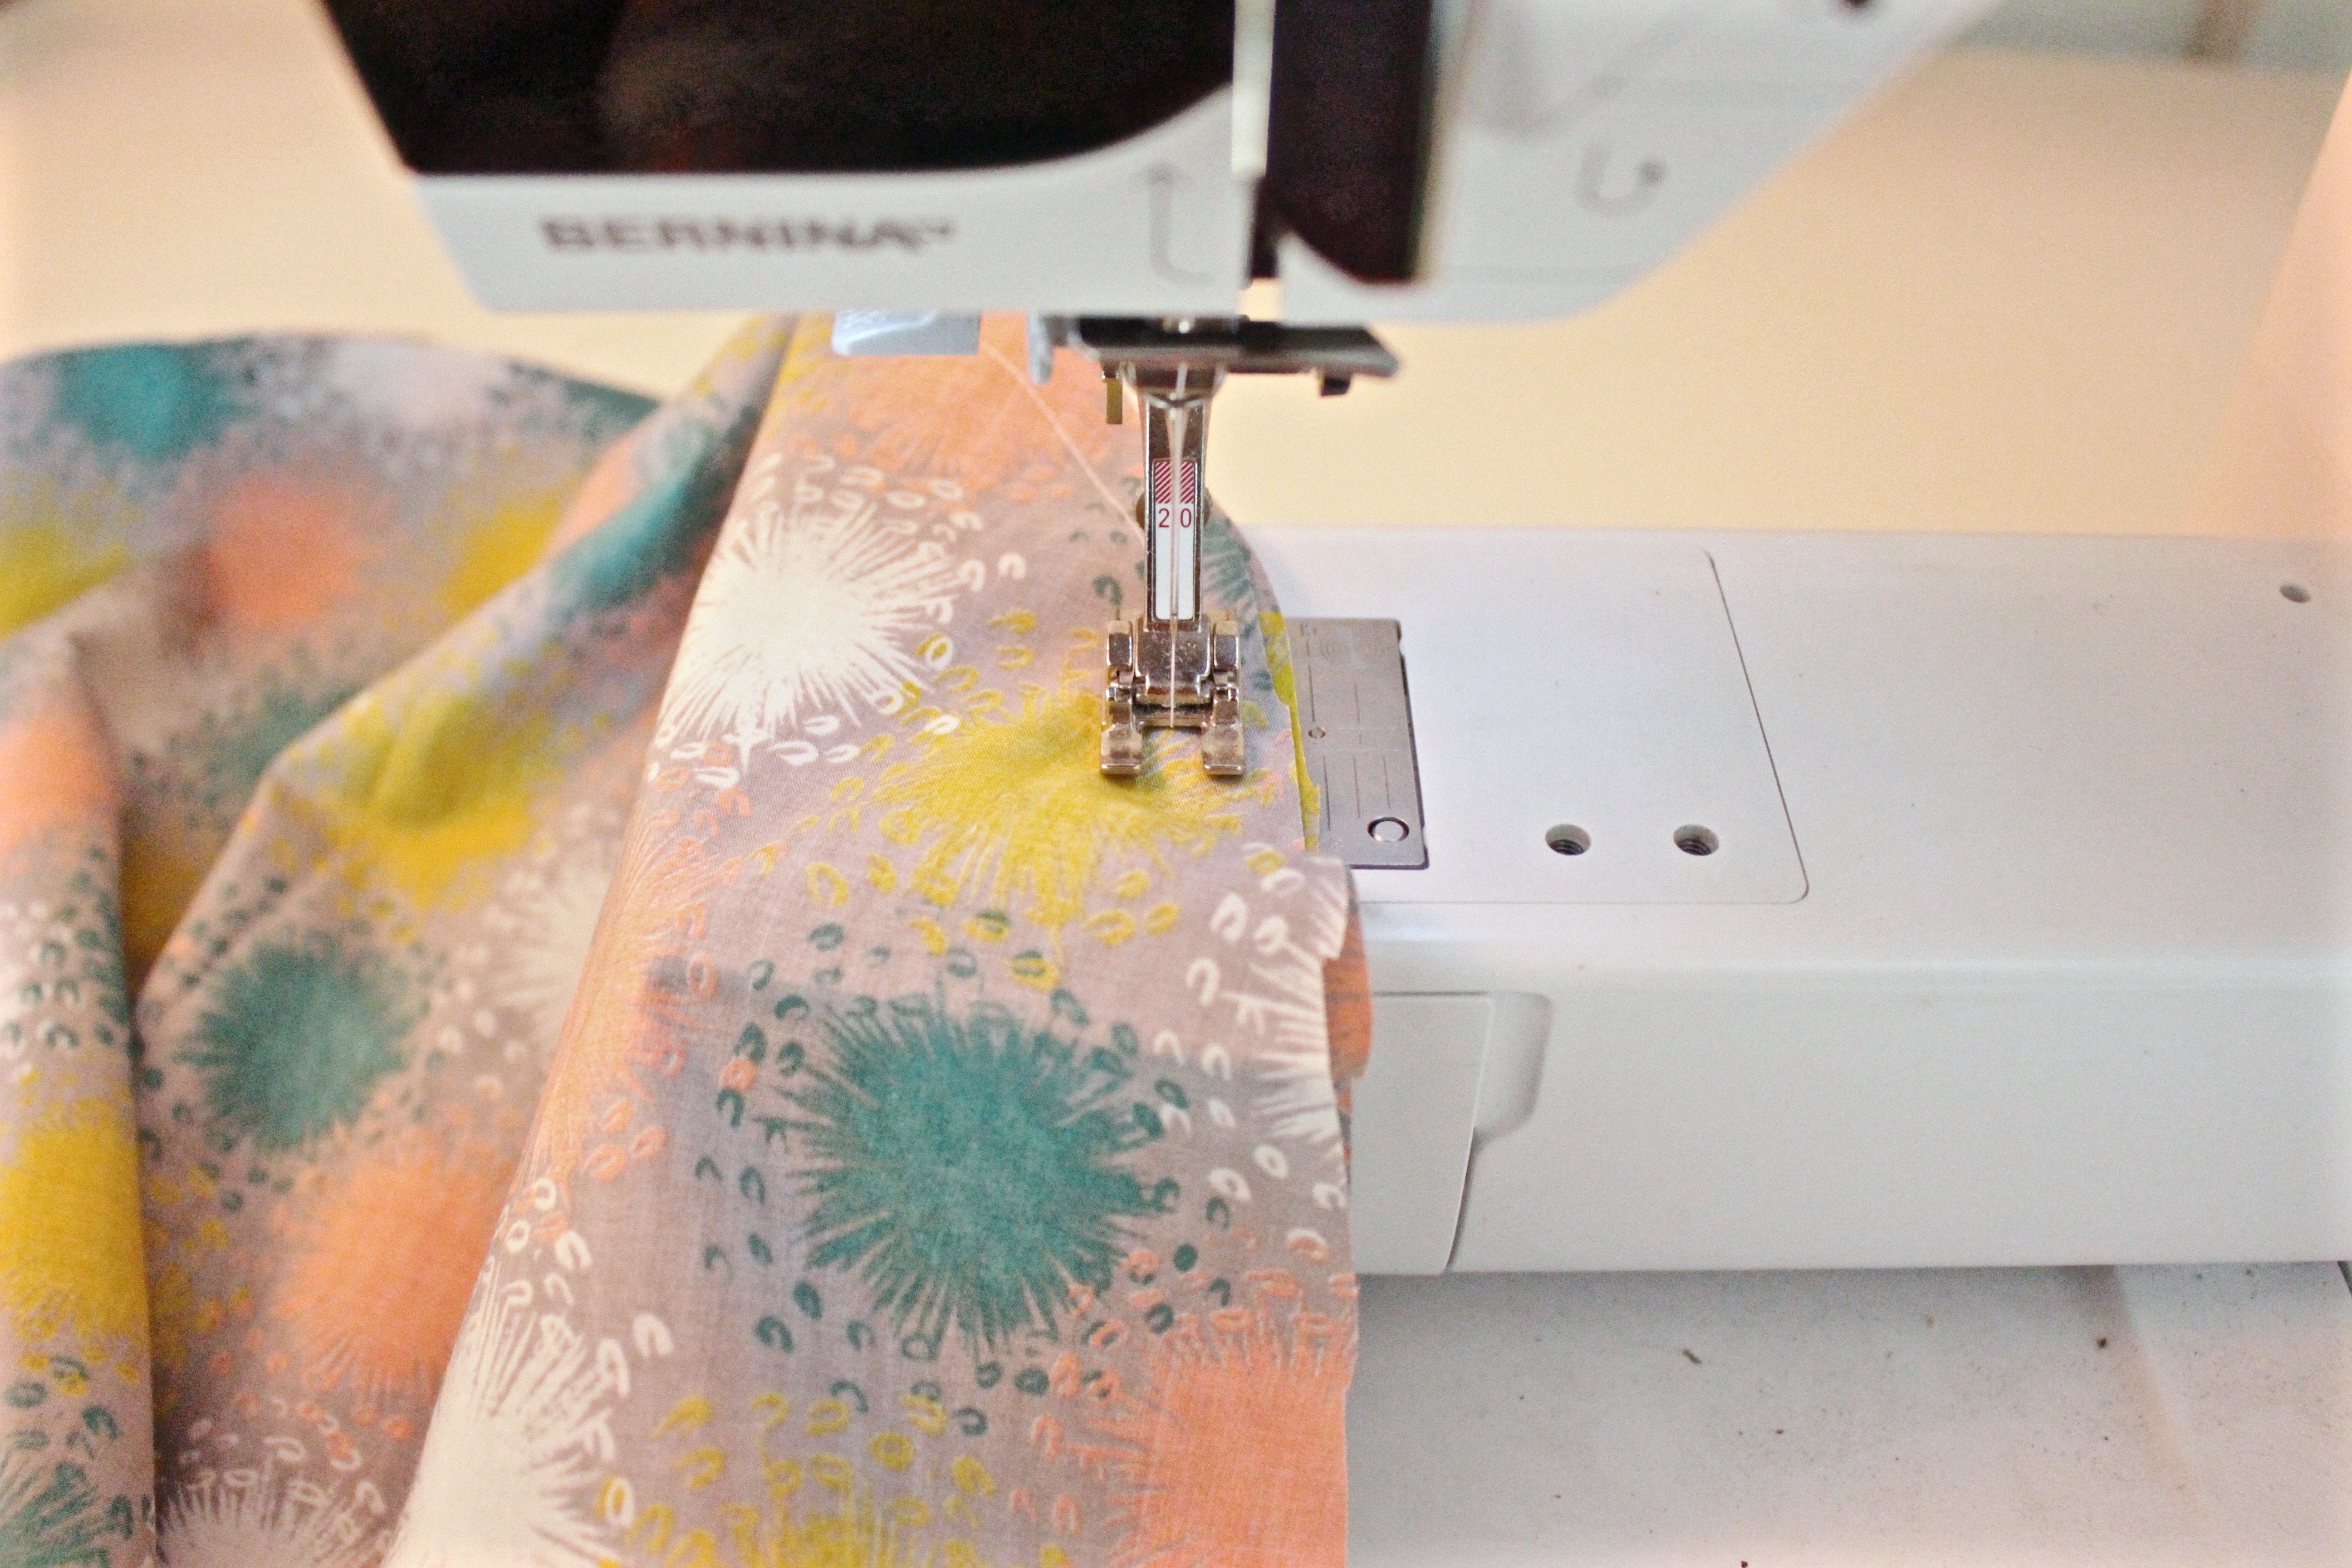
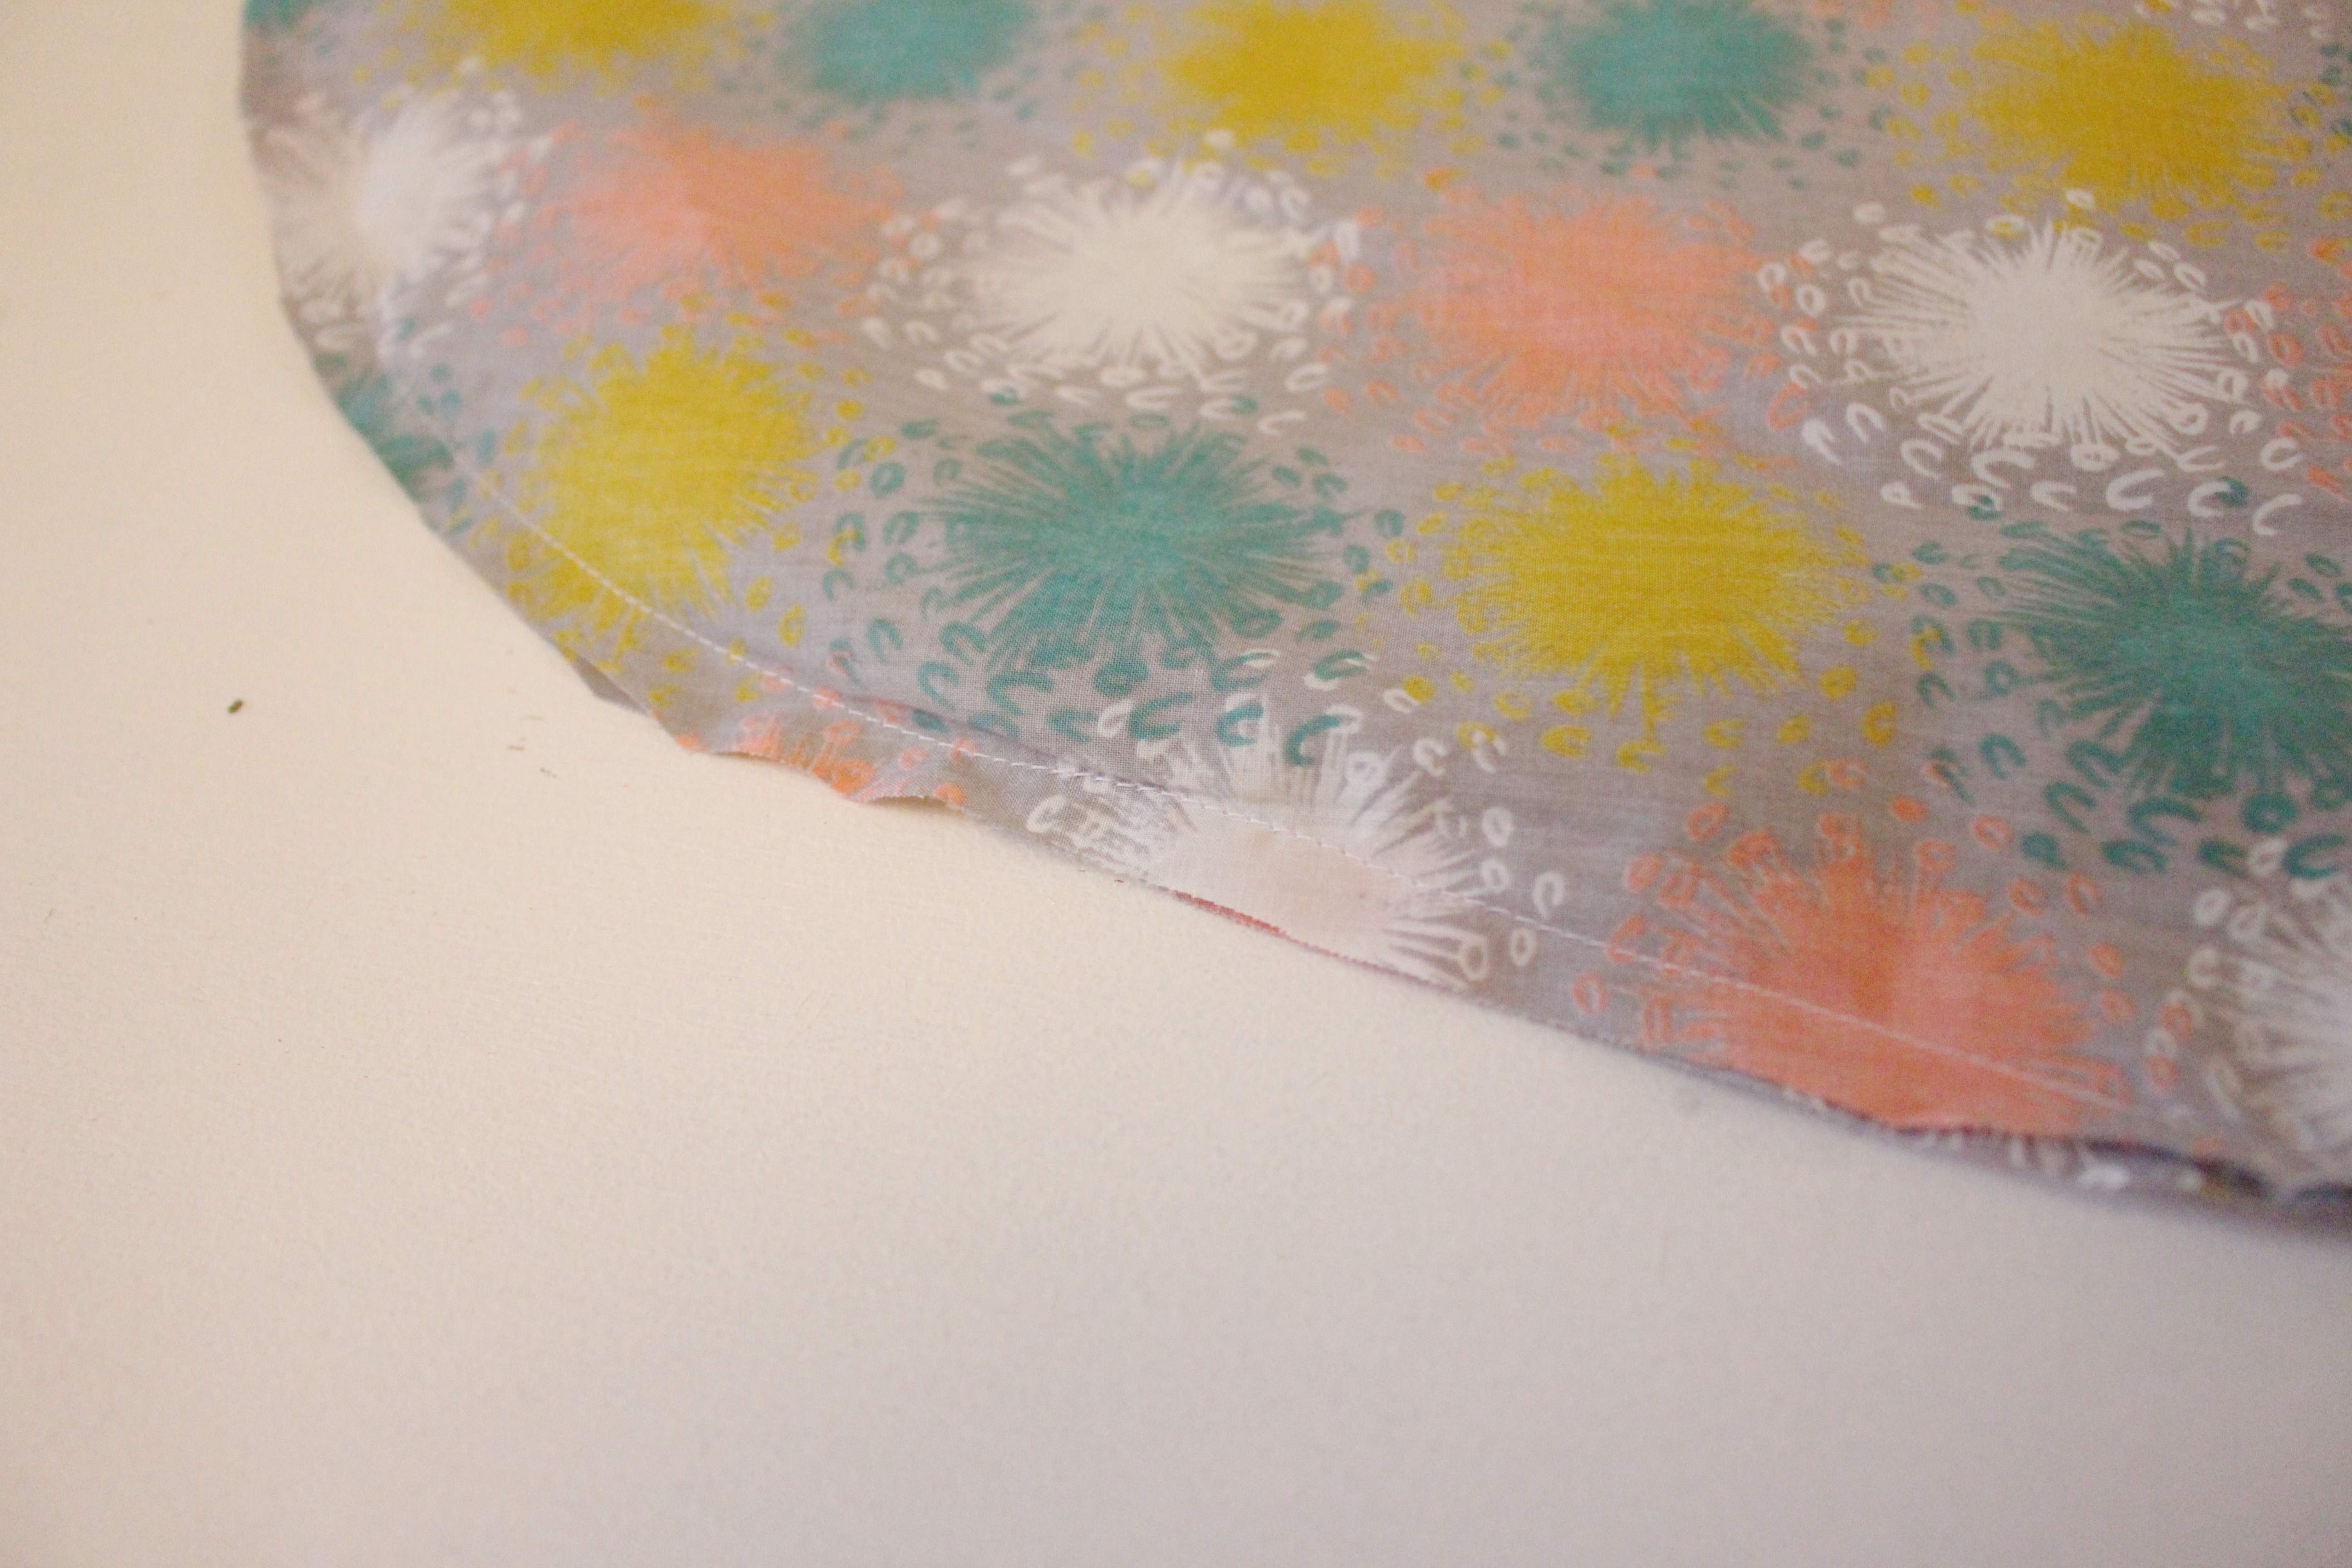
Using a straight stitch start at one of your marks for the opening and sew around the length of the cover ending where your second mark is. I used the edge of my presser foot as my seam guide allowance meaning that the edge of my fabric was at the edge of the presser foot.
Step 7:
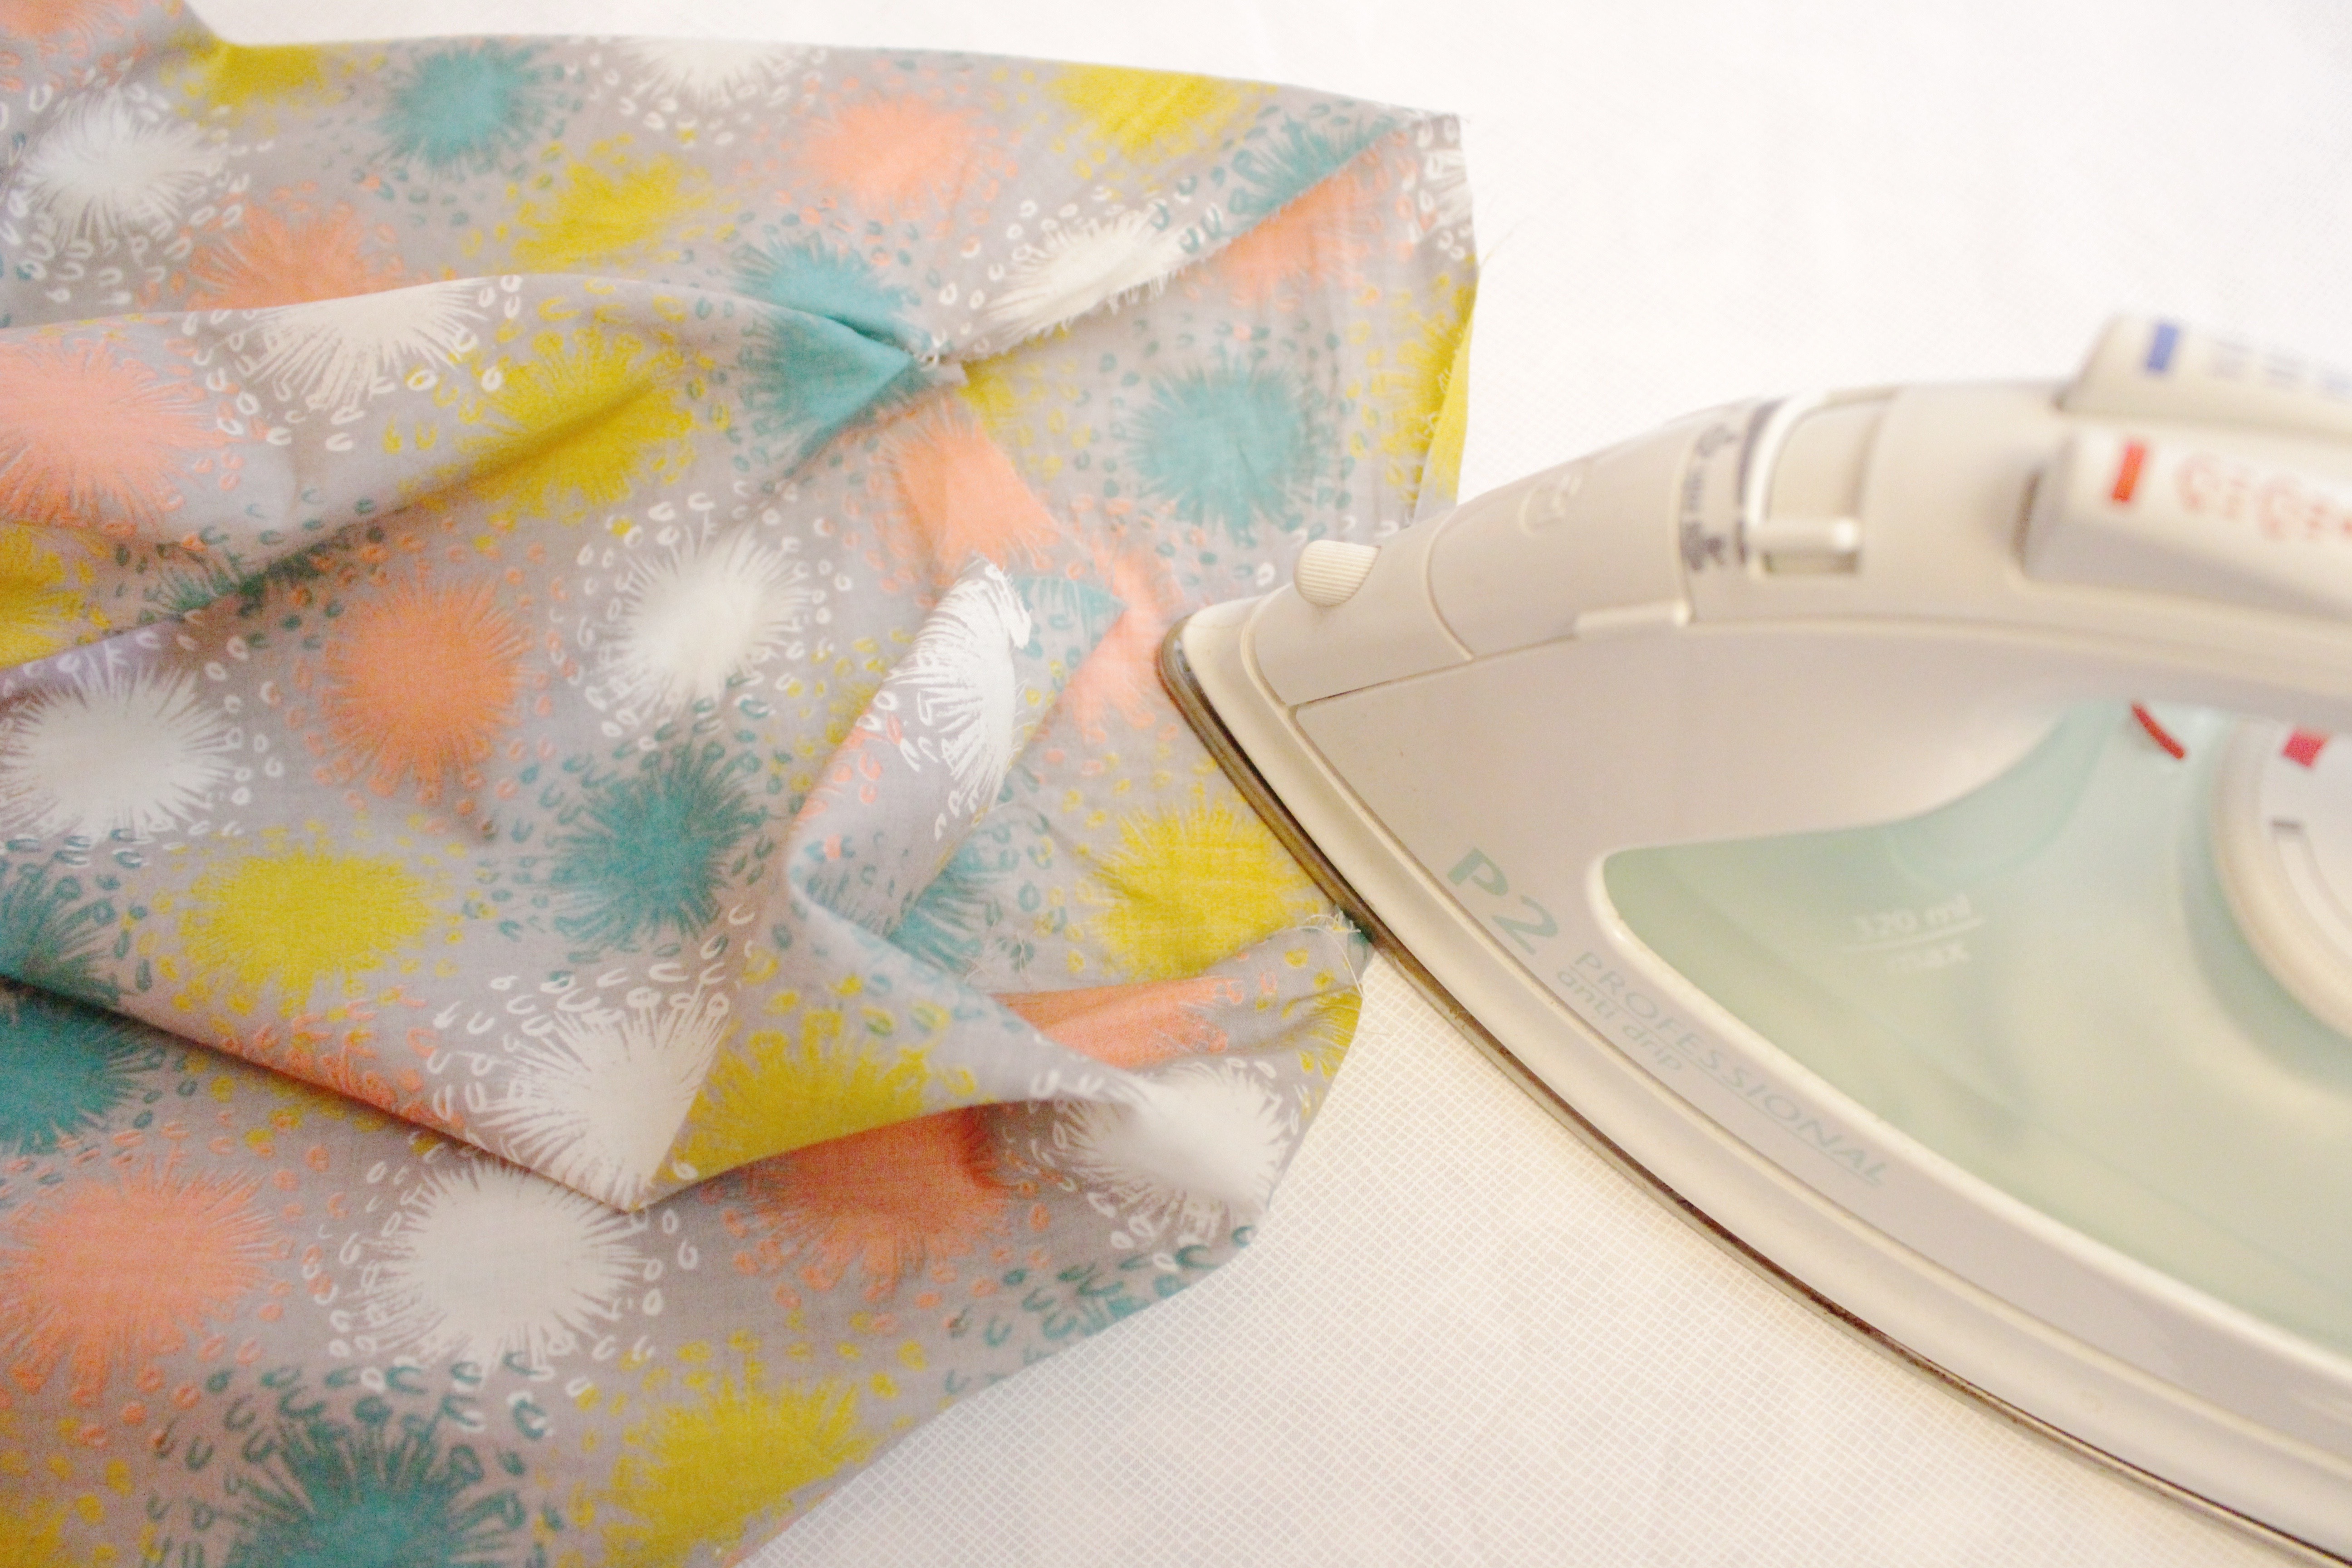
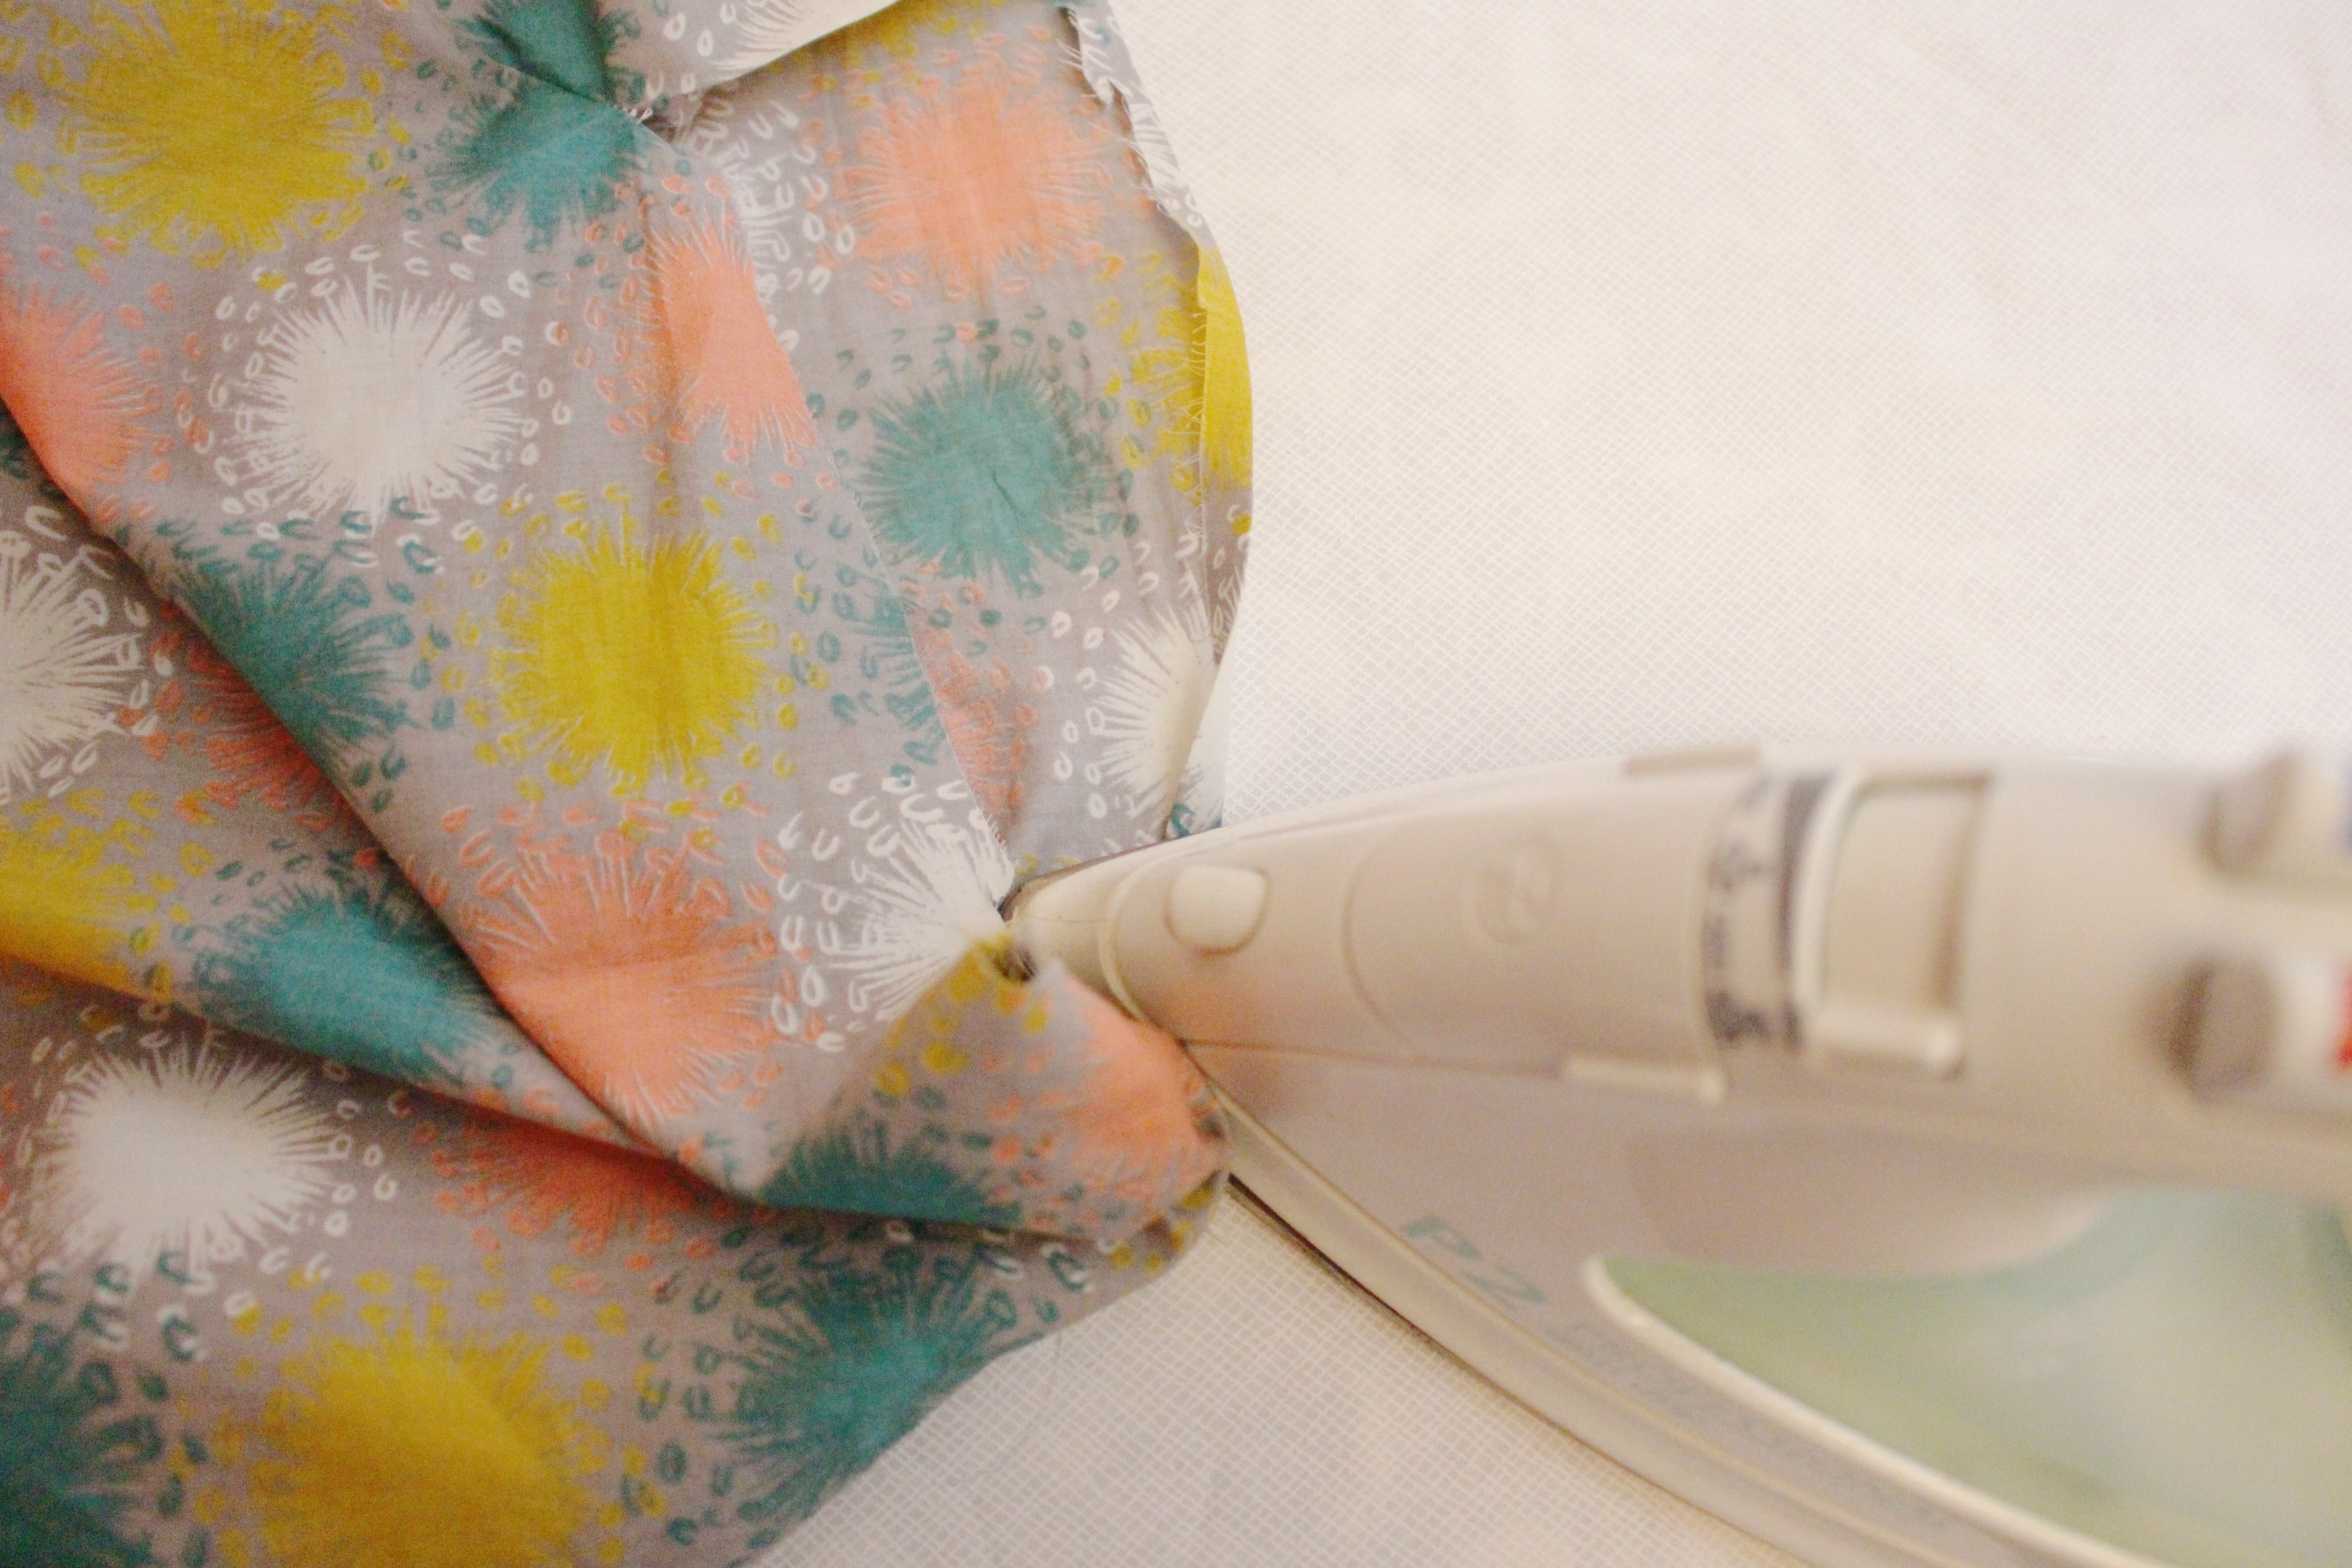
Now it’s time to hem the opening. To do this fold over the open edge ¼ of an inch and then iron it. Do this around the whole opening.
Step 8:
Repeat step 7 one more time so that you have a nice clean hem around the opening.
Step 9:
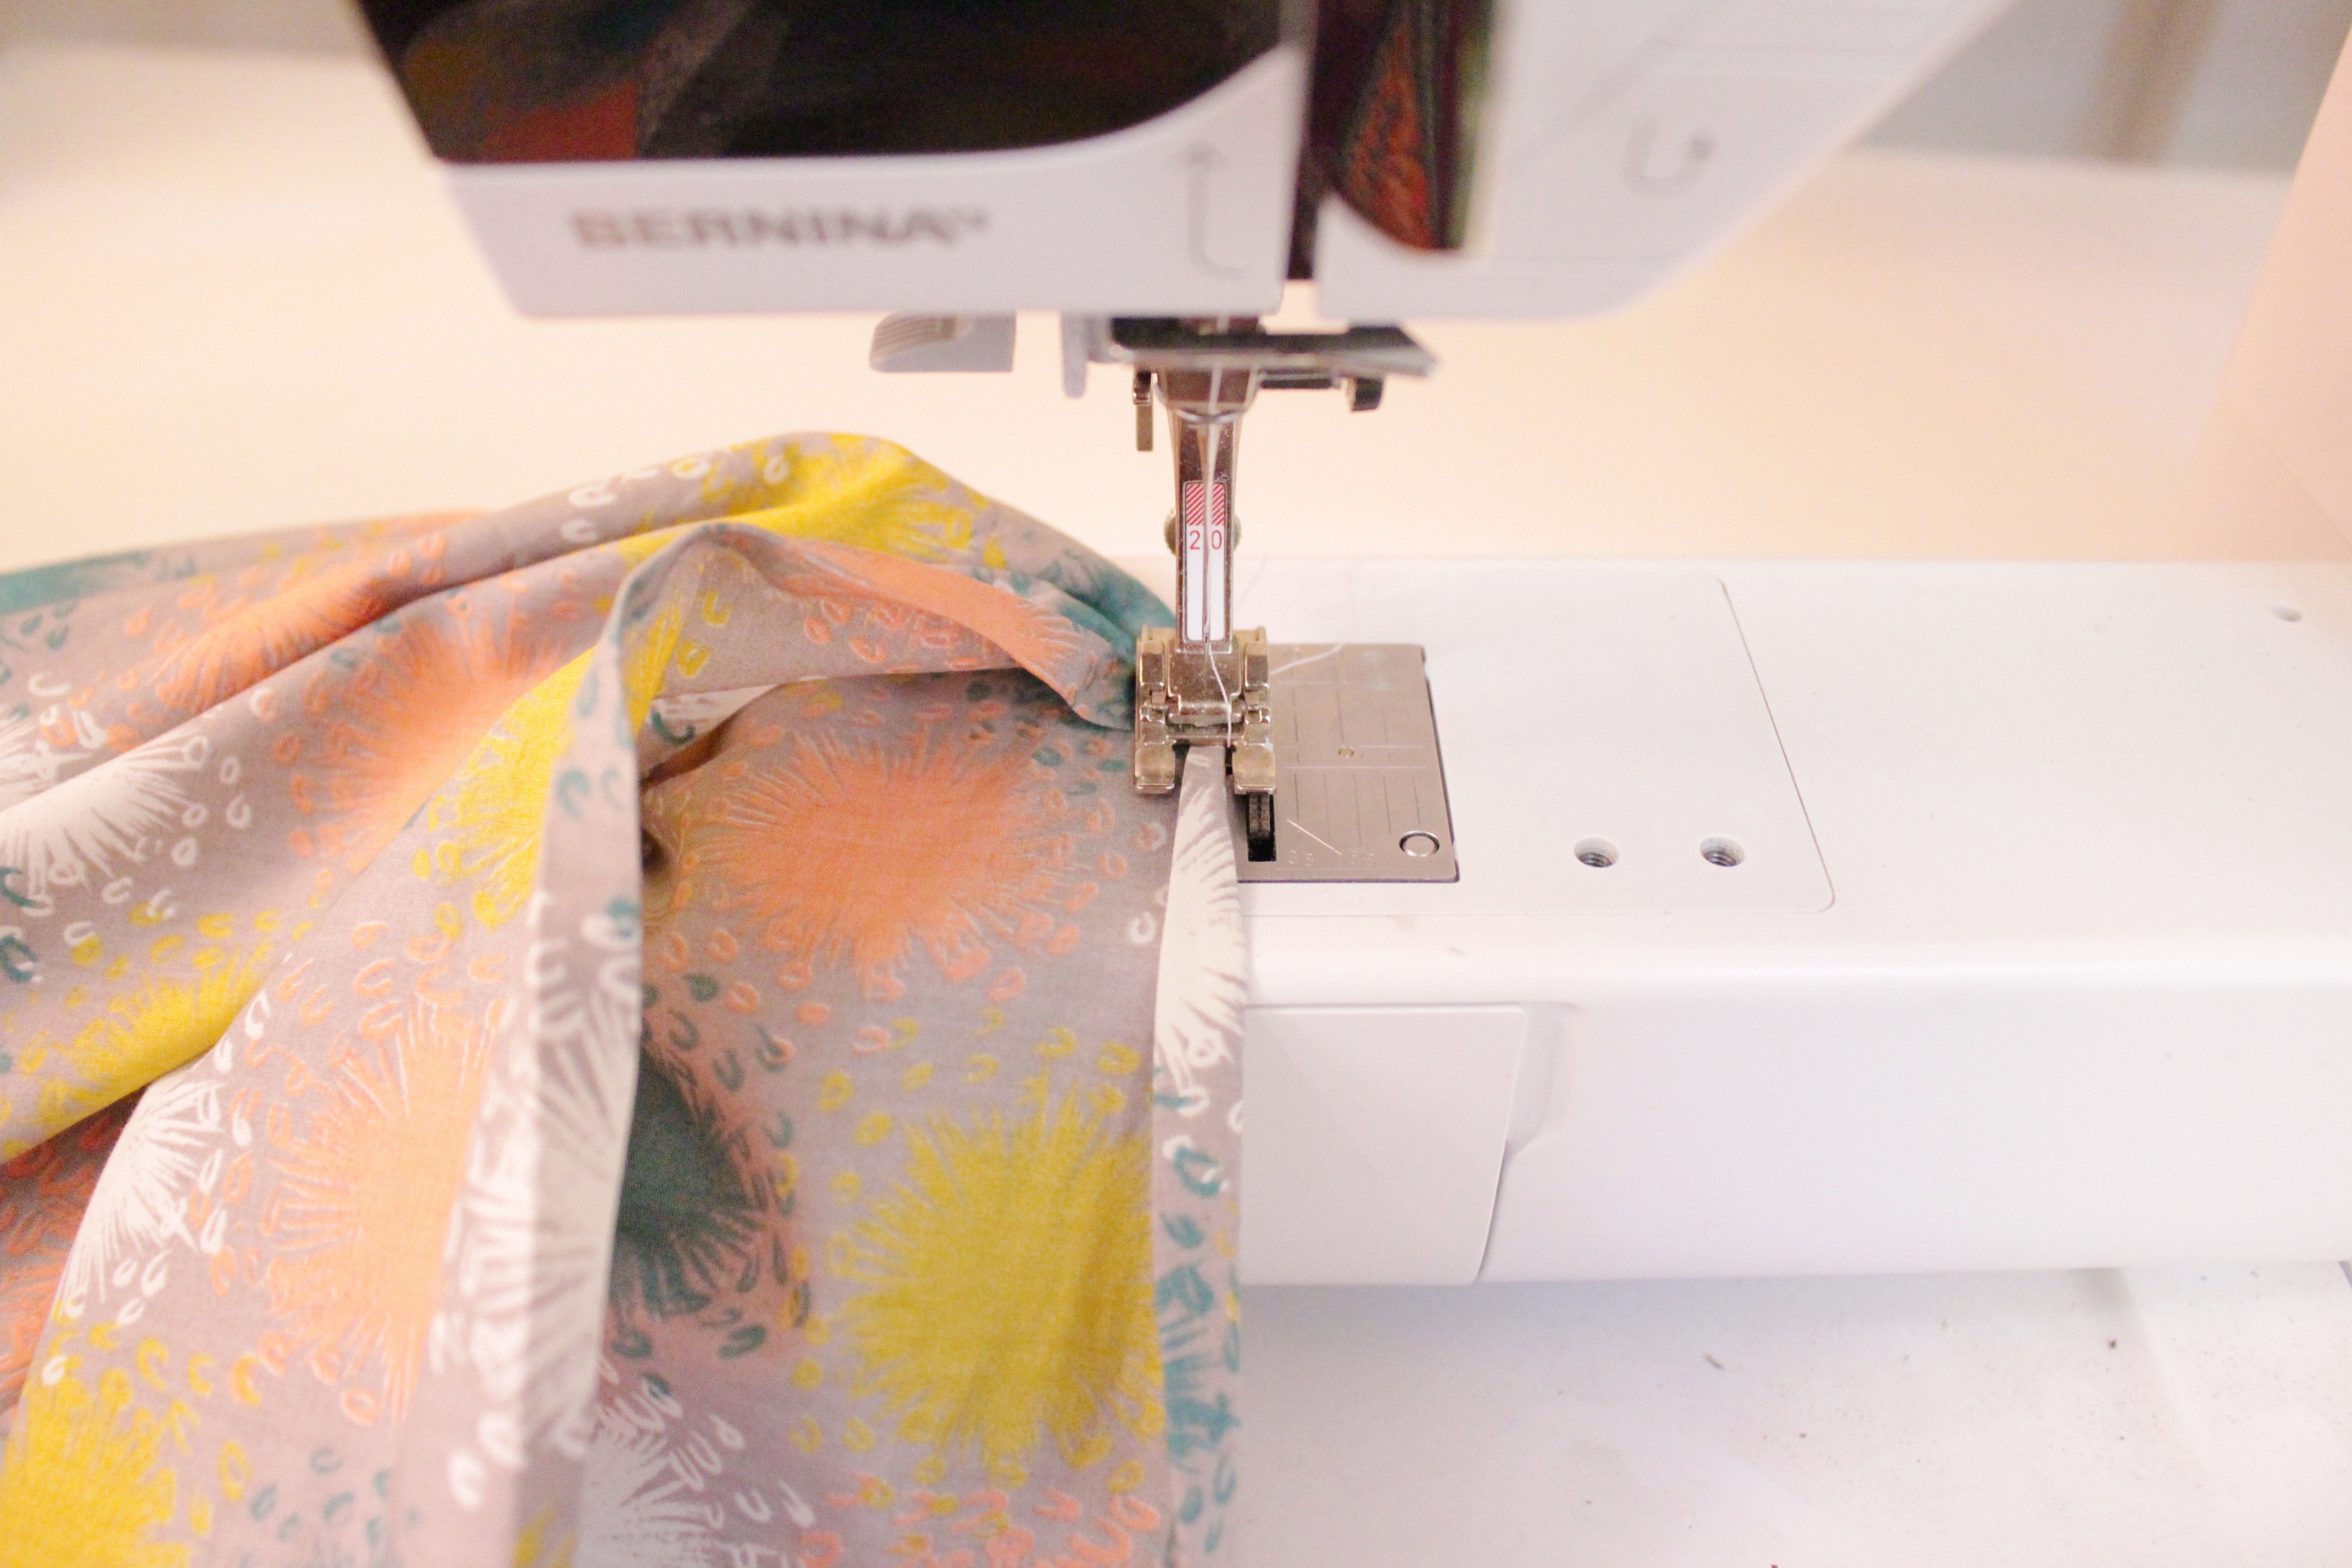
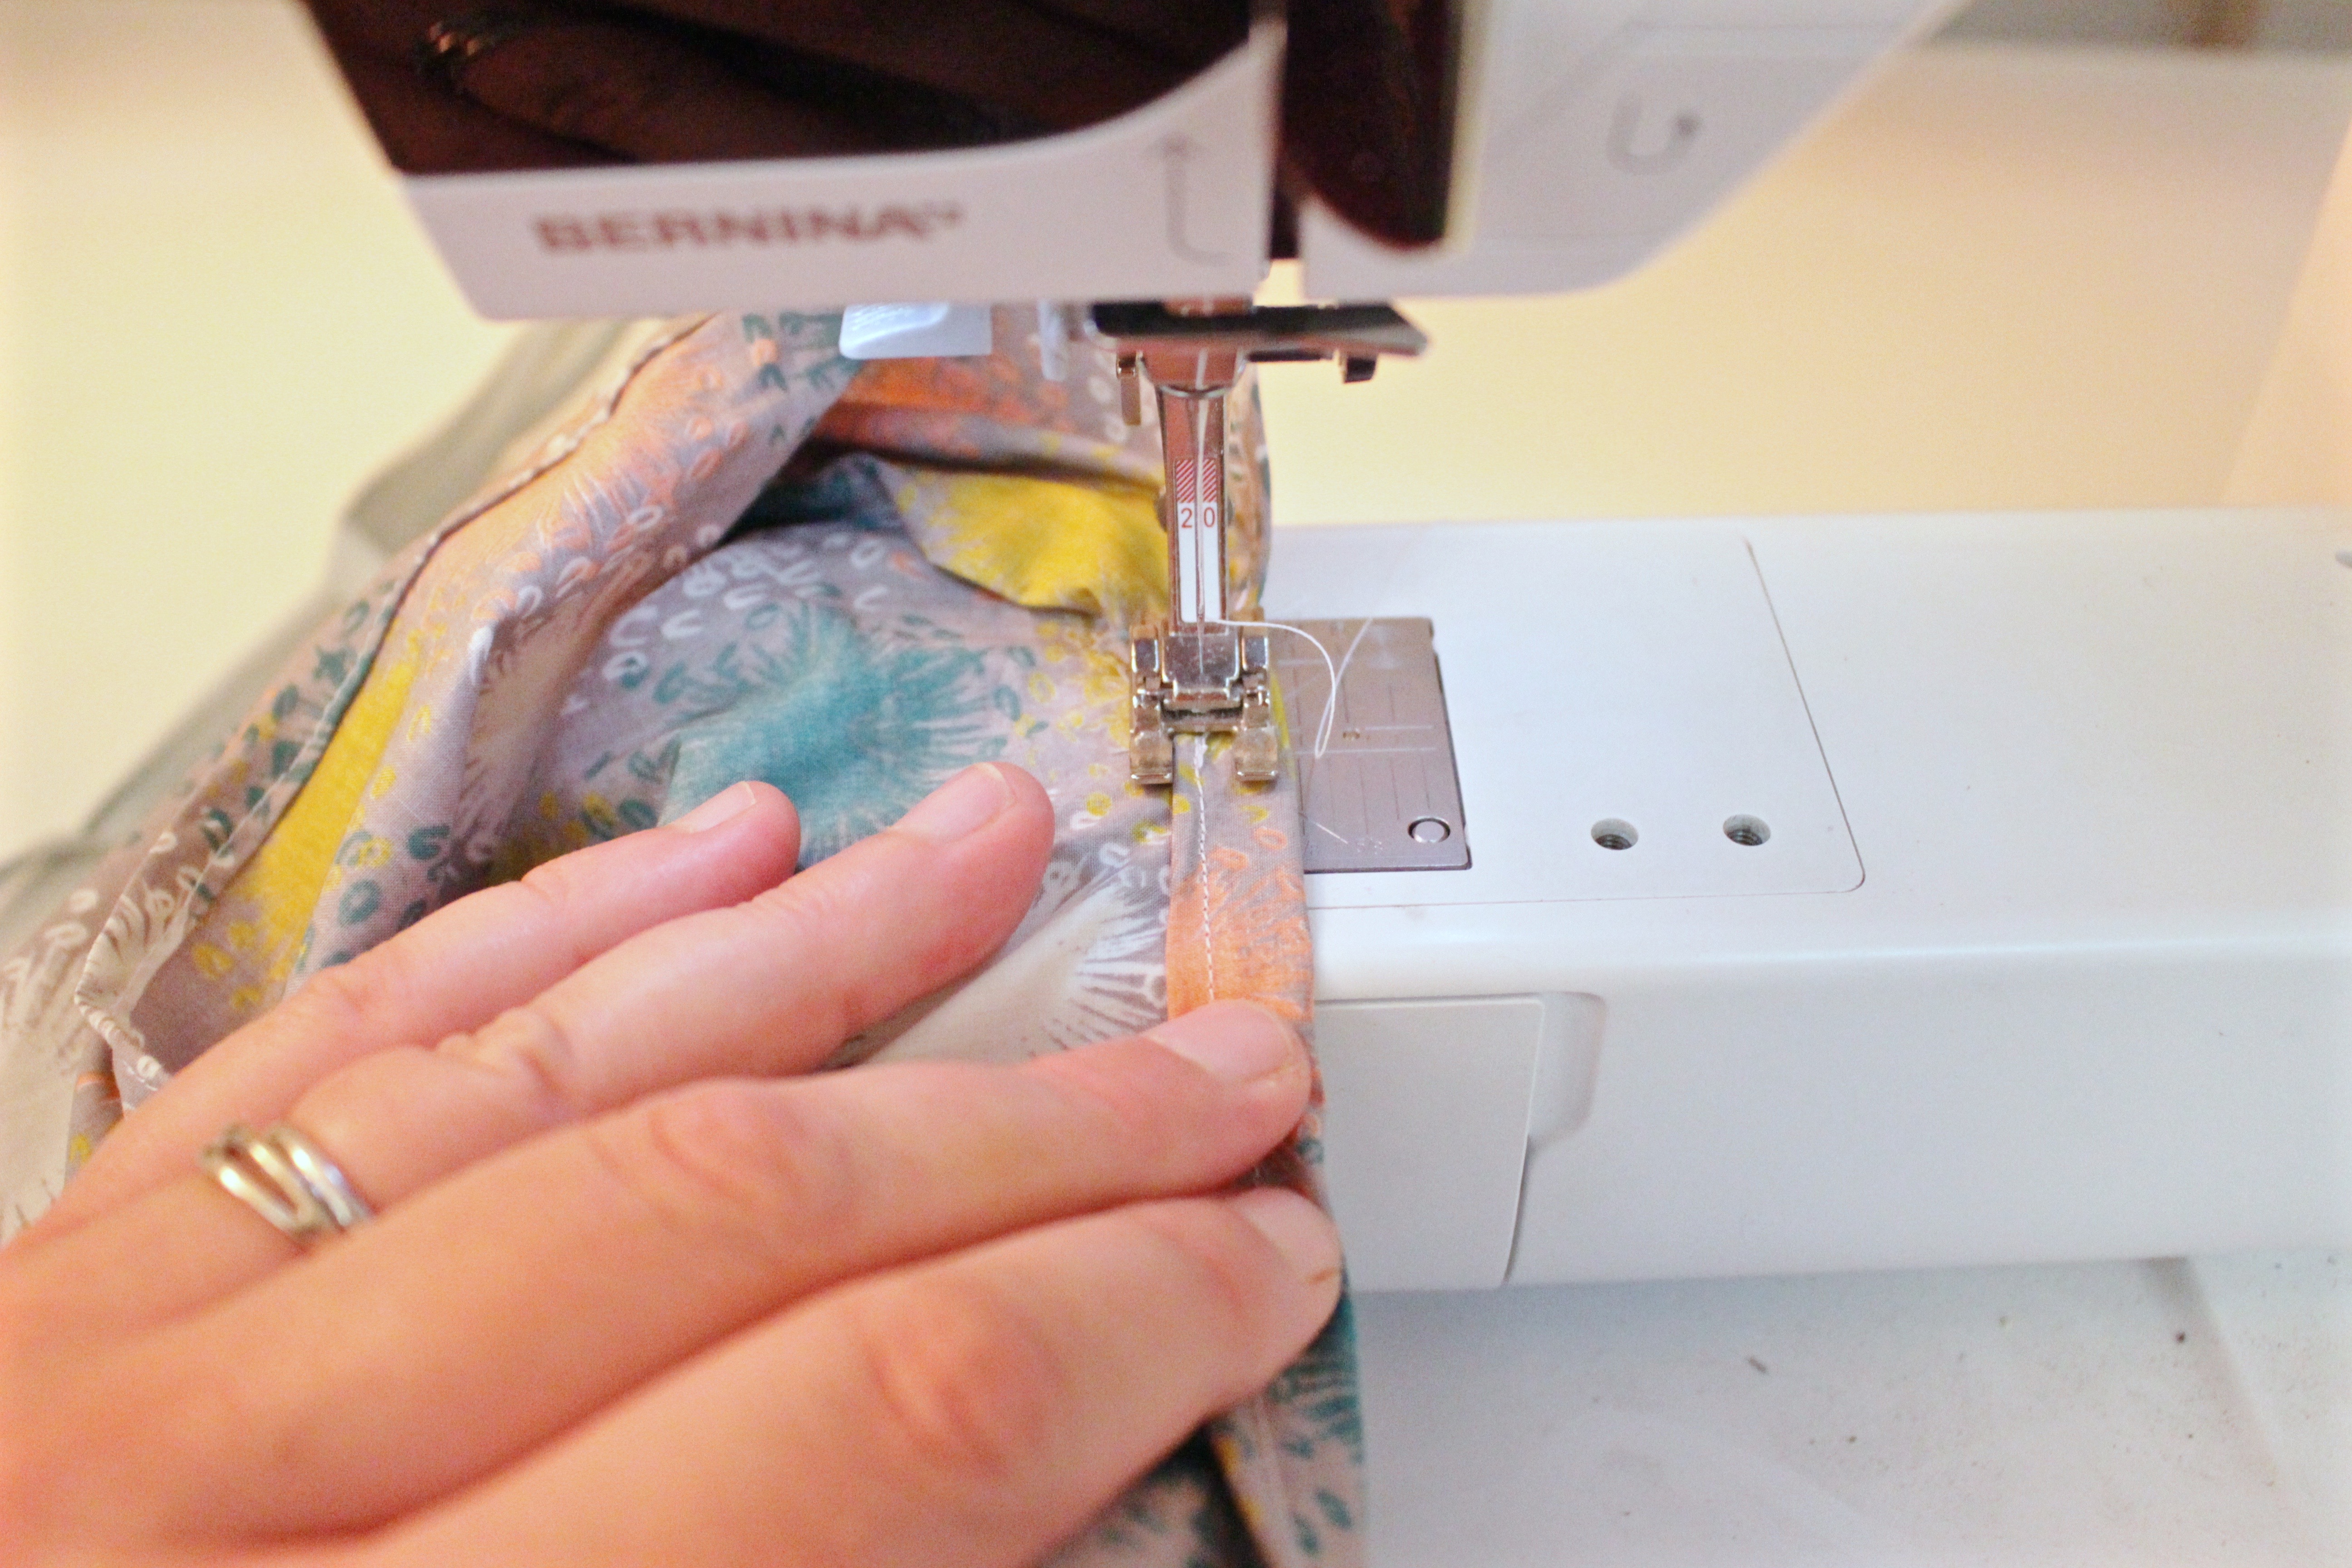
Starting at one corner of the opening use a straight stitch to sew your hem down around the entire opening.
Step 10:
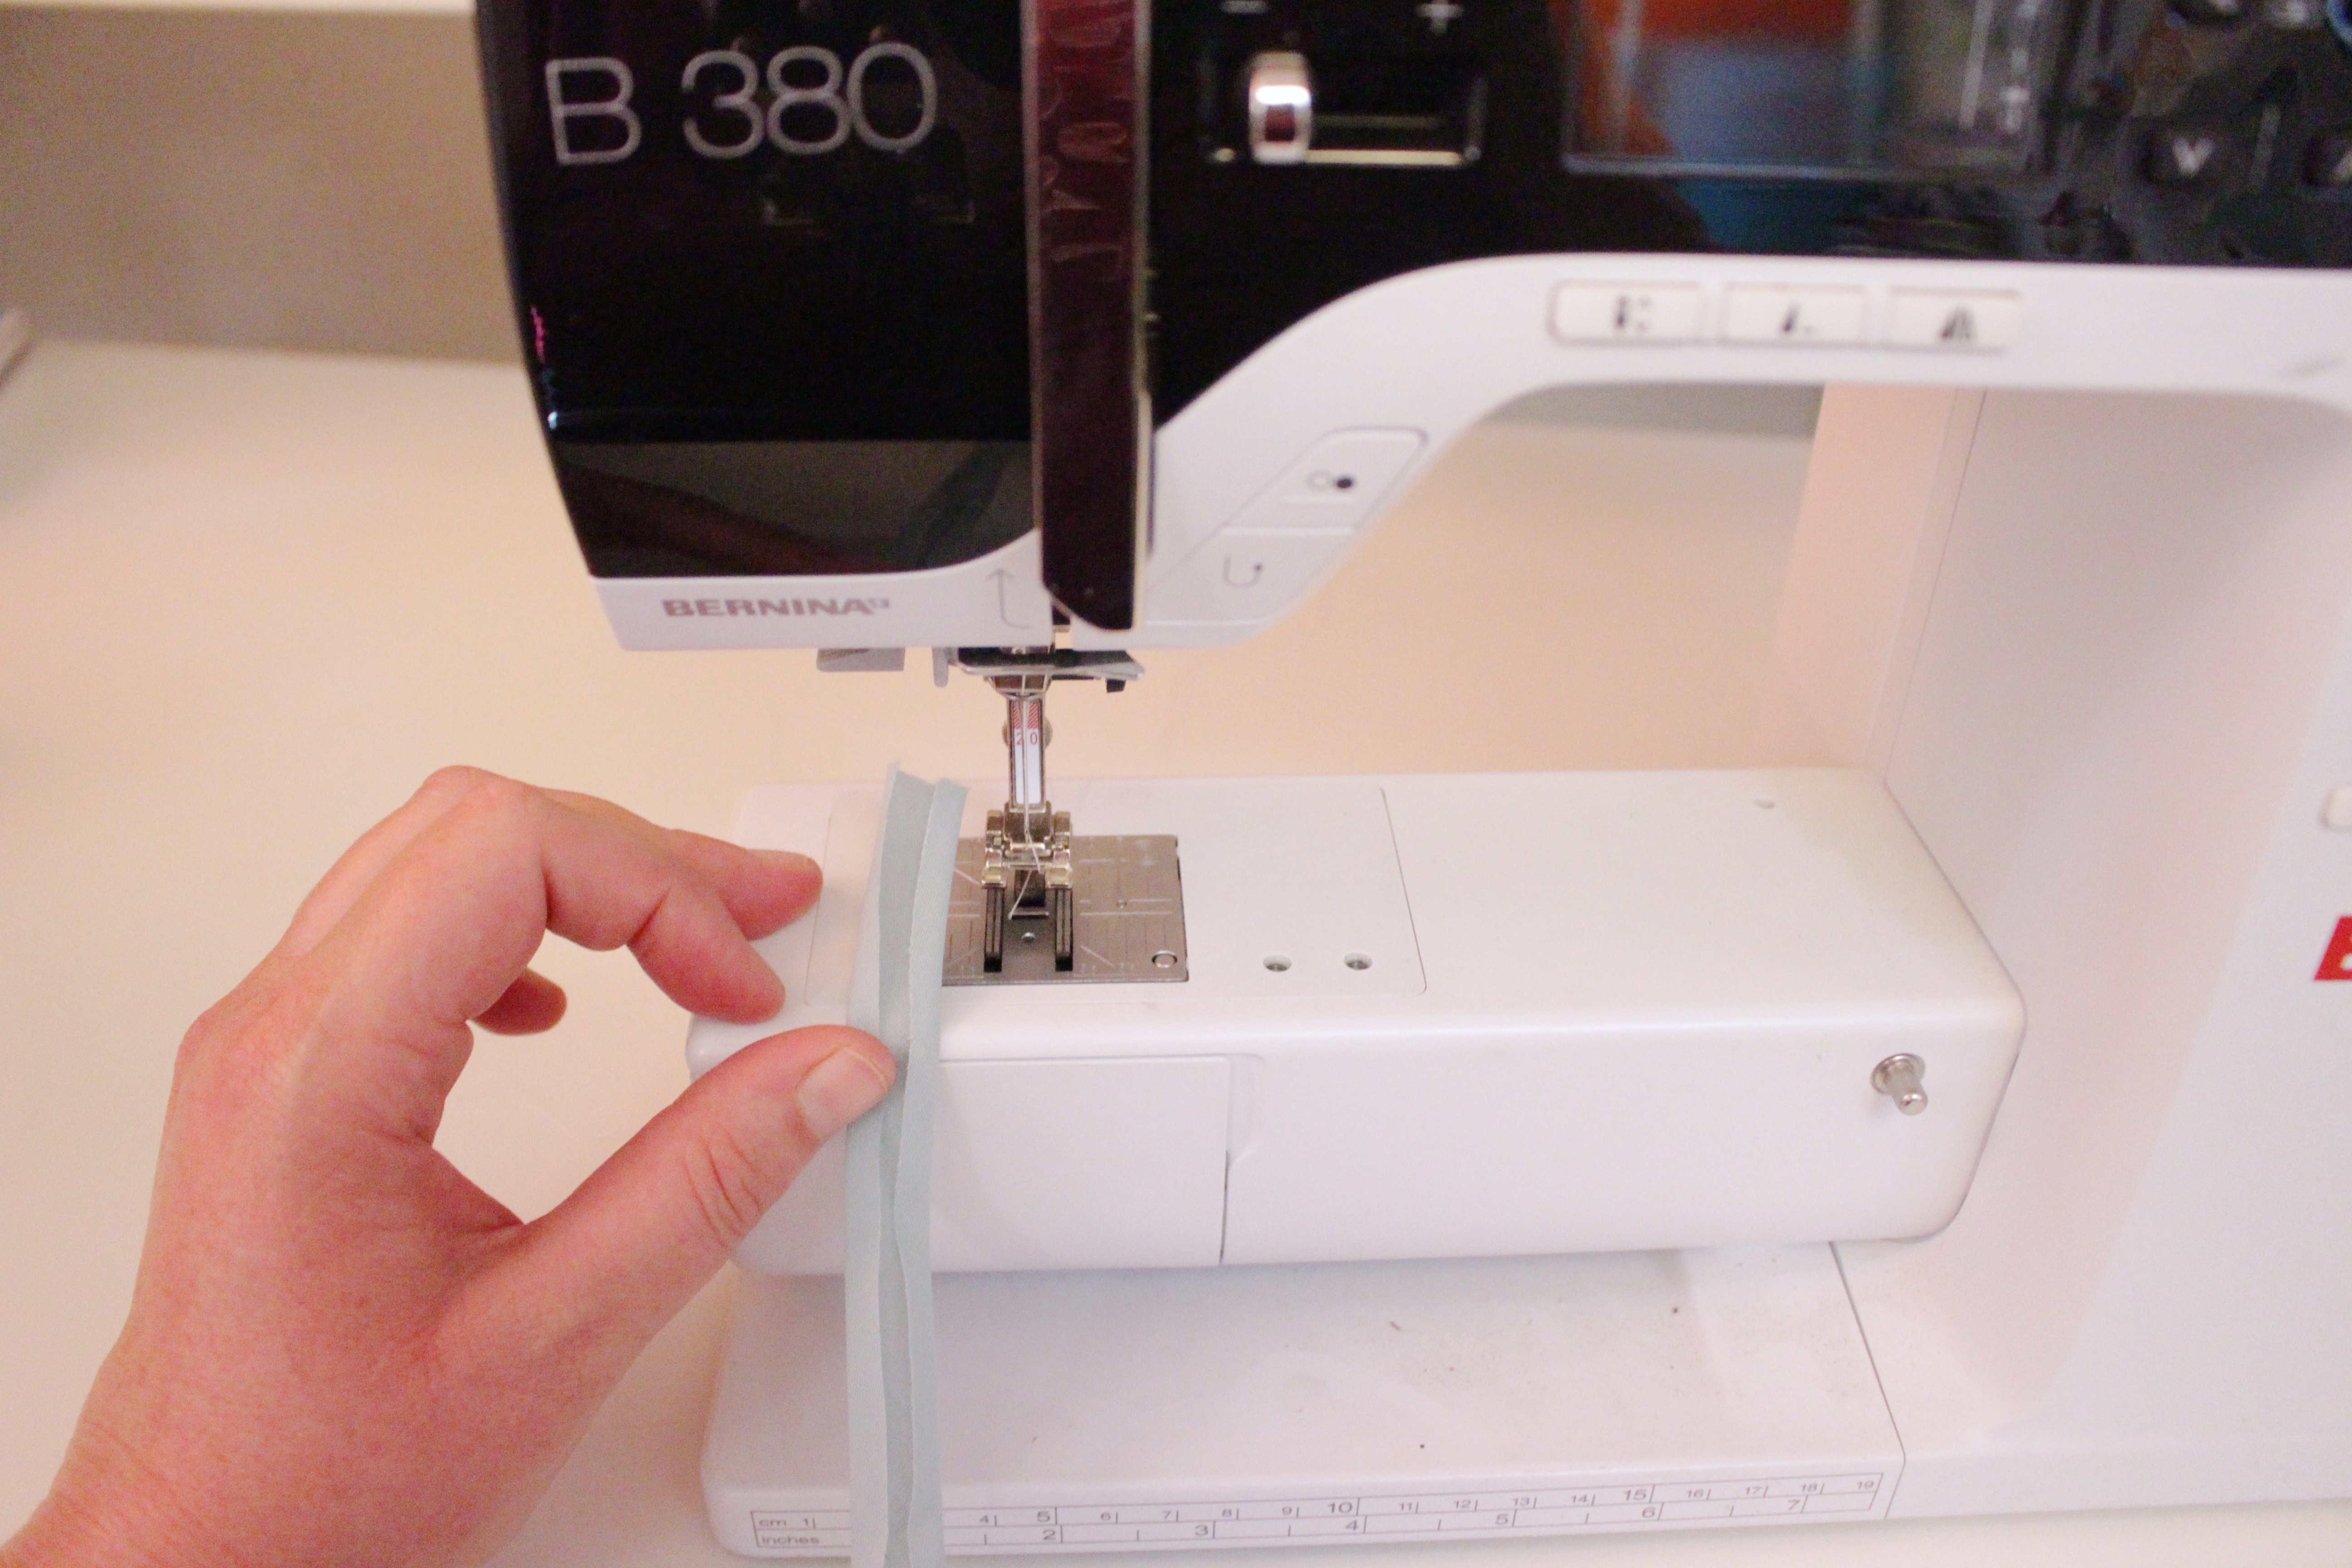
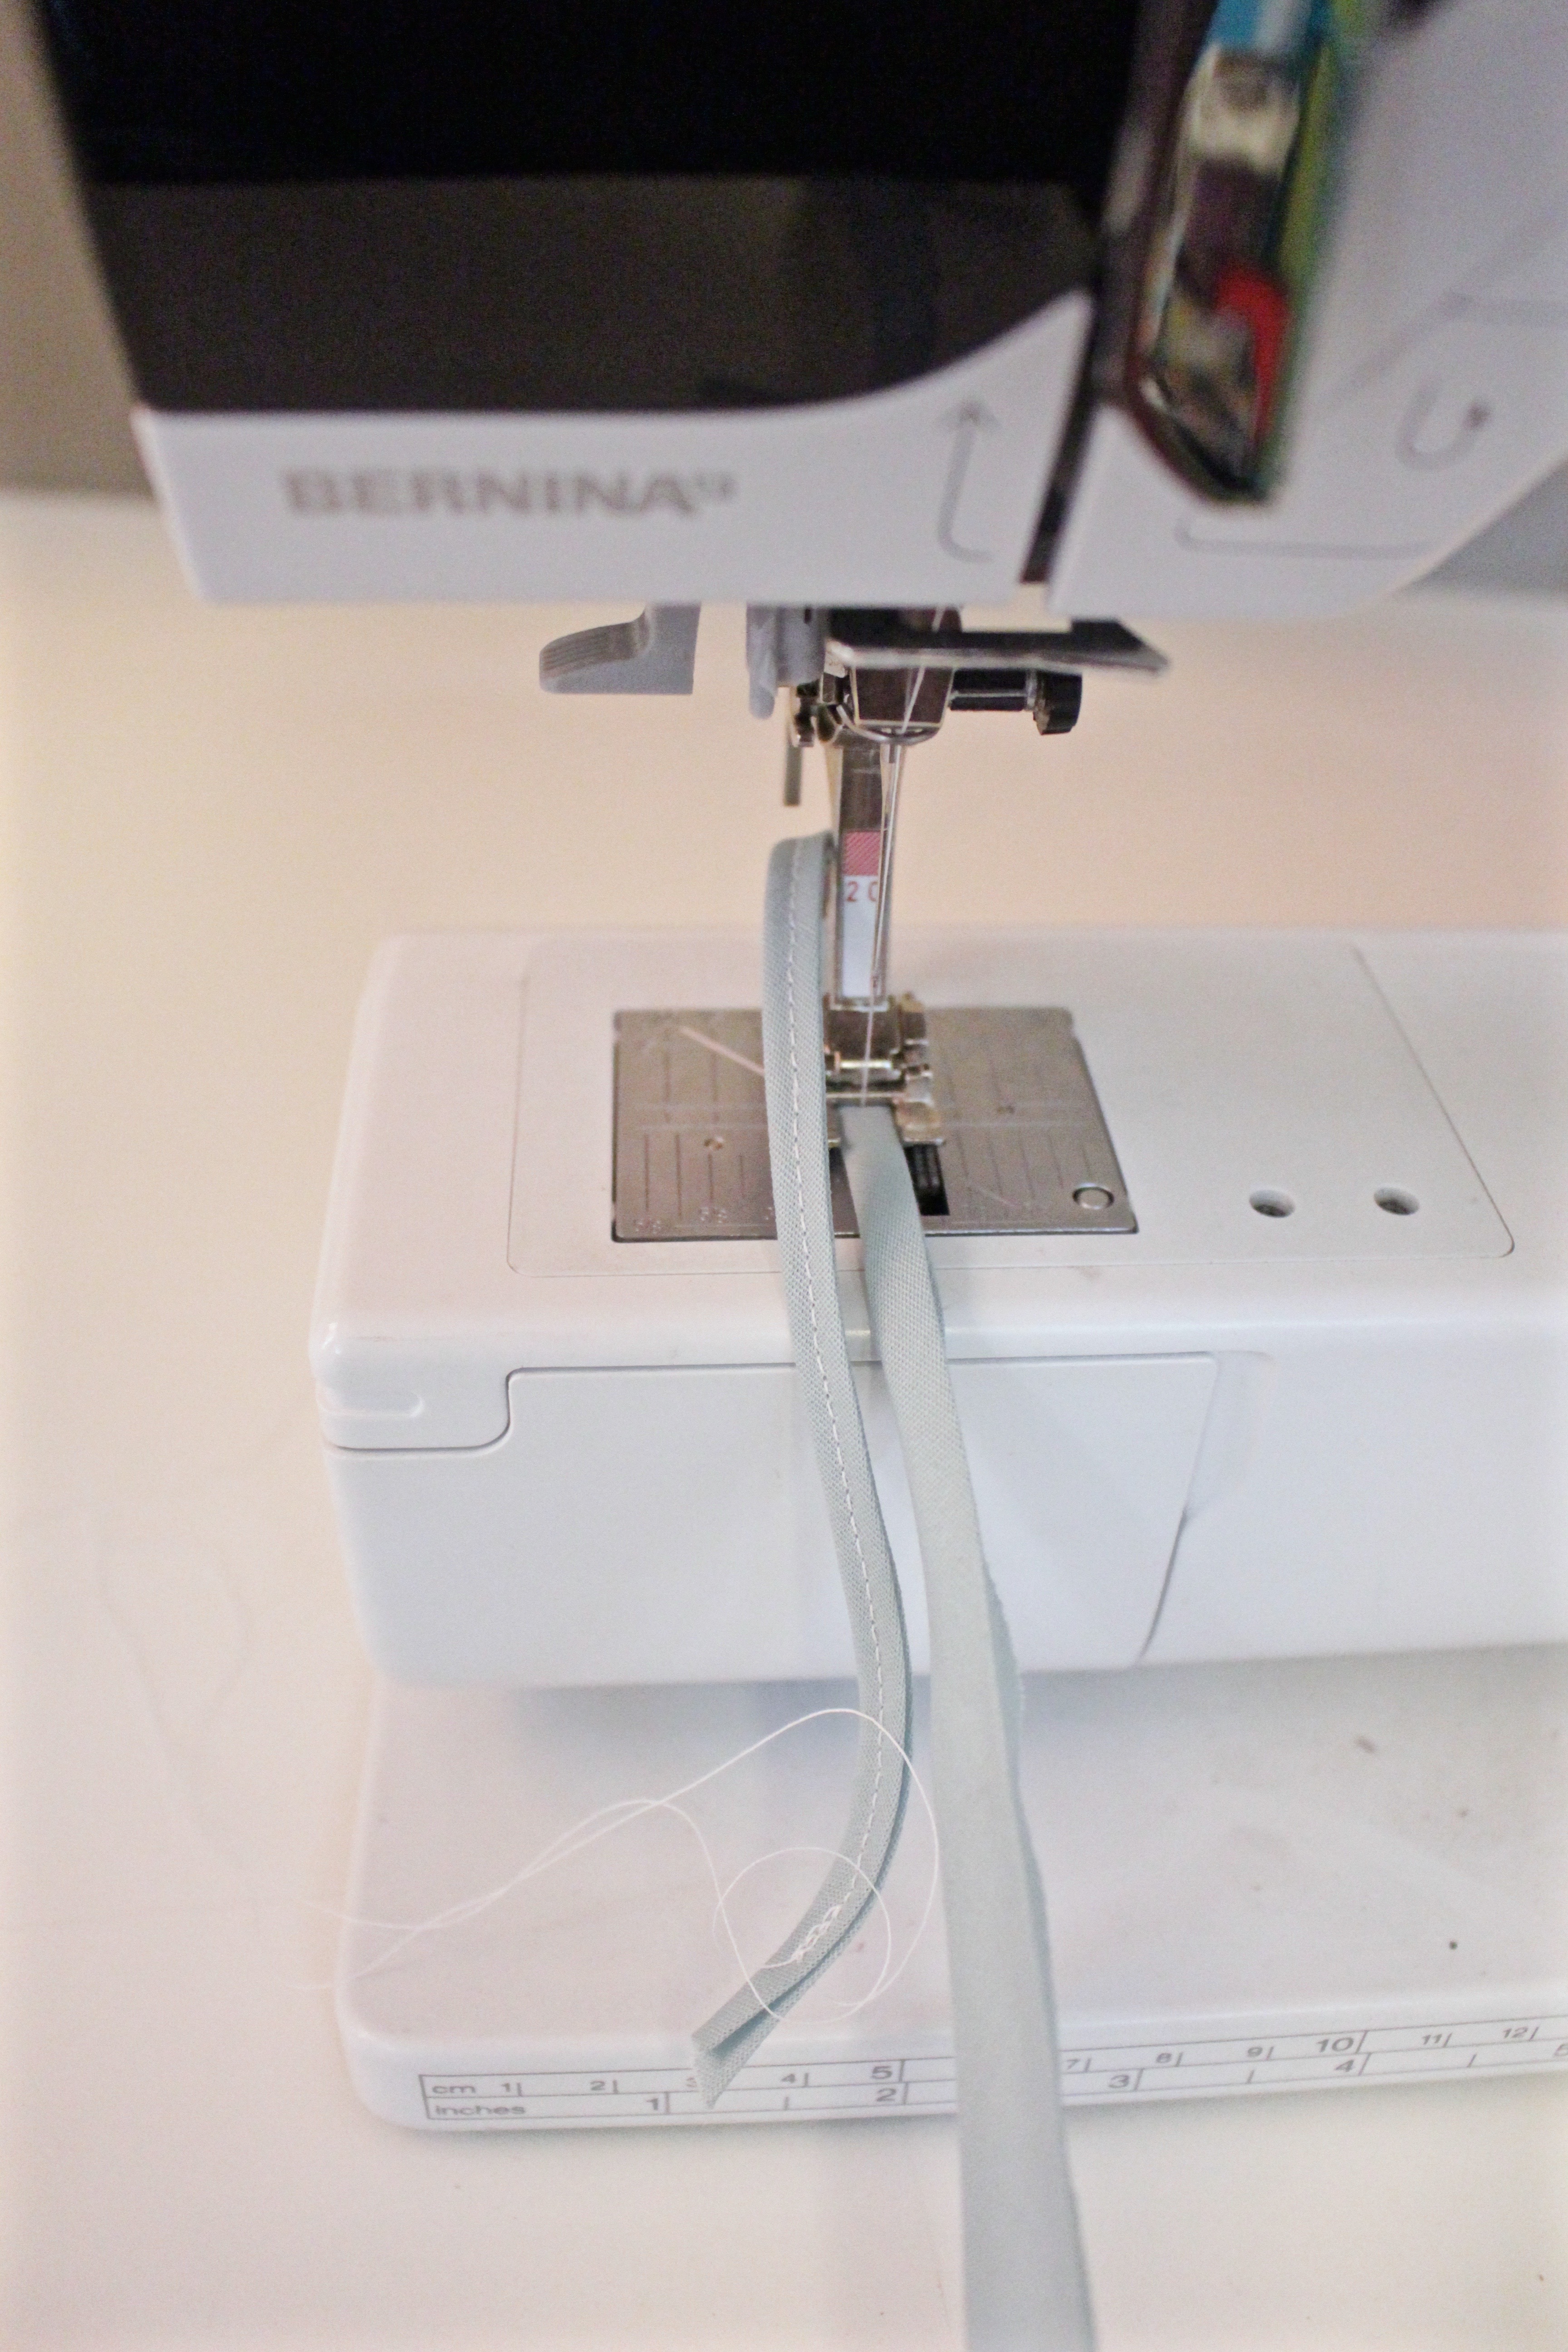
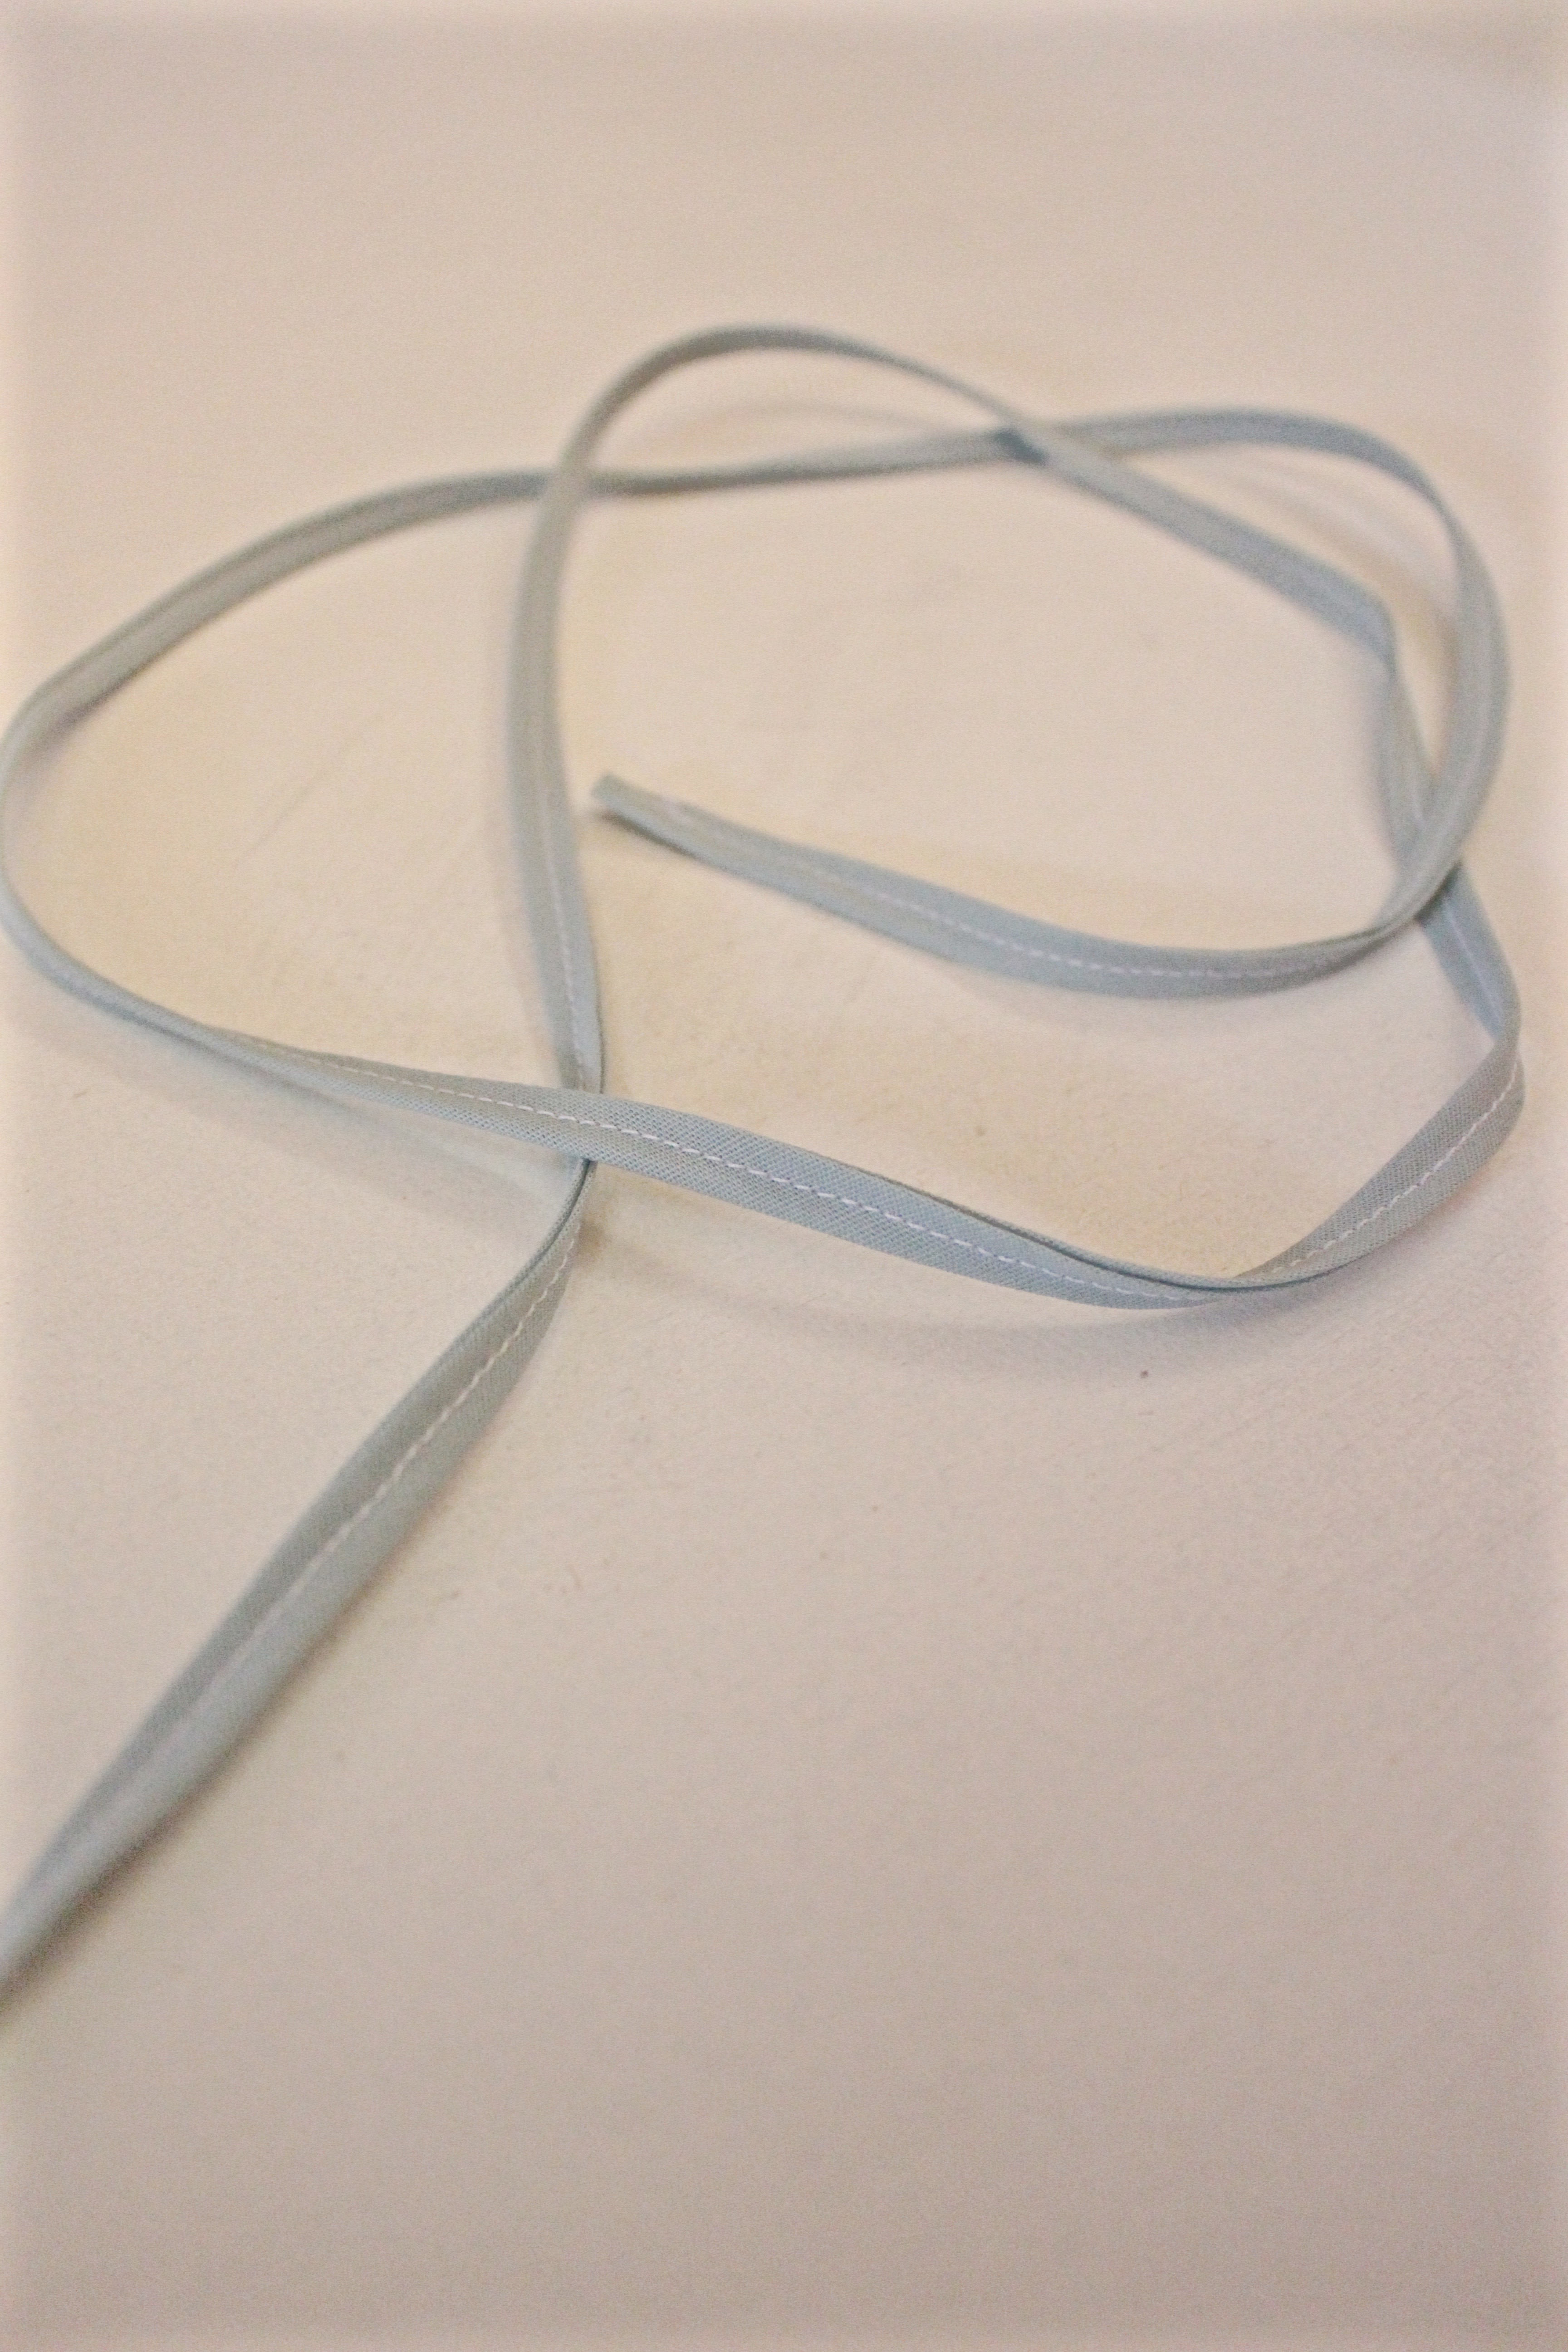
Fold your bias in half width-wise and topstitch along the length of it.
Step 11:
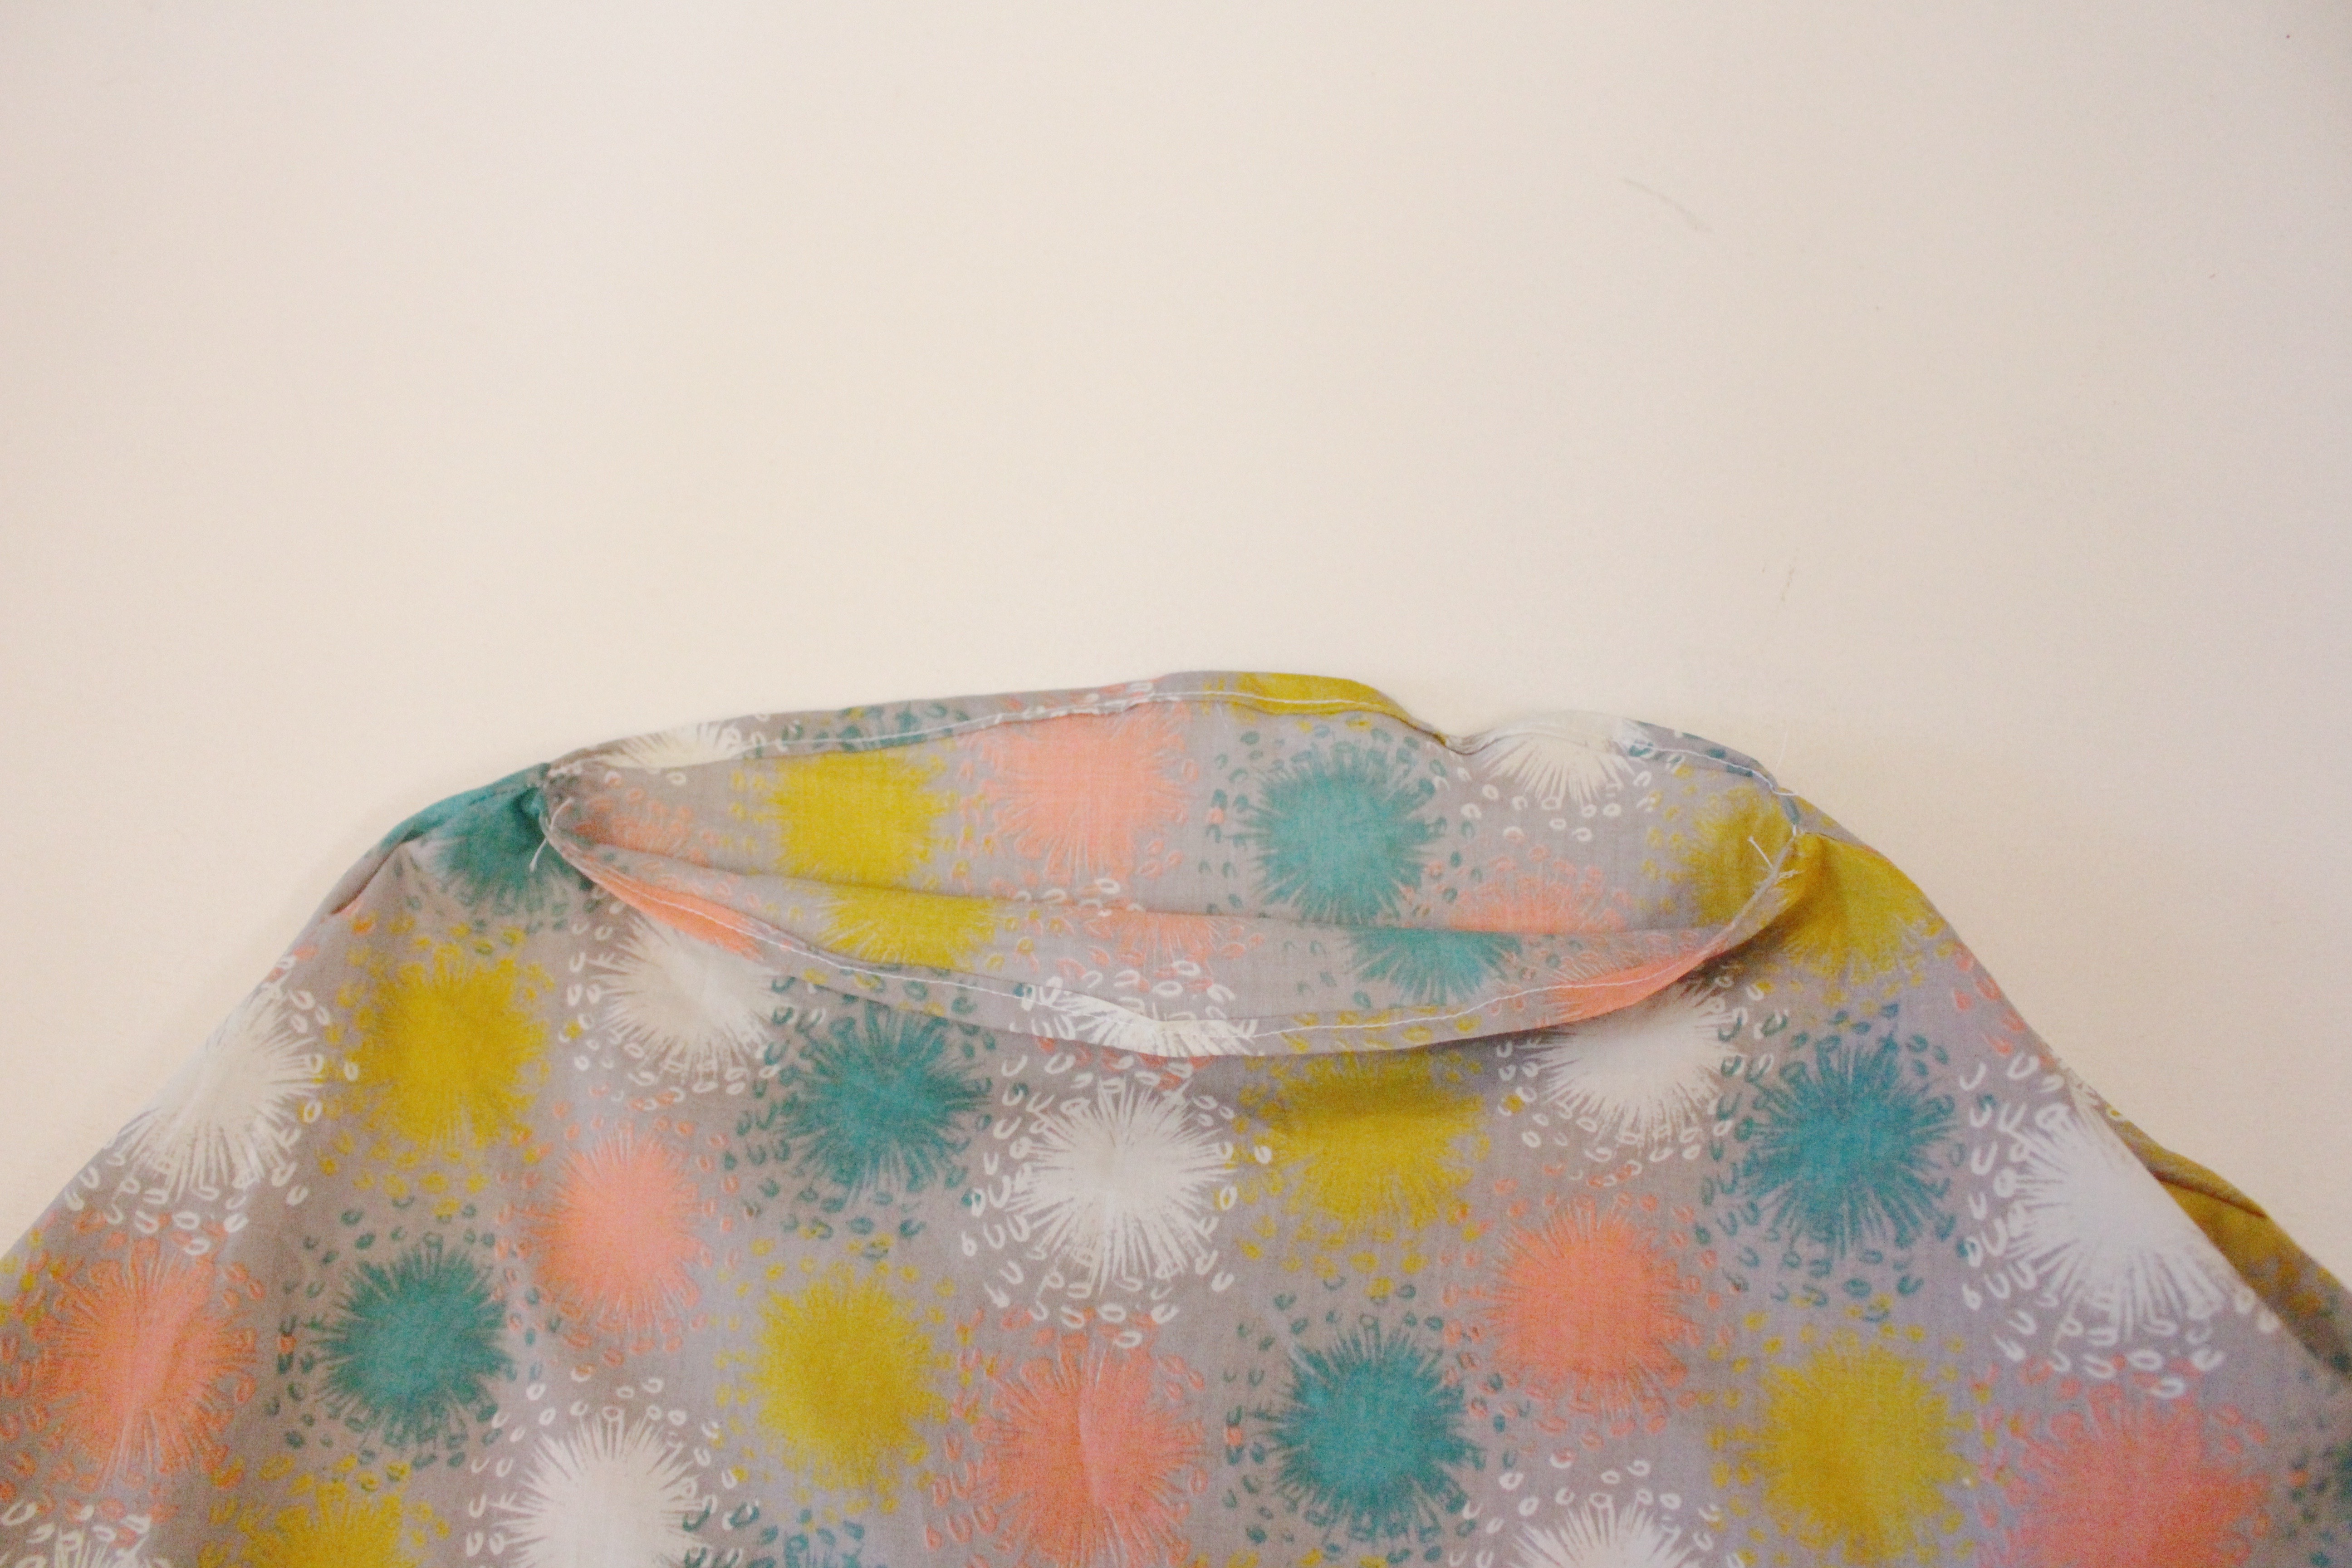
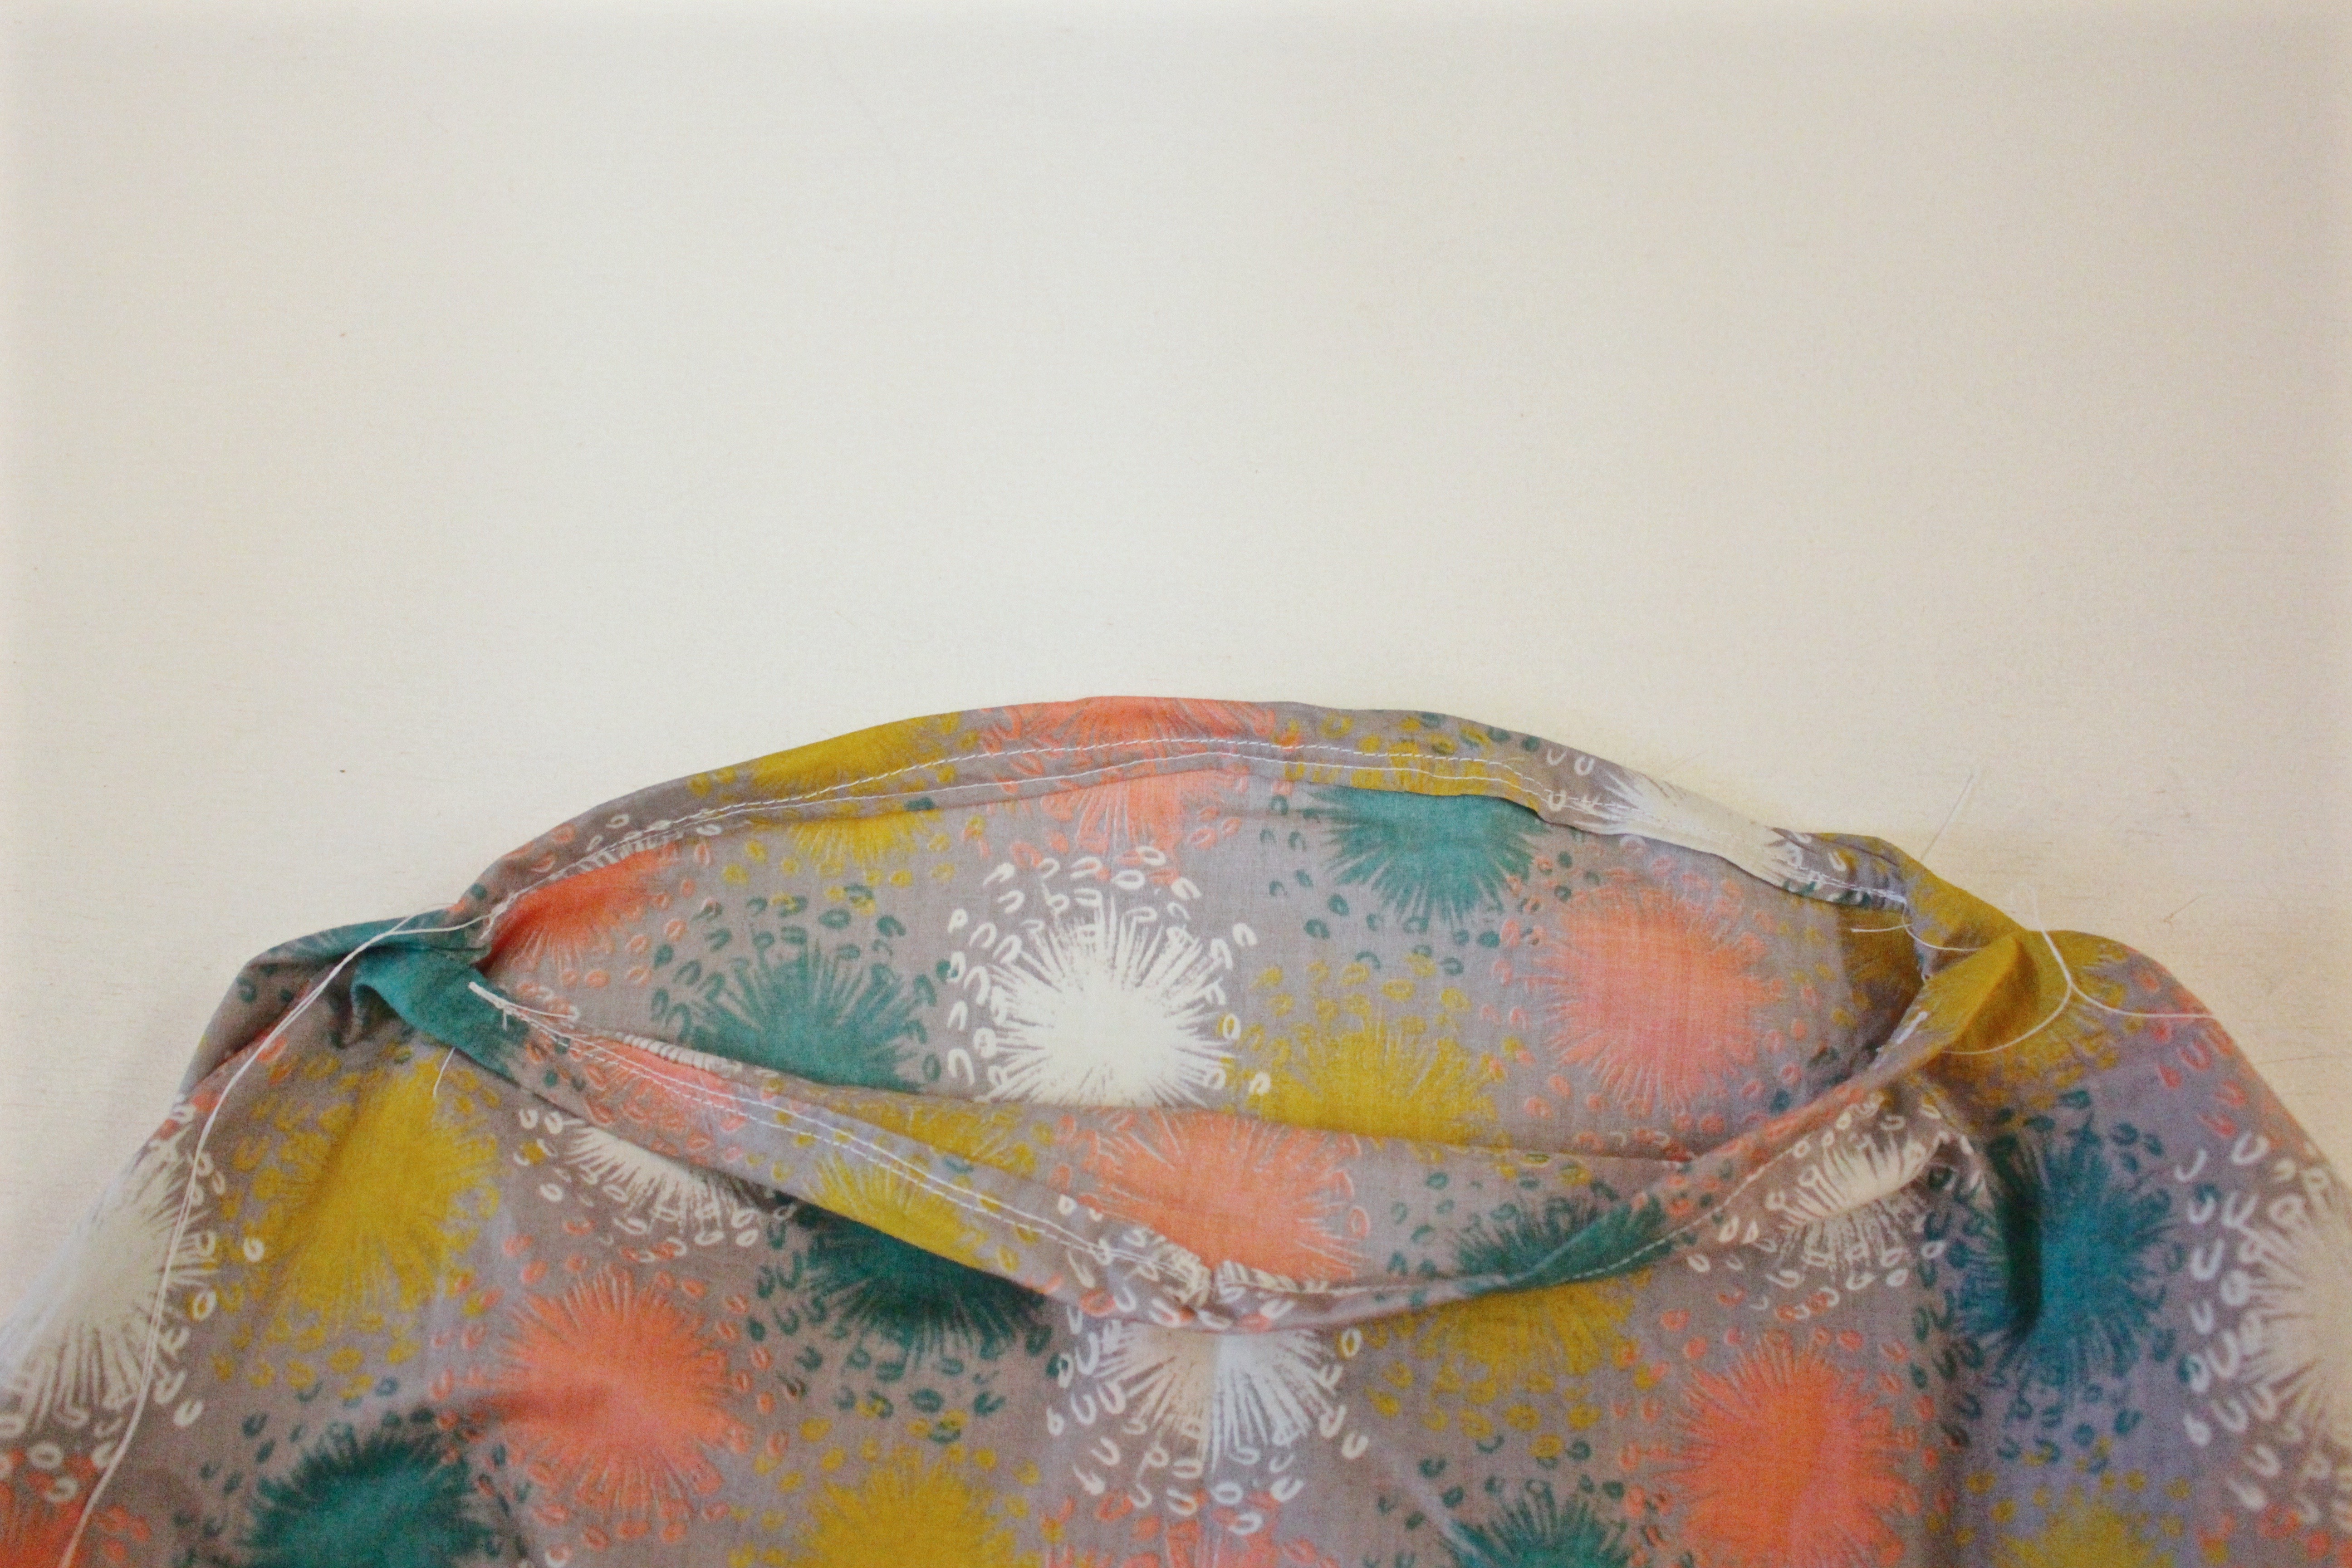
Fold the hemmed opening over about a half of an inch and iron. You’ll be creating a channel to feed your bias tape tie that you just made through. So make sure the channel is large enough for the tie to flow through freely.
Step 12:
Start ¼” of an inch from one corner of the opening and use a straight stitch to sew the channel closed stopping ¼ of an inch before you get to where you started. *If your stitches are not completely perfect (mine are not) don’t worry because when you place your tie in your opening you’ll gather it and your stitches won’t be seen.
Step 13:
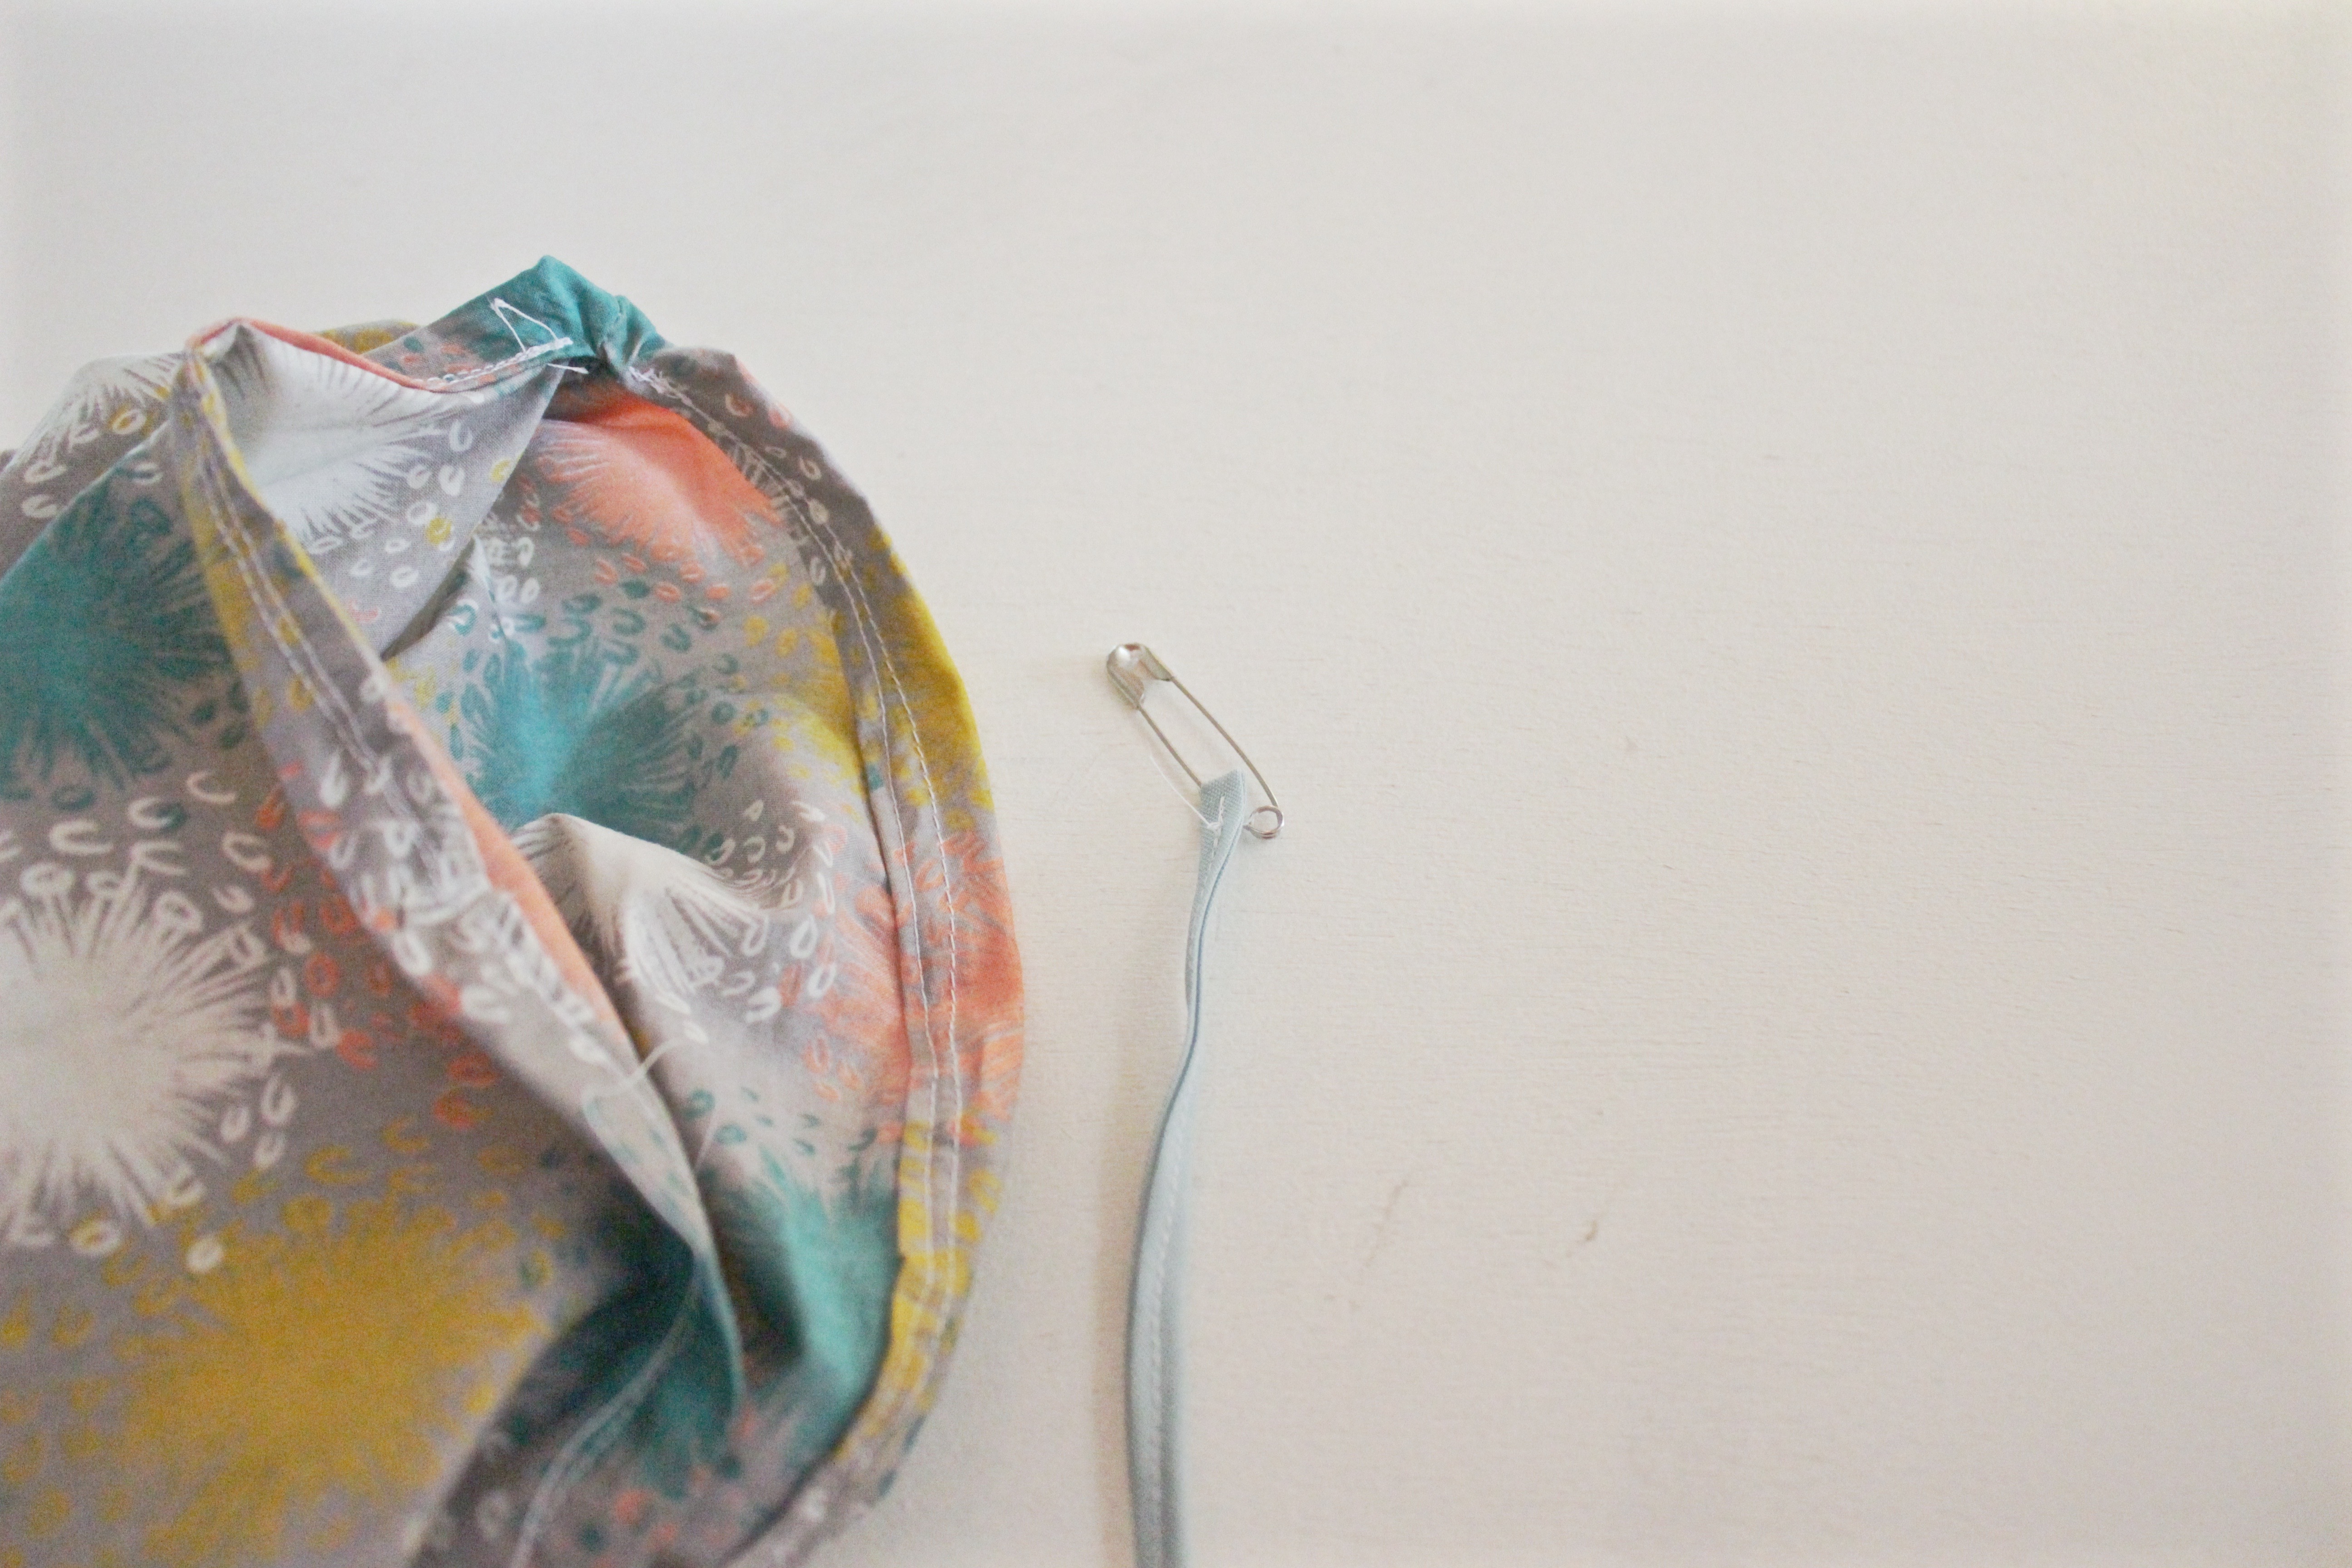
Attach a safety pin to one end of your tie and feed it through one of the ¼” inch openings in your channel. Feed the tie through the whole channel pushing the fabric along.
Step 14:
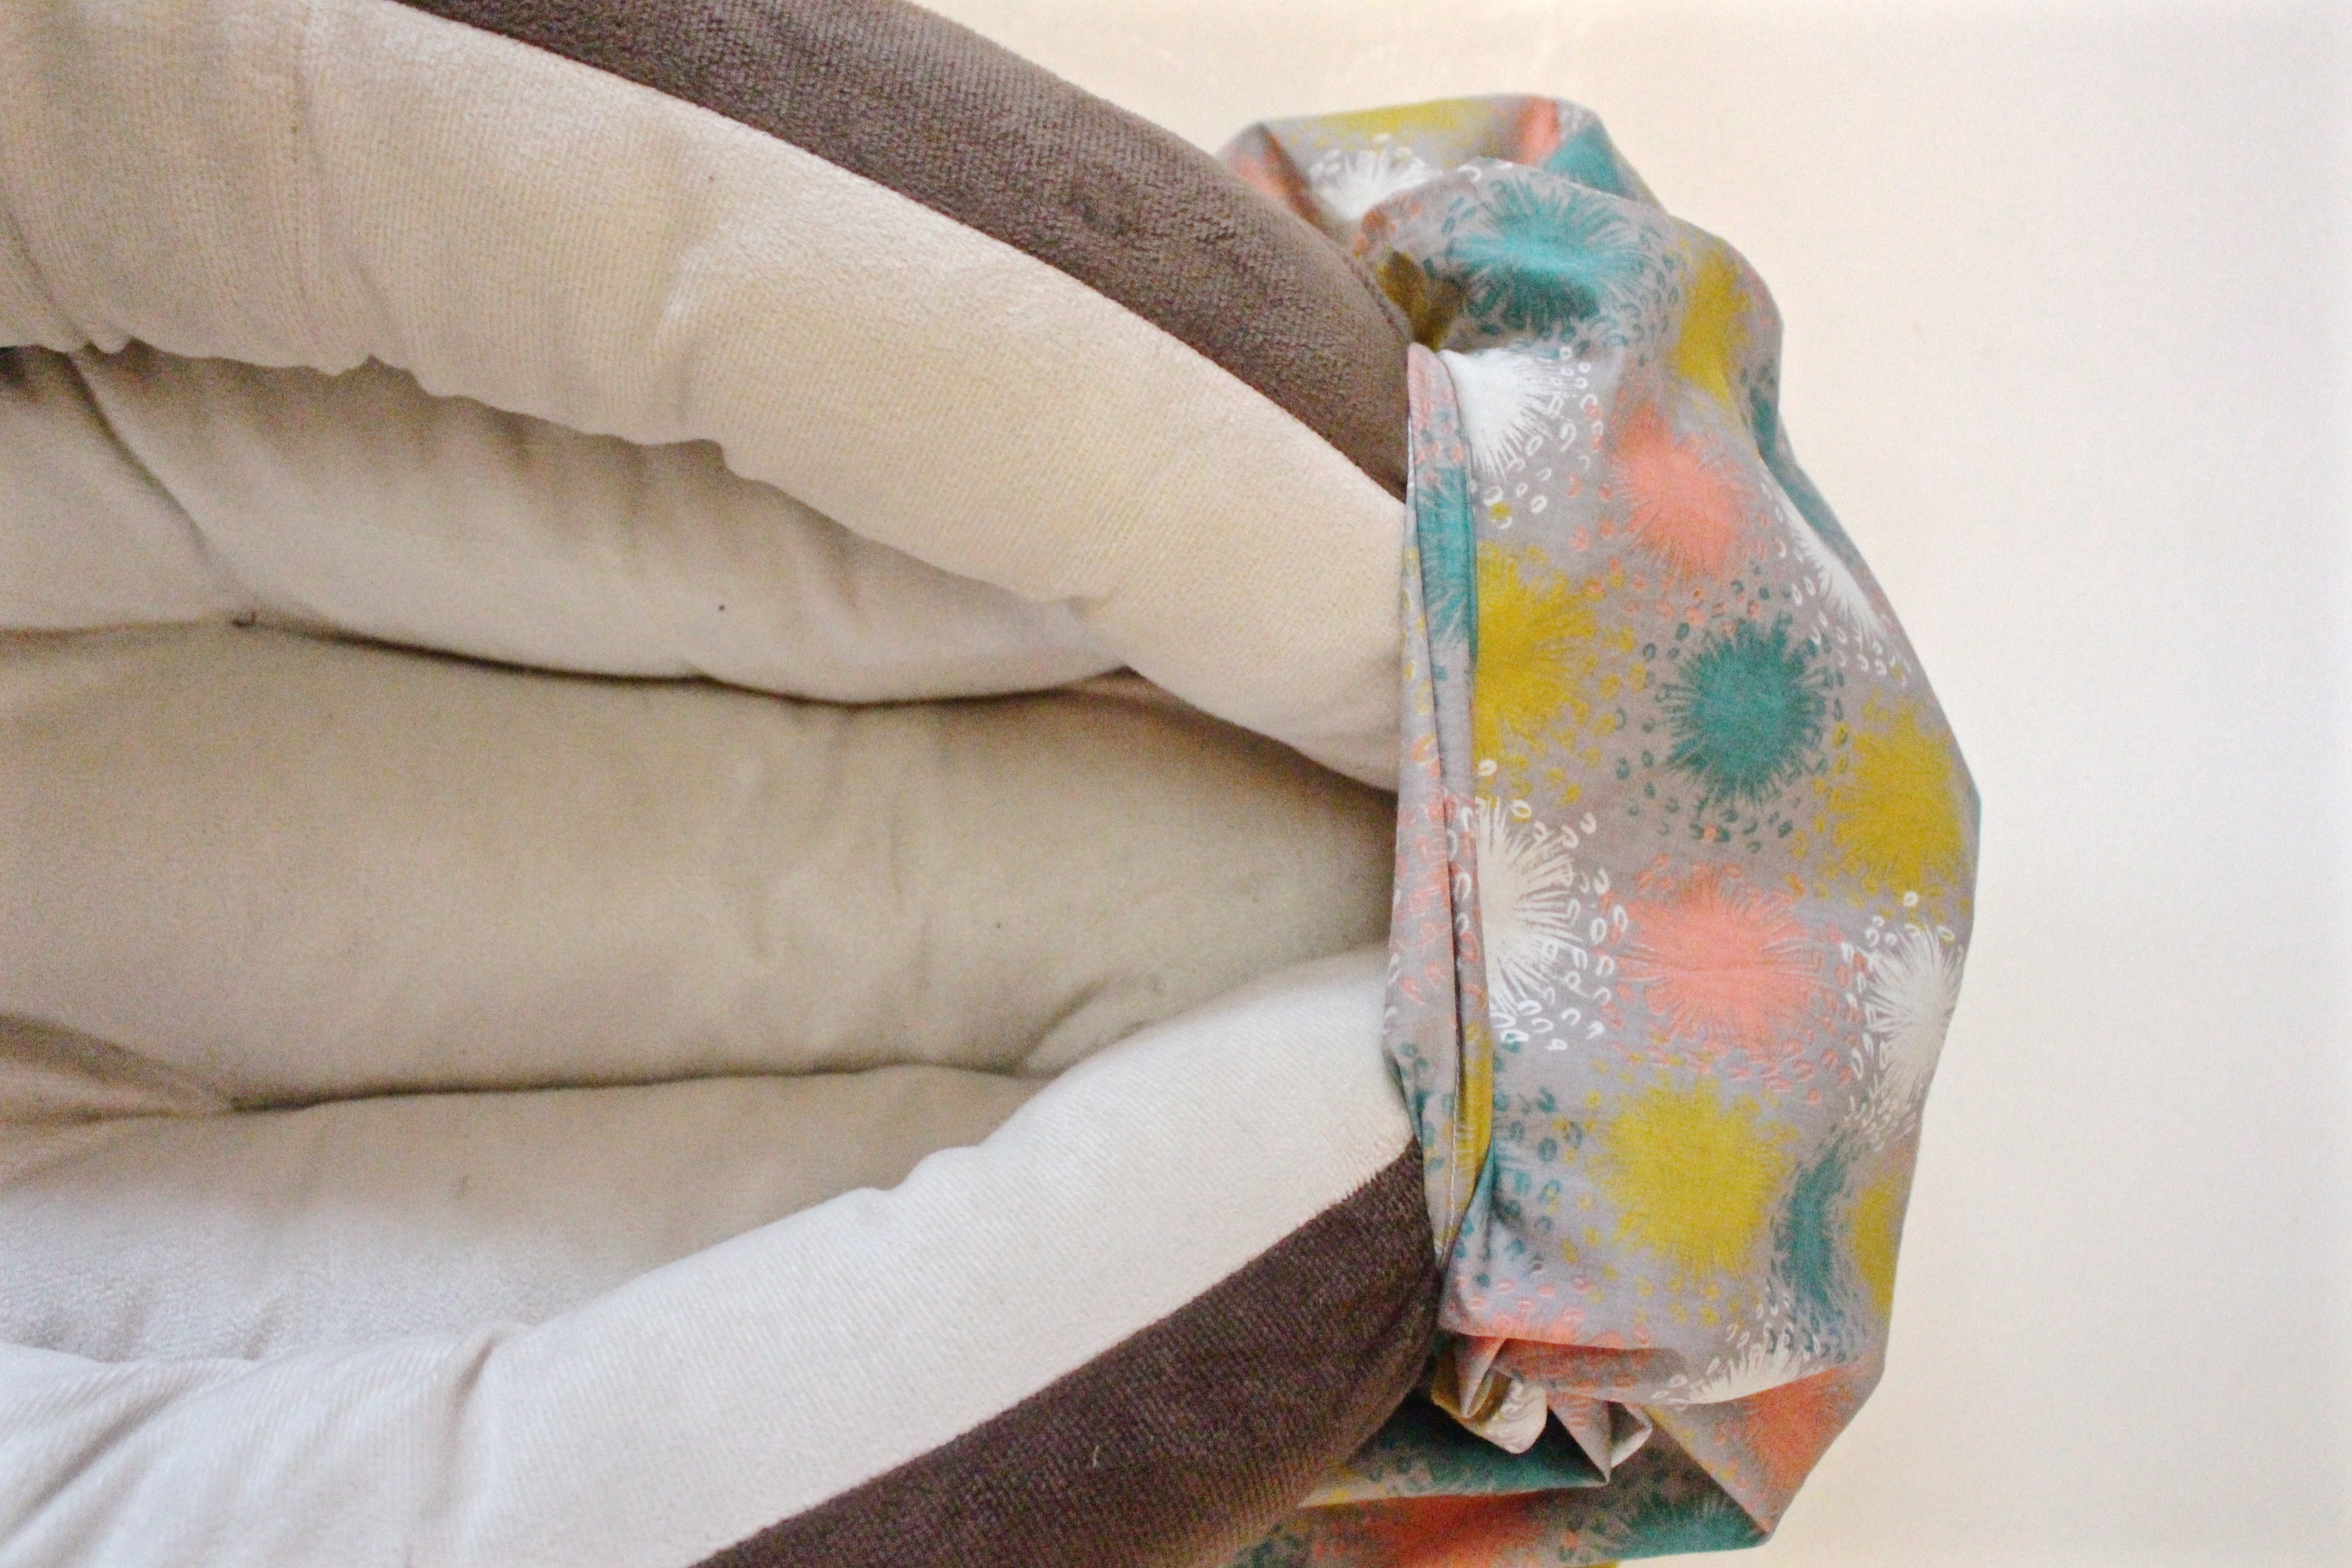
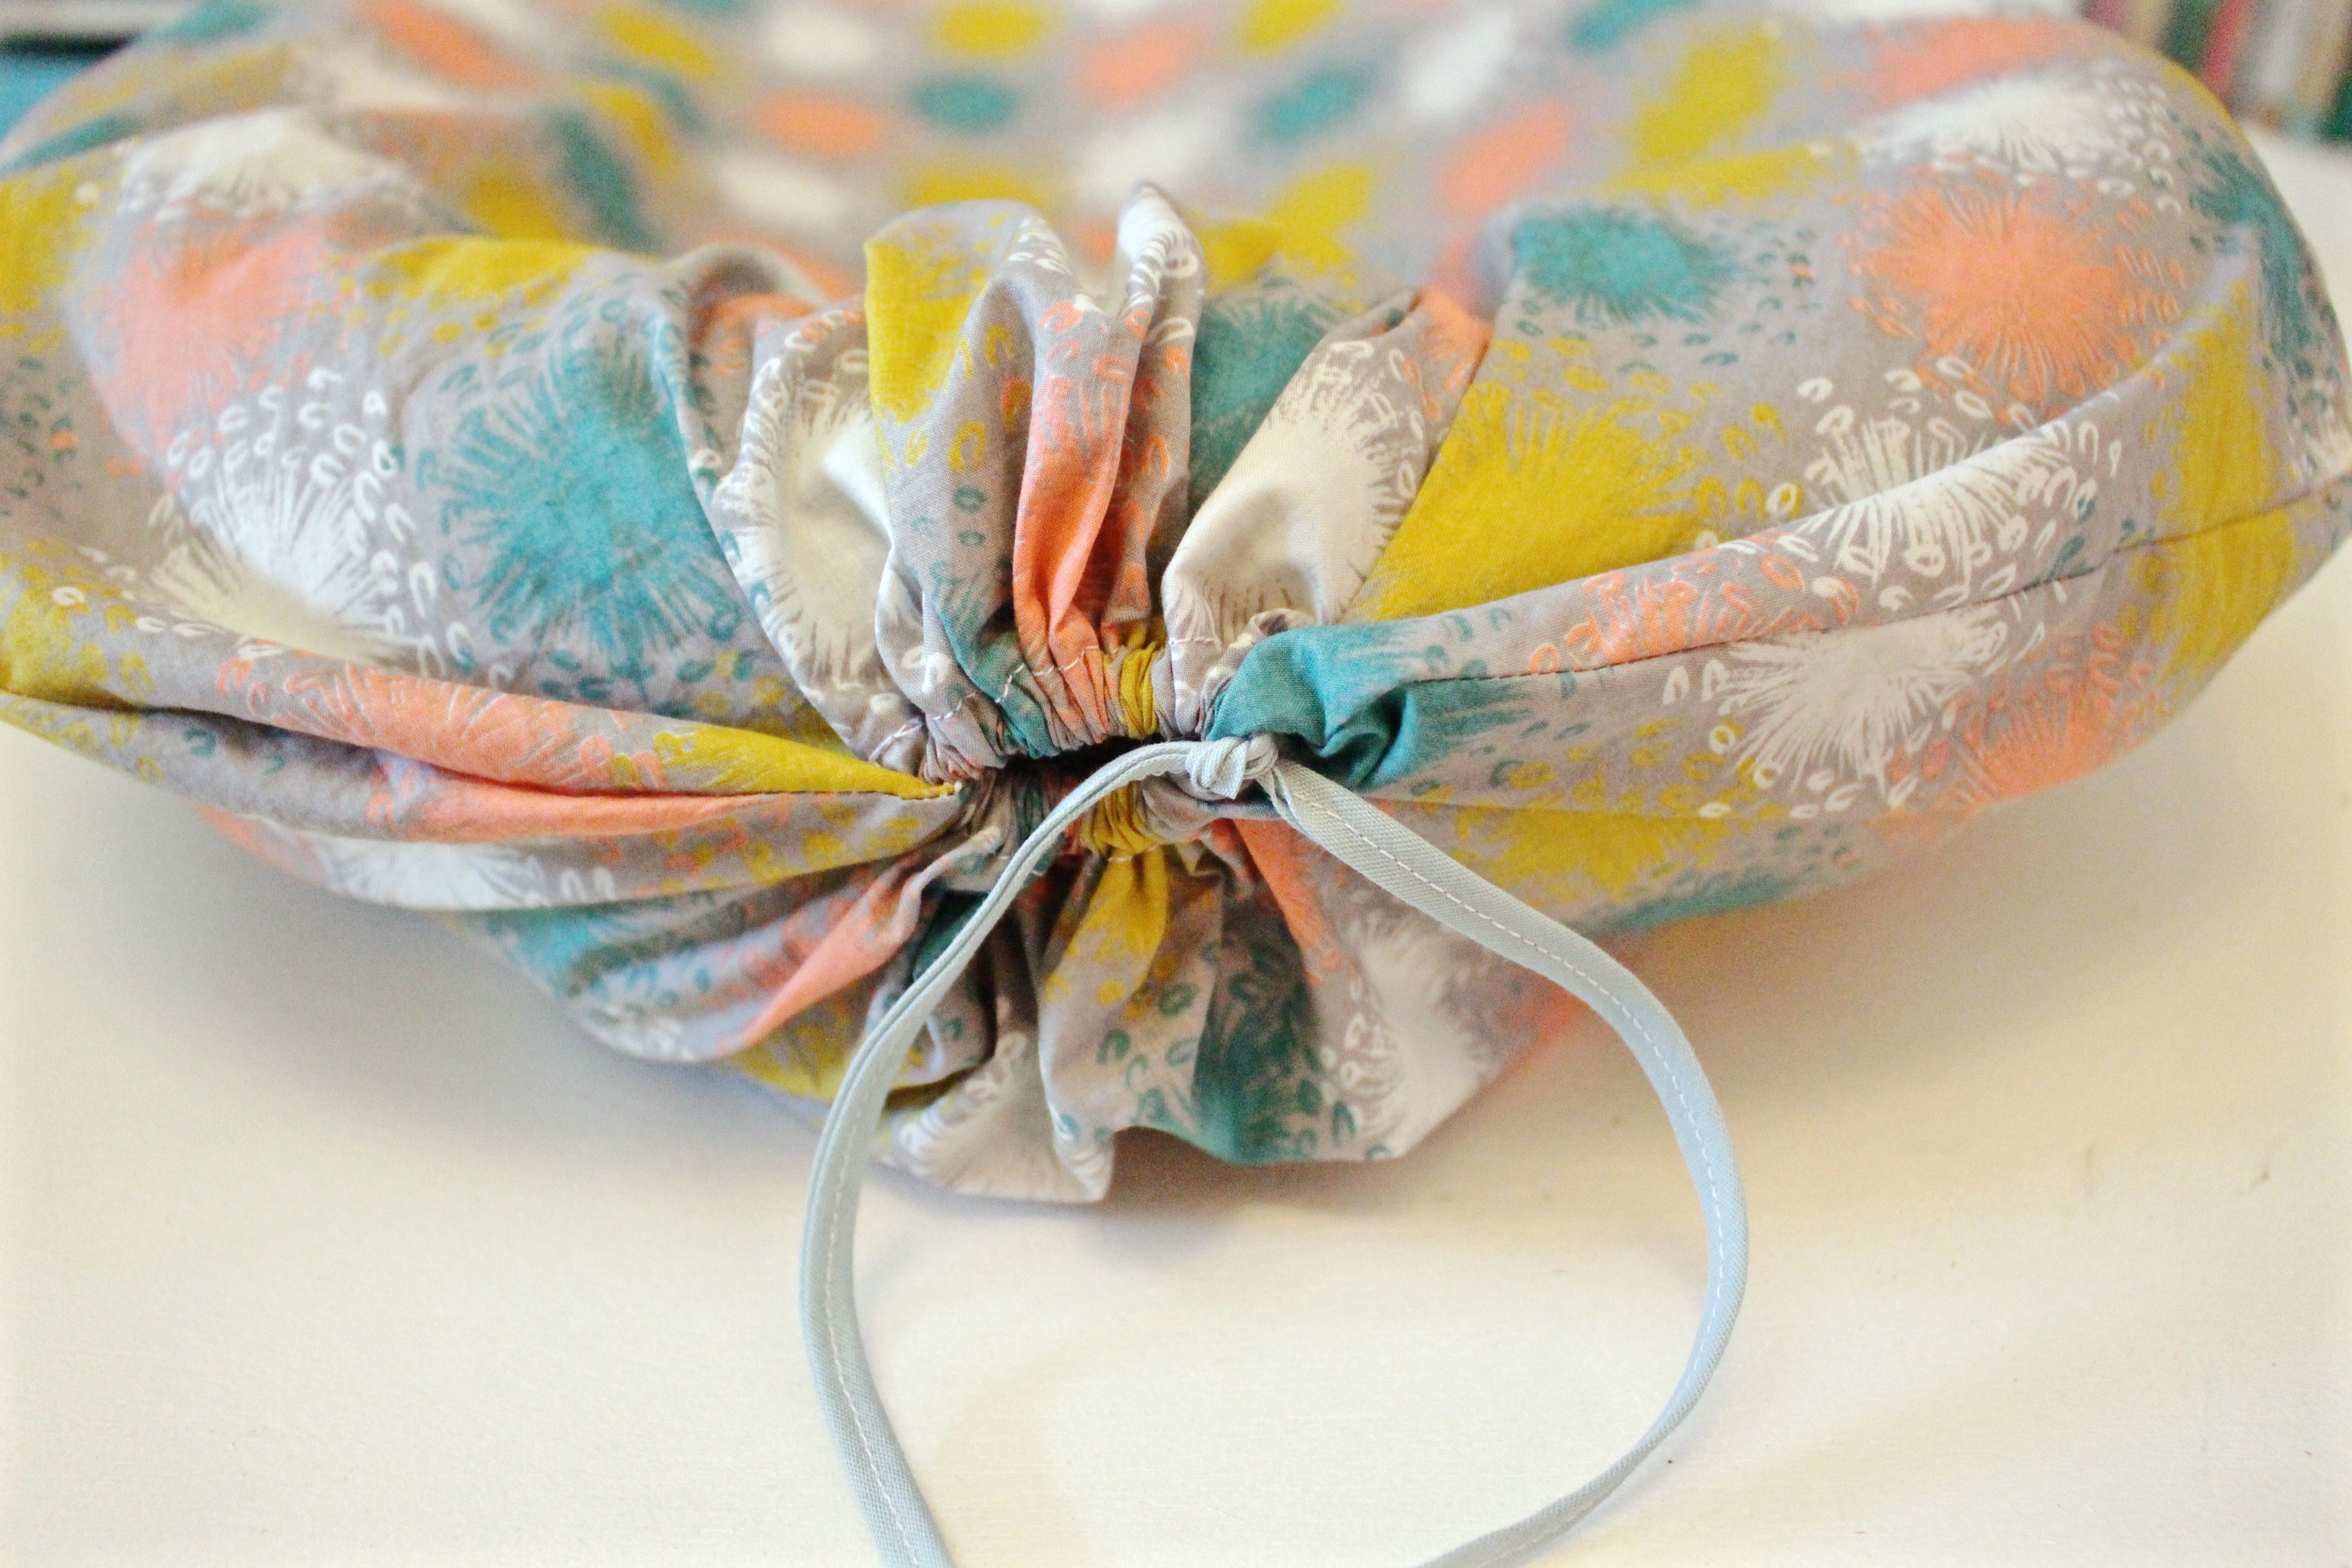
Squeeze your dog bed into your cover through the opening and then pull the ends of the ties to close up the whole. Tie a knot or a bow and trim the ends as needed. Don’t trim them too short because you’ll need to open it when you want to remove the cover to wash it. You can also tie a knot on the ends of your tie so that it doesn’t slip into the channel when you’re removing the cover.






2 comments on “DIY Dog Bed Cover”
Love this design…
and the intro to this blog article! hehehe…”this guy showed up and built the shed…”
Hope that you enjoy your new studio!
Deb