Embroidery on Leather with the B 990
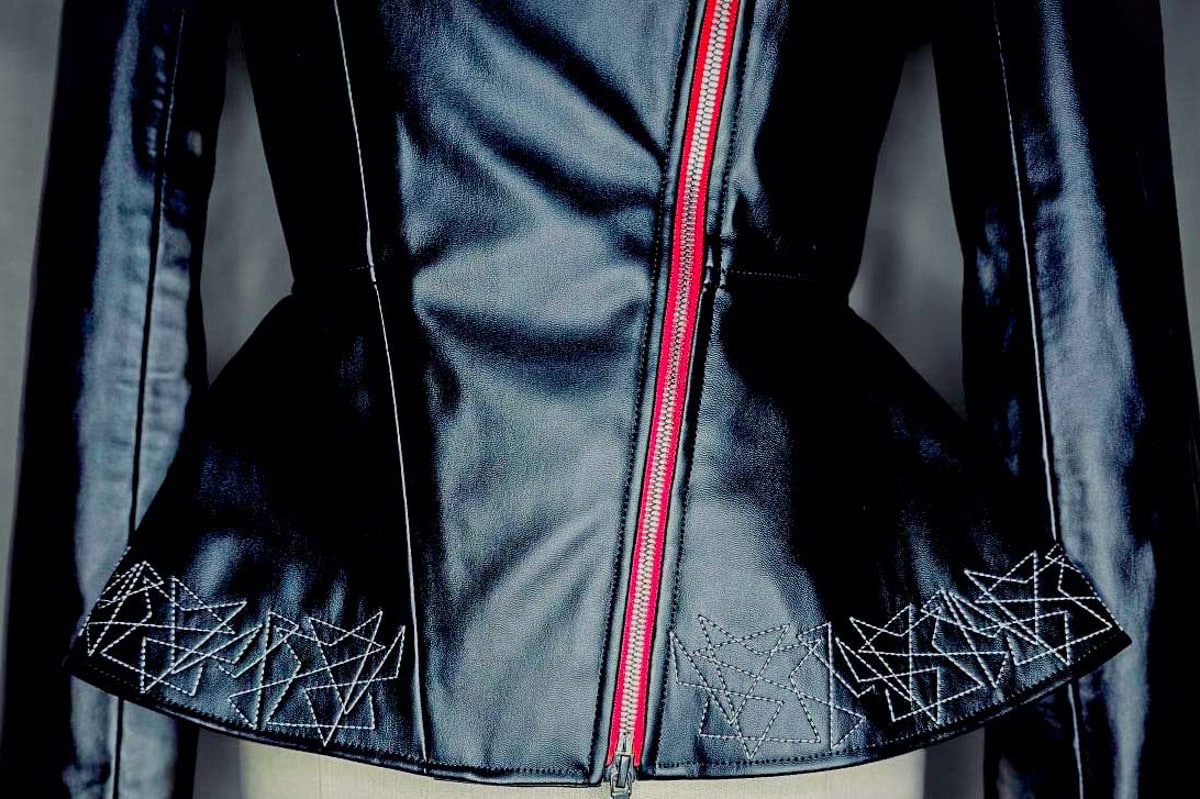
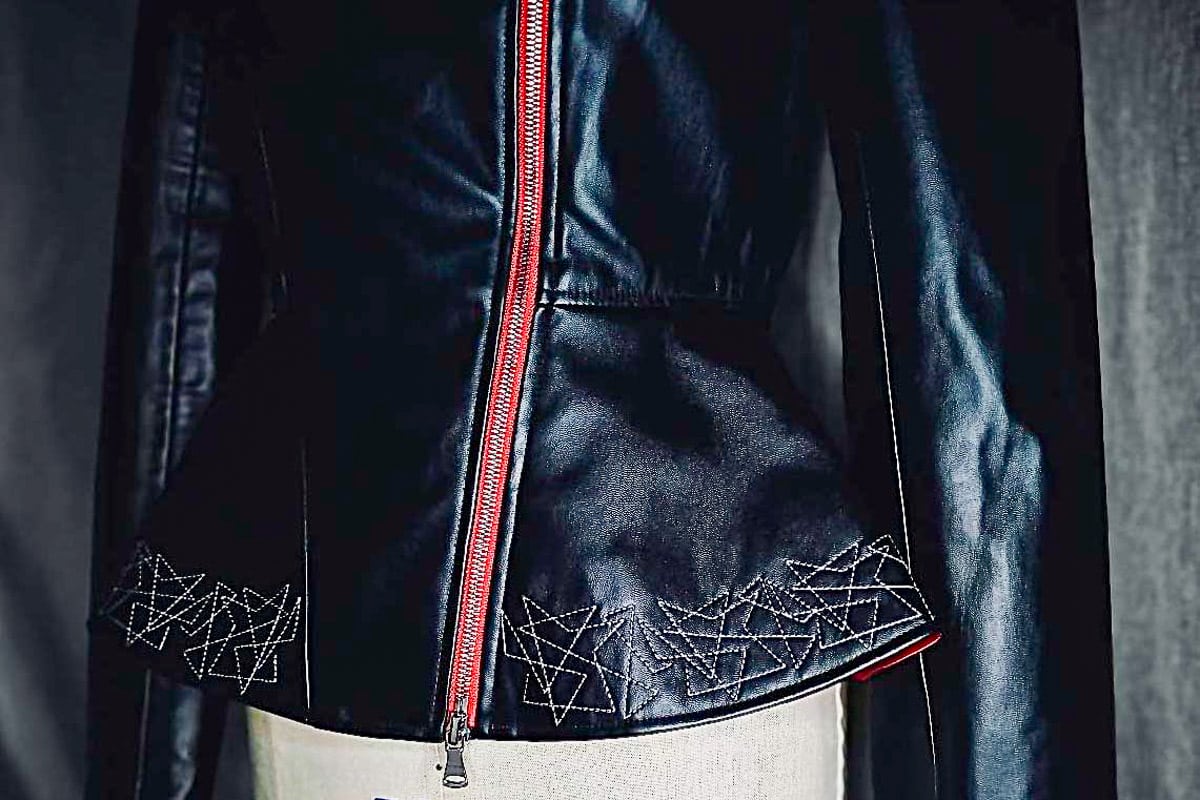
Have you ever thought about introducing embroidery to your favorite leather? With the B 990, you’re going to see just how easy it is to do. In this article, I am going to walk you through the process of adding embroidery to your next leather project.
Materials for Embroidering on Leather
- B 990
- Giant Hoop
- 90/14 Embroidery needles
- StabilStick CutAway Embroidery Stabilizer
- Embroidery thread
- OESD Bobbin Thread
- Tailor’s Chalk or any disappearing marking tool
- Precut pattern pieces
- BERNINA High Thread Tension Bobbin Case (optional)
- Rubber cement (optional)
Step 1: Prepare Fabric
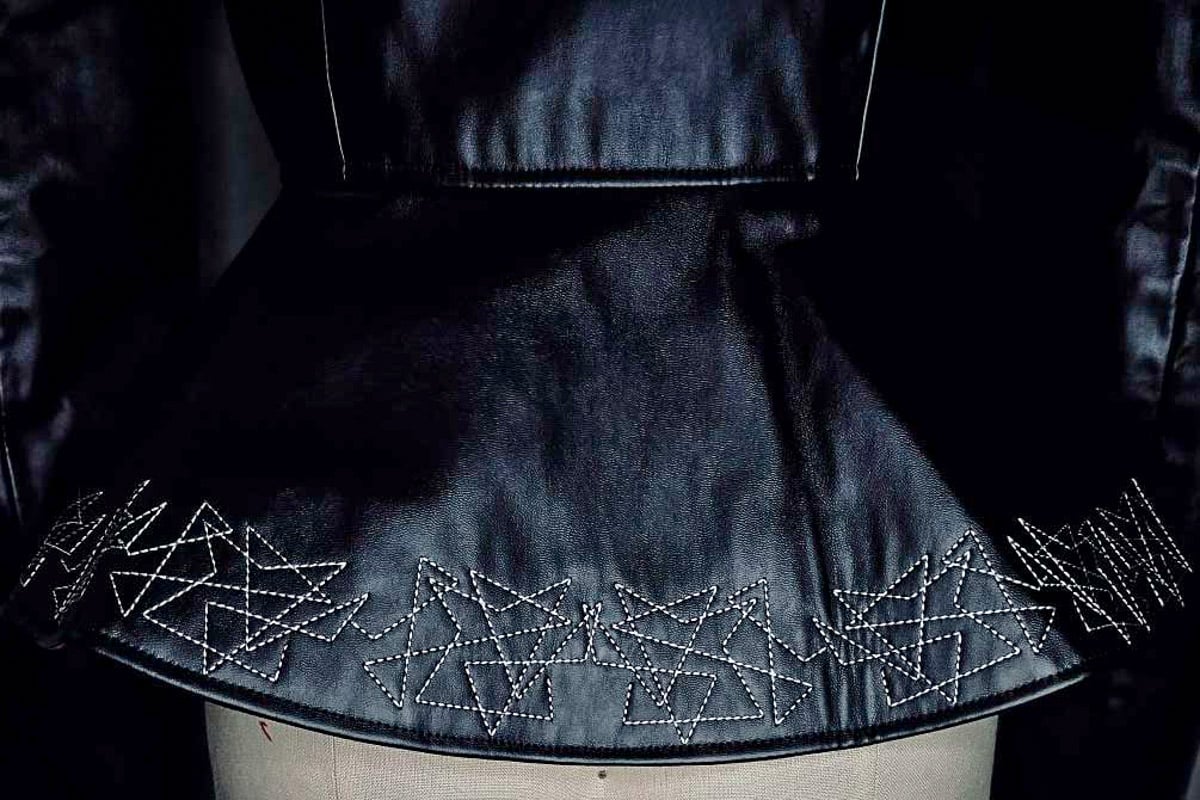
First, cut all pattern pieces that will be embroidered prior to embroidering. I am using the front and back peplum sections of a leather jacket for my embroidery.
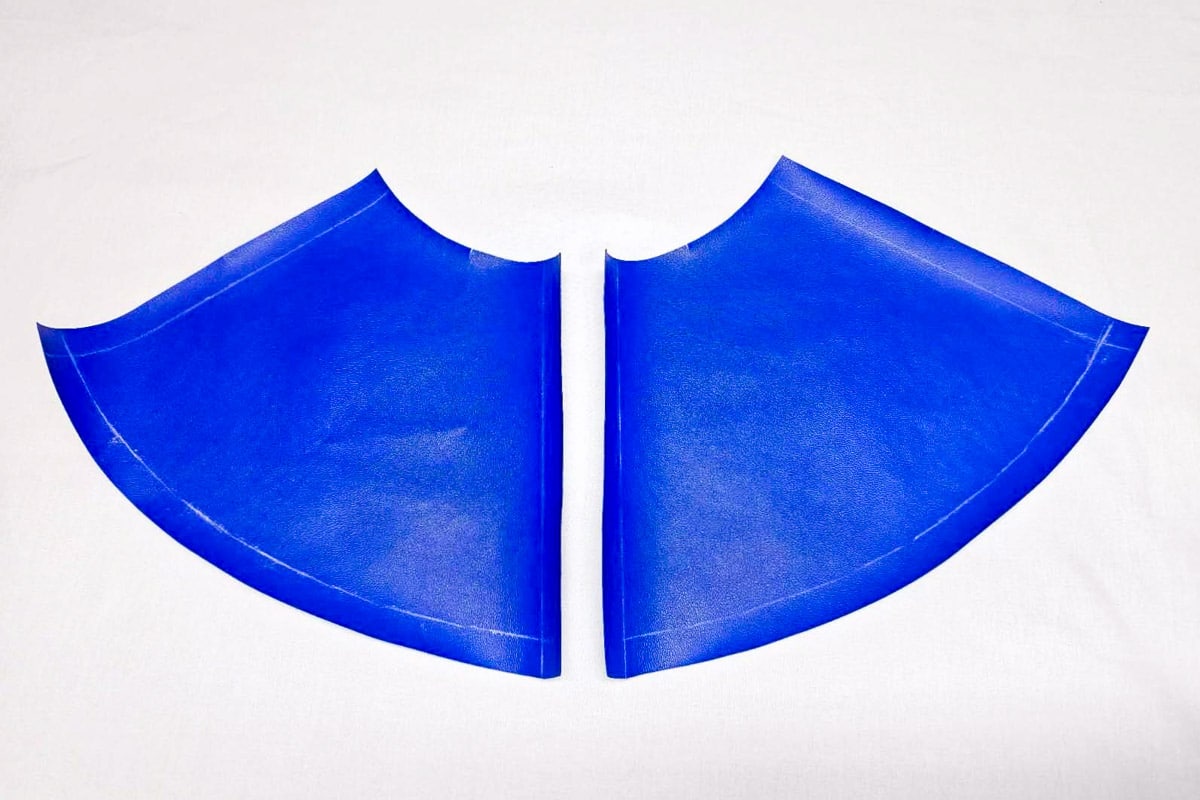
After cutting your pieces, mark the seam and stitch lines on each section with Tailor’s Chalk. For my Front piece, I marked the center front, side seams, and lower edges. These markings will be helpful once you have scanned the pieces into the machine and begin placing your design.
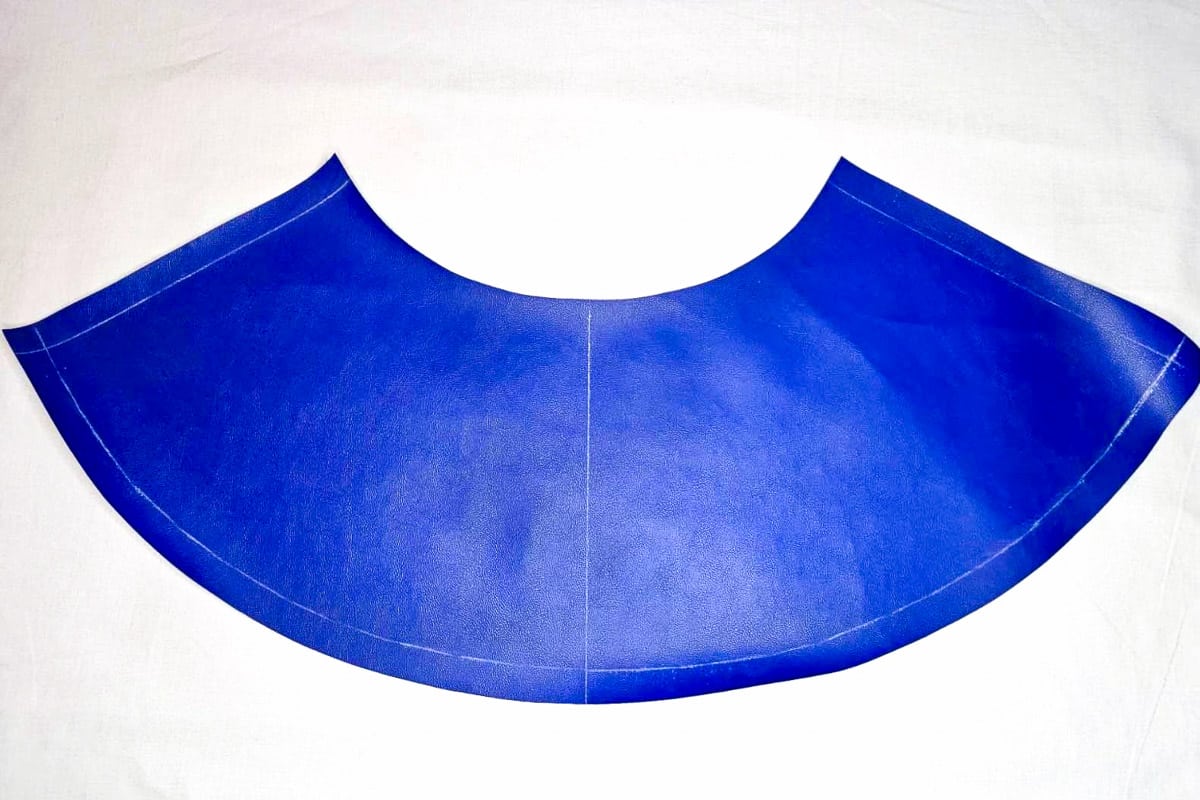
For my Back piece, I marked the side seams and lower edges. Unlike the front section, there is not a seam at center back since this piece was cut on the fold, but I still marked it with a line between notches at the waist and hemline level.
TIP: If fusing your pieces is necessary, now is the time to do so. You do not want to fuse after the embroidery has been added. For my black leather jacket, I fused the peplum pieces with Weft Interfacing to stabilize and add more body to the faux leather.
Step 2: Hoop the Leather Pieces
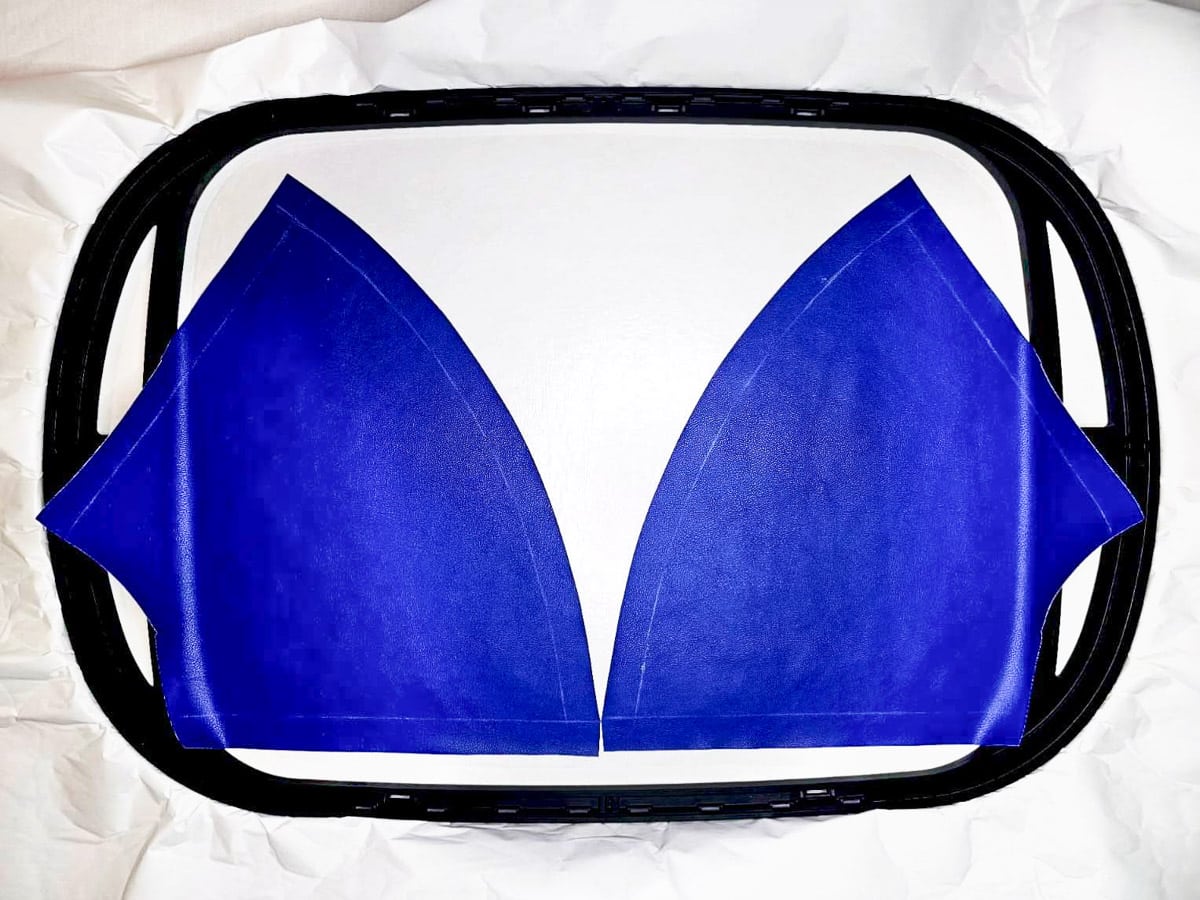
For my jacket, I hooped it three times: once for the front peplum pieces and twice for the back peplum piece.
Using the Giant Hoop, hoop the OESD StabilStick Cutaway stabilizer by itself. Then, float the pattern piece to be embroidered by placing it on the sticky side of the stabilizer. Be mindful of the fabric edge, ensuring all the areas to be embroidered are within the outer edges of the Giant Hoop. If any of the edges are hanging off/outside of the hoop, the embroidery will not be done properly.
As you can see in my sample, I ended up having to hoop one piece right-side up while the other is upside down. If you prefer, hoop each piece individually. I wanted to maximize the large embroidery field on this hoop. Once you are ready to move on to the next step, look over your work and double check everything is secure.
Step 3: Scan the Hoop
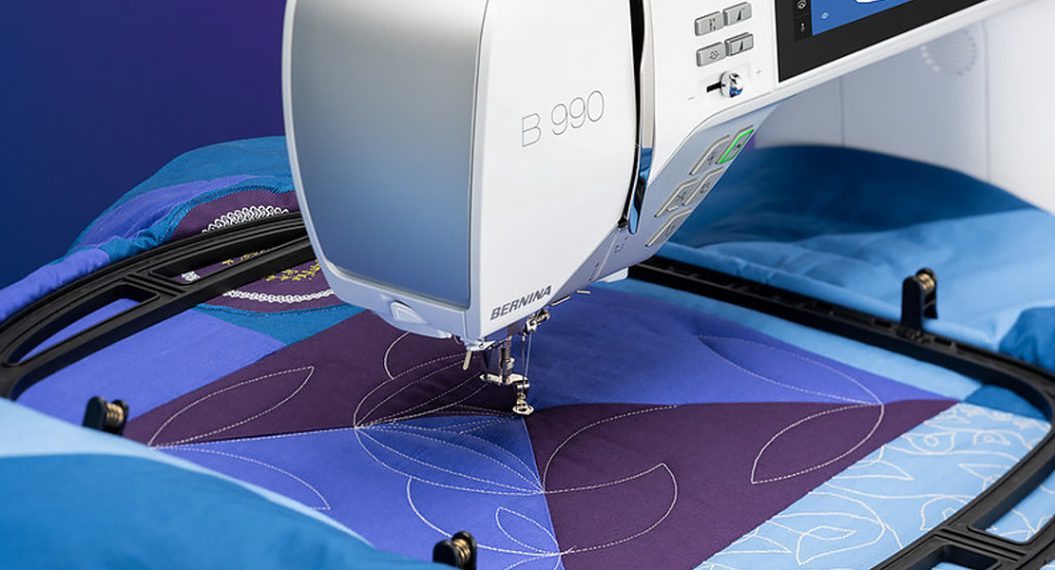
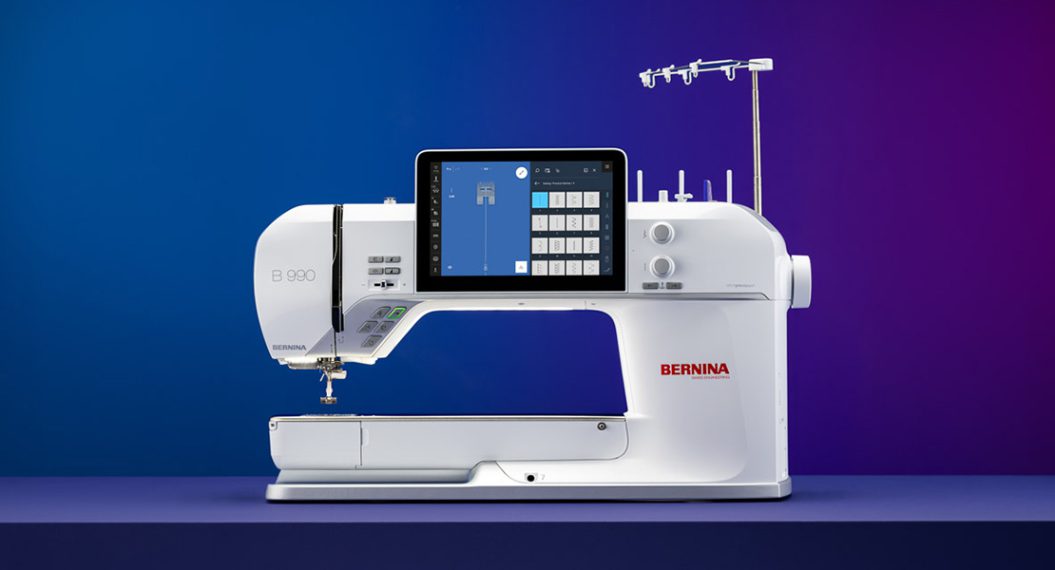
Attach the B 990 Embroidery Module and begin in Embroidery Mode.
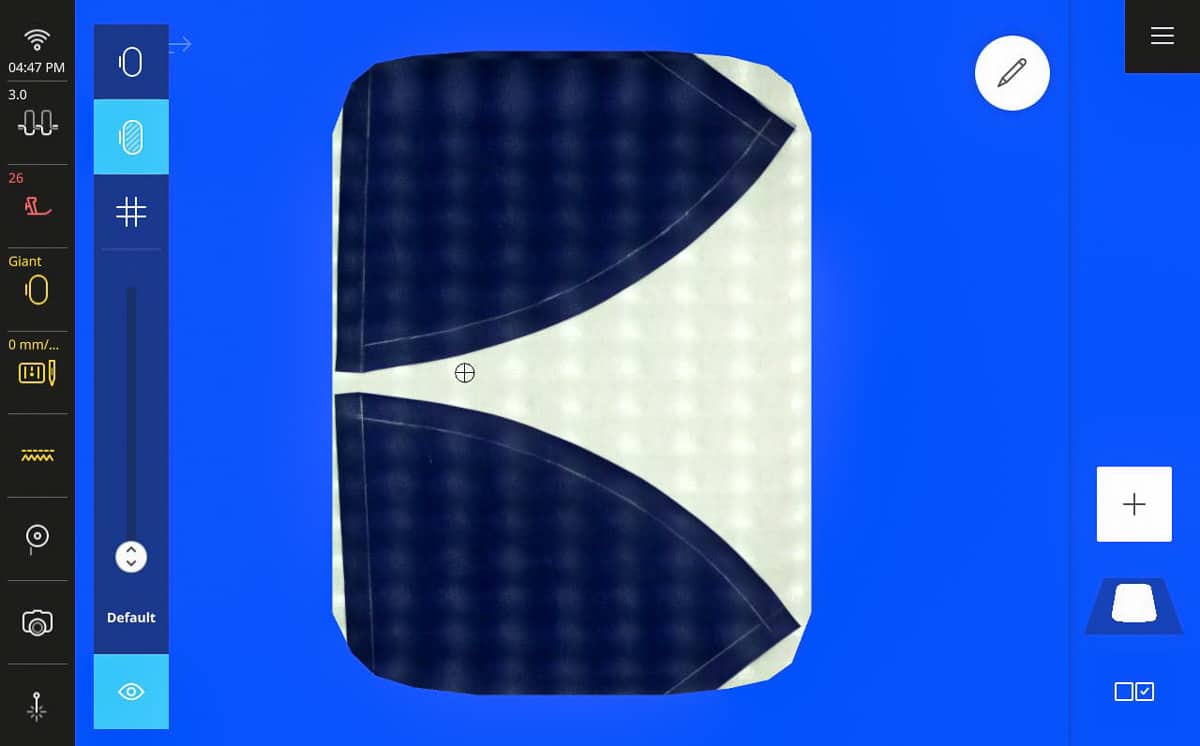
Select the View icon, then select the Hoop Background icon at the top. Select Scanned Image from the dropdown menu, then Scan Hoop. Tap the green checkmark. Attach the hoop when prompted. Once the scanning is complete, it’s time to begin working with the scanned image.
Step 4: Place the Embroidery
After scanning your leather piece in the hoop, you can now place the embroidery designs.
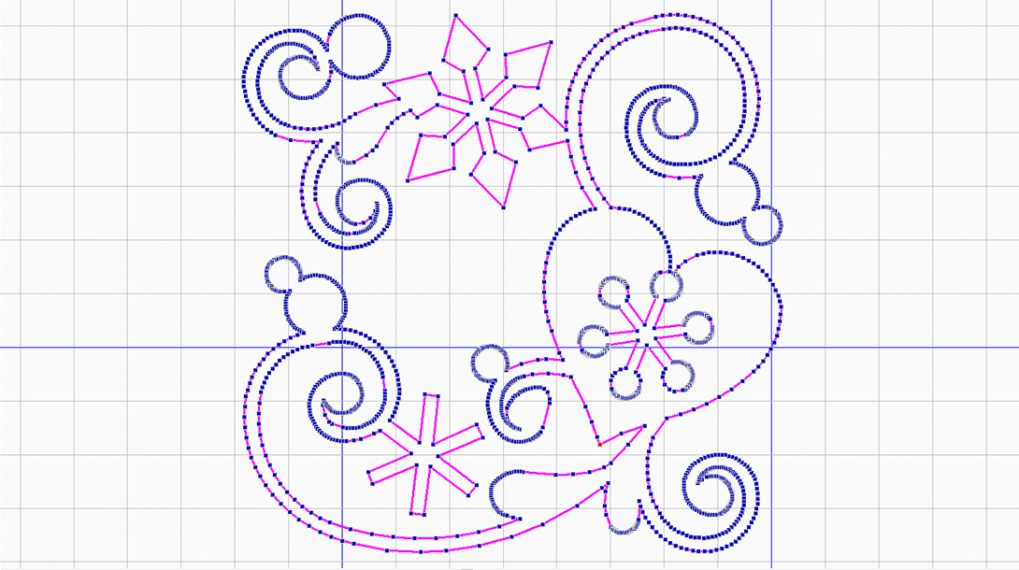
For the black leather jacket sample, I used one of the BQM designs built into the B 990. Because it is leather, I did not want a dense design. This is also a great general rule of thumb when embroidering leather so you do not perforate it. You will also need to consider the shape of your design. On my peplum pieces, the lower edges are not straight lines, so I had to be mindful of this when selecting embroidery designs. Luckily, the scanned image of the hoop will help us better visualize what the design will look like on the pattern pieces.
Insert and arrange your desired design(s) onto the scanned image as you would like it to appear on the fabric. For now, you can roughly place them in the desired place and orientation. This BQM design works very well because there are not any specific shapes or lines that would interfere with the shape of the lower edge.
Step 5: Fine Tune Embroidery Placement
With a design like this, fine-tuning the placement is not too strenuous. Use the Bounding Box around the design to align close to your seam and stitch lines. For my peplum placement, I made certain the Bounding Box was parallel to the center front stitch line. Make sure you leave a little bit of breathing room so the design does not get caught in the seam.
There should also be some breathing room for the lower edge of the design as well. In my case, there is a seam along that edge that I needed to leave to ensure adequate space for.
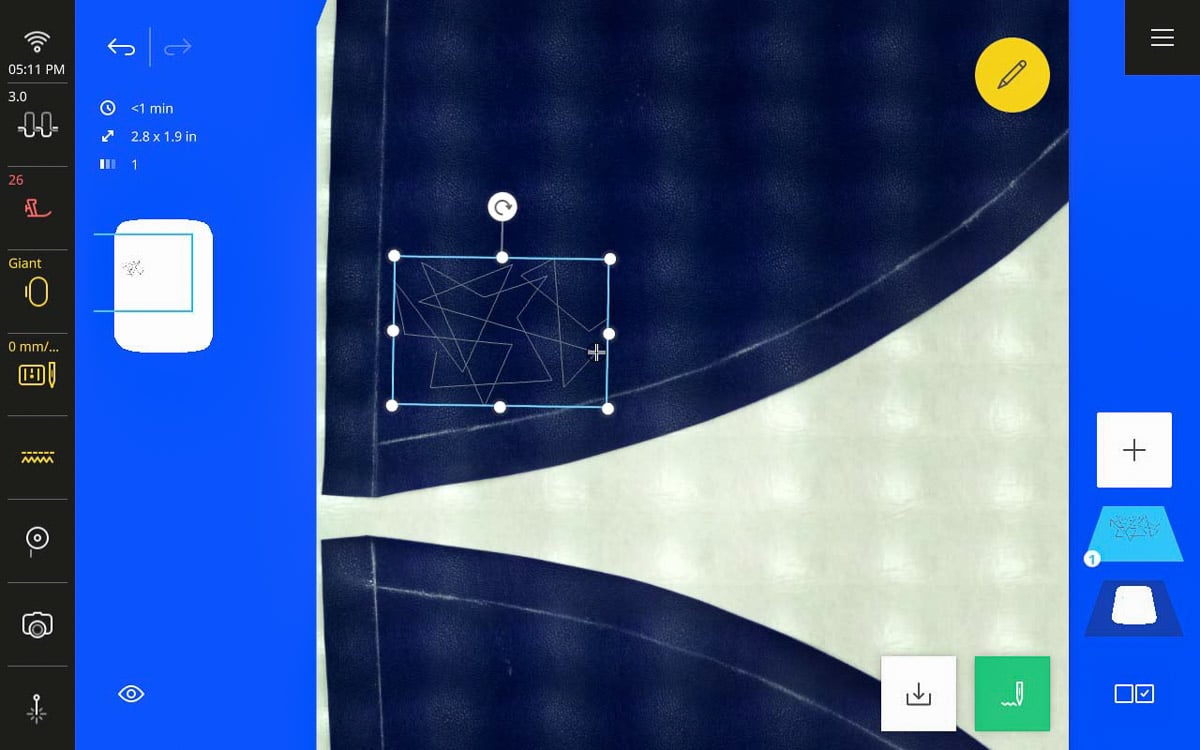
Next, I placed the design closest to the Side. As you can see, I could not get my selection box to perfectly line up with the seam line, and that is okay in this instance. You can, optionally, click Edit, then choose Poinpoint or Four Point Placement to better align your design. Don’t be afraid to zoom in on your scan and utilize the Pinpoint Laser to ensure your design is placed exactly how you want it.
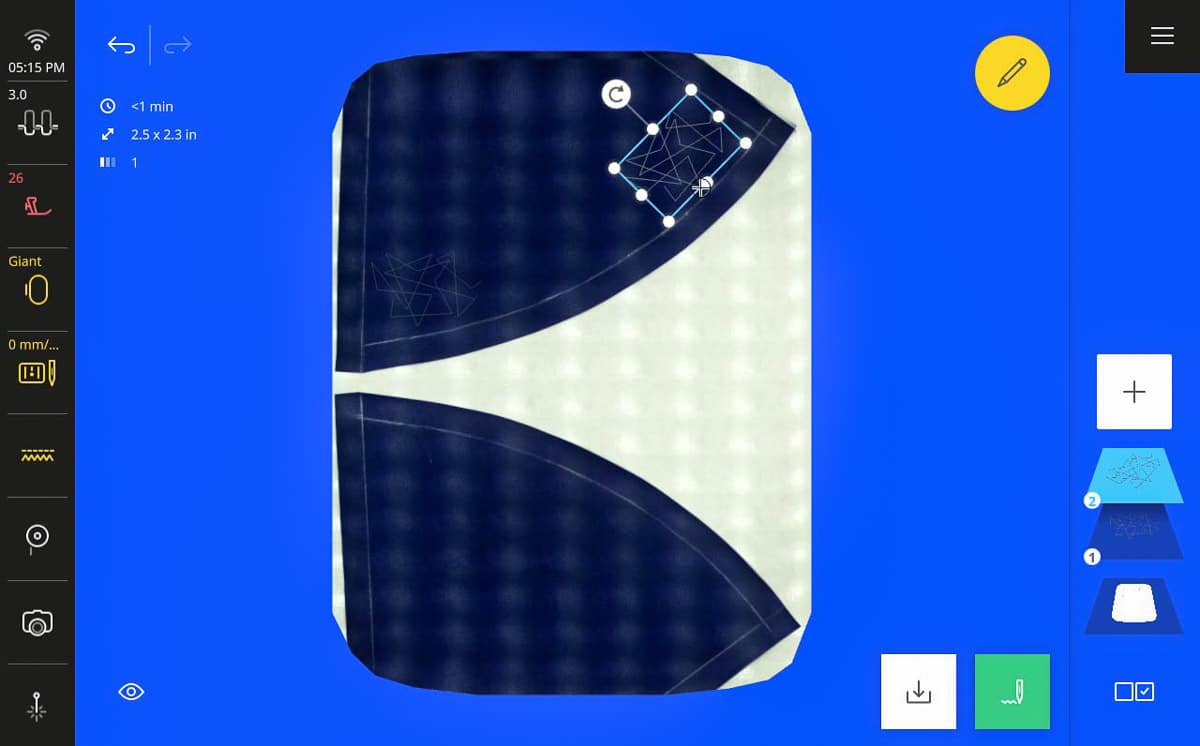
Duplicate your design as needed (select Edit, then Duplicate). I placed two more designs between the last two designs. Then, simply move and then select Rotate to adjust until you are happy with your placements.
Keep everything as uniform as possible. I kept a close eye on the space between the design and the seam line on the lower edge.
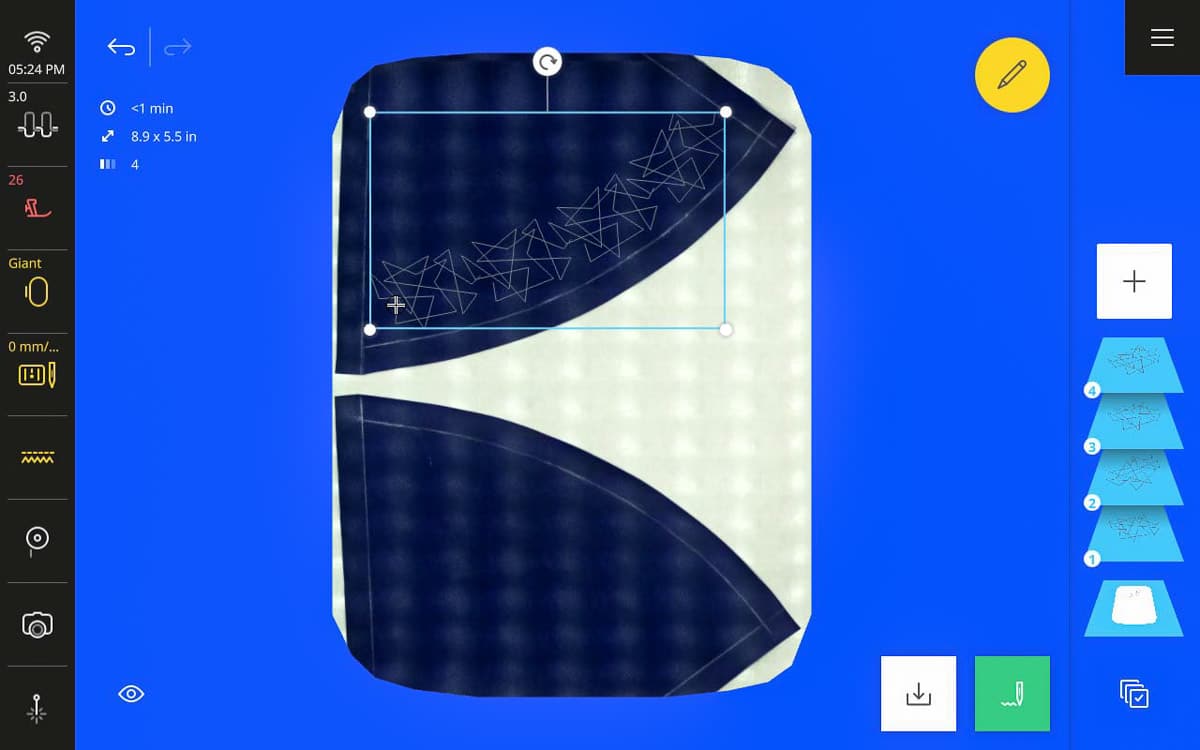
When you’re done, select Edit, then in the Arrange menu, tap Group. From here, you can use the Align function, if needed, or Duplicate again to place on a second piece.
I selected Duplicate, and then Mirror Up/Down to place the grouped design on my second piece. Rotate as needed to ensure it aligns symmetrically.
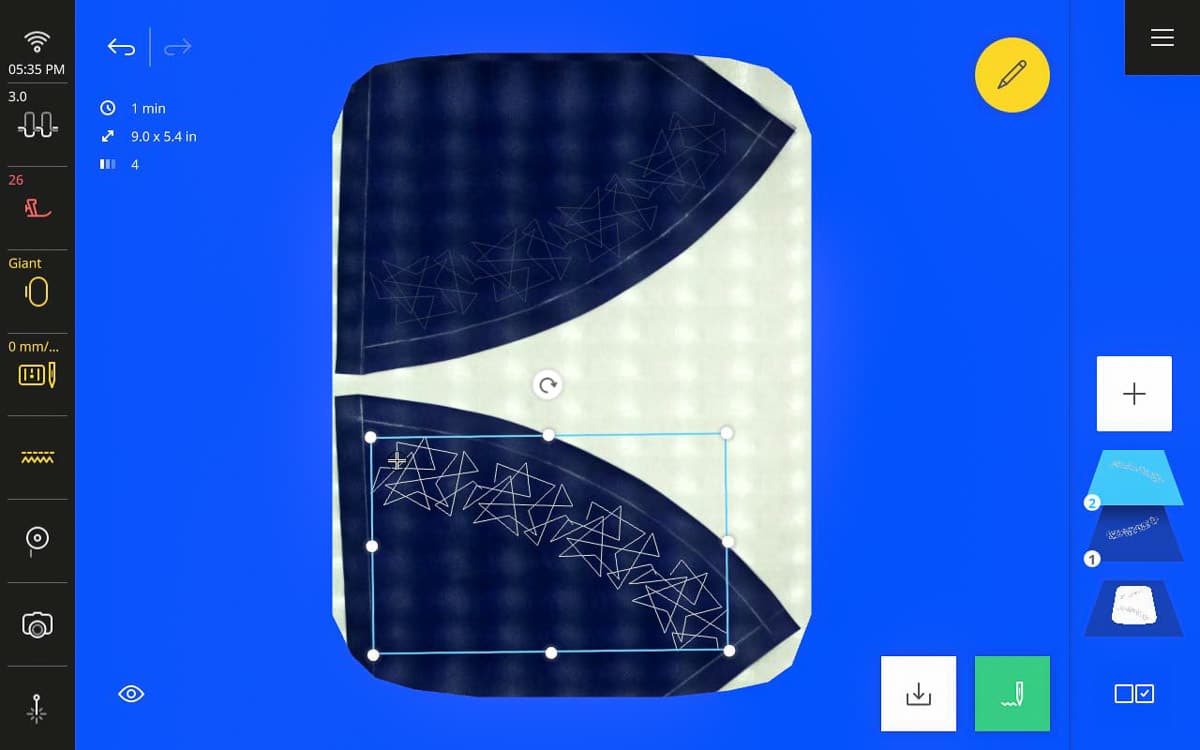
Once you are happy with your work, we are ready to move into stitching out our design.
Step 6: Stitch the Embroidery
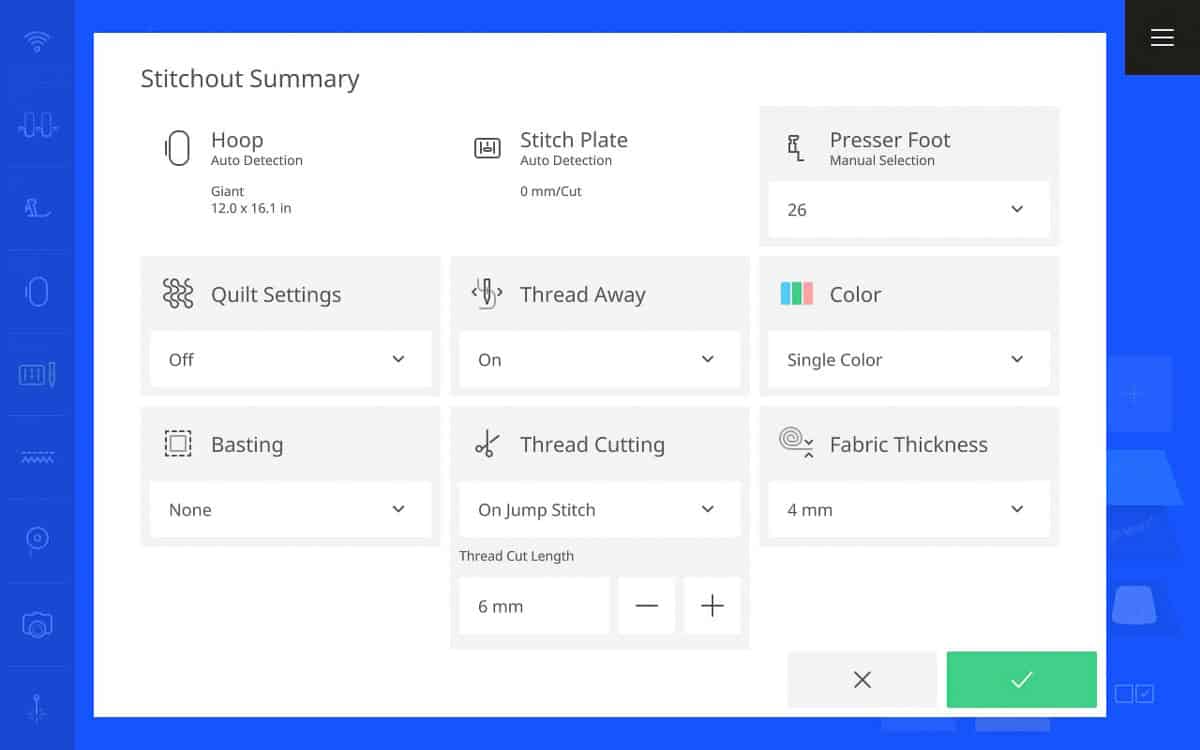
Tap the green Stitch out function on the lower right-hand side of the screen. This will open the Embroidery Stitch out Summary screen.
- Select your embroidery foot from the Presser Foot Selection dropdown menu.
- Select “Single Color” from the Color dropdown menu.
- Quilt Settings set to “Off.”
- Thread Away set to “On.”
- Set Basting to “None.”
- Set Thread Cutting to “On Jump Stitch” and 6 mm cut length.
- Set Fabric Thickness to 4 mm.
Tap the green checkmark at the bottom right-hand side of the screen.
The machine will ask you to place the embroidery hoop into the module. Change your needle to a 90/14 embroidery needle. Thread your machine with the desired embroidery thread. Always use a quality embroidery bobbin thread such as OESD Embroidery Bobbin Thread. Set your desired speed to get started. Once the machine has finished, tap the checkered flag icon to complete the stitchout process.
Step 7: Repeat for the Remaining Pieces
Repeat the previous steps, tweaking the placement of your design, as needed, until you have embroidered all of your leather pieces.
For my back peplum piece, I hooped one side at a time for the stitchout, then re-scanned my hoop. I duplicated one of the grouped designs from a front peplum piece and placed it along the left side of the back peplum piece. Once I adjusted the placement, added additional designs, and fine-tuned, I stitched out the design in the same manner as I did the front peplum piece.
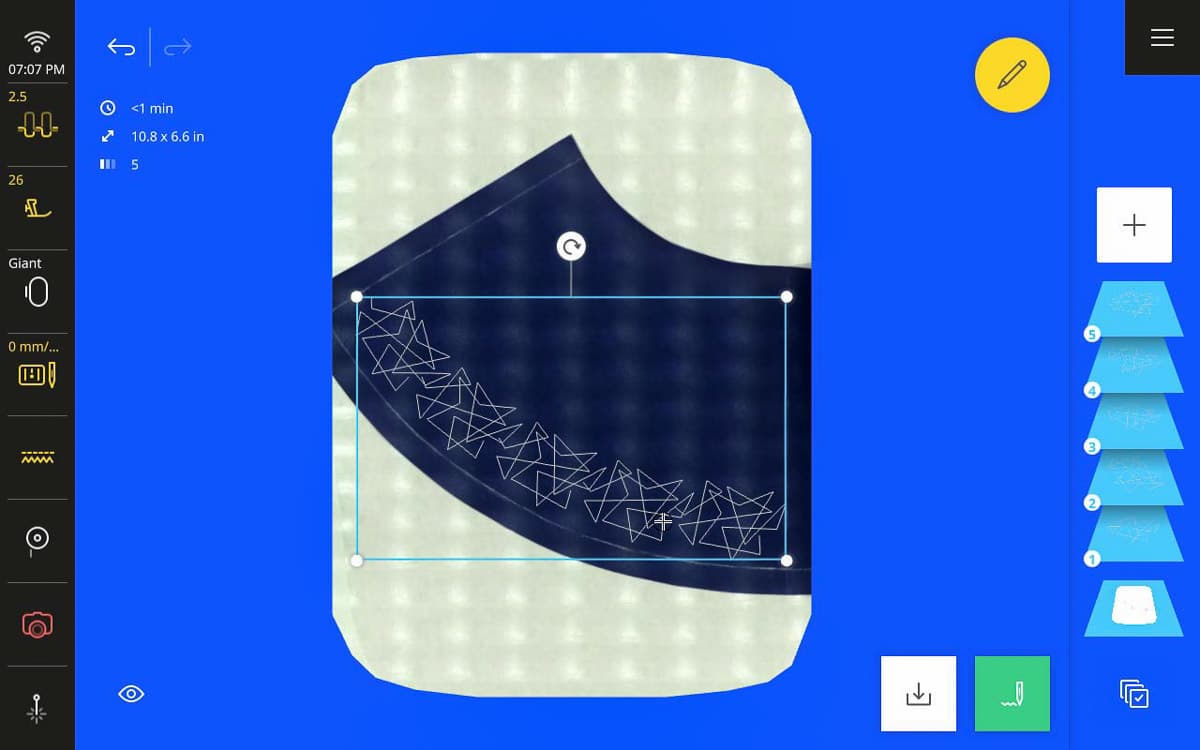
Then, I re-hooped the right side of the back peplum and repeated the process. Here, though, I had to ensure everything lined up from the previous design stitchout, so a little extra fine-tuning had to happen.
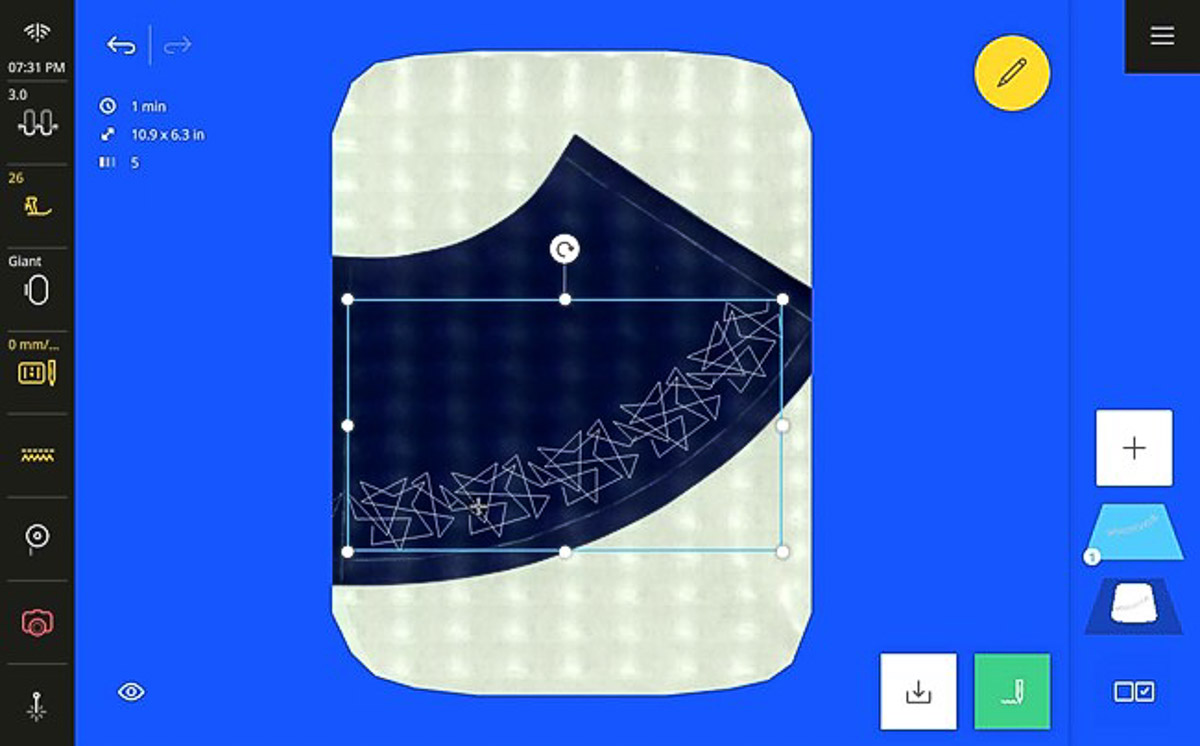
I zoomed in and lined up the points of my triangle shapes. I made use of the Pinpoint Laser and manually moved the design up/down with the multi-function knobs on the machine.
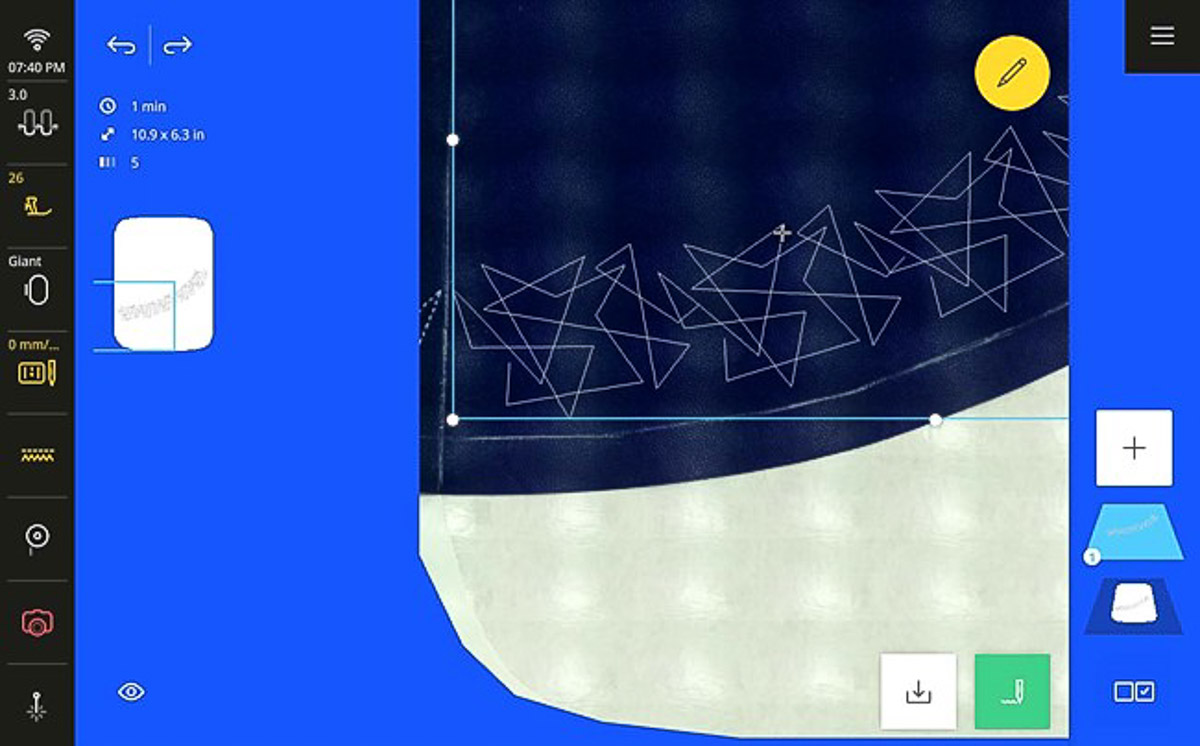
I then cycled through the stitch sequence in this exact spot to ensure the points lined up. You want to make sure the uppermost point of the design is lined up with the previous side’s stitch out. If not, the left side will be higher and mismatched to the left side. The accuracy of the Pinpoint laser was key in placing this last design.
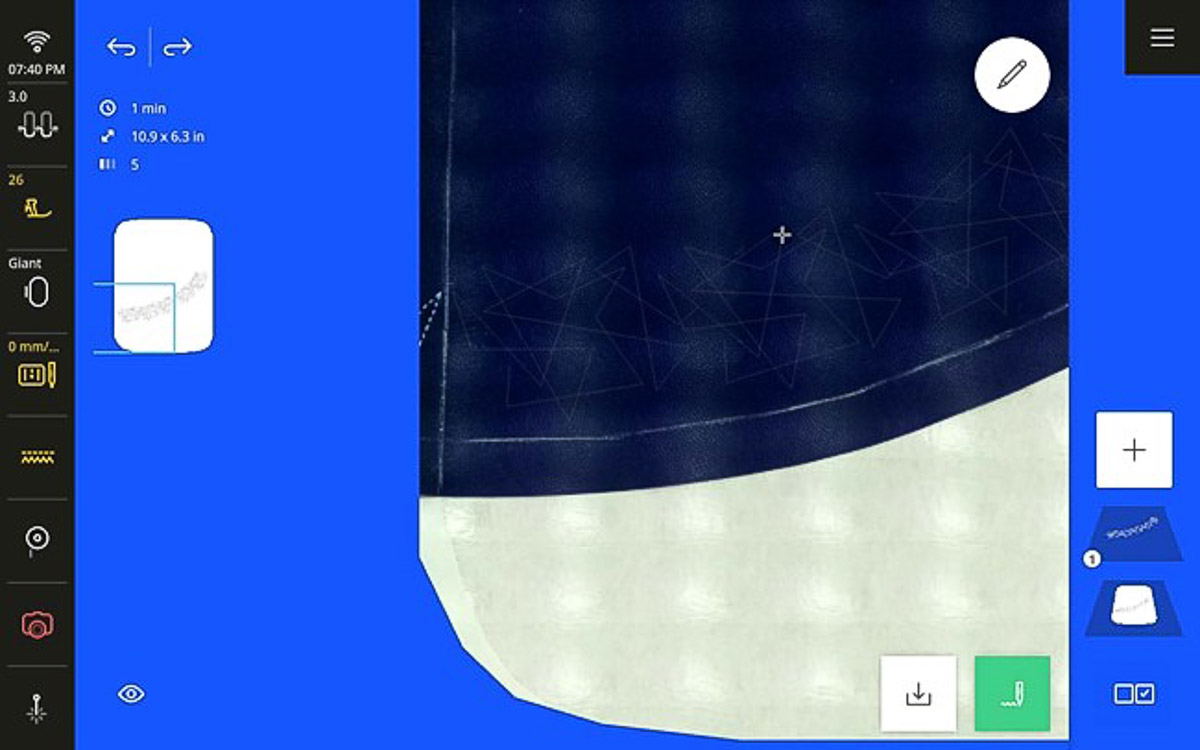
From here, I just had to make certain the remaining portion was where it needed to be and then on to stitchout.
Step 8: Finishing
The final step is to trim away the excess stabilizer and begin sewing your pieces together!
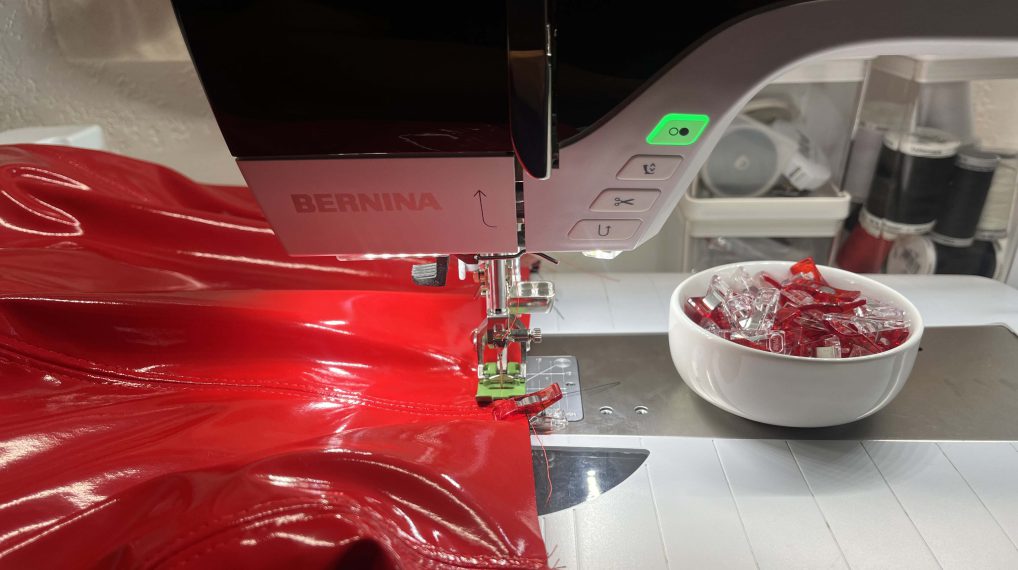
I prefer to trim away the excess stabilizer with pinking shears. Doing this reduces the likeliness of seeing the outline of your stabilizer on the right side of the garment. To “press” my seams open, I like to glue them down using a rubber cement to replicate pressing. I will only glue between the stitching lines of the lower edge and the waist.
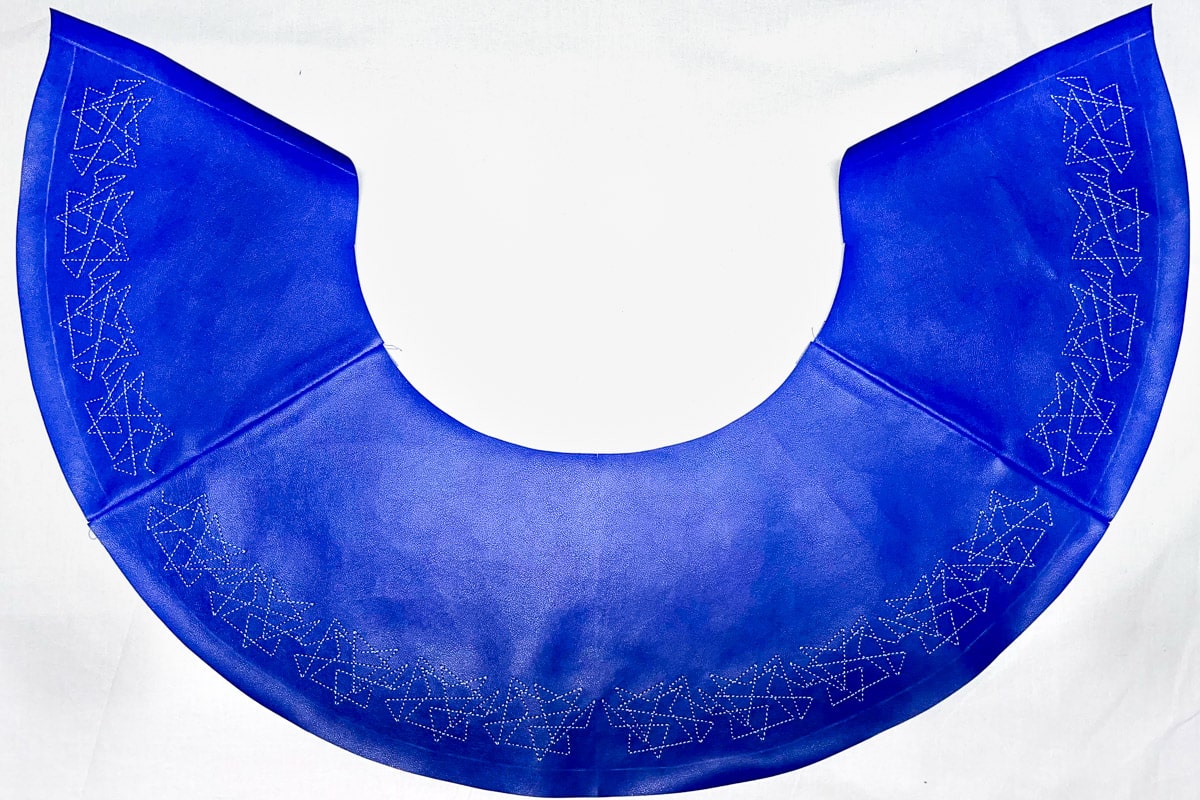
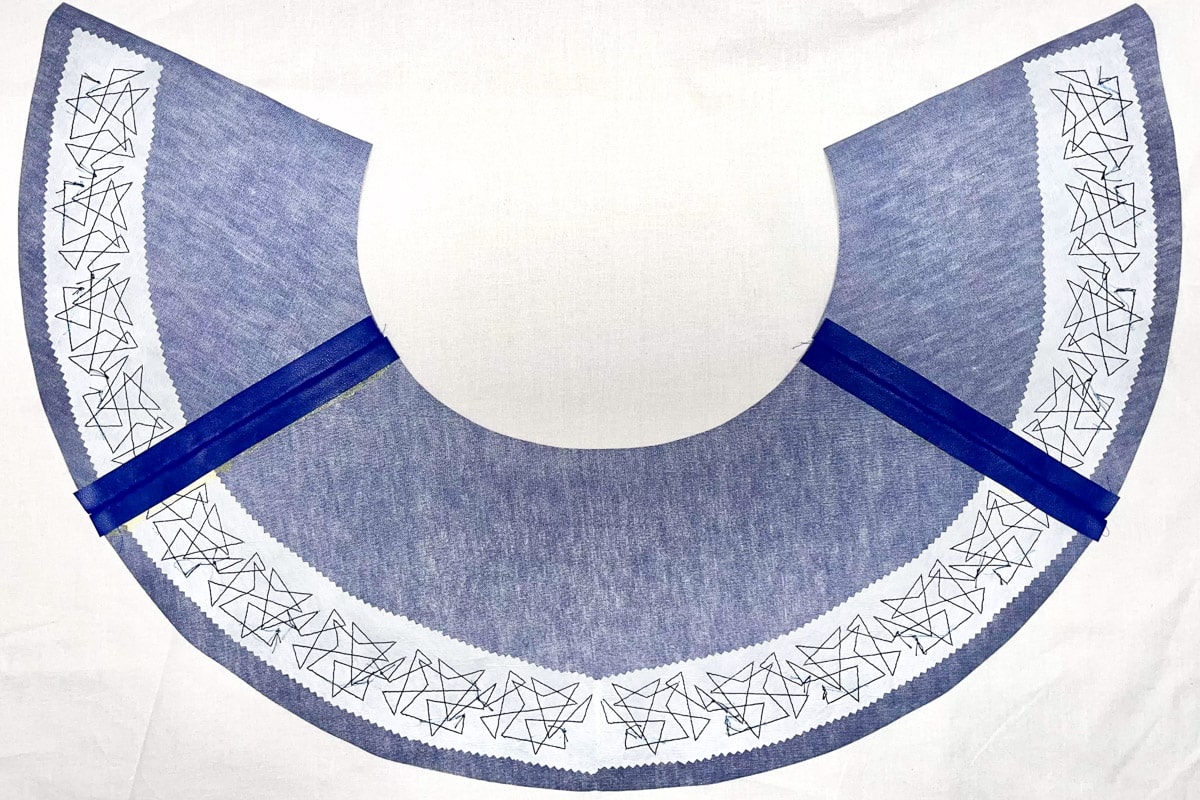
Now that you have seen how I created this beautiful border design for my leather jacket, you can see how the combination of the B 990’s Scanner, Pinpoint Laser, and virtual positioning functions are all major players in embroidering on your leather fabric pieces. I hope these tips enhance your own custom designs for all of your couture fashions.
