Modern Stitch Sampler
Stitch samplers have been around for centuries. They were made to demonstrate skill in needlework or to try out new stitches for a future work. Today, some sewists like to make a sampler book of the decorative stitches on their sewing machines. This is a great idea … stitches look so much better sewn out than they do in the manual or on the sewing screen!
Making a sampler of stitches with decorative threads on the overlocker is also a very good idea. Keep a record of any special settings to refer to the next time you use them.
So let’s start stitching!
Materials to Make a Modern Stitch Sampler
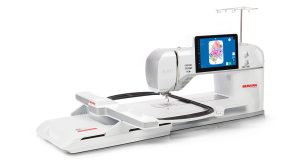
- BERNINA L 890
- BERNINA 990
- Clear Foot #C27
- Sideways-motion Foot #40C
- Decorative Thread Guide #L25
- Left Seam Guide in Shaft
- Thread nets
- Fabric:
- Fabric for testing similar to what will be in the project
- Fabric for project of choice, cut several inches larger than needed
- Fusible stabilizer, such as Shape-Flex by Pellon, to fit fabrics above
- OESD Ultra Clean and Tear Stabilizer (optional)
- Decorative threads of choice for the cover- and chainstitches and for sewing
- Serger thread (such as Mettler Seracor)
- 90/14 Topstitch needle for sewing
- 60 weight bobbin thread
- Thread Fusion – Large (optional)
- Fabric marking pen
- Pattern of choice for showing off your stitching (I’m making the ruler sleeve from Serger Studio Accessories by Nancy Bednar)
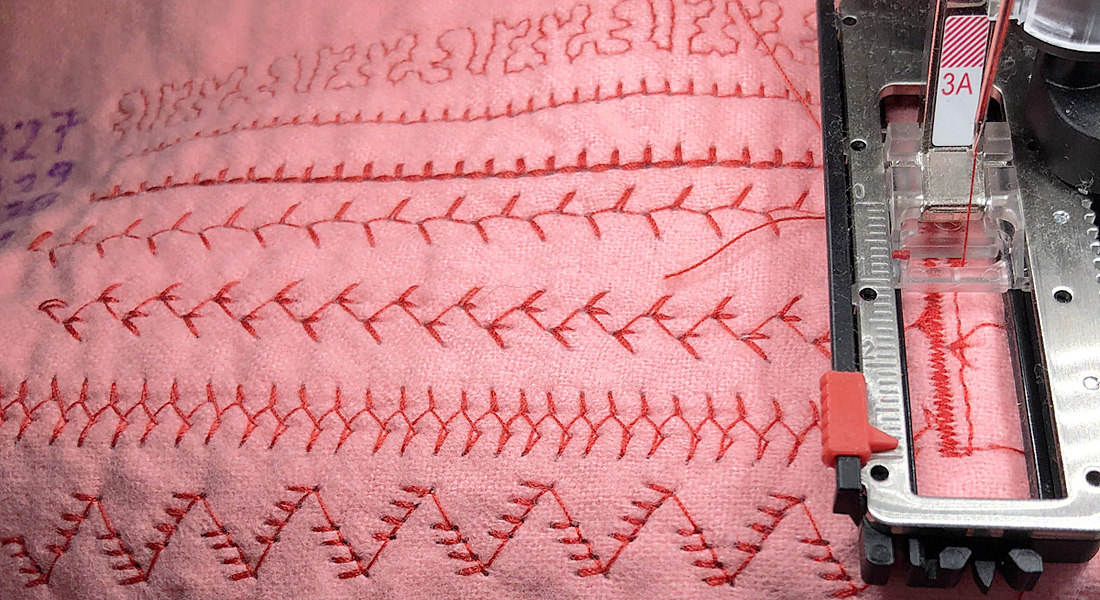
Step 1: Practice Coverstitches
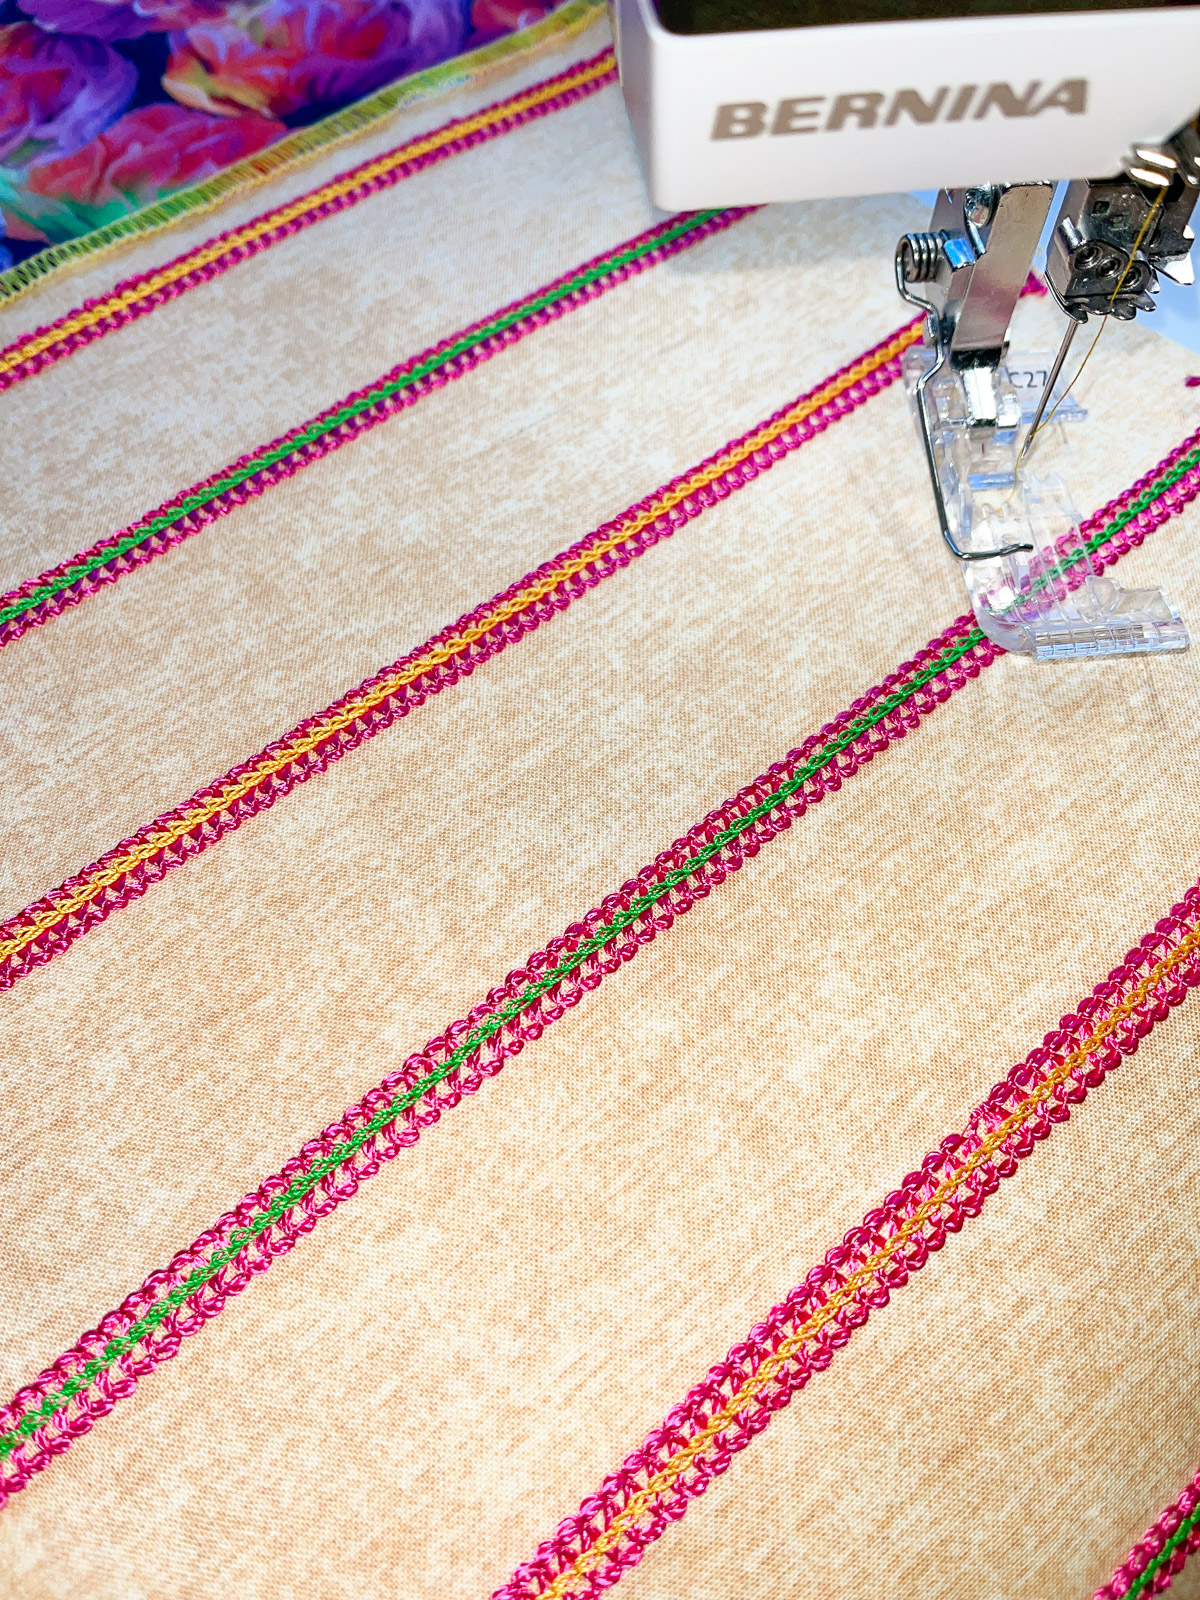
I hear you … practice is sooo boring! But when trying out new threads, stitches, or techniques, it is really worth the time and effort! Let’s start with some decorative cover- and chainstitches on the overlocker.
Prepare your fabric by fusing interfacing to the wrong side. This gives the fabric extra body and support during decorative stitching. If your fabric is light and/or your stitching is heavy, you may also want to use a tear-away stabilizer, such as Ultra Clean and Tear by OESD.
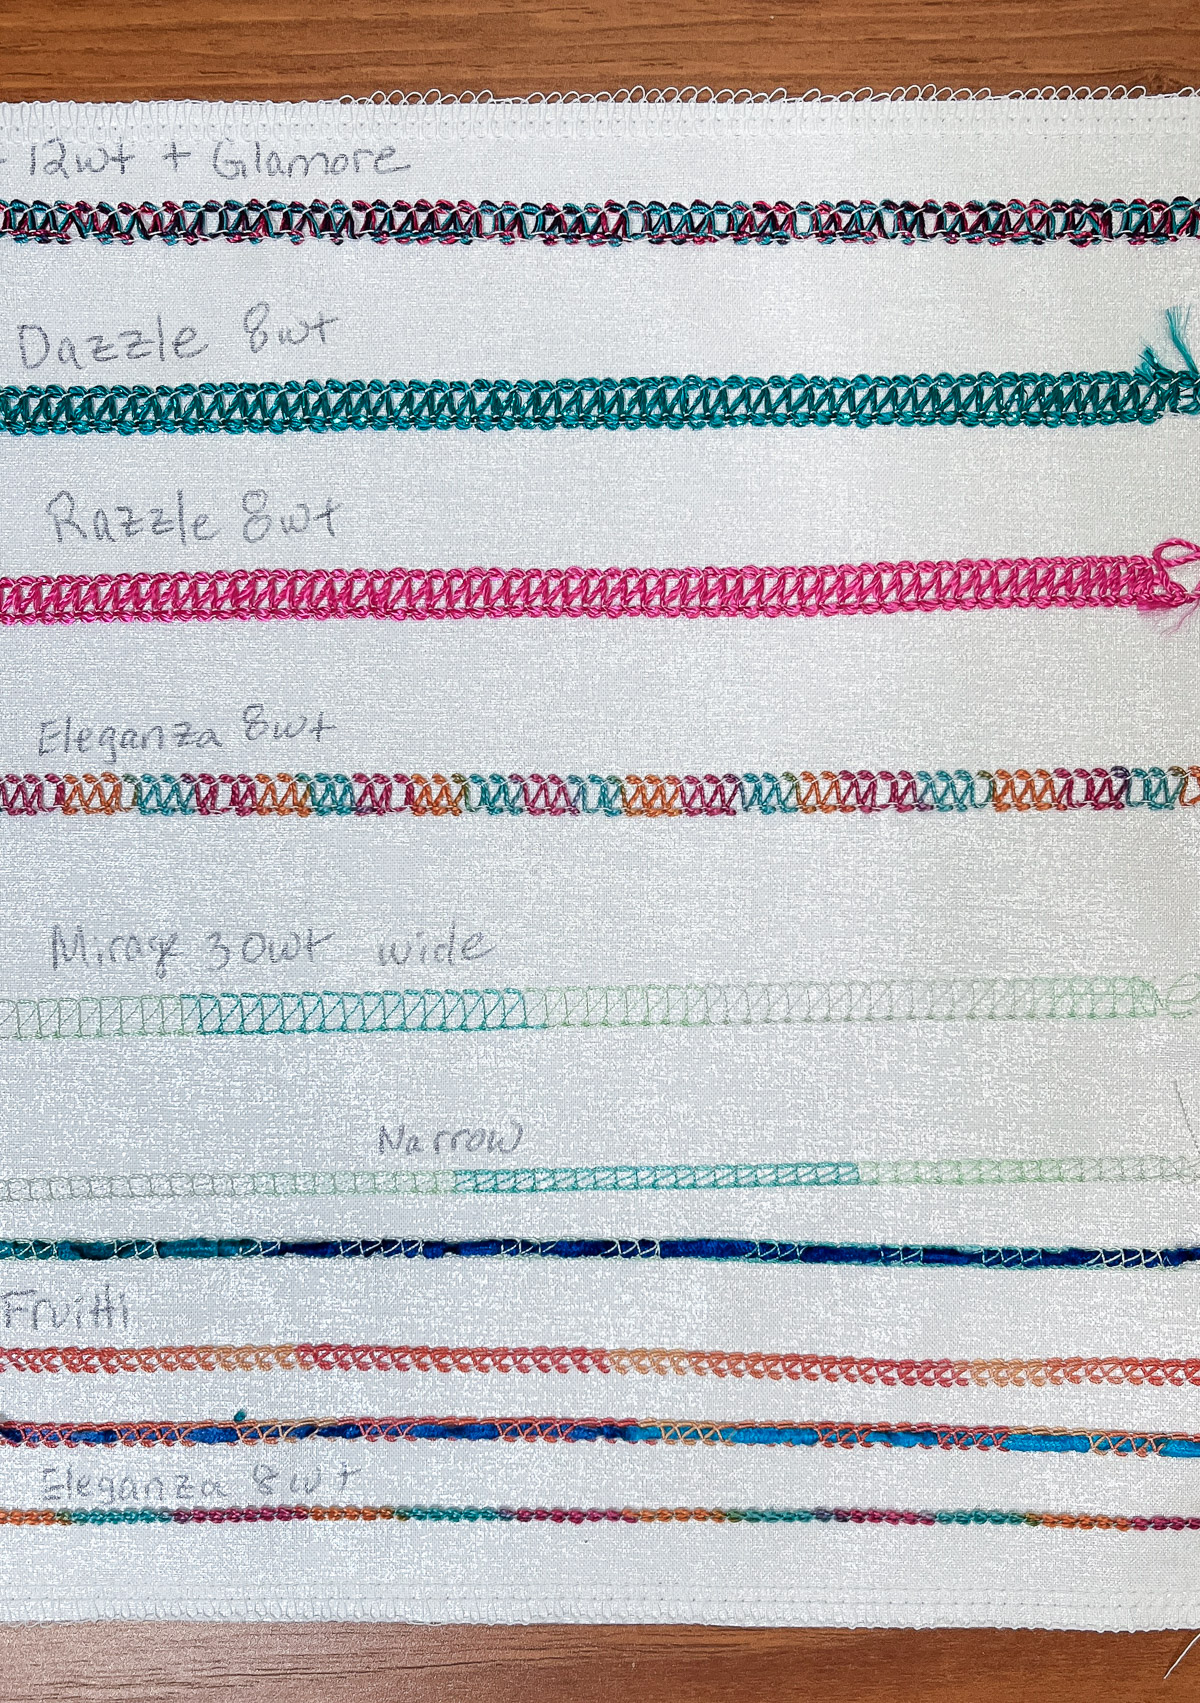
If you are new to using decorative threads in your overlocker, I recommend starting with a 12 weight cotton such as Spagetti by WonderFil. It’s easy to use and comes in lots of colors. Once you’re comfortable with that, start experimenting with metallic blends, like WonderFil Glamore, and rayon threads, like WonderFil Razzle and Dazzle. Variegated threads give a unique look to your project and 8 weight threads add even more texture.
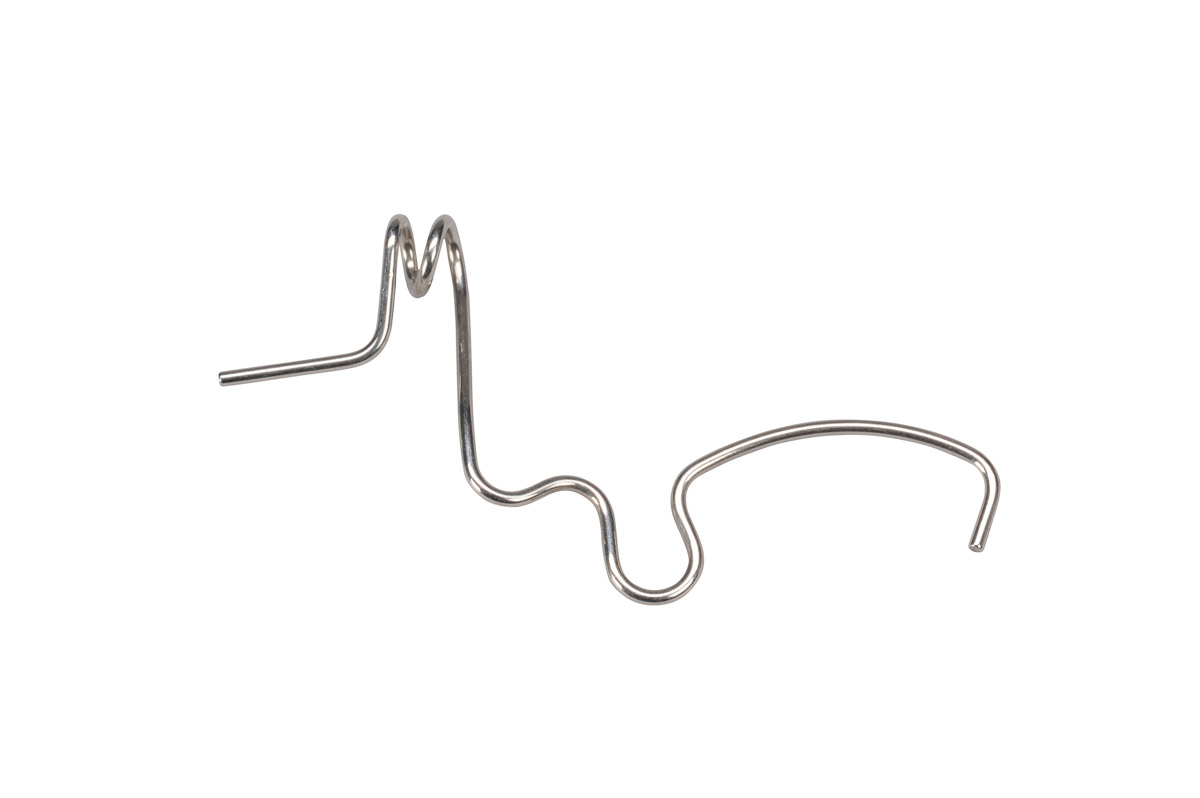
I’ve learned not to get frustrated when I try out a new thread and it doesn’t work perfectly the first time. The L 890 gives me total stitch control … the ability to adjust settings and threading to get the look I want! Sometimes I might need to circumvent the air threading nozzle, use the Decorative Thread Guide #L25, use a thread cradle, or add a thread net to my spool of thread for the best result.
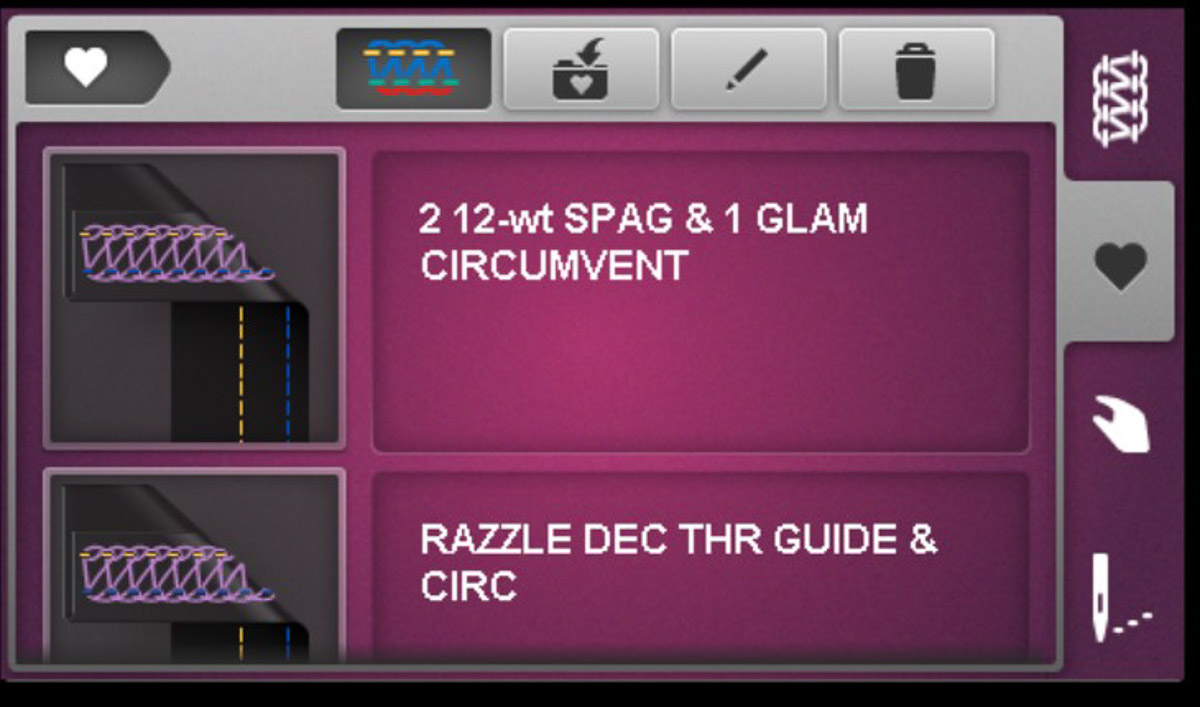
Once you are happy with your stitch, save it to the permanent memory on the L 890. I also note which threads I used and any threading variations.
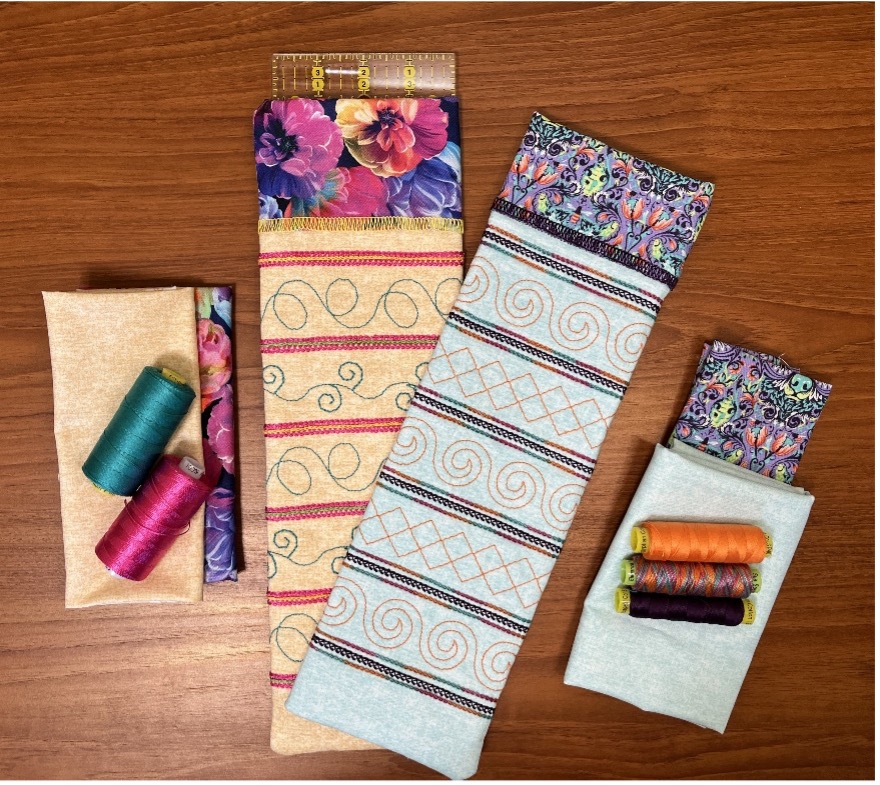
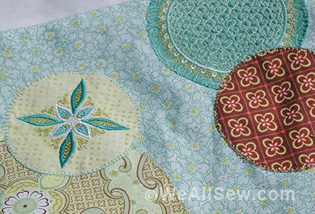
Here are some stitches I liked.
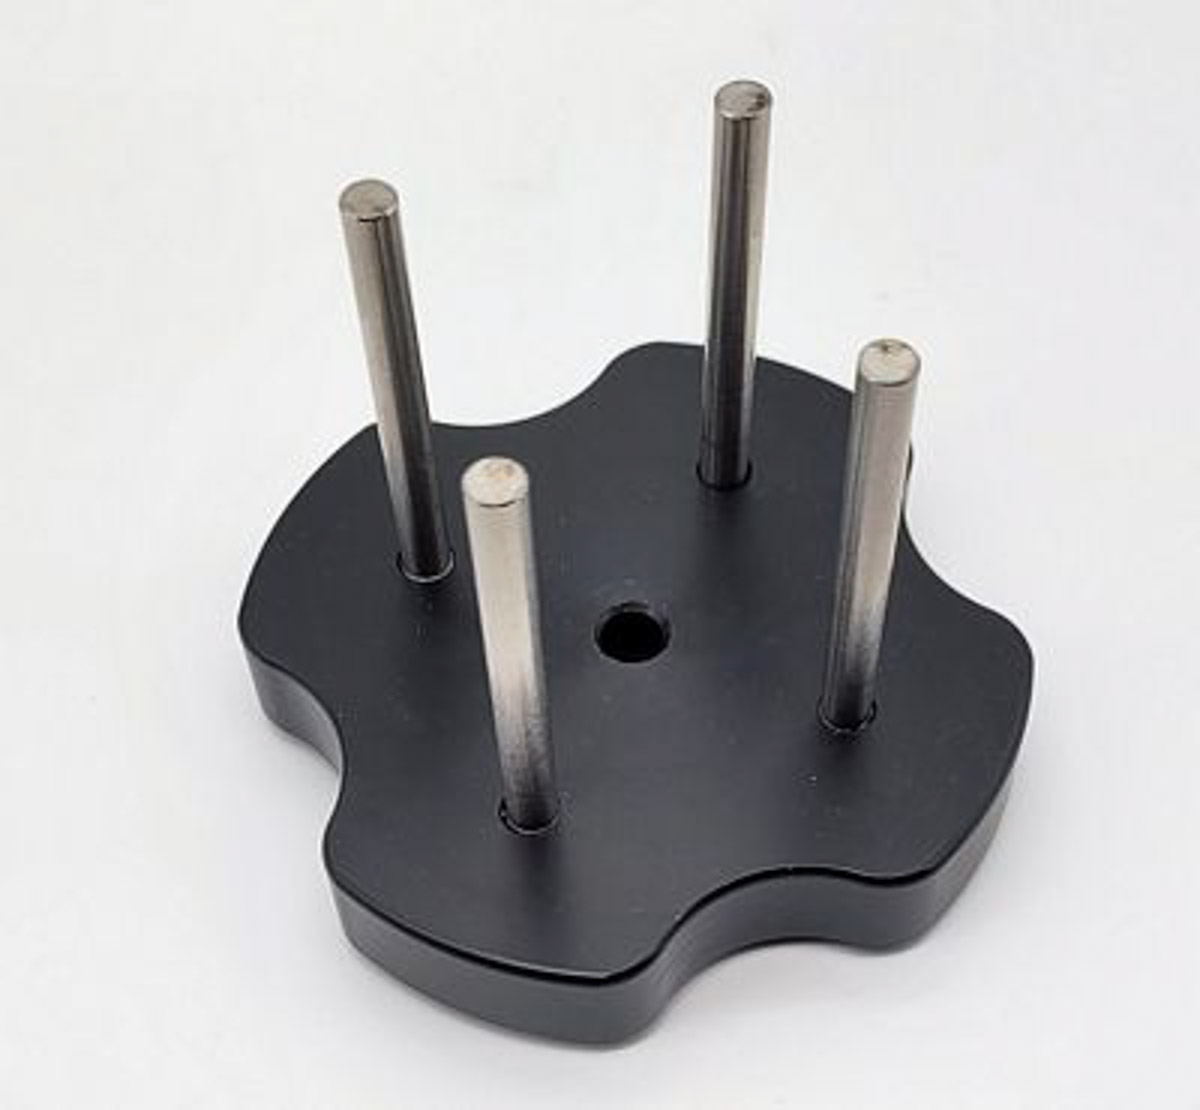
Using multiple threads in the chain looper is lots of fun, too. The Thread Fusion makes it easy to keep them together and fits on the looper spool pin. You will want to use a thread cradle to pull the threads through the air threader.
Step 2: Practice Sewing Stitches
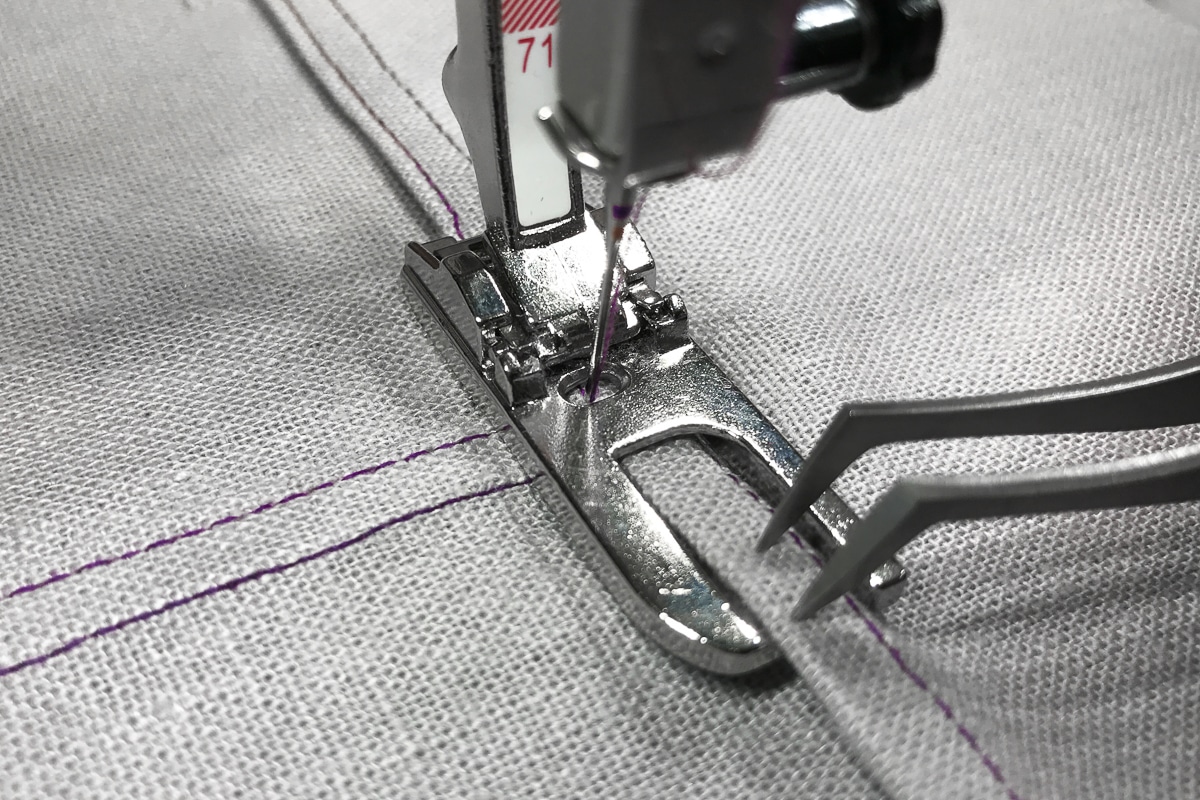
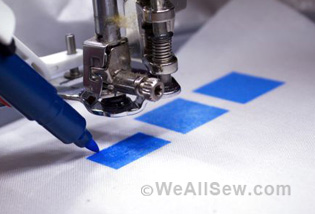
For the sewing practice, prepare your fabric in the same way as above. I used a 90/14 topstitch needle threaded with 12 weight thread and 60 weight thread in the bobbin. I also drew a series of guidelines on the right side of my fabric.
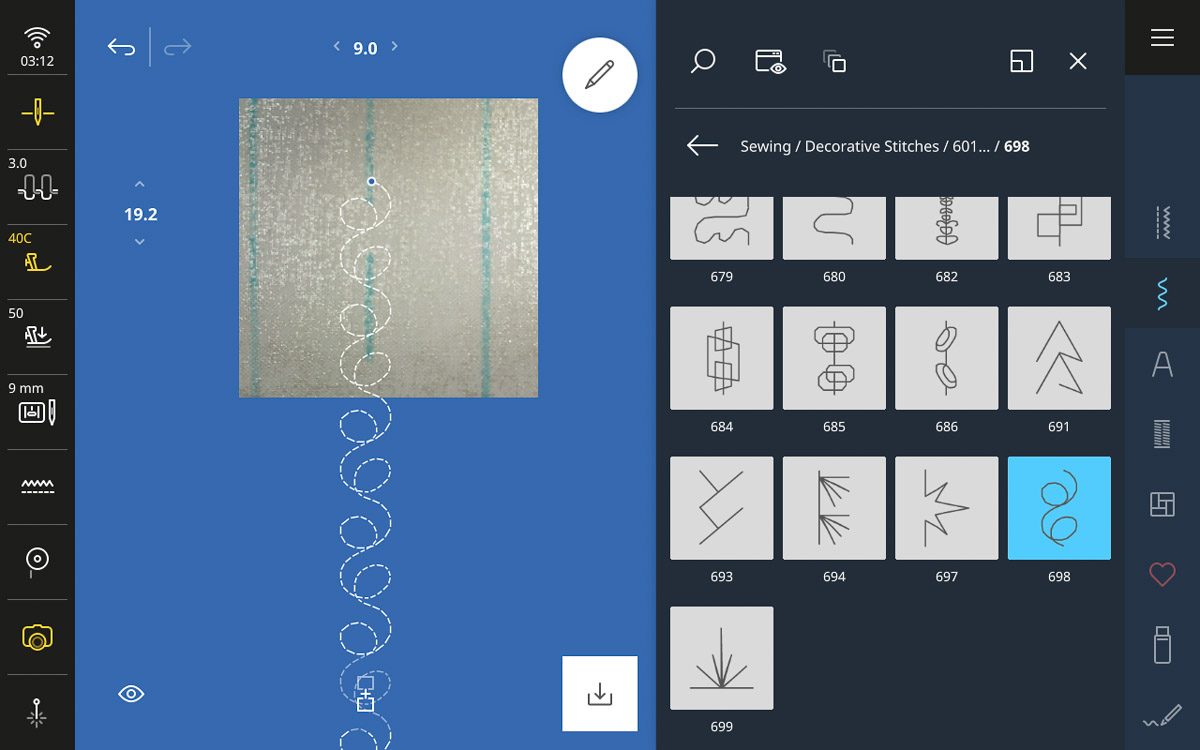
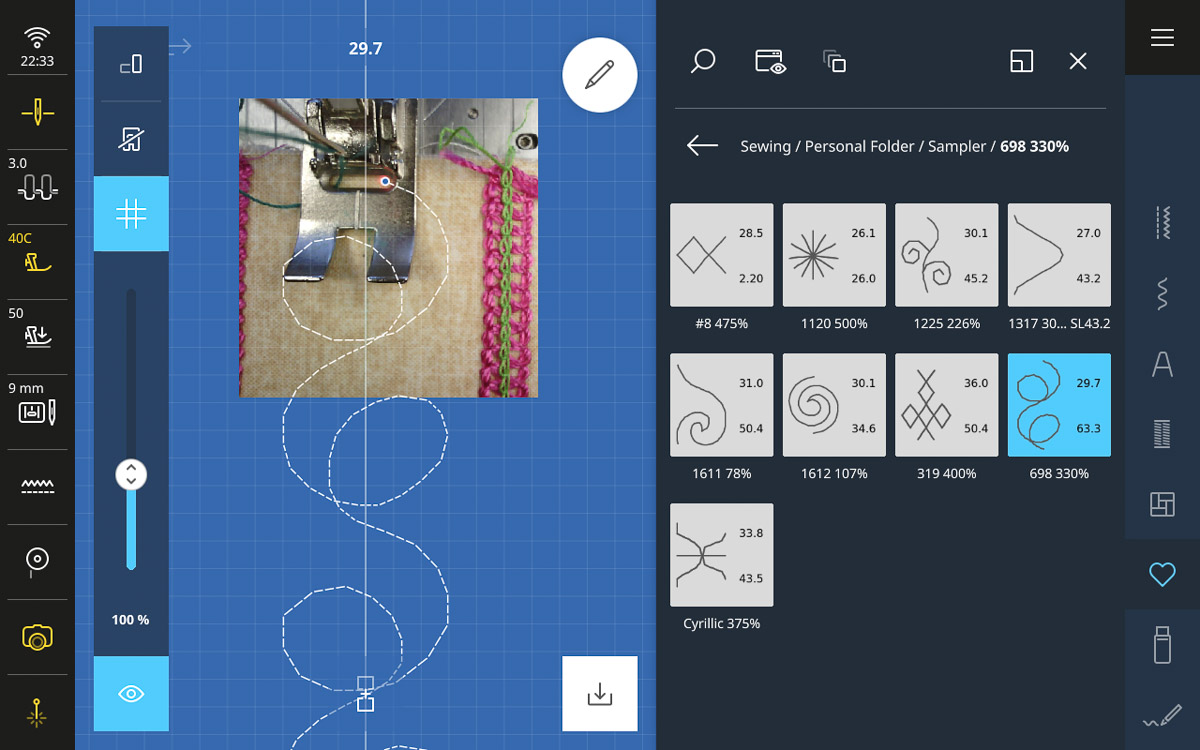
I sewed a variety of 9 mm stitches and sideways motion stitches from my BERNINA 990 … there are “sew” many to choose from! The camera on the machine allowed me to preview how the stitches would fill the space before I even started stitching.
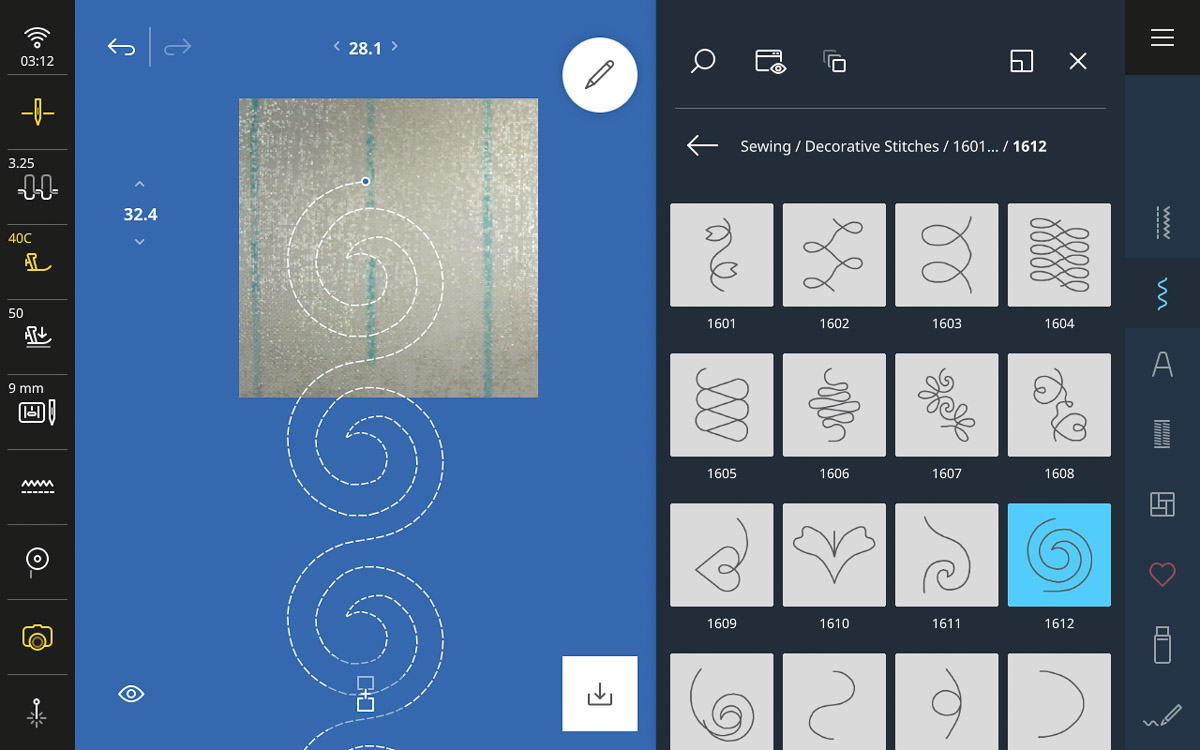
Some of the stitches I chose didn’t fill the space between the guidelines … they actually looked a little lonesome! So, it was time to play with my favorite feature on the B 990: the Jumbo Stitch. Jumbo Stitch allows me to resize my decorative stitches from 25% to 500% of their normal size. The camera sure came in handy. Ultimate stitch control!
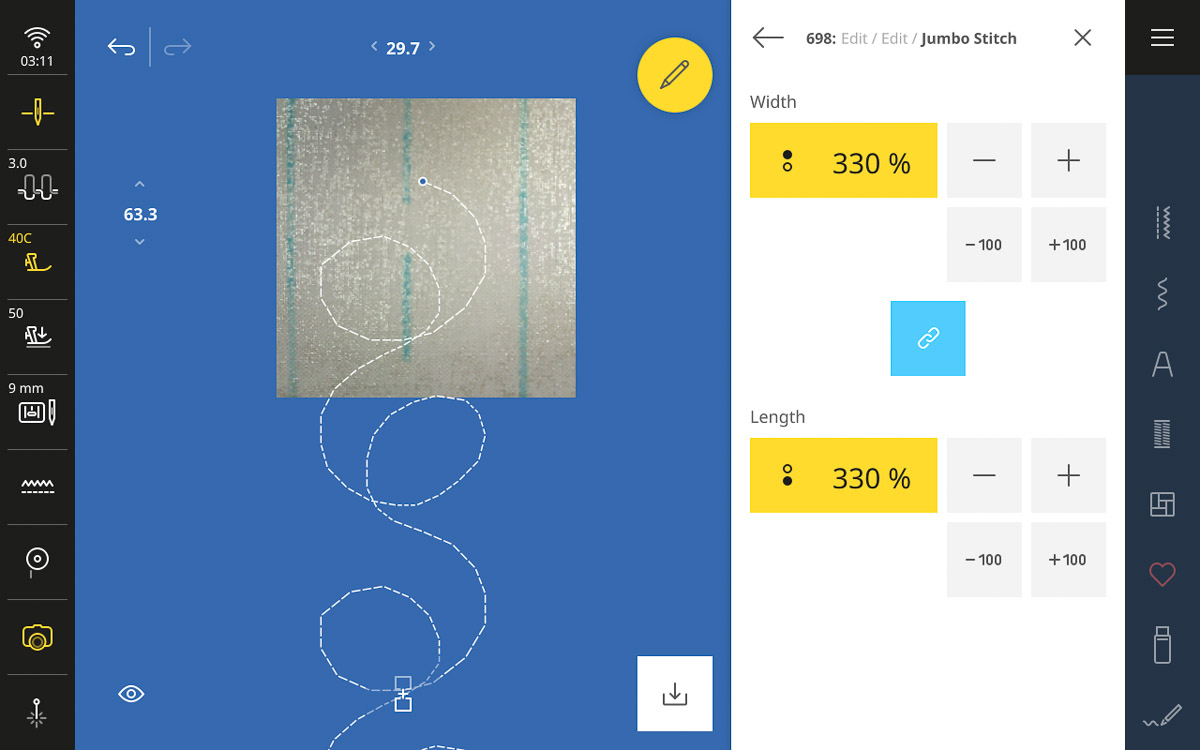
When working with sideways motion stitches, it is important to let the fabric move easily with just fingertip guiding. Keep your eye on the edge of the presser foot so that it remains parallel to the guidelines that you drew. Also, remember to take your time.
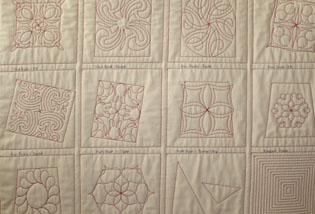
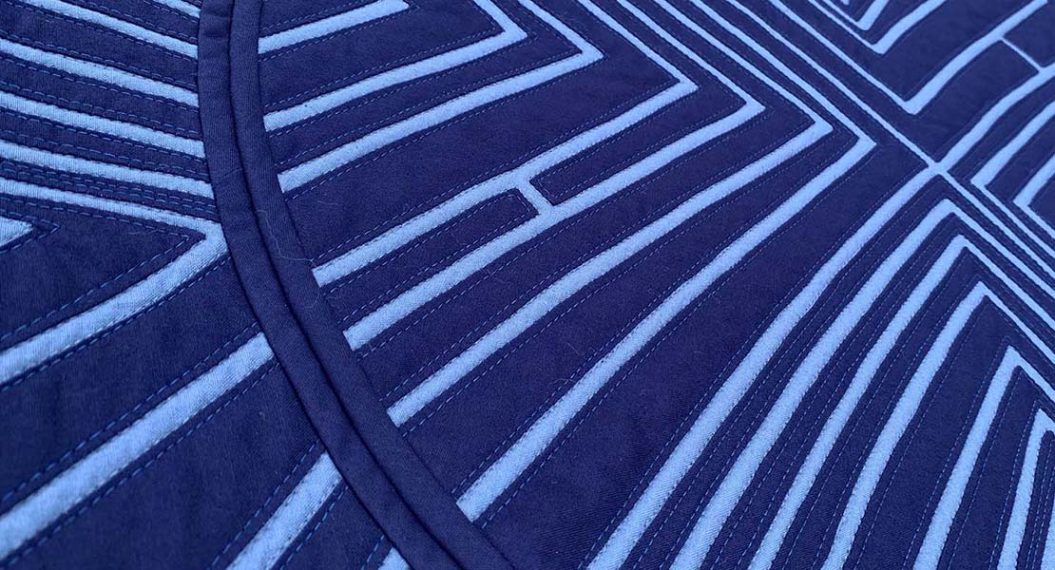
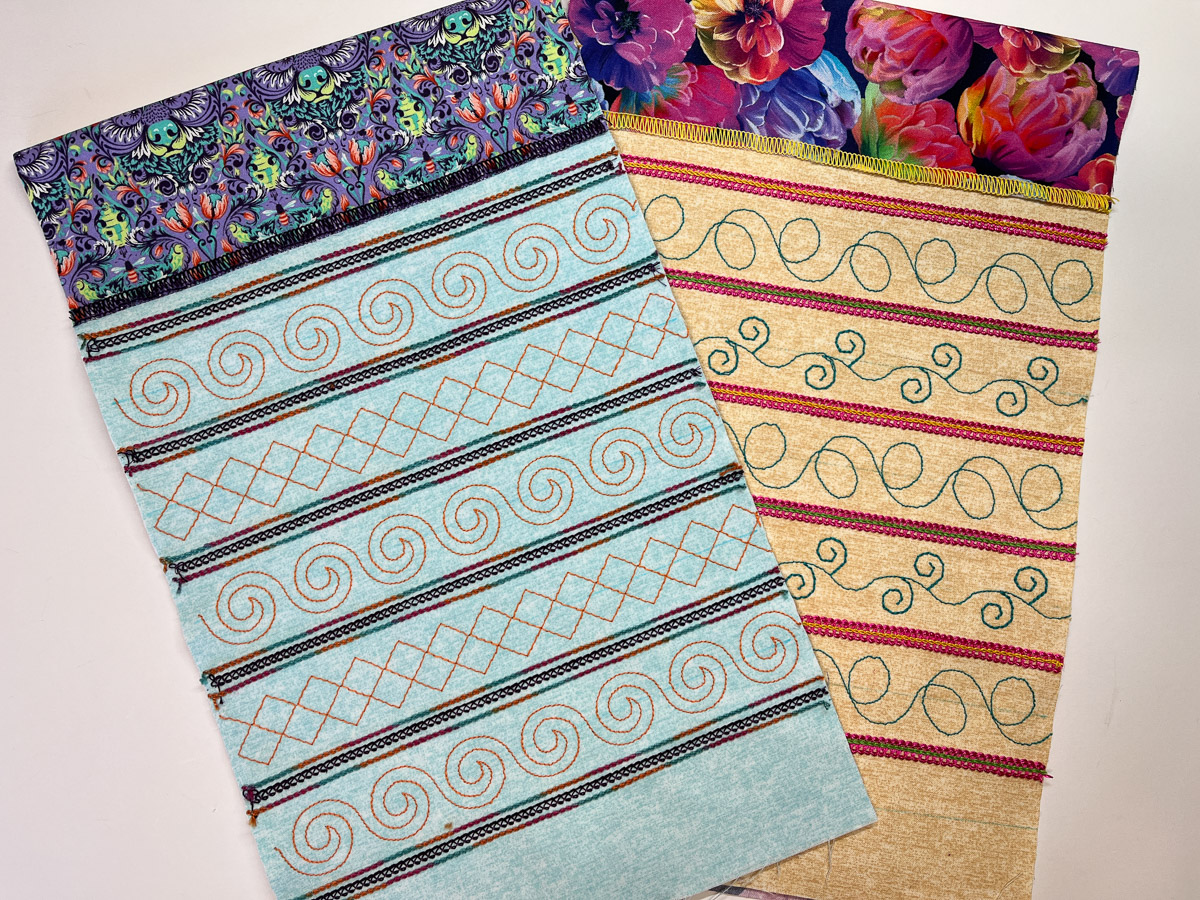
Here are some that I stitched out. Can you guess which one came out of the Alphabet Folder?
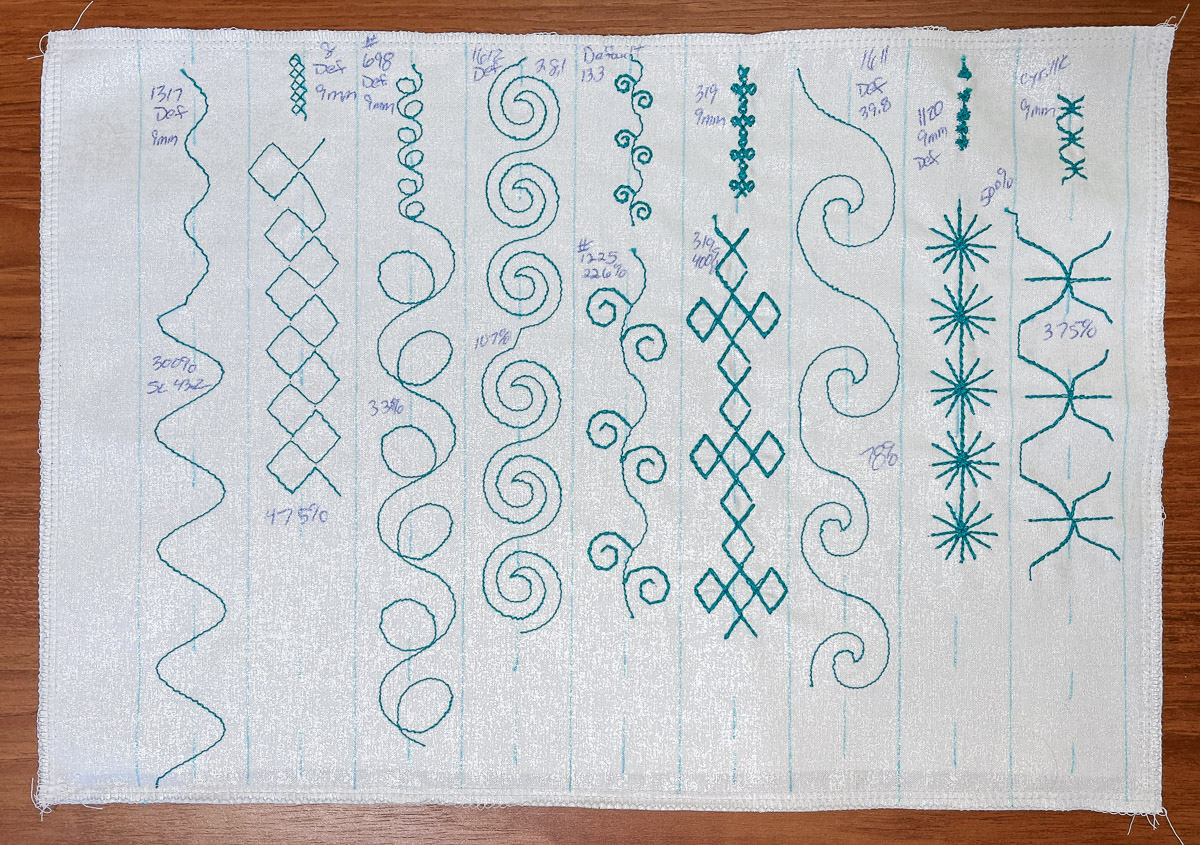
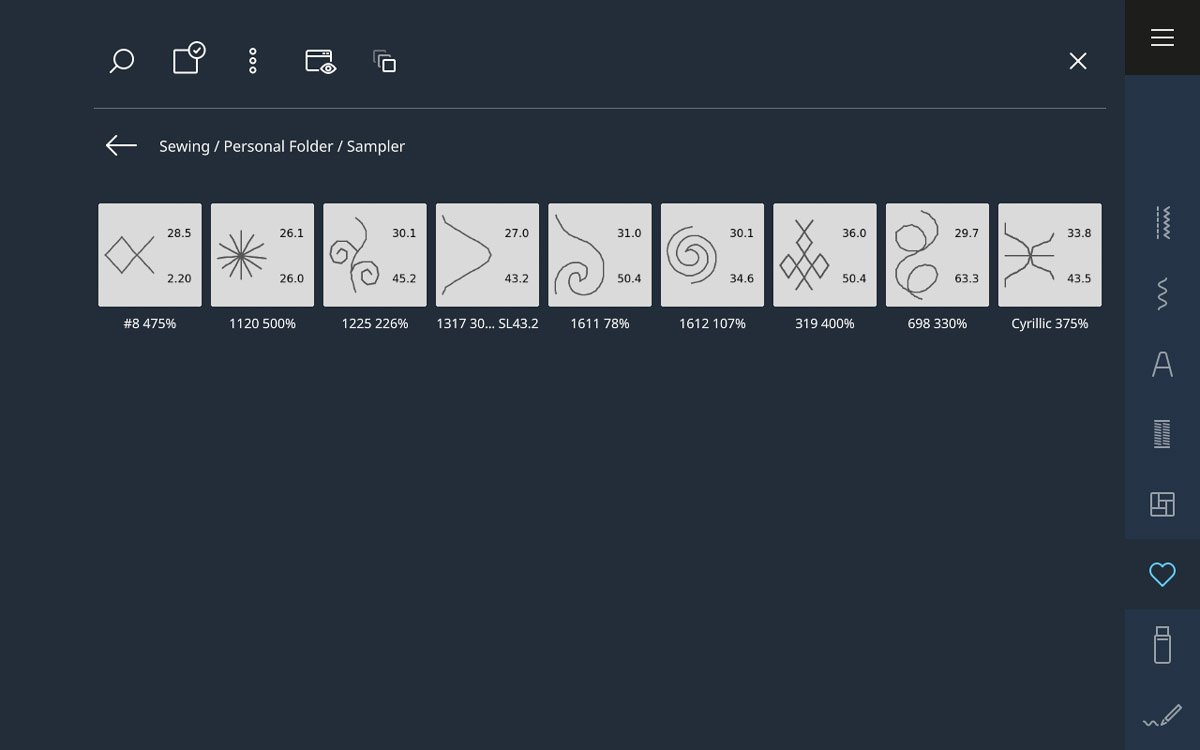
I saved my favorites in their own named folder on my machine so that when I was ready to sew, they were easy to find.
Step 3: Project Idea
Now it’s time to move from practice to project. I made the protective ruler sleeve from the pattern “Serger Studio Accessories” by Nancy Bednar. This pattern also includes a cute pincushion that looks like a beehive made on the L 890 using the XL Piping Foot. The ruler sleeve will be perfect for protecting my rotary cutting ruler when I go to class.
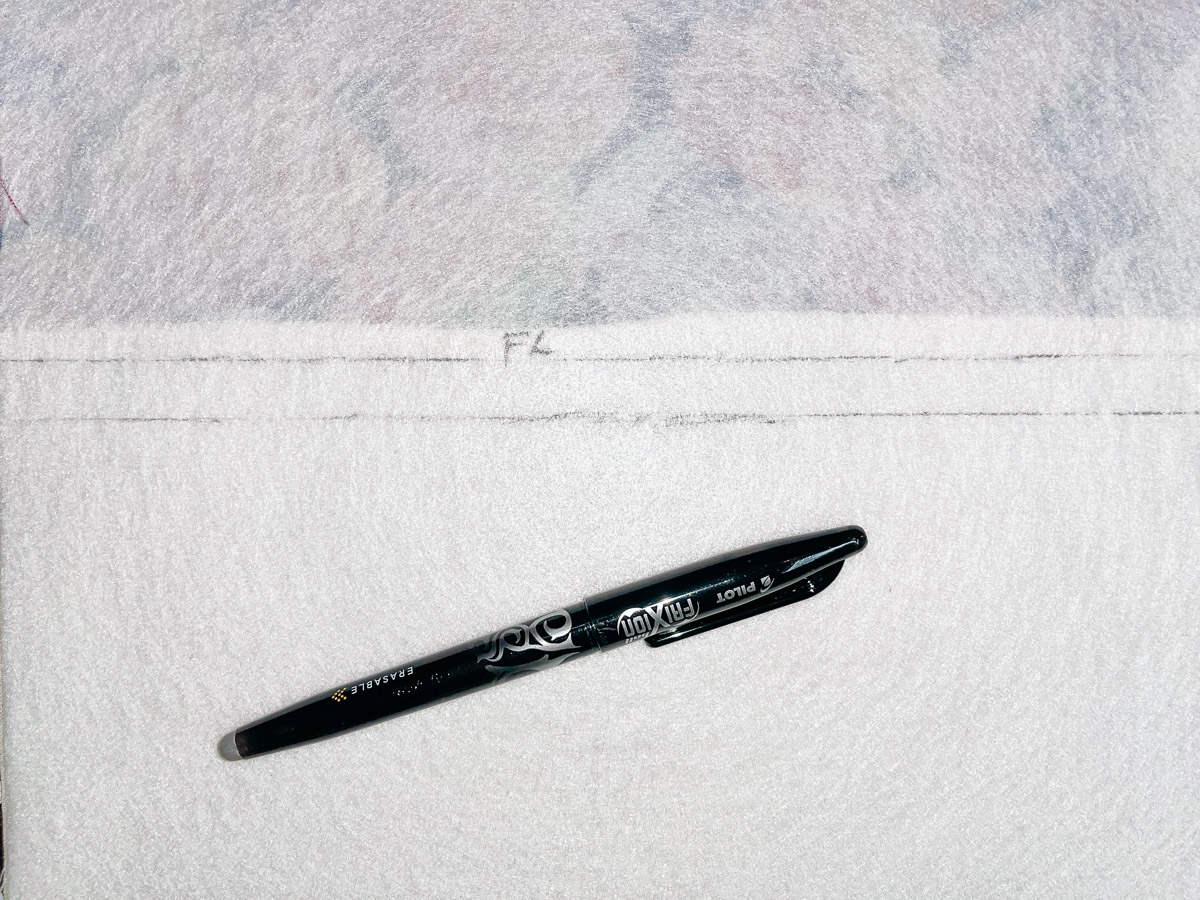
I added Shape Flex to my fabric as before. I used Fuse and Fleece by OESD for the batting. Follow the directions for marking.
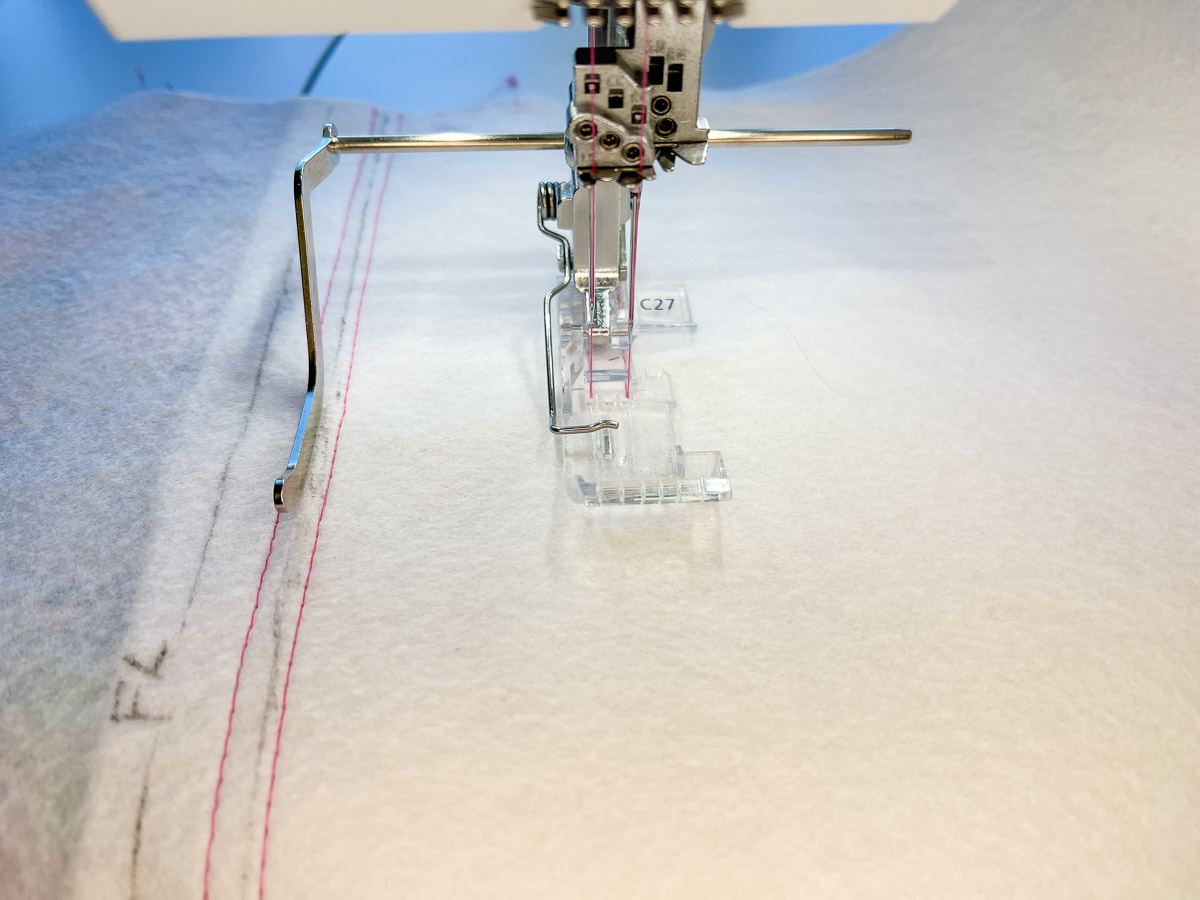
I threaded for a wide coverstitch with 12 weight thread in the chain looper. I marked just one line to start and then used the left seam guide for the rest of the lines. What a timesaver!
For more color, I switched to a chainstitch. I centered the chainstitch needle between the coverstitch needle stitches so that it sewed on TOP of the coverstitch. Remember to sew your cover- and chainstitches on the WRONG side of your fabric so that the pretty thread shows on the RIGHT side!
Before sewing the decorative stitches, I drew a line centered between each of the coverstitches. The decorative stitches were between 1″ and 1 1/4″ wide (25-30 mm). I turned on the grid view and lined up the center line on the screen with the line I drew and I was ready to go!
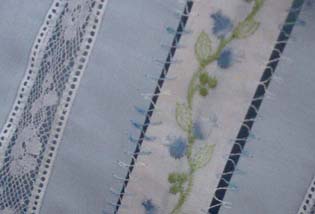
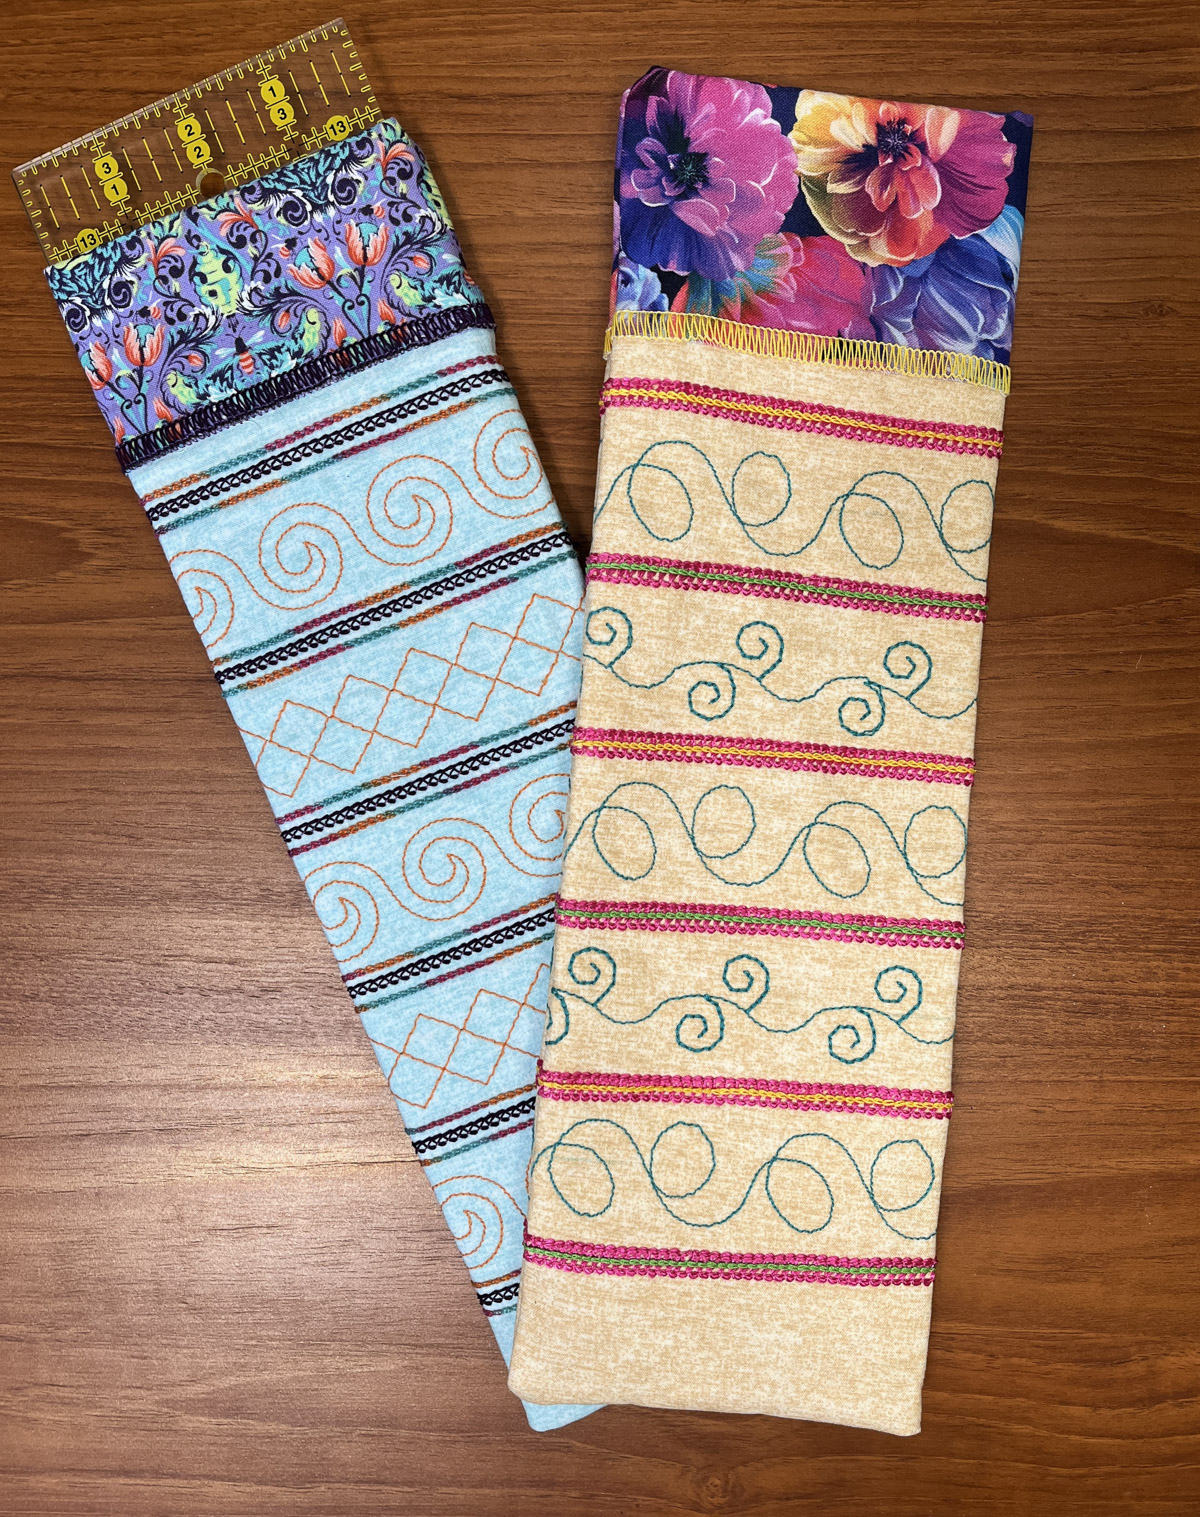
On this sampler, notice that I framed the coverstitch with a variegated chainstitch of 8 weight thread. The stitched swirls are coming along nicely!
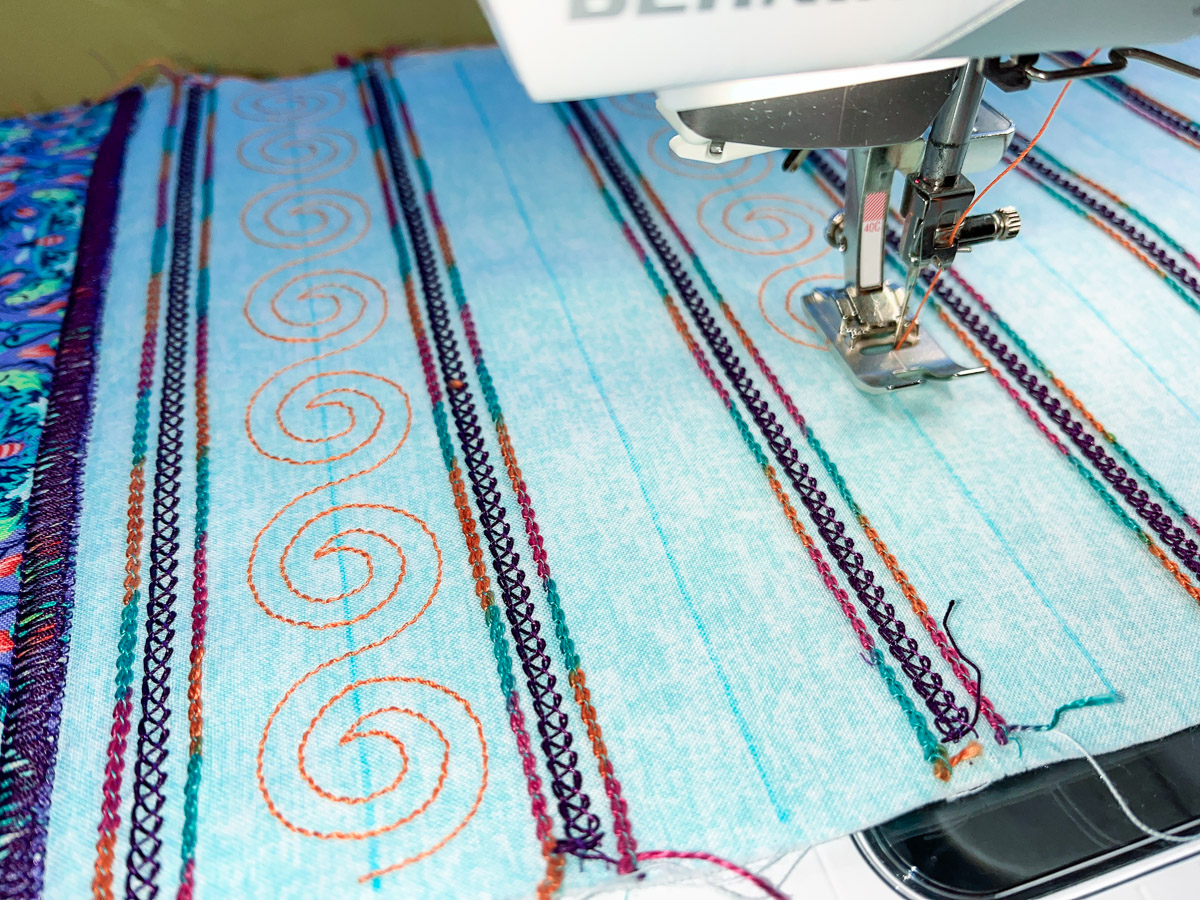
These look great!
Follow the pattern directions to complete the ruler sleeve.
Have fun experimenting with decorative threads and stitches on all of your machines! Until next time, happy creating!