Modern Cathedral Window, Part Three
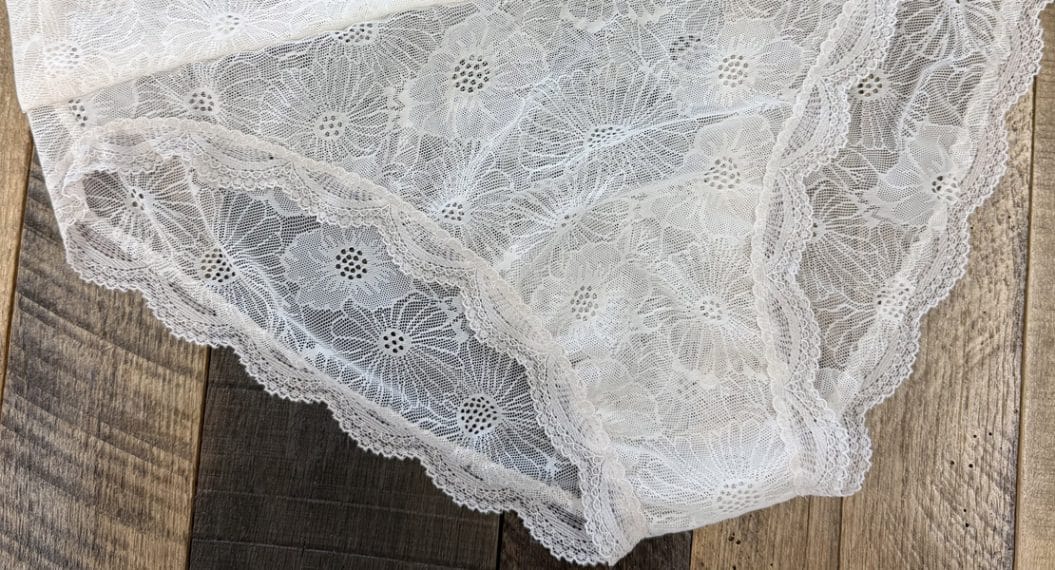
Hello! Welcome back to my blog series walking through the modern Cathedral Window process. Candice from A+CO here, sharing one of my favorite projects with you. One of the things I love most about Cathedral Windows is the ability to show off those gorgeous prints you love. Not only does the 5″ window square leave ample room to capture most designs, but the window construction really draws attention to the focus fabric.
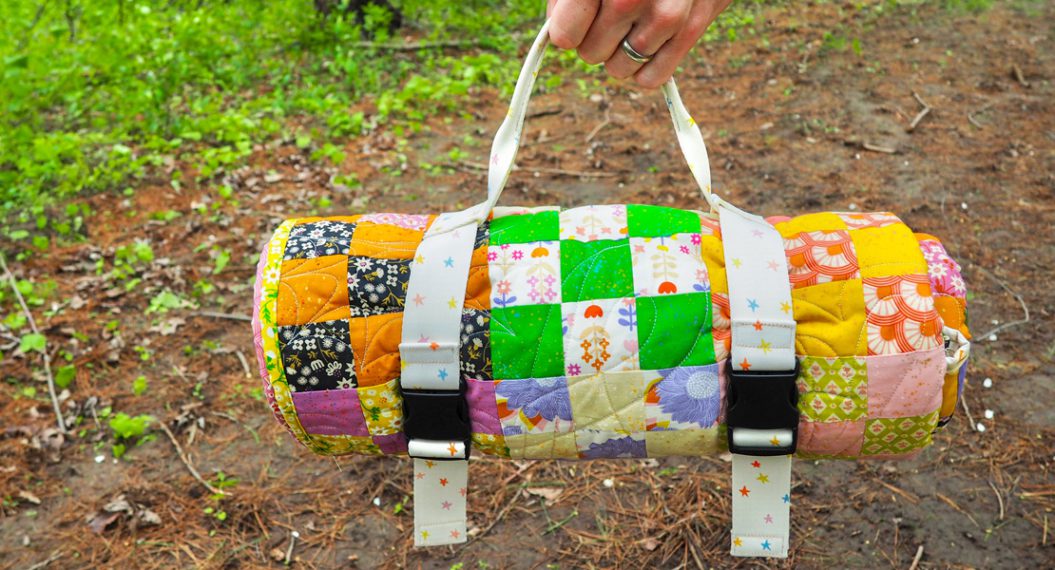
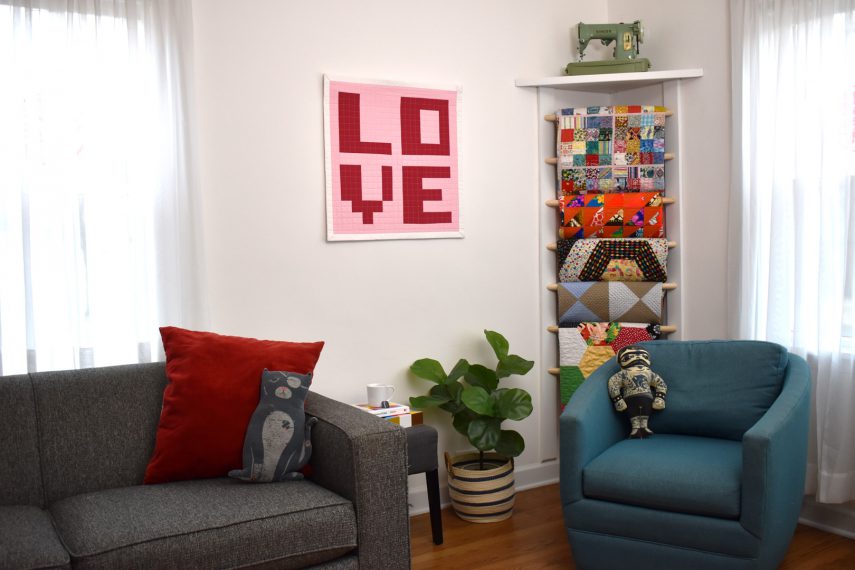
While I have made mini quilts, full quilts, and beyond using this technique, I think this pillow is my favorite. Pillow covers allow you to swap out decor seasonally (or just whenever you feel like it) without having to store a host of bulky pillows that aren’t in use. I love the shape of this 18″ x 36″ pillow because it adds variety to the throw pillows on my couch and also fits just perfectly in my favorite oversized chair.
When filling pillow covers, I generally prefer the overstuffed look. I find that using a pillow cover and insert that are the same size leads to the pillow being a bit floppy and can make it difficult to have those corners look filled. As a rule of thumb, I look for inserts that are 1-2″ larger than the cover. This may seem counter-intuitive but trust me, with a little elbow grease you can get that insert in. The overstuffed look (and workout needed to get the insert in the cover) are also the reason I gravitate toward a zipper closure rather than an envelope-style pillow cover.
In today’s post, we will quilt the back panel for our pillow cover, insert the zipper, and then put it all together. Because of the bulky seams in the Cathedral Window panel, I’ve opted to insert the zipper right in the middle of the back panel. This makes it visible but with a great coordinating zipper, I find it visually pleasing. We will also briefly touch on adding binding to cover the raw edges inside the pillow though, I’ve gotta let you in on a secret… I rarely bind mine! I am usually so excited to be done and get my pillow on display that I skip binding and add that to my list to do later. Either way, I just know you’ll love your finished project and I can’t wait to see what you create.

Materials to Sew a Modern Cathedral Window Pillow
- BERNINA 735
- Fabric (see requirements below)
- Iron
- Glue stick for basting (I use a washable school glue stick)
- Clips/pins
- Ruler and rotary cutter
- Thread
- Zipper
- Batting
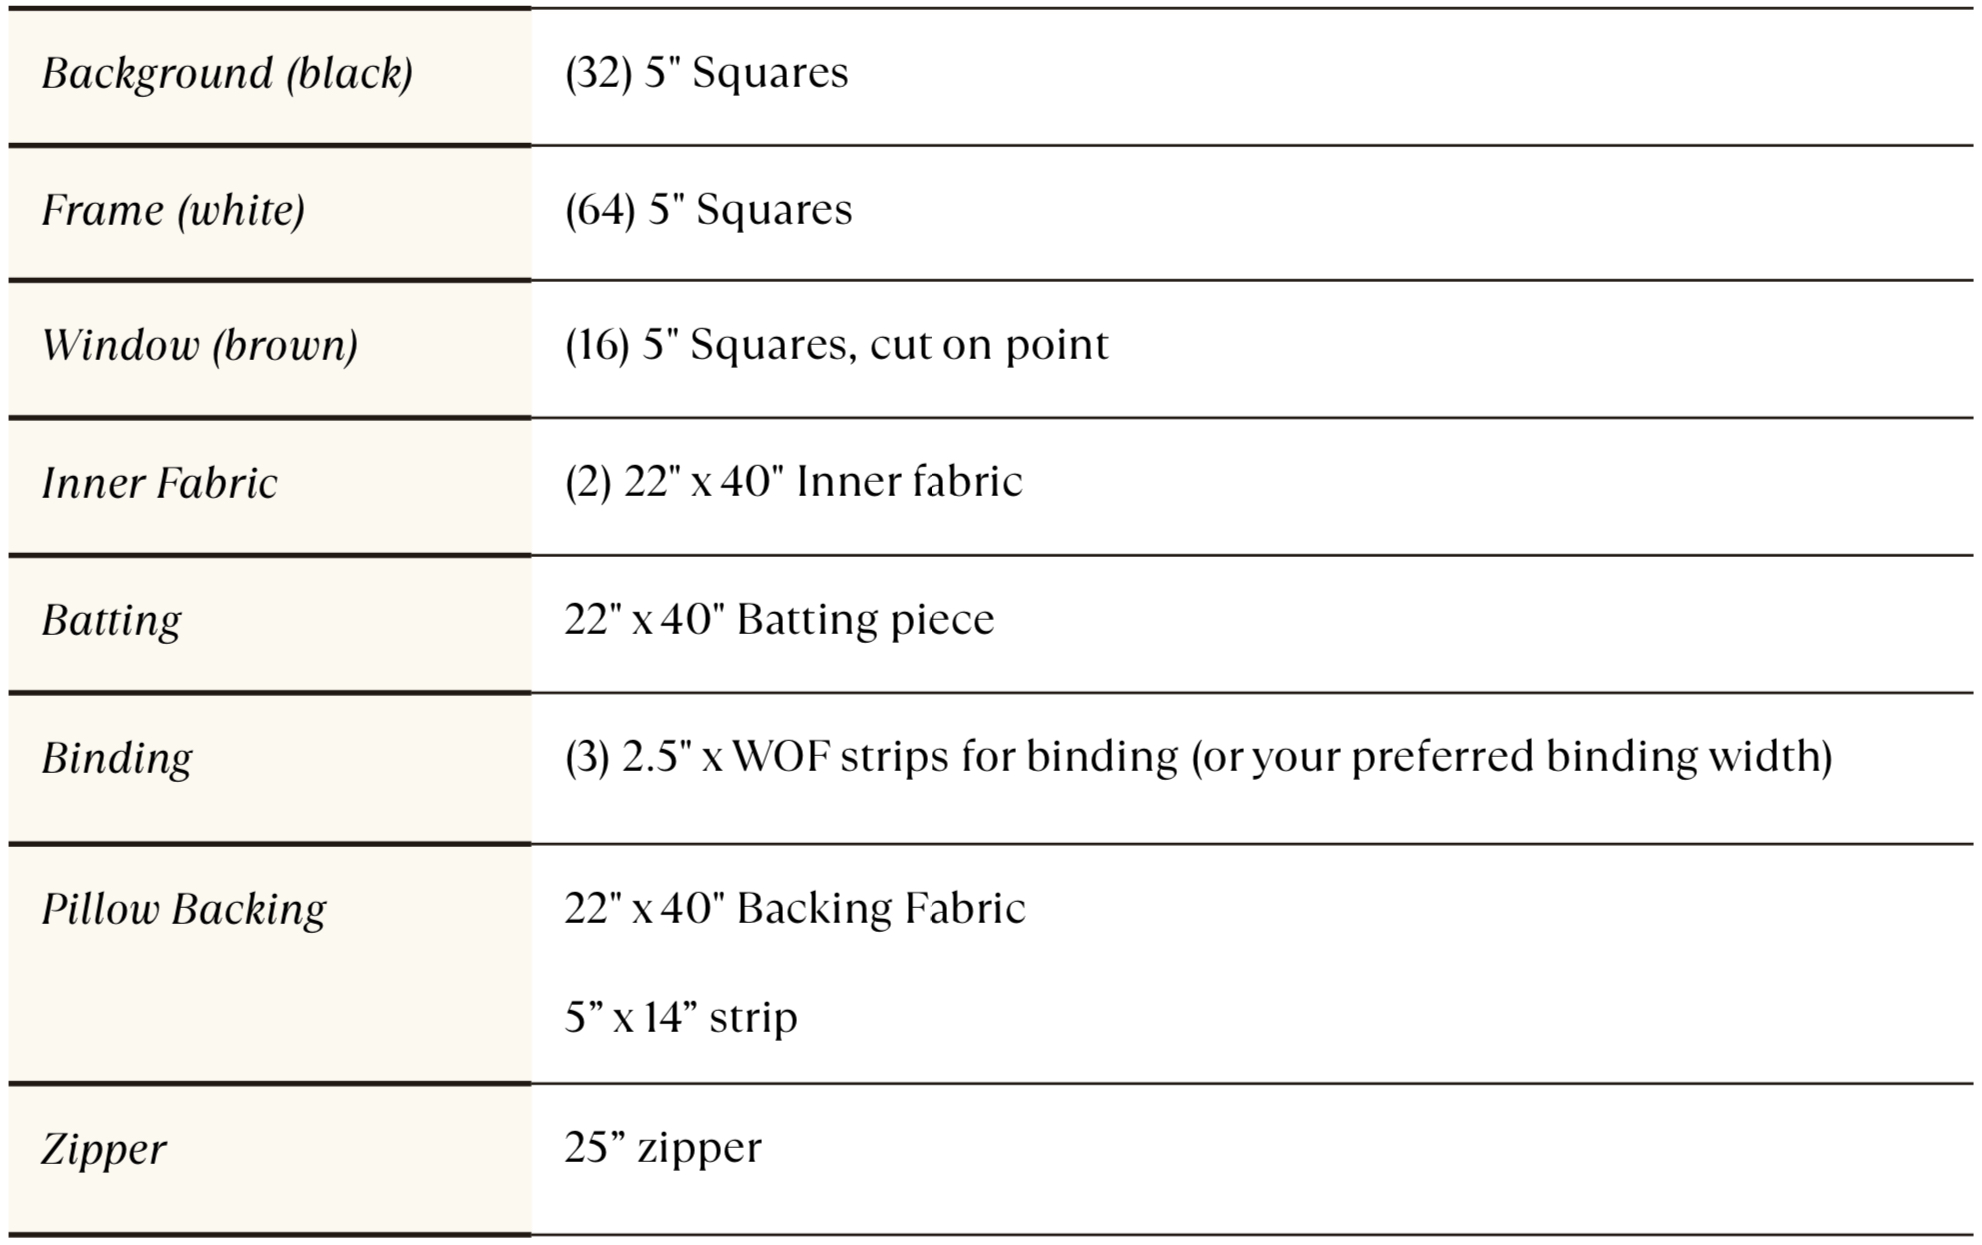
Fabric
For today’s sewing, we will be using the quilted panel completed in Part Two, the remaining inner fabric, optional batting, backing fabric, zipper, and the 5″ x 14″ strip.
Steps to Sew a Modern Cathedral Window Pillow
Prepare Back Panel

I’ve consistently used one whole piece of fabric for the back panel and did simple 2″ straight line quilting. You could fancy this up a bit if desired by piecing your back fabric piece and/or adding more decorative quilting. Just know that to insert the zipper, we will be cutting the 22″ x 40″ back panel in half horizontally which may impact how your piecing/quilting design looks at the end.
I have made several of these pillow covers, some with batting in the back and some without. Adding batting to the back piece will enhance the quilted look but will also add extra weight and bulk. I’m listing it here as optional in the event you do want to add it but please know that you could also sew the backing fabric directly to the inner fabric.
- Gather your remaining 22″x 40″ inner fabric and optional batting pieces along with your 22″x 40″ pillow backing piece.
- Create a quilt sandwich by laying your inner fabric face down, then layering your batting piece on top. Smooth any wrinkles or folds in both layers and spray baste if desired. Lay your back fabric piece (this is the one that will be on the outside of the pillow) on top of the batting, right side up. Baste as desired.
- Quilt the layers together.
- Trim the edges of the back panel just so that all four sides are straight. Don’t worry at this point about measurements, we will trim down to size after inserting the zipper.
Prepare the Zipper
I prefer to use zipper by the yard for this project. Zipper by the yard is typically available at your local quilt shop and includes a yard of uncut zipper tape and several zipper pulls.
If you’d prefer to use a standard zipper or have your zipper be a different length, you’ll just need to adjust the length of your 5″ x 14″ strip of backing fabric. The total length of the strip of the fabric and the zipper (plus seam allowances) should be long enough to cover the length of the pillow’s back panel.
- Trim your zipper to 25″ and attach the zipper pull, if using zipper by the yard.
- Take your 5″ x 14″ strip of backing fabric and fold in half lengthwise wrong sides together, press to create a crease down the middle.
- Open the strip and fold the raw edge of one long side in to meet the center crease you just created. Press and repeat with the other long side. Refold in half and press so the raw edges of the long sides are encased.
- Find the center of your strip and cut. You should now have 2 folded strips that measure approx. 1.25″ x 7″.
- Take one of the prepared strips and on one short end, open the fold and on one short end, fold the raw short edge in approx. 1/2″ and press all folds closed. One short end should have the raw edge encased.
- Align one end of your zipper tape into the folded strip on the encased short end. The end of the zipper should be covered by the folded fabric strip approx. 1/2″.
- Sew a seam along the short edge of the fabric strip that has the zipper pull inserted into it, securing the zipper into the strip.
- Sew a seam along both long edges of the fabric strip.
- Repeat with the other prepared strip and the other end of the zipper.

Insert the Zipper
The zipper placement can be flexible. I placed mine along the center of the panel as a matter of preference but you could move yours up or down as you desire. One thing I did want to consider was the stability of where the zipper was inserted.
Your zipper piece should now have two fabric strips on either end, extending it from the original 25″ to about 37″ long and the raw edges along the length should be enclosed in the fold and stitched shut.
- Find the center of your zipper by folding the zipper strip in half, matching the two ends. Mark the center either with a pin or with your choice of marking tool.
- Find the horizontal center of the back panel and mark a line with your marking tool from one short end to the other.
- Cut along the line marked in step 2 so you now have two pieces of your back panel that are approx. 11″ x 40″ each.
- On each panel, find the vertical center and make a small mark on the cut edge.
- Take one panel piece right side up and your zipper strip and place them in front of you. With the zipper strip facing down, align the two marks that designate the middle of each piece keeping the raw edges together. Pin or clip the middles together and continue to pin/clip as you move towards the outer ends.

- Sew along the pinned edge, backstitching at the beginning and end to secure your stitches.
- Press the seam allowance toward the panel piece so that the zipper tape lays flat.
- Sew a 1/8″ top stitch along the length of the zipper/panel.
- Repeat with the other side.

Put it Together
- If you haven’t already, trim your front panel, ensuring all sides are straight and even. Your piece should measure about 18″ x 36″.

- Lay your front panel on top of your back panel right sides together, making sure the zipper is centered horizontally. Trim your back panel to match your front panel.
- Slide your zipper pull so that the zipper is halfway open. We will use that opening to turn the pillowcase right side out when we are done.
- With your front panel and back panel aligned, pin or clip around the edges.
- Sew along all four edges with a 1/4″ seam.
- Add your binding to all four sides, if desired. Alternatively, you could use a serger to serge the edges.
- Turn your pillow right side out through the opening in the zipper and push all four corners out.
- Add your pillow insert, zip it up, and enjoy!
I hope you’ve enjoyed this series as much as I have. I’m a huge fan of Cathedral Windows (if you haven’t noticed) and how versatile they are. If you’ve made this project I’d be delighted to see it, tag me on socials @aandcowi!
Used Products
What you might also like


One comment on “Modern Cathedral Window, Part Three”
Leave a Reply
You must be logged in to post a comment.

Thanks for concise easy to follow directions. I’m excited to try this technique.