How to Stitch Up a Sassy Button Tote
This fun little bag is a great way to use up some of your vintage buttons, or a wonderful project to have your daughter or granddaughter make with you. Get that BERNINA button foot out and lets make this bag together in an afternoon.
Supplies
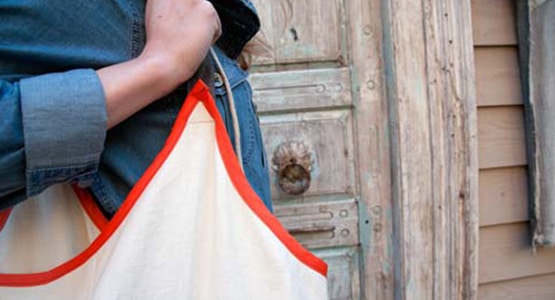
- One purchased canvas tote (the one featured measures 12″ x 12″)
- One 5″ x 5″ fusible interfacing
- Estimate 64 buttons (the one featured uses four different shades of the same color)
- Matching thread to buttons (the one featured uses simply color thread by V and Co.)
- Fabric glue (the one used is super stick)
- Button sew-on foot, BERNINA Button Sew-On Foot #18
- Washable pen
Instructions
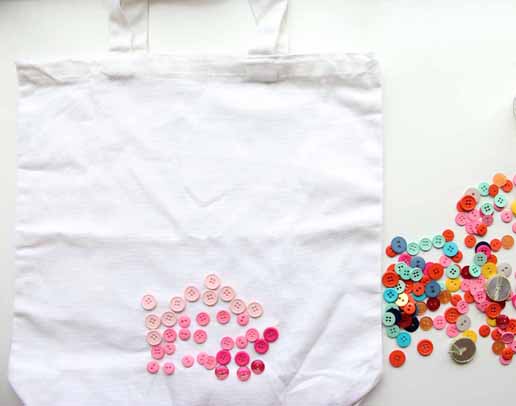
Picking out the buttons is part of the fun of making this bag. I asked my daughter what buttons she wanted, and she picked out all the pinks.
Pick out any buttons close in size, if they are different is size your placement will be off but that’s okay! This is a fun tote we are doing roughly 8 by 8 rows which would be 64 if they were all the same size, but I used only 62 buttons because my lightest buttons were larger than the other buttons. The idea is to use different buttons to have more “texture” and difference.
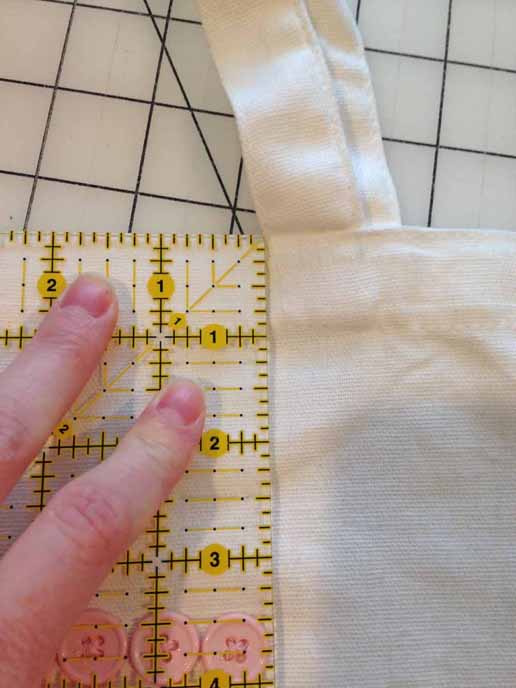
Use the inside part of the handles as your guide to draw vertical lines with a washable pen marker.
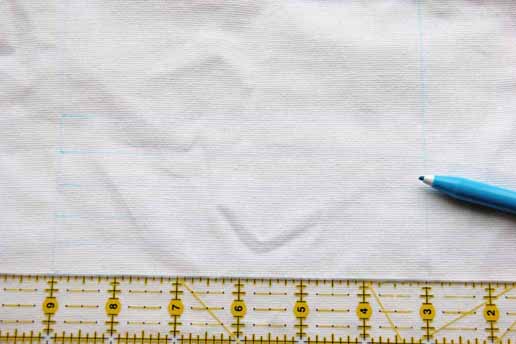
Measure 3-1/2″ down from the top edge of bag and mark 9 horizontal lines 1/2″ apart.
Place buttons using the “boxed lines” as your guide to keep the buttons in the area, rough estimate was 8 rows down and 8 rows across. Adjust if you have smaller and larger buttons.
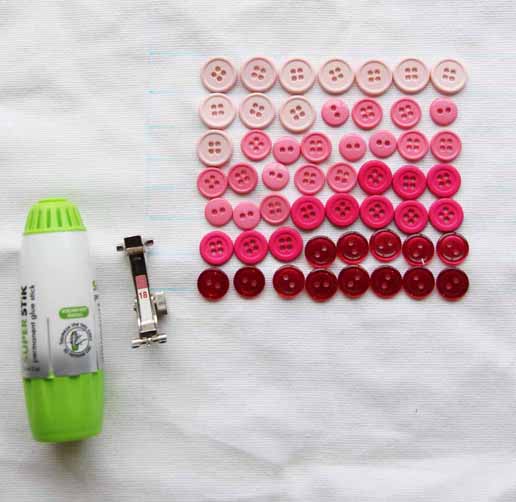
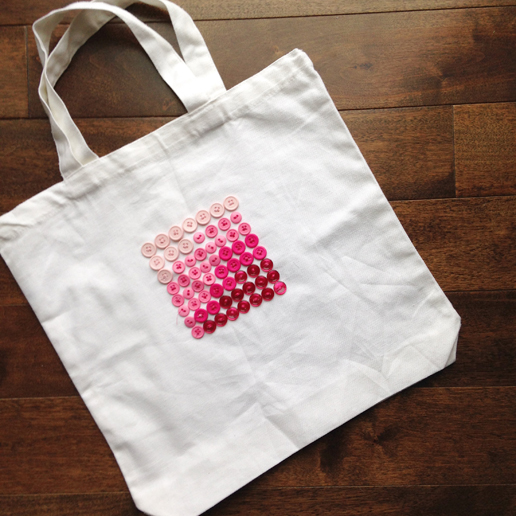
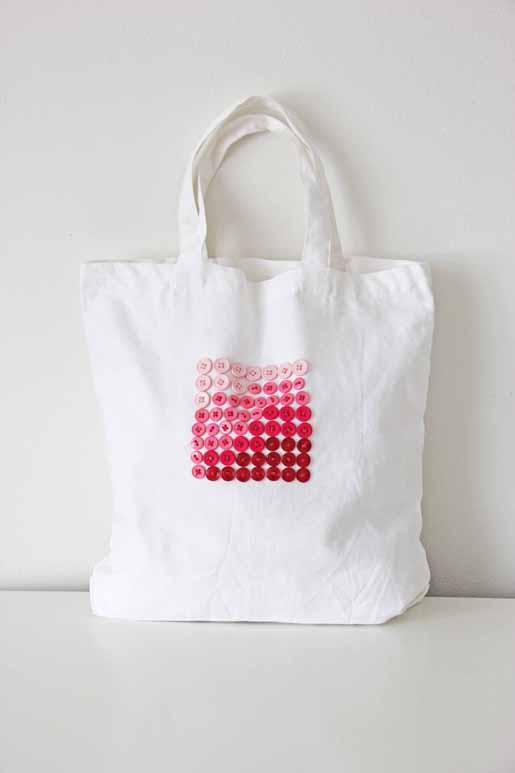
To do the gradient look start with the lightest shaded buttons at the upper left corner, and place the darkest shaded buttons on the lower right. I just used what I had on hand, I would have changed a few placements if in my stash I had a couple more darks and lights. I had a lot of middle shades so I made do! Here’s what was of each in this project:
- Lightest shade: 11
- Second shade: 25
- Third shade: 11
- Darkest shade: 15
Once you figure out where you would like your buttons, place a little bit of stick glue on the back of each button to keep it in place.
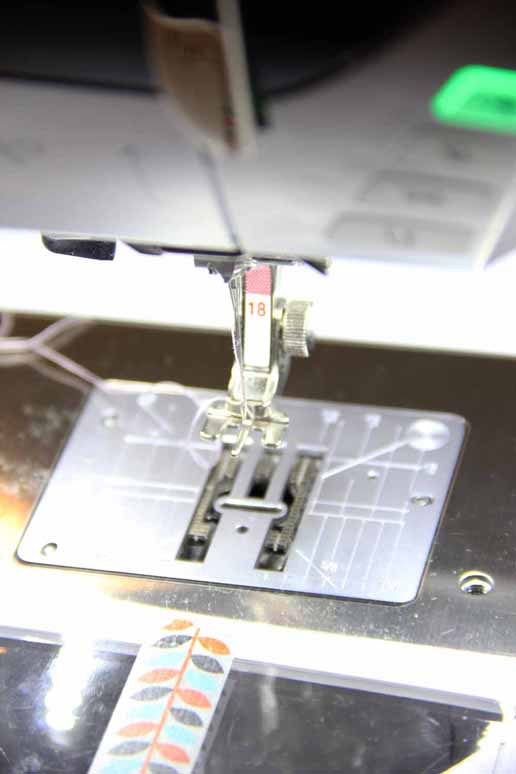
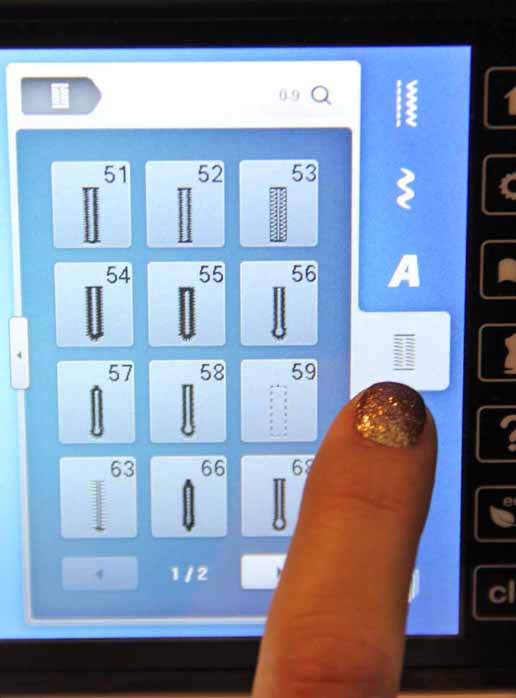
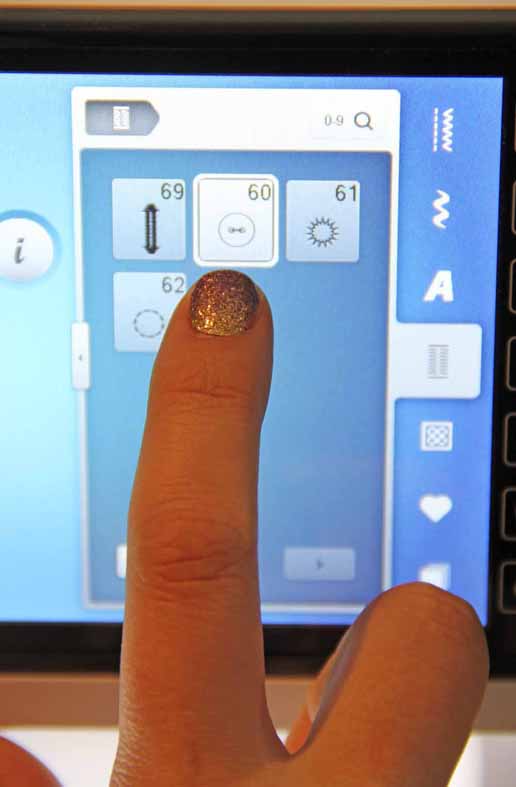
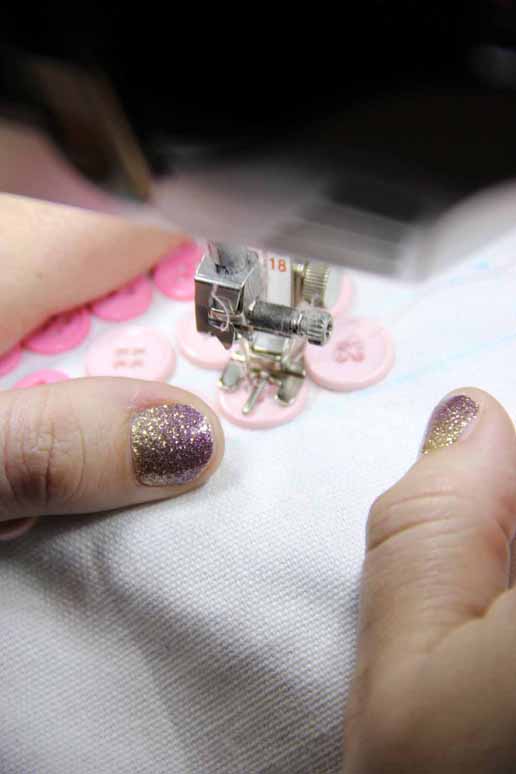
Put on the BERNINA Button Sew-On Foot, and on your screen select the button hole selection, and then the #60 (on the BERNINA 780).
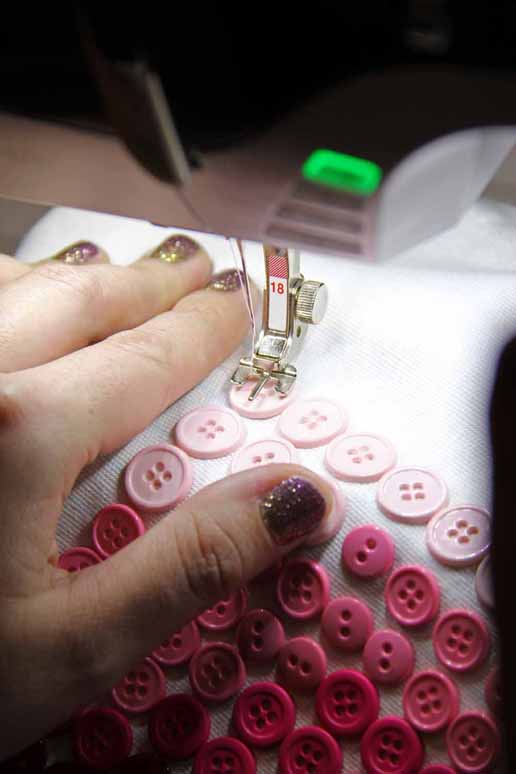
I wanted to match as closely as I could the color of the thread to the buttons I picked two shades (or you could do more than two shades!) one for the lightest buttons and then a medium that could go with the medium and the darkest buttons. Align the first button and button stitch your button.
Continue across until all the buttons are done. Change the top thread to match the buttons you are sewing on.
Iron on the fusible interfacing on the inside of the bag to hide the back side of all the threads.
Erase the washable pen by lightly dabbing with a damp cloth.
And voilà! Your sassy tote is ready to be taken on the runway!
Have fun stitching it up.





3 comments on “How to Stitch Up a Sassy Button Tote”
Wonderful! Easy, usable, completely great. I will make a few of these for groceries, yarn, fabric, and lots of other stuff! Thanks!!