Kids Shorts Tutorial Series Part II, The Curved Shorts
Welcome to Part II of our Kids Shorts Tutorial Series by Shauna Wightman of Shwin And Shwin—the curved shorts.
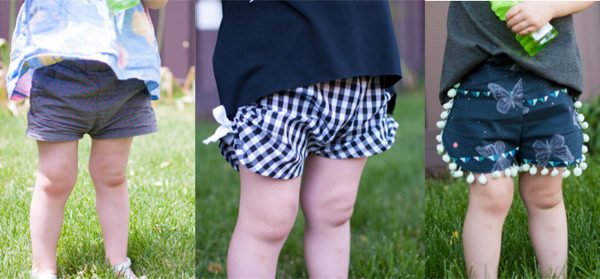
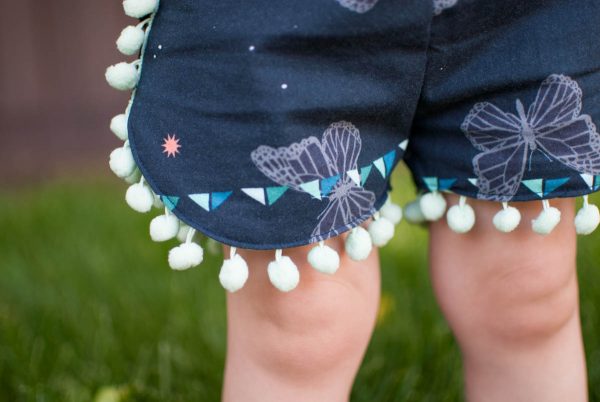
We continue the summer shorts series with shorts number two, the curved shorts. A quick alteration to the pattern and we have a whole new style.
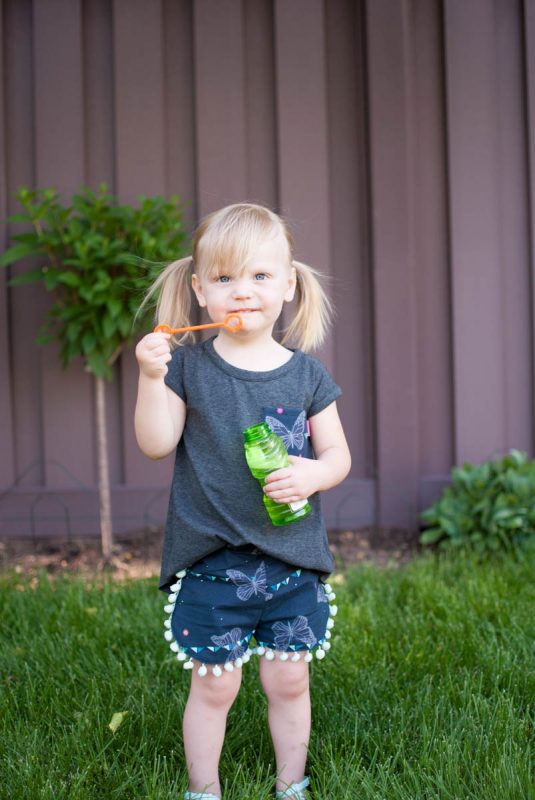
Materials to sew a curved kids shorts:
- Shorts pattern, BasicShorts2T_Pattern
- ½ yard fabric (chambray, linen, denim or cotton will work great
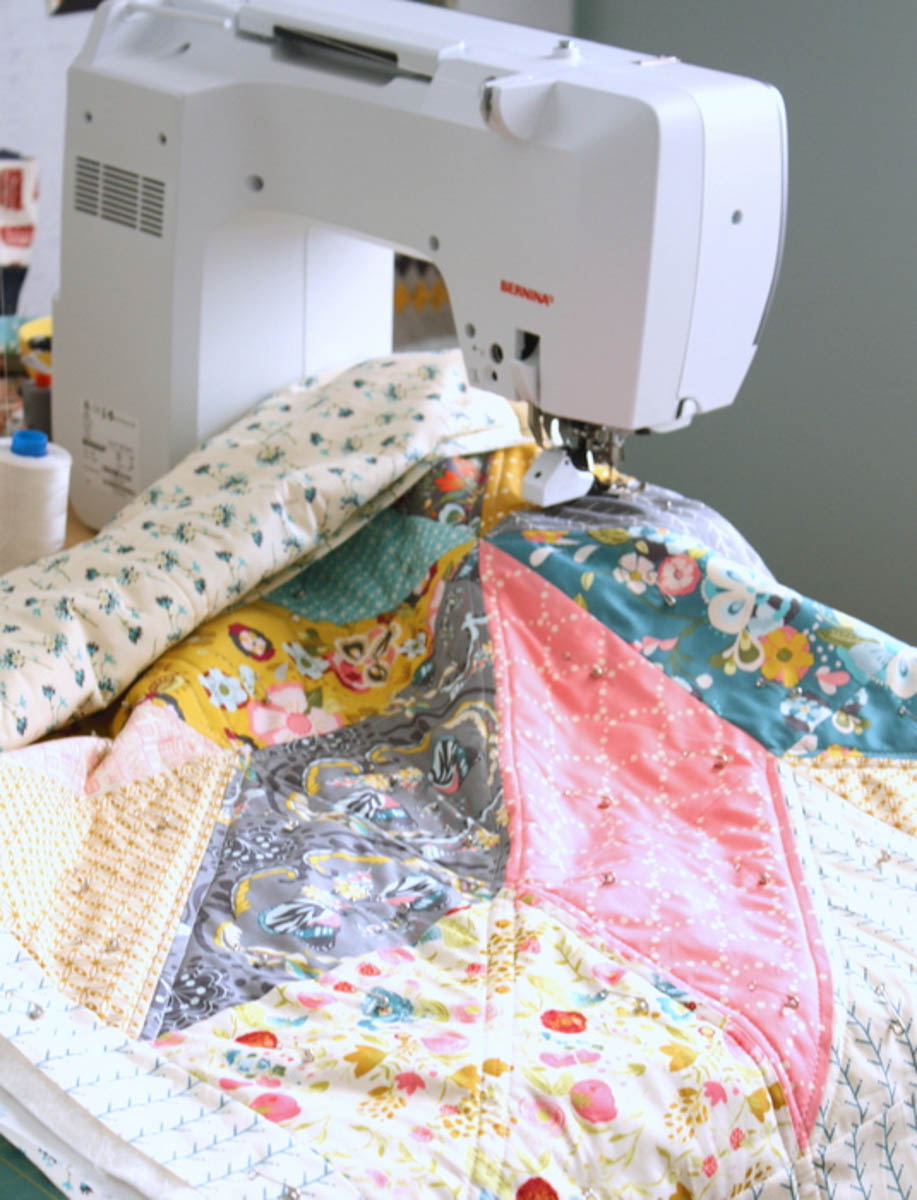
- Sewing machine, I sew on a BERNINA 380
- Basic sewing foot (e.g. the BERNINA Reverse pattern foot #1)
- 17″- of 1″ non-roll Elastic
- 1 yard trim (pom-pom trim, lace, or ric-rac)
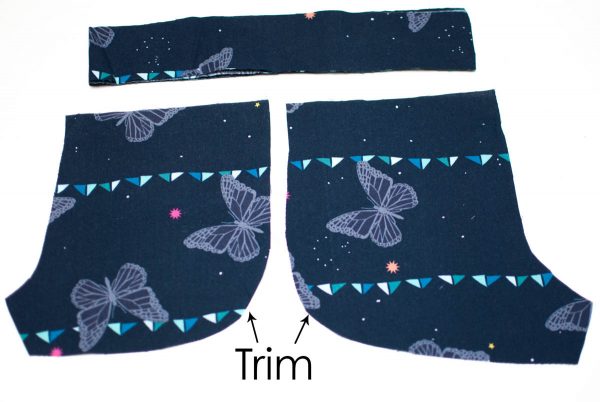
Cut out the shorts pattern, trimming the curved edges as shown on the pattern. You will also need the waistband pieces.
Step 1
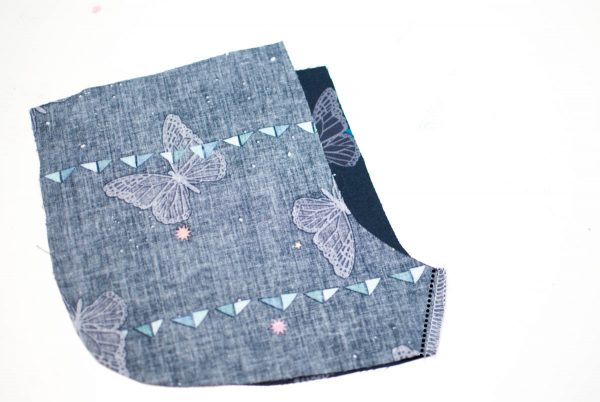
With right sides together sew one front and one back piece together along the inseam. Finish seam as desired.
 Step 2
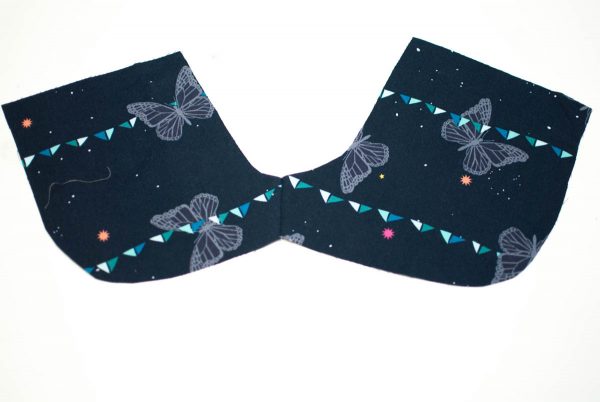
Press seam open flat. Finish outside edge as desired.
 Step 3
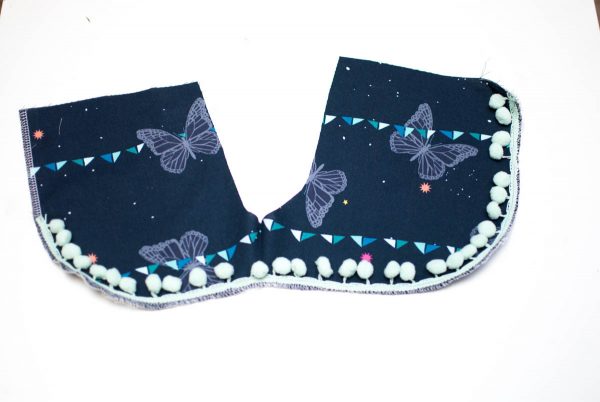
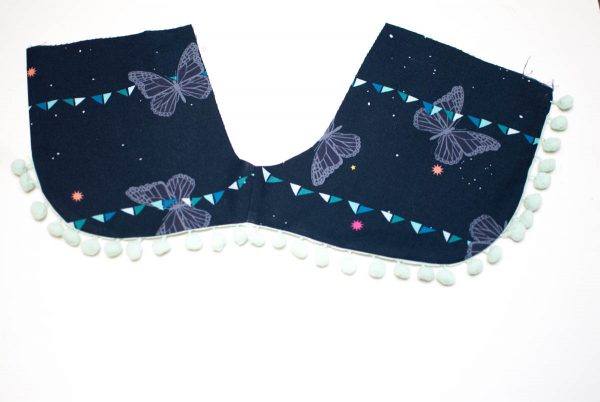
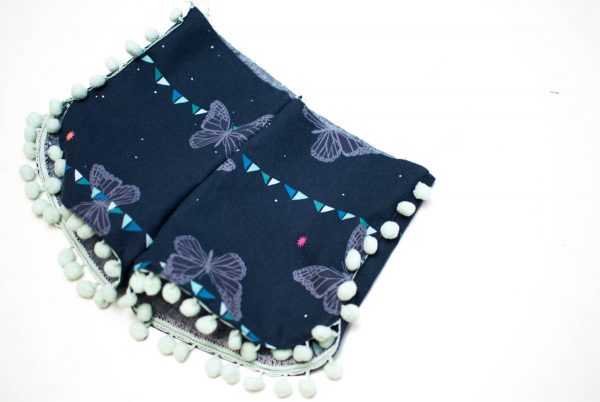
Sew the trim along the shorts starting ½″ above the curved edge of the front and sewing all the way up the side back edge. You want to sew the edge of the trim towards the edge of the shorts.
 Step 4
Turn the edge under by 3/8″ and press. Now the edge of the trim should be turned toward the back and just the edge will be peeking out.
 Step 5
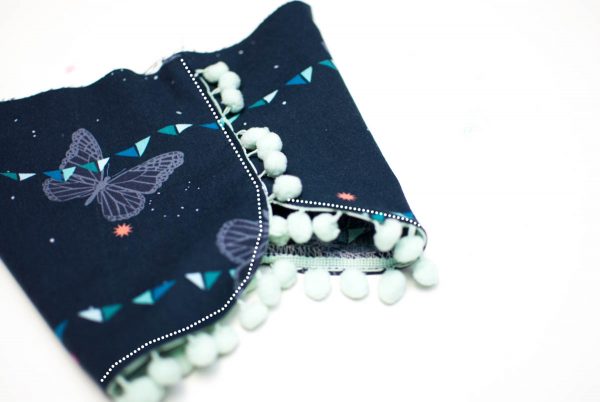
Overlap the front and back pieces at the side seam by 3/8″. Sew the two layers together starting at the top and then sew the hem in place along the rest of the hem and back around to the other side.
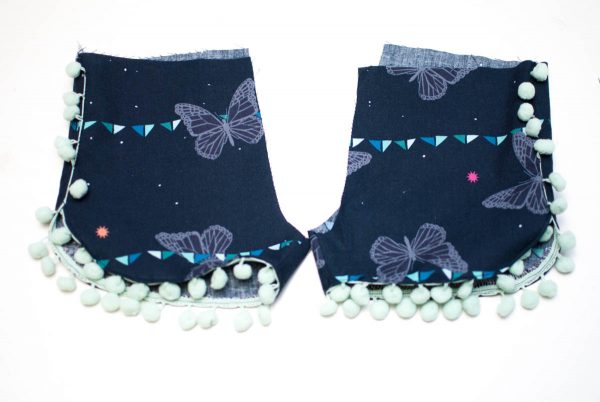
Repeat those steps so you now have two legs.
Step 6
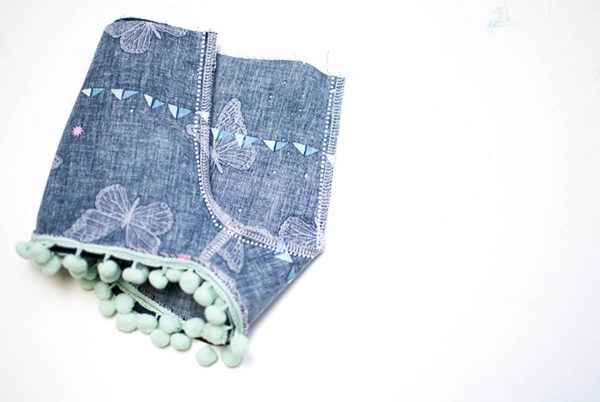
With the legs right sides together (one inside out and one right side out and then matched up together) sew from the center front down through the crotch and up the center back. Finish seam as desired. Top stitch seam if desired.
Then follow the rest of the steps from Part I of the kids shorts tutorial series starting at step 12.
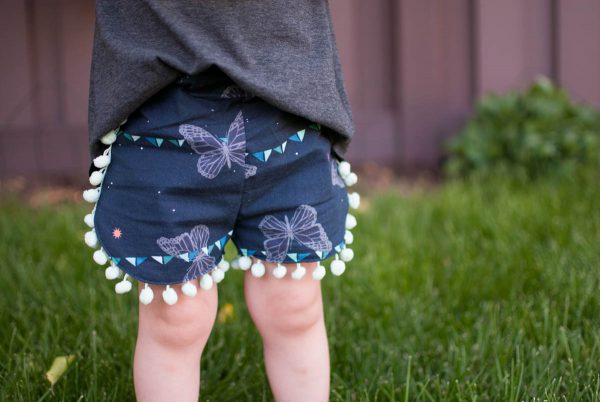
Then you are done with style number two for a basic shorts alteration and your curved shorts is created.
