Puppy Gift Charm
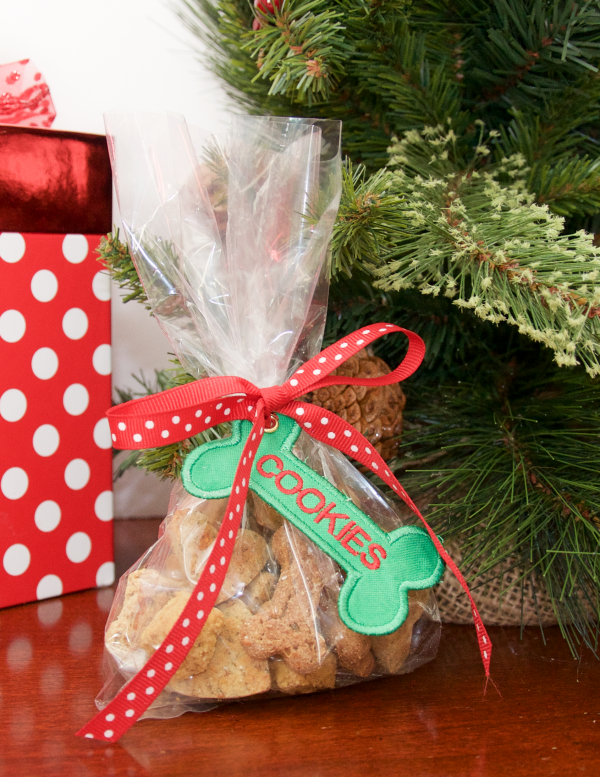
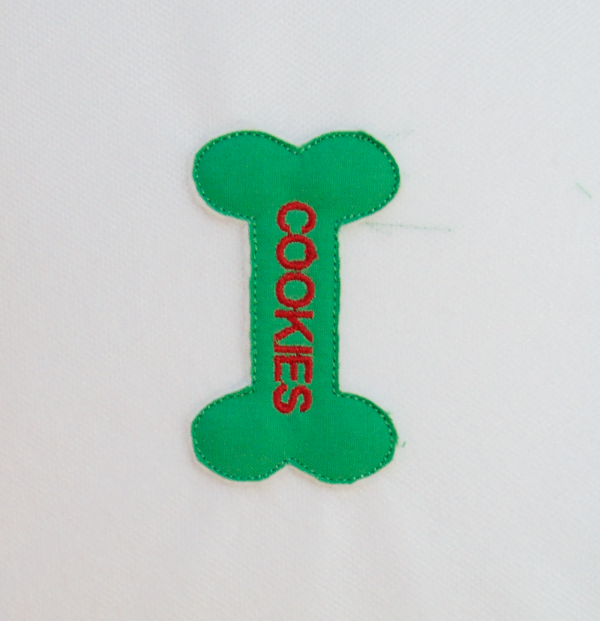
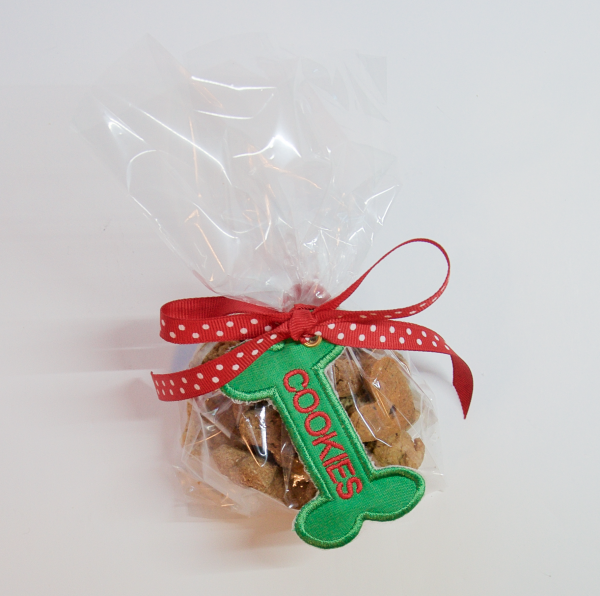
My brother and sister-in-law do not have children, but they have an adorable puppy named Riley who is essentially their “baby.” When we send them a Christmas gift, we like to include Riley. Here is a simple Puppy Gift Charm and gift idea for either your puppy at Christmas time, or perhaps there are a few puppies that you send gift too as well. If you’d like to have gift charms for people, be sure to check out the Gift Charms pattern from Amélie Scott Designs available through Brewer or your local BERNINA shop!
Materials to make a Puppy Gift Charm
- Water Soluble Stabilizer like OESD Aquamesh Wash Away
- Two 4″ x 5″ pieces of fabric
- One 4″ x 5″ piece of thin batting
- Temporary Spray Adhesive like 505 Spray and Fix
- 5/32 in or 3.96mm Dritz Eyelet Kit or a Crop-a-Dile Eyelet and Snap Punch Tool
- Painter’s tape (helpful)
- 3/8″ ribbon (about 28″ needed)
- Download the Puppy Gift Charm embroidery designs
Step 1
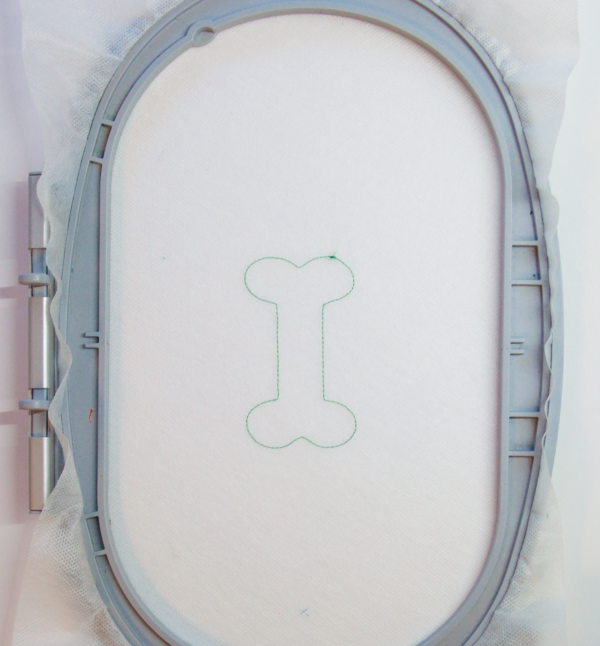
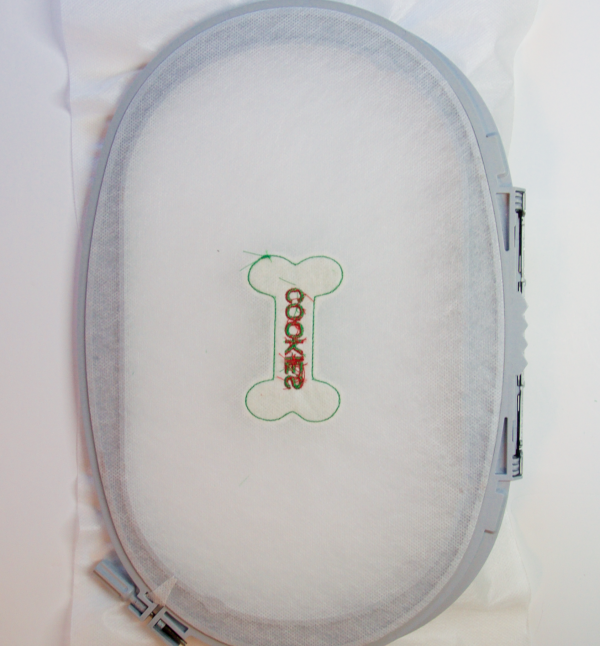
Hoop the Wash Away Stabilizer. Load the design into your machine. Start the machine. The machine will stitch an outline of a dog bone, which I refer to as a “cookie!”
Step 2
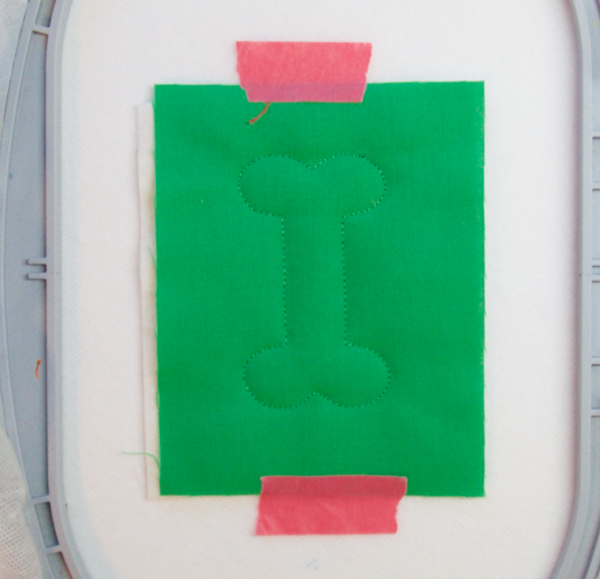
Place the 4″ x 5″ piece of batting over the placement line. Then place the 4″ x 5″ piece of fabric on top of the batting, with right side facing up. Use painter’s tape to hold the fabric in place. Start the machine. The machine will tack the fabric and batting in place.
Step 3
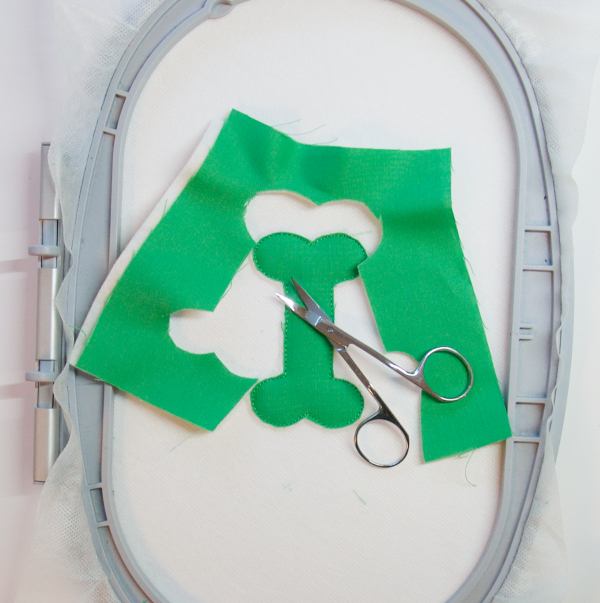
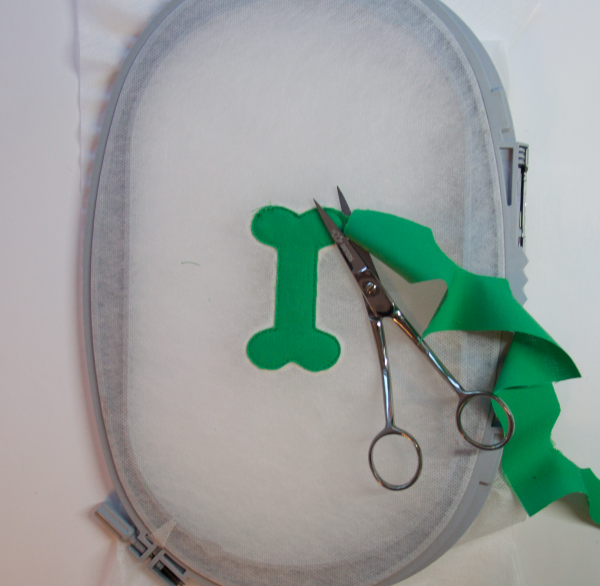
When the machine stops, remove the hoop from the machine, but leave the project inside the hoop. Place the hoop on a flat surface. Trim away the excess fabric and batting. Then, return the hoop to the machine.
Step 4
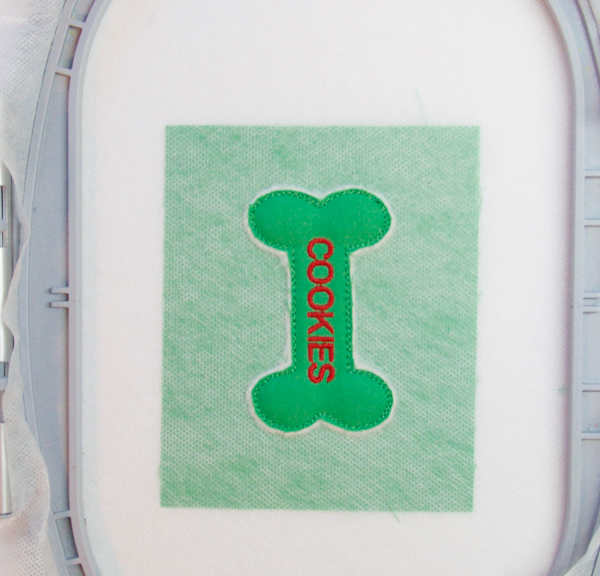
Change the thread to the color you would like for the lettering. Start the machine. The machine will stitch the word “cookies.”
Step 5
When the machine stops, remove the hoop from the machine, but do not remove the project from the hoop. Turn the hoop, so that the back of the hoop is facing up.
Step 6
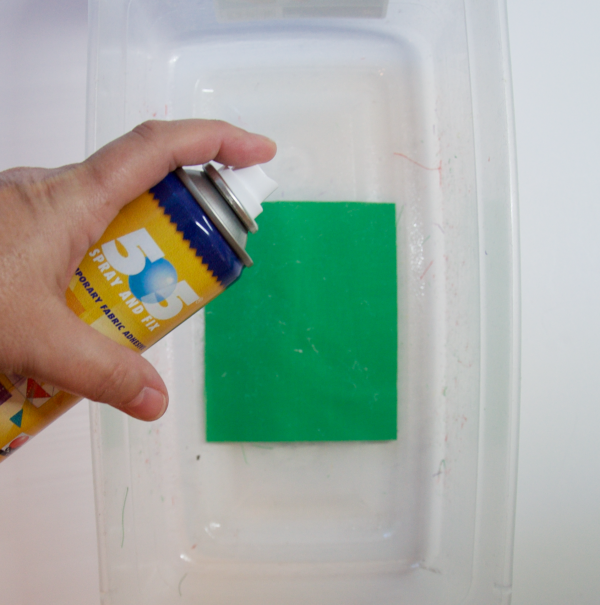
Spray temporary adhesive on the wrong side of the second 4″ x 5″ piece of fabric.
Note: I spray the fabric inside a plastic box, to keep the spray from getting on my table.
Step 7
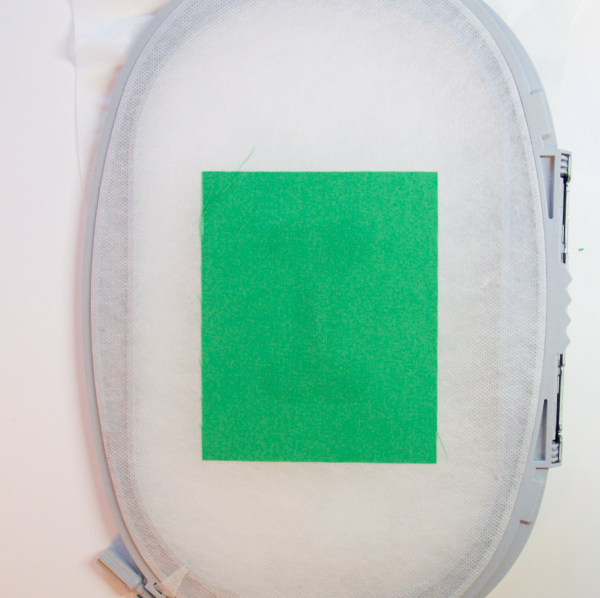
Lay the sticky side of the fabric over the design. Flip the hoop right side up, and press with your hand. Return the hoop to the machine.
Step 8
Change the thread to the color that you would like for the satin stitches around the “cookie.” Start the machine. The machine will first tack stitch the backing fabric.
Step 9
When the machine stops, remove the hoop from the machine, but do not remove the project from the hoop. Flip the hoop over, and carefully trim away the excess backing fabric. Return the hoop to the machine.
Step 10
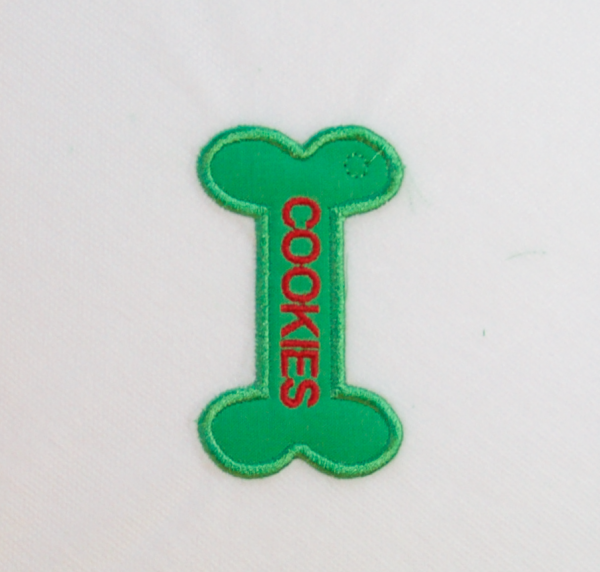
Start the machine. The machine will stitch a circle for the eyelet placement, and then the satin edge around the “cookie.”
Step 11
When the machine stops, remove the hoop from the machine, and the project from the hoop. With scissors trim away most of the wash away stabilizer leaving only about 1/4″ around the design. Then using a small paint brush remove the remaining stabilizer.
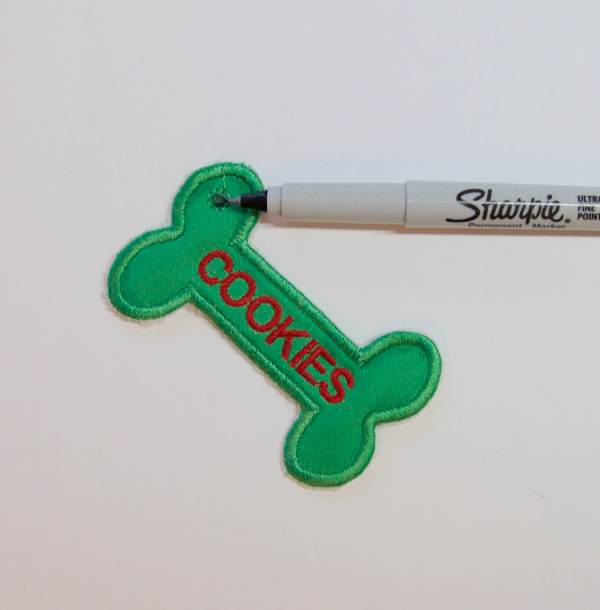
Note: I find it helpful for the next step to color in the circle with a black sharpie pen.
Step 12
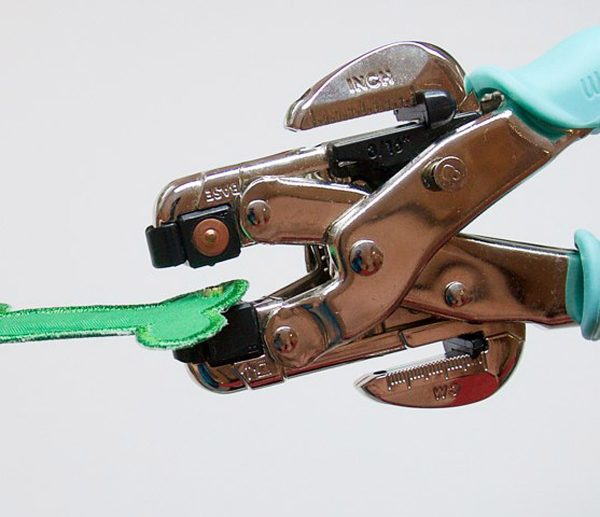
Find the 3/16″ hole punch on the Crop-A-Dial tool. (It is the larger of the two punches.) Position the circle, so you can see the black markings inside the hole. Squeeze the grips to punch a hole.
Note: You may need to trim away part of the hole with scissors if it only punches part way.
Step 13
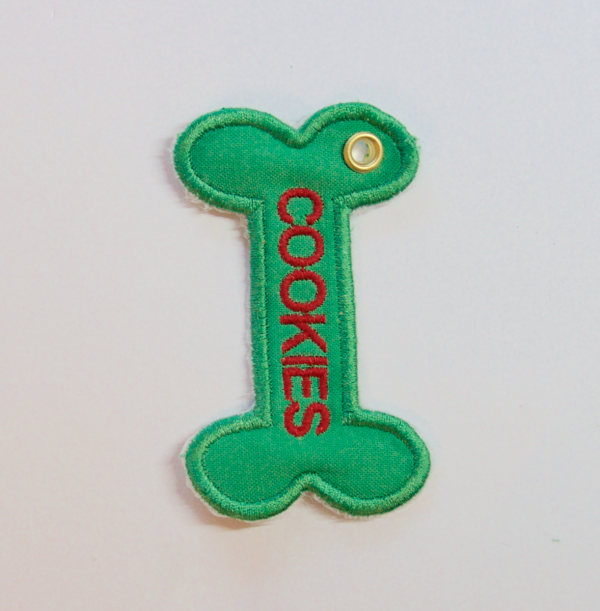
Place the eyelet inside the hole that you punched.
Step 14
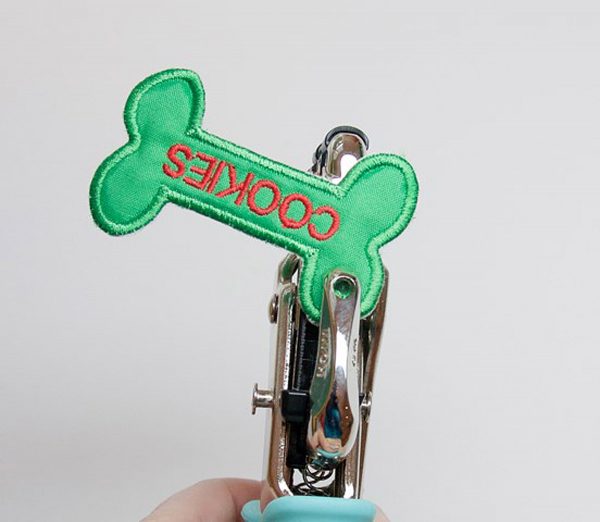
Place the pretty side of the eyelet over the prong, and then squeeze the grips together to set the eyelet.
Step 15
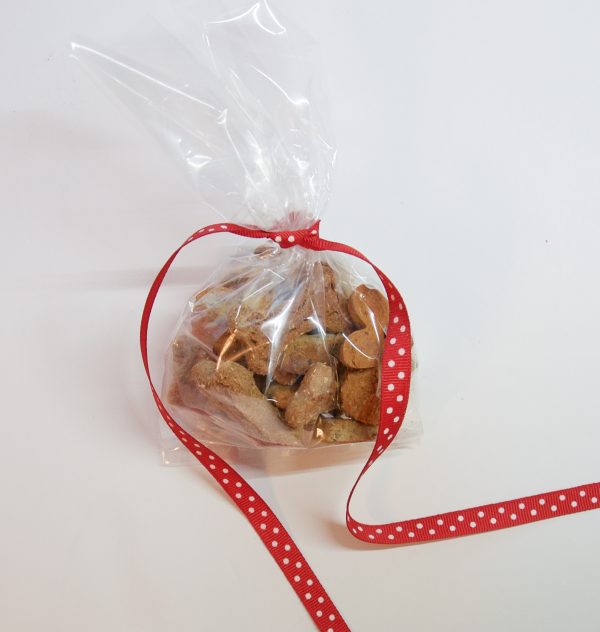
Put some dog treats in a plastic baggie. Tie the ribbon around the bag.
Step 16
Slide the Charm through the ribbon and they tie a bow. Now you have a great Puppy Gift!
What you might also like
4 comments on “Puppy Gift Charm”
-
-
I hope Santa puts that new machine under your tree this year! LOL
-
Great idea! Is there a way that I can change the word ‘cookies’ to the dog’s name?
-
I’m sure you could skip over the word “cookie” and then use the lettering on your machine to stitch in the dog’s name. Please refer to your user manual on how that would be done fro your machine.
-
-
Leave a Reply
You must be logged in to post a comment.






Love the idea. Perfect and quick for all the dog lovers that I know. Maybe time for a new embroidery machine.
Hope Santa reads this comment! Merry Christmas.