Scrappy Fleece Blanket Tutorial
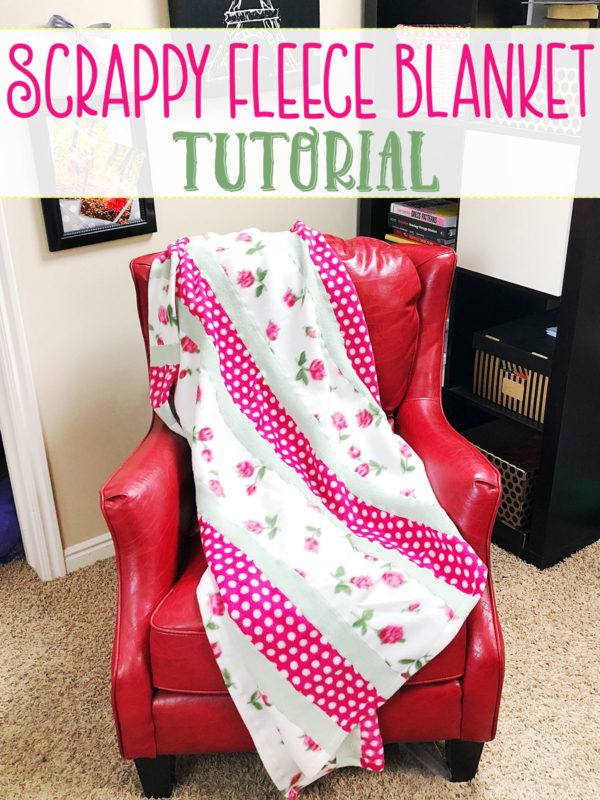
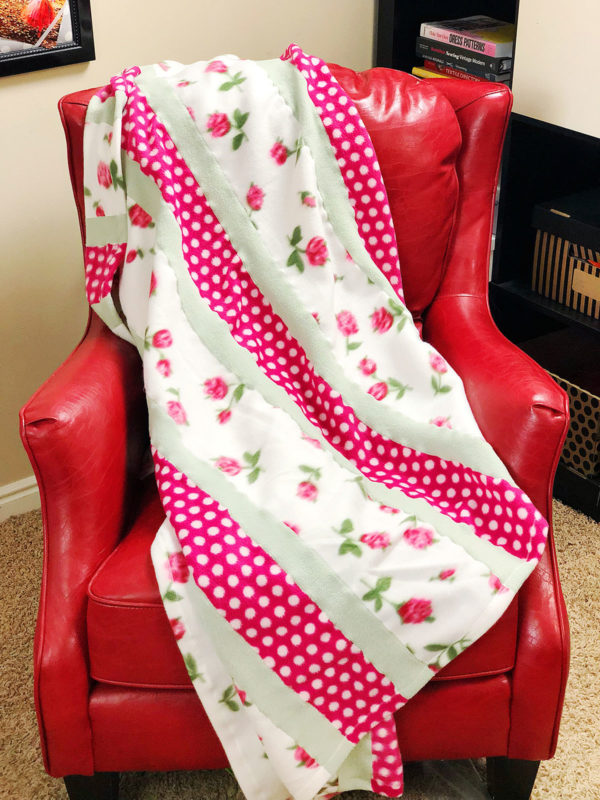
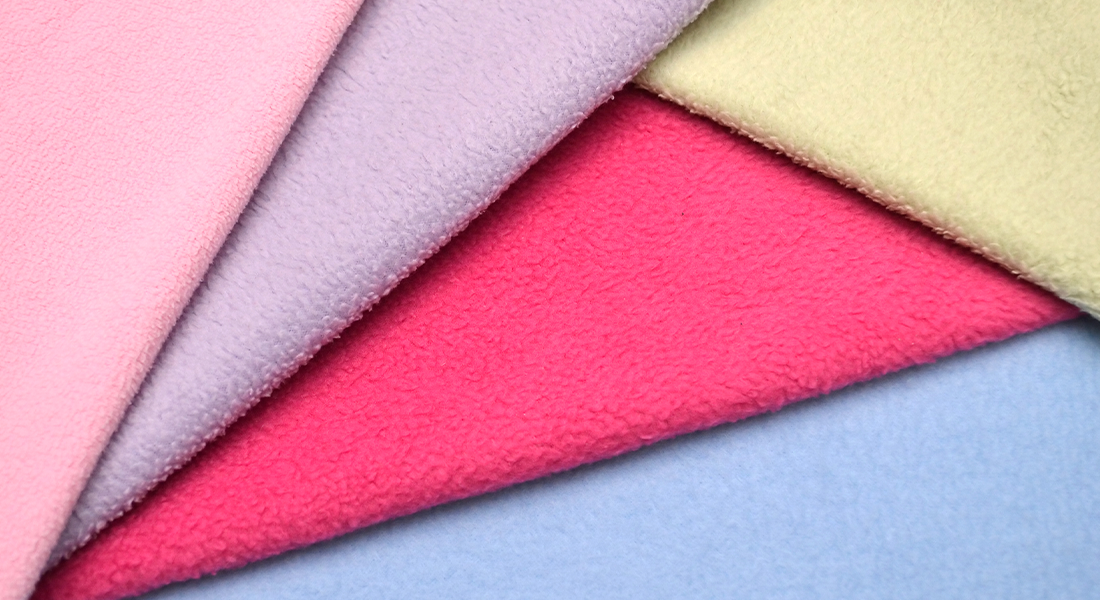
This Scrappy Fleece Blanket Tutorial is easy to follow and has many applications. I love fleece. It’s affordable, warm and comes in many patterns and solids. I also love how wide it is – most fleece is 60″ wide making it perfect for blankets and throws. But what if you want to make something bigger? Or what if you suffer from SG (scrap guilt)? I have a perfect solution to make a large fleece blanket and use up those fleece scraps that you can’t seems to let go of (and heaven knows I have lots of fleece scraps).
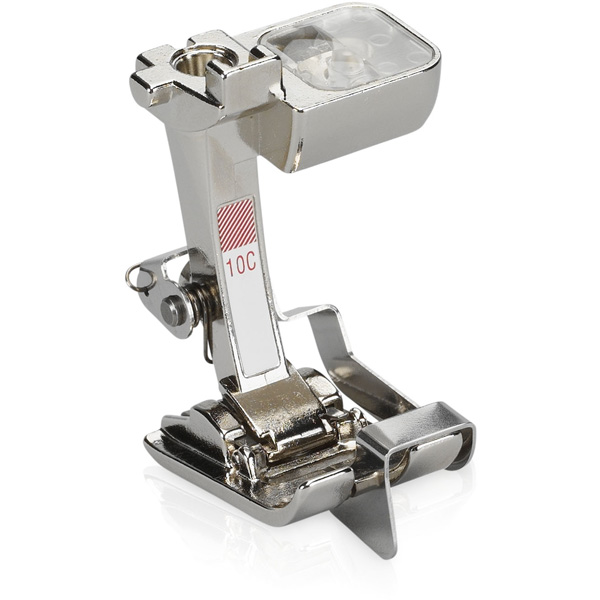
One of the things that I love about the BERNINA 560 is how wide the stitches can be. This combined with the Edgestitch foot #10C and you have fleece super powers.
Materials to Make a Scrappy Fleece Blanket
- Edgestitch foot #10C
- Fleece Scraps – I used 3 different colors ( 1/2 yard of the white, 1/2 yard of the polka dot, and 1/2 yard of the green)
- Rotary Cutter, Ruler and Mat
- Thread (standard poly cotton blend)
Scrappy Fleece Blanket Tutorial
Step 1 – Plan out your blanket and cut
Be sure to calculate what you want the final dimensions of the fleece blanket to be. Since I wanted to use up my half yard remnants I decided to try and use up as much as I could in an interesting pattern.
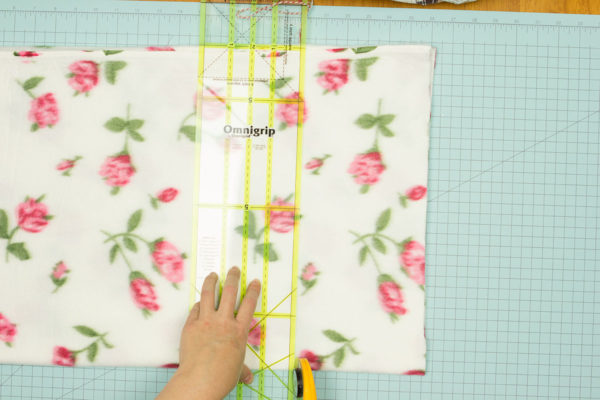
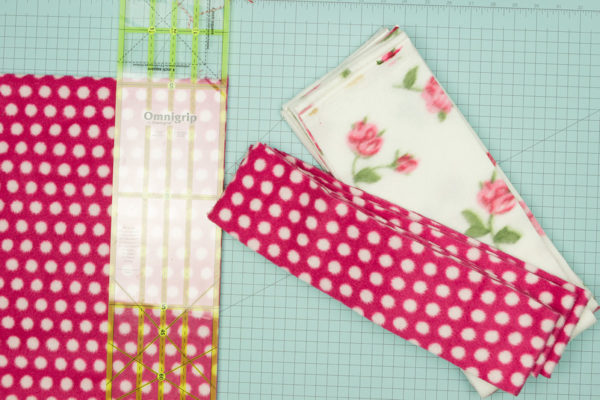
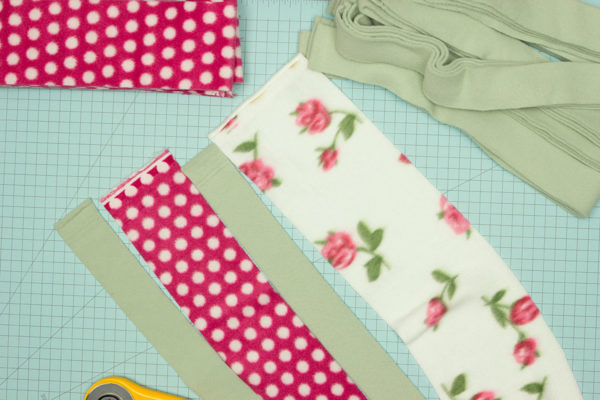
Cut the strips as you need with the rotary cutter. For my fleece blanket I cut the white into four 6″ strips by the width of the fabric (WOF).
Then I cut pink polka dot into four 4″ wide and WOF strips, and the green into eight 2″ wide and WOF strips. Don’t worry about cutting off the selvages, that will happen later.
Plan out how you want use your material and establish any pattern that you want.
Step 2 – Begin to build the Fleece Blanket
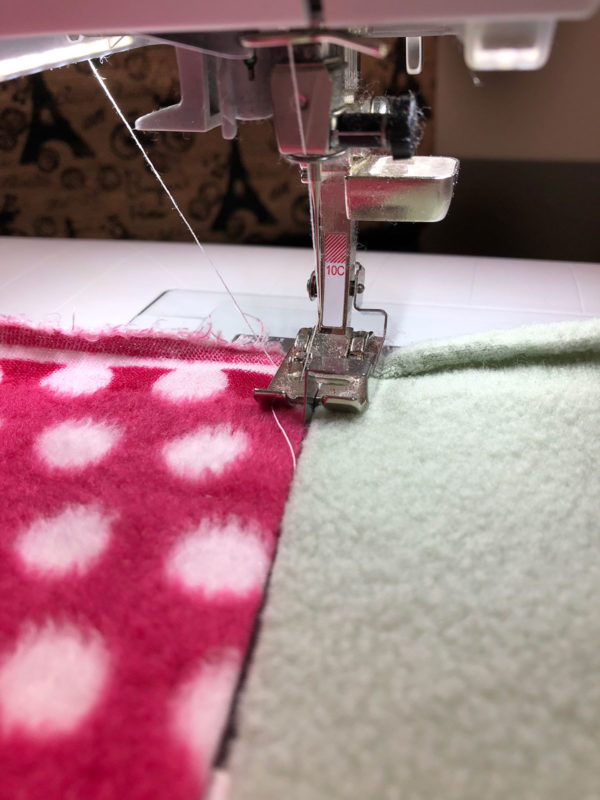
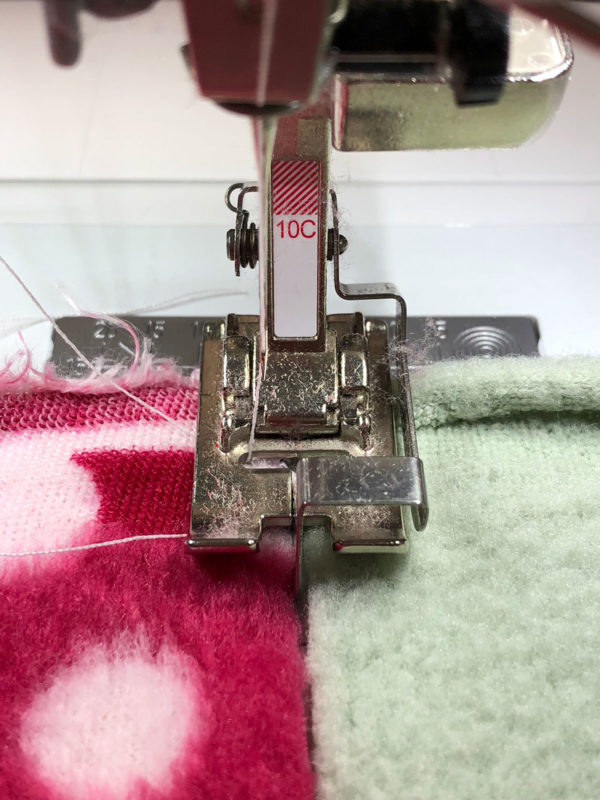
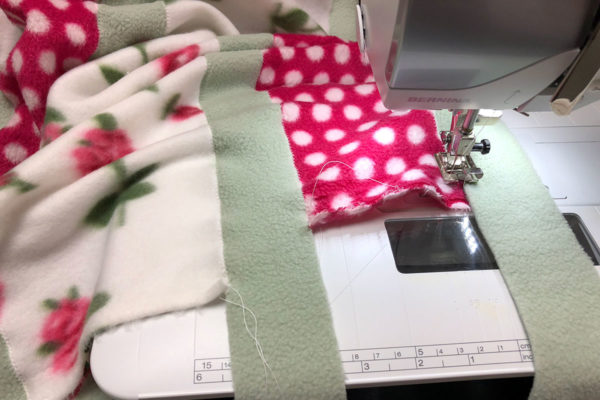
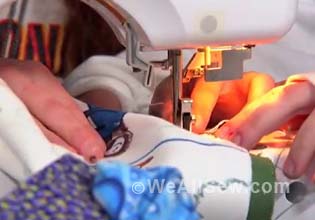
Using the Edgestitch foot #10C and zig sag stitch begin to piece the blanket together.
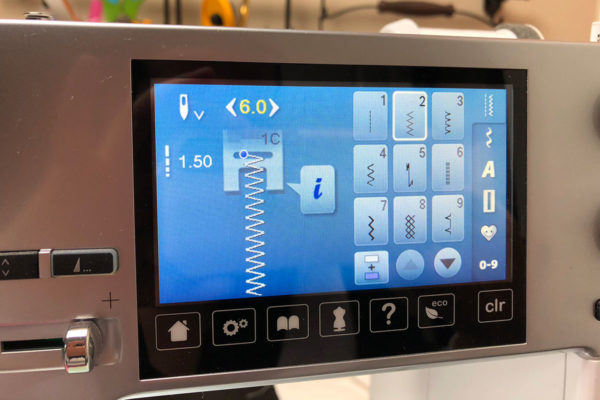 Set the zig zag stitch to a width of 6.0.
Instead of making a seam like normal, butt the edges of the fabric to either side of the blade. Make sure that both fabrics are right side up.
Sew the two fabrics together.
When you get to the end don’t worry if the ends aren’t even, we’ll fix that later.
Continue to build your blanket to the size you desire, adding each strip in the same fashion.
Step 3 – Square up the blanket
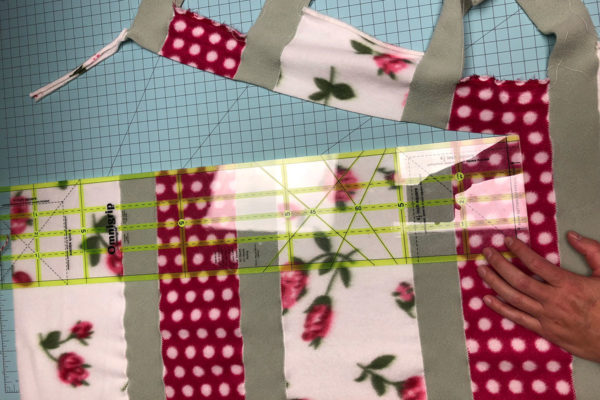
Once you have all the strips sewn together, take the blanket to your cutting mat and square up the ends.
Step 4 – Finish the sides of the blanket
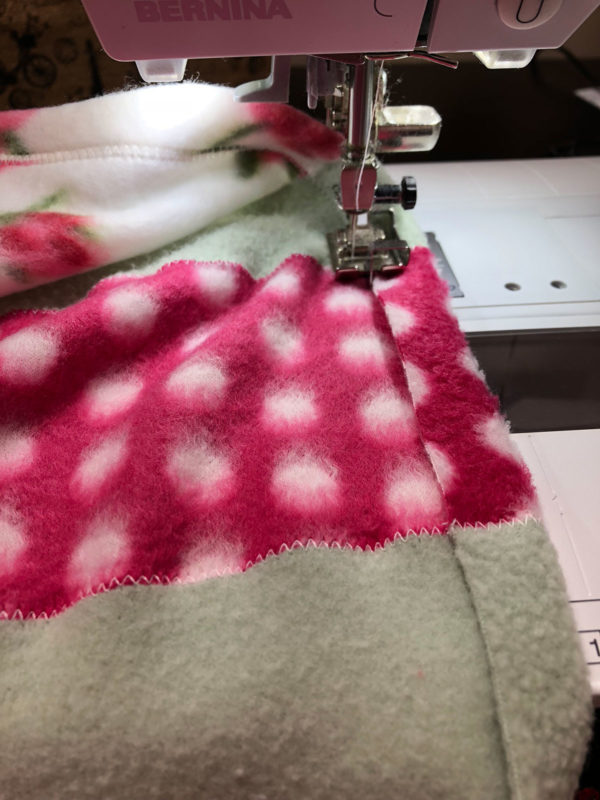
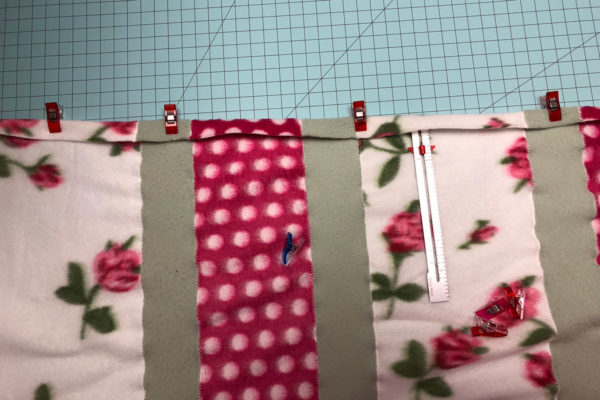 Fold the edges under 3/4 of an inch.
Using a zig zag stitch and the Edgestitch foot #10C, sew down along the edge. You Just finished the Scrappy Fleece Blanket Tutorial
Ways you can apply this technique:
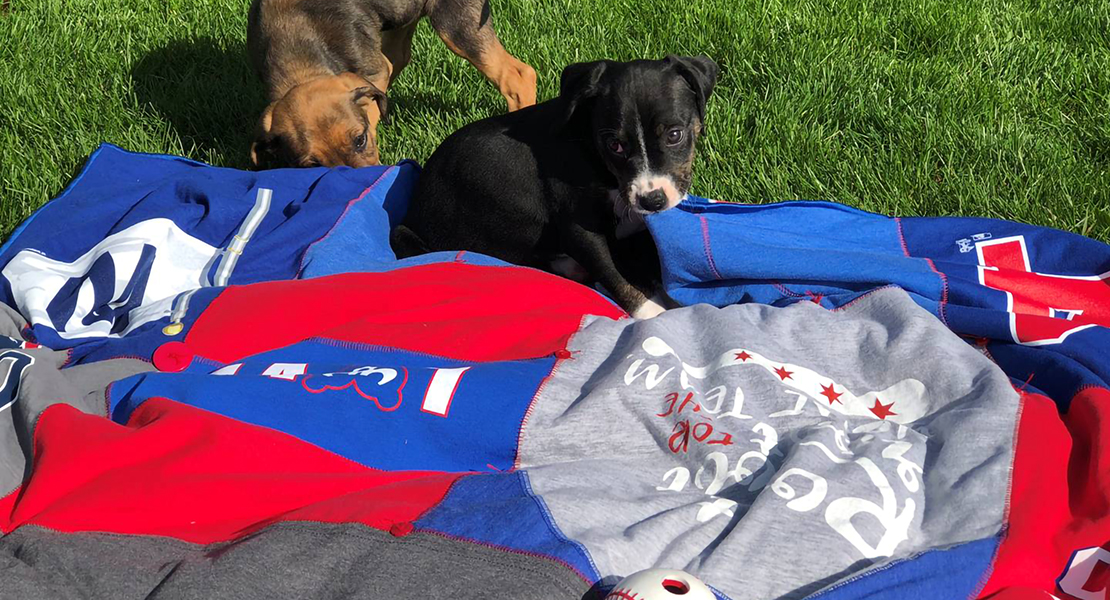
- Use your fleece Scraps to make blankets for gifts or charity.
- Make large fleece blankets to add warmth to a Queen or King size bed.
- Make a large fleece backing for a quilt.
- Use discounted remnant fabric to save money.
This same technique can be used on batting – you can see that tutorial here.
What you might also like
2 comments on “Scrappy Fleece Blanket Tutorial”
-
-
If you alternate sewing direction every other strip, your seams won’t be wavy.
-
Leave a Reply
You must be logged in to post a comment.







Hello,
I love this idea! I’m attempting to sew my strips but they are becoming ‘wavy’ I have set the pressure lighter, use longer stitches and still getting wavy. Any tips to eliminate the wave!?!??