2-Letter Monogram Makes a Mark
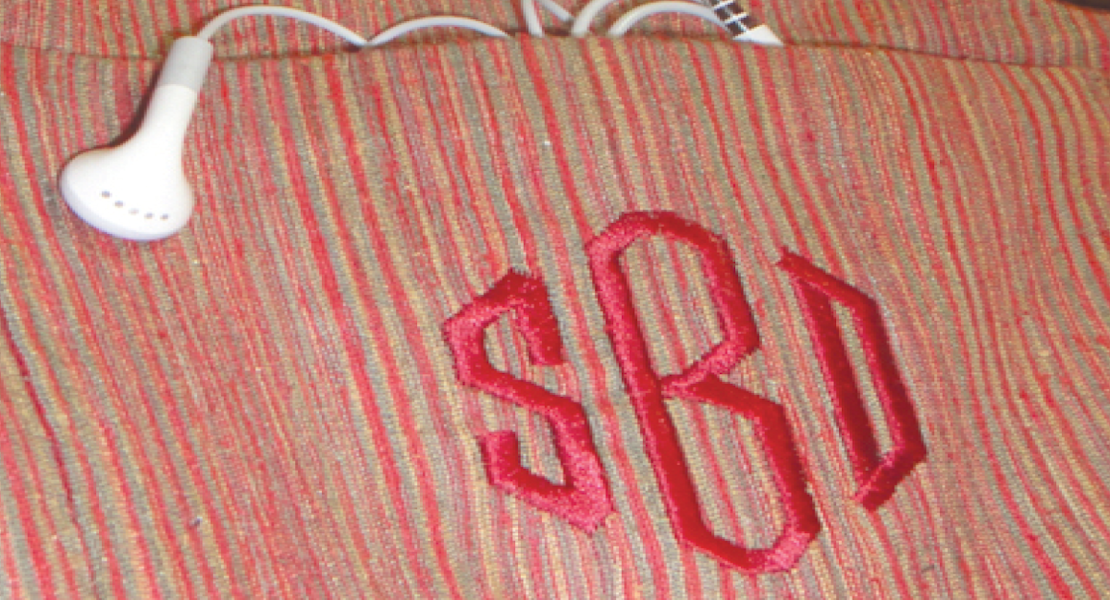
The 2-letter monogram is probably the most common form of monogramming. That being said, common doesn’t have to mean boring. With Toolbox offering over 2 dozen styles of monogramming alphabets and well over 50 different decorations (frames), there is virtually no limit on the number of variations you can generate. So each monogram can be unique, as it should be.
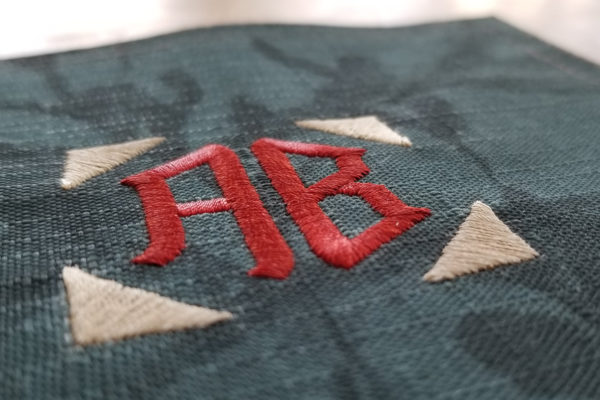
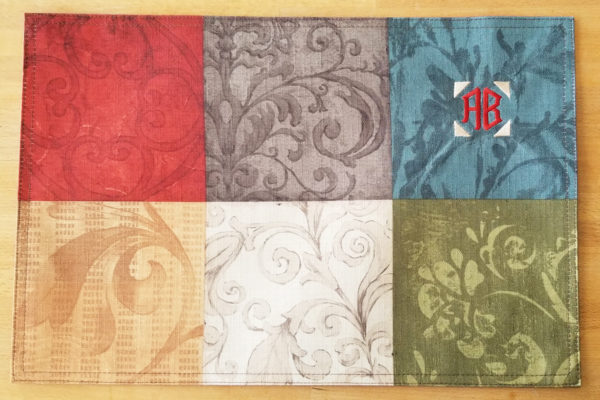
For this classic monogram, I selected the Diamond–2 Letter monogramming alphabet. It has a strong form that focuses the eye easily. For the decoration, I selected something open that allows the letters to float free in the middle. Now I only have a few hundred other possibilities to contemplate!
To make a 2-letter monogram, all I need is the Monogram Tool in Toolbox where I quickly select a 2-letter monogram alphabet, type in my letters, pick a size and add a decoration. Scale to taste and voilà!
Let’s do it!
Open your Toolbox software, and ready, set, GO!
Making the 2-Letter Monogram
Start with a New design file.
- Type the file name: ABC
- Click OK
The main workspace screen of Toolbox will now open up.
- Click on the Monogram Tool.
- In the Choose Alphabet section, select the Diamond-2 Letter Insert
- In the Enter Letters section:
Type the letters A and B (or initials of your choice).
Set the Height of the letter to 2 inches. - In the Choose Decoration section, select the 4 directions
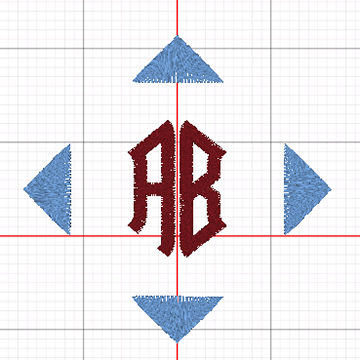
Note: Toolbox will automatically size the decoration to your monogram letter and change the thread color.
Your monogram should now look like this:
Now for the ‘Scale to Taste’ part!
Toolbox generated the decoration with ample space around the letters. But what if you prefer a tighter wrapping of the decoration around the letters? You can easily resize the decoration separately from the lettering. Or vice versa, if you prefer the letters to grow in size to fill the space inside the decoration, that is easily done too!
To reduce the size of the decoration for a closer fit to the letters:
- Use the Select Tool.
- Select All and click on an empty area of your design screen. This will deselect your design.
- Use the Select Object tool to click on the 4 blue triangles, one at a time, to add them to a selection.
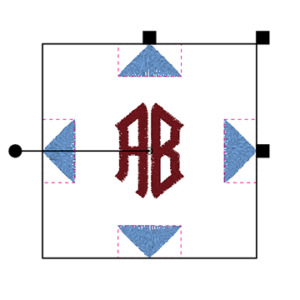
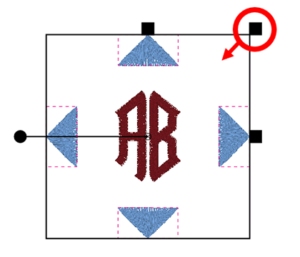
Note: When combining objects into a selection, Toolbox lets you know that you have separate items making up the larger selection; each separate item has a dashed red line around it while the overall selection has the dark black outline (box) around it. See our current selection of the 4 blue triangles below:
Note that the 4 Blue Points have a red dashed outline around each one while the lettering does not. This tells us that the lettering is not selected and will not be modified when we resize the decoration.
To resize the decoration:
- Click on the top right corner of the black outline box and drag the black square (corner) toward the center of the monogram until you like the overall placement.
- You should end up with something like this:
If you like it, your monogram is now ready to Export for your machine.
But what if you wanted to resize the lettering also?
You know… to taste?
To resize the lettering only, you can resize in only one dimension (height OR width), or you can modify both dimensions (proportionately or independently).
Here I’d like to increase just the width (slightly) to have the same distance between the letters and triangles on both the sides as on the top/bottom of the letters.
To do so:
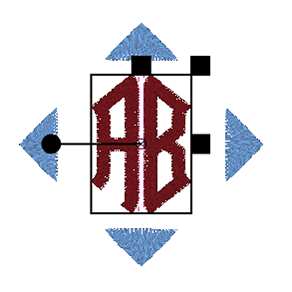
- Select only the letters:
- Use the Select Tool / Select All and click on an empty area of your design screen. This will deselect your design.
- Use the Select Letter tool to click on the 2 letters, one at a time, to add them to a selection.
Your selection should now look like this:
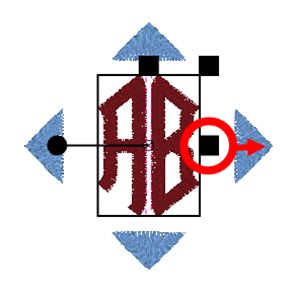
- Use the width handle (black square to the right of the selected letters outline) and draw the handle outward to the right until you like the resulting spacing.
- It will look something like this:
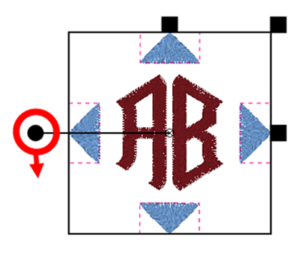
While we’re having fun playing with alignment, let’s put a spin on the decoration. By selecting only the 4 blue triangles as we did above, and using the rotation handle (the round black dot on the left of the selection outline) with a 45 degree rotation in either direction, we can realign the same monogram in a completely different style.
The result is as follows. This would set in very well as a larger monogram on a pocket of a tote bag.
And there it is! Now only a few hundred permutations to try!
That’s it! You now have a 2-letter monogram with decoration.
- The first color is for the lettering.
- The second color is for the decoration.
Time to Stitch it out!
Artistic view of the monogram:
