Connect the Boxes Backpack Tutorial: Part 2
Welcome to Part 2 of the Connect the Boxes Backpack Tutorial! In Part 1 we made the outside of the back. In this post I’m going to show you how to make the lining and how to finish assembling the bag.
Step 1: Cut the following pieces from your lining fabric
Two pieces 12″ x 10″—front and back lining panels
One piece 11″ x 10″—back pocket lining
Two pieces 12″ x 5″—side panels
One piece 5″ x 10″—bottom panel
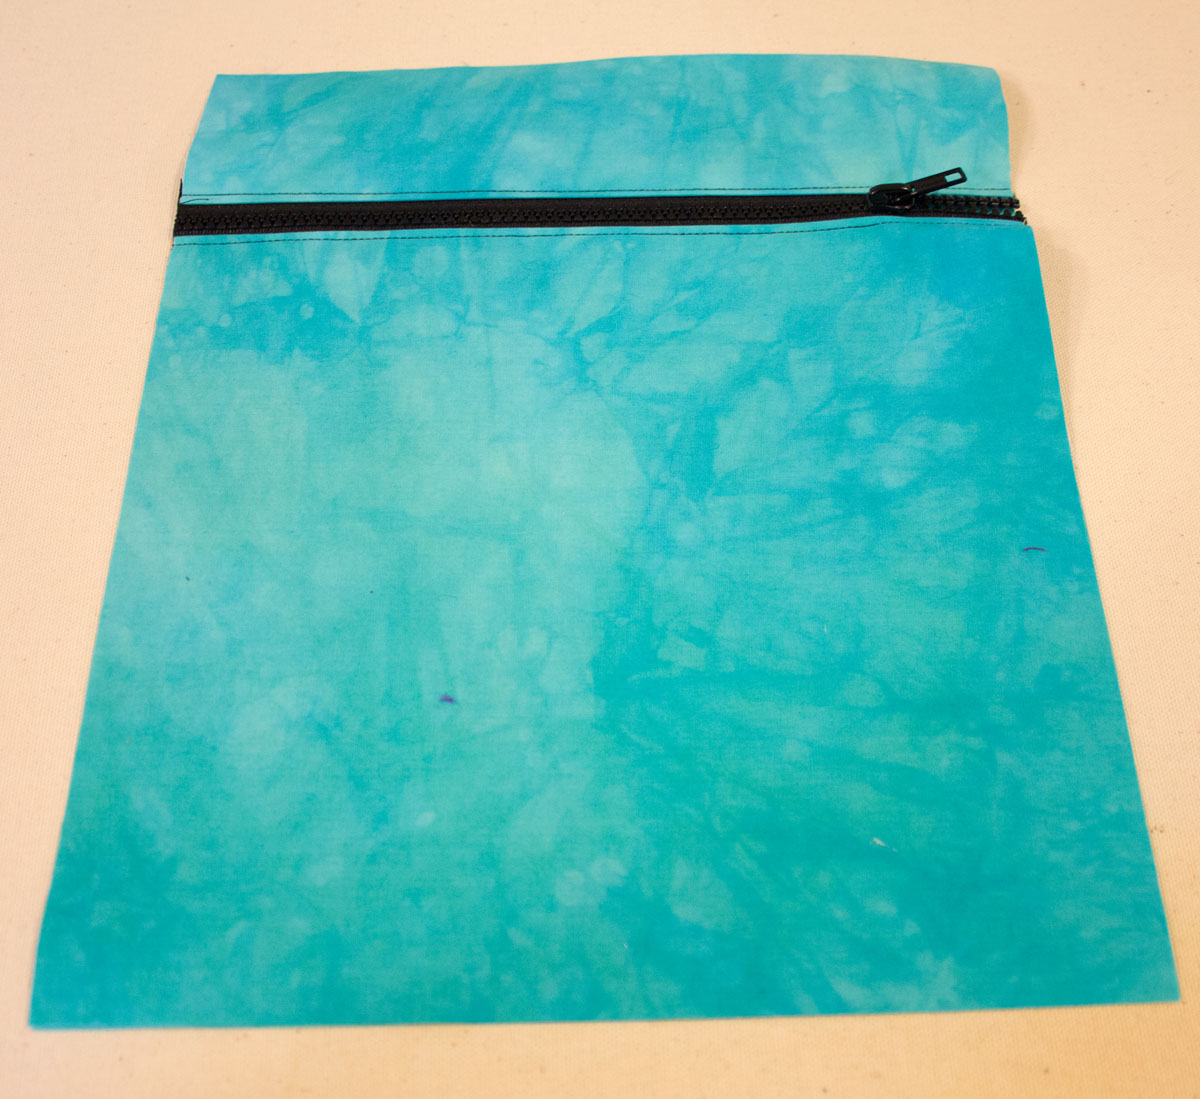
Step 2: Insert the zipper in the back lining panel. Cut the back lining panel into two pieces: 3″ x 10″ and 9″ x 10″. To insert the zipper follow the directions from step 2 of part 1 of the backpack project which you’ll find here (add hyperlink)
Step 3: assemble the lining. With right sides together sew each side panel to the back panel. Open them out and sew the bottom panel to the bottom edge.
Sew the front panel to one of the side panels right sides together along one edge. Repeat for the other side.
Sew the front panel to the bottom panel but leave the center 6″ open for turning the bag in a later step.

Step 4: assemble the bag. Slip the outside of the backpack into the lining right sides together. Align the side panel seams and sew the lining to the back along the top edge.

Turn the bag right side out through the opening you left in the lining bottom panel. Sew the opening shut.
Press the bag and then topstitch along the top 1/4″ from the edge.
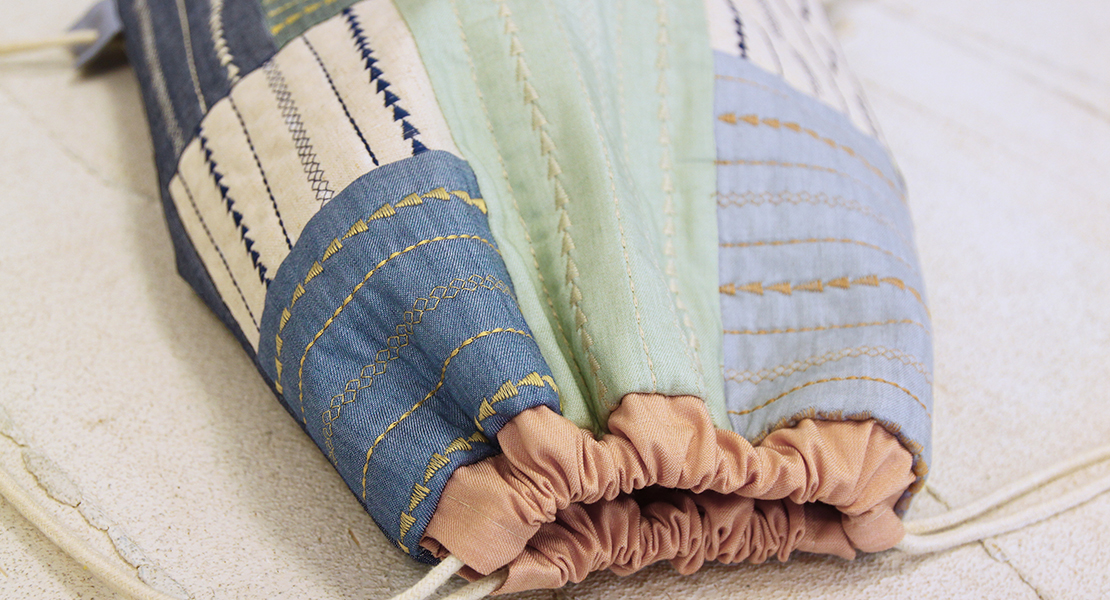
Step 5: Install the grommets. Install 2 grommets spaced equal distance apart along the top edge of each side panel. Place the grommets 1/2″ to 1″ from the top edge.
Install 4 grommets spaced equal distance apart along the top edge of the front panel. Place the grommets 1/2″ to 1″ from the top edge.
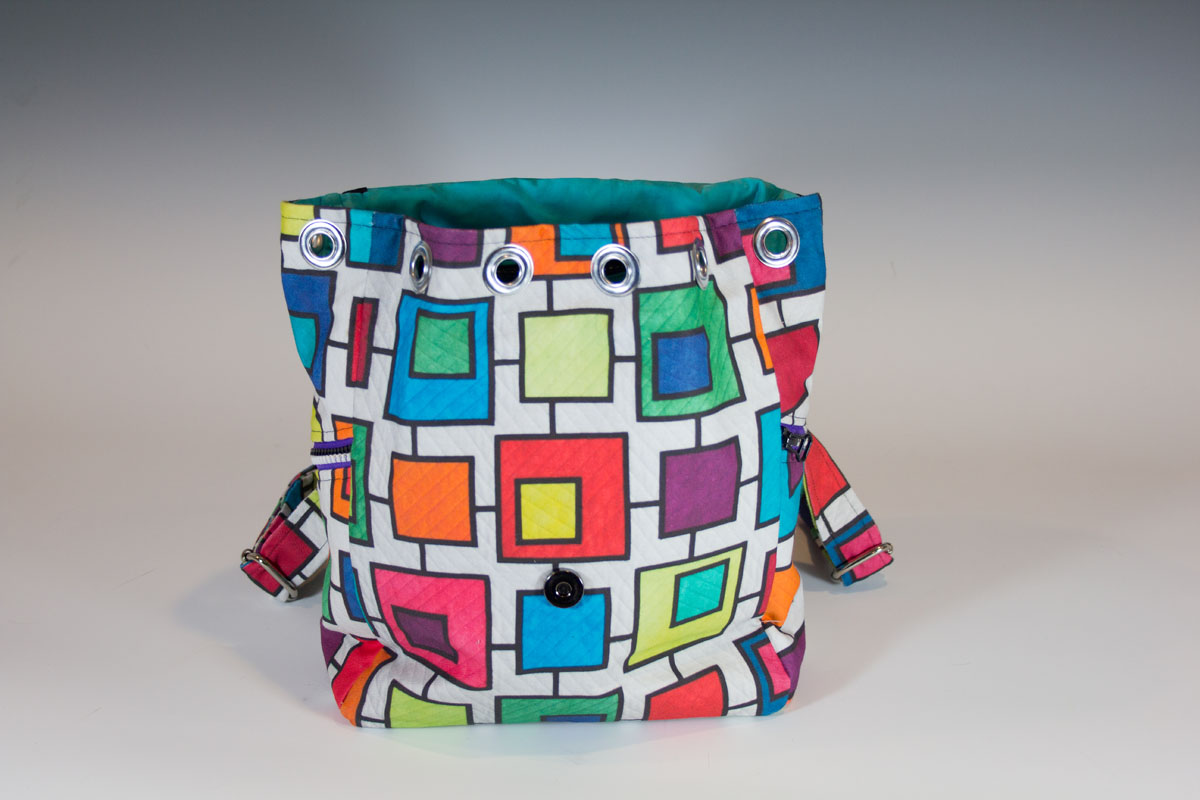
NOTE: if you would rather not use grommets on your bag, you can use buttonholes instead.
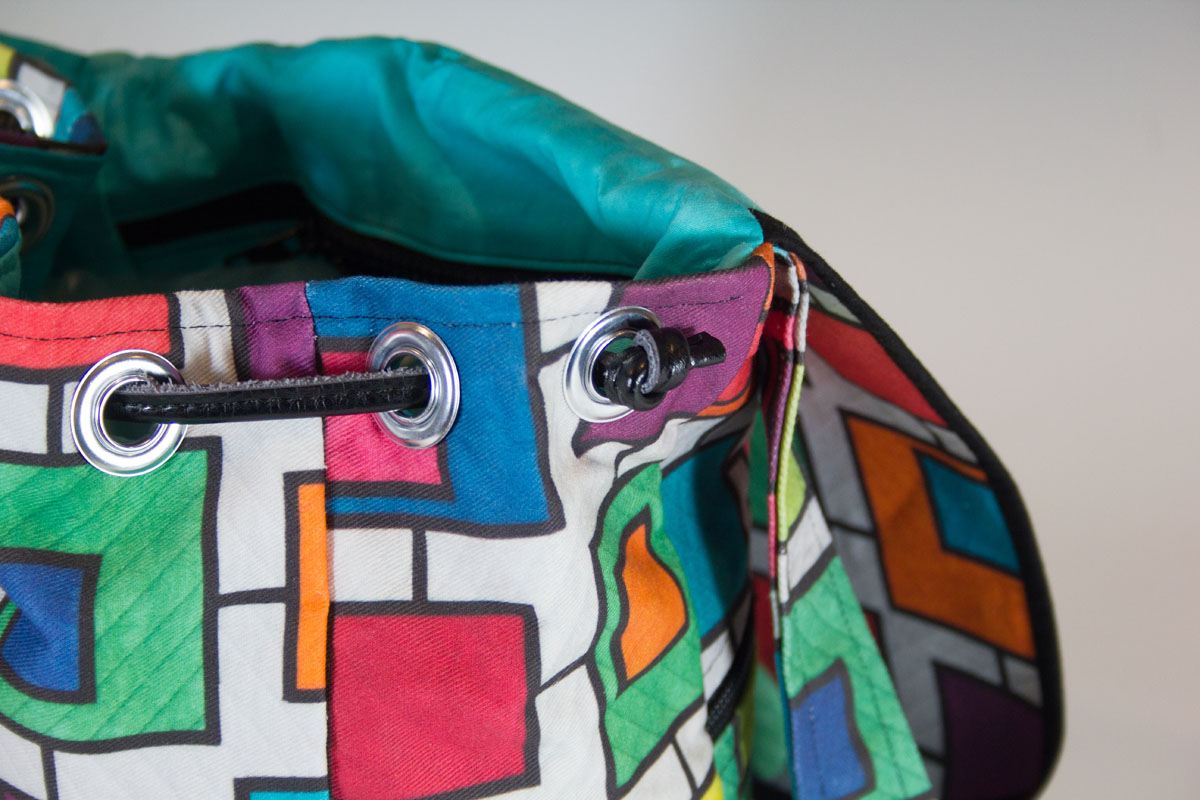
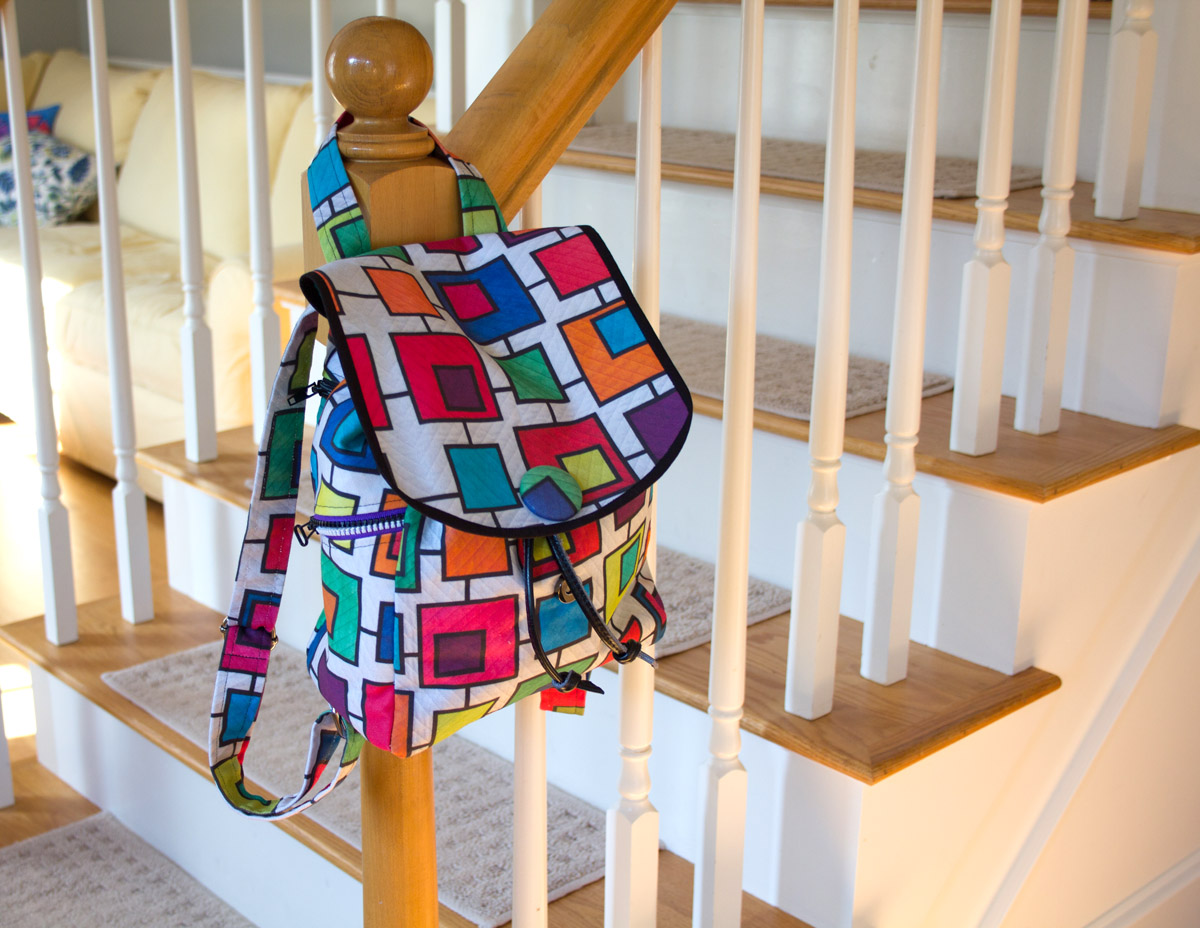
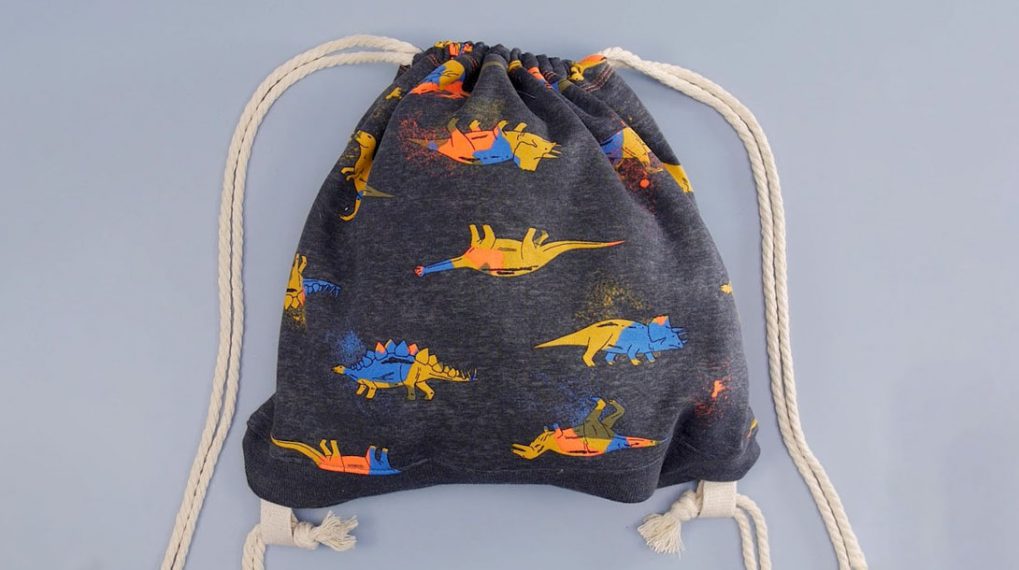
Step 6: install the drawstring. Cut the cording in half and make a large knot on one end of each piece. Starting at the grommet closest to the back of the bag on one side, thread one of the cords starting from the outside of the bag through 4 of the grommets ending at the front of the front of the bag. The large knot that you tied will keep the cord from slipping through the grommet. Repeat for the other side. Feed the ends of the cord through your cord lock, trim the ends and tie a small knot.
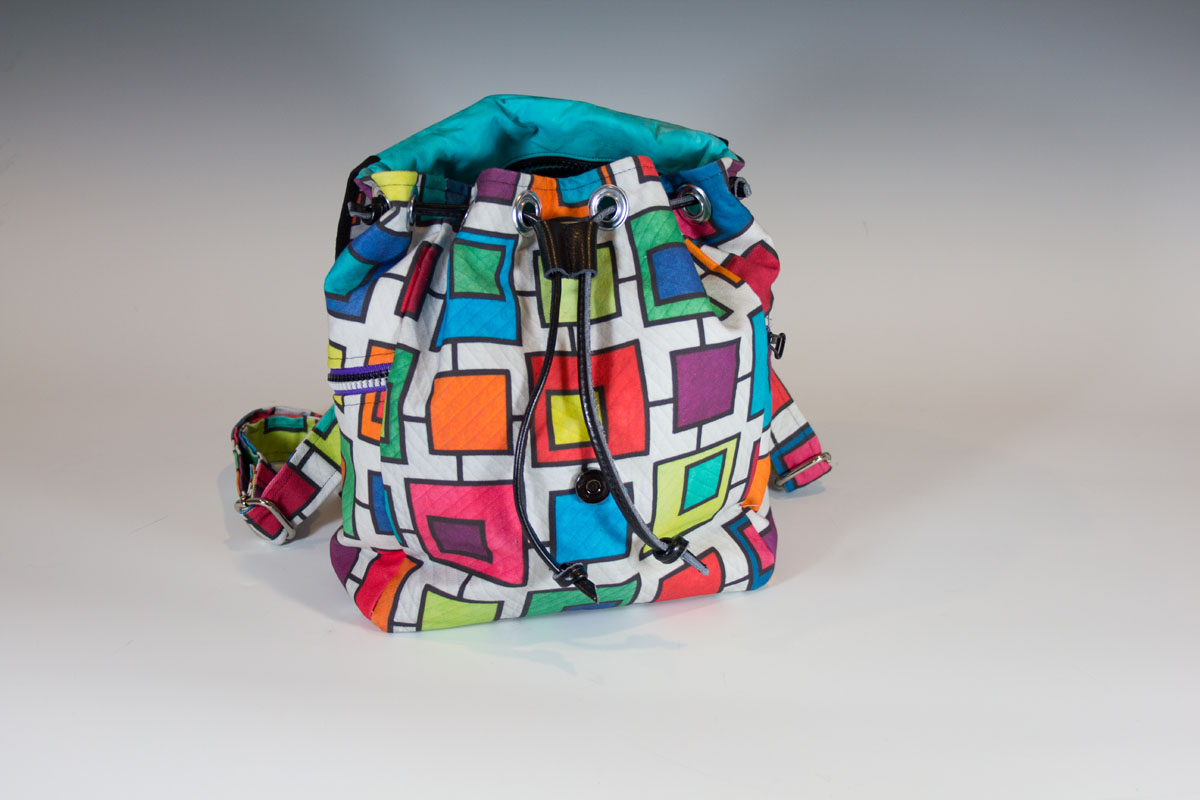
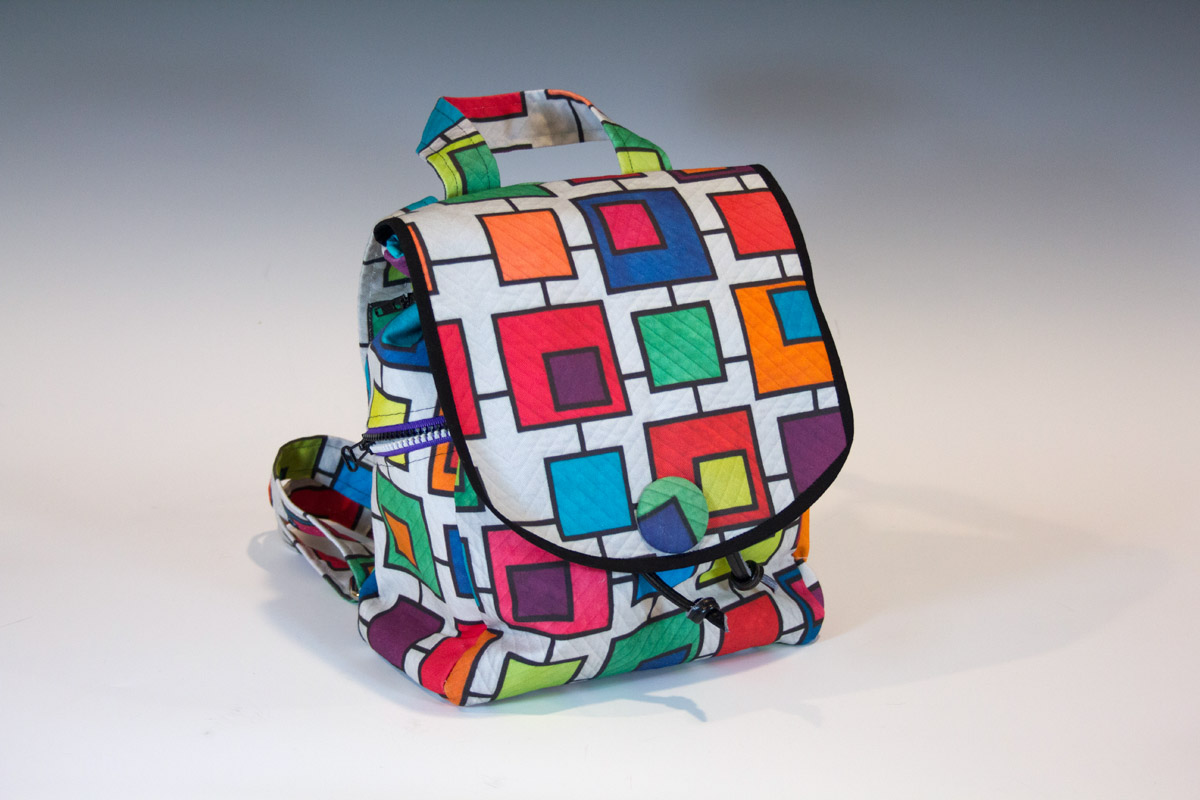
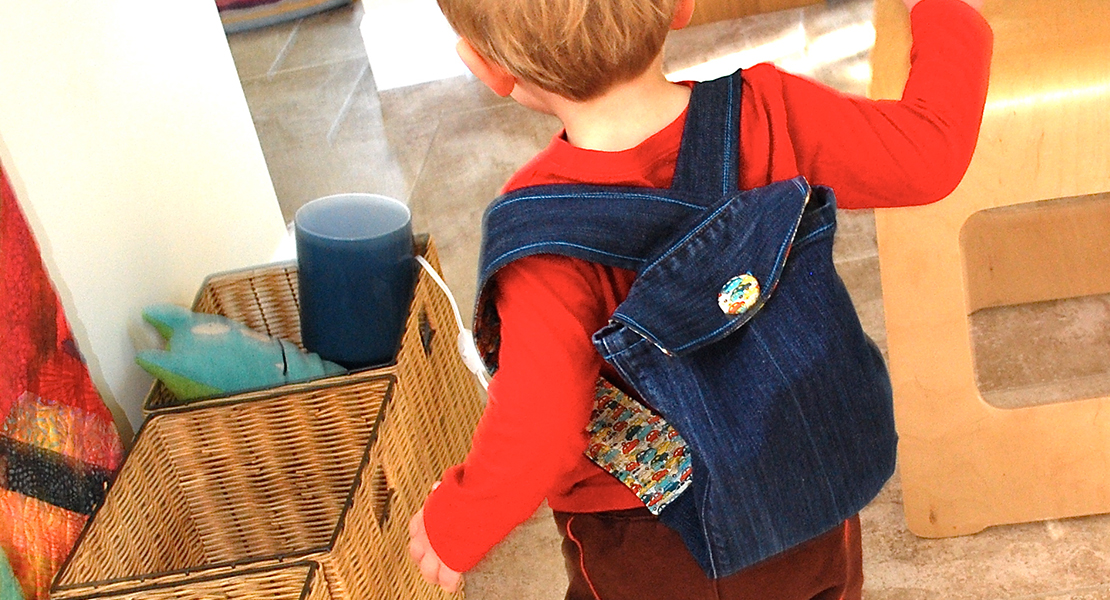
The last step is to sew a button on the flap to cover the magnetic snap and your backpack is done!

Used Products


What you might also like


One comment on “Connect the Boxes Backpack Tutorial: Part 2”
Leave a Reply
You must be logged in to post a comment.
Love all of the zippers that your backpack has and the great tutorial with accompanying pictures.